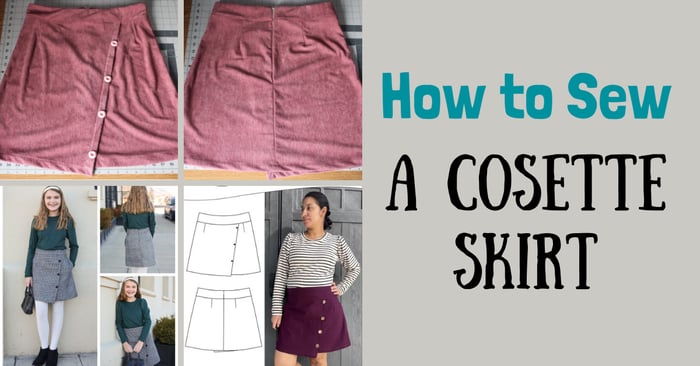
Cosette Skirt Sew-Along
Today we are going to learn how to sew a cosette skirt. Few things evoke the timeless elegance and charm quite like a cosette skirt. This is a fun and rewarding sew. This comprehensive guide will show you everything you need to know to get started. So grab your sewing machine and let's get started on this exciting project!
If you are ready to respond with "Yes, I made this" or a similar response, lets jump into the Cosette skirt pattern from peek-a-boo pattern shop now.

How to sew a Cosette Skirt
The Cosette skirt pattern features two darts created in the front and in the back. It also includes an invisible zipper construction which I will walk you through. Before we begin sewing, we will need to get a few measurements for the recipient, yourself, or whomever you are sewing this up for. This pattern is designed for wovens so that means we need to measure at least twice to get the perfect fit. To start, you will need to measure the waist and hips of the person who will be wearing the pleated skirt. Make sure to use a measuring tape and take accurate measurements. It's important to get this right, as it will determine the fit of the skirt. An accurate waist measurement and hip measurement will be the most important, so be sure to double check those numbers.
Once you have the measurements, refer to the sizing chart provided in the pattern instructions. This will help you determine which size to cut out for your pleated skirt. Remember, it's always better to go slightly bigger if you're unsure, as you can always take it in later. You can always cut bigger and cut back but never the opposite.
I appreciate that the pattern instructions include information for you on how to bring in the waist if need be or to let it out some as well. The skirt comes in two lengths but can be lengthened too if needed.
How long does it take to sew a cosette skirt, and what is the difficulty level?
The time it takes to sew a cosette skirt varies depending on your sewing skills and the complexity of the pattern. On average, it may take a few hours to a day to complete. As for difficulty level, these is considered a moderate-level project, suitable for sewers with some experience.
What is the best type of fabric to use ?
The best type of fabric to use when you make a cosette skirt is a medium-weight woven fabric, such as cotton, linen, or wool. These fabrics hold pleats well and provide a structured and polished look to the skirt. Avoid using stretchy or slippery fabrics, as they may not hold pleats effectively. Be sure to purchase the correct amount of fabric for the size you are making.
Supplies for sewing the Cosette Skirt
- Women's Cosette skirt pattern from peek-a-boo pattern shop
- Woven fabric in light or medium weight
- 3 or 4 buttons which are optional for aesthetic only.
- An invisible 12" zipper and zipper foot.
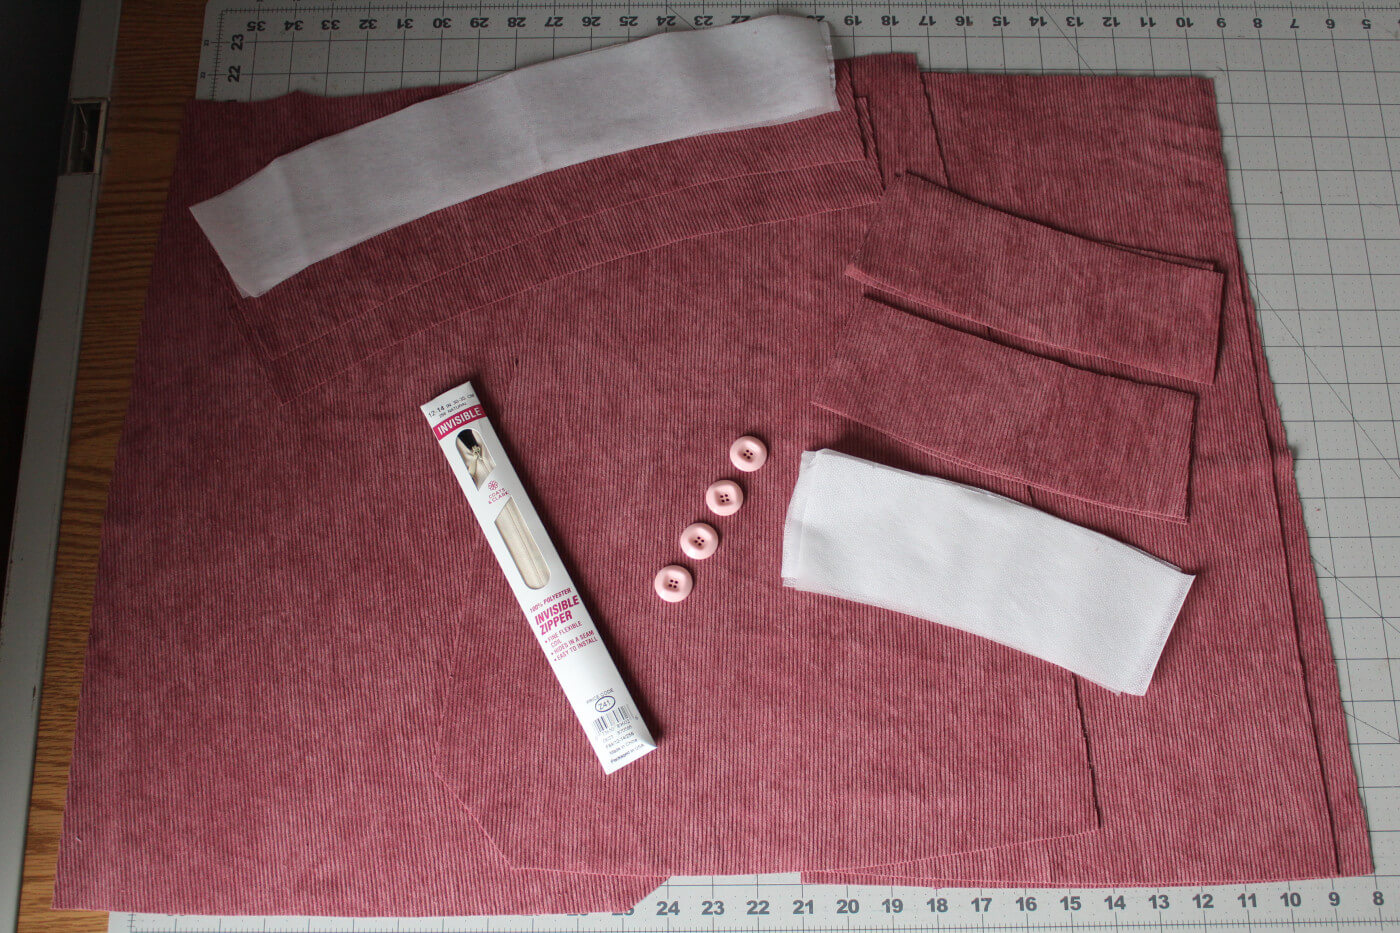
- Light weight fusible interfacing, iron, shears, pinking shears, thread, sewing machine and pins or wonder clips.
For more information on what sewing supplies you may need check out our blog post: Sewing Supplies List: What you need to sew.
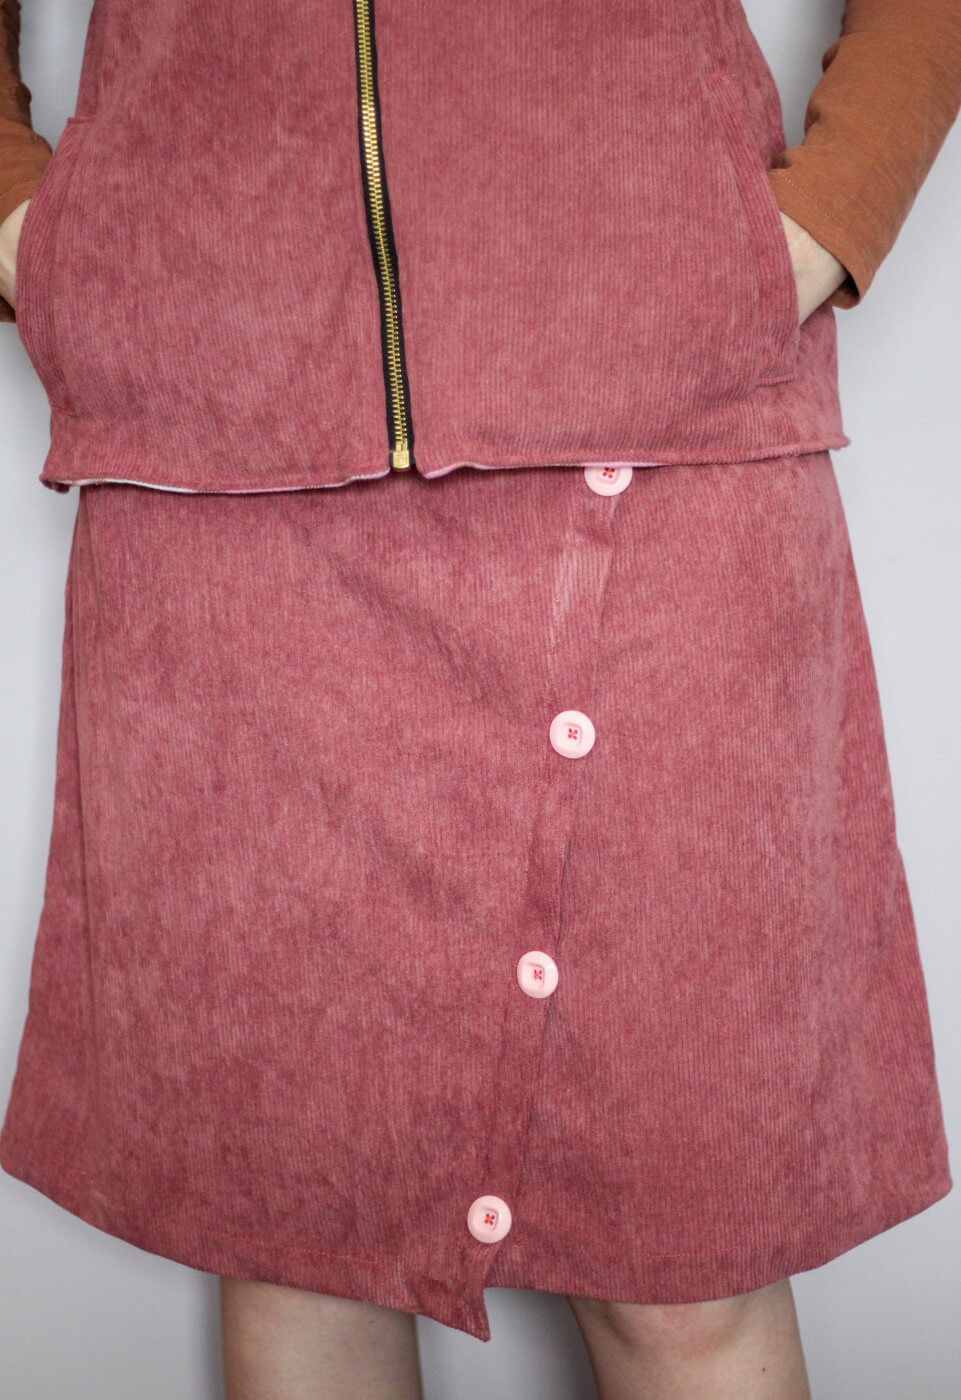
I chose a nice mauve woven corduroy fabric for my skirt and the zipper is not a color match unfortunately, but it will be mostly hidden once complete. I had these soft pink buttons on hand and thought they would make a nice contrast to the mauve skirt. I will be omitting the optional pockets for this skirt, but you may add them per the pattern instructions if you'd like.
How to apply the Fusible Interfacing
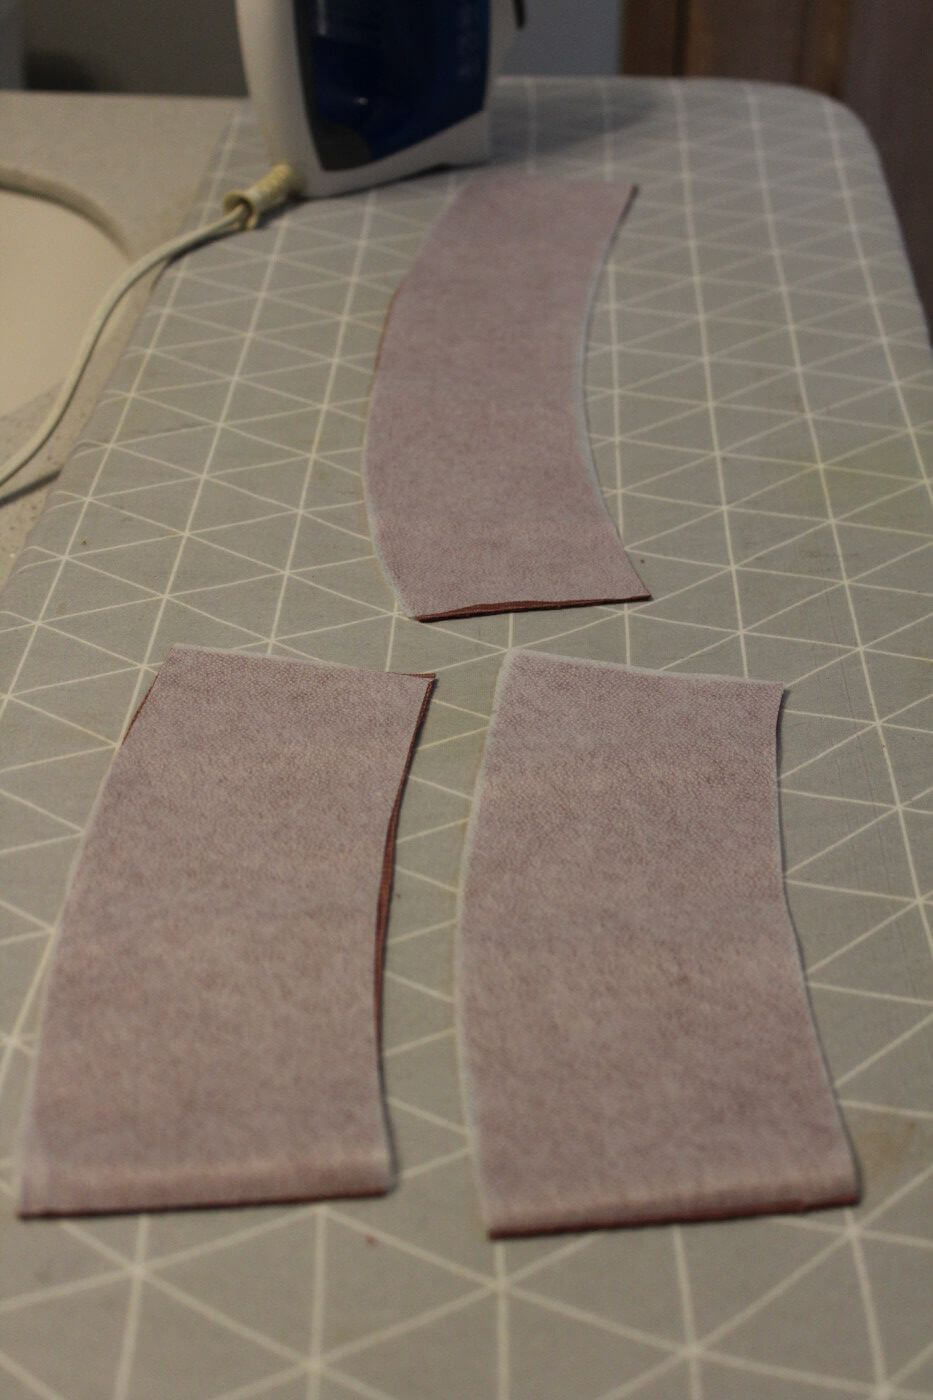
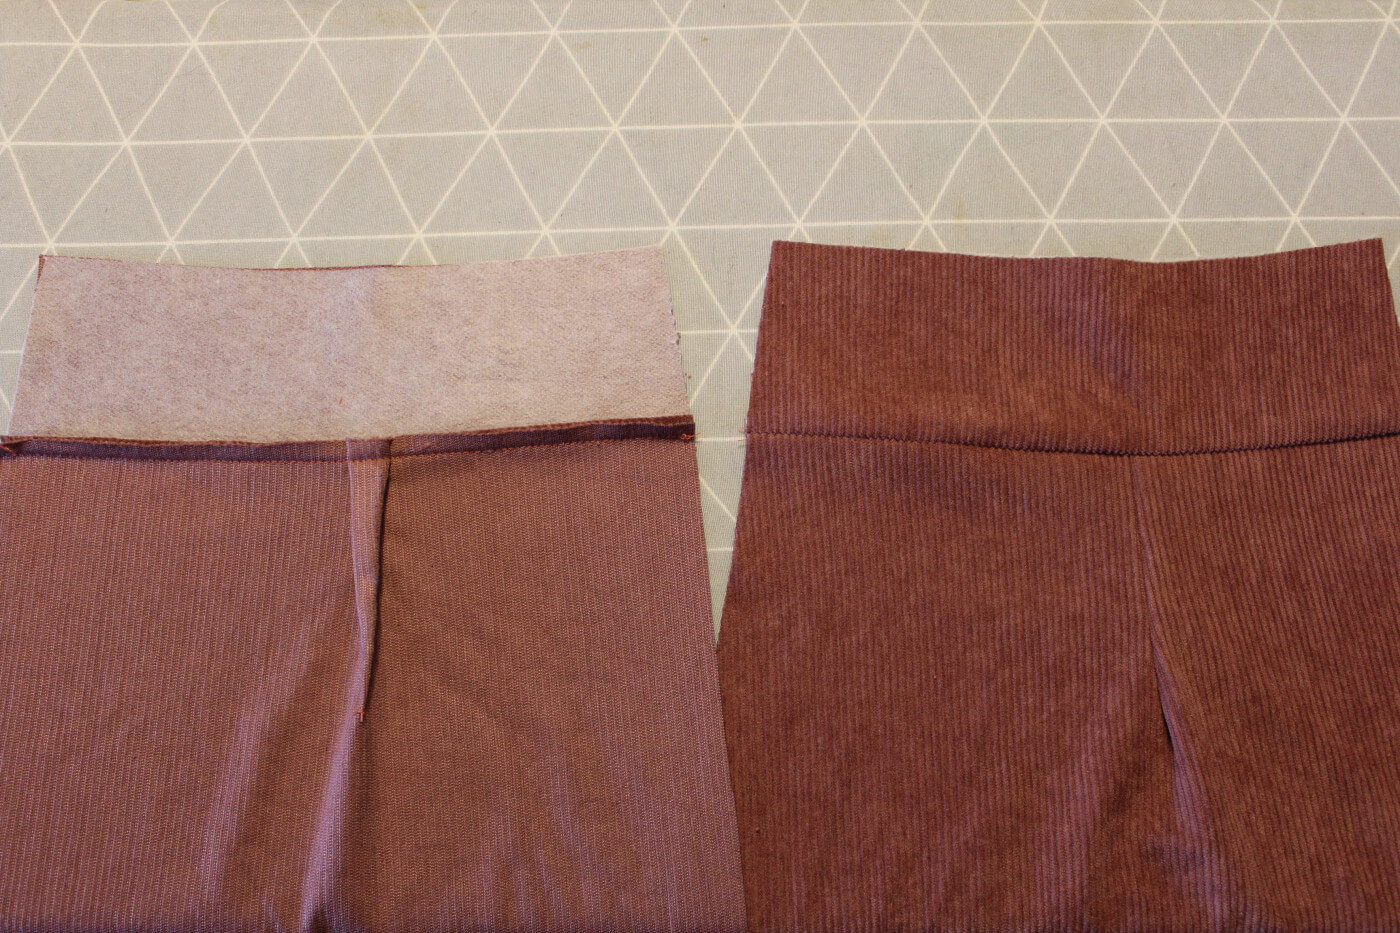
Apply fusible interfacing to the wrong sides of one: Back, front and waistband. Leave the other back, front and waistband pieces as is.
Step One: Dart Construction and how to make pleats in a skirt
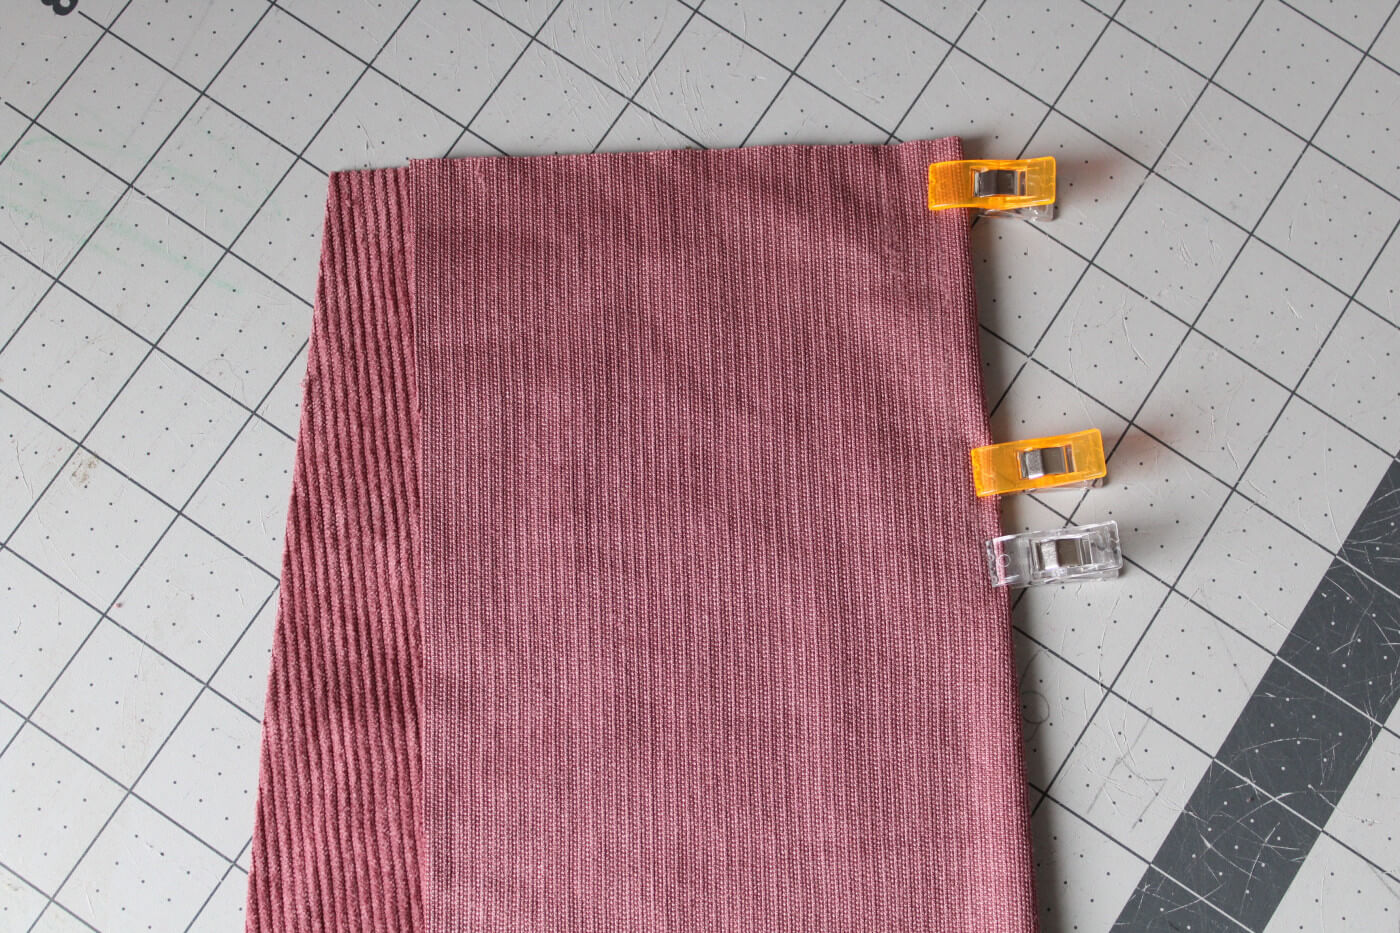
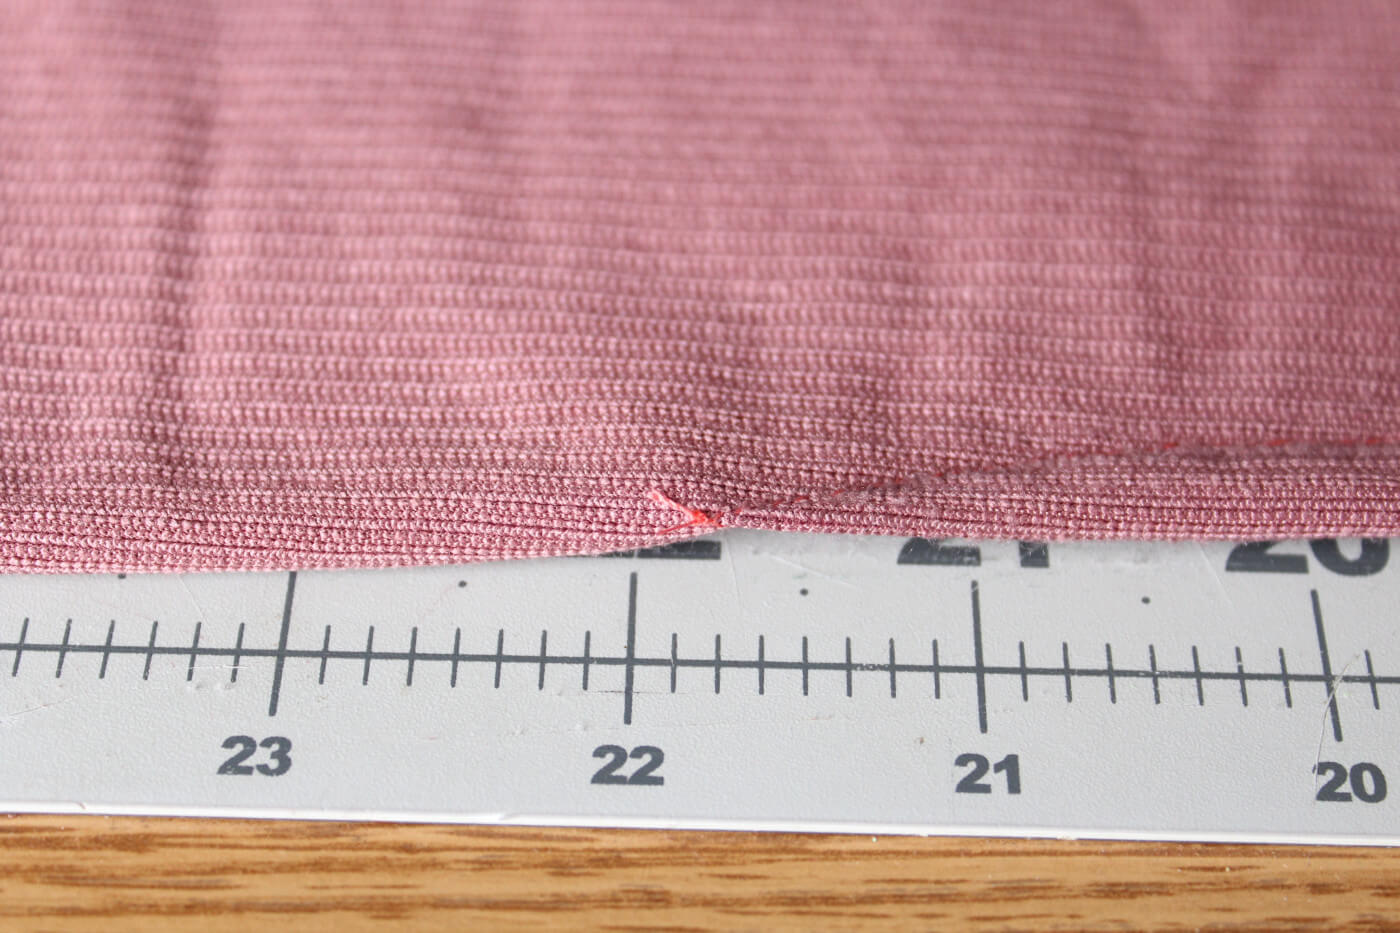
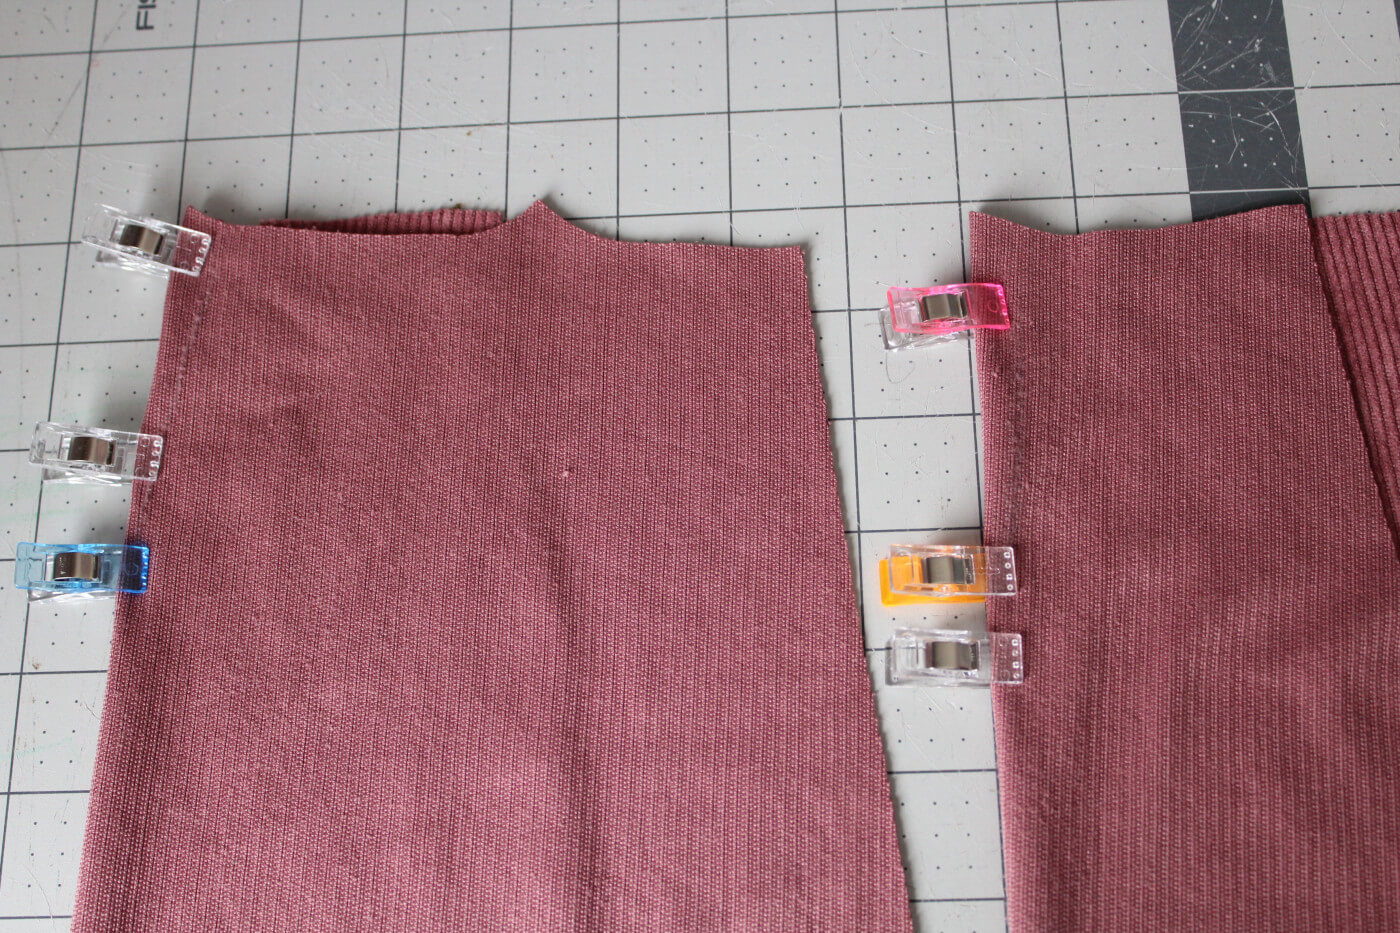
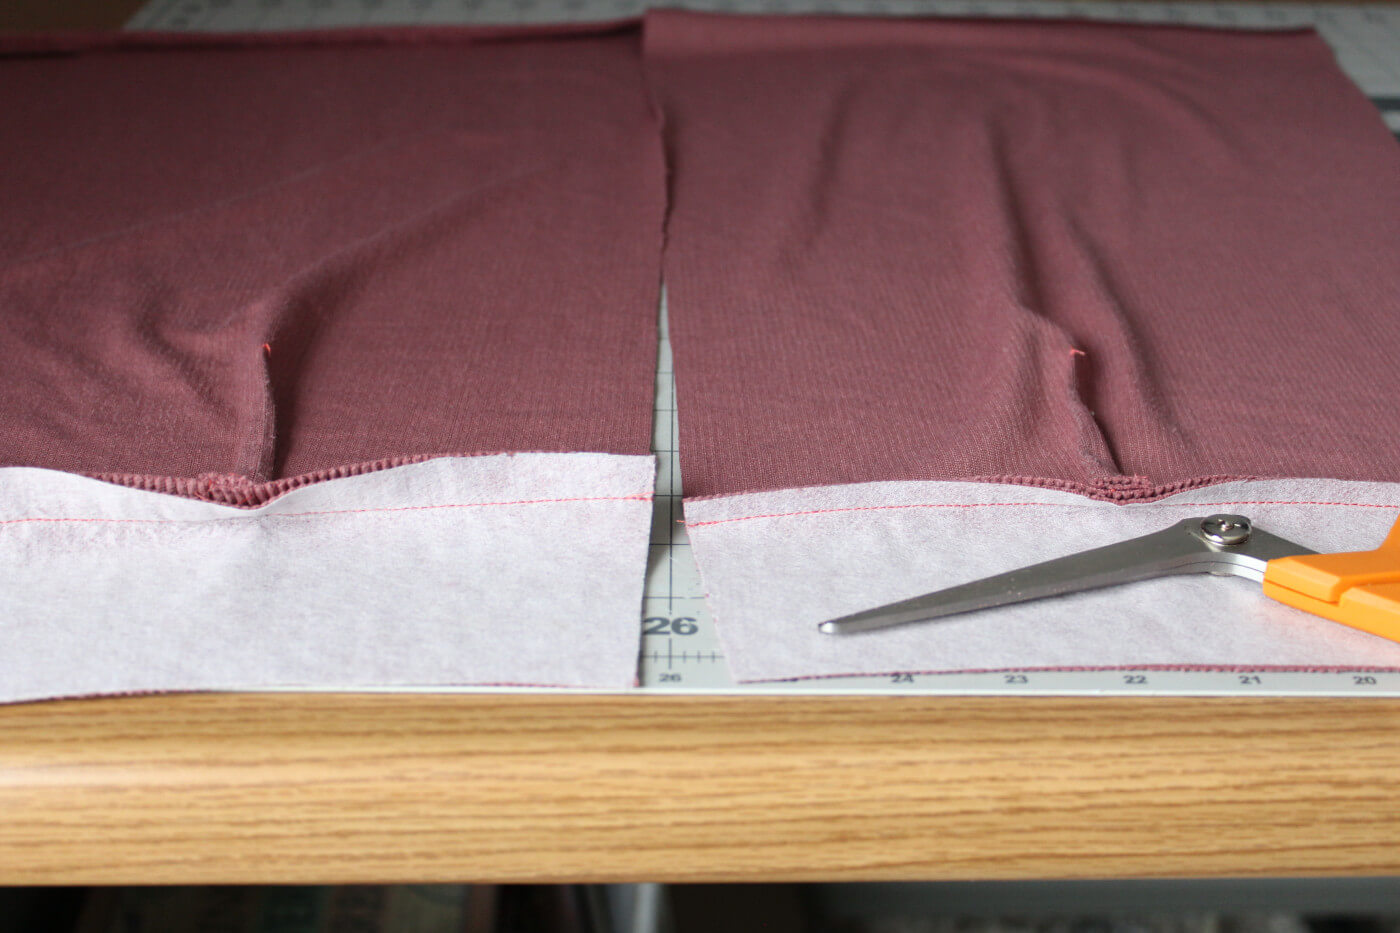
Align the markings that we transferred over onto our pattern back pieces. With right sides together, clip or pin in place. Starting at the top of the marking, begin sewing down the wide angle towards the point. About 1/2" before you finish, shorten the stitch length. My transfer lines are really light to see so pictured here are two wonder clips representing the 1/2" mark. Do not backstitch but sew off the fabric leaving your tails attached.
Tie a knot using the thread tails.
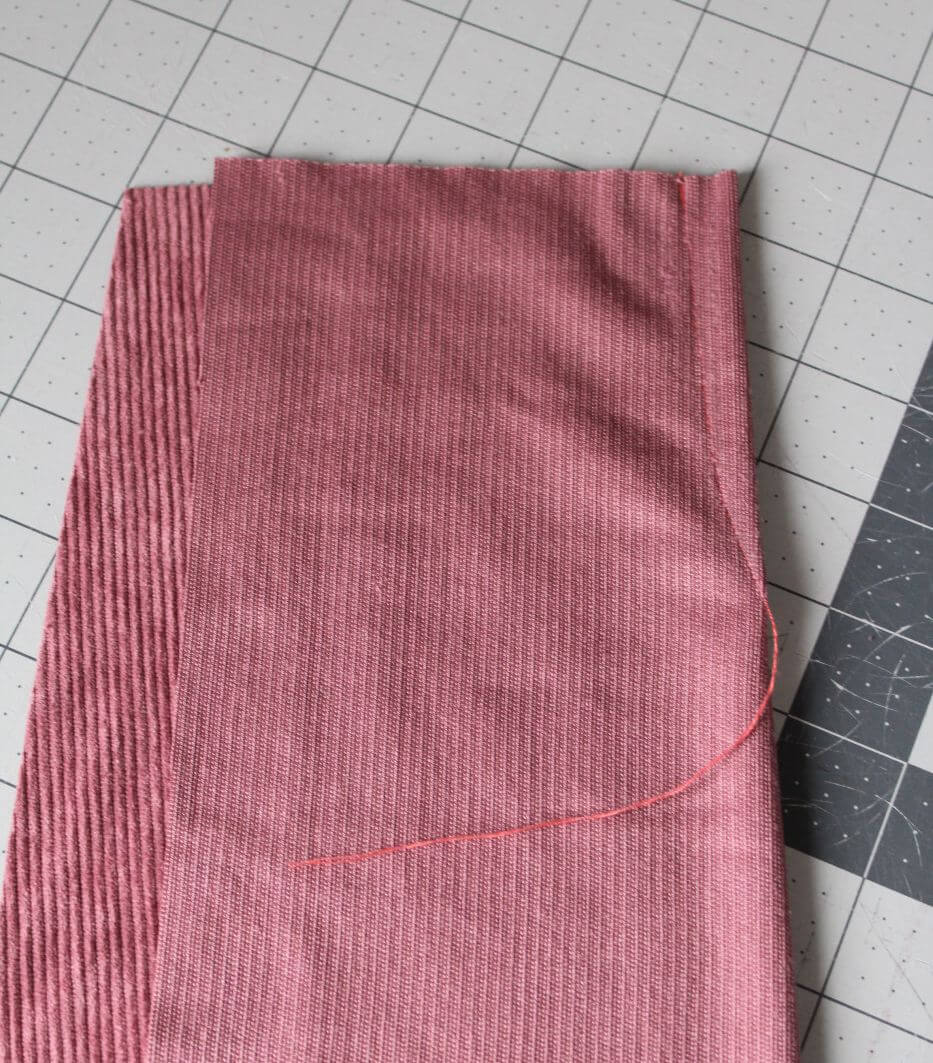
Trim the thread tails after knotting. Repeat the above steps with the 2nd back piece.
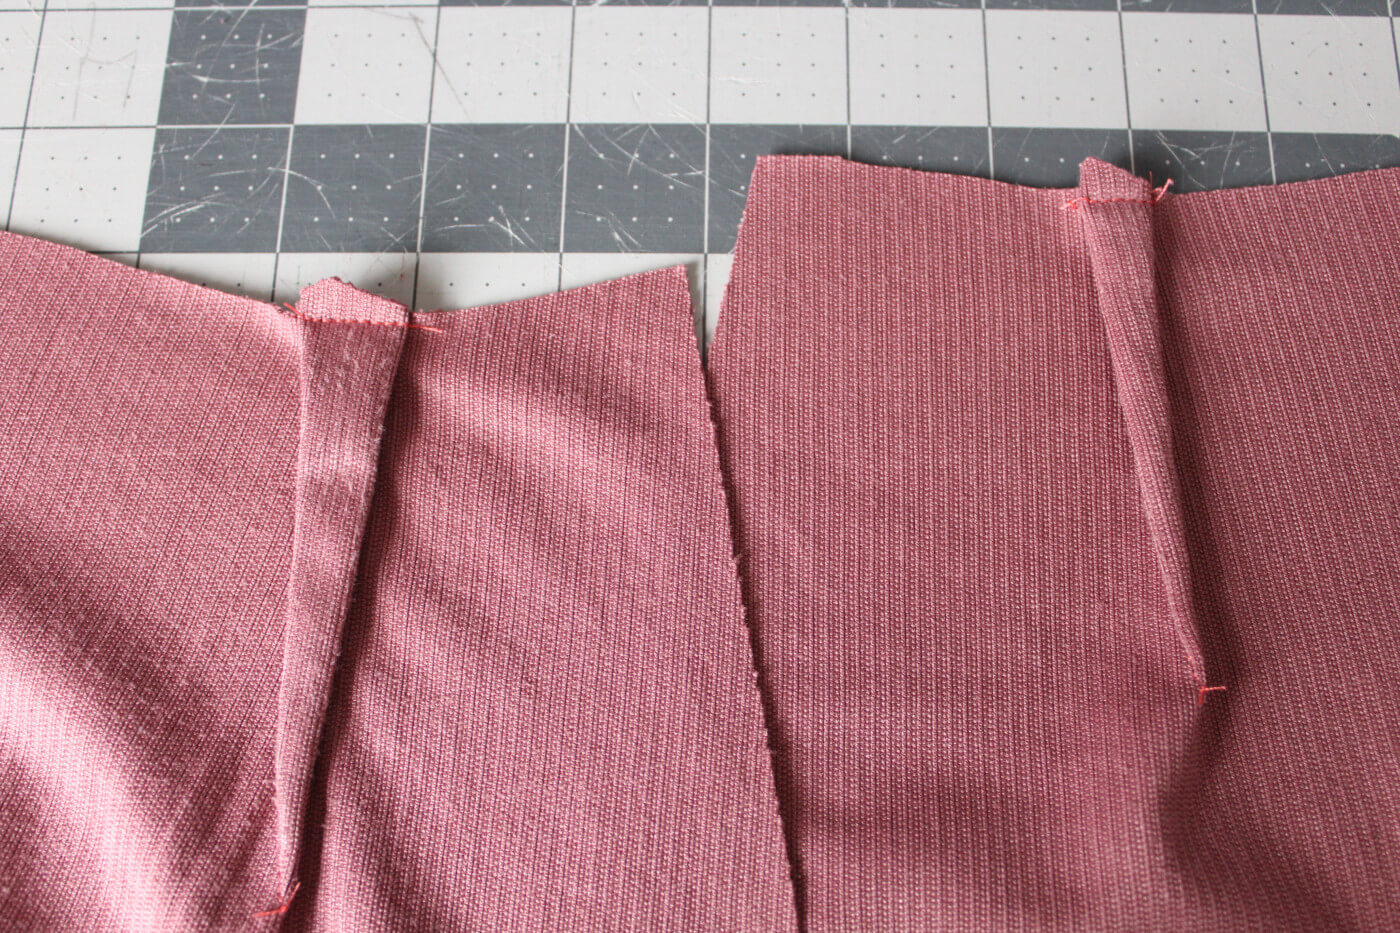
Press flat towards the center back and then baste across the top of each pleat to secure them.
Take the front pieces A and B and sew darts along the marked lines.
Press flat towards the center and baste across the top of each pleat like before. If you are adding pockets, please refer to the pattern instructions for those steps now.
Step Two: Preparing the hemlines
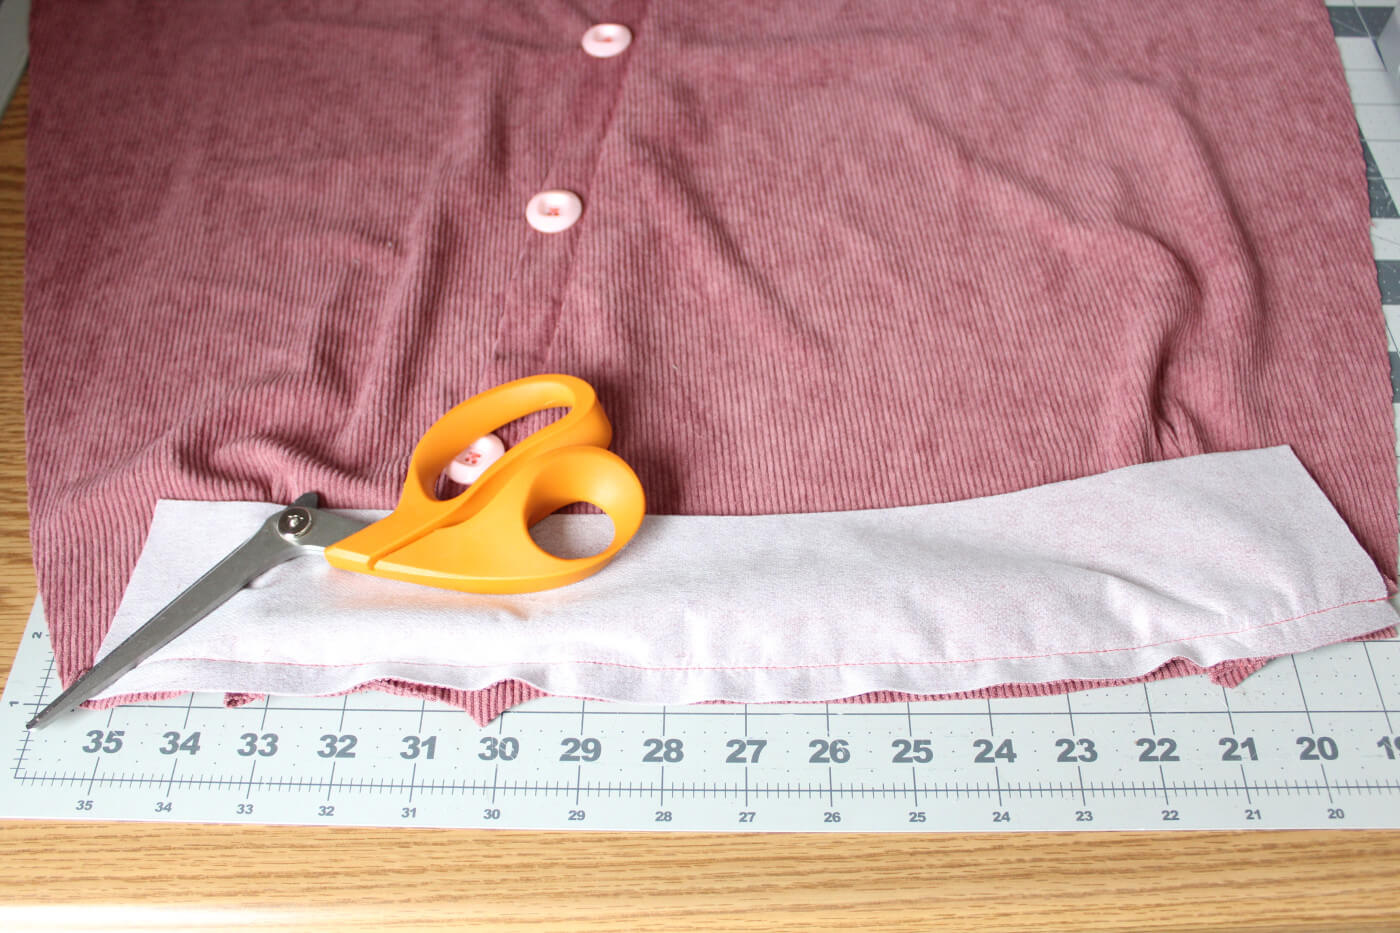
Press the side edges on both front pieces A and B over 1/4" Towards the wrong side.

Picture of the bottom front being pressed.

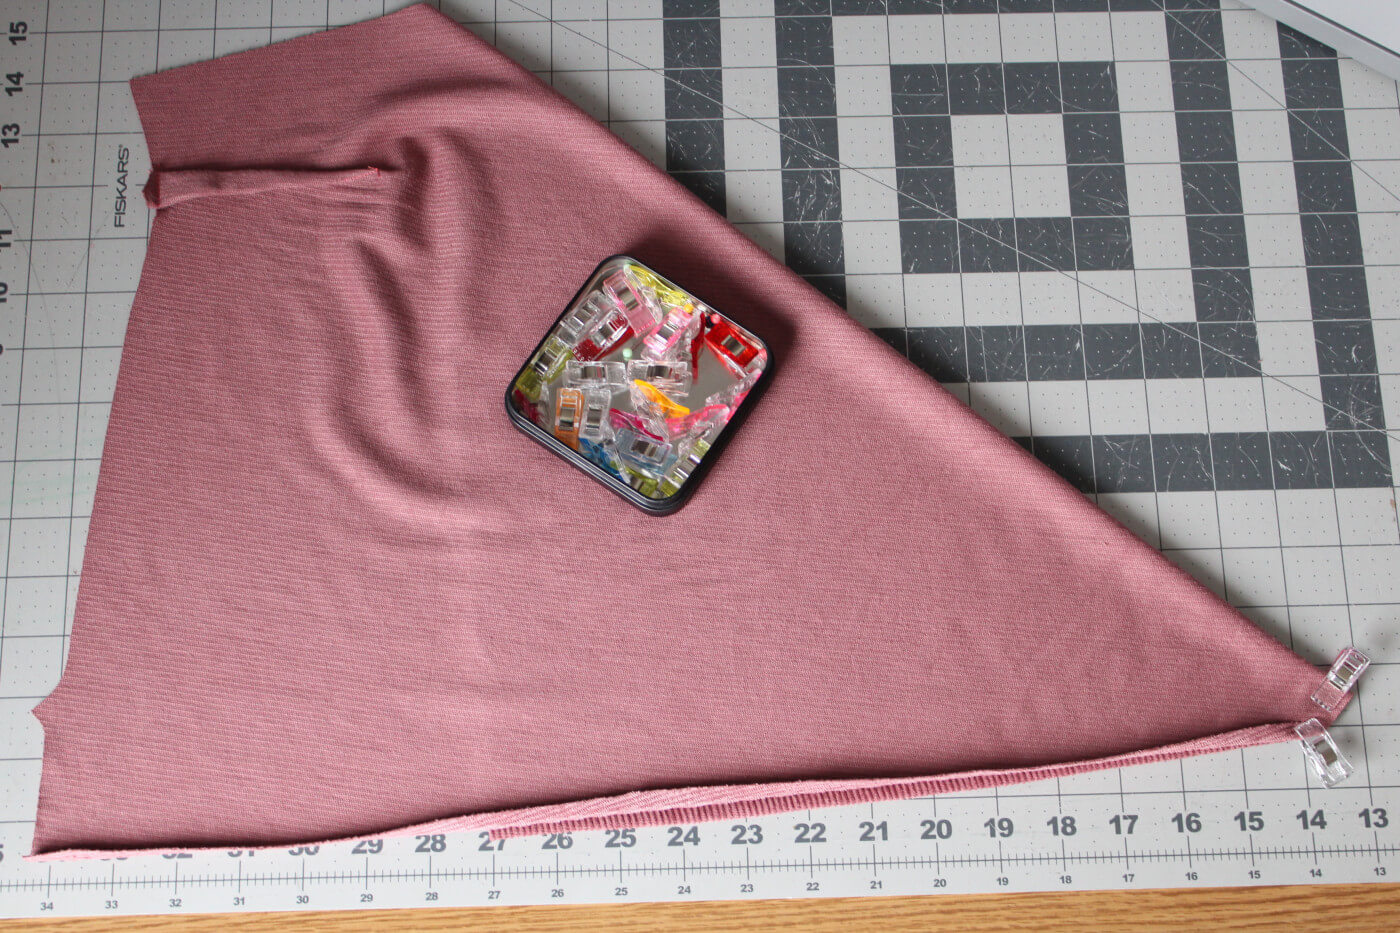
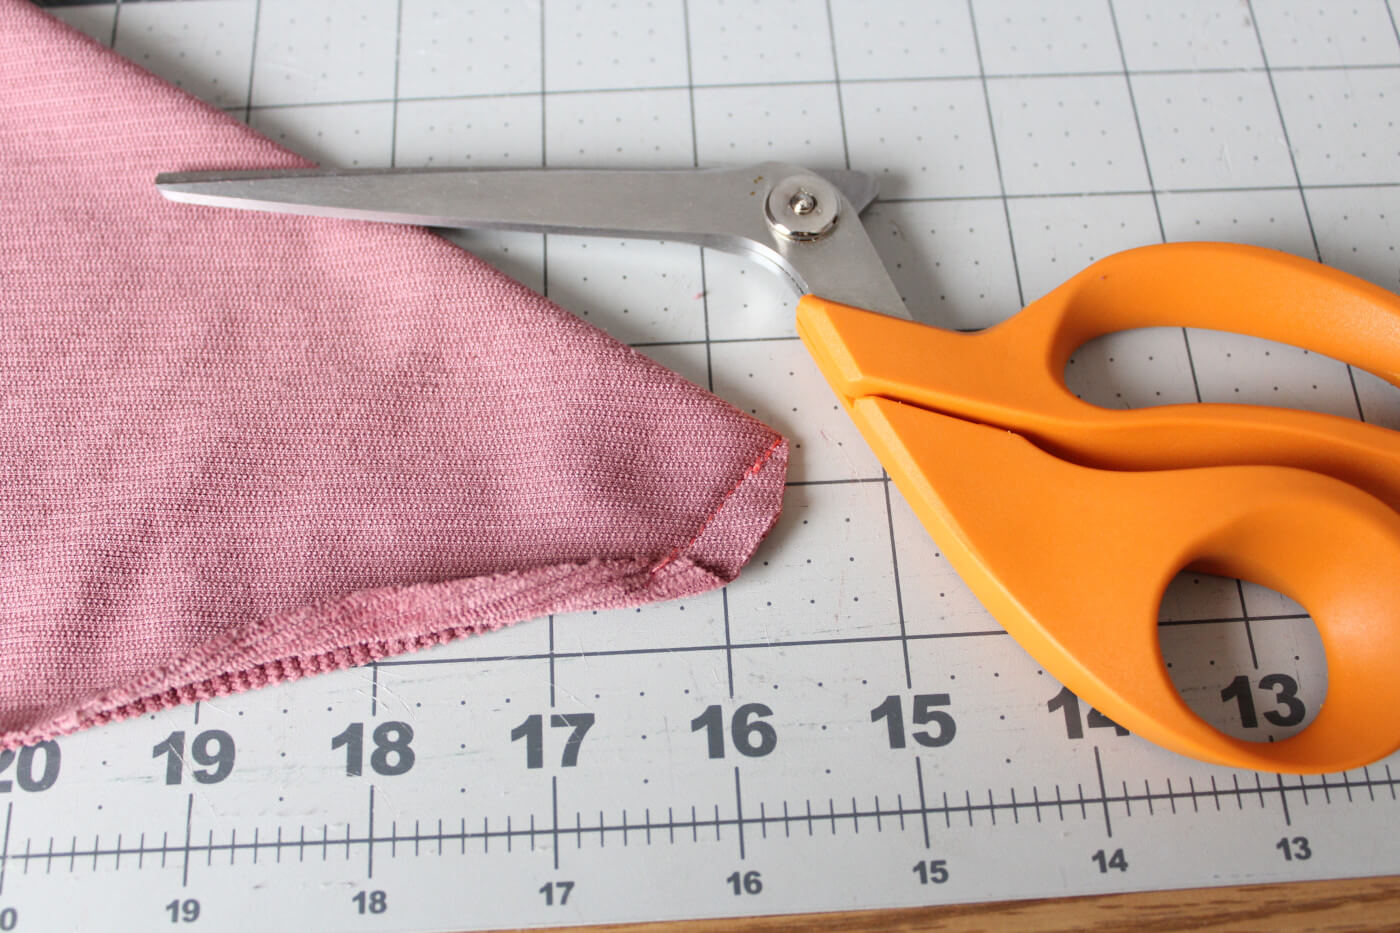
Take the front skirt piece A and fold it over onto itself so it looks kind of like a Dorito chip or triangle. Align the pressed edges which should still be folded. Clip in place at the bottom corner as shown and sew straight across using a 1/4" seam allowance.
Trim the corner to reduce bulk, being careful not to cut through the stitching. Repeat the same process for front piece B.
Turn the bottom corner with the right side of the fabric out for both front piece A and B.
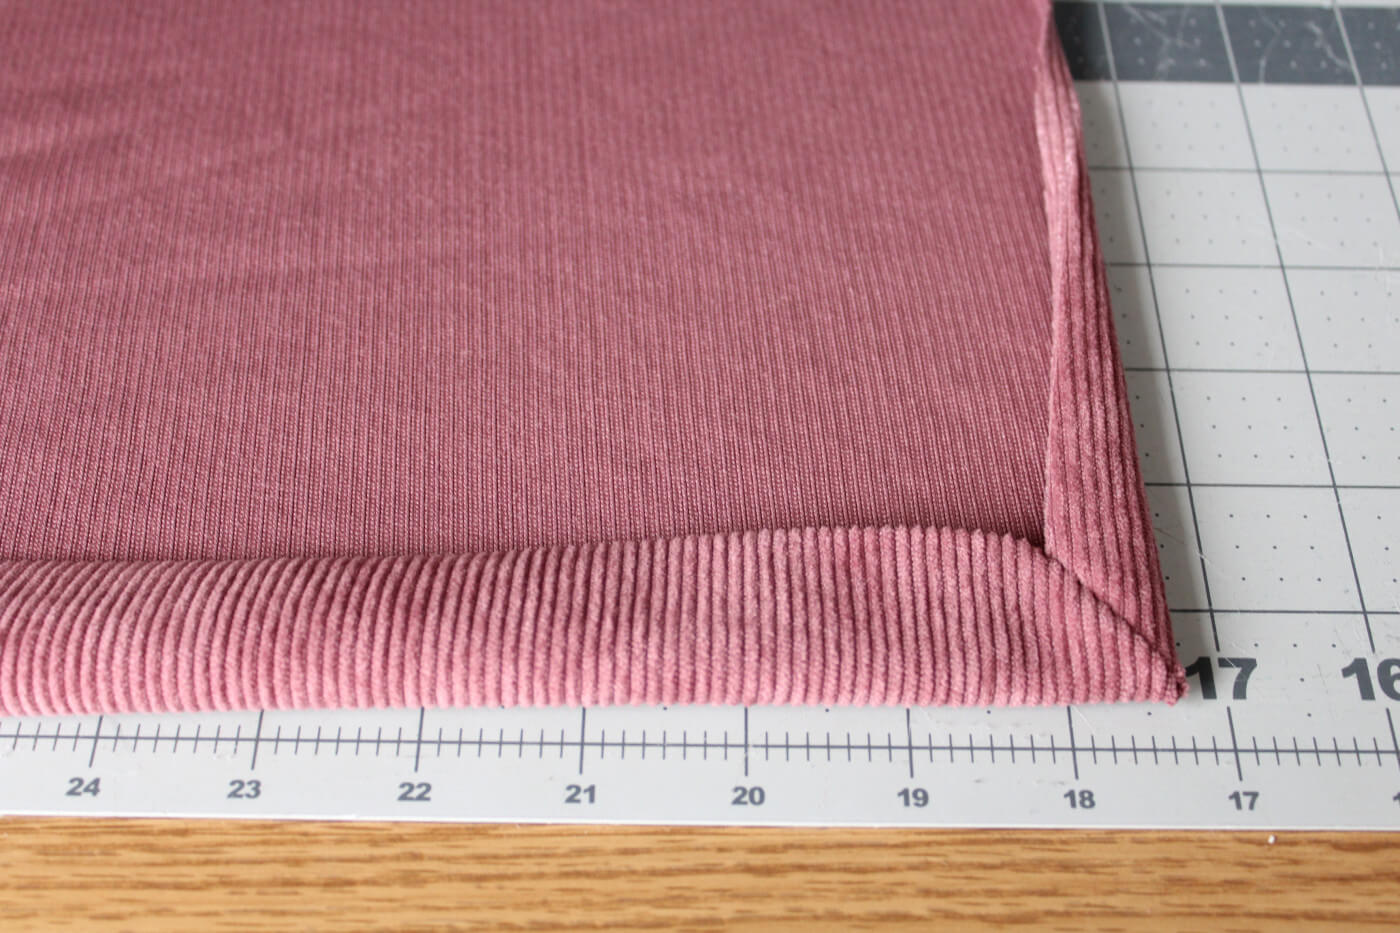
Press the side and bottom edges 3/4" over towards the wrong side on each front piece. The 1/4" press we previously made should be tucked inside the new 3/4" press, keeping the raw edges enclosed.
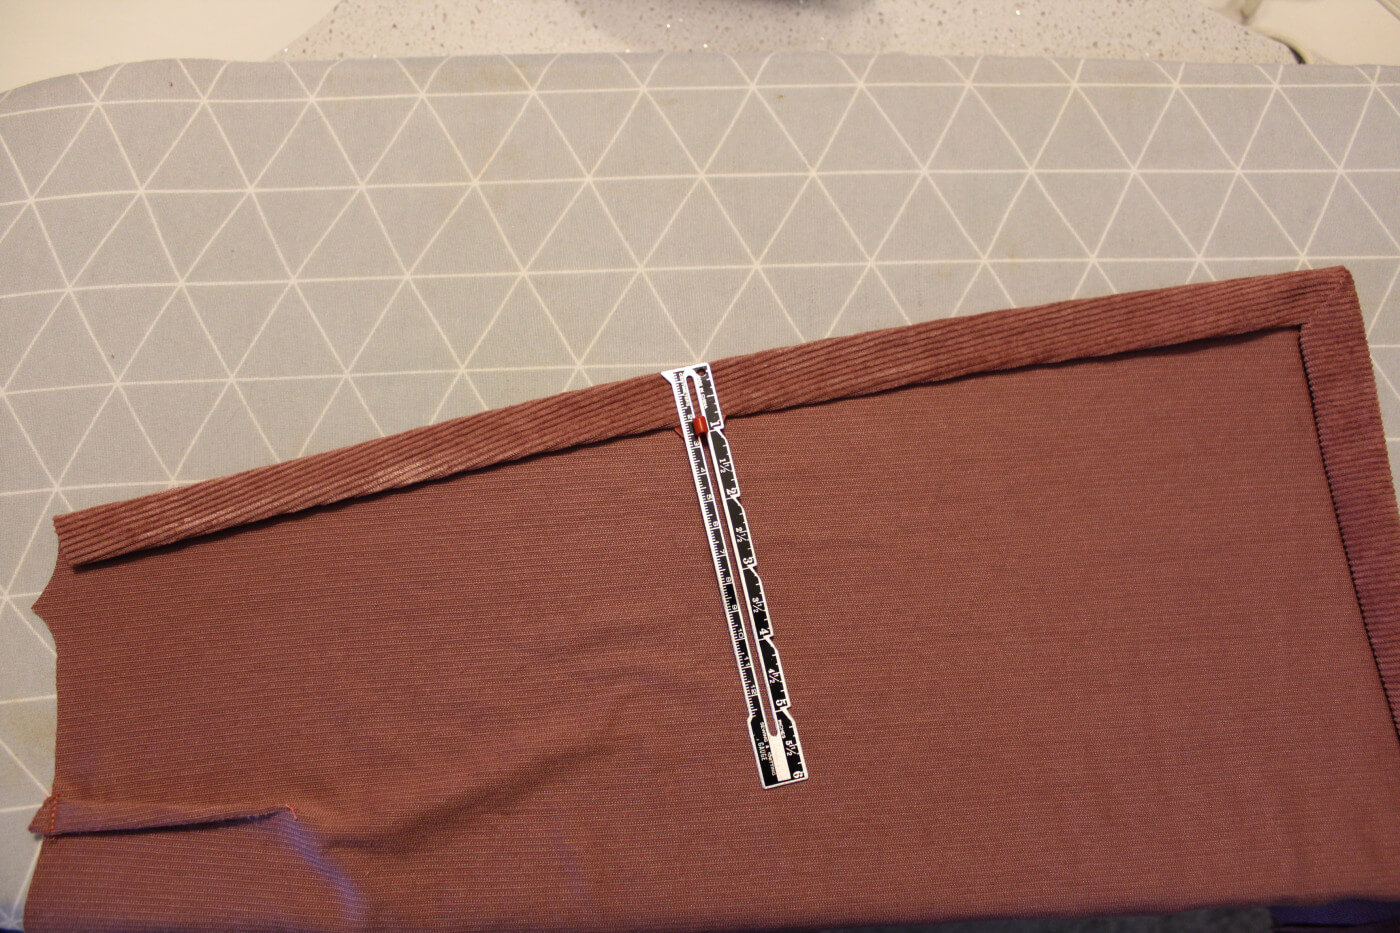
Topstitch the hem in place, stopping 2" before the side seam on each front skirt piece. The 3 clips represent the area I would be slowing down around to leave a 2" gap.
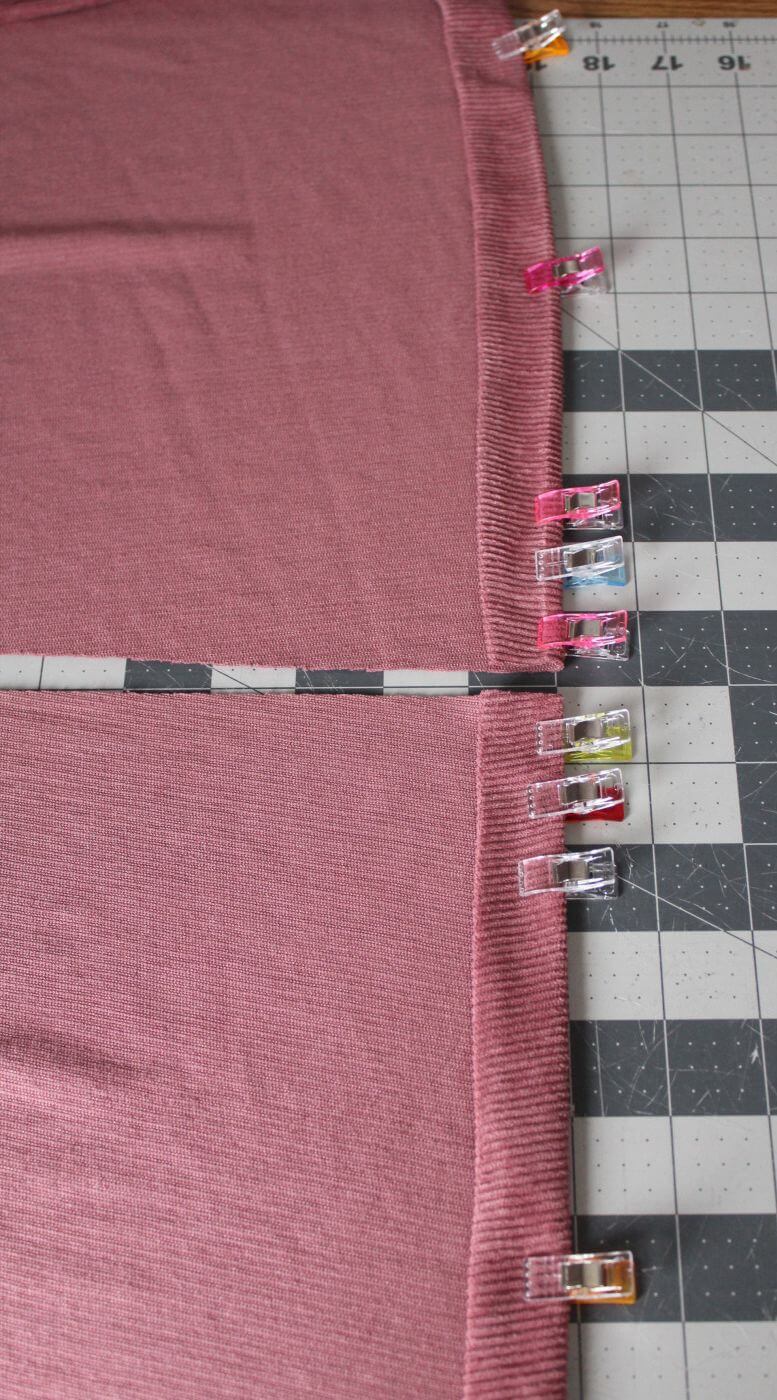
Topstitching complete for now.
Step Three: Finishing the skirt front construction.
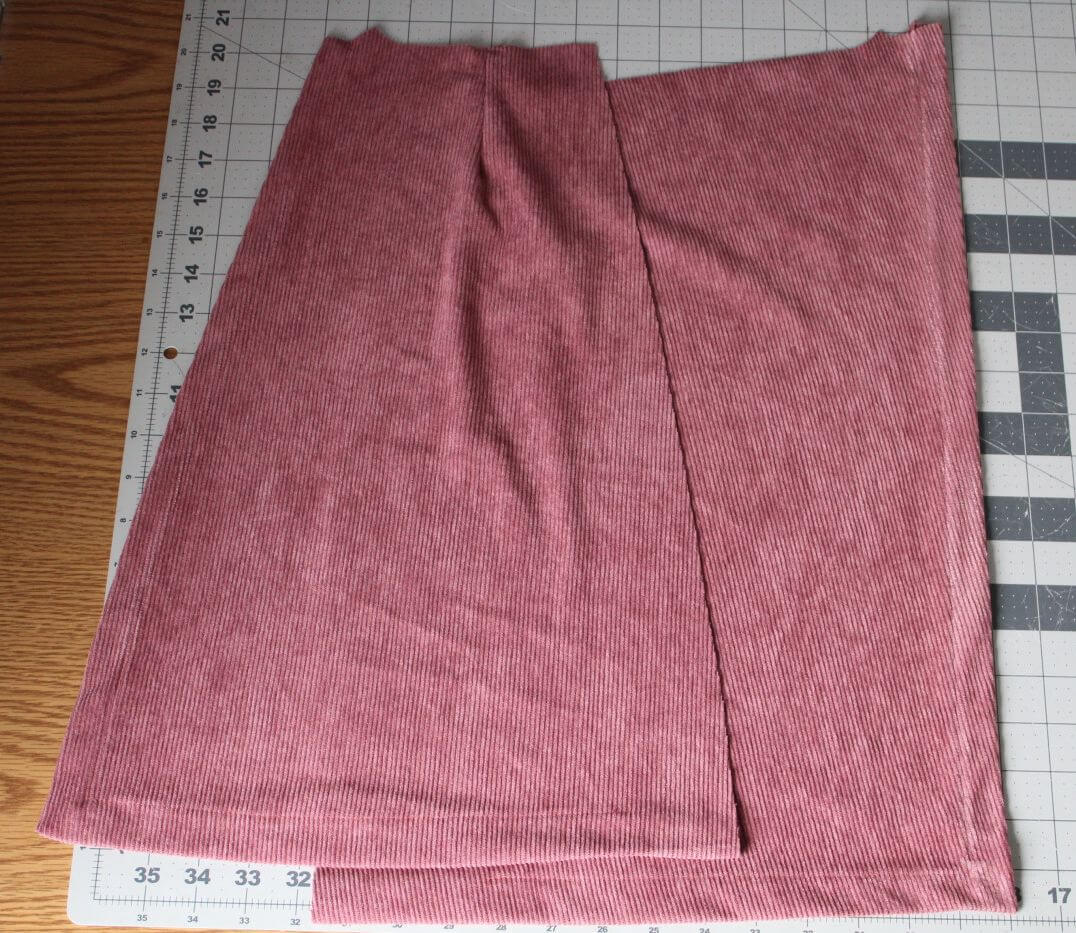
Overlap the two front skirt pieces, lining up the notches as your guide. Baste them together.
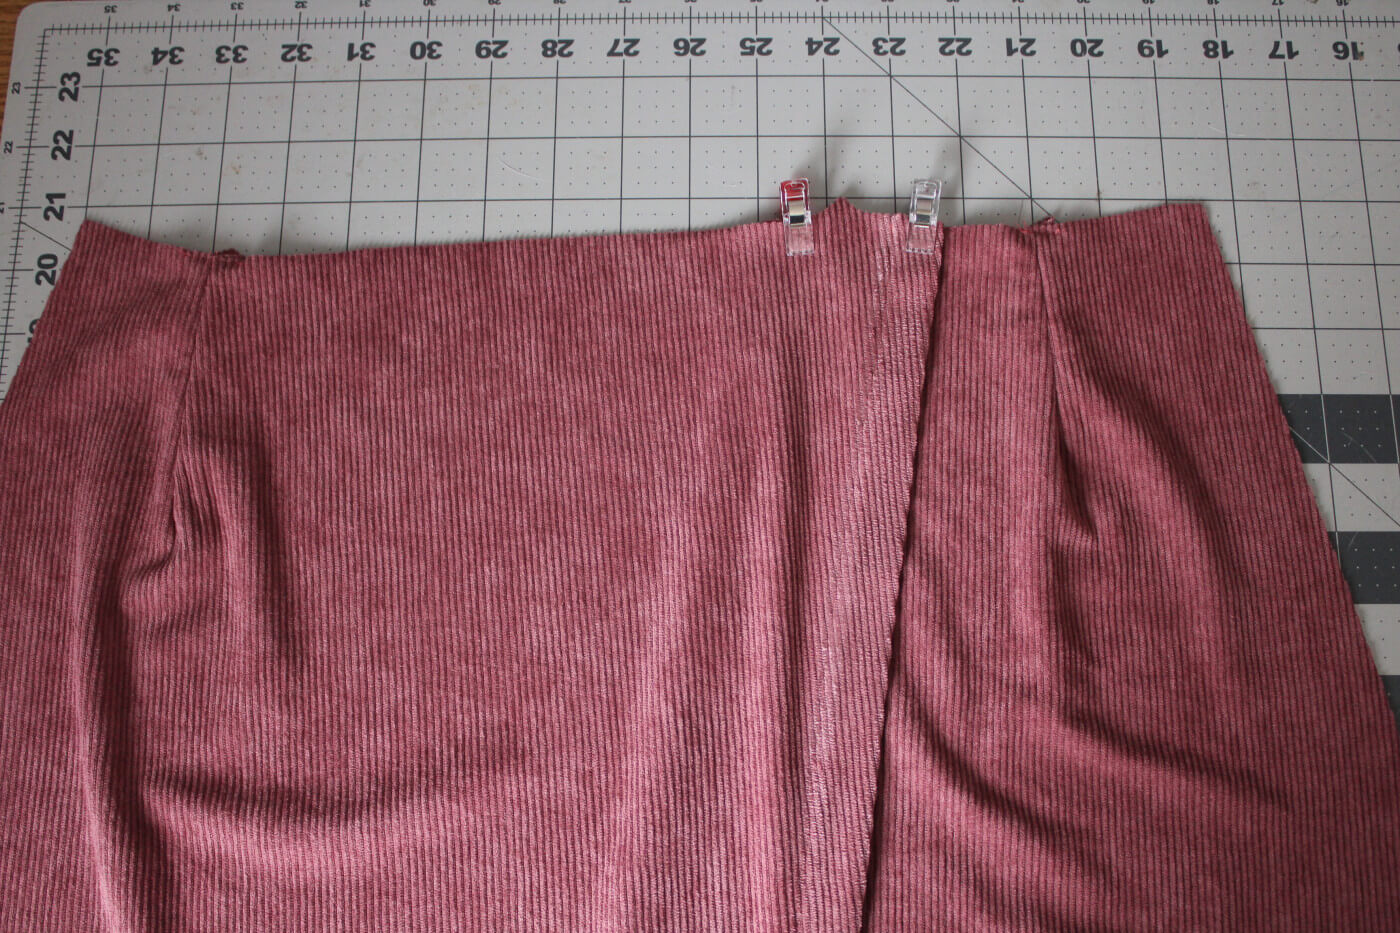
Pin the overlap in place as shown.

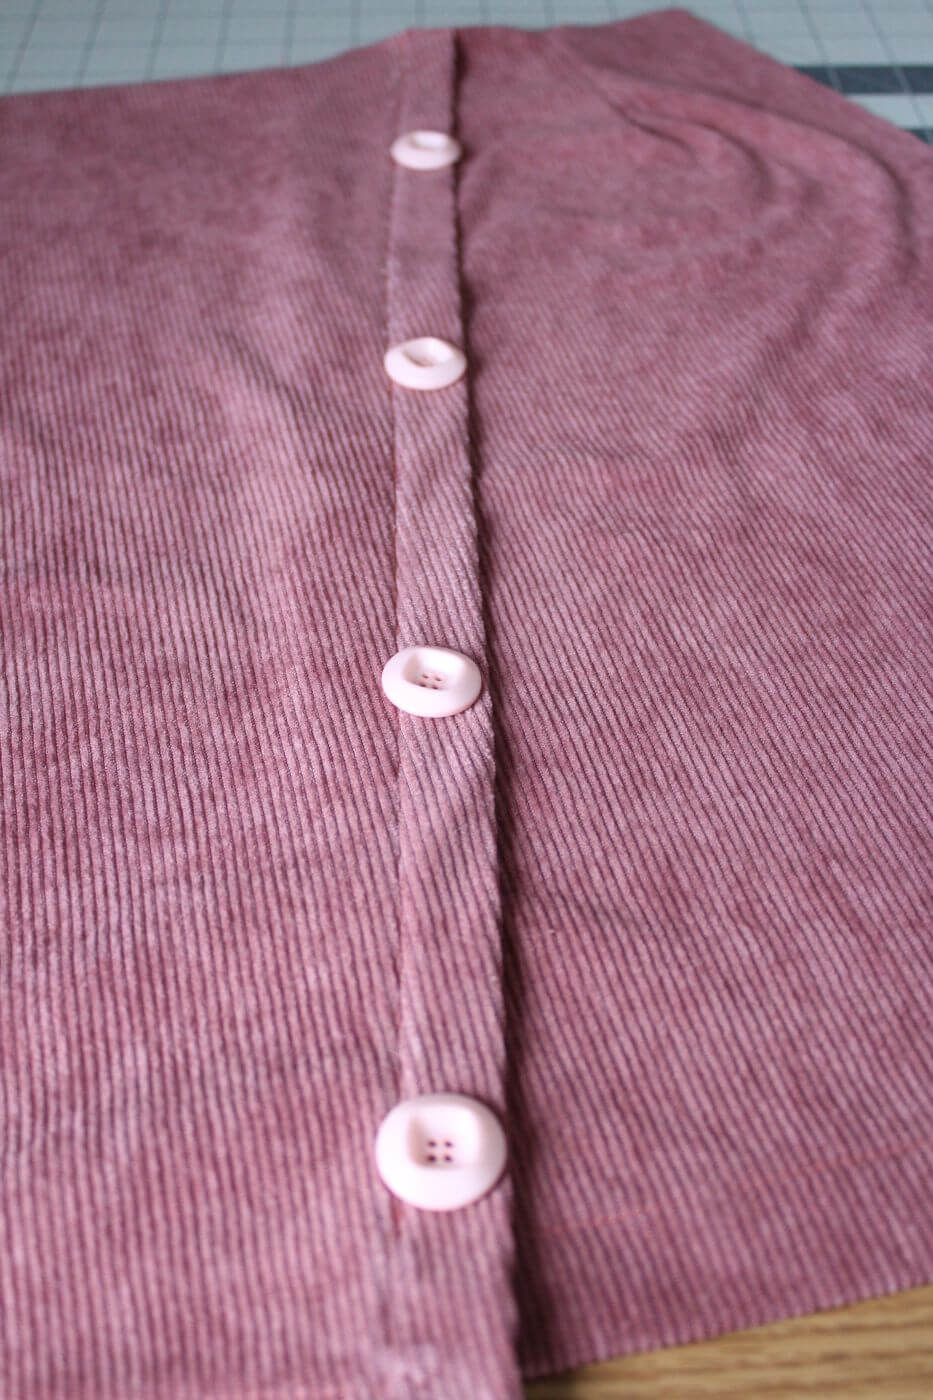
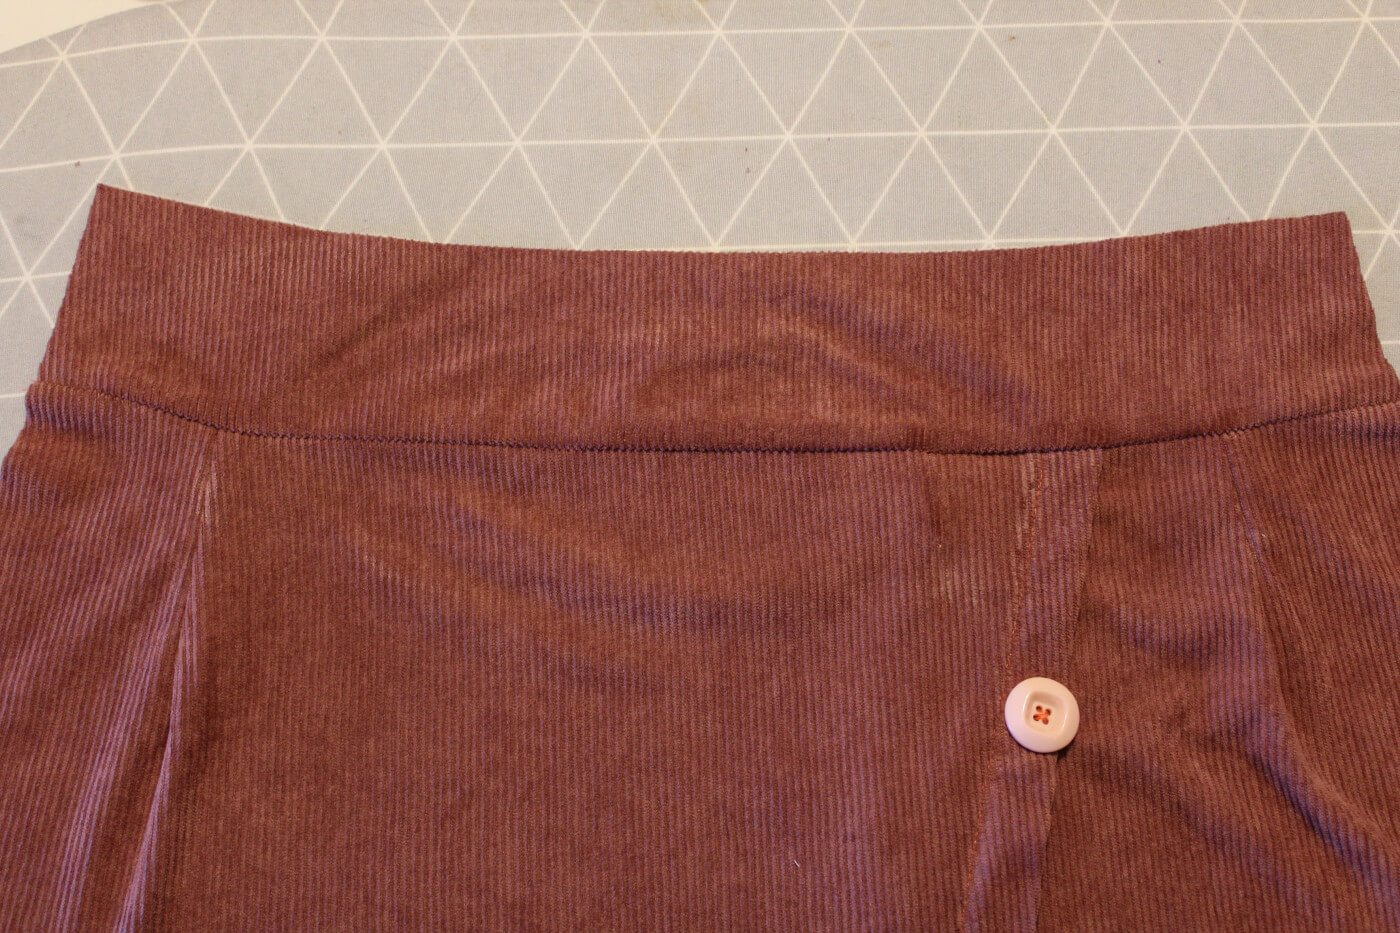
Topstitch through both front pieces along the previous topstitch line, using that as your guide. Stop 2-3" before you reach the bottom edge. Add 3 or 4 buttons.
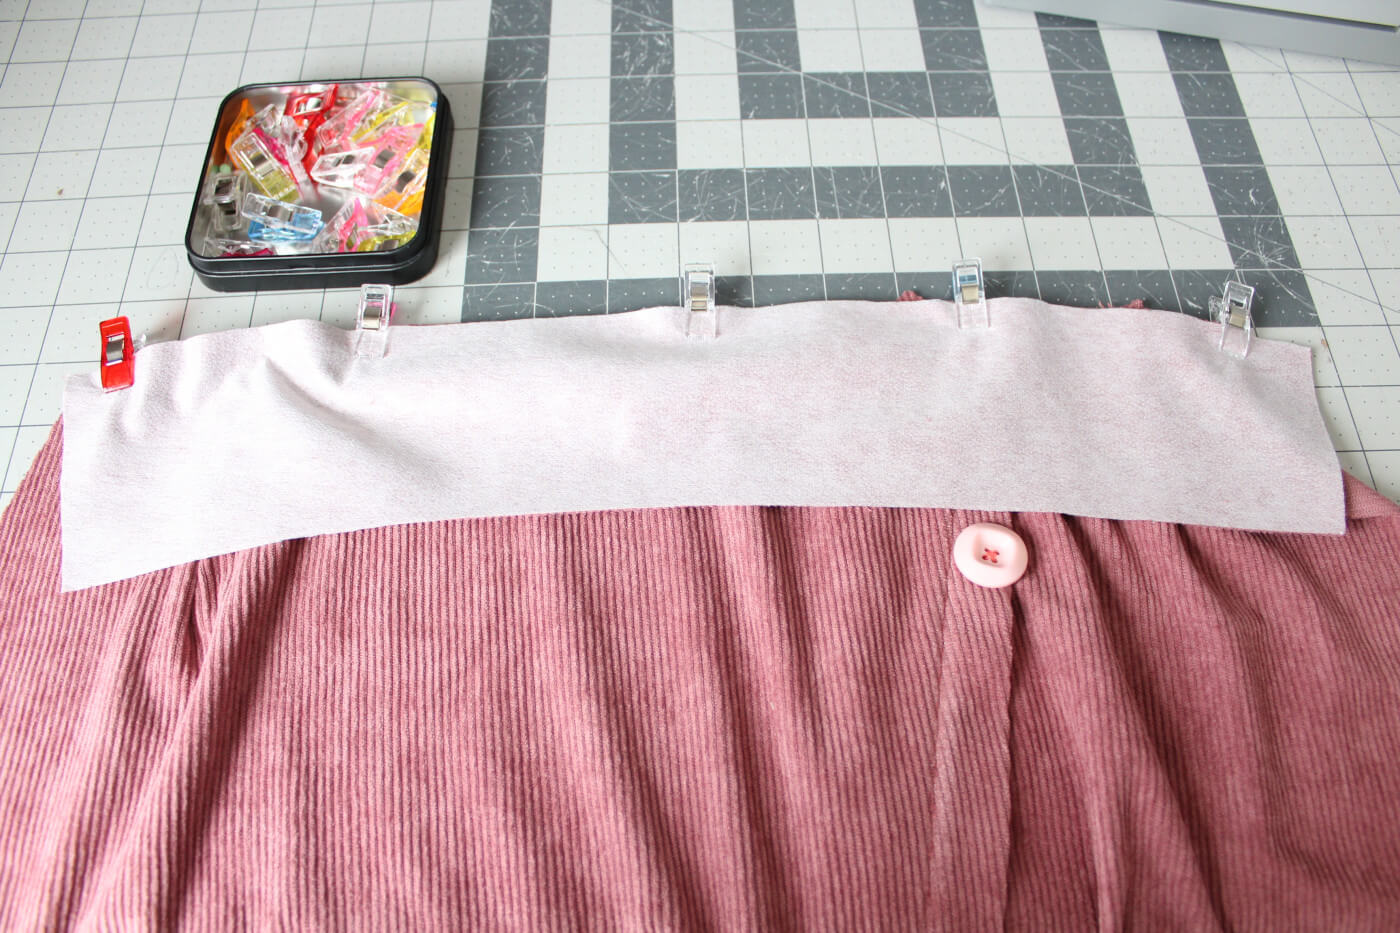
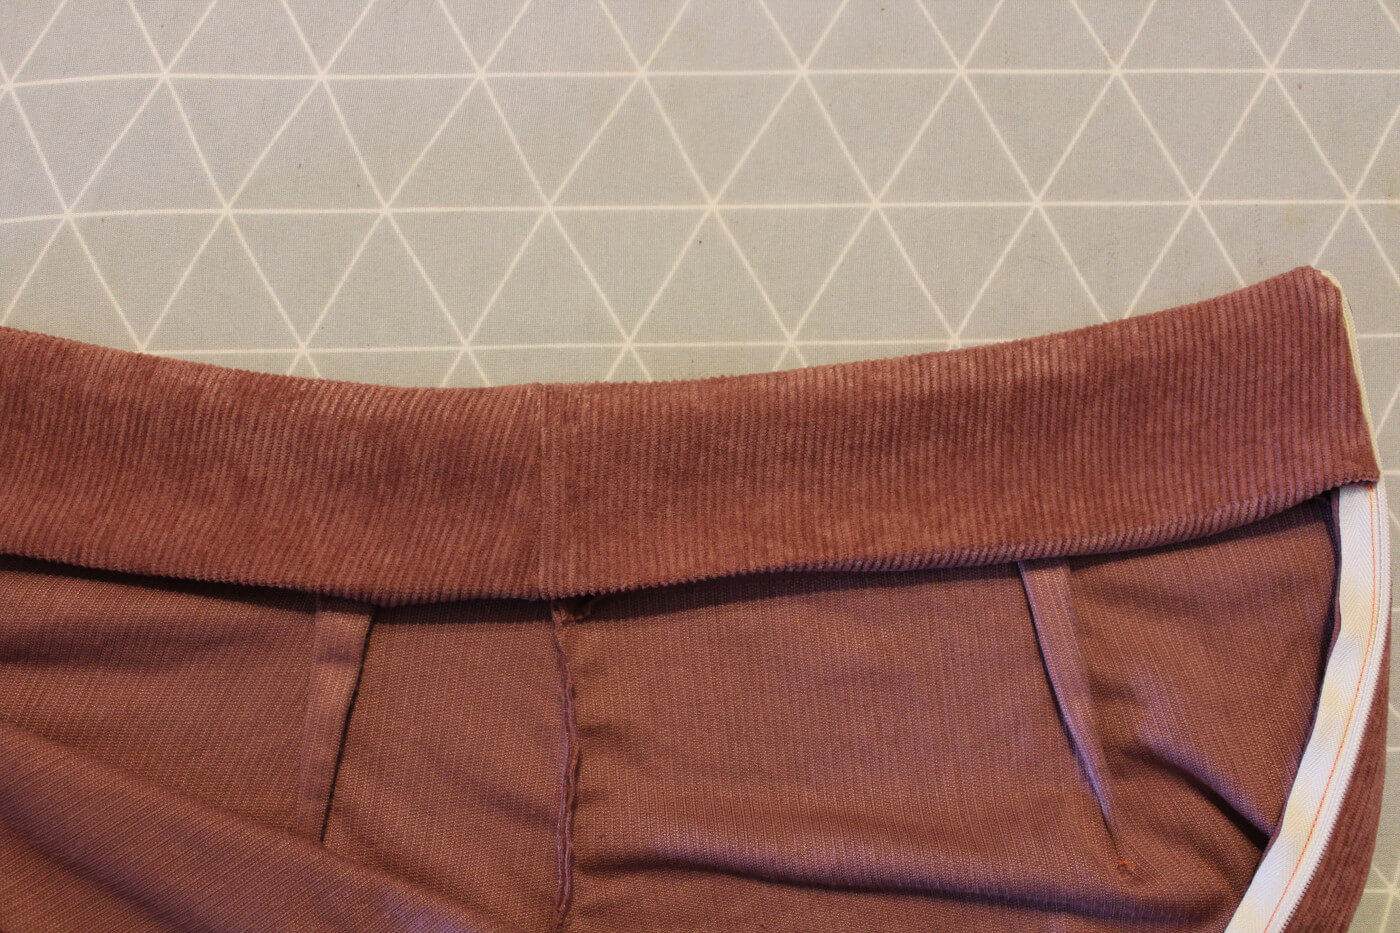
Place the waistband with interfacing on top of the skirt waist with right sides together and sew. Make sure you have the right edge attached! One edge will line up but if placed the wrong way-it will be too short!
Trim the seam allowance down to 1/4".
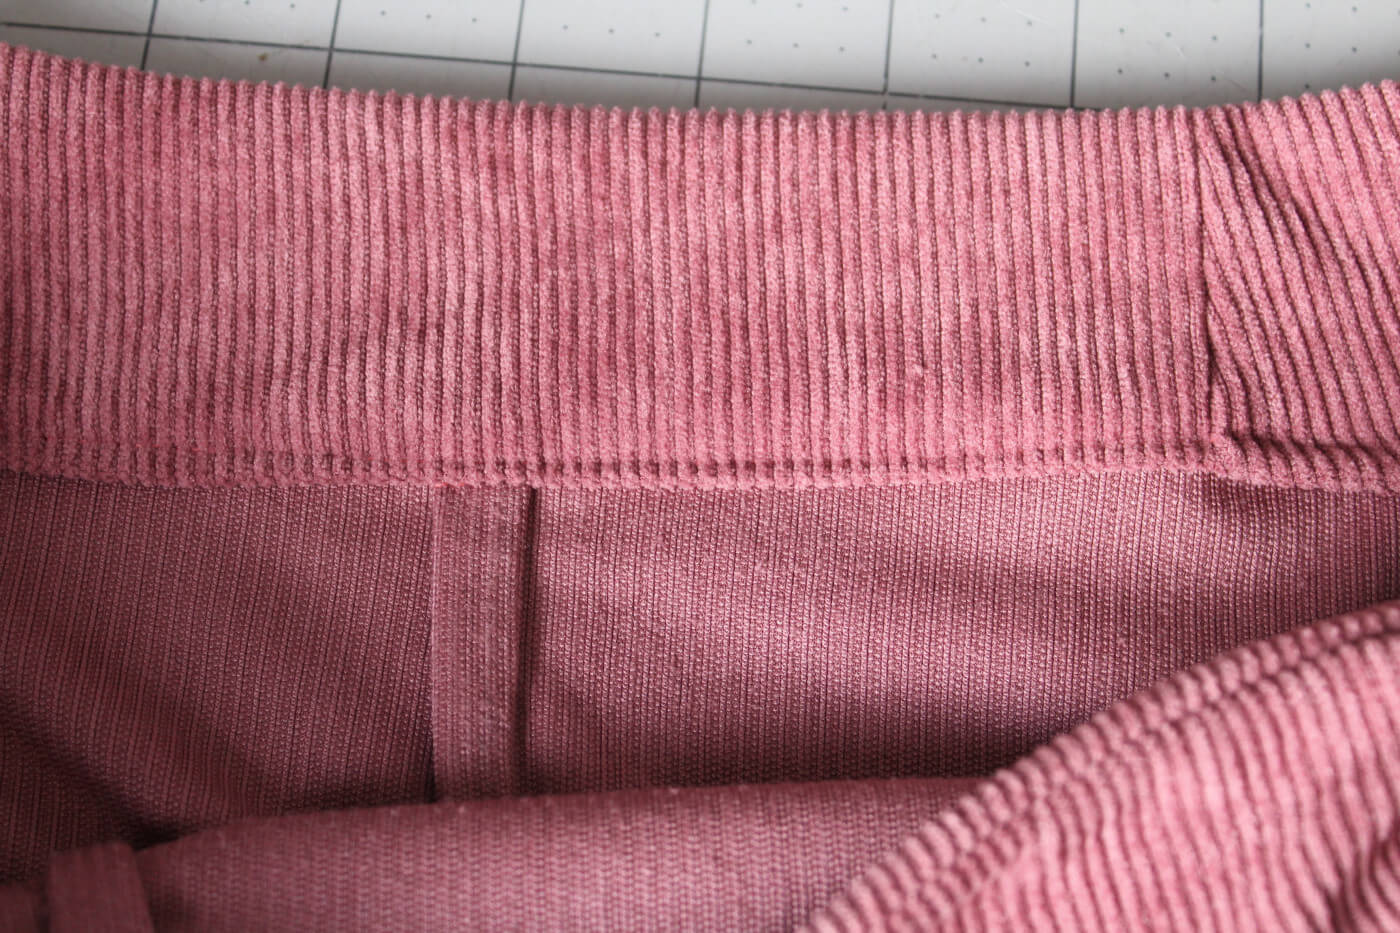
Flip the waistband up and press flat.
Step Four: Back Cosette skirt construction
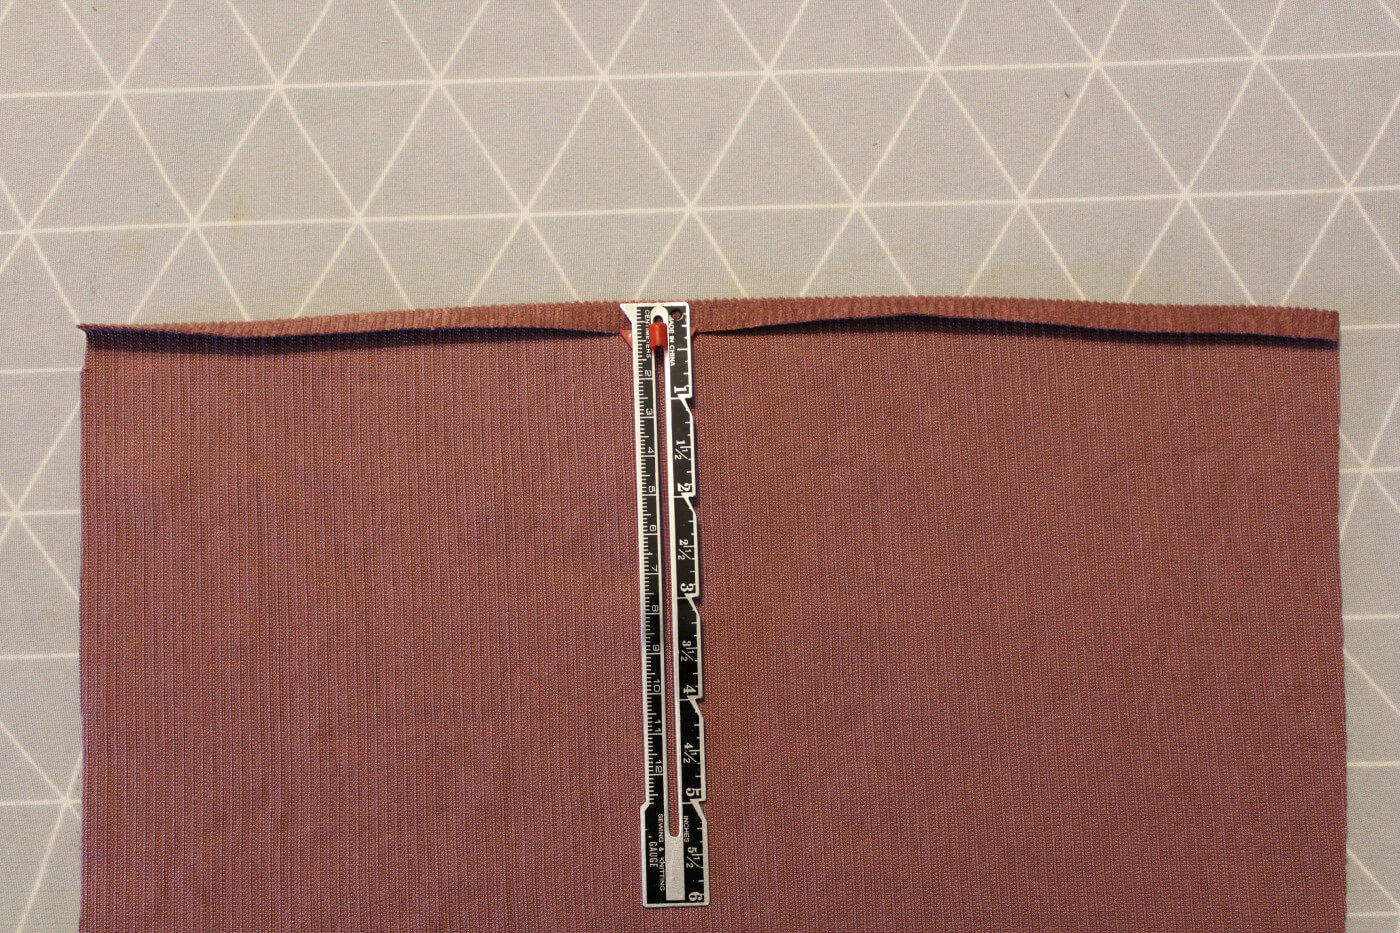
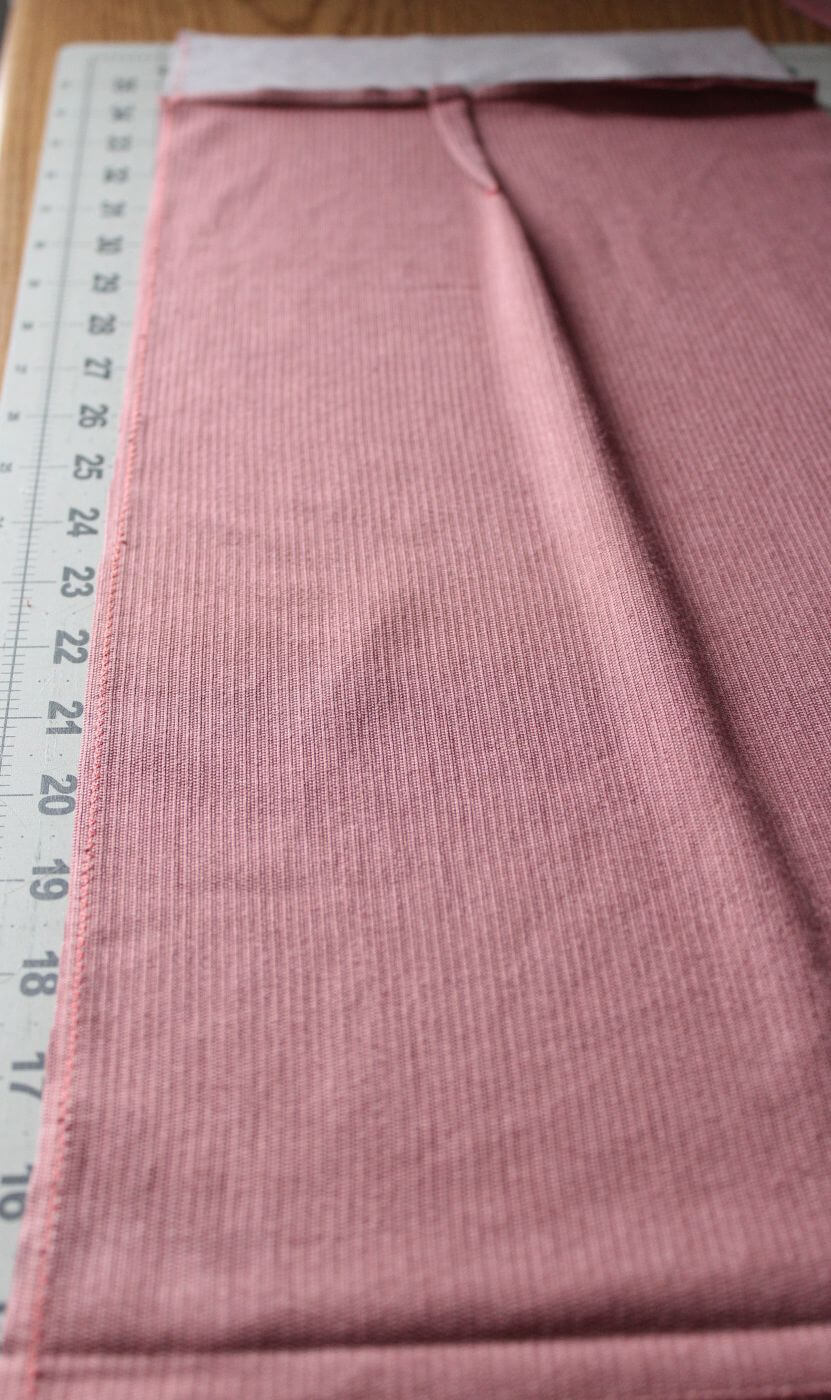
Press the bottom edge of each back skirt piece 1/4" over towards the wrong side.
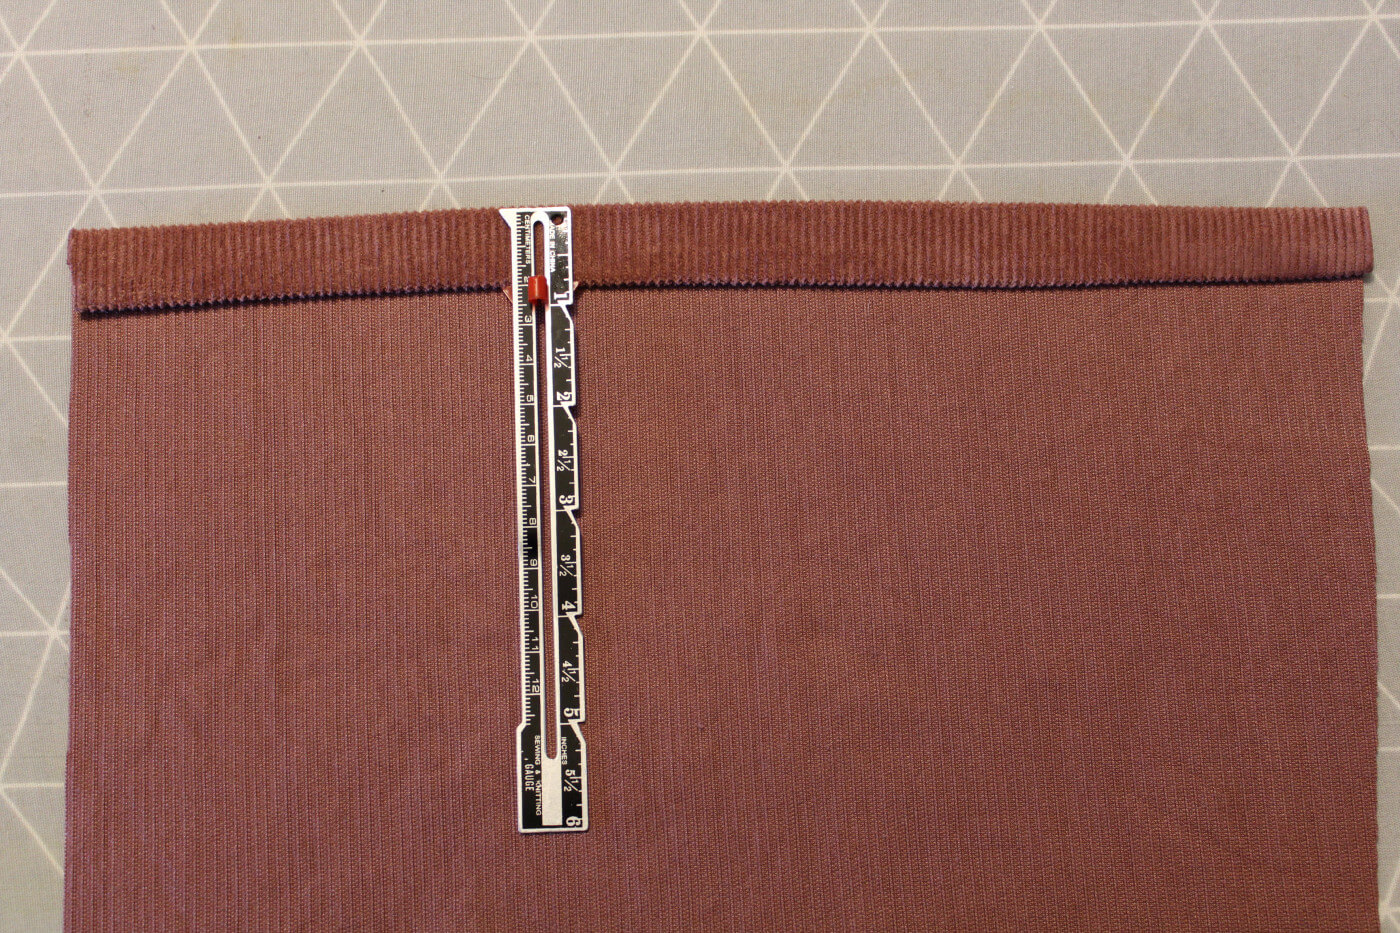
Press the bottom edge of the fabric up 3/4".
Take the back waistband pieces that we added interfacing to in the beginning and line up the right-side edges with right sides together. Clip or pin in place and sew. Make sure you have the right edge attached before sewing like when we sewed the front waistband piece to the front. Sew the waistband pieces to each back skirt piece.

Trim the seam allowance down to 1/4".
Flip the waistbands up and press flat.
Finish the back seam allowance for both back skirt pieces with a zigzag stitch or serger.
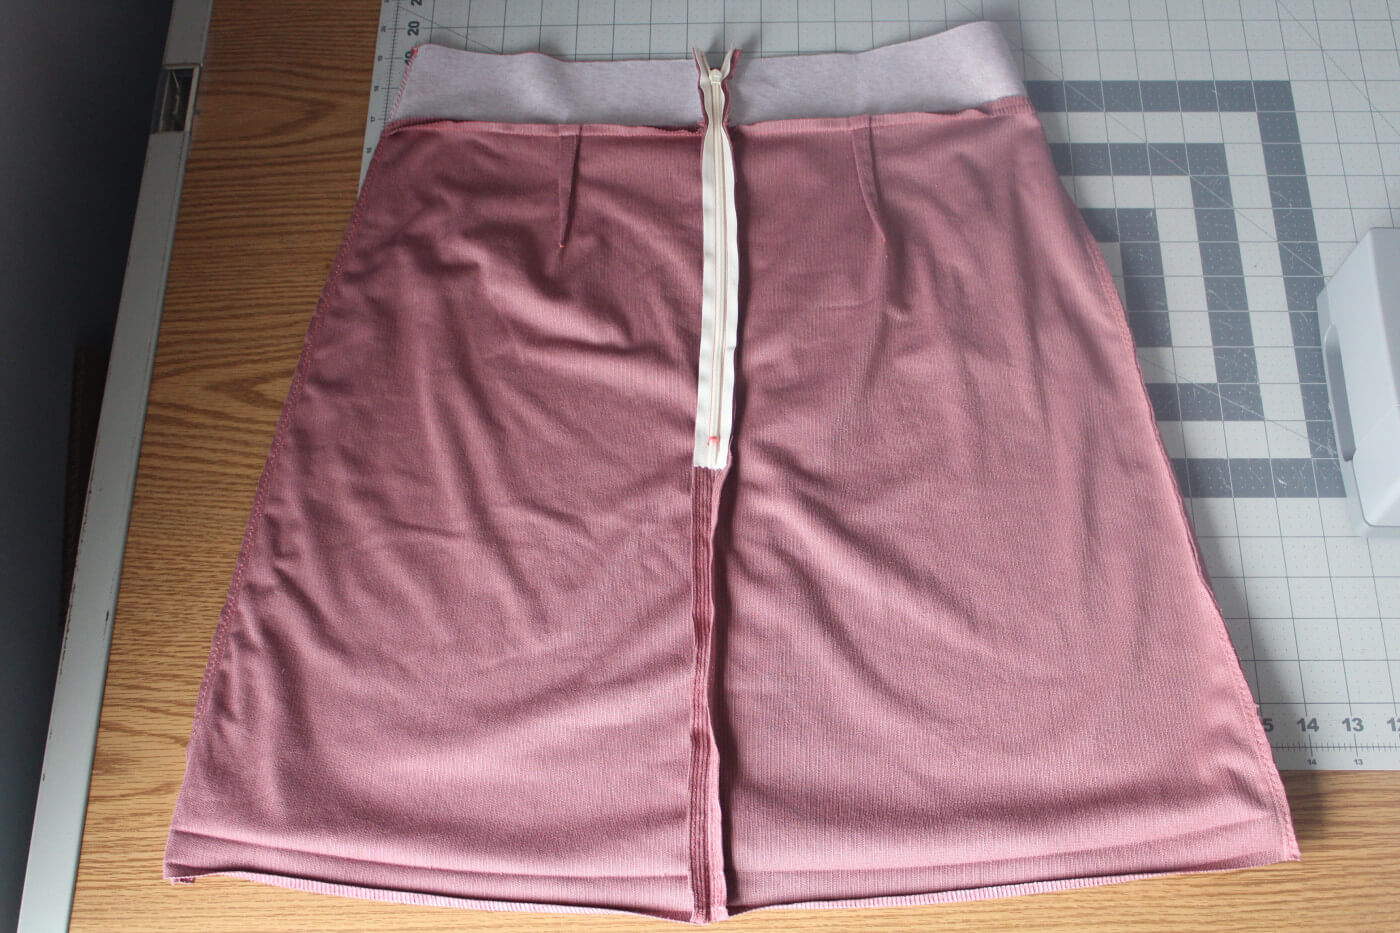
Step Five: Zipper construction
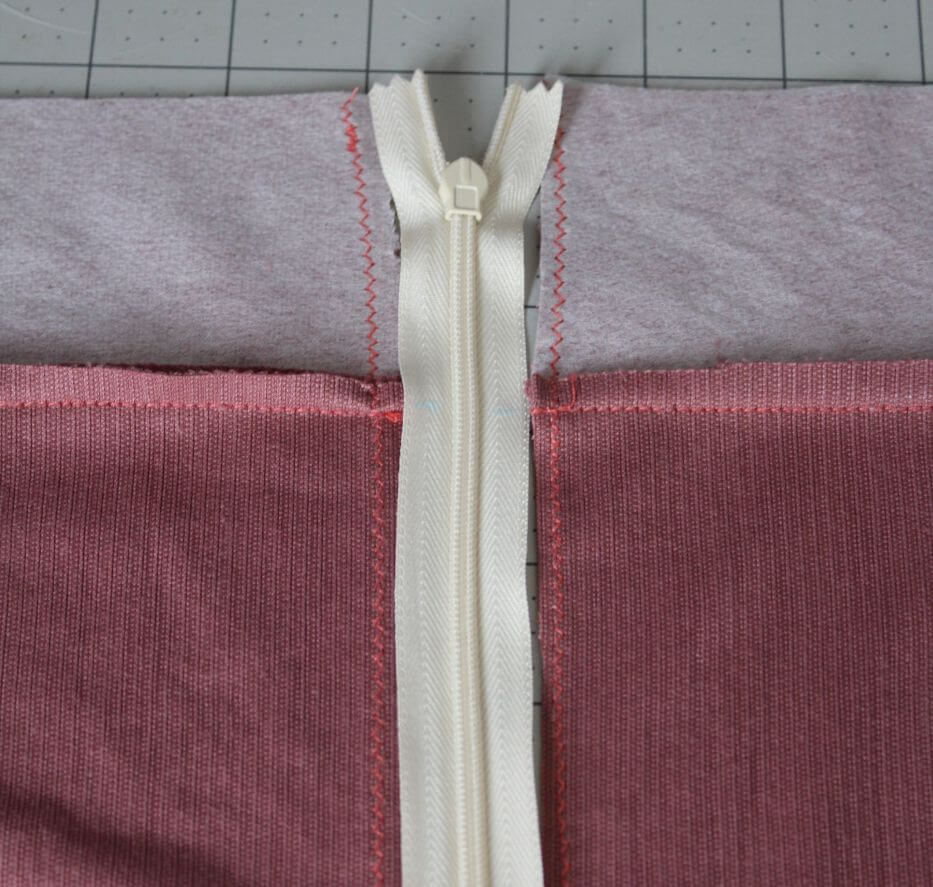
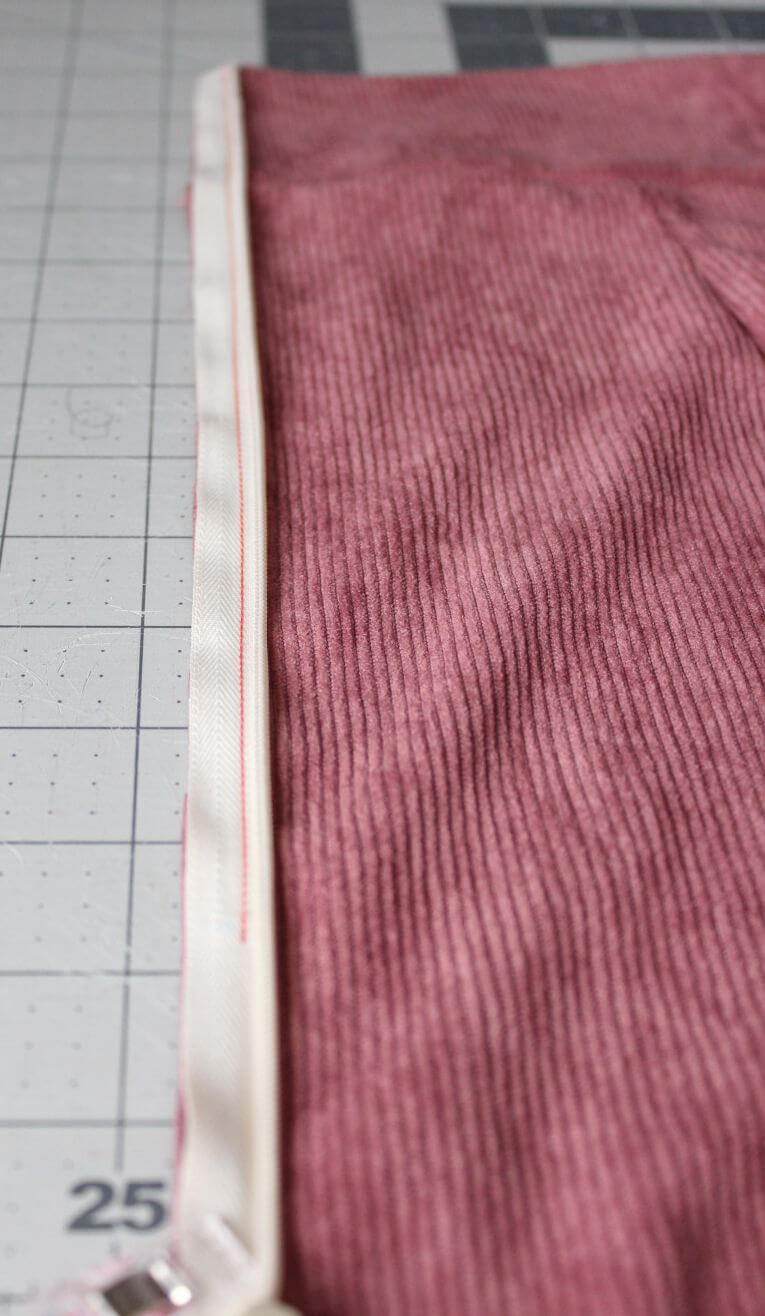
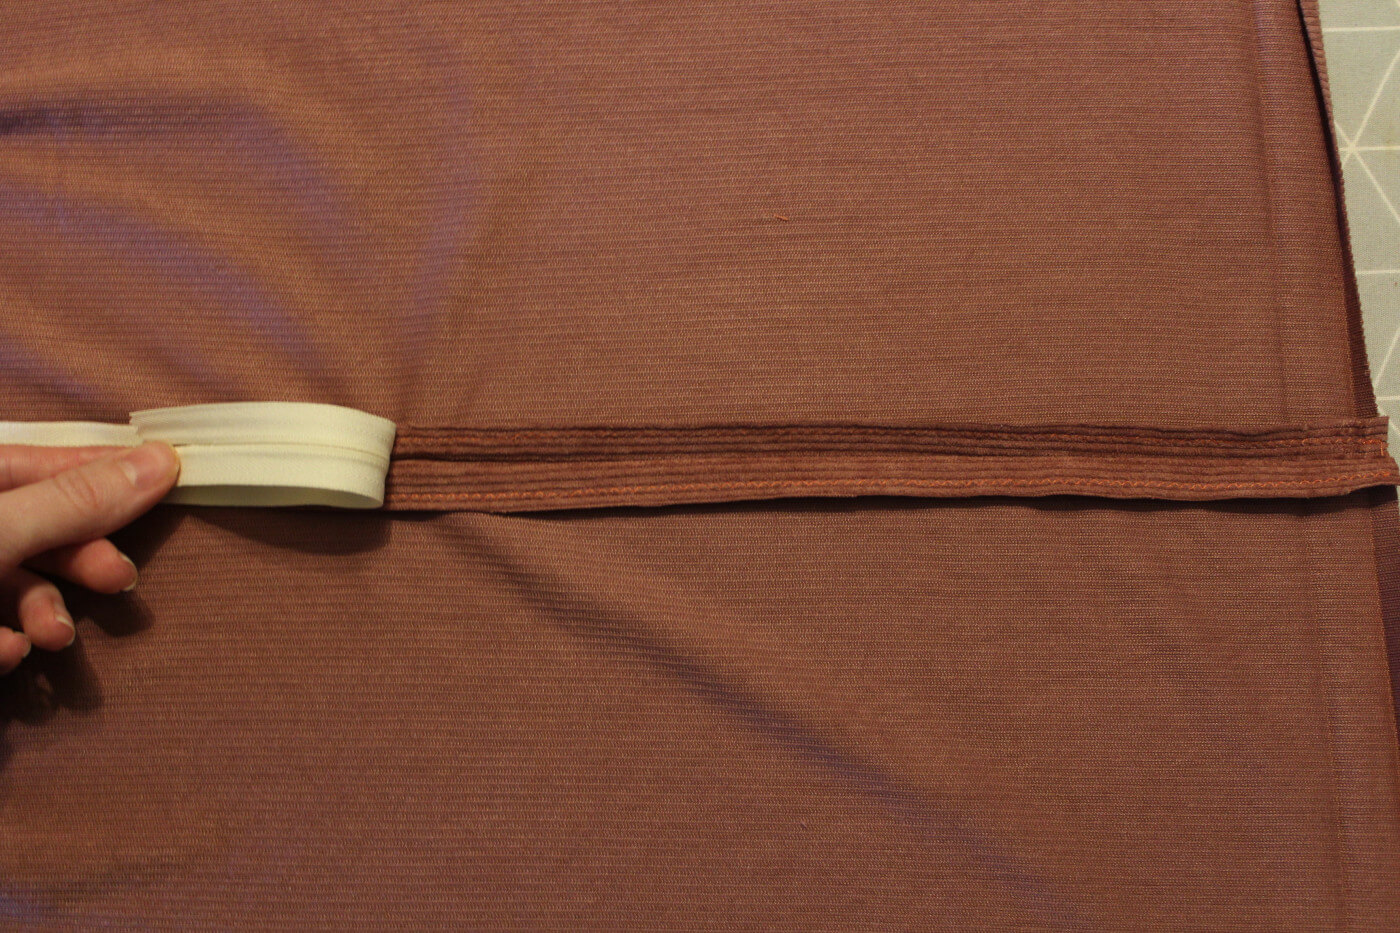
Lay your zipper face down between the two skirt back pieces. The zipper stop should be 5/8" below the waist edge.
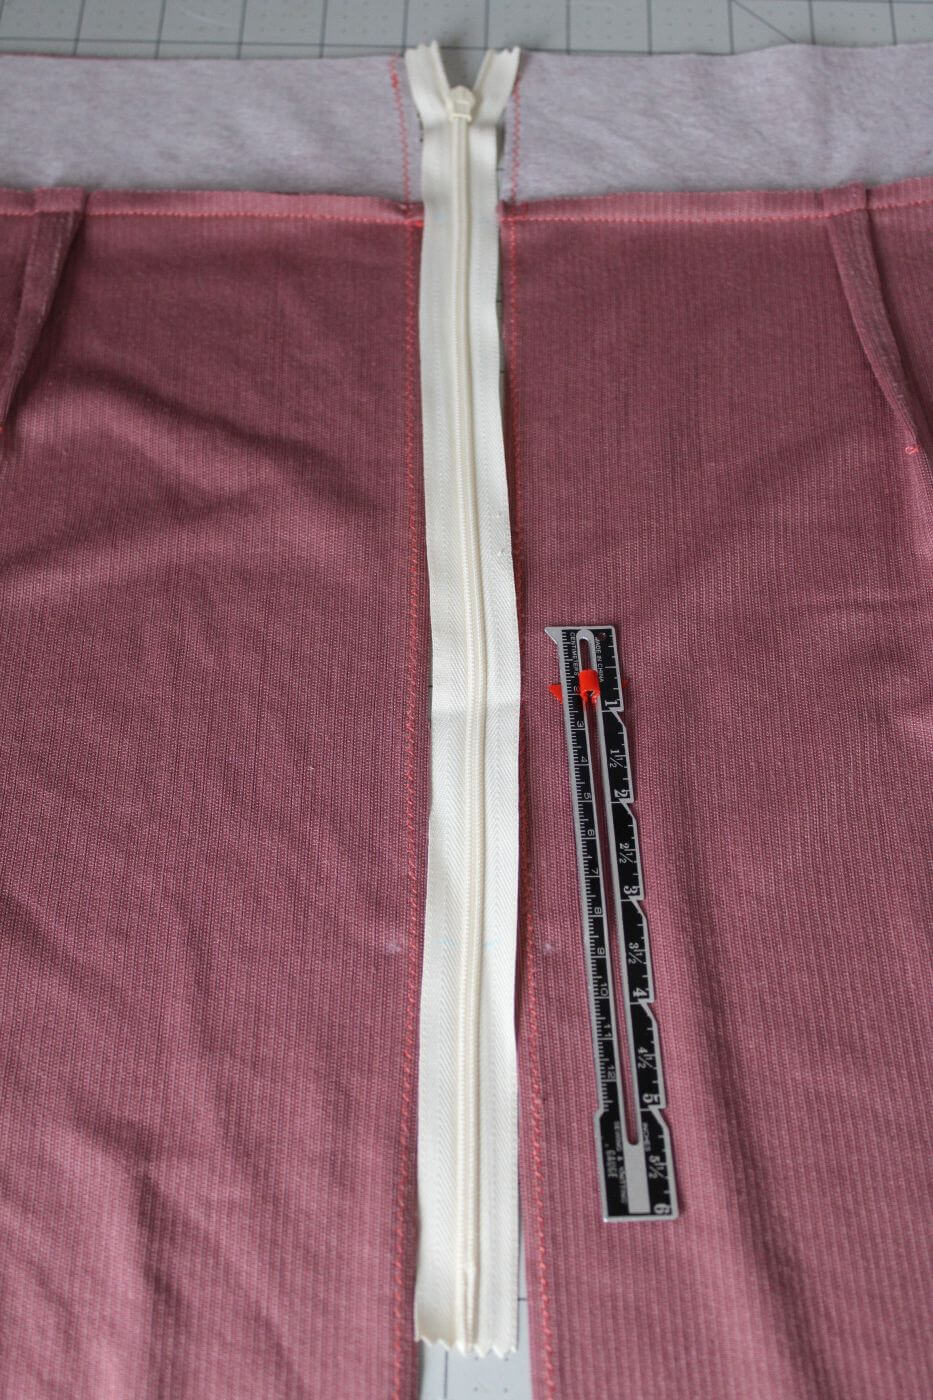
Mark the zipper with the skirt waistband seam as pictured in blue.
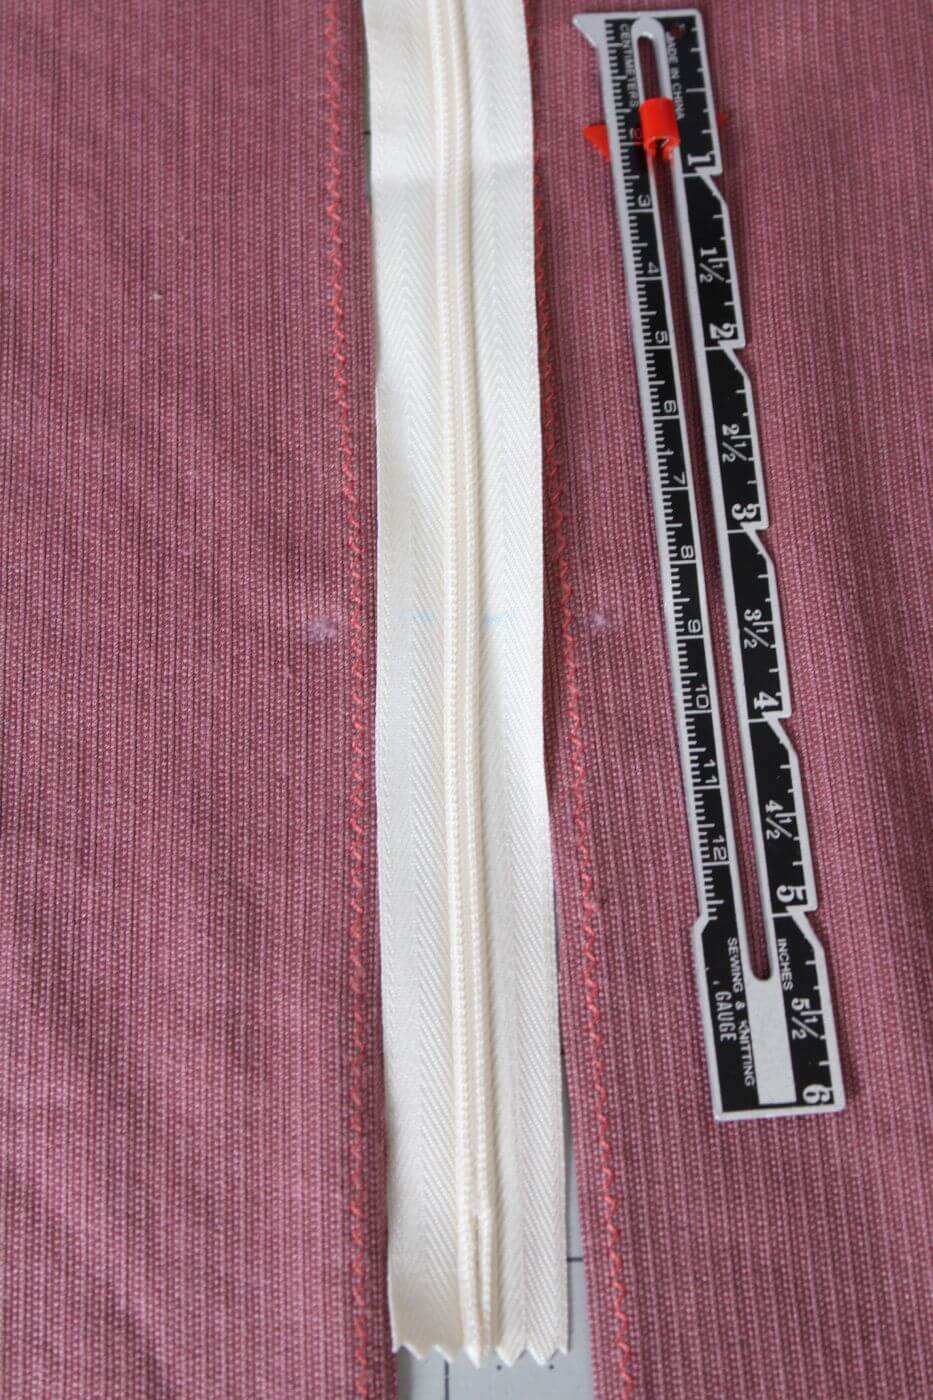
Next, measure 9" down below the waistline and mark on both sides of the zipper as shown in blue as well as the skirt. There will be extra zipper tape which will be removed later.
Press the zipper teeth towards the right side of the zipper using a low heat setting.
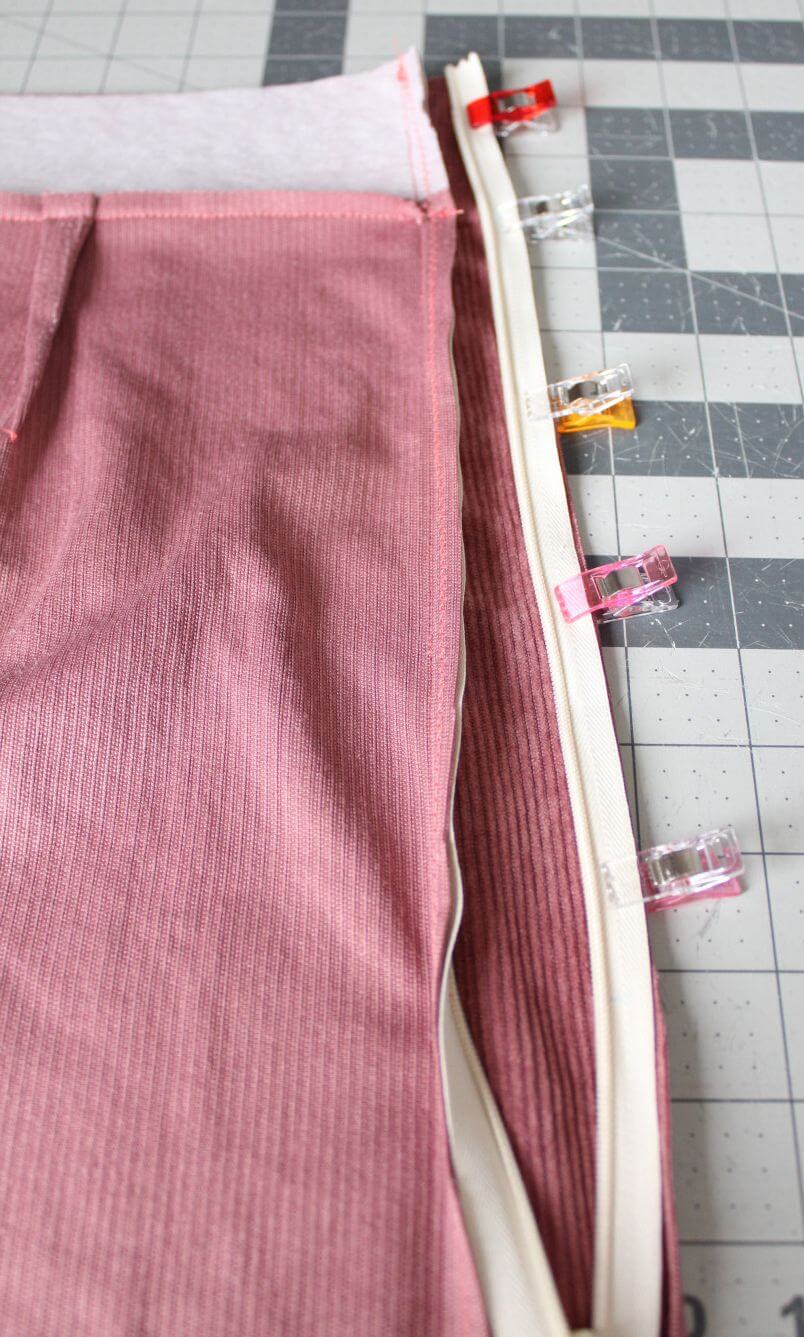
Lay the zipper face down on top of the back right skirt piece, lining up the markings we applied.
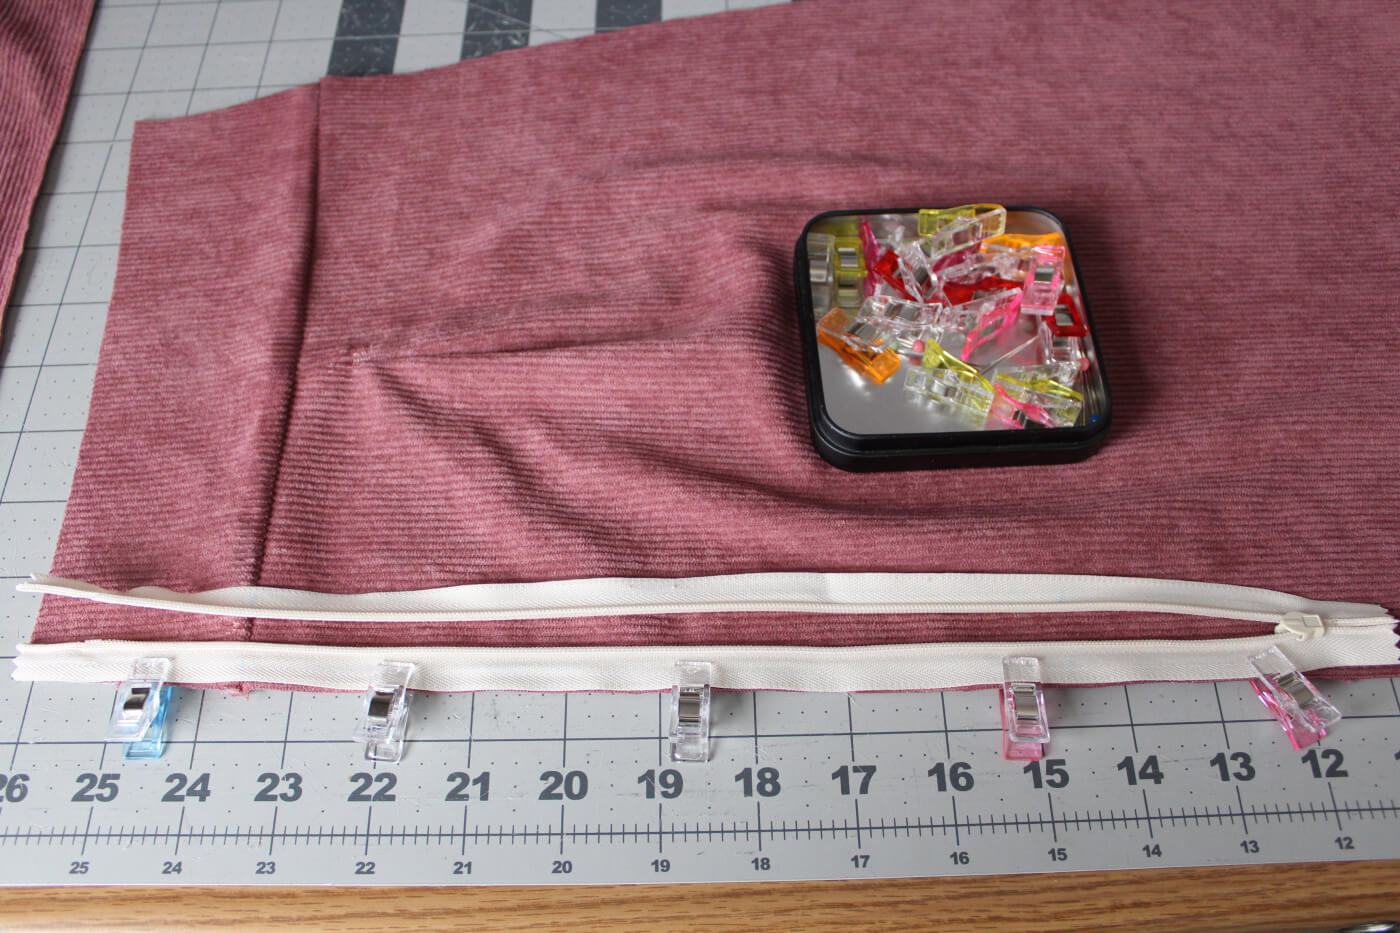
Using your zipper foot, begin sewing from the top of the waist down to the marked point towards the bottom. The closer you sew to the teeth -the more invisible your zipper will be. Adjust accordingly to your fabric needs.
Flip the right skirt piece over so that it is right sides together with the left skirt piece. Place the unsewn side of the zipper face down on the back left skirt piece. Match up the markings just as before and pin or clip in place. Sew using your zipper foot, beginning at the waistline and down to the bottom point just like we did with the other side.
Zip up your zipper and see if it closes properly and that the waistband seams match up.
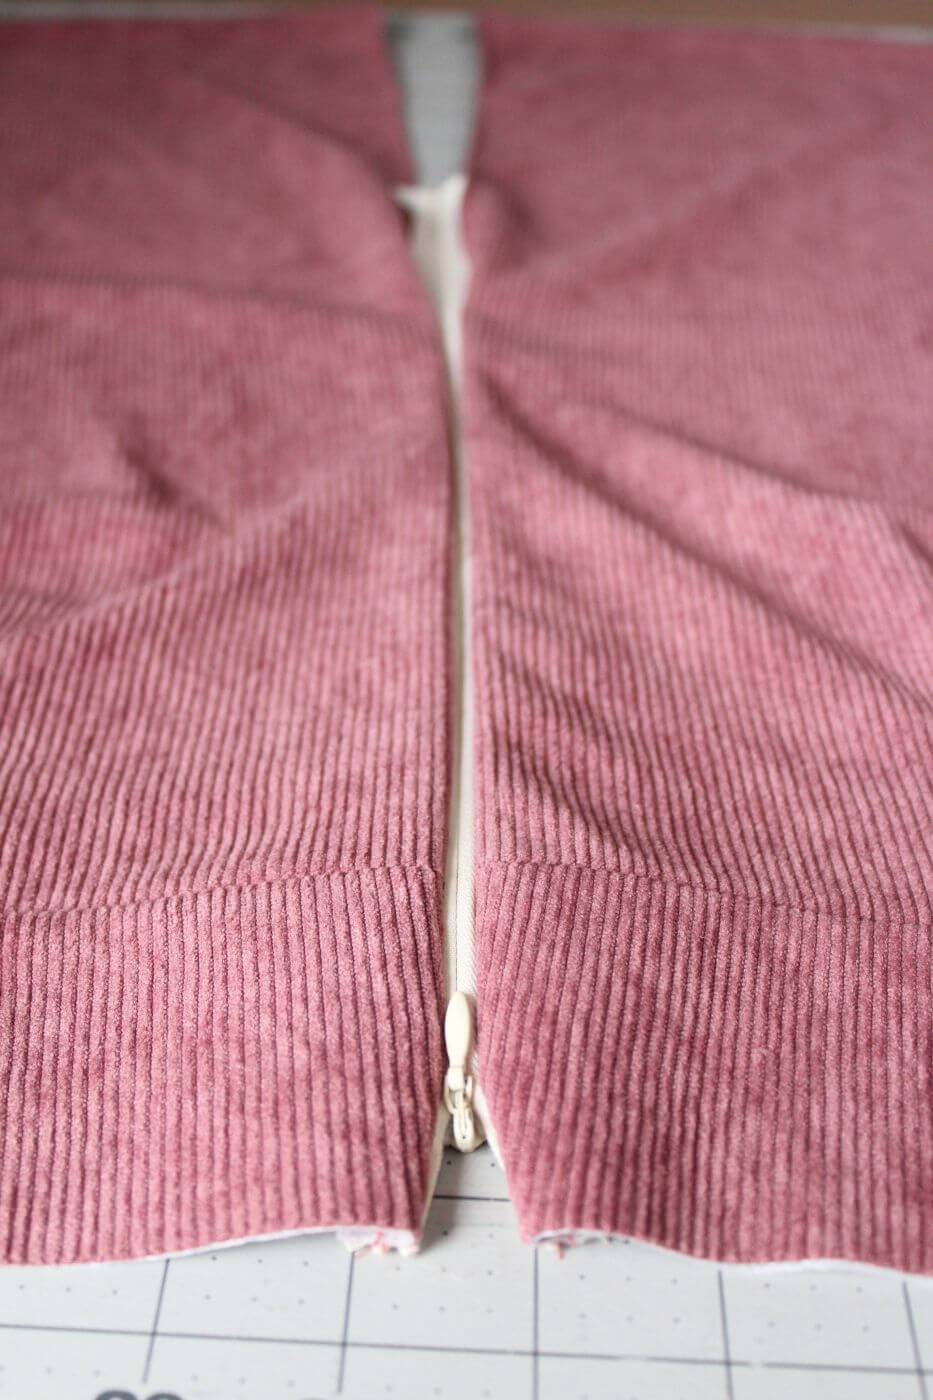
Place the back skirt pieces right sides together and sew the center back seam, stopping just past the marked point.
Press the center seam open.
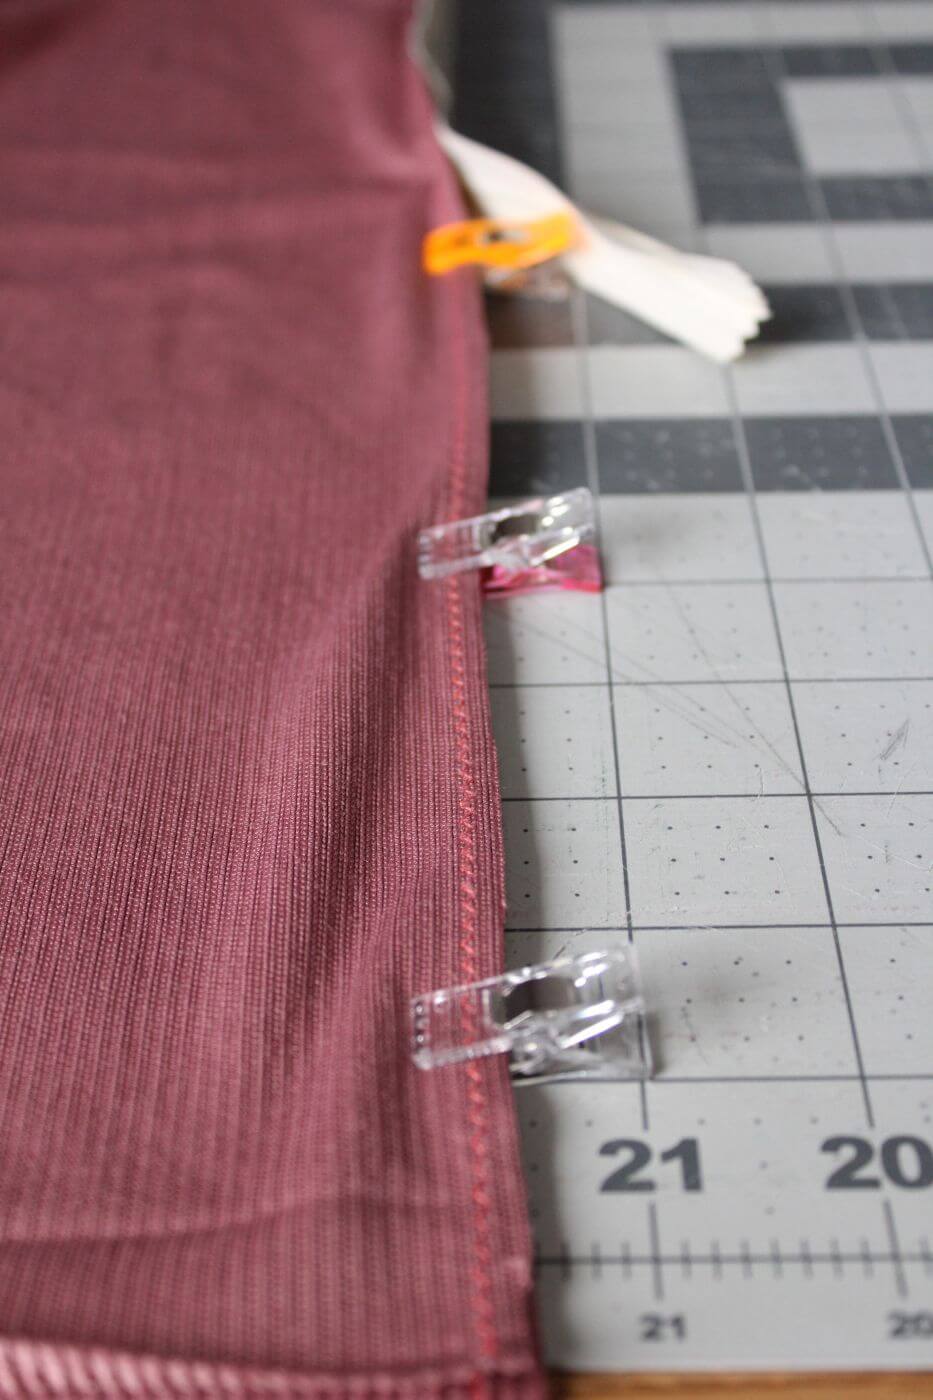
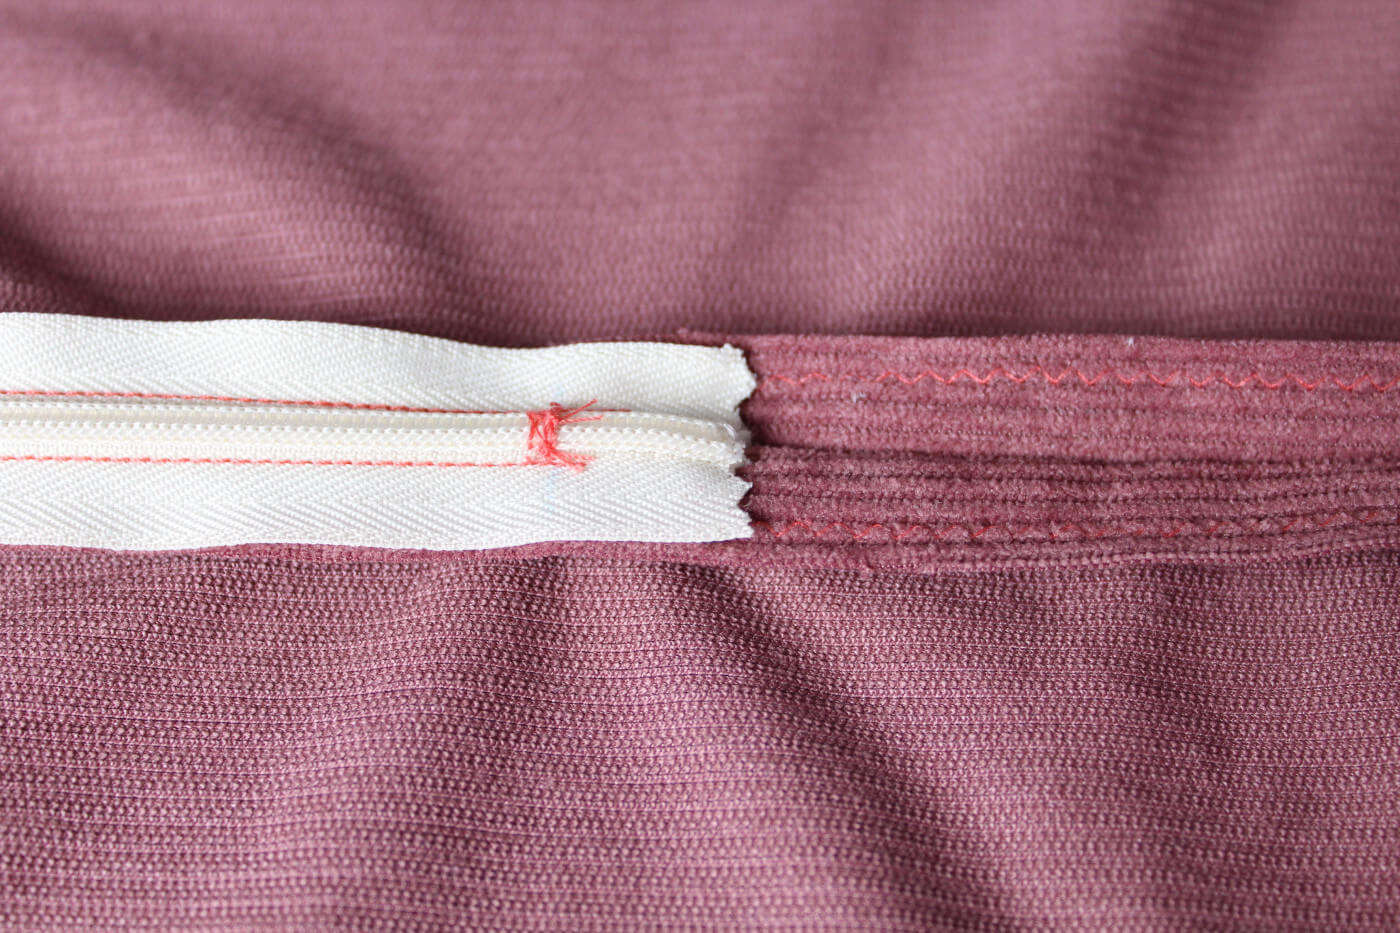
Hand sew a new zipper stop at the marked point. Sew over the zipper teeth several times to secure.
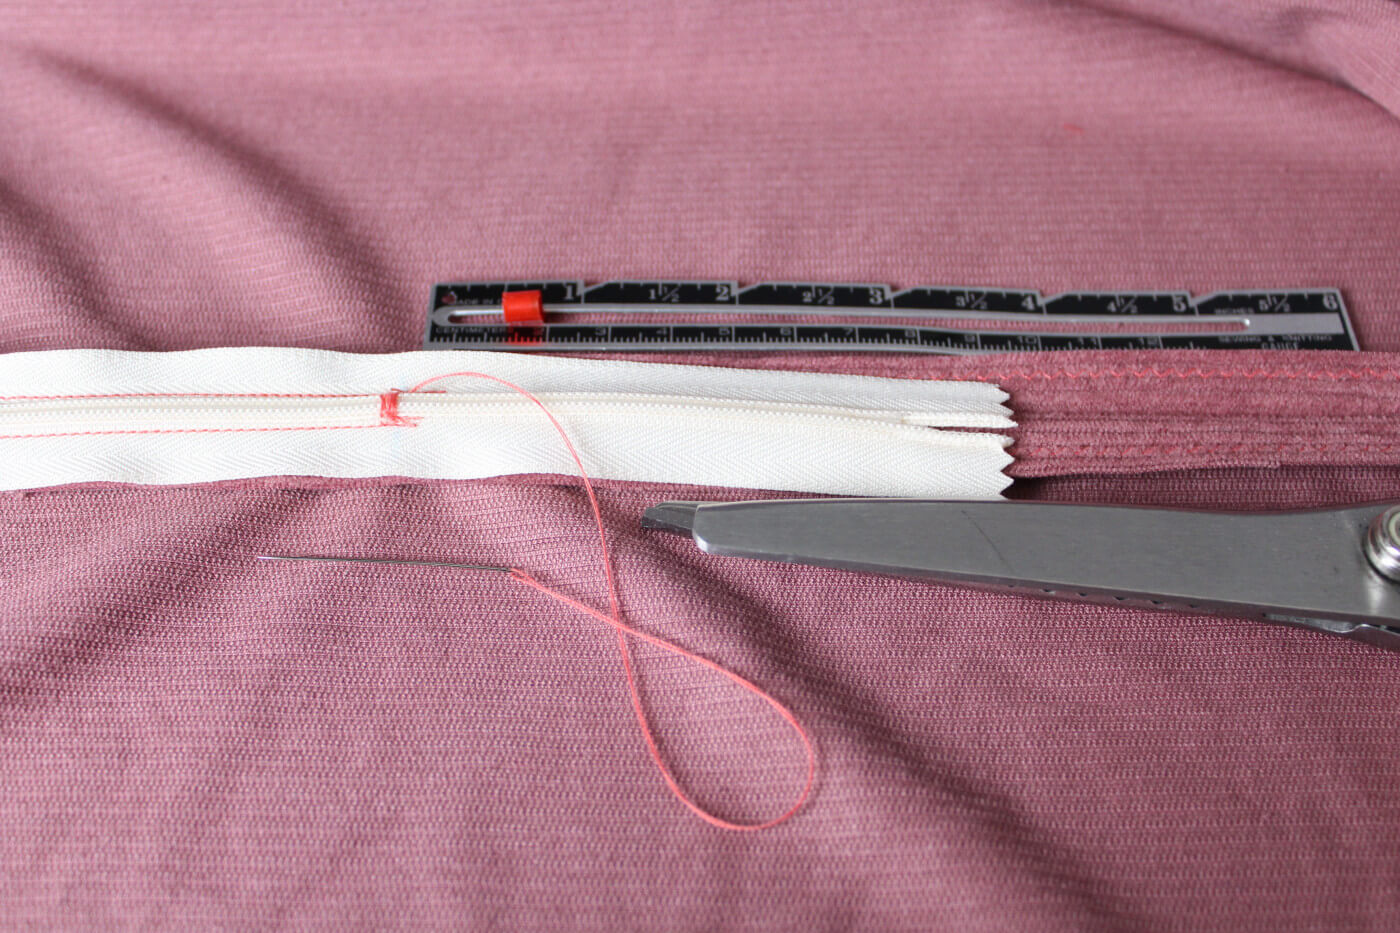
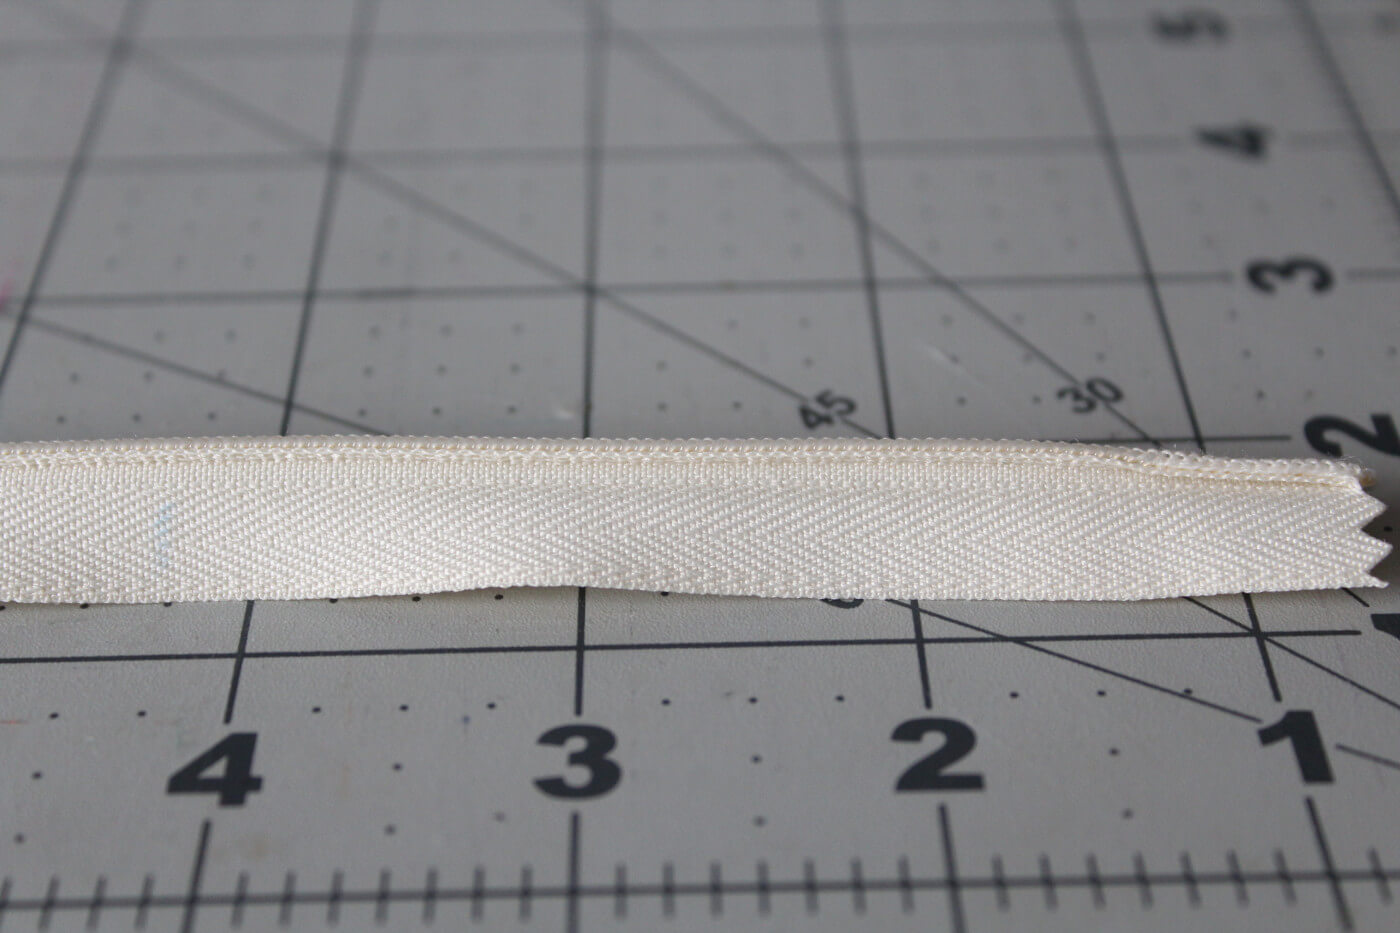
Cut off the excess zipper tape 1/2" below the new zipper stop using pinking shears.
Step Six: Skirt side seams
Place the front and back skirts right sides together. Unfold the bottom skirt hems and sew from the waist down for each side. Note: I did not include pockets for my skirt. Please refer to the pattern instructions if you did.
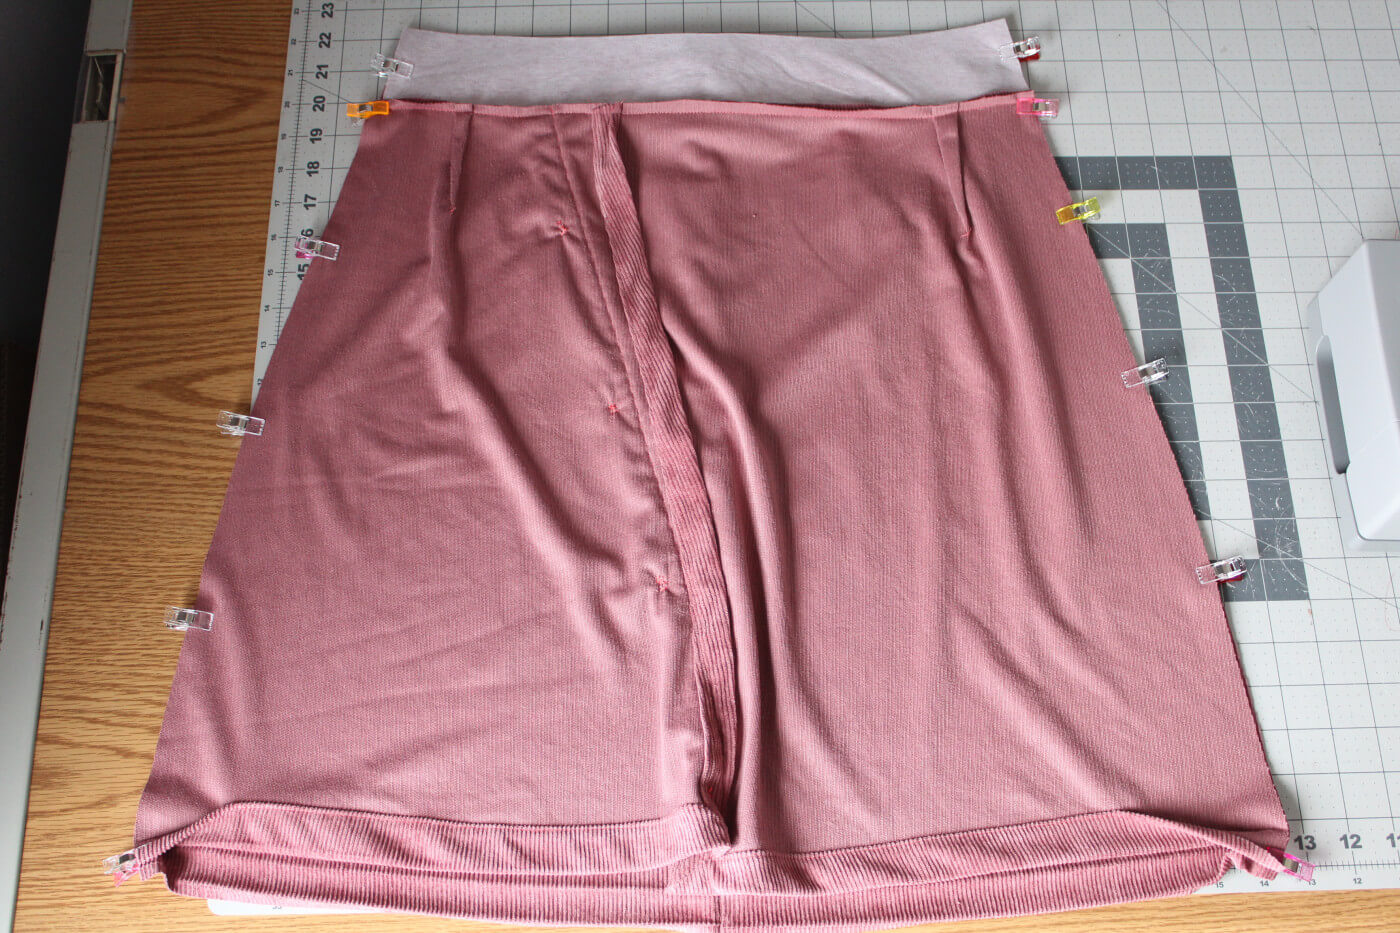
Try the skirt on and see how you like the fit. You can use a smaller seam allowance around the waist, or a larger one if needed.
Finish the side seam allowances with a zigzag stitch or serger after you've determined you like the fit.
Step Seven: Waistband lining
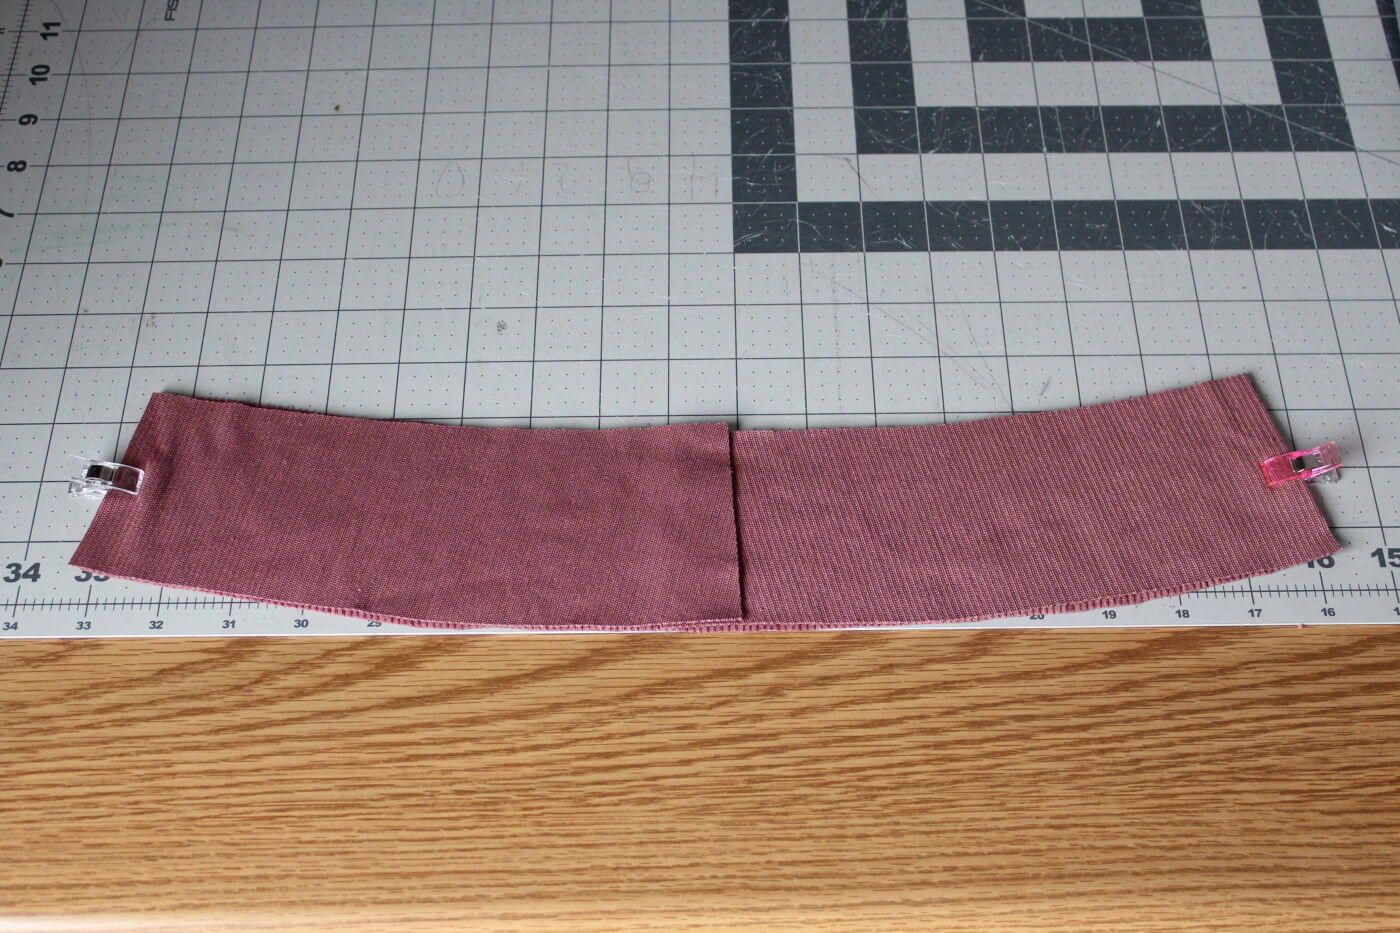
With right sides together, sew the front and back waistband pieces at the side seams. If you made changes above to the waistline -make those same adjustments here.
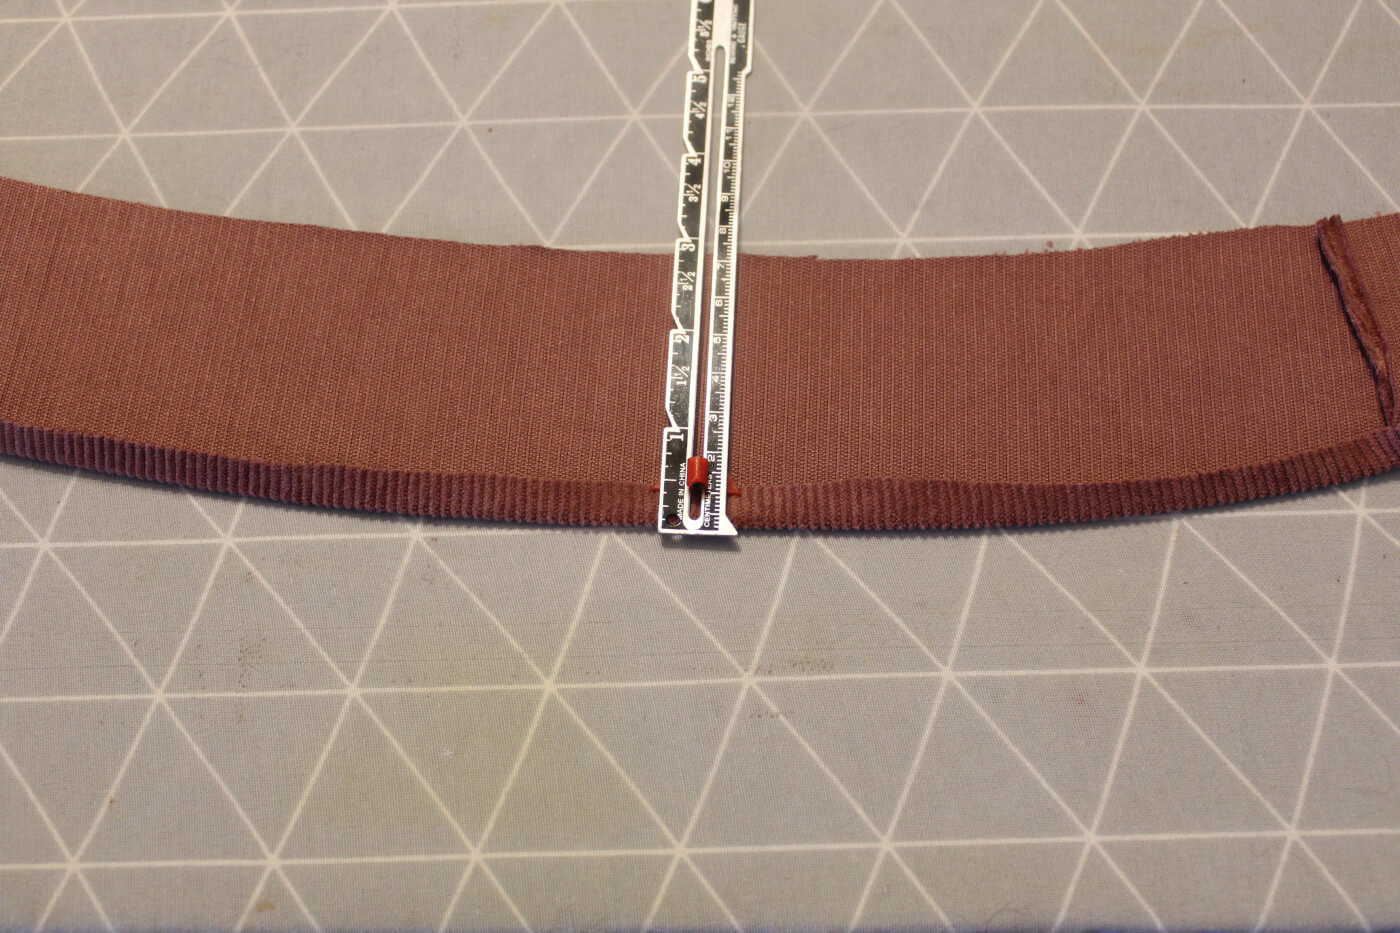
Press the bottom of the lining waistband up 3/8" to the wrong side.
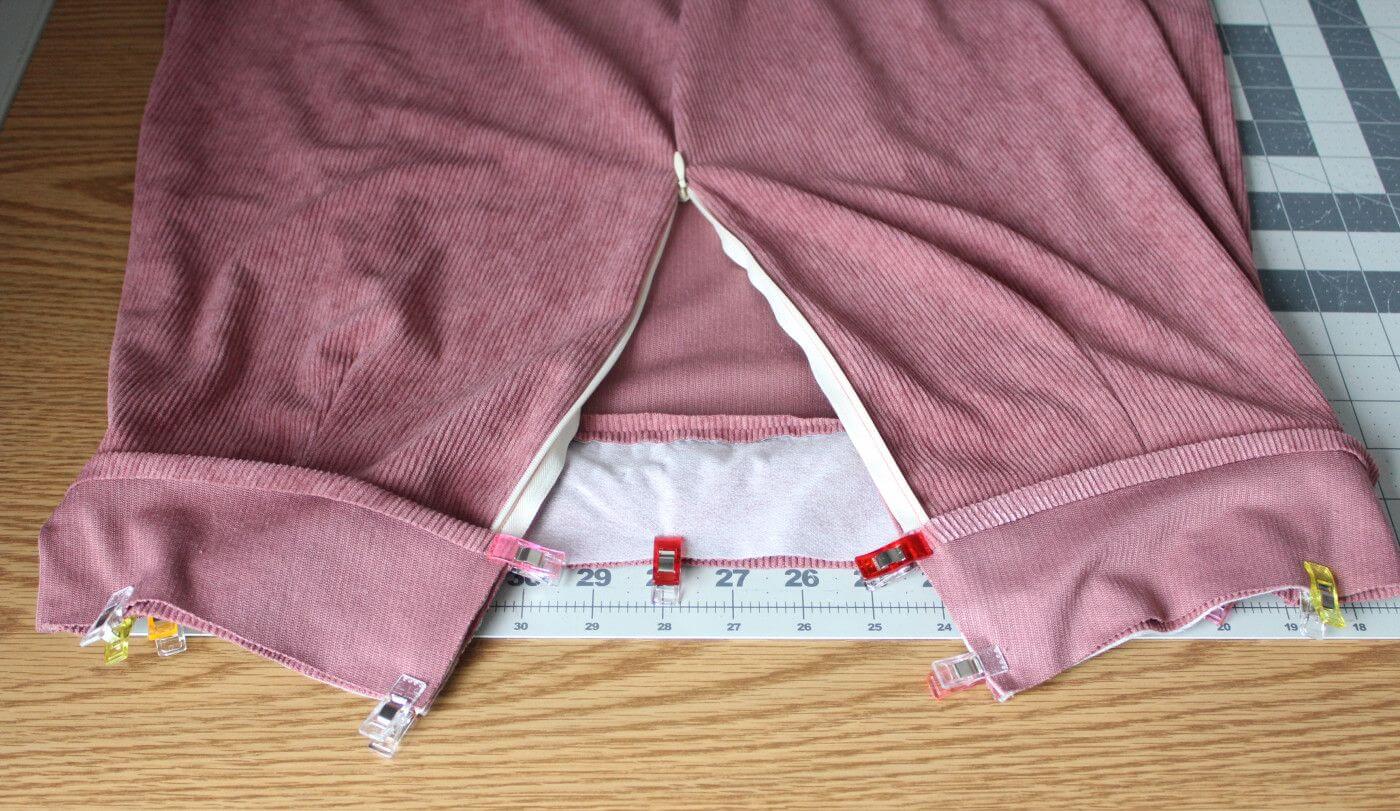
Unzip the skirt. Slide the waistband lining over the outside waistband with right sides together and raw edges aligned. The zipper should be in between the two linings.
Clip the corners. Turn the waistband right side out.
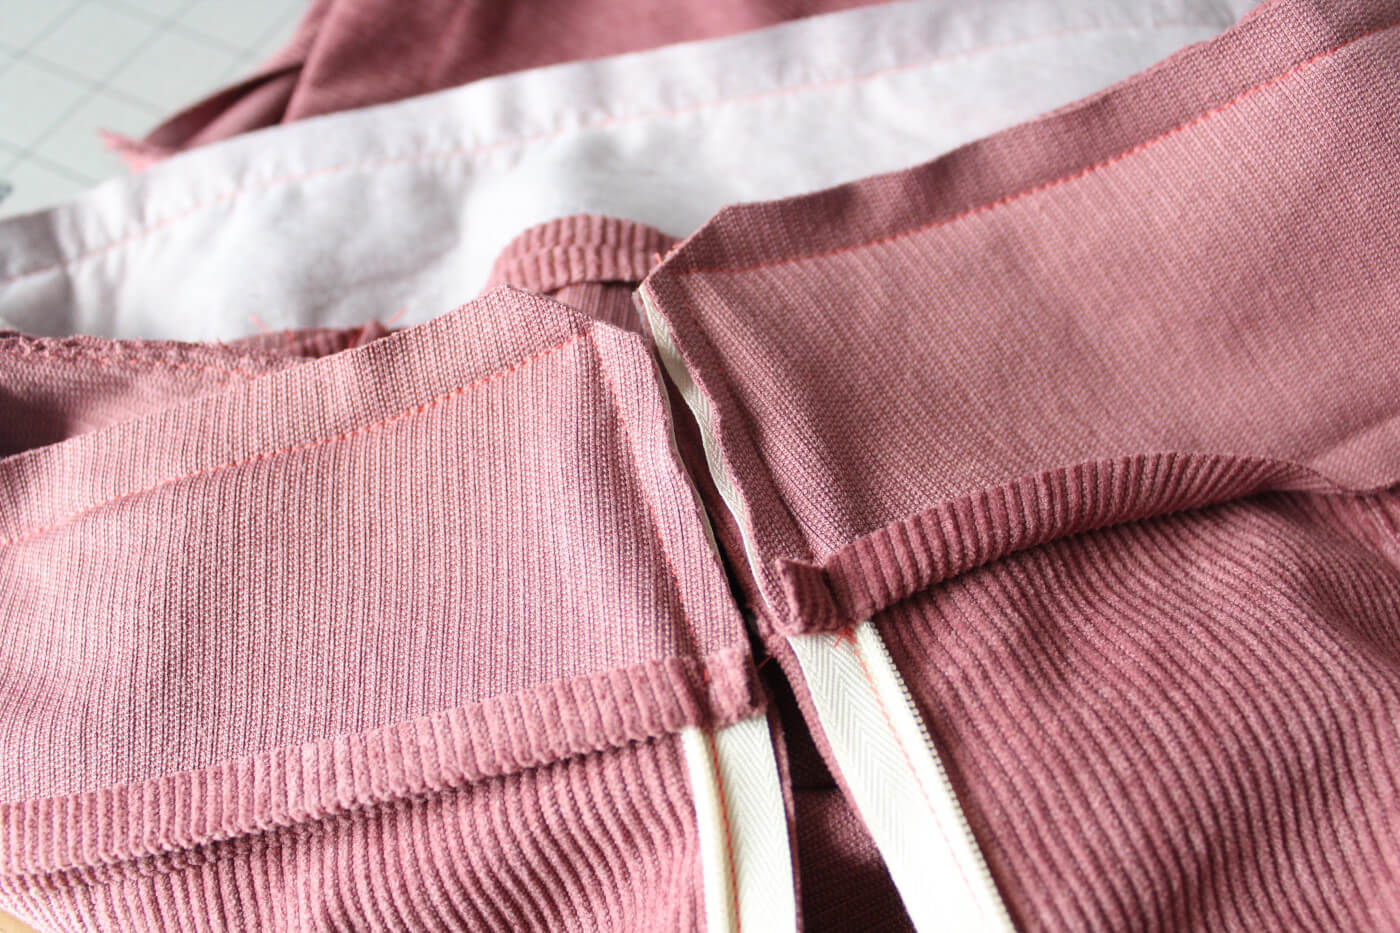
Press the waistband flat.
Topstitch all around the waistband. The seams will be enclosed.

A look at the inside of the skirt waistband with the seams enclosed after topstitching.
Step Eight: Topstitching the remaining hemline.
Refold the skirt hems and press flat. Topstitch the remaining skirt hem in place.

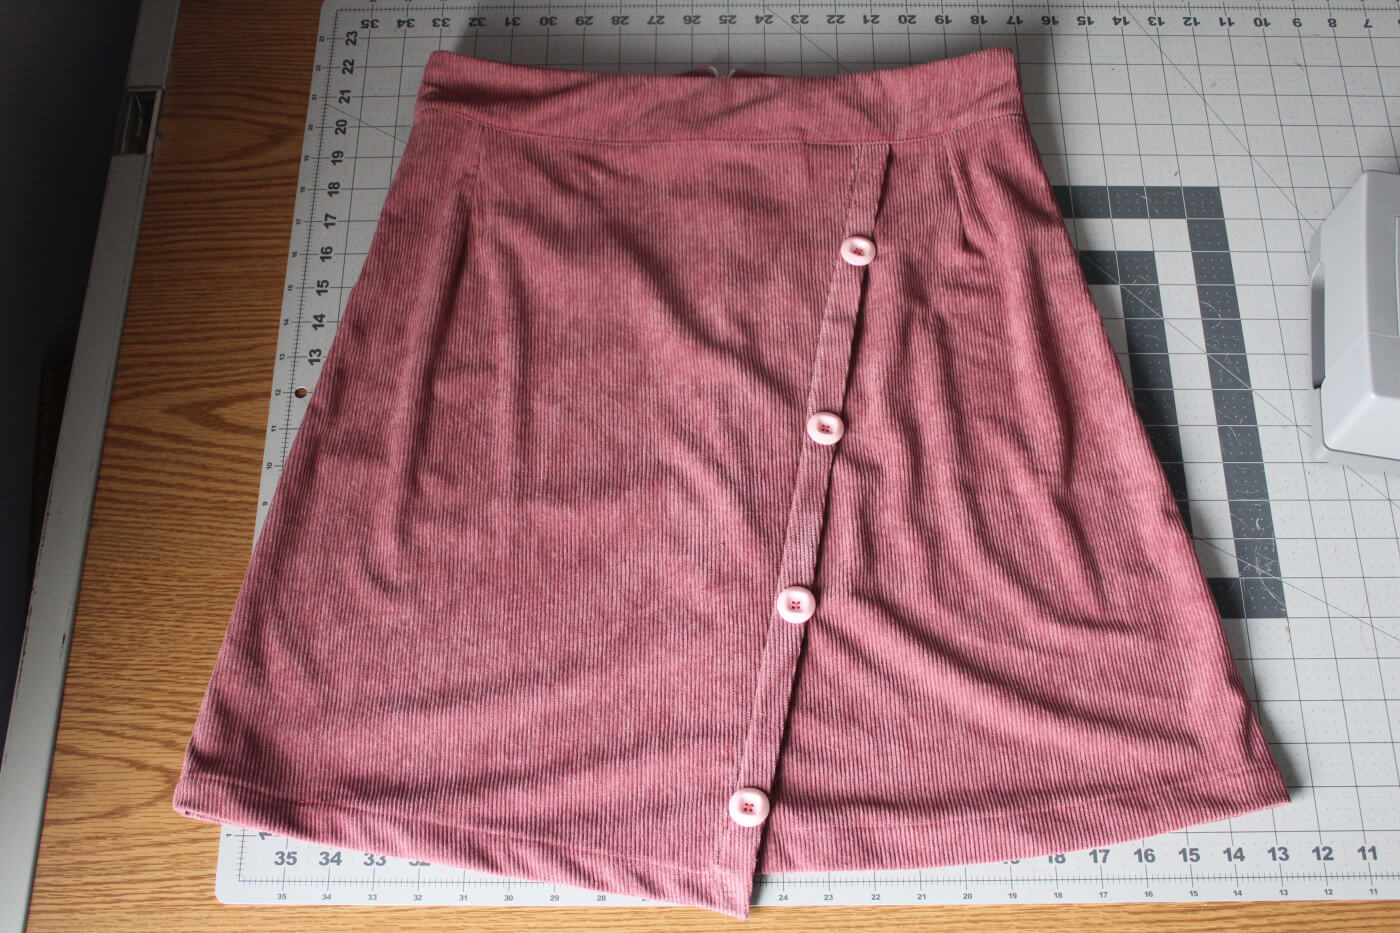
Hemline complete. The Cosette skirt is now finished!
Back view.
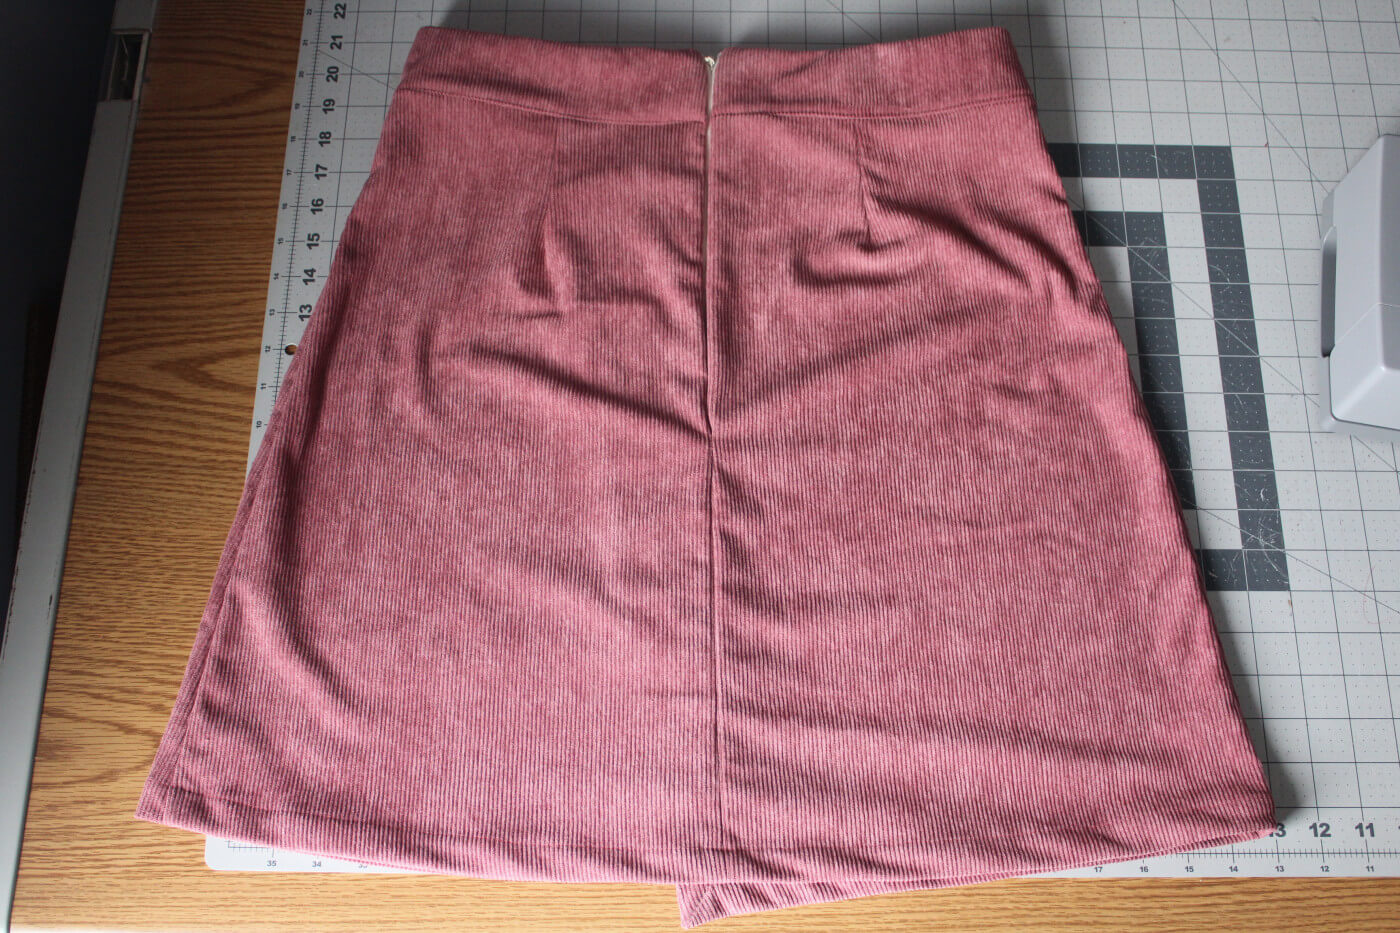
![]()
I love how comfortable this cosette skirt feels and how simple it is to accommodate a perfect fit. I was able to let the waist out a smidge without going up in size as well as lengthen it more to my preference. The versatility of this pattern truly shines through in its ability to provide both comfort and a perfect fit. With just a few adjustments, you can easily tailor it to your specific preferences. Whether it's letting out the waist a smidge or lengthening it to your desired hemline, this skirt offers endless possibilities for personalization.
The process of sewing the skirt is straightforward and well-detailed. Starting from unfolding the bottom hems and sewing from the waist down on each side, you can gradually progress through each step with ease. If pockets are something you desire, be sure to refer to the Cosette Skirt pattern at peek-a-boo pattern shop.
One thing I always appreciate about peek-a-boo patterns is that the instructions make it so easy to understand as you're working your way through a pattern for the first time, and it's that way for the intermediate sews too.
The Cosette skirt looks cute dressed up or down and is flattering on the body. I'd love to try this in wool sometime. I think it would make for a nice, cozy sew for wintertime. I hope you'll give this pattern a try and maybe you'll learn a new technique while making yourself one such as how to sew a pleated skirt or an invisible zipper perhaps?
Thank you for joining us today for learning how to sew a pleated skirt. Before you leave, make sure to join our Facebook Group and follow us on Instagram. Happy Sewing!