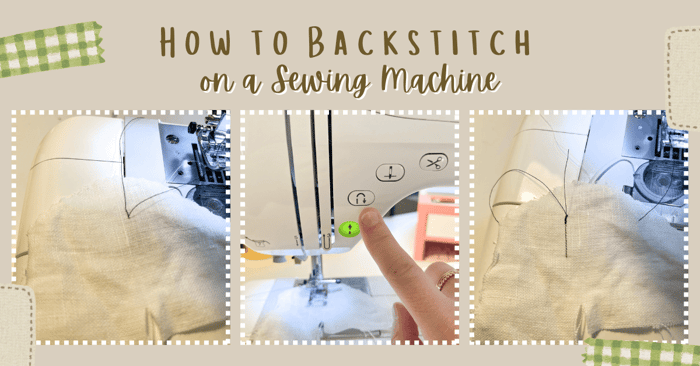
How to Backstitch on a Sewing Machine
Today we will learn how to backstitch on a sewing machine. Backstitching is a sewing technique that everyone should learn. A backstitch is a simple sewing step that anyone can do, and it is vitally important to learn how, when, and why to do it. This type of stitch is sometimes called a "lock stitch" or "locking stitch". Both terms mean the same thing.
A backstitch can also be a hand-sewing technique used in embroidery, but that is not what we are discussing in this post. This post is about backstitching with a sewing machine.
What is Backstitching
Backstitching is the act of sewing backwards and forwards over stitches you already made. First, a few stitches are made forwards by pressing down on the foot pedal. Then, a button is pressed or a lever is pushed, and a few stitches are sewn backwards. After sewing backwards for one to two stitches, you again sew fowards on top of your previous line, and cover all the stitches you just made.
Why Backstitching
Backstitching should be done any time you need to secure a line of stitches, so that the stitches do not pull out. When seams are put under stress, the thread holding the seam together is also stressed and may pull. This technique anchors the thread and prevents it from coming out. If the stitches are not secured with backstitching, they can unravel and the garment or item may come apart, or cause a hole along the seam line.
When to Backstitch
Backstitching should be done at the beginning AND end of stitching a seam that will not be removed. Construction seams, which are seams that connect fabric and shape a sewing project, are not removed and should be backstitched. Gathering stitches and basting stitches are temporary stitches. They are removed after sewing, so they do not need backstitching at the beginning or end.
The only exception to this rule is when a construction seam is going to be crossed by another construction seam. You can save time by skipping the backstitching if you know for sure that the beginning or end of your seam is going to be crossed by another permanent seam. However, for best results, or if you are not sure whether your seam will be crossed, you should backstitch.
How to Backstitch on a Sewing Machine
This kind of stitch may seem tricky, but it is built in to most sewing machines. Your sewing machine may have a one-touch backstitch button, or a lever to hold, or a switch to flip, in order to make a backstitch. Check your manual for exact instructions for your machine. If you cannot locate the hard copy of your manual, most of them can be found online by searching the make and model of your machine. How to do a backstitch when sewing is worth learning for your particular machine.
Examples of Backstitch Buttons on a Sewing Machine
Most machines have some sort of arrow, graphic, or an arrow reversing, to indicate that it is the backstitch button.
Here are some examples of backstitch buttons on home sewing machines:
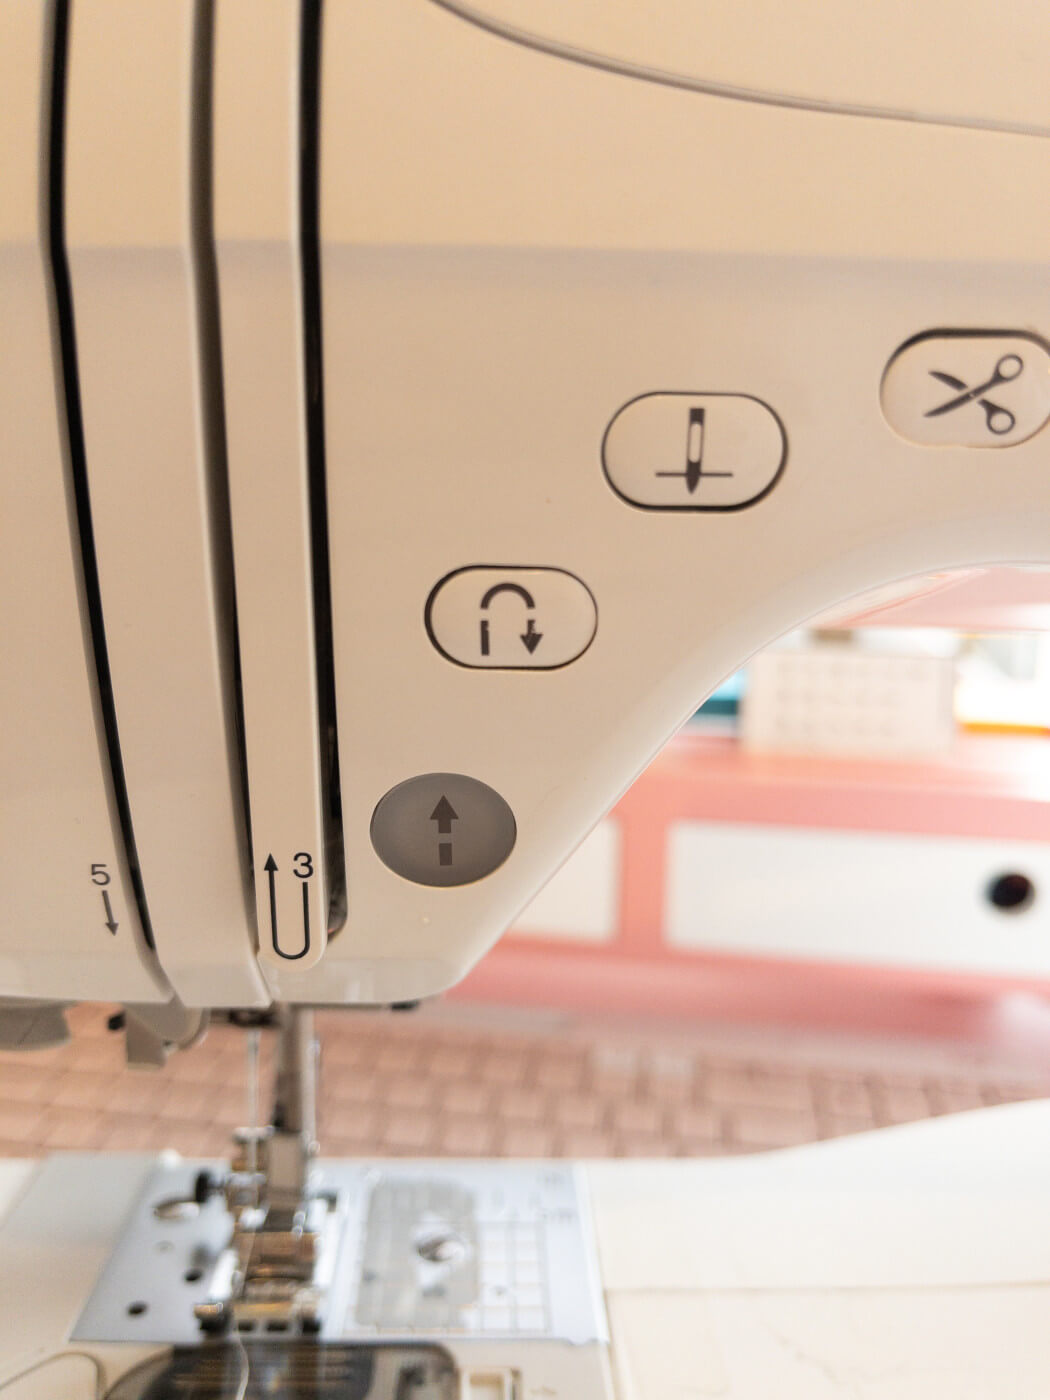
This is a modern machine with a one-touch backstitch button. The reverse arrow is the correct button. Pressing and holding the button will make the machine backstitch until the button is no longer pressed. You can also press it once for one single backstitch.
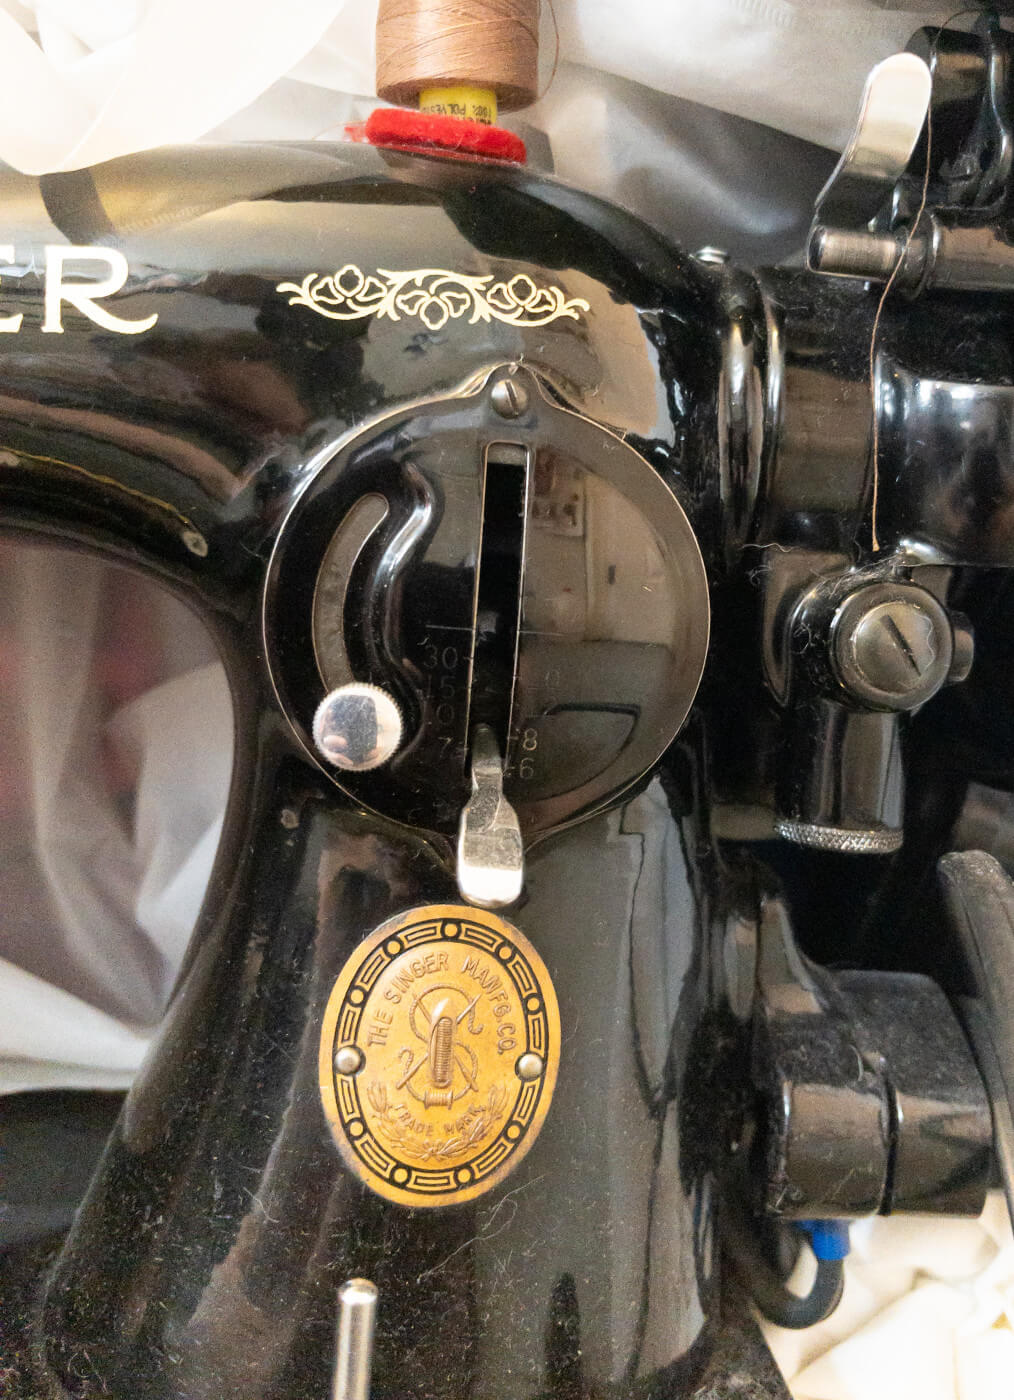
This is an example of a vintage sewing machine backstitch lever. To backstitch on this machine, the lever is pushed up. The foot pedal is then pressed as if sewing normally, but instead of sewing forward the machine sews backwards. The lever must then be returned to its original position to sew forward.
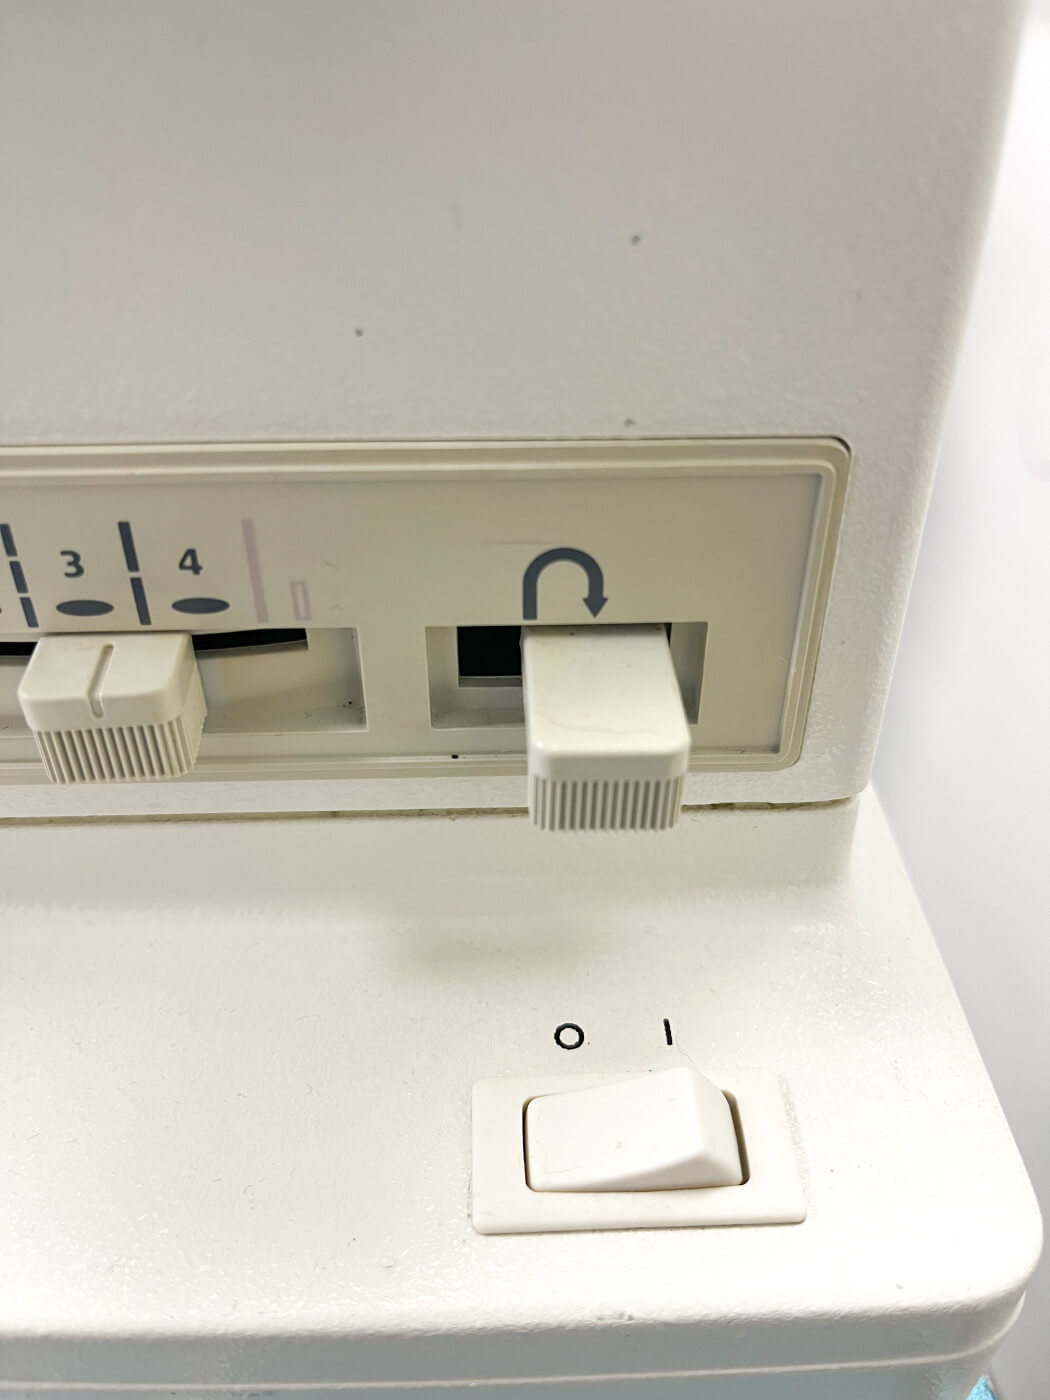
This is an example of a backstitch switch that must be pushed to the side. Much like the vintage machine up above, the switch is pushed while backstitching, and then returned to its original slot when the user is ready to sew forward.
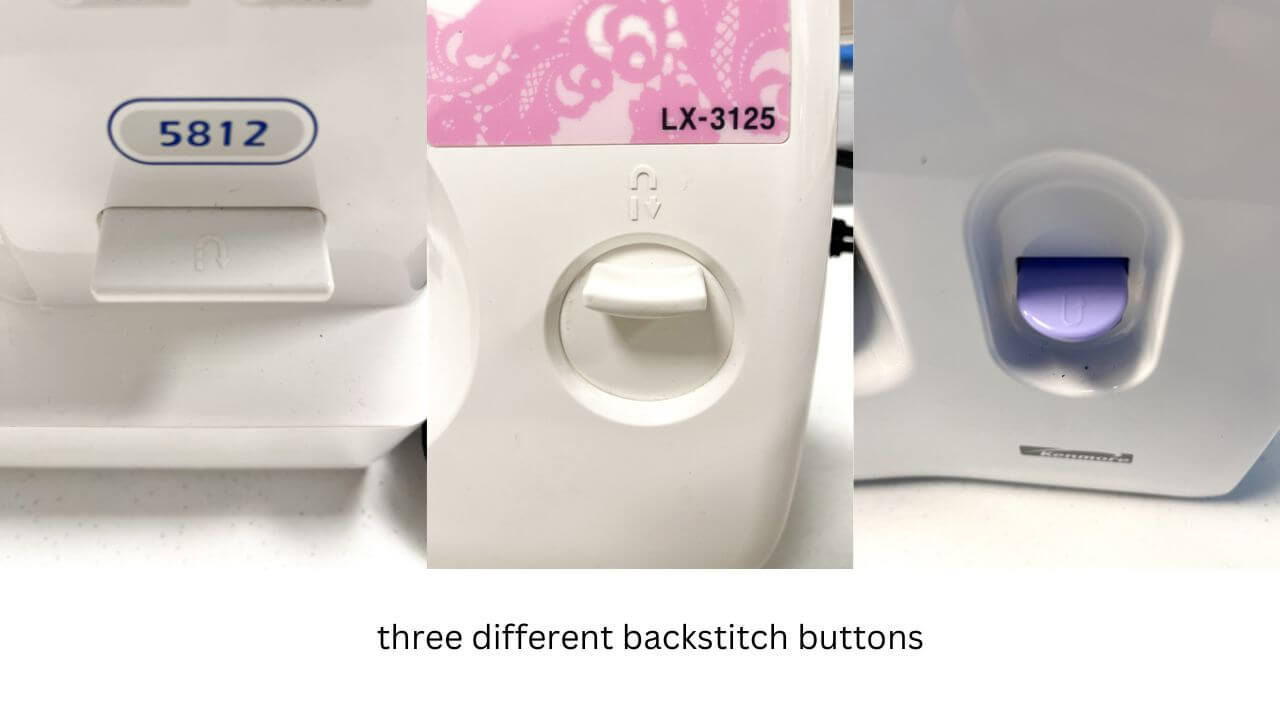
The vast majority of beginner sewing machines will have some sort of backstitch button that looks like the ones above. There is a reverse arrow and a button that must be pushed and held down. With the button pressed down, the user presses down on the foot pedal. The machine sews backwards for as long as the button is pushed along with the foot pedal. Release the button to sew forward normally.
Step by step backstitching
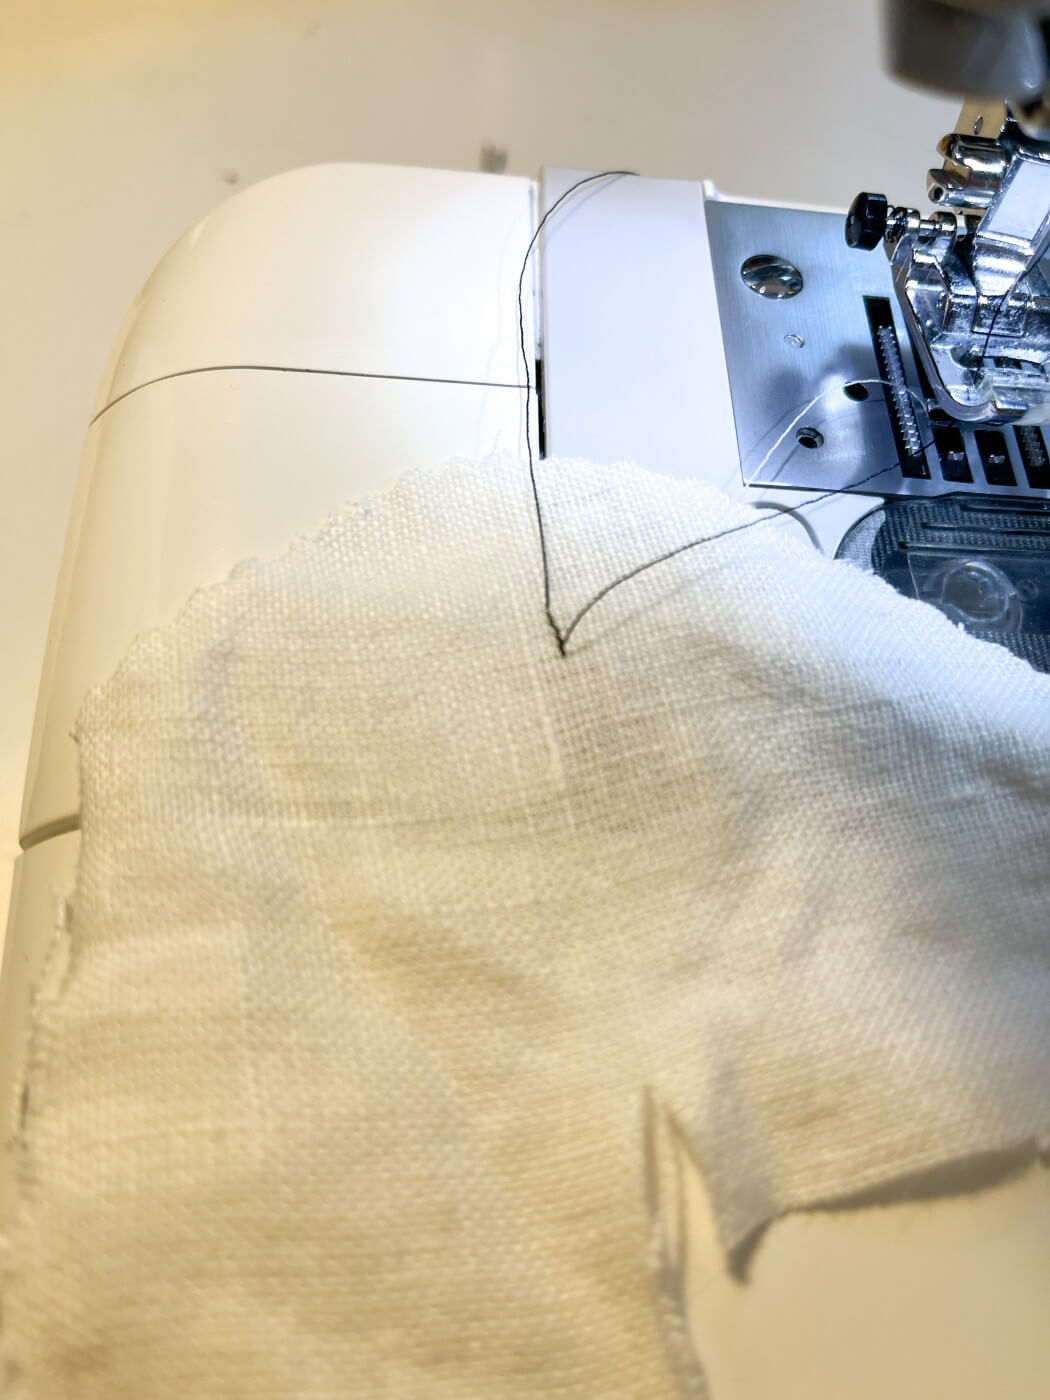
To backstitch, first sew forwards a few stitches. On our above example, we are using black thread on white fabric so you can see the stitching. Do not remove the fabric from under the presser foot, we have moved it in the photo so you can see how the stitches look.
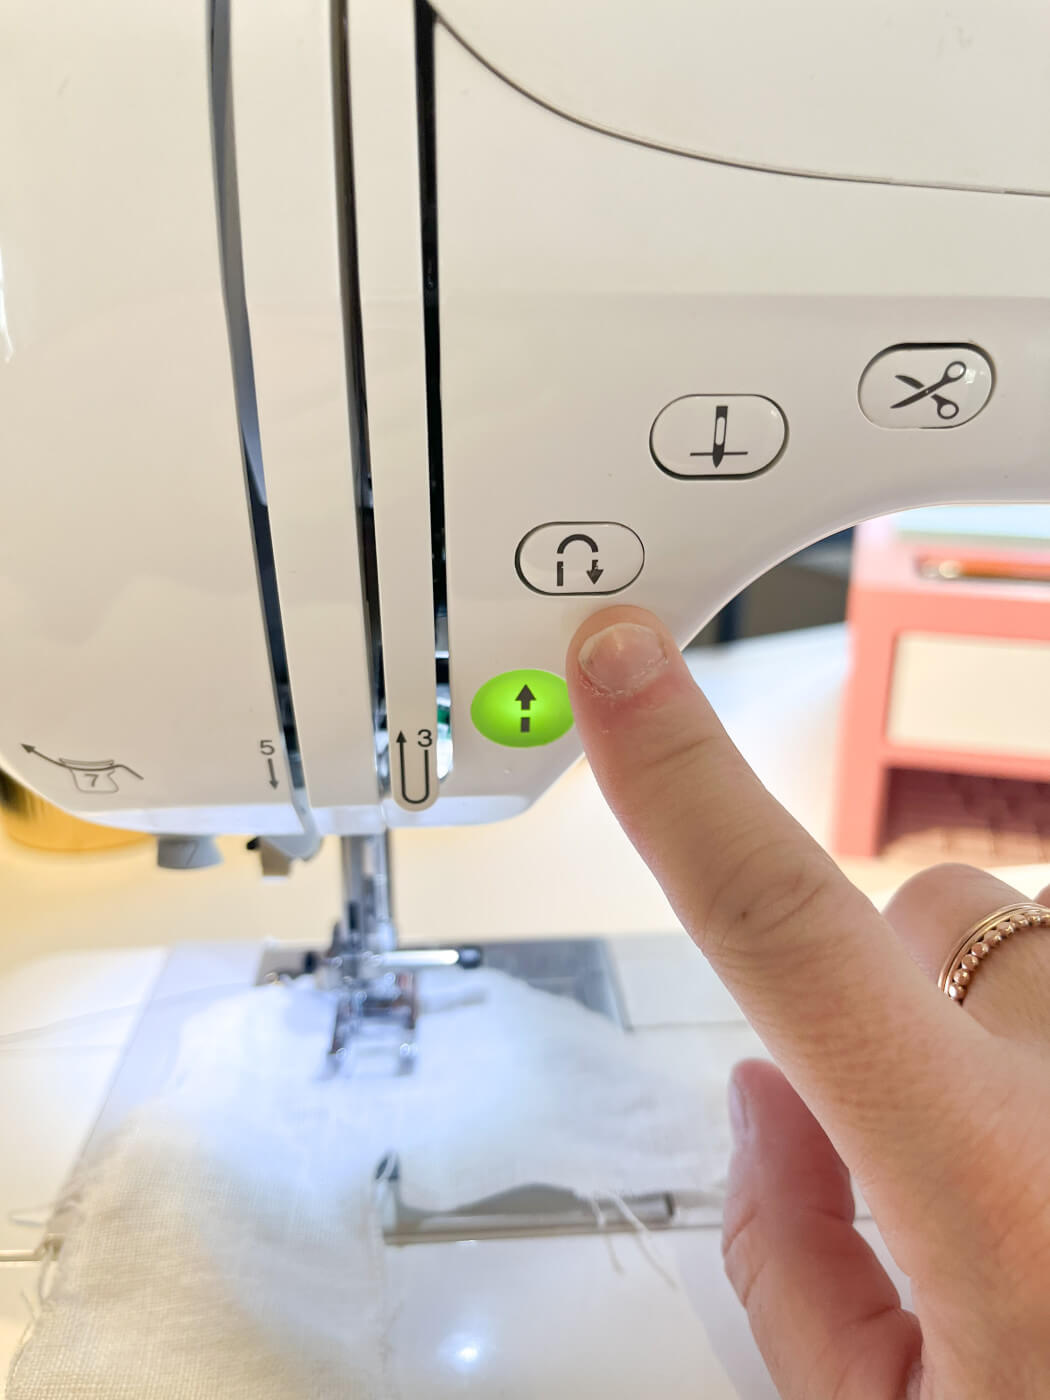
Next, press your backstitch button. If you have a one-touch option, hold down the button until your machine takes two stitches. Or, you may need to flip a lever or stitch, depending on your machine, and then use the foot pedal to sew your stitches backwards. See above section on the different types of buttons.
The photo above shows the initial forward stitches, with the backstitches on top. Again, leave the fabric under the presser foot, this photo is to show you how it looks.
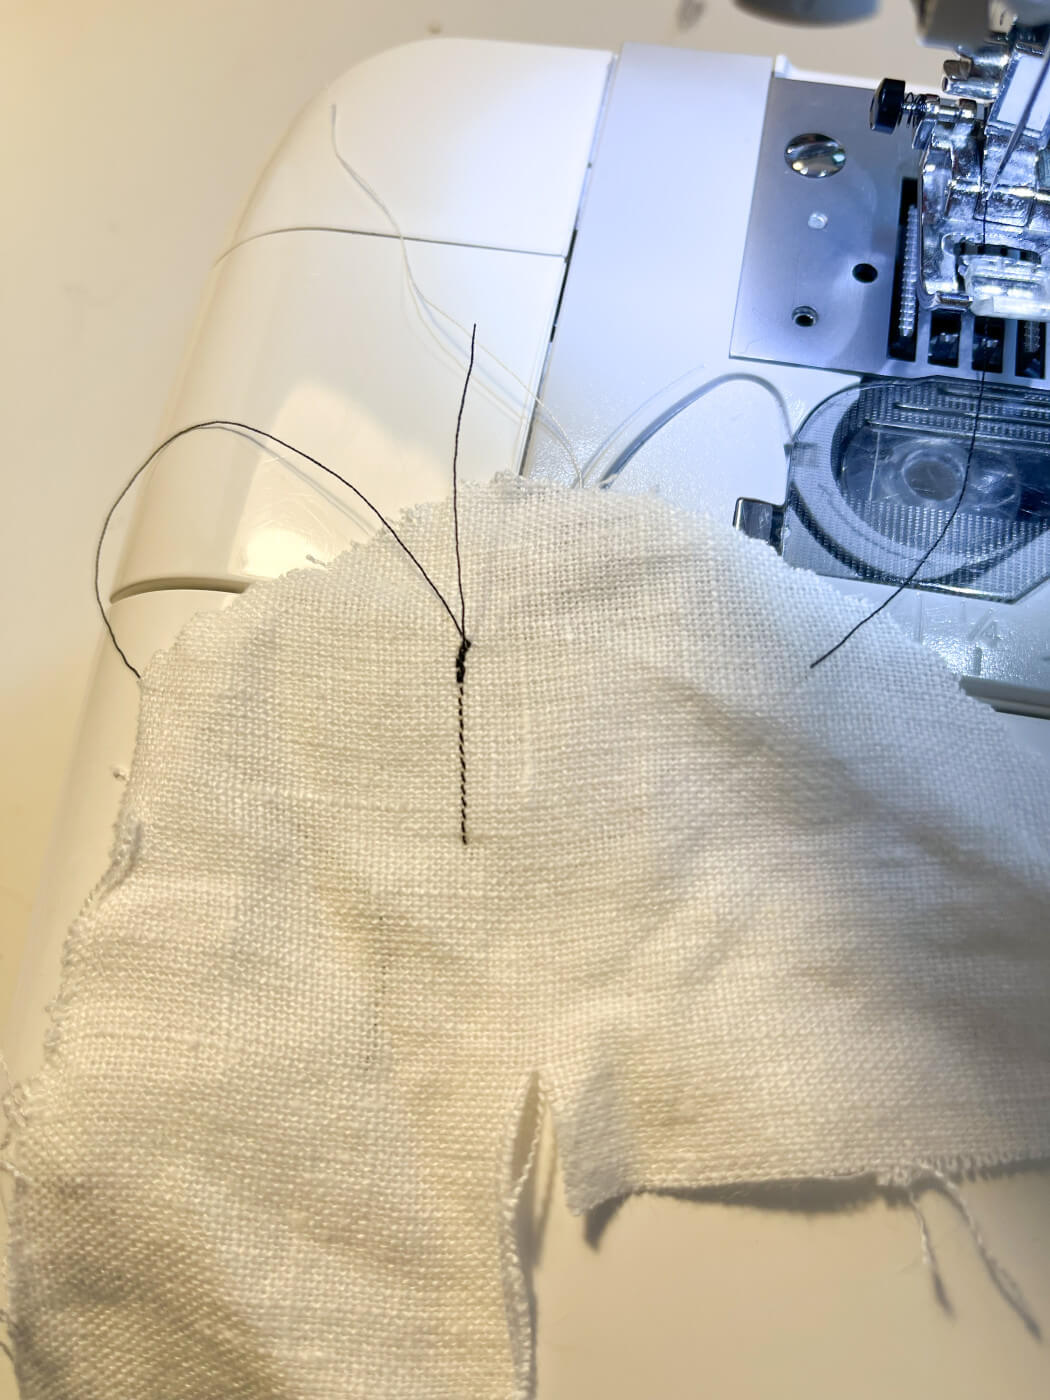
Finally, release your backstitch button or put the lever/switch in its original position. Sew forwards. The above photo shows the backstitched area as a thicker portion of thread, then the standard stitching line. These extra stitches secure your thread.
Tips for Successful Backstitching
Sometimes, a sewing machine may malfunction when attempting a backstitch. You may encounter problems with thread nests, or fabric being pulled into the machine. These things happen because a small portion of fabric is being worked on within a small space. The presser foot and feed dogs, which move the fabric, work better when the fabric is evenly distributed under the entire foot. That often does not happen at the beginning of a seam.
If you are having trouble with a thread nest, try this trick. Pull the bobbin and top threads out long behind the machine. Hold the threads with one hand while you backstitch. Holding the thread prevents it from being pulled into the machine and tangled.
If you are having trouble with fabric being pulled down into the machine, first try the thread trick above. It can also help with the fabric issue. If that does not work, place a scrap piece of fabric behind your project. Make sure it is under the presser foot in order to level it out. The project should now feed properly and not be pulled down into the throat plate.
One other problem can occur at the beginning of a seam, and that is an unbalanced tension. Sewing backwards can unbalance your stitches and make them either too tight, or too loose. See our beginner's sewing machine guide for more information about tension and balanced stitches.
Conclusion
Anyone can, and should, be backstitching their sewing projects. You will achieve more professional results when you learn how to do a backstitch when sewing. It may take some practice with your particular sewing machine, but it will be worth it in the end.
Thanks for joining us today! Before you leave, make sure to join our Facebook Group and follow us on Instagram. Happy Sewing!