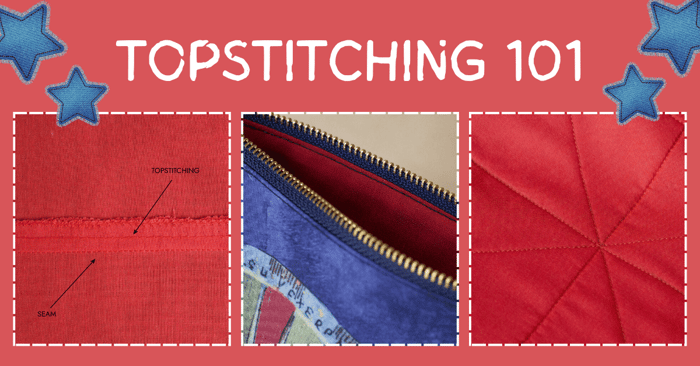
Topstitching 101
Topstitching is a single or a set of stitches applied to garments to add depth and character. If you're new to sewing, this technique might seem daunting, but in this article, you'll learn all you need to know about it, including essential tools and achieving flawless outside stitching on your garments. With practice, mastering this technique becomes second nature.
Topstitching 101
Before diving in, let's clarify some commonly used sewing terms. Edgestitching and topstitching are often used interchangeably, but they differ in their distance from the edge and stitch length.
Edgestitching is typically sewn with a normal stitch length, 1/8 to 3/8 inch from the edge. It's commonly used on bra cups, curved necklines, waistbands, collars, and belts to secure seams and add decorative touches.

Topstitching, done 1/4 inch from the edge with a slightly longer stitch length than construction stitches, can be single or multiple lines on garments or bags. Besides its decorative purpose, topstitching keeps seam allowances flat and enhances stitch durability.

Understitching is essential for securing facings, linings, or in-seam pockets invisibly on the wrong side of the fabric, ensuring a clean finish.

How to topstitch like a pro
Needle selection
When choosing a needle there are two options to choose from: go with the needle you already picked that matches your fabric needs or opt for a topstitching needle.
Topstiching needles have a larger eye and a sharper tip. They come in handy, especially when heavier threads are used.

Thread type
Select a thread based on the requirements of the fabric. Use topstitching thread when working with heavyweight fabrics like wool or denim, as the effect will be noticeable and prominent on the garment. Regular thread works very well in case you want to achieve a neat finish and stitches that provide stability. When doing topstitching on lightweight fabrics, silk or embroidery thread is an excellent choice for topstitching.
In comparison with all-purpose thread, top stitch thread is durable and maintains its appearance even after repeated washing. If choosing to work with topstitch thread be aware to match the thread weight with the weight of the fabric you’re using. So, depending on the thread thickness you can achieve a bold topstitch or a more subtle one.
Tip: Do not use heavy thread or topstitch thread in the bobbin of your domestic sewing machine since it will probably cause tension issues, missed stitches, loops, and more. Instead, stick with regular thread in the bobbin and use the topstitch thread only as the top thread.
Stitch length and stitch types
Experiment with different stitch lengths to find the best one that suits the fabric you’re using. But generally speaking, when topstitching the stitch length is increased. A recommended stitch length to use for topstitching is from 3.5mm to 4mm (whereas the regular stitch length is 2.5mm).

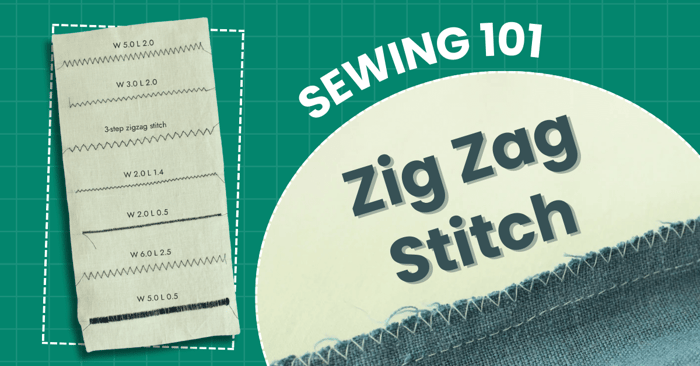
Be aware that topstitching doesn’t have to be just a straight stitch. You can choose from many decorative stitches that nowadays sewing machines provide, but also something as simple as the zig-zag stitch can be used as a topstitch.

Presser foot choice
Ideally, a presser foot that provides clear visibility and facilitates easy fabric guidance is the perfect choice. There are many options but not all of us have the same sewing feet so some of the options that come in handy, and make it easier are: blind-hem foot, edgestitch foot, zipper foot, satin foot, and more.
While a regular presser foot does the stitching just as well, other sewing feet produce more accurate results and serve as a guide for evenly spaced stitching lines.
Adjusting tension
A too-loose tension will give sloppy threads on the wrong side of the garment, whereas a too-tight tension will have the bobbin thread show on the right side of the garment. Adjust your sewing machine properly to have a neat seam on both sides of the garment.
Test and Practice
Always test on fabric scraps at least twice, before diving into topstitching your garment. You will come to realize that this is a very helpful suggestion especially when using decorative stitches as a topstitch.

Hand topstitching
In addition to using a sewing machine, topstitching can also be done by hand using the saddle stitch. This stitch is usually done by hand and is used on hard-to-sew cut-edge fabrics and materials such as leather. The presence of this hand stitch in any garment denotes a high-quality finish and workmanship.
How To Topstitch
Preparations
Before you start on the garment, ensure that if you have any raw edges finish them with a serger or a zig-zag stitch. You won’t be able to do that after you finish since the seam allowance will be locked with the thread.
Sew the seam using a regular stitch length and press.


If stitching appears on both sides of the seam, press the seam allowance open. If stitching is only on one side of the seam, press the seam allowance to that side, depending on your desired placement of the stitching.


- Thread the sewing machine and set the stitch length. Generally, 3.00 mm for light-weight fabrics and up to 4.00 mm for heavyweight fabrics.

- Pull a decent amount of thread behind the sewing machine. Mark the line if necessary.

Place your fabric under the presser foot and align the seam or edge with the needle location.
Lower the presser foot and drop the needle into the fabric.

Sew along the whole seam or edge until the end.
Lift the presser foot and raise the needle. Leave behind a reasonable thread tail and cut.
Pull the needle thread to the backside of the garment and tie a knot. Repeat the topstitching for the other side of the seam and press.


In the case when your seam allowance is pressed to one side of the seam, topstitch on the side that has the seam allowance at the back of the fabric.


Where to use It
There are so many options to include topstitching in your handmade garments. Some of these options include holding the neckline and armhole facings in place, finishing hems, giving definition to back pockets and zippers, keeping pintucks in place, using it to keep pleats flat and in place, and more.
Tips on topstitching
- Stitch both sides of the seam in one direction otherwise, you might end up with a wrinkling effect on your topstitched garment.
- Always test-stitch on the same fabric and number of layers as the actual garment. This is your chance to redefine stitch length and adjust tension if needed.
- Always topstitch from the right side of the garment.
- Trim seam allowances before to reduce the bulk of the fabric.
- If you’re using a thicker fabric or many layers, fold some scrap fabric under the back of your presser foot before you begin to sew. This evens the presser foot position so that the foot does not have to climb a mountain of layers to start sewing the seam.
- Don’t backstitch as per usual but instead of stitching back and forth, first shorten your stitch length very short; backstitch just once back and forth, then lengthen your stitches and sew as normal. Another way to skip backstitching is to pull the top thread to the back of the garment and tie it in a knot with the lower thread.
- When you begin to sew, hold onto your threads, as this reduces the tendency for the thread to knot in the back. As a result, it’s way easier to pull the thread on the wrong side of the garment and tie the knot.
- To achieve consistent stitches keep your stitching pace constant throughout the seam rather than going excessively fast or slow.
Final thoughts
Topstitching indeed elevates the handmade wardrobe since besides giving it unique twists it also adds to the longevity of the garment. Even for beginners in sewing, it is actually pretty straightforward so with practice and choosing the right tools, success is inevitable!
Thanks for joinig us today. Also - stay connected by following Peek-a-Boo Pattern Shop on Pinterest, Instagram, Facebook, and signing up for our email Newsletter to get more wonderful ideas for sewing projects. Happy sewing!