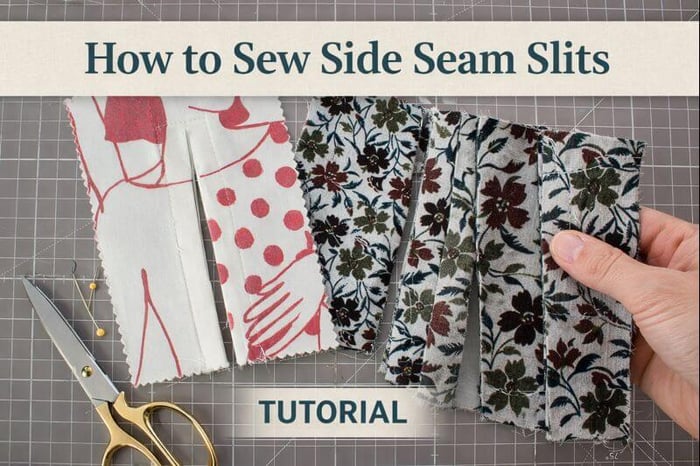
Sewing 101 - How to sew side seam slits
Table of Contents
Side seam slits are a simple but powerful detail you can add to a garment to improve movement, comfort, and overall fit. Whether you’re sewing a skirt, dress, or tunic, learning how to sew side seam slits gives you more flexibility in both design and wearability.
One of the best things about side seam slits is that they don’t have to be built into the original pattern. You can easily add them to many existing patterns as long as you understand seam allowances and placement. This makes them a great option for customizing garments or improving the fit of ready-to-use patterns.
In this guide, you’ll learn exactly how to sew side seam slits, where they work best on a garment, and how to add them cleanly and confidently. We’ll also walk through step-by-step instructions and helpful tips so you can create professional-looking results every time.
What is a split seam (slit)?
A split seam is any kind of seam that extends from a closed seam and, depending on the design, can be short, medium, or long. Split seams are added to garments for aesthetic or functional purposes.
However, a slit is not necessarily a split seam since it can also be slashed and sewn directly on fabric. These types of slits are usually lined and shorter and preferred on areas that have minimal pressure points but add to the silhouette and the design of the garment.
Where to use split seams(slits)?
Most of today's eveningwear, formal styles, and tailored items use side split seams, which in most cases are lined, which adds to the construction difficulty.
Besides formal wear, slits can be seen in many of today’s casual unlined garments. They are commonly found in skirts and dresses, where side, front, or back slits allow for ease of movement, especially in pencil skirts. Blouses and shirts feature side slits at the hem to provide comfort around the hips or neckline slits mainly for decorative elements.
Coats and blazers on the other side usually feature back vents for ease of movement, and sleeve slits enhance style and comfort.
The choice of slit type depends on the garment’s purpose and fabric. For lightweight and delicate fabrics, a rolled hem or bias-bound finish keeps the slit neat without adding bulk. In structured garments like blazers or coats, a lined, vented slit with a tailored finish provides both style and functionality.
Considerations before sewing split seams
- Using the tool of your choice (a ruler or a sewing gauge), always be sure to mark the seam allowance correctly.
- Depending on the fabric choice, keep in mind to choose the right thread and needle size. If all three are in line, then the strength will be impeccable.
- As with any other sewing technique, pressing is a must, and in order to get a neat finish, press your seams after every step.
- Depending on the type of the slit you choose, always make sure to add the right amount of seam allowance.
How to Sew Side Seam Splits
Before getting into sewing split seams, it’s important to point out that finishing the split seams in the right way is one of the most important factors. The reason behind this is that a properly finished split seam needs to look clean inside and out and, at the same time, provide long-term durability.
The location of the slit and the finished technique will also impact on the longevity of the slit. For example, a slit added to the back of a skirt or a dress receives more tension during wear compared to a short side pant hem slit.
How to sew a quick slit into a seam
Before preparing your pattern pieces and cutting on fabric, keep in mind that a slit requires a seam allowance larger than 3/8” (1 cm). For example, aim for at least 5/8 inch (1.5 cm), even though ¾” (1.9 cm) or even 1” (2.5 cm) is preferred.
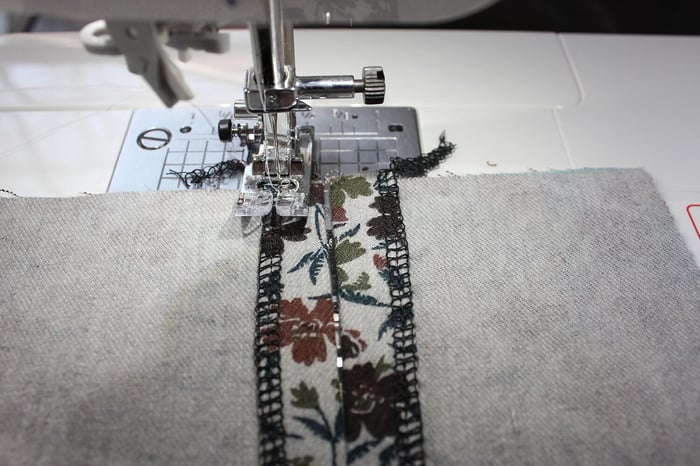
- Finish the fabric's raw edges with a serger or zigzag stitch.
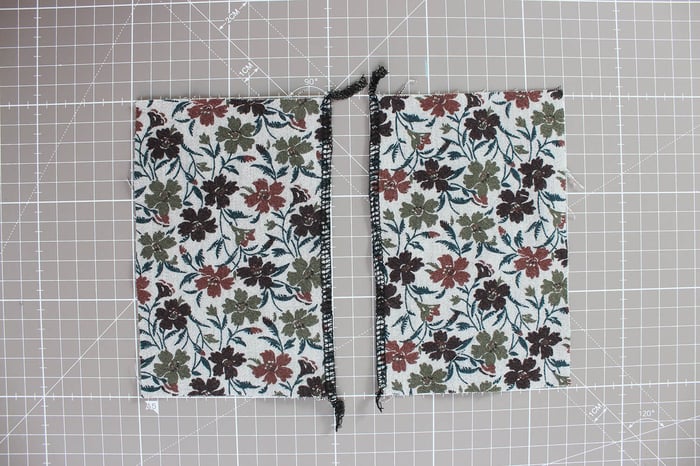
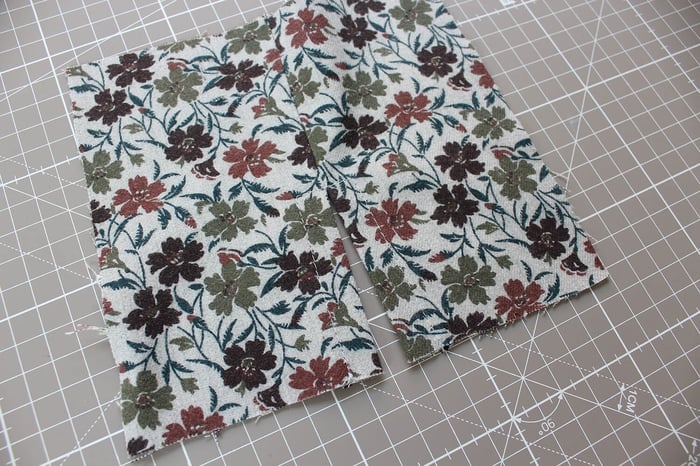
- Pin your fabric panels with the right sides together. Take a ruler or a measuring tape and mark the end of the closed seam which is going to be where the slit starts.
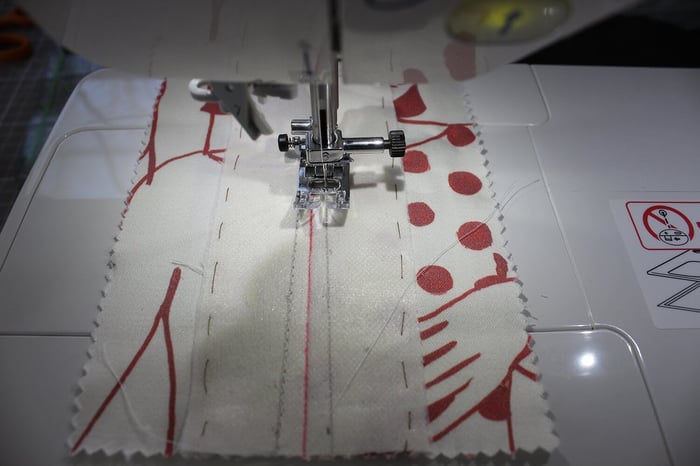
Sew the side seam and stop at the mark where the slit begins. Backstitch to secure the seam in place.
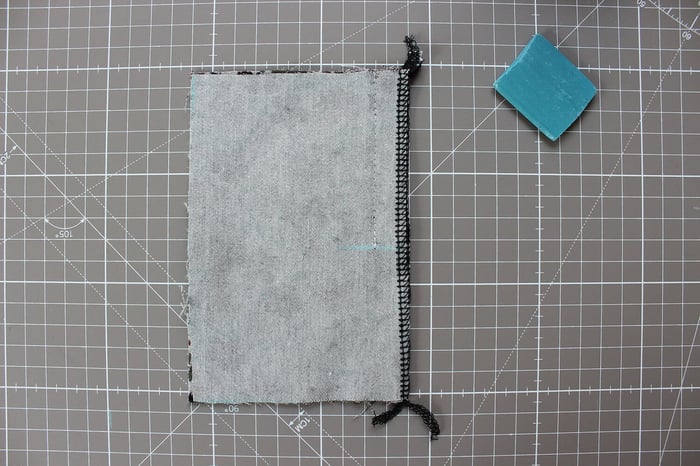
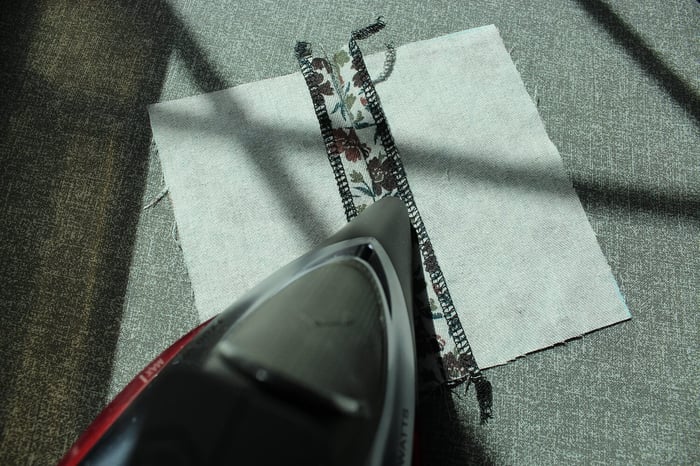
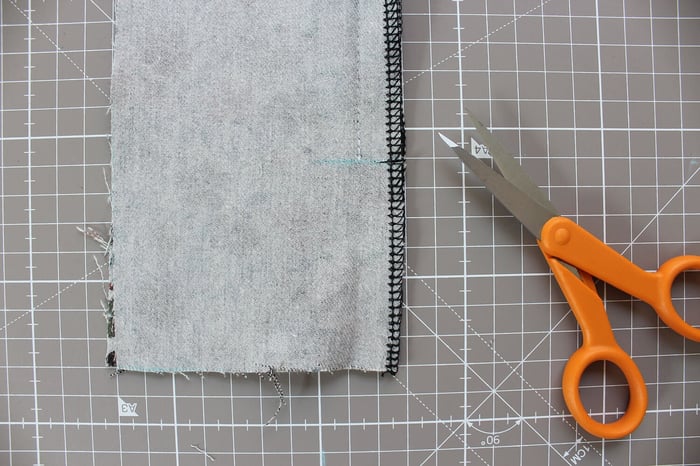
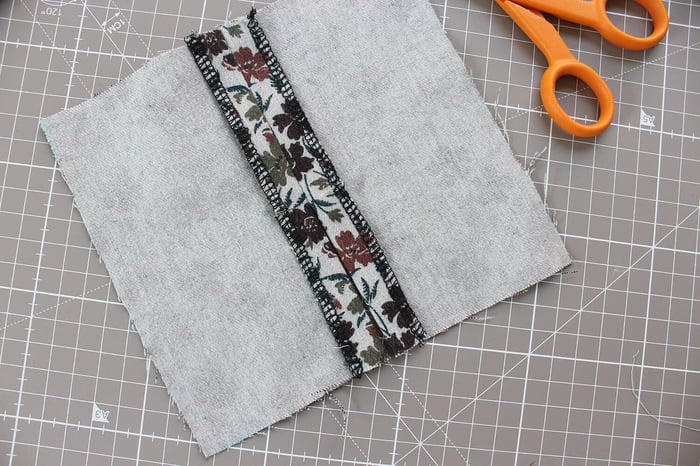
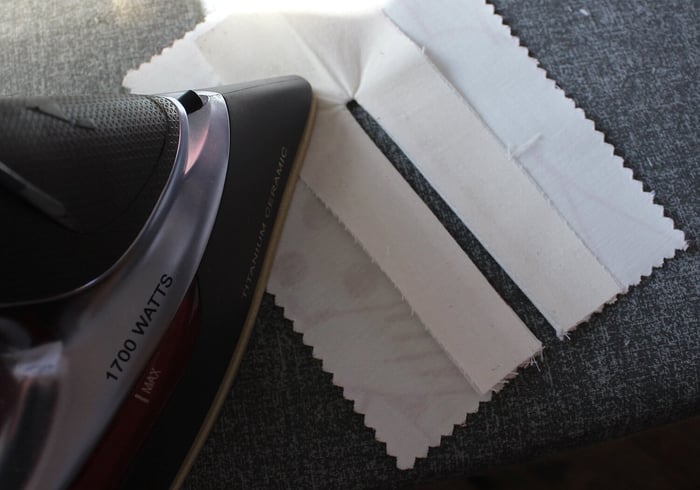
With the stitched seam on its wrong side, press the seam allowance open. While pressing, make sure to maintain a consistent seam allowance all the way down to the end of the slit.
Reenforce the marking where the seam slits starts and if necessary, pin or hand stitch each side of the seam allowance in place.
Start on the left side at the hem, sew up one side of the slit, pivot and sew across, and continue sewing on the other side of the slit up to the hem.
Press the slit and finish the hem.
Another way to finish this type of slit (especially when having larger seam allowances such as 1” (2.5 cm) is as follows:
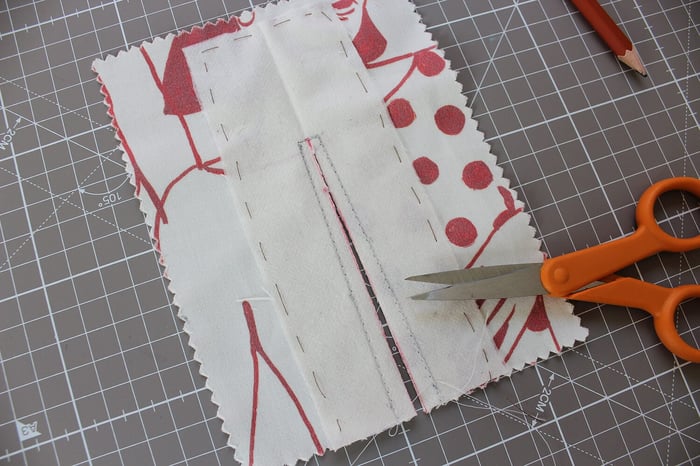
- Repeat STEPS 1 to 4 above. Next make a small horizontal cut into the seam allowance where the start of the slit is marked.
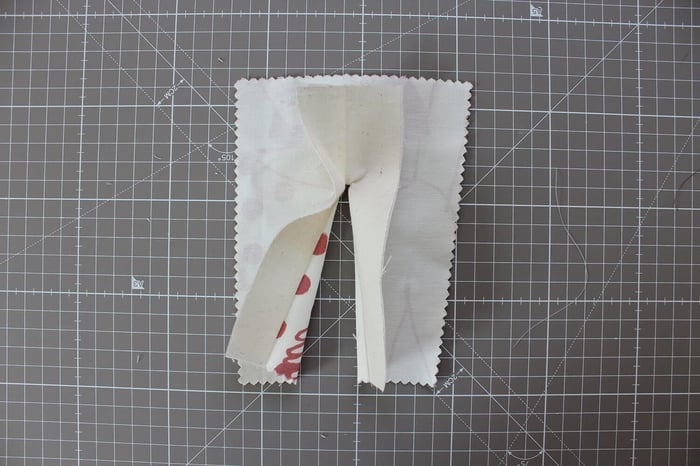
- Press both sides of the fabric open toward the wrong side of the fabric.
- Next, fold the seam allowance raw edges on each side so that they’re fully enclosed. Press in place and secure with pins if necessary.
- With the slit opening on the wrong side of the fabric, stitch from one end to the other end close to the folded edge.
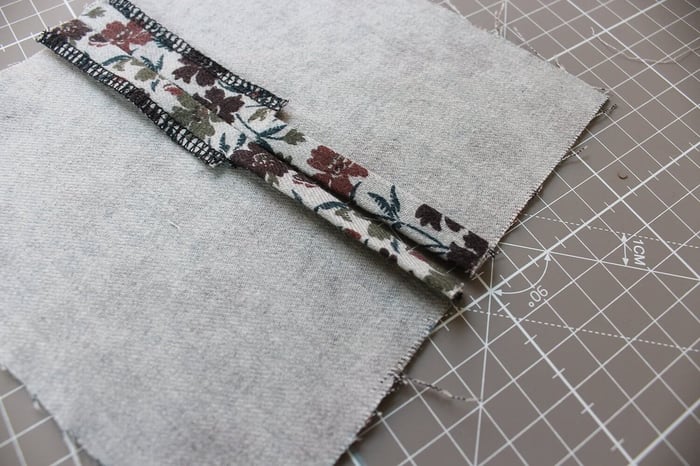
How to add a slit without a seam (Facing slit)
Adding a slit in a garment where there is no seam/side seam is possible and provides a great alternative to adding a tiny detail or changing a silhouette. But it does not offer enough stability and reinforcement. In this method, the slit is faced with a strip of fabric, which is applied on the wrong side of the garment to hide raw edges and to reinforce them.
Most of the time, these slits are short and are located along sleeve cuffs, collars, and hemlines in unlined garments.
Note: Define the length of the slit before cutting the fabric strip and marking the slit on the garment. The tutorial below instructs how to sew a 4-inch finished opening slit.
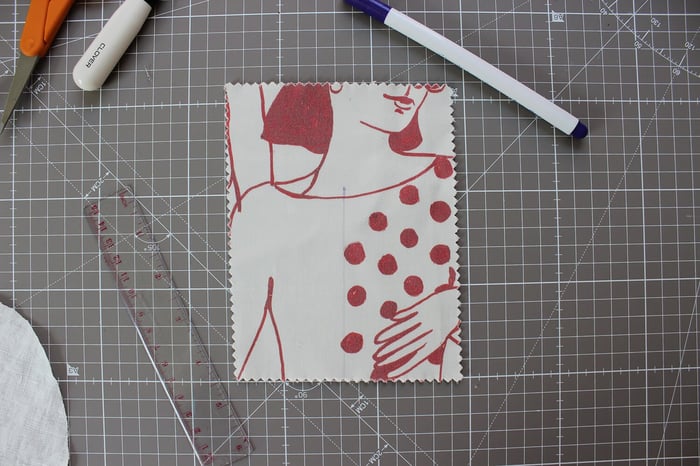
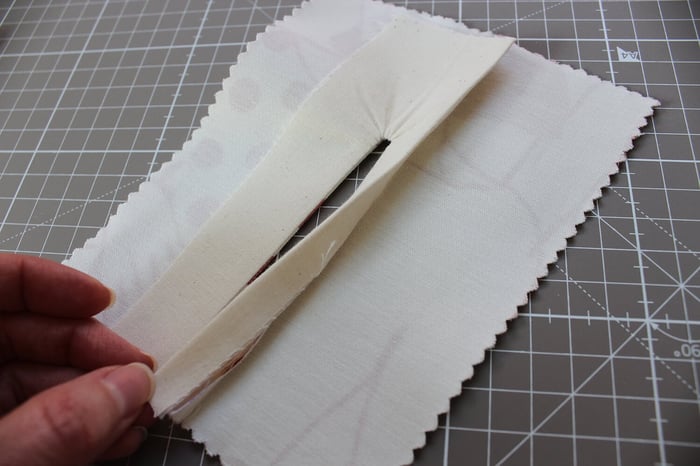
- Cut a 6 x 2.5-inch fabric strip. The strip will serve as the facing for the slit. Make sure to choose a fabric similar in weight to the garment fabric to minimize bulk. *OPTIONAL: Interface the fabric strip to stabilize the fabric and strengthen the end of the slit.
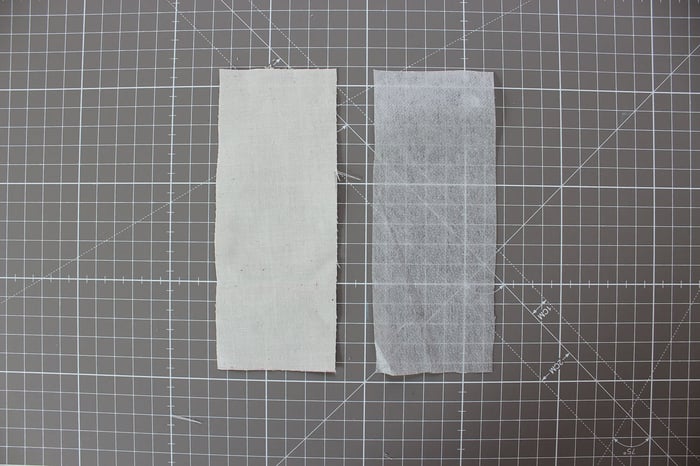
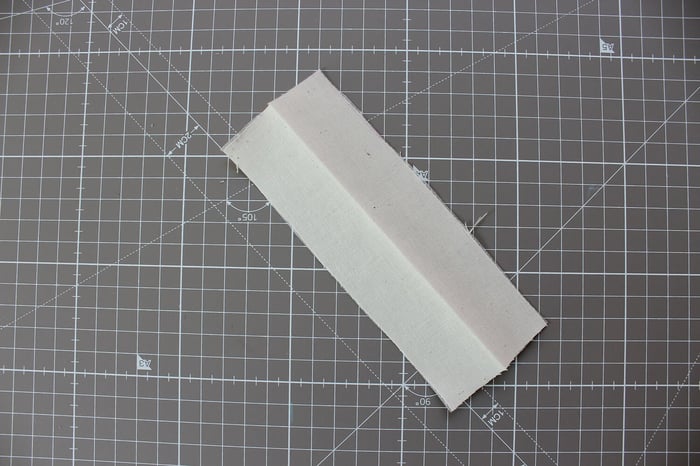
- Lengthwise, fold the fabric strip with the wrong sides together and press.
- Define the slit placement on your fabric and mark it with a water-soluble pen.
- Line up the middle crease of the fabric strip with the marked slit line on the fabric with right sides together. In addition, make sure that everything is lined up at the bottom, so both the strip and the bottom edge of the fabric are in line.
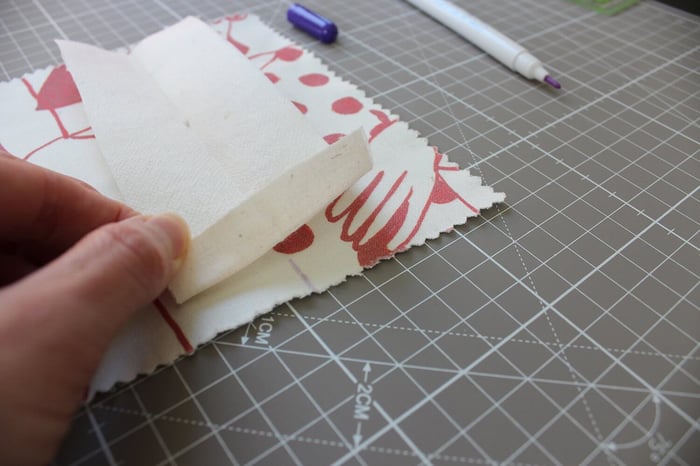
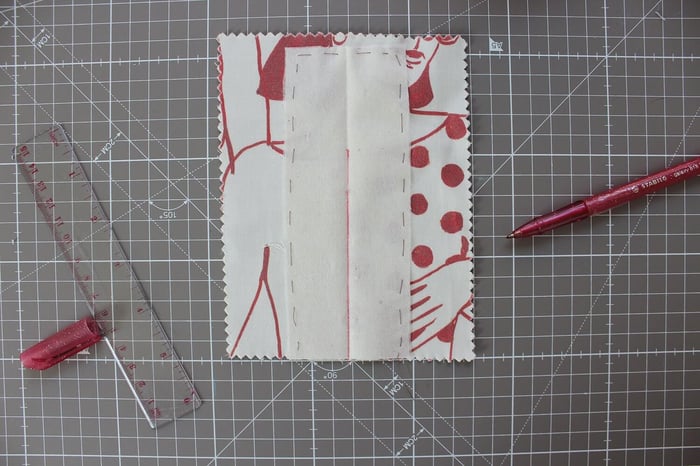
- Hand-stitch the fabric strip in place. This will prevent the strip from moving while sewing and will give more accuracy.

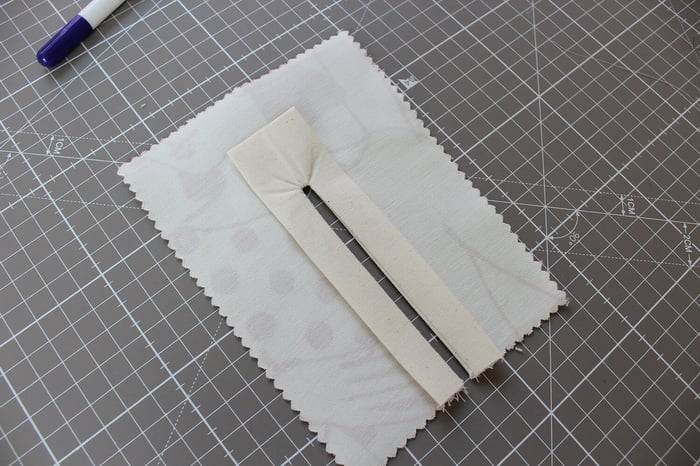
- Use a ruler to draw a 4-inch vertical line in the crease of the fabric strip. Next, mark 1/8 inch on each side of the vertical line, starting at the marked point, and gradually extend 1/4 inch away from the line as you reach the bottom of the line.
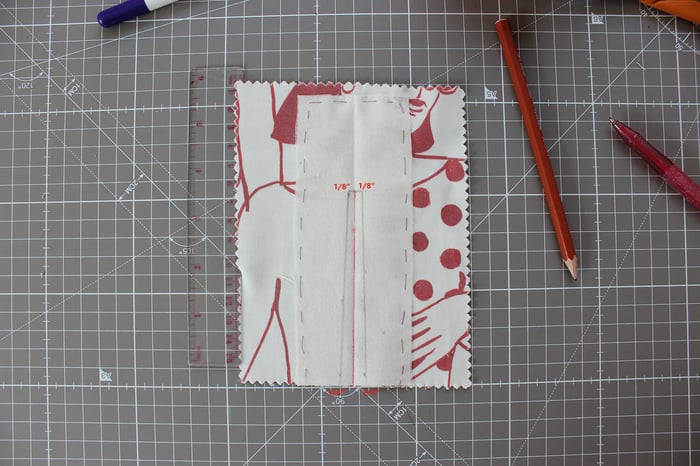
- Start from the bottom edge and sew all around the marked lines. When you reach the top, pivot to make the horizontal stitch. Pivot again and sew along the other line as you reach the other end.
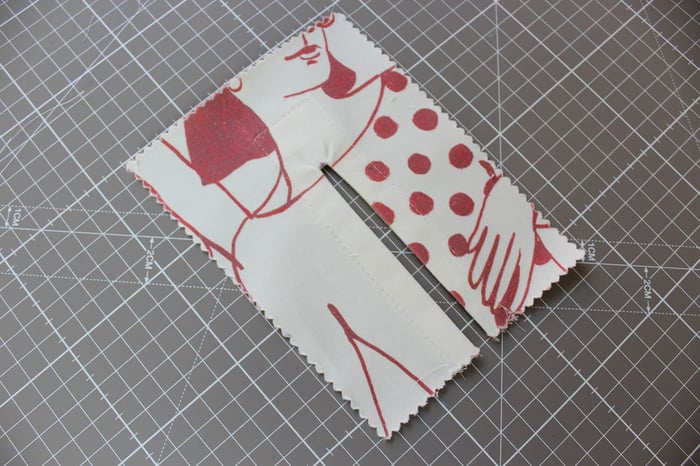
- Next, cut the center line through both fabric layers. Make sure to cut close to the point but not through the stitching. Remove the hand basting.
- Using the slashed line, turn the strip toward the wrong side of the fabric and press it in place so everything is flat.
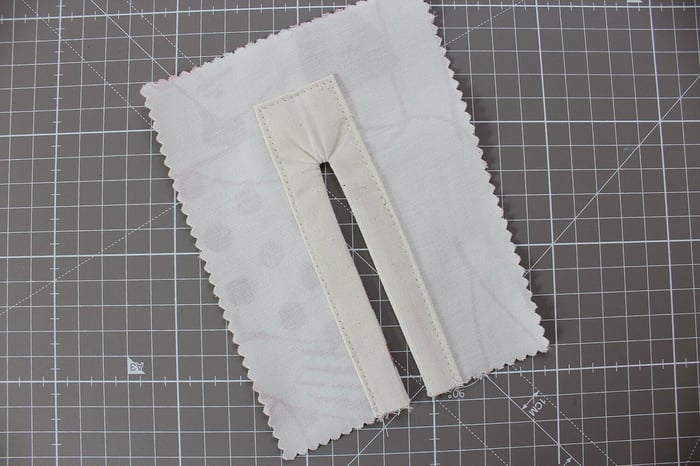
- Fold the side strip edges 3/8 inch on each side and press. Fold the top edge 5/8 inch and press. Secure with pins in place.
- From the wrong side of the fabric, edgestitch close to the folded edges all around the fabric strip and press in place.
Final thoughts
Learning how to sew side seam slits in garments requires precision and great technique to ensure garment longevity but also a neat finish. Whatever the reason that you’re adding slits to your garments, it’s important to backstitch, bartack if necessary, and reinforce stress points that may cause fabric tears.
Among many techniques to create slits, today we only covered the basics to serve you as a start and then later tried out methods that included bias binding or even French seams. Keep in mind that practice is key, and slits are so easy to practice in fabric scraps before actually sewing into your actual projects.
FAQs
How to Sew Side Seam Slits
Frequently Asked Questions About Sewing Side Seam Slits
What is a side seam slit?
A side seam slit is a small opening added to the side seam of a garment, usually near the hem. It allows for easier movement and adds a subtle design detail to dresses, skirts, and longer tops.
Why would I add a side seam slit to a garment?
Side seam slits improve comfort and mobility, especially in fitted or longer garments. They also add visual interest and can make a design feel more polished and intentional.
Do I need a special pattern to sew a side seam slit?
No. Many patterns include side seam slits, but you can also add one to a pattern that doesn’t. You simply decide where the slit should begin, mark that point, and adjust your sewing steps accordingly.
How do I know where to start the side seam slit?
A good rule of thumb is to start the slit a few inches above the hem, depending on the garment length and how much movement you want. Longer garments usually need a higher slit for comfort.
What tools do I need to sew a side seam slit?
You’ll need basic sewing tools such as fabric scissors or a rotary cutter, pins or clips, a sewing machine, and a marking tool. Knowing your seam allowance is also important for clean results.
How do I keep the edges of a side seam slit from fraying?
You can finish the raw edges by folding and topstitching, using a zigzag or overlock stitch, or applying a narrow hem. The best method depends on your fabric type and desired finish.
Is sewing a side seam slit beginner-friendly?
Yes! Side seam slits are a great beginner technique. As long as you take your time and follow the steps carefully, it’s an approachable skill that builds confidence and improves garment fit.
Can I add a side seam slit to any pattern?
Most straight or slightly fitted patterns can be modified to include a side seam slit. Just be sure the fabric and design will still hang well once the slit is added.