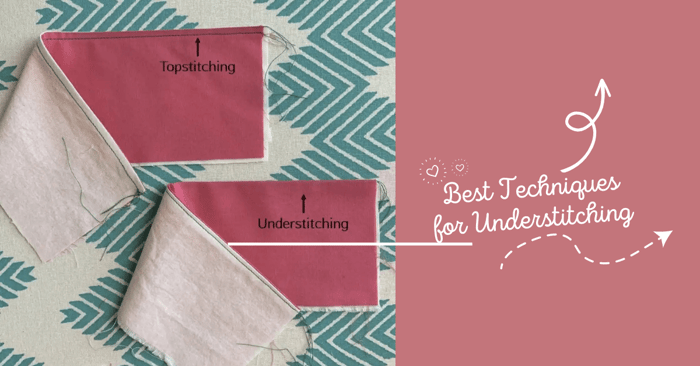
How to Understitch | Best Techniques for Understitching
Stephanie from Stephie B's Designs is back with another tutorial, and this time it's about the often overlooked sewing technique of understitching. In this tutorial, you will learn the fundamentals of how to understitch and why it's an essential technique to master. Understitching is a method used to keep facings, linings, and underlayers from rolling out or peeking through to the right side of a garment. It reinforces edges by sewing them in place, resulting in a more professional-looking finish. With Stephanie's guidance, you'll be able to add understitching to your repertoire of sewing skills and elevate your projects to the next level.
Basics of How to Understitch
Understitching cannot be seen from the outside of a finished garment, which is why it is so great – it is a clever little trick that gives your garments an extra special, more professional look and feel. While topstitching is visible or even decorative on the outside of the garment – understitch is the opposite. It cannot be seen.
In this tutorial I’m going to walk you through What understitching is, When you might find yourself needing to use this technique, Why you should understitch, and finally How to understitch.
So… let’s get to it, shall we?!
What is understitching in sewing?
Understitching is finishing technique similar to it’s BFF topstitching. They do similar jobs, but with understitching you are sewing the seam allowance (SA) to just the lining or facing of a garment, rather than through the main fabric, SA, and lining as you would with topstitching.
Understitching v. Topstitching
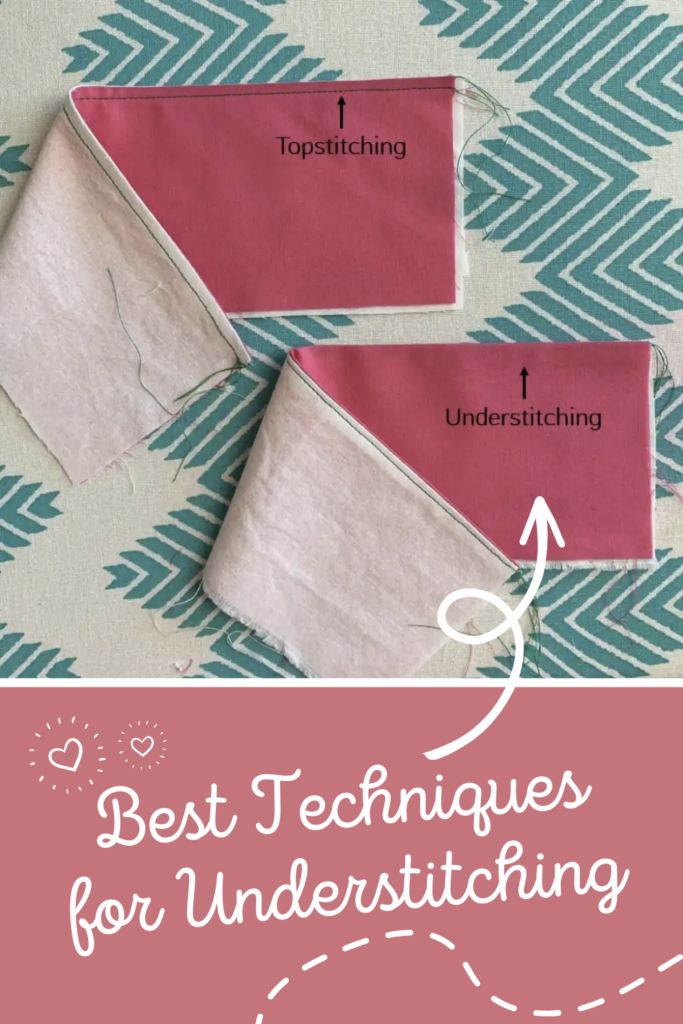
Below is an image with examples of two finished garments; one is topstitching and the other understitching. These may help you visualize the difference between the two stitching methods.
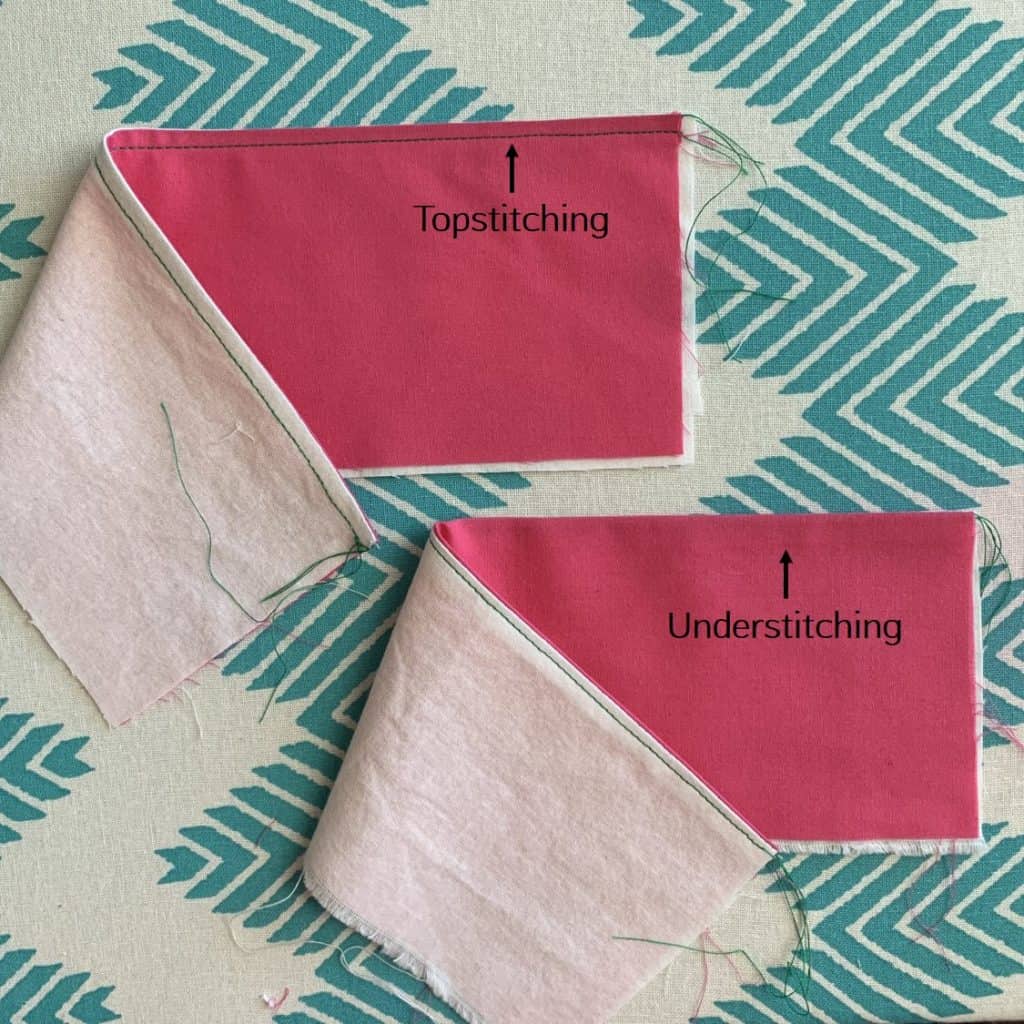 The example on top has been topstitched. After sewing together the main fabric and the lining with their right sides together (RST), they are turned right side out, pressed, and are sewn along that seam edge. Topstitching – which is done using a basic straight stitch for wovens, or a zig-zag or stretch stitch for knits – can be seen from the outside of the garment.
As you can see from the example on the bottom (and as I mentioned before), understitching cannot be seen from the outside of the garment. I’ll show you how to accomplish this down below.
Need more visuals?
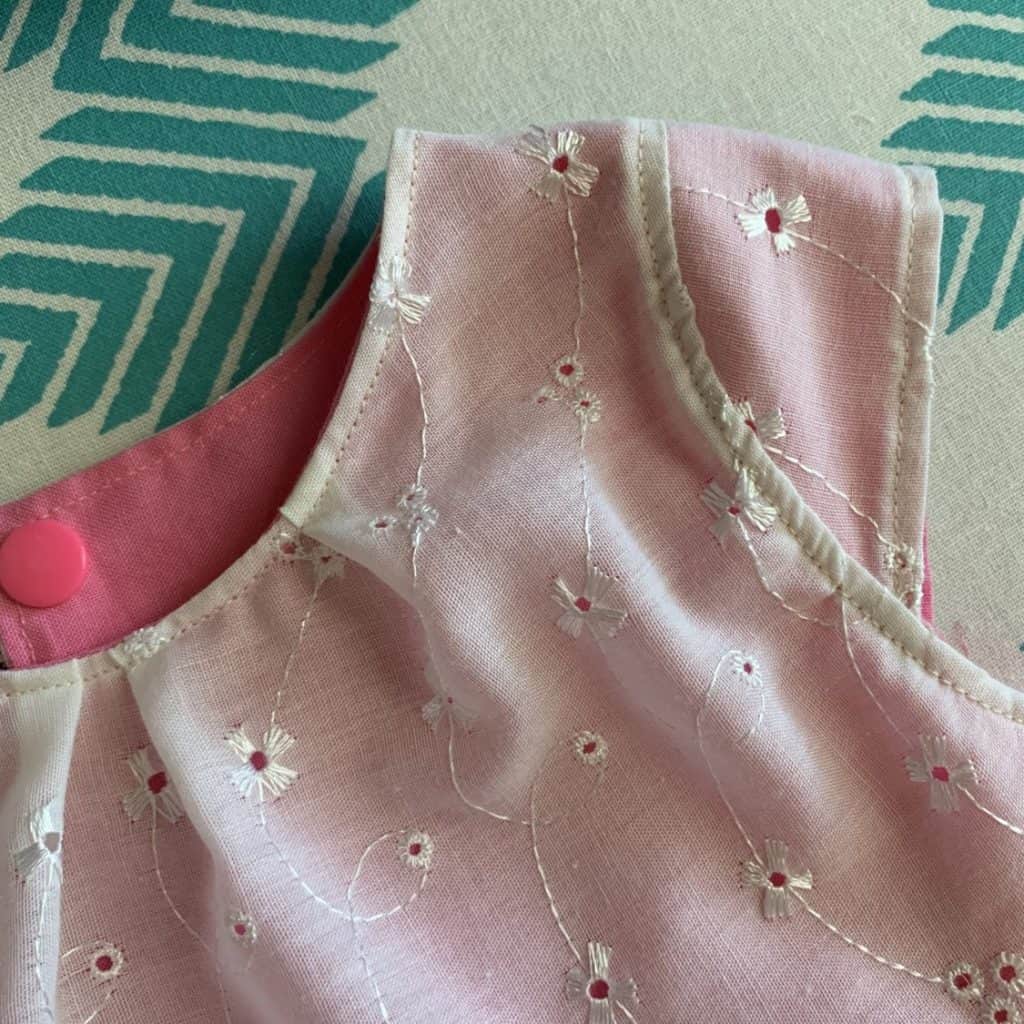
This garment (a Savannah Pleated Party Dress from Peek-a-Boo Pattern Shop) has been topstitched:
 And this one has been understitched (a Melanie Maxi Dress and More, also from Peek-a-Boo Pattern Shop):
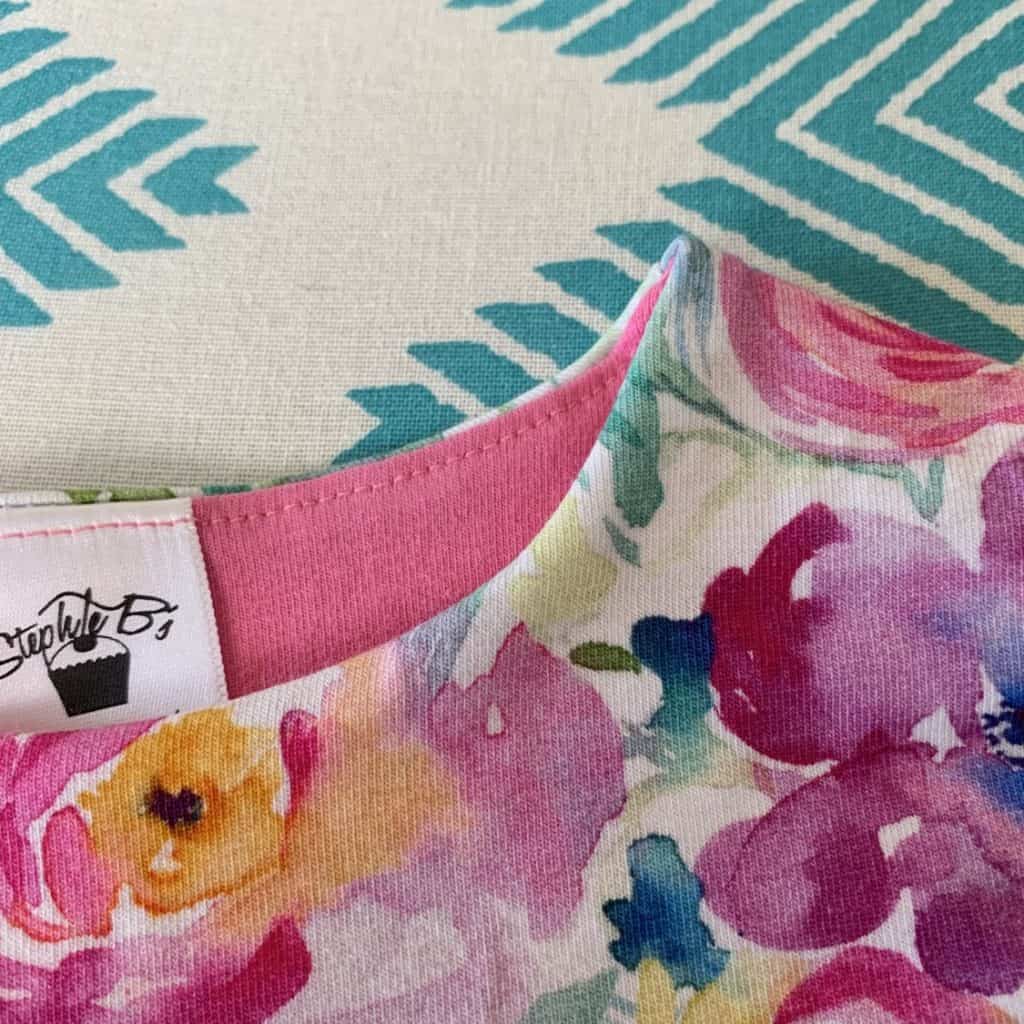 See the difference? Good! Let’s keep going then.
When might find yourself needing to understitch?
You’ll generally see this understitching technique used around necklines and armcyes (aka the arm holes on tops/bodices).
Because understitching is not visible from the front, it is perfect for more formal dresses or tops, or on any other garment don’t want the look of additional stitching.
Oftentimes, the choice to understitch vs. topstitch is a personal preference, but if a pattern designer calls for one over the other, I’d follow their recommendation.
Why should you understitch?
The primary purpose of understitching (and topstitching) is to prevent the lining of a garment to roll up and show from the front.
After normal wear and washing, without using this technique (or a topstitch if you’ve chosen that route) the lining will inevitably rear it’s ugly head and peek out from underneath the main fabric. You may like that look – but truth be told it doesn’t look finished and without pressing the lining back down over and over again, you will always run into this issue.
And now, the step you’ve all been waiting for – how to understitch!
How to Understitch | Understitching in Sewing
Understitching Step 1
Once you’ve sewn together your main fabric and lining according to your pattern, trim the seam allowance (SA) down to about 1/4″, then press towards the lining.
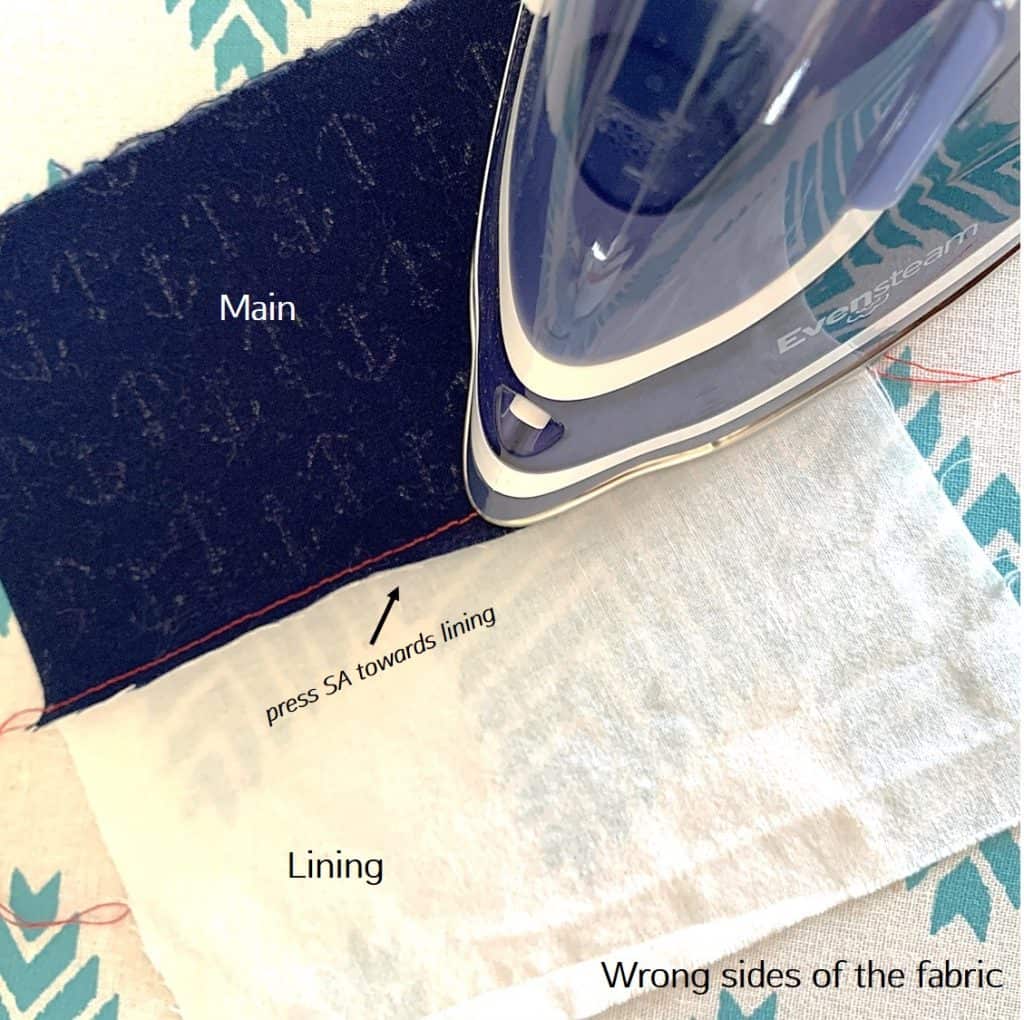 Note: If your seam is curved – as are most necklines and armcyes – clip around the curve before you proceed. This will help the fabric lay flat once it’s flipped right-side out.
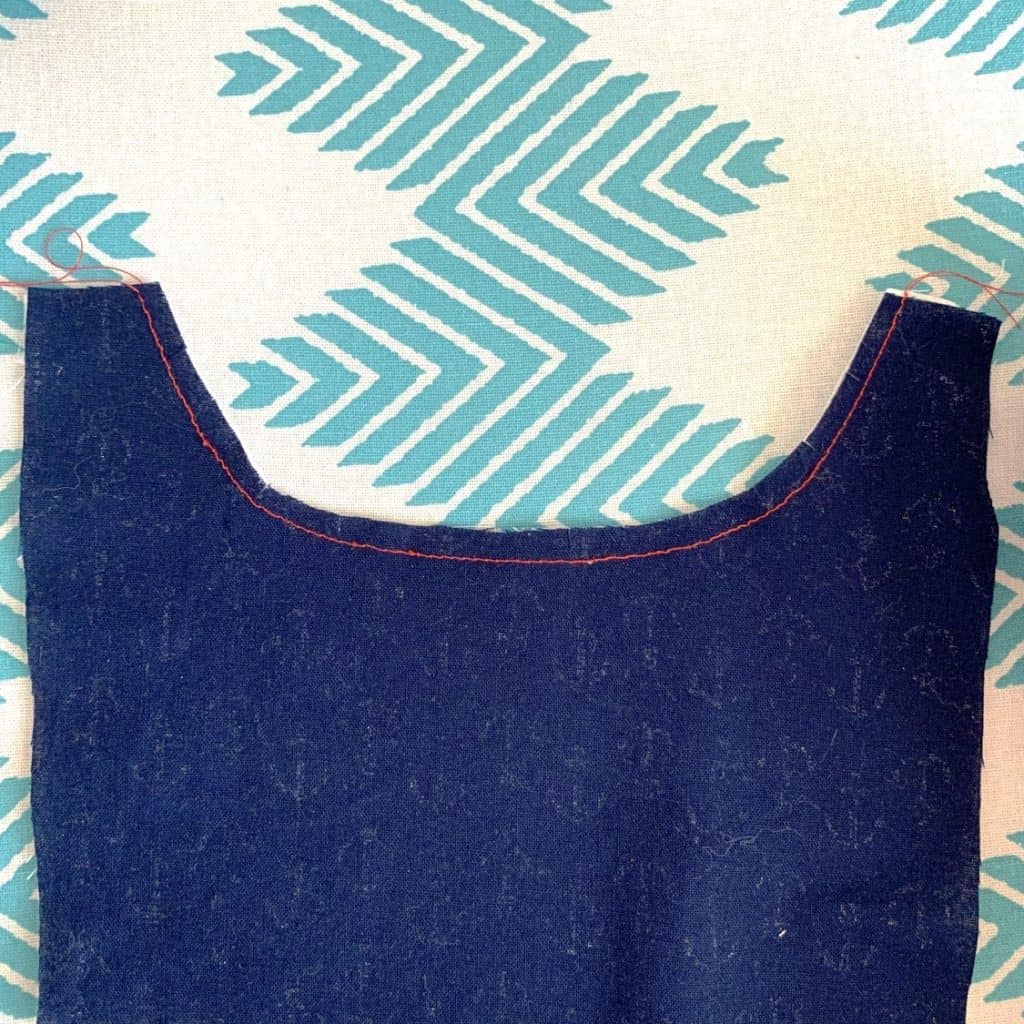
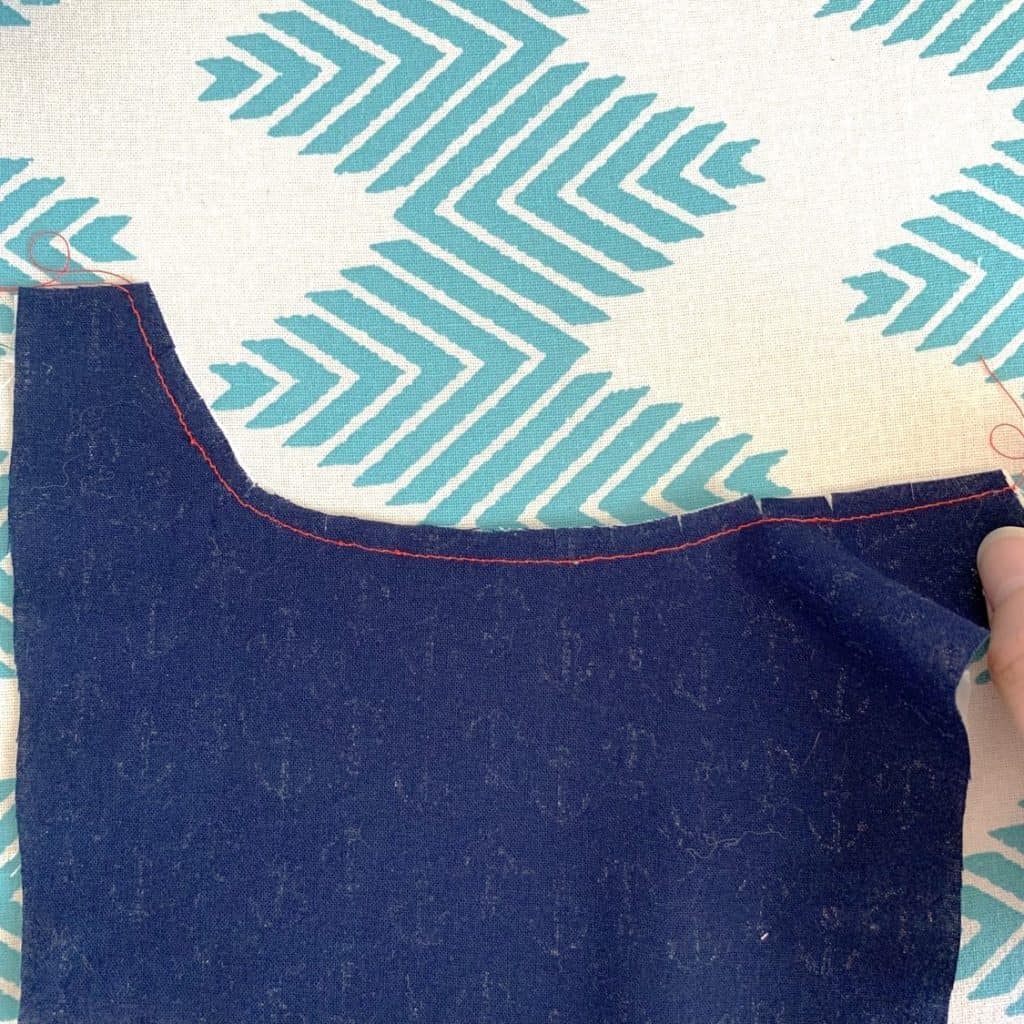 After pressing, the SA will be “under” the lining when looking at the right sides of the fabric. You can barely make it out in the image below.
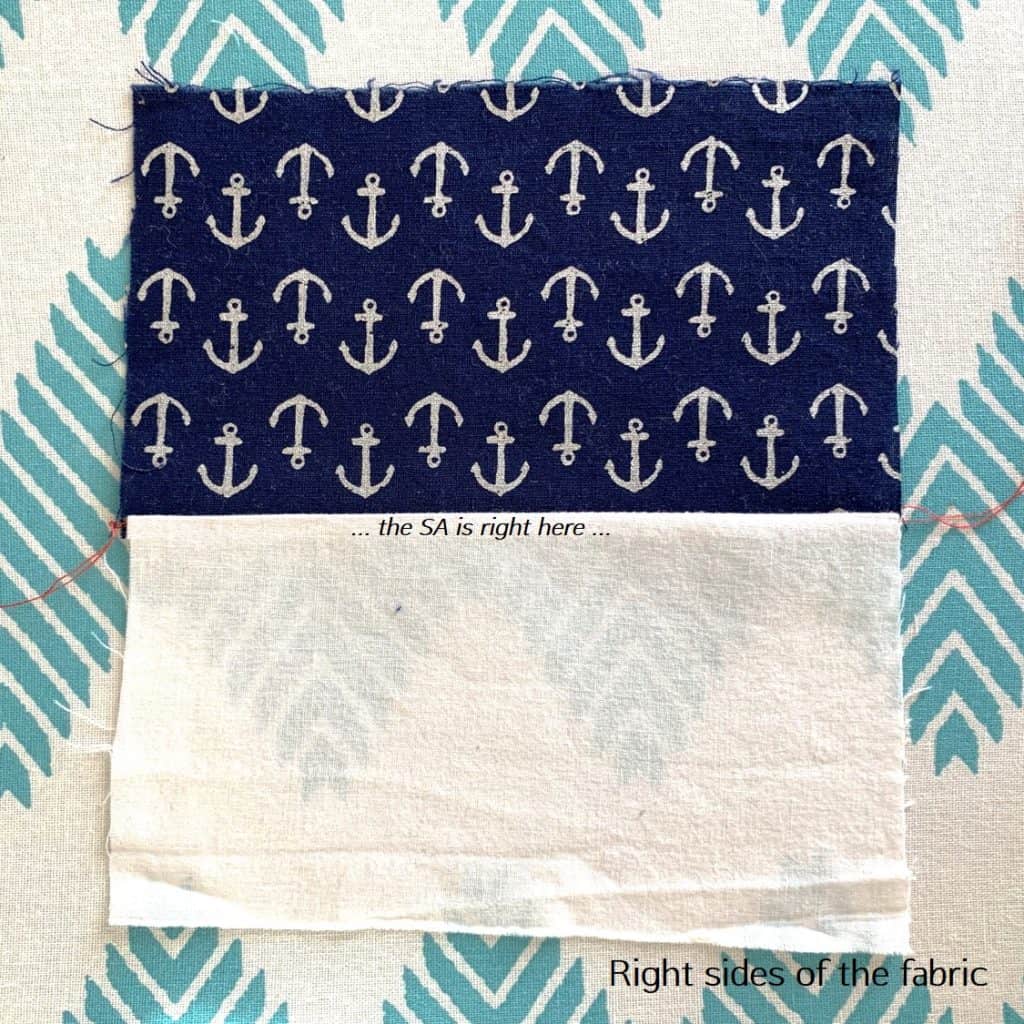 Understitching Step 2
Place your garment under the needle of your sewing machine with the right sides facing up or down, whichever you are more comfortable with. Personally, I work with my garment right sides up.
I also prefer to position the lining and SA on the right of my needle. If it is more comfortable to have the lining and SA on the left of your needle, go for it! So long as you can sew the SA to the lining, it doesn’t matter which side they are positioned on.
Sew a straight stitch (zig-zag or stretch stitch for knits) no more than 1/4″ away from the seam line.
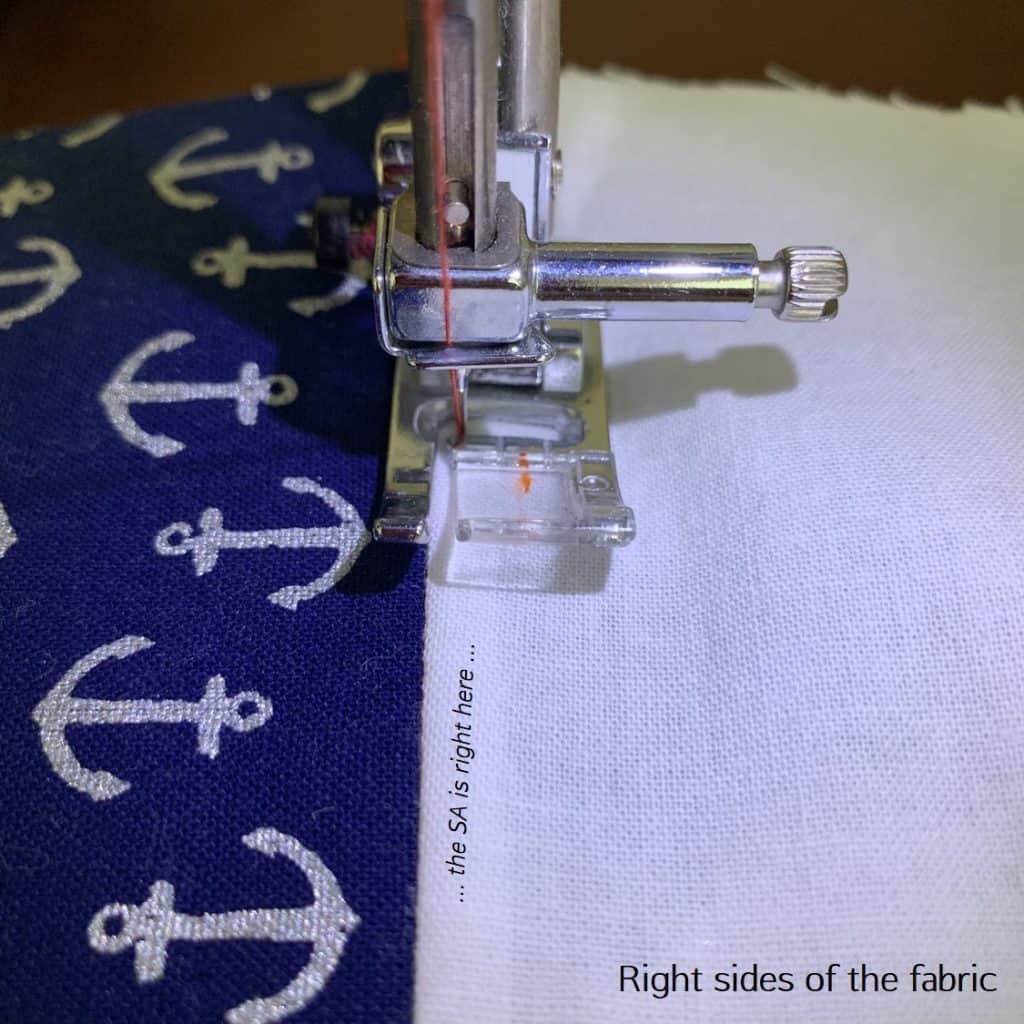 Once understitched, your garment will look like the image below from the right sides of the fabric…
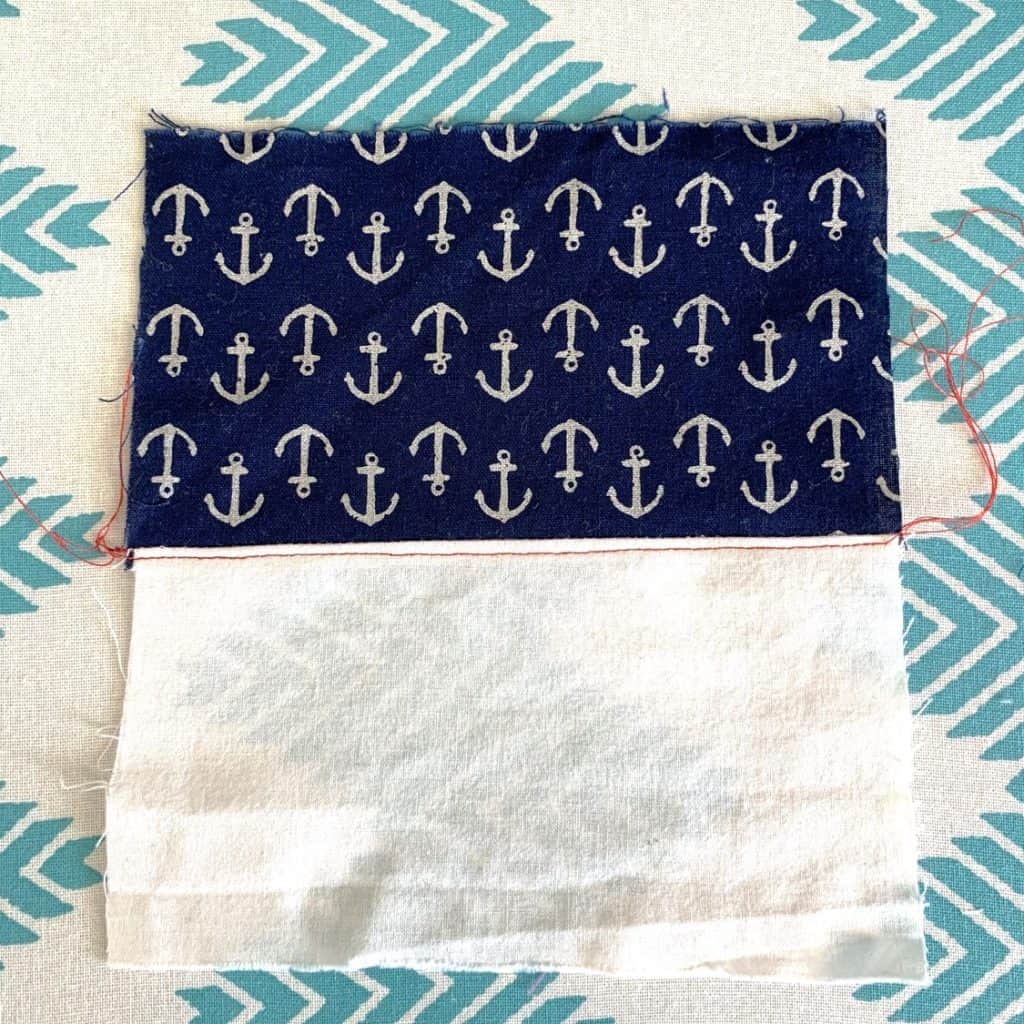 … and this from the wrong sides.
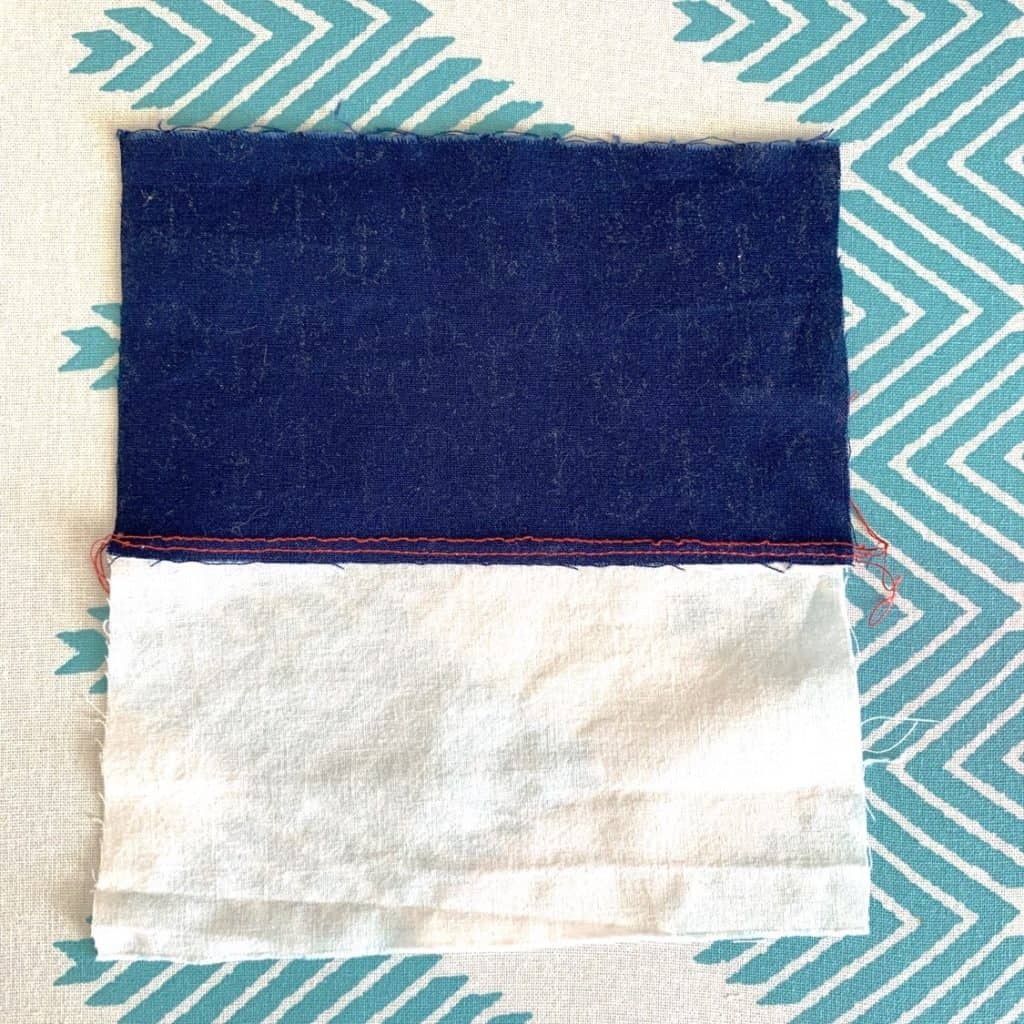 How to Understitch Step 3
Press the lining down towards the inside of the garment. The wrong sides of the fabric are together.
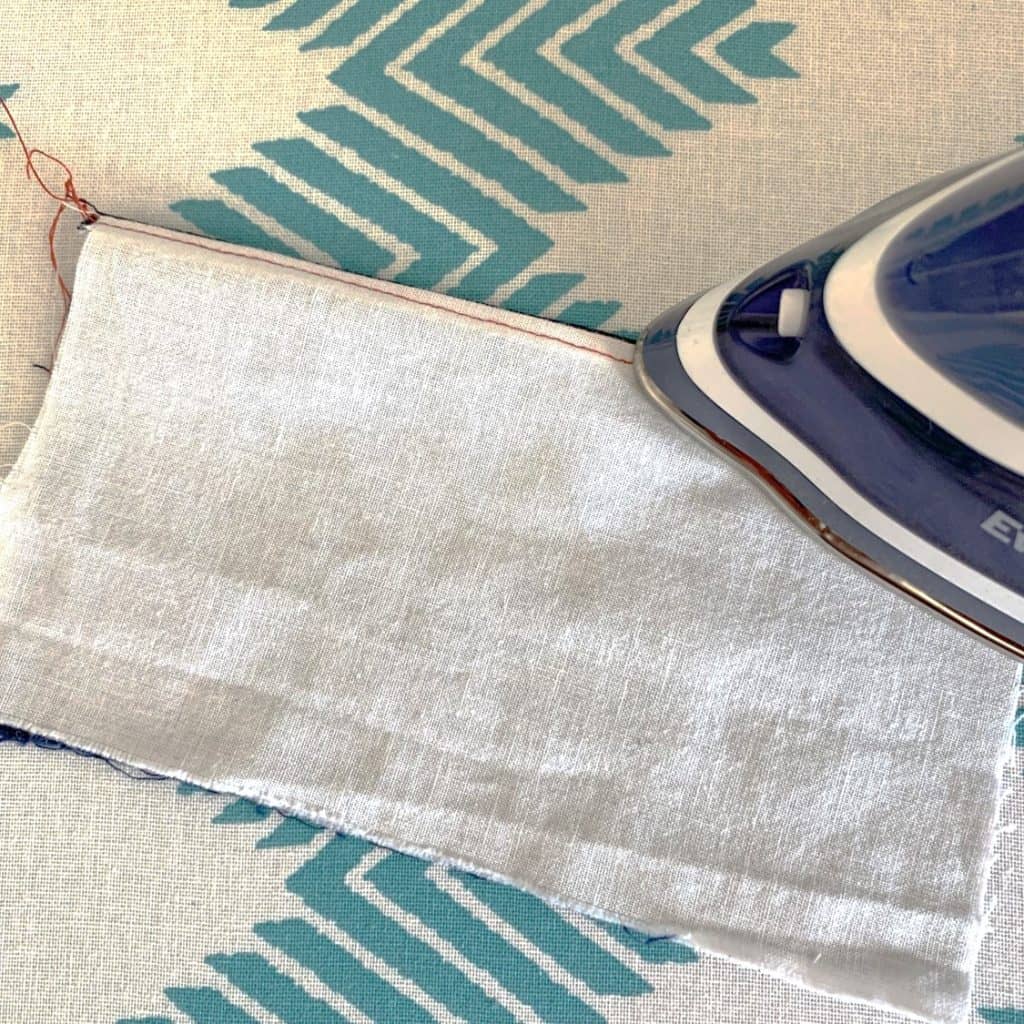 Turn it over and you’re done!!! Isn’t it beautiful?
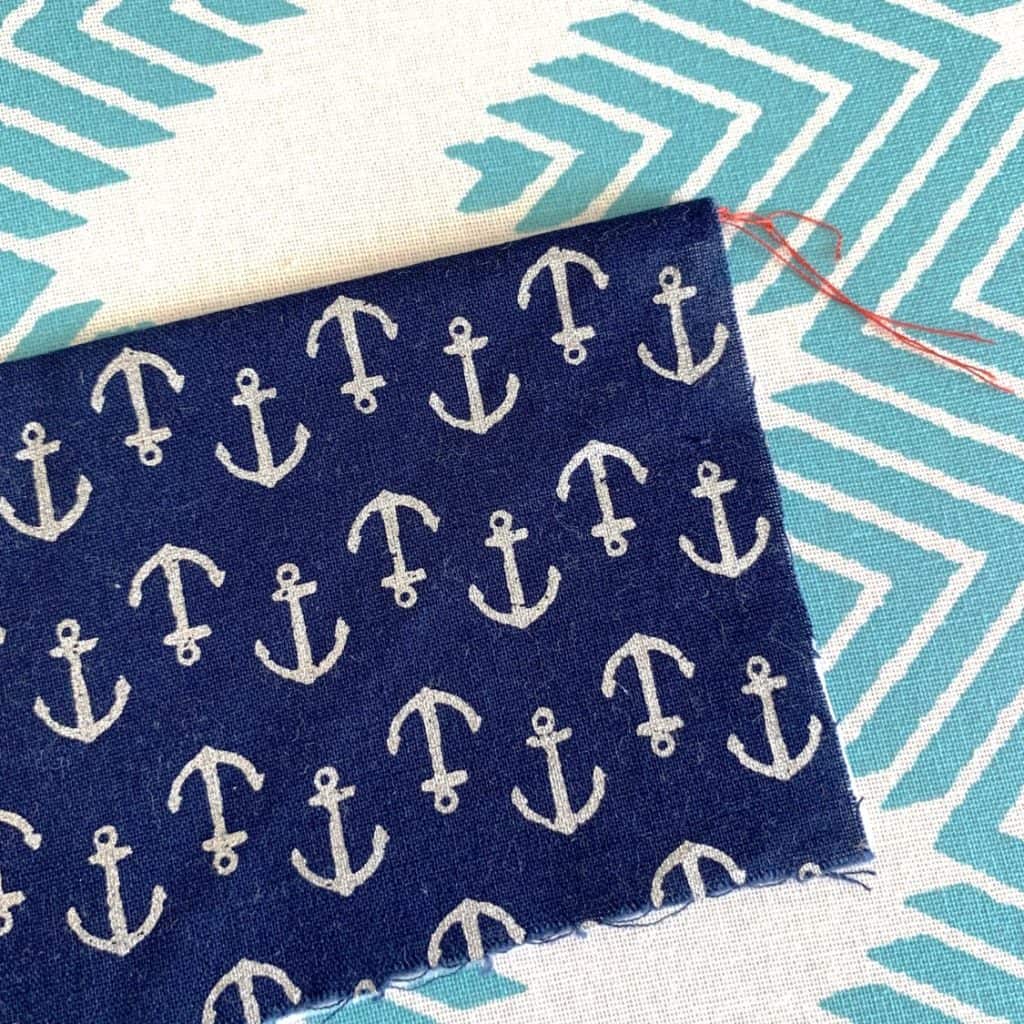 Here is a quick look at the curved edge after understitching and pressing:
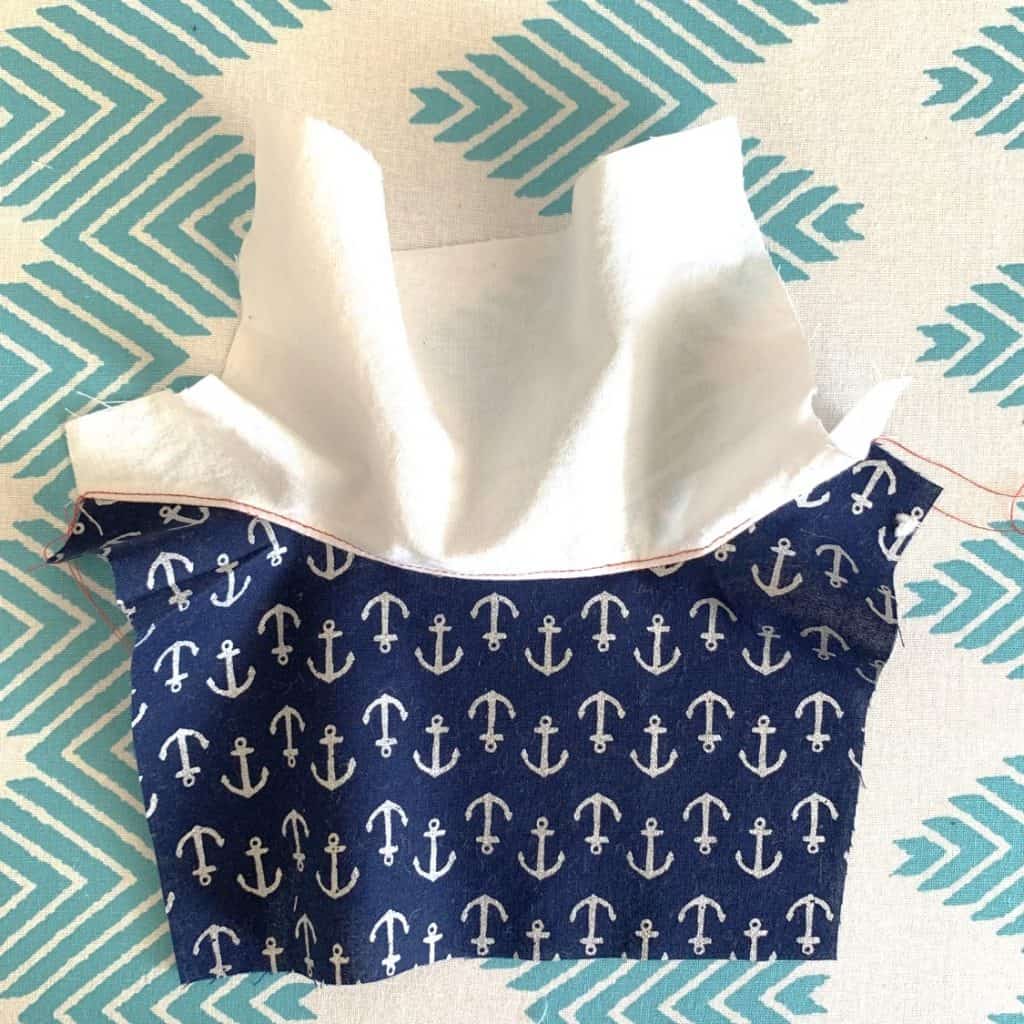
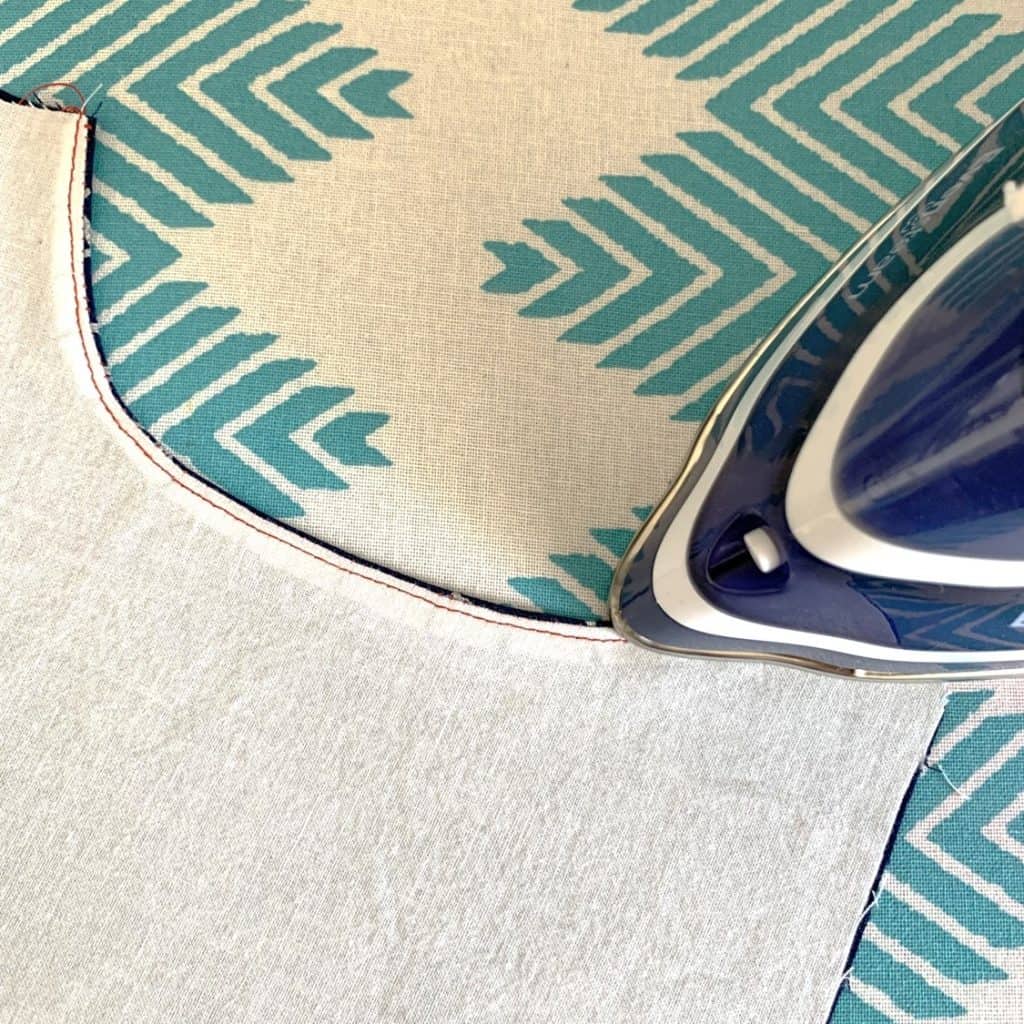
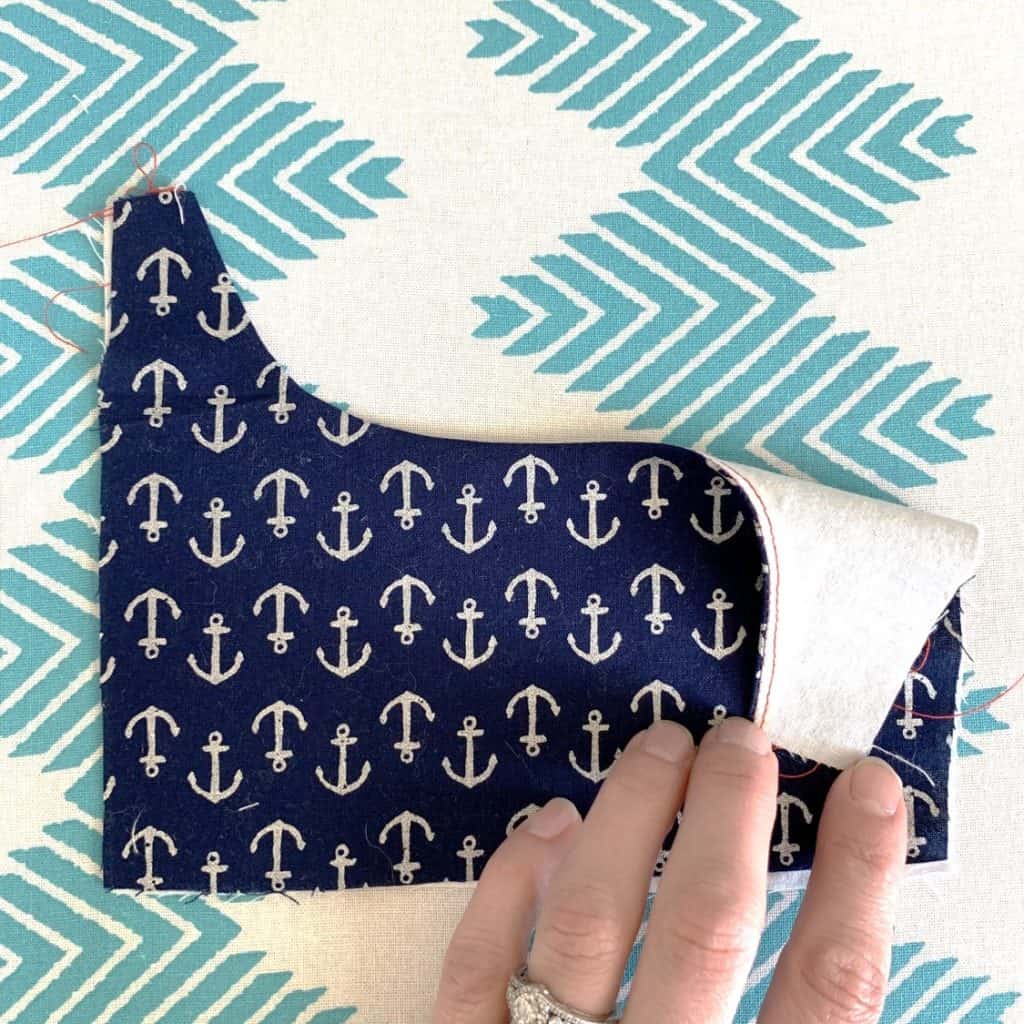 Wasn’t that easy?! Now you know how to understitch.
I hope I’ve taught you a new technique that, even though you may not use regularly, you’ll come back to when you need it. It creates a lovely, clean, simple finish that definitely belongs in your sewing repertoire.
If you need help with sewing projects, be sure to join our Peek-a-Boo Pattern Shop Facebook Group. You can also follow us on Instagram. Happy sewing!
