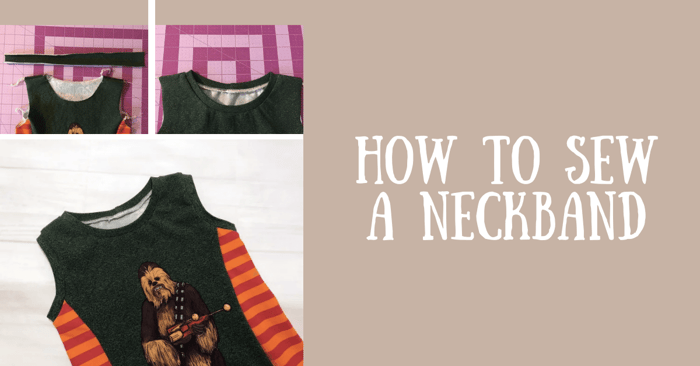
How to Sew a Neckband with Knit Fabric
Let's learn how to sew a neckband with knit fabric today. If you love to sew and have been working with knit fabrics, you may have encountered some challenges when sewing a neckband. Sewing a neckband with knit fabric can be tricky, but it can be a breeze with the right techniques. In this blog post, we will guide you through sewing a neckband with knit fabric. There are some different techniques and we will cover everything from choosing the right fabric and measuring your neckline to sewing and finishing techniques that will give you professional-looking results. So grab your sewing machine and let's get started on creating beautiful neckbands for your knit garments.
Also - check out our Video on How to Sew a Neckband!
How to Sew a Neckband With Knit Fabric
What is a Knit Neckband
Knit neckbands are an essential part of almost any knit shirt. Sewing a knit neckband is an important technique to master. Neckbands may seem tricky and intimidating to a beginner sewist. However, following a few basic steps and a little bit of practice will give you confidence in your abilities. Learn how to sew a knit neckband with this easy tutorial!
Materials Needed to Sew a Neck Band
Here’s what you will need:
- A knit shirt pattern, constructed to the point of sewing the neckband
- Ballpoint or stretch needles (always a must when sewing knits!)
- Fabric with the appropriate stretch and recovery (a 95/5 cotton lycra or a rib knit is always a great choice. Some brushed poly and some rayon spandex will work, but make sure to check the stretch and recovery before using). For a great selection of 95/5 cotton lycra fabrics, check out www.peekaboofabricshop.com.
Calculating Neckband Size
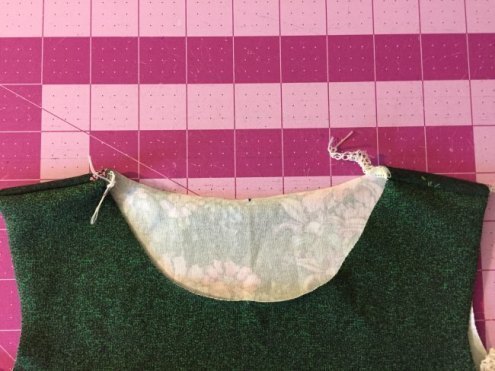
Most sewing patterns include a cut chart or pattern piece for the neckband. However, knowing how to measure and calculate your own is important. After assembling the pattern to the point of sewing the neckband, measure around the neck opening with a measuring tape. After that, you can measure around the opening in the round or adjust it to be straight and measure across.

In order to lay right, neckbands must stretch to fit the opening of the neck. Therefore, the neckband will be shorter than the measurement you just found. Most designers recommend cutting a neckband at about 85% of the opening. However, don’t forget to add in the seam allowance to the neckband measurement!
- Length of neck opening x .85 + seam allowance = length of neckband
The neckline opening for the shirt I’m sewing is 16 inches. 16 x .85 = 13.6 plus seam allowance. Thus, I cut my neckband to be 14.25 in long.
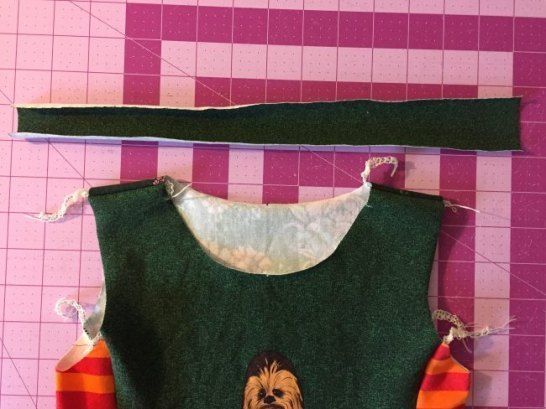
How to Sew a Shirt Neckline Tutorial: Knit Neckband
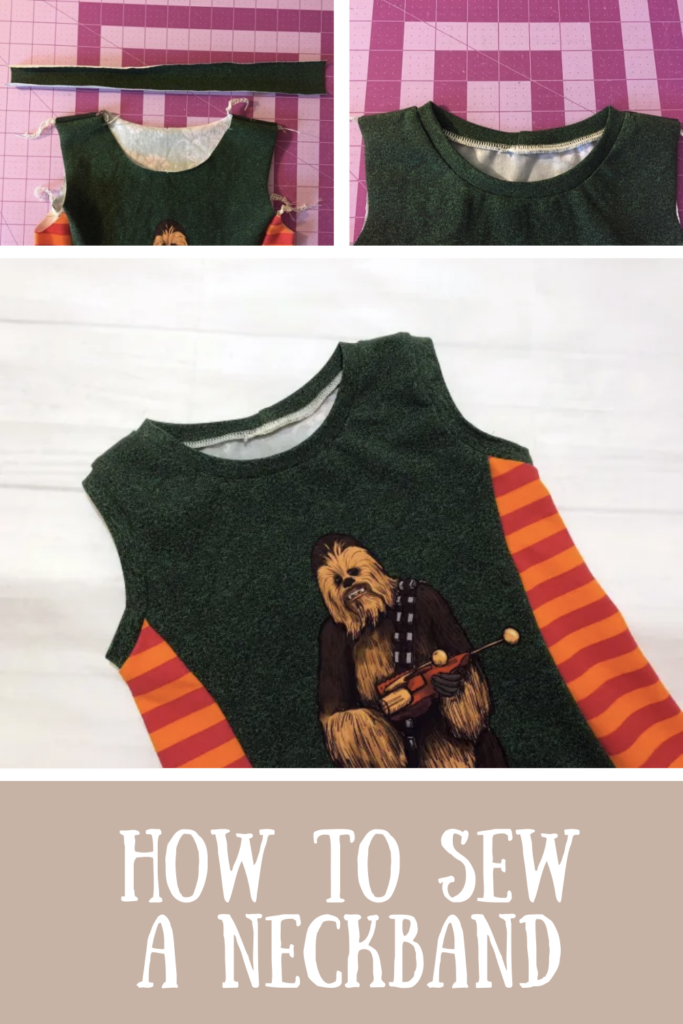
Sew your neckband into a loop, right sides together, matching the short ends.
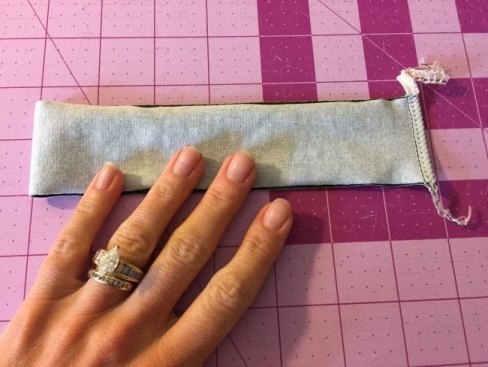
Fold the long edges right sides together and press well.
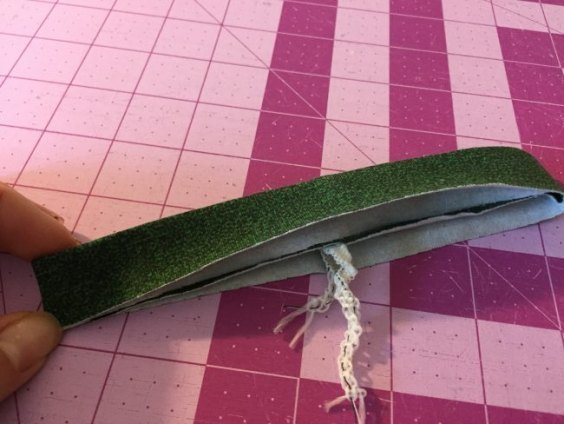
Find and mark the quarter points on both the neckband and the neck opening. After that, on the neck opening, center front and center back are two of your points. The shoulder seams are usually NOT a quarter point.
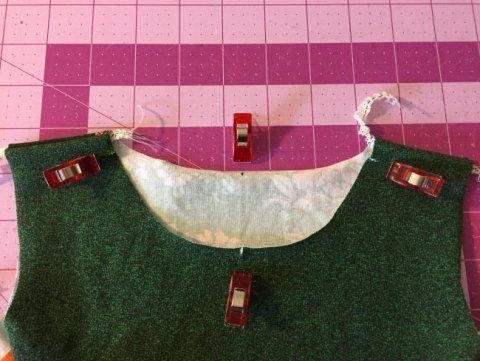
On the neckband, the seam is one of your points as well (usually the back).
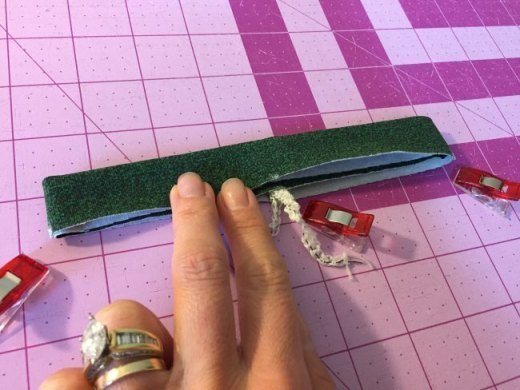
After that, match up the points on the neckband to the neckline opening, attaching with pins or clips. The neckband goes on the right side (the outside) of the shirt. All of the raw edges – one from the shirt and the two edges of the neckband – should be lined up together.

Sew around the neck opening, stretching ONLY the neckband and not the actual shirt. Remove pins/clips as you go, and continue to match up the quarter points. Follow the seam allowance indicated in the pattern as you sew the neckband on. Make sure you are catching all three layers as you sew around.
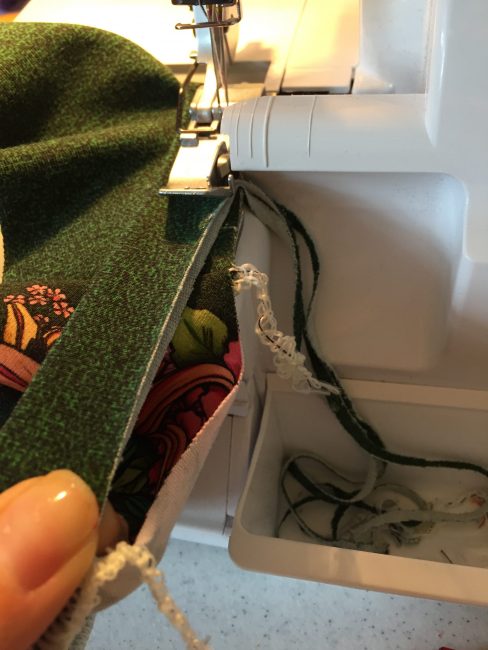
Press the neckband up and the seam allowance down.
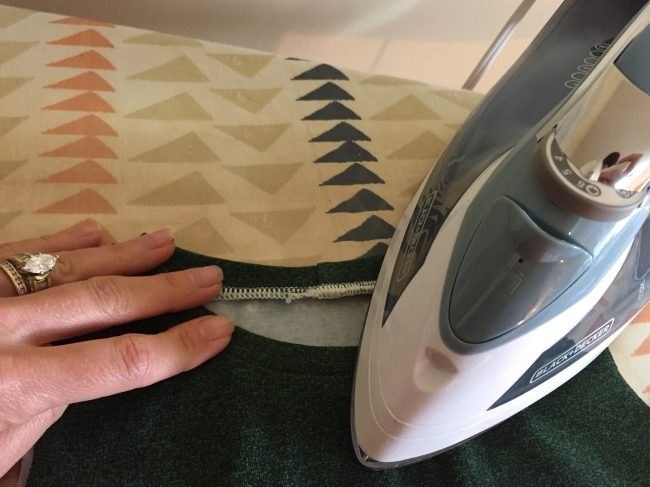
Check out that gorgeous neckline!
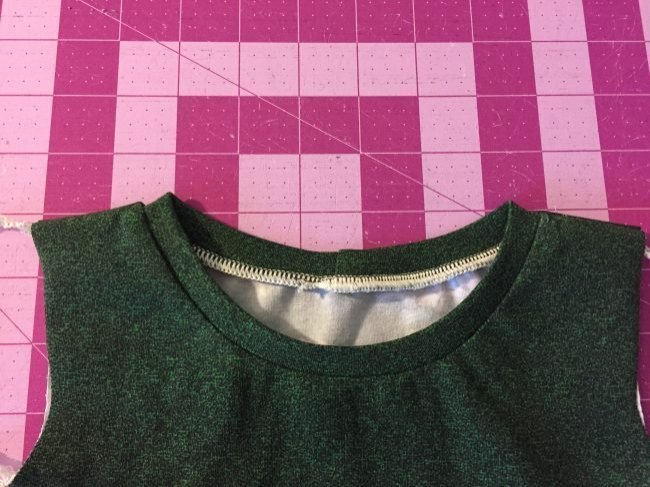
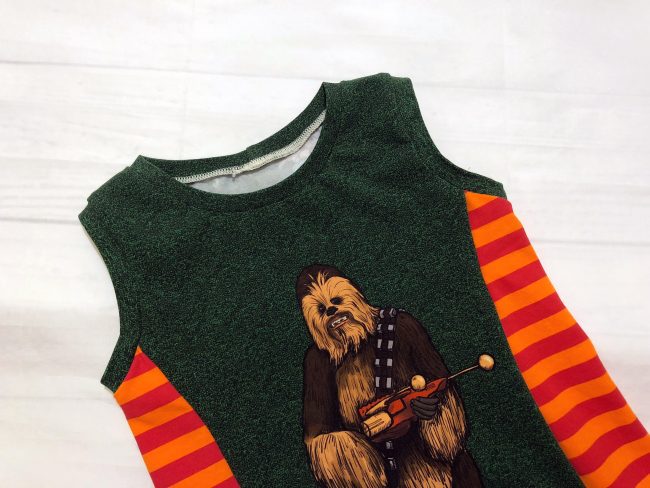
How to Sew a Neckline: Topstitching the Neck Band
Lastly, topstitching is optional, and a stretch stitch is definitely recommended if you do topstitch.
Neckband Troubleshooting
Troubleshooting:
- If the neckline is puckering or looks gathered, your neckband is likely too short. Always make sure you press the neckline after sewing, as this will help with a small amount of puckering, but if there is a lot and it’s not fixed by pressing, the neckband is probably too short.
- Oppositely, if the neckband doesn’t lay flat, it is likely too long.
(Pattern used is the Peek A Boo Violet dress.)
Videos on How to Make a Neckband
We’d sure like to thank Megan for coming to show us today how to sew a neckband. This is an essential skill for sewing with knit fabric. Being that it’s so important we’ve made a couple video tutorials over the years to help you out even further.
Here’s my most recent video that goes over how to sew both knit neckband and knit bindings:
There you have it – now you know how to sew a knit neckband! Before you leave, make sure to join our Facebook Group and follow us on Instagram. Happy sewing!
