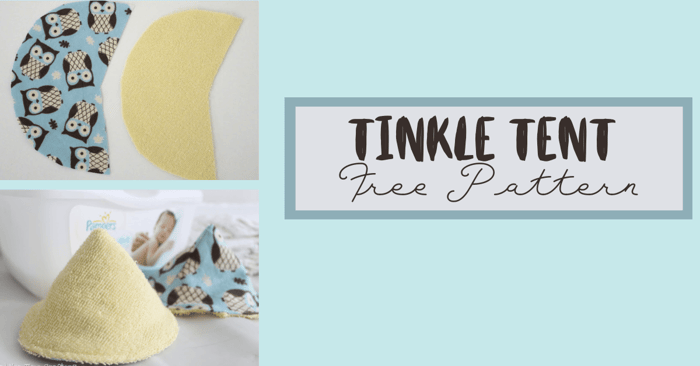
Free Tinkle Tent Pattern
Boys are messy! Turns out the whole mess-making business starts at birth so I whipped this tinkle tent pattern up after we had 2 incidents in one day. Now today, I'm going to save you a lot of diaper-changing grief and share my tinkle tent pattern with you.
If you enjoy this pattern, sign up for our newsletter HERE to receive the Tinkle Tent and 25 more FREE patterns at Peekaboo Pattern Shop.
Now back to the Tinkle Tent Pattern. Let's get started!
Tinkle Tent Materials:
First, you'll need the following Materials:
- Download your FREE Tinkle Tent Pattern.The pattern is free when you Subscribe to our Newsletter or join our Facebook Group! (Pattern Coupon Code is found in New Subscriber E-mail and/or first post in Facebook Group).
- Fabric and Terry Cloth Scraps
Tinkle Tent Instructions
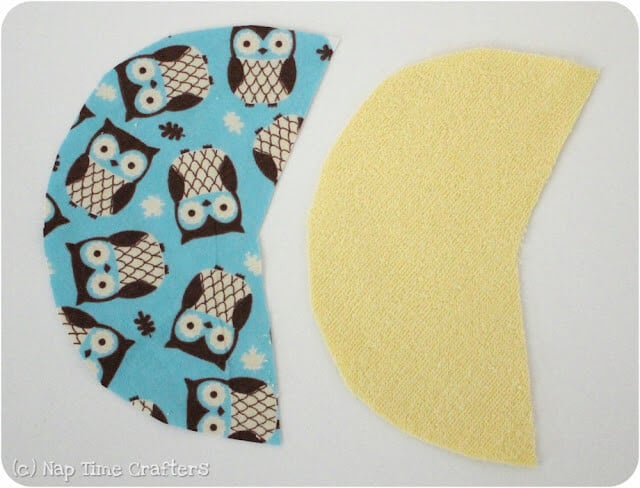
Tinkle Tent Step 1: You'll need 1/4 yard of terry cloth (thicker the better) and 1/4 yard of flannel. Cut out 1 piece from flannel and 1 from terry cloth. Or go ahead and cut a few so you always have a spare Tinkle Tent on hand when the other one is in the wash.
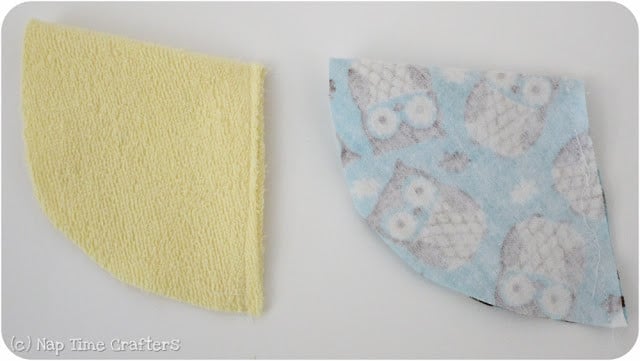
Tinkle Tent Step 2: Cut out the pieces from the FREE Tinkle Tent Pattern. Fold each piece in half to form a cone and sew the raw edges together
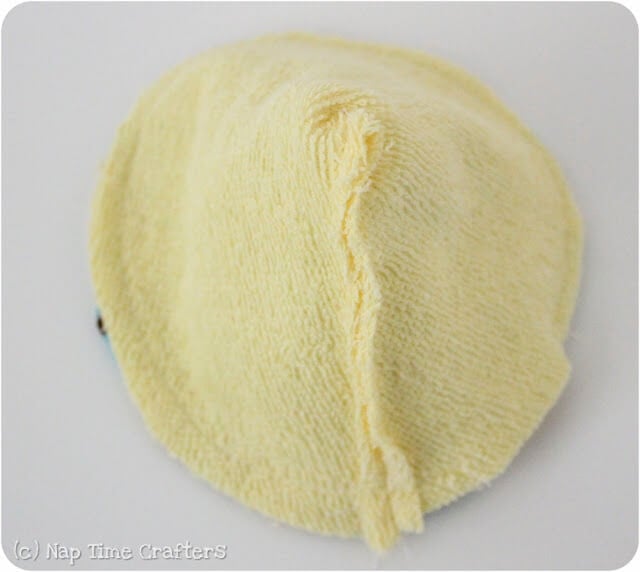
Tinkle Tent Step 3: Slide the 2 layers of your tee pee together with right sides together. Sew around the bottom edge leaving a 1" gap for turning.
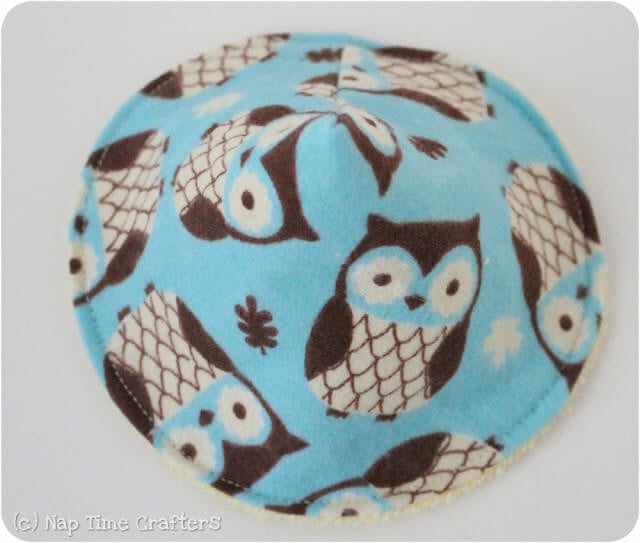
Tinkle Tent Step 4: Turn right side out and tuck in the raw edges. Sew all the way around the bottom edge
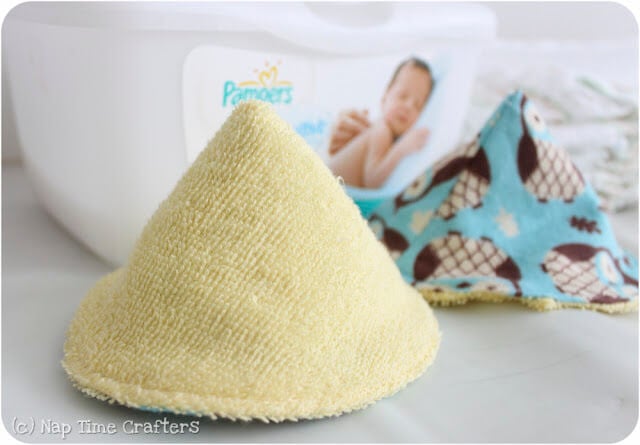
On this one, I put Little owls for fun on the outside and terry cloth on the inside to get the job done.
With your left over fabric you could whip up a couple burp cloths and give this as a baby gift to a friend with a sense of humor:)
Happy diaper changing! Be sure to share the Tinkle Tent on Pinterest to spread the love (and protection)! Make sure to come join us at the Peek-a-Boo Pattern Shop Facebook Group.


