
Step-by-Step Thanksgiving Wreath DIY: Add a Personal Touch
Today, I have a fun Thanksgiving Wreath DIY to share with you for the fall season. I love fall time which brings a feeling of warmth, family and great food for Thanksgiving dinner! One of the first things your guests may see when you have company over is your front door or entryway decor. Creating your own “do it yourself” projects will be a conversation piece that will hopefully leave you feeling complete and accomplished in your creative abilities to design your very own one-of-a-kind home decor. There is no better way than this easy DIY project to add something to your fall festivities.
How to Make a Thanksgiving Wreath DIY

This project is completely customizable. I will share the supplies I used to create mine below. All of these items except one were already things I had on hand at home! The burlap, lace and twine I had purchased in bulk over a decade ago in preparation for my wedding that I used to create our own wedding decorations! (The perks to a long engagement I suppose).
My hope is that this article will be a guide to build your own template if you don’t happen to have these exact notions on hand; you will still be able to create something similar without needing to spend much (or anything) by using the things you already have.
Fall Wreath Supplies
If you don't already have these thanksgiving decor supplies at home, they are all easy to find at your local craft store. Focus on neutral tones of fall colors for an autumn wreath. Of course, you can add a variety of things to make it something unique - fall leaves, pine cones, maple leaves, faux flowers, fall foliage, and more.
Here's what I used:
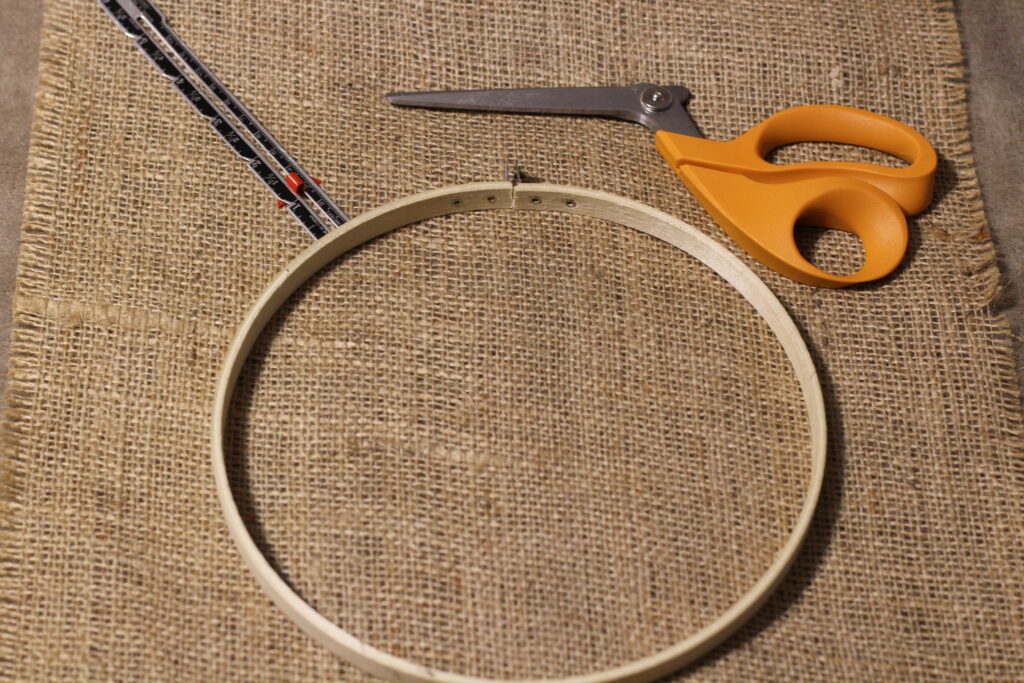
- Embroidery hoop or wreath form -I had a pack of three embroidery hoops on hand and I used the largest size.
- Fabric of your choice- I used cotton woven and linen. Mesh wreaths are also popular.
- Thread, hand sewing needle, hot glue gun, measuring tape or ruler and scissors
- Burlap, twine and lace
- Buttons or other embellishments
- Leaf template-I will include how I made mine
- Word phrase or similar concept for a thanksgiving saying. I found my “Thankful” word at the dollar store that was a pack of 4 leather words.
Step One: Burlap, Lace and Twine
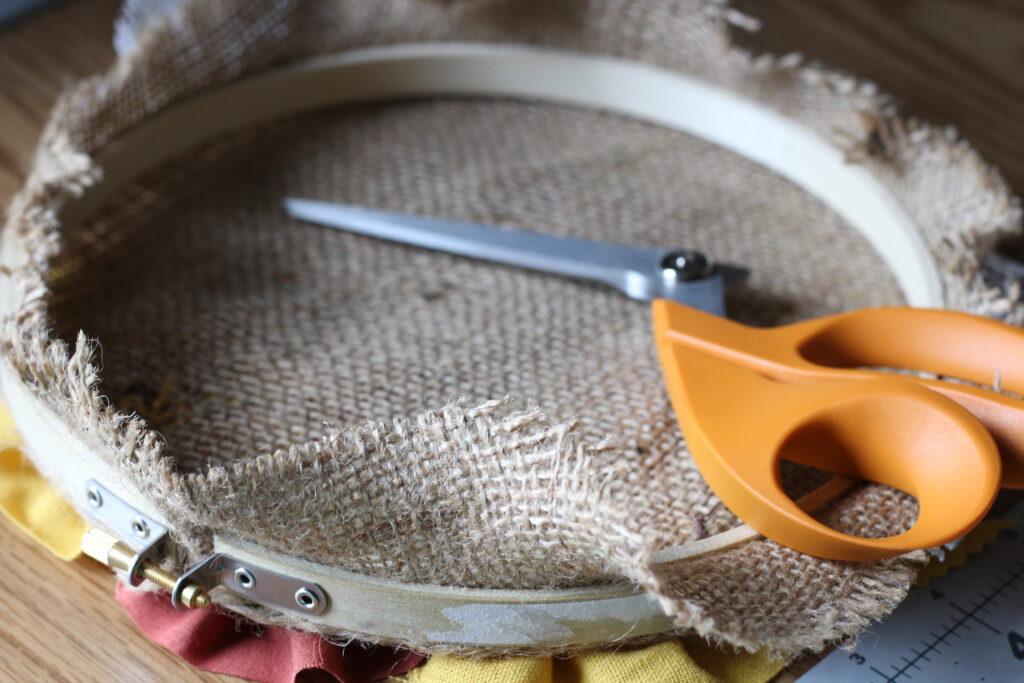
Place the outside of the embroidery hoop onto the burlap and cut around the circle. I tried to give 1″-1.5″ allowance.
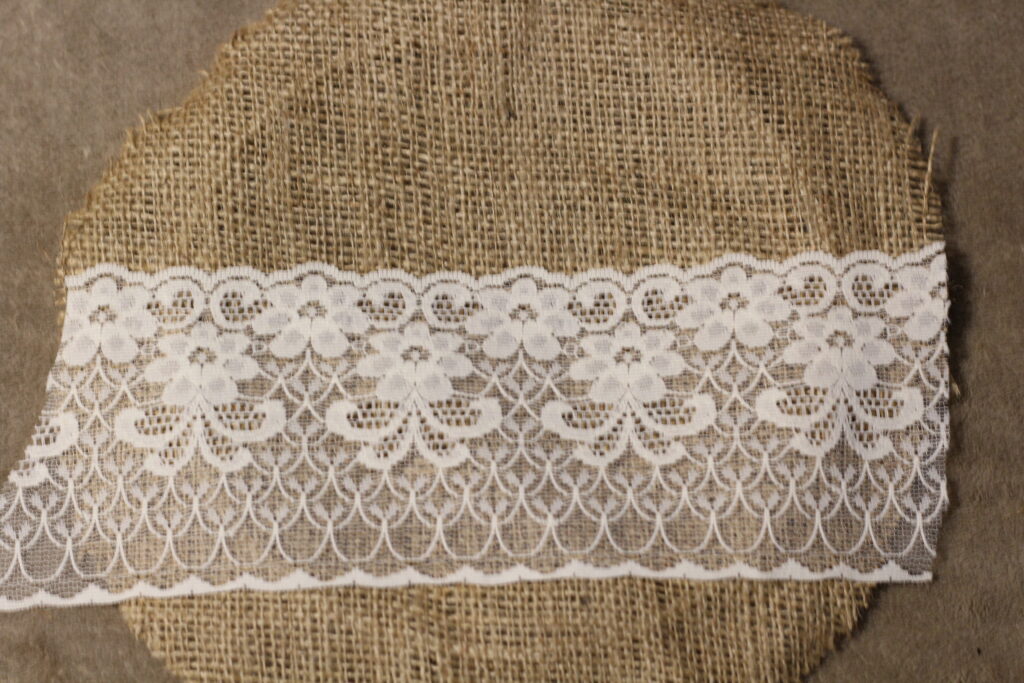
The lace just happened to be a remnant piece and was the perfect size as is.
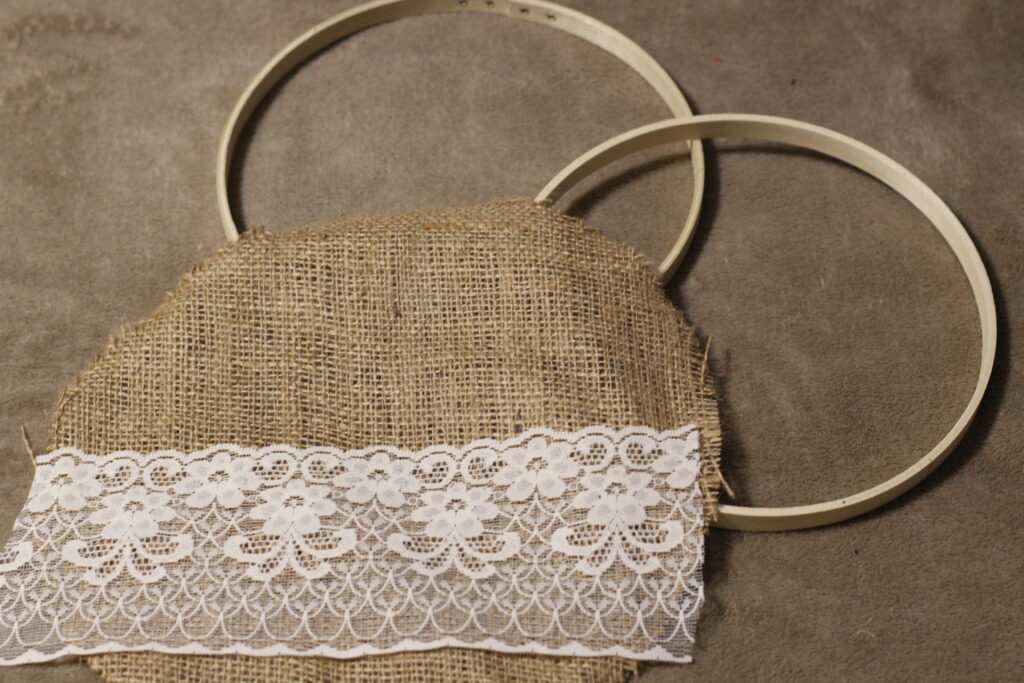
Place the burlap and lace over the inside hoop. If you wanted to secure the lace to the burlap, you could hand baste a few stitches at this time. I think any fabric choice would work well in place of the burlap as long as it’s not too thick.
Take the outside hoop and carefully position it over the inner hoop, keeping things lined up as you go to secure the outer hoop. We will trim off the excess, and you can do that now or towards the end. I waited until towards the end for mine.

Grab your hot glue and glue gun and add a strand of binder twine or (something similar) to the outside edge. Home decor trim would work equally the same as the twine.

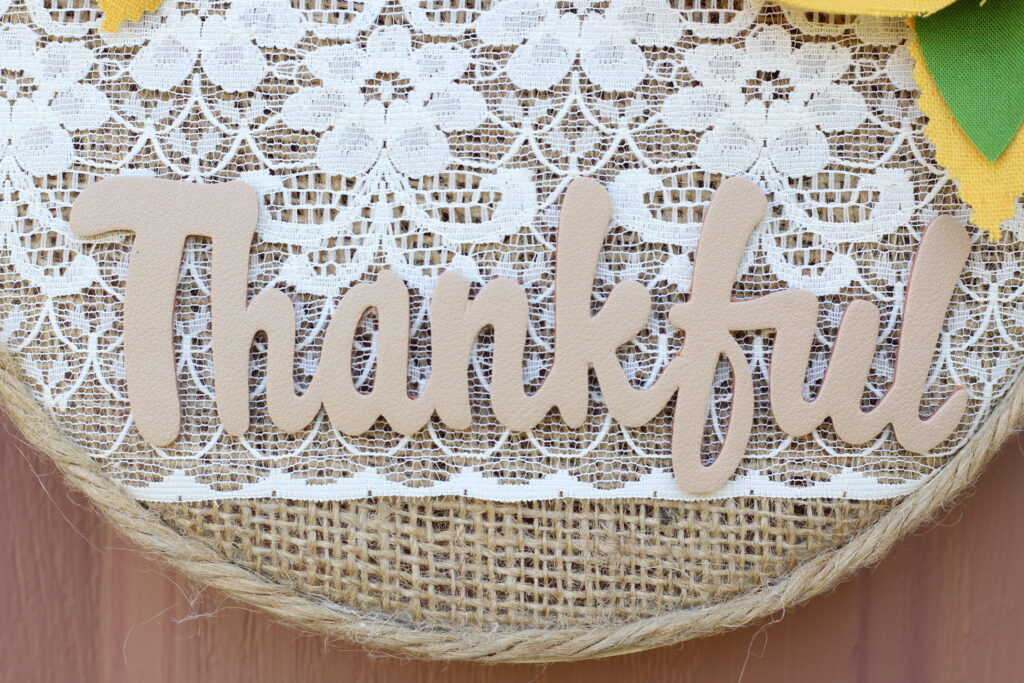
Step Two: Word Embellishment
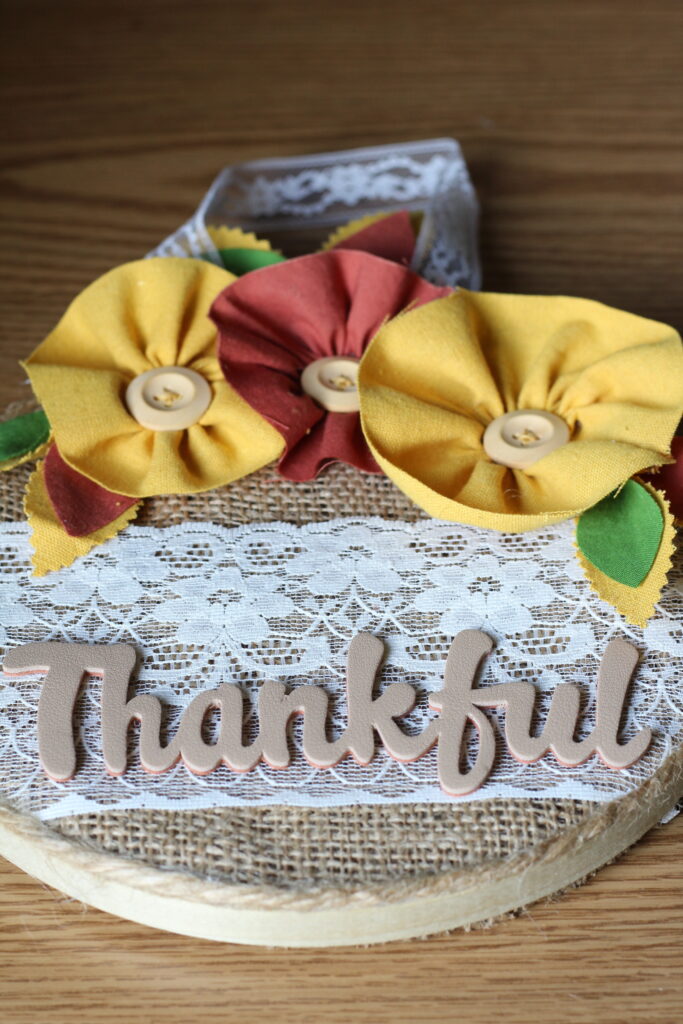
As stated above, I found a pack of four words at the dollar store that said thankful and blessed and they are made of leather and not flimsy either! So, I chose my word and then began to hot glue it onto the lace a few letters at a time.

Step Three: Hand Sewn Flowers
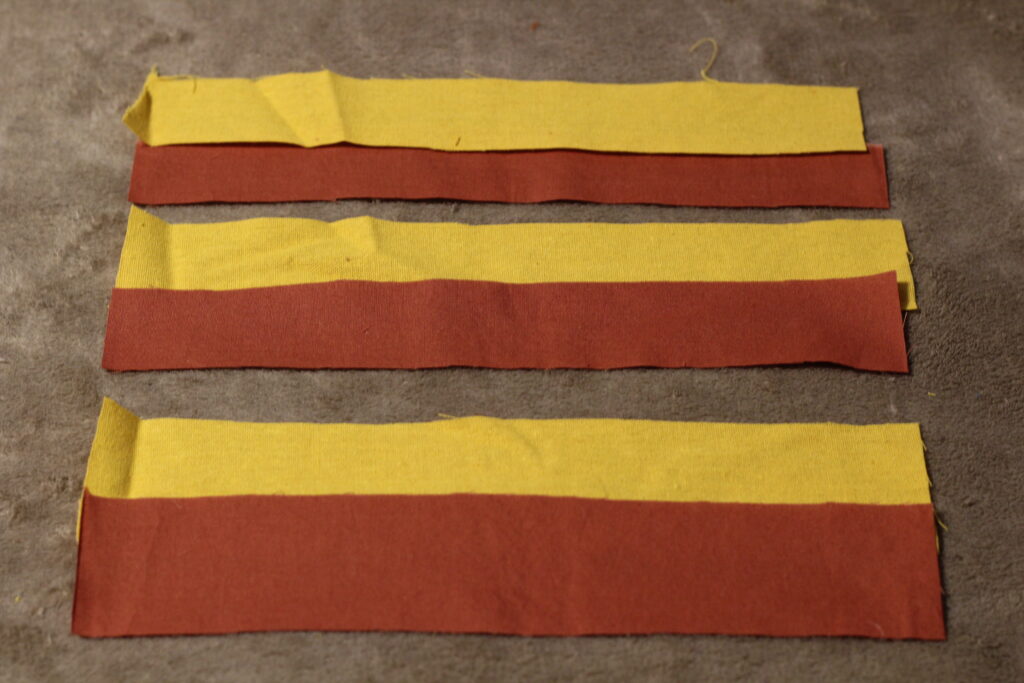
To begin making our flowers, you will need to cut strips of varying sizes. I cut 3 different widths in two different colors in linen and cotton woven to create texture differences. (The longer and wider your strips are, the bigger the flowers will be and vice versa). I didn’t use all that I cut out for the flowers, but it’s better to have extra to play around with and the strips that I didn’t end up using for the flowers, were used later on for the leaf/petal detail.
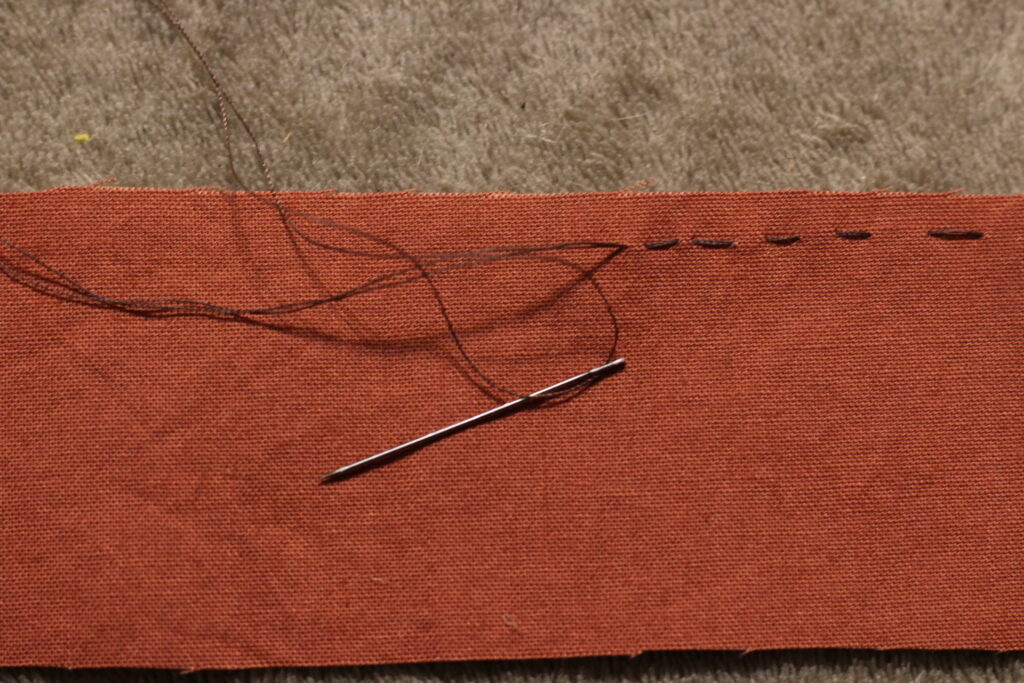
Next, we will grab our sewing needle and matching or contrasting thread.

Along the top edge, hand sew a simple running stitch from one end to the other. It does not need to be perfect!
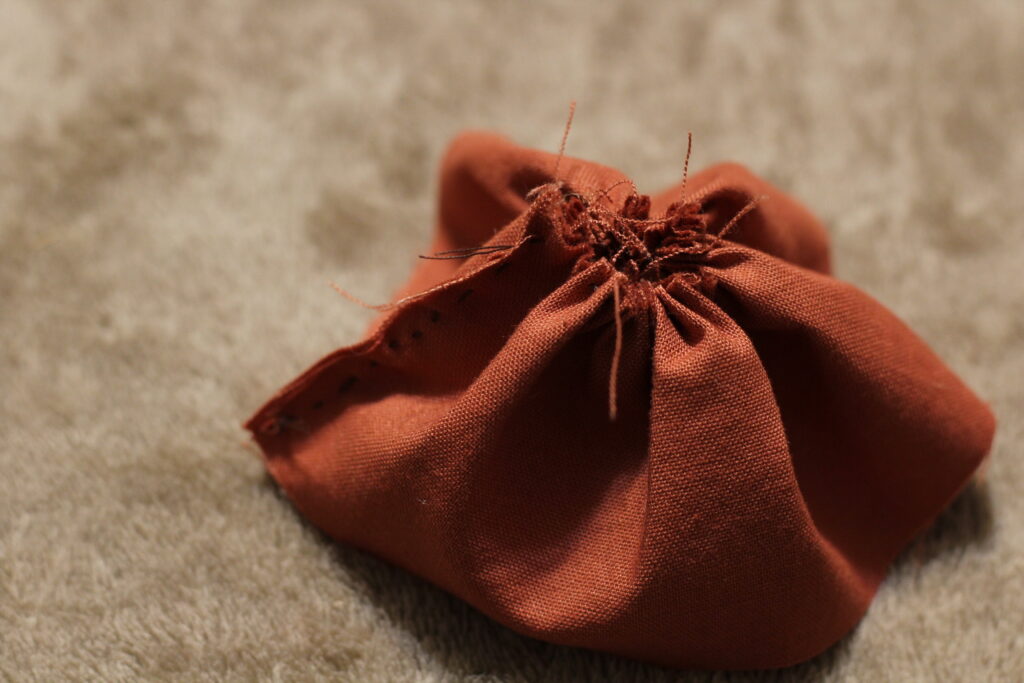
Once you reach the other end, you will gather the strip of fabric by sliding the fabric down the thread. It will form a circle and begin to look like a flower.
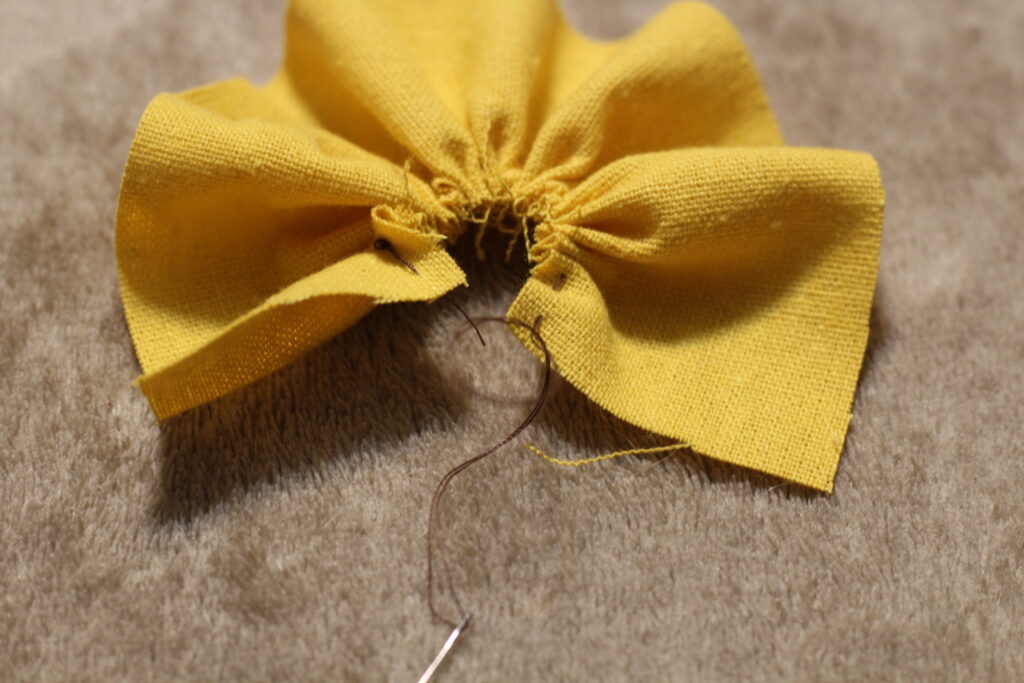
Bring the two ends together to form a complete circle and sew the edges closed.
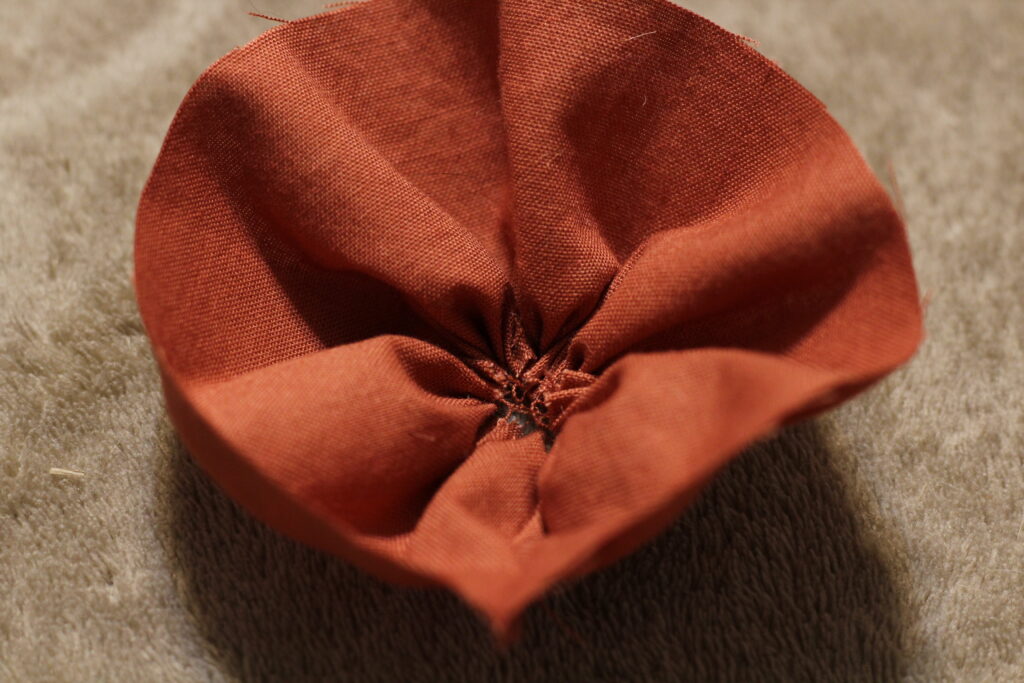
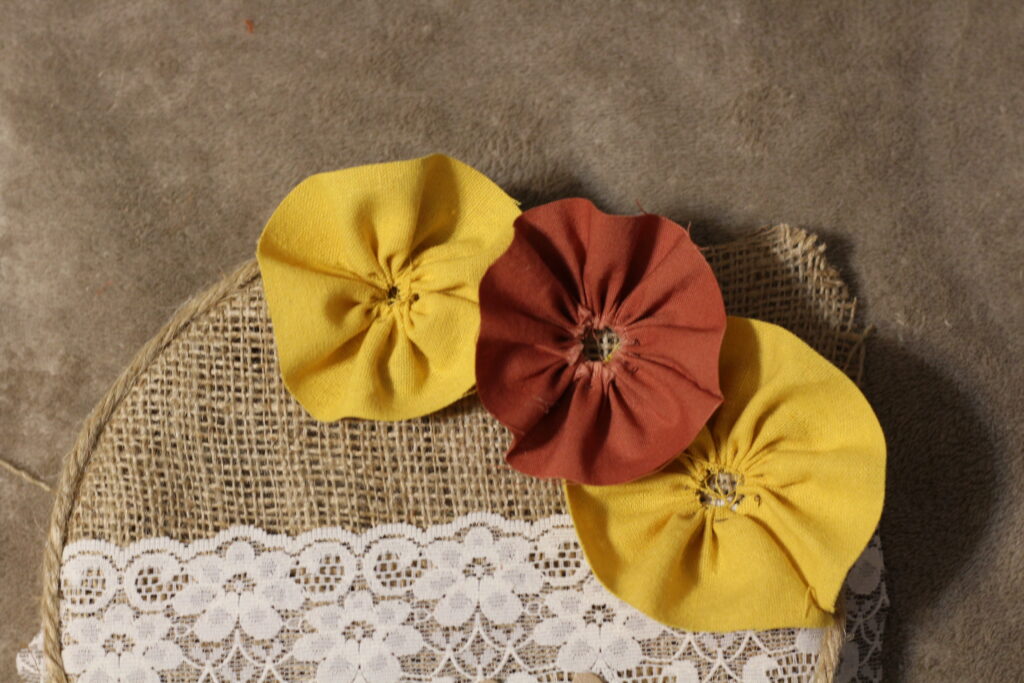
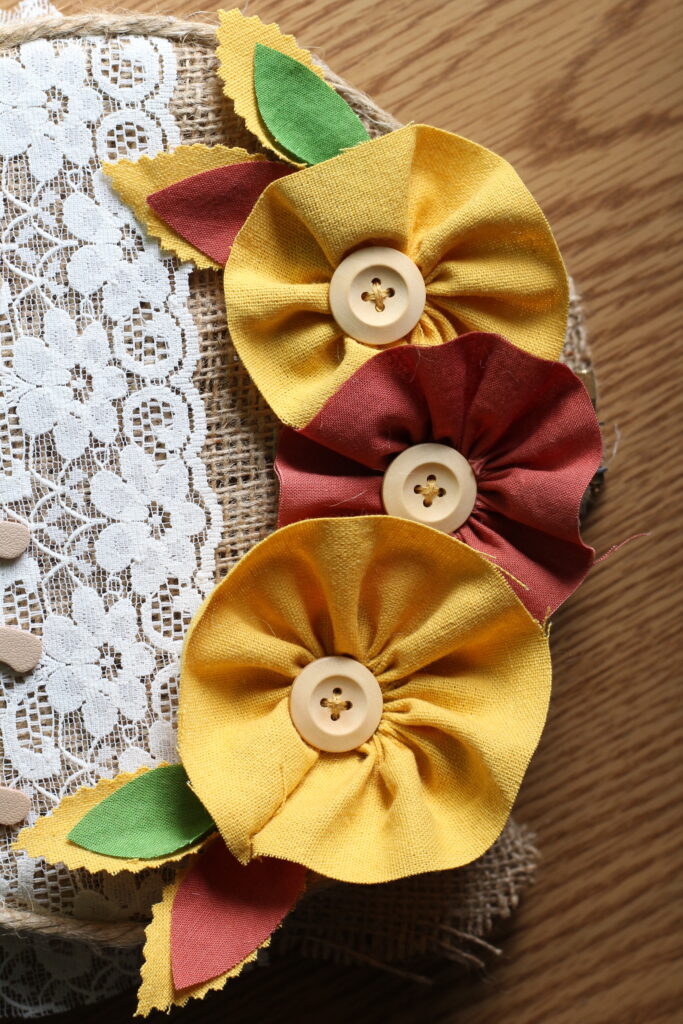
This is what the front of the flower will look like.
Once you have the desired number of flowers (I went with three) place them on the wreath to get an idea of the arrangement you think you may like. Before we secure the flowers to the burlap, we will make our leaves/petals next.
Step Four: Leaf/Petal Construction
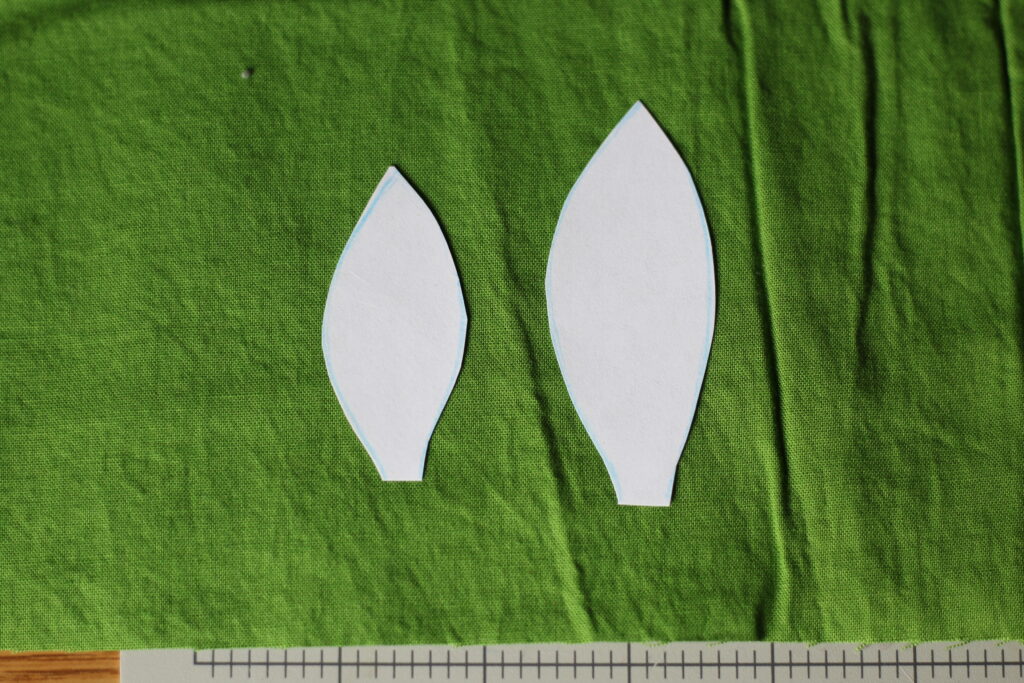
To make our leaves or petals, we need to make a template. If you are good at freehand drawing, go ahead and draw the outline of the desired size leaf. If you would prefer to trace, look around your yard for a leaf of similar size for inspiration or maybe you have a faux leaf on hand.
I made two different sized leaves that I will layer on top of the other for an interesting detail. Now we will cut out our templates.

Place the leaf template onto the fabric of your choice. I chose three different colors-two in cotton woven and one in linen. I made 6 sets.
Here’s how i set mine up.
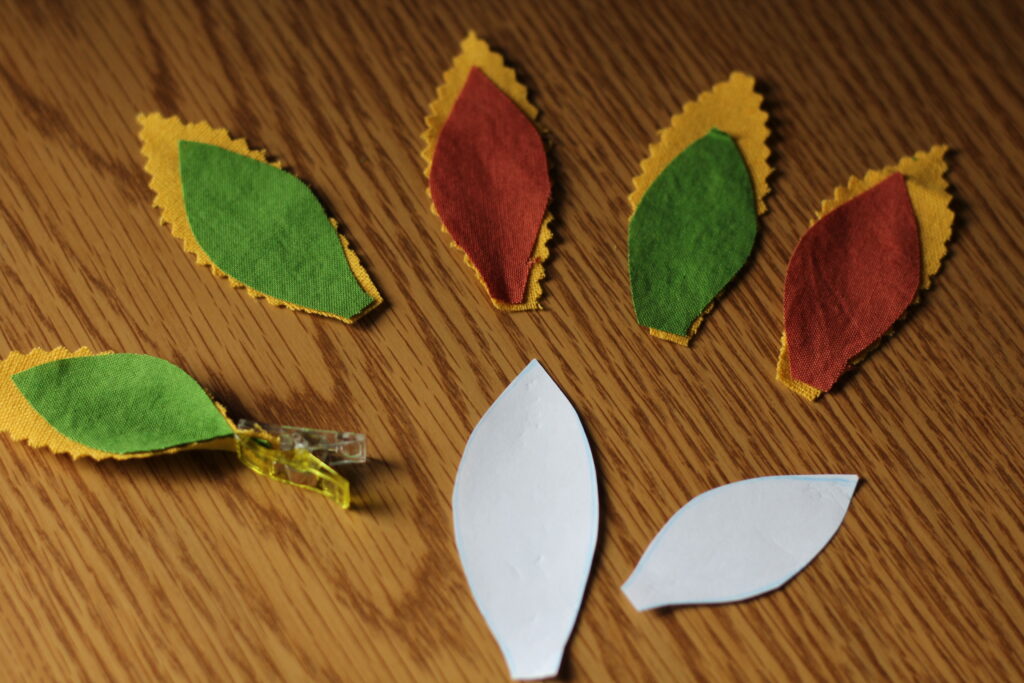
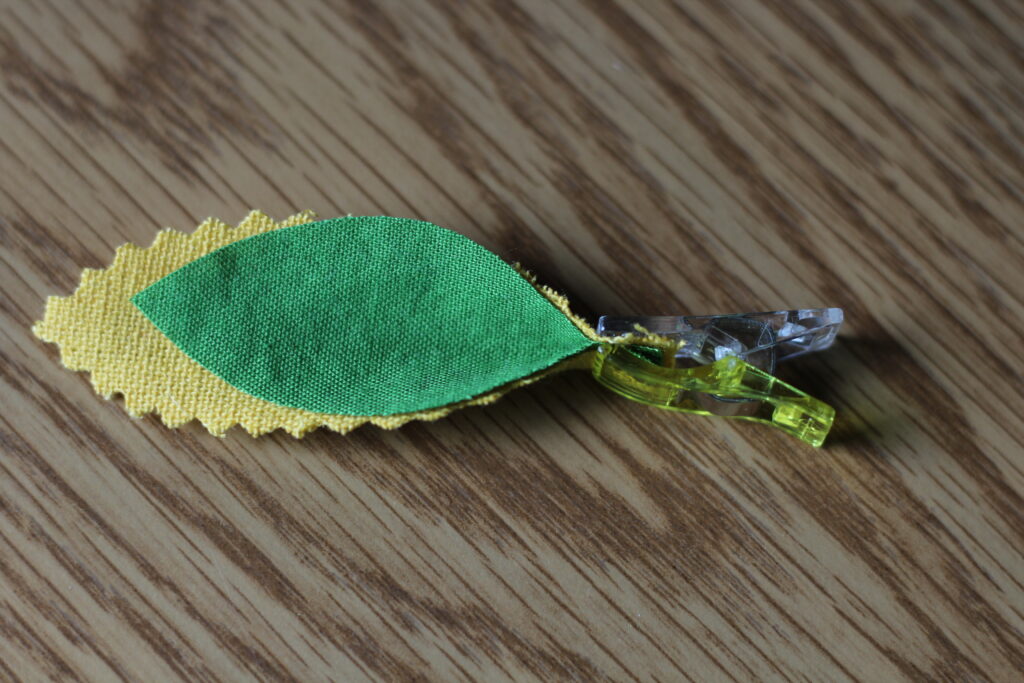
For some dimension detail, I took my pinking shears and lightly trimmed around the outside edge of the larger leaves and left the smaller leaves normal.
At the base of the leaves, pin or clip in place. We will baste them together to secure before sewing them onto the burlap.
Hand sew the basted leaves onto the burlap using the flowers to help eyeball the placement.

You can sew all the leaves on first before the flowers or however you see fit to arrange.
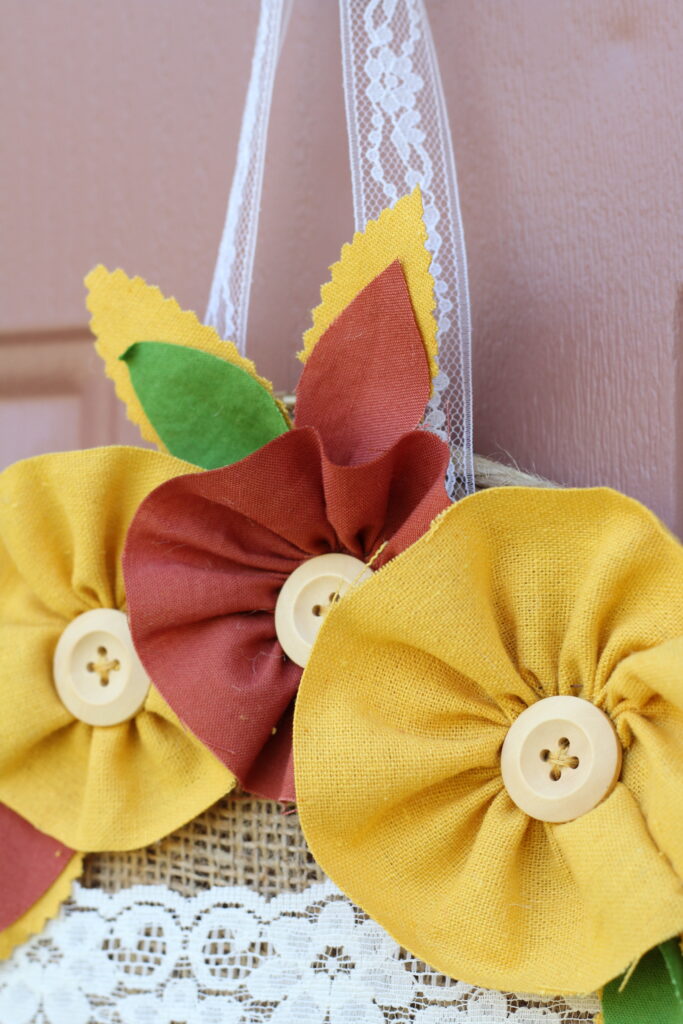
Step Five: Flowers and Embellishments
To secure the flowers to the burlap, I picked out some buttons and placed them in the middle of the flower. I did use embroidery floss to sew the buttons on here, but basic thread will work too. The button should compress the flower down at the center as you sew it on.

Flowers and petals are all hand sewn onto the burlap and secured in place.
DIY Thanksgiving Wreath Step Six: Finishing the Wreath
At this point, I decided to trim off the excess burlap and lace around the edges of the hoop.
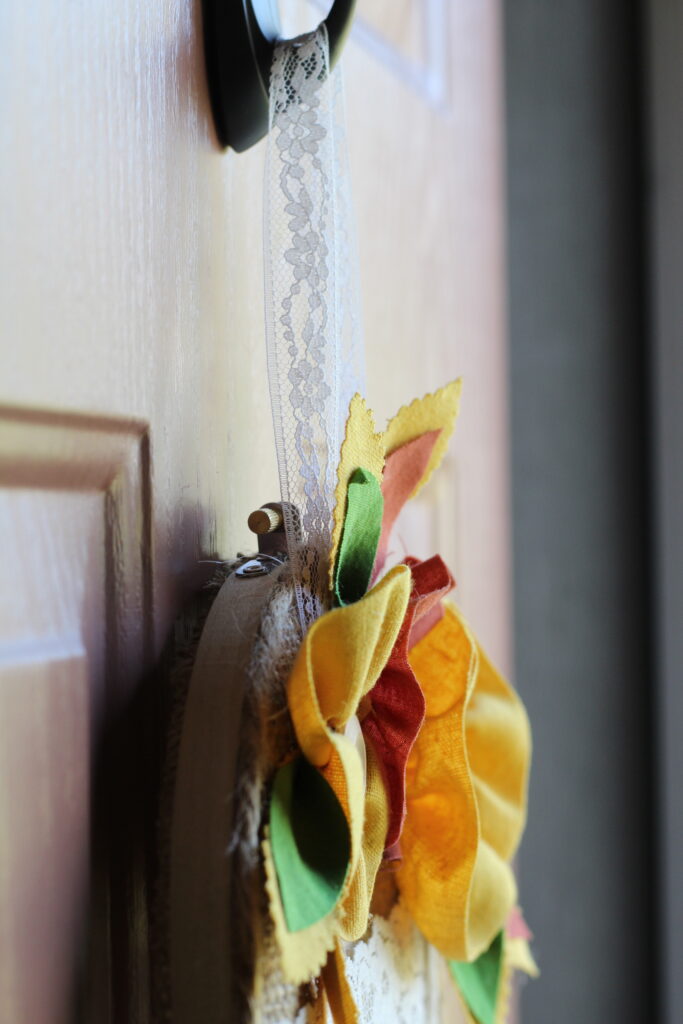
To hang the wreath, I found some more lace in my stash that I thought would work well and cut it to size. I then secured the ends of the lace to the burlap by hand sewing the edges. I placed them underneath the backside of the flowers so that the ends would not be visible.
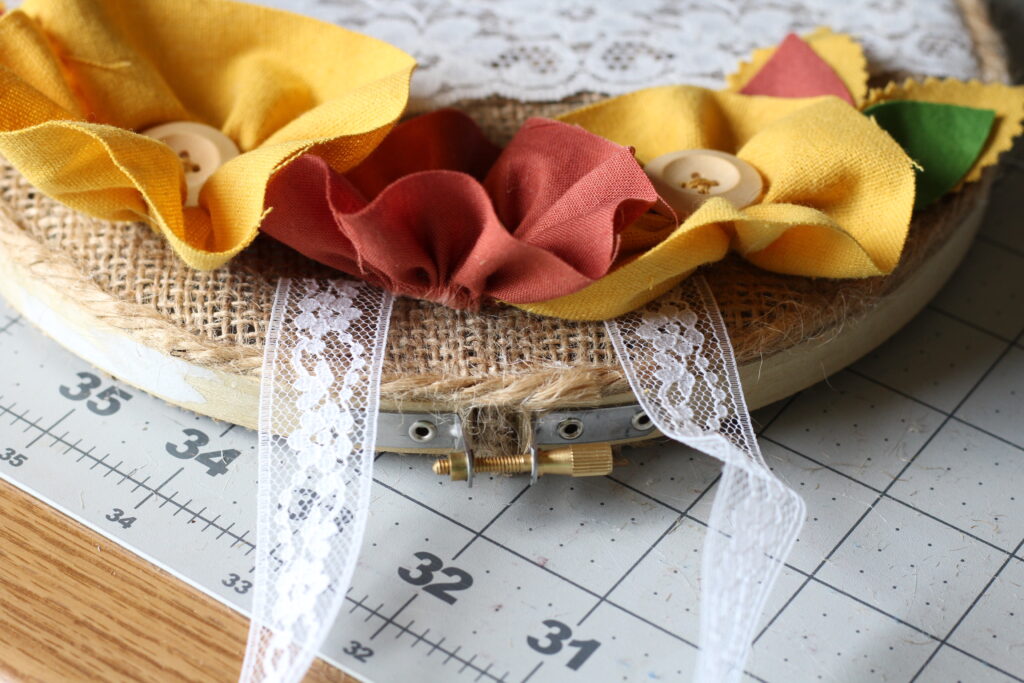
I placed my last set of leaves at the top in the middle of the lace to hide the metal tightener piece from view.
Time to hang it up and see what we think?!
I hung mine on the outside of our side door and I think it looks super cute for fall!
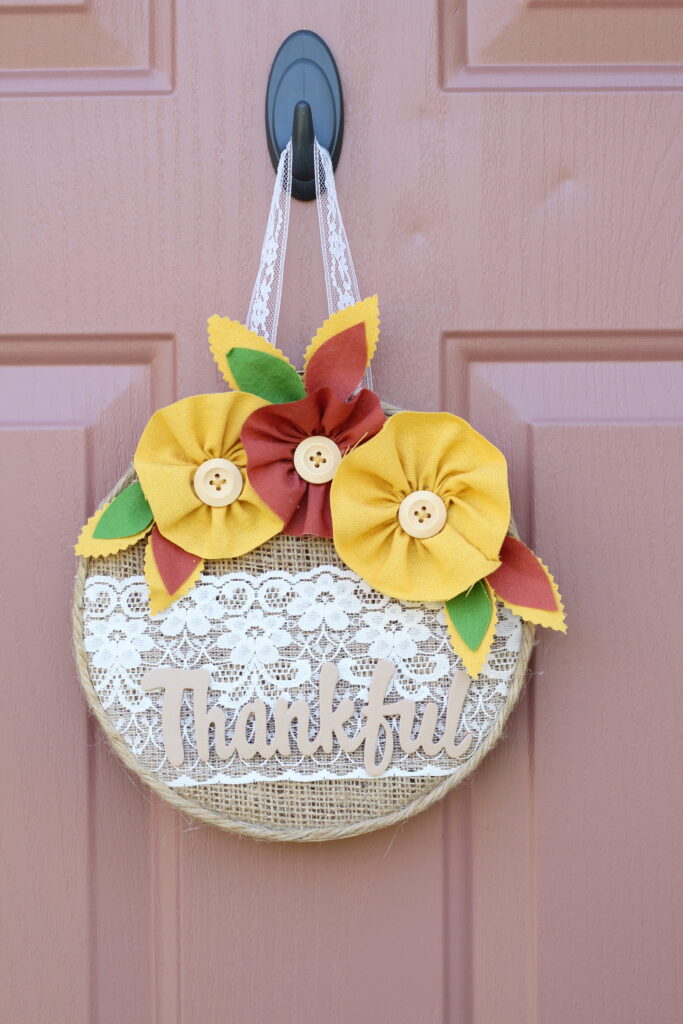
Here are some close-up pictures of the finished wreath.
This project will look cute anywhere you decide to place it in your home!
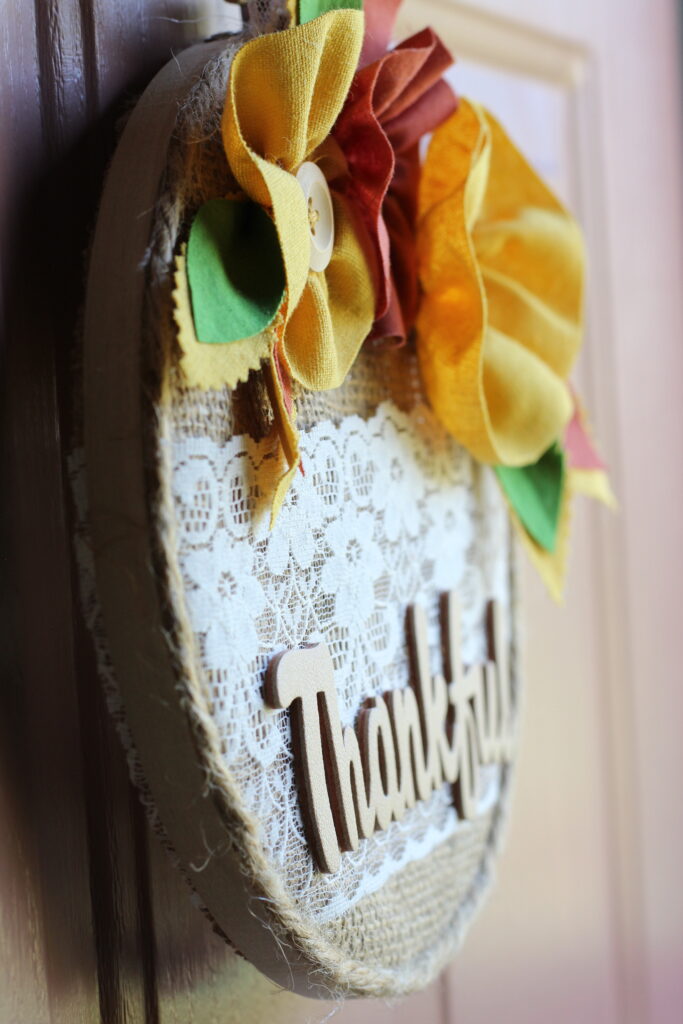
As I began to think about the impending holiday seasons before us, I chose the word phrase “Thankful” for my wreath as a reminder of all the many things my household has to be thankful and grateful for. It is so easy to take everything in life for granted when all is well, and this wreath project is a good reminder of just how blessed we are.
So, are you going to give it a try and make your very own Thanksgiving wreath diy? I hope you will!
What are some other creative designs for a DIY Thanksgiving wreath?
Some creative designs for a DIY Thanksgiving wreath include using autumn leaves, pinecones, acorns, and burlap to create a rustic look. You can also incorporate Thanksgiving-themed elements like mini pumpkins, corn husks, and faux berries for added flair.
Thanks again for joining us today. Hopefully this fun wreath adds something to your holiday. Before you leave, make sure to join our Facebook Group and follow us on Instagram. Happy Sewing!