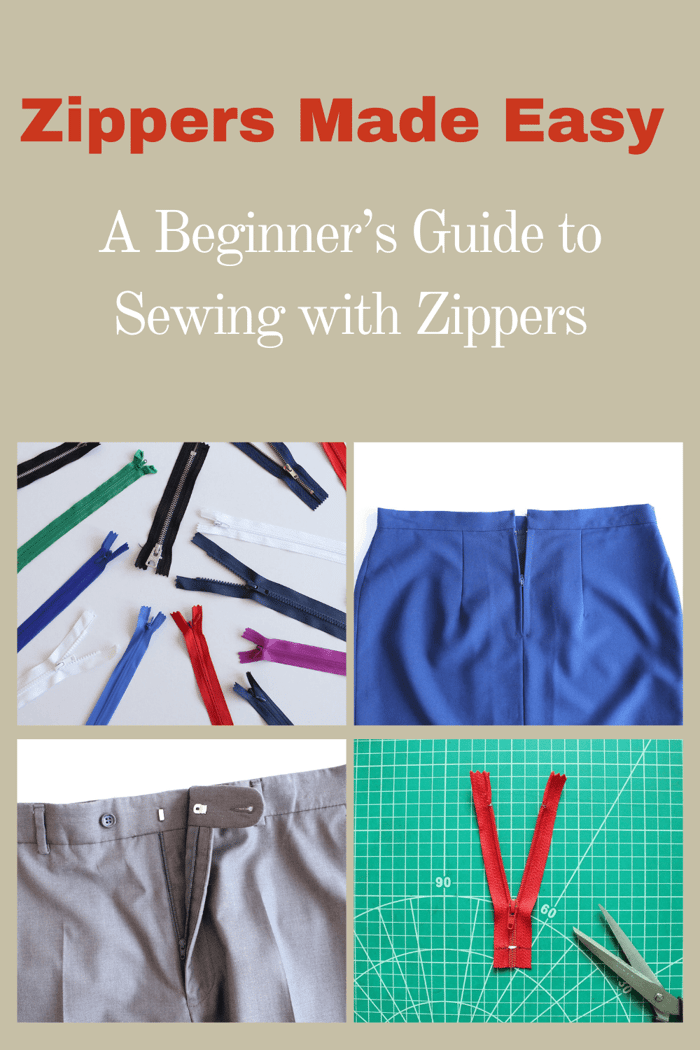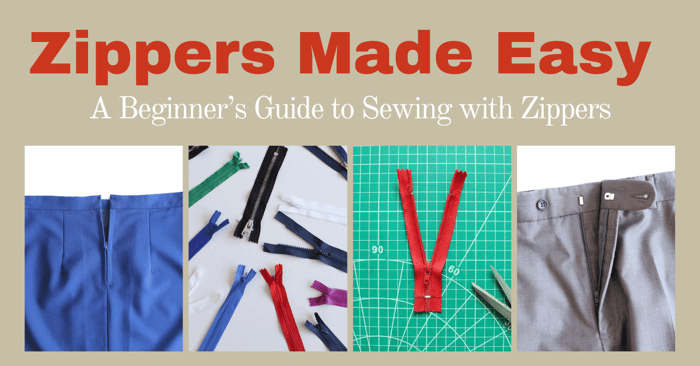
Zippers Made Easy: A Beginner's Guide to Sewing with Zippers
Learning to sew with zippers is a challenge - but an essential skill for many sewing projects. Zippers hold two fabric layers together to create shape and, at the same time, separate those layers when needed. In addition to their practical function, garments incorporate zippers as a decorative element.
In today’s article, we will explore everything you need to know about zipper structure and types, their use in garment making, how to choose the right zipper for your project, how to shorten a zipper, and many tips on how to sew them.
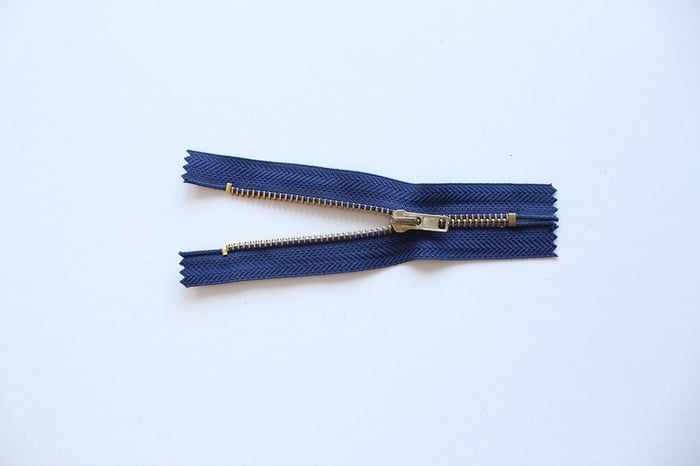
Zipper Anatomy
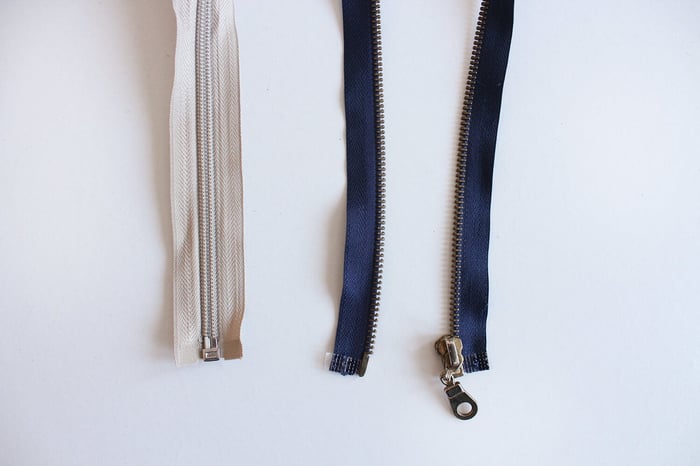
A chain of teeth holds two strips of nylon tape together to create a zipper. The zipper is equipped with a stopper at the bottom to keep the zipper closed and prevent the chain from falling off, as well as a slider to open and close the chain.

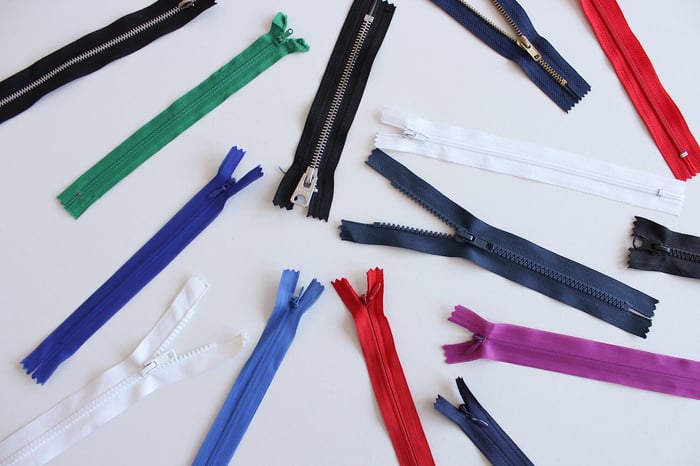
Types of zipper teeth
Depending on your project, there are three different types of zipper teeth that you can choose from:
Coil zippers are made from one long plastic coil that is attached to the zipper tape. It comes in various sizes and has a wide usage due to being easy to shorten if necessary.
Molded plastic (VISLON®) is made from individually molded plastic teeth, which come in various sizes.
Metal zippers have metal teeth made of aluminum, brass, or nickel and come in various sizes.
Zipper types
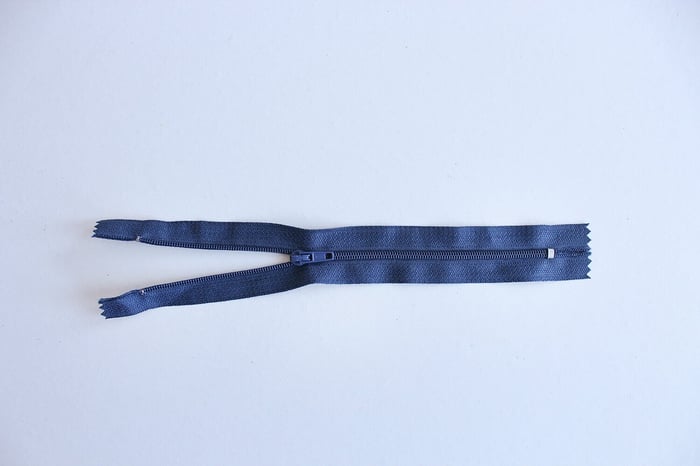
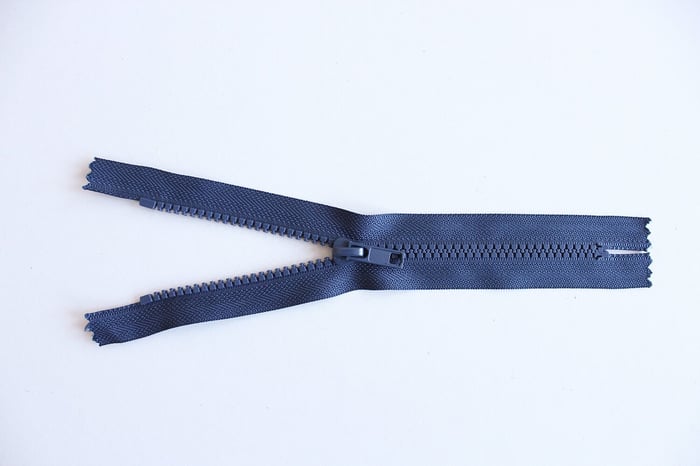
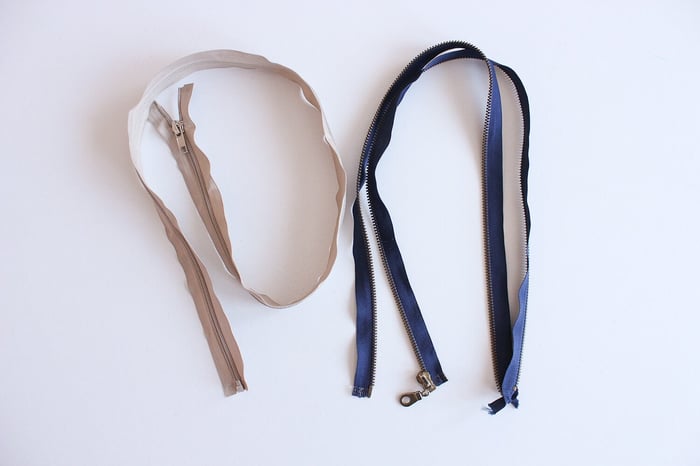
Regular zippers are made from plastic coils, metal teeth, or molded plastic and are closed at the bottom (close-end zipper). These types of zippers are used in most of the garments that are made today.
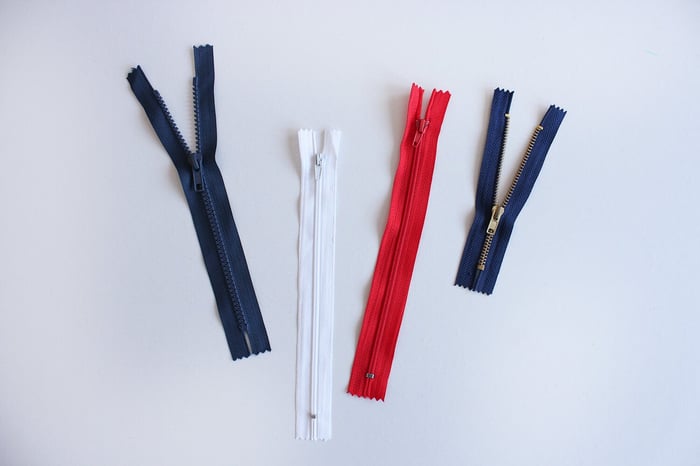
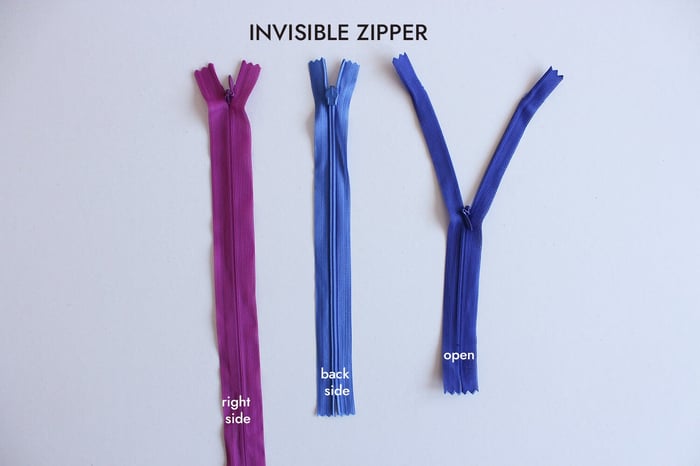
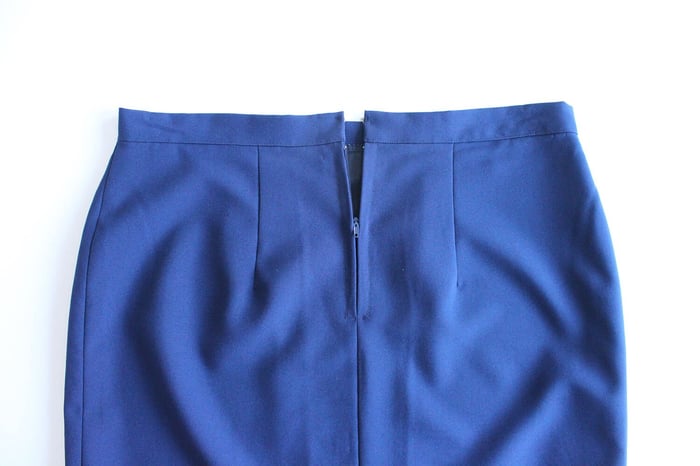
Invisible zippers are also close-end zippers but have a different structure than the regular ones. Invisible zippers can be seen on the side and center back seams of dresses, pants, and blouses. They can be installed using conventional adjustable zipper foot, but the results may not be as successful, and that is why the invisible foot is used for better results.
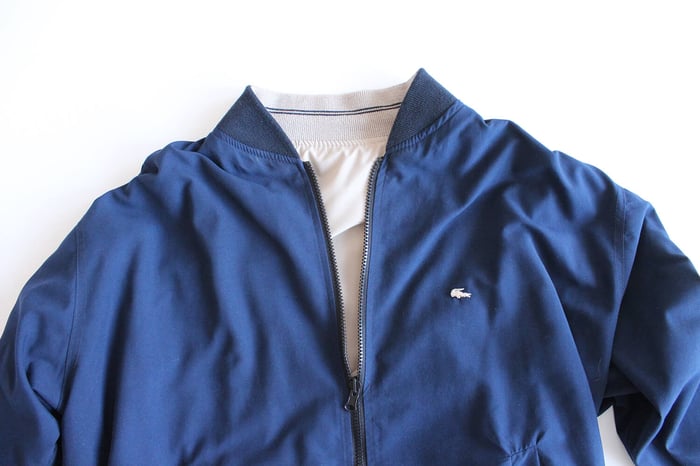
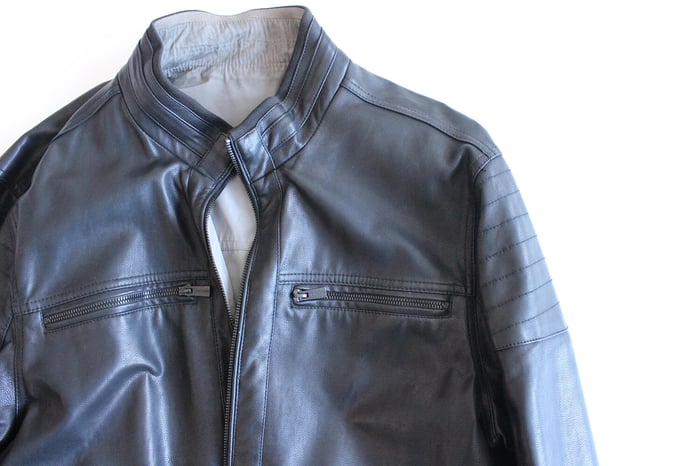
Separating (open-ended) zippers can be opened while keeping the slider on one end of the zipper. They’re commonly found in sweatshirts, jackets, coats, and more. These zippers can also have two sliders that open the zipper in both directions, from the bottom to the top.
Considerations before sewing zippers
How to shorten a zipper
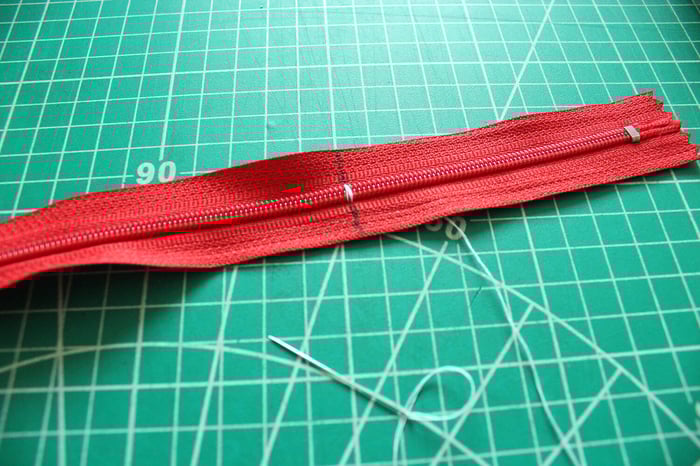
Even though zippers come in various lengths, sometimes those standard lengths may not be the right size for your project. Shortening a regular or invisible coil zipper is fast and easy to do with only a needle, thread, and scissors.
- Measure from the top of the Top Stop down the zipper tape towards the Bottom Stop. For example, a 9” zipper needs to be shortened to 5”.
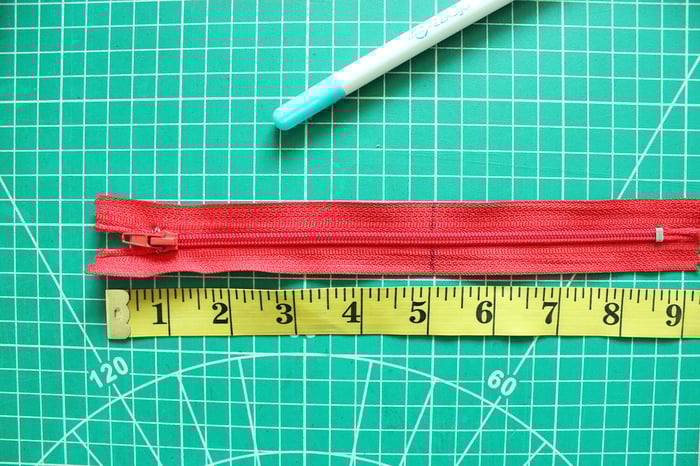
- From the top, mark the zipper to 5”.
- On the 5” mark, thread a needle and do a whipstitch around the zipper teeth until the stitch is secure. (make sure to double-thread the needle). The whipstitch will serve as a bottom stop now.
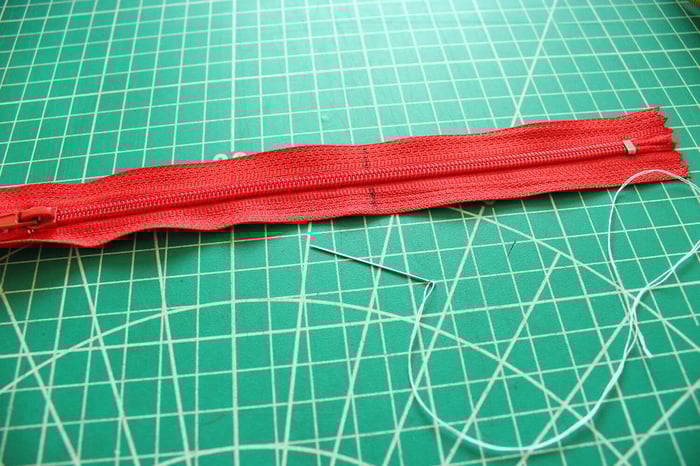
- Trim the rest of the zipper. Cut a 1.3 cm (½”) under the sewn bottom stopper and now the shortened zipper can be safely unzipped and installed on your project.
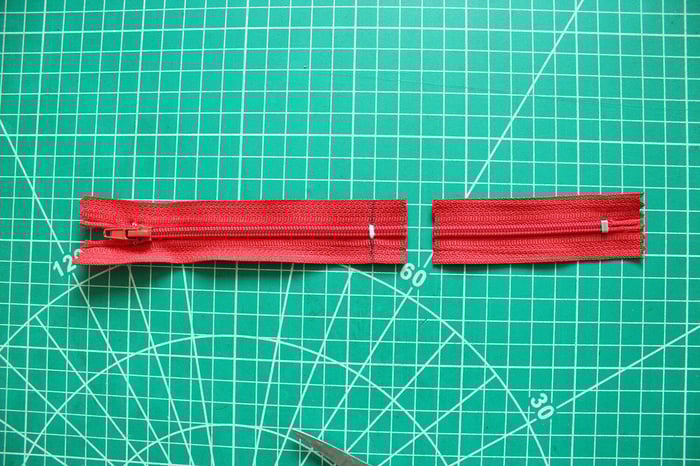
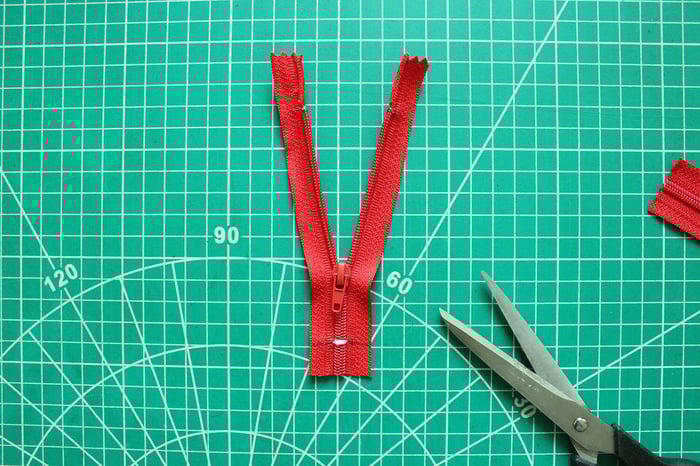
On the other side, separating zippers are shortened at the top instead of the bottom. The zipper is separated, and each side is shortened at the same length using a pair of pliers or a similar tool.
Zipper foot styles
The easiest and best way to install a zipper is using specialty zipper foots. Even though a standard presser foot does the job just right, having a handy zipper foot makes the process much smoother.
Especially when it comes to sewing an invisible zipper, having the right foot is a must for great results.
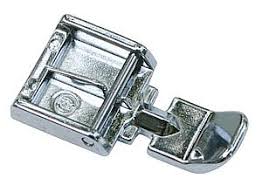
Standard zipper foot
The standard zipper foot is used for sewing regular and separate zippers. The foot can be set to sew on each side of the zipper by adjusting the position of the foot using a slider on the back. The key function of the zipper foot is to sew as close as possible to the zipper teeth but not through them.
Invisible zipper foot
An invisible zipper foot is a special foot used when sewing invisible zippers. Two diagonal groves under the foot act as a guide and hold the zipper coils in place while being sewn. This foot is ideal for inserting zippers into garment seams, allowing for a concealed closure without the zipper peeking on the right side of the garment.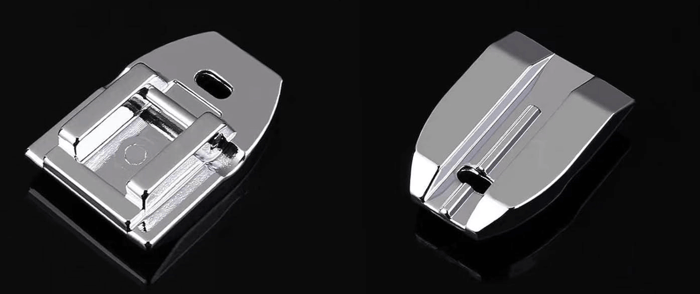
How to choose the right zipper for your sewing project?
Choosing the right zipper for your project may sound challenging, but after considering the below zipper points, the decision gets much easier.
Zipper for closure or decoration purposes?
Determine whether the zipper will have a functional purpose or will be present on the garment as only a decorative element. For example, VISLON and metal teeth zippers are widely used as decorative exposed elements but are also used as functional zippers. But depending on the purpose, the installation differs, and also the installation technique.
The garment type and fabric weight
The garment type defines if you need a close-ended or an open-ended zipper.
For example, an A-line dress made in lightweight to medium fabric usually requires an invisible, closed-ended coil zipper. This is because the point is to install a zipper either on the side of the center back in a way that is invisible but still there to get in and out of the dress.
Classic bomber jackets or even leather jackets have usually installed separating metal zippers. These zippers separate or have an open end that allows you to zip the jacket and then unzip it to take it off. Metal zippers are strong and durable, so their choice of these types of garments is done intentionally to secure the longevity of the garment.
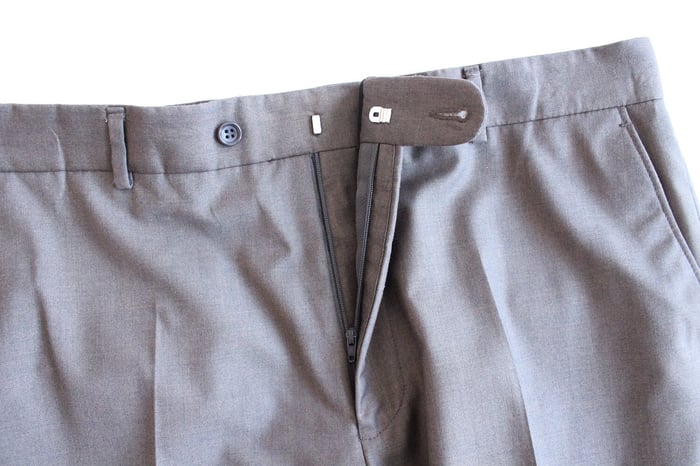
In addition, consider the weight and type of fabric, as well as the usage of the garment, when selecting a zipper. For example, a coil zipper does not make sense to be installed in jeans. On the other hand, a coil zipper is usually installed in men’s and women’s pants.
Zipper length and teeth width
Another consideration is zipper size, where you need to consider the length and the width of the zipper teeth.
The zipper size refers to the width of the teeth in millimeters when the zipper is closed.
For example, a zipper with size #5 means that the zipper’s teeth measure approximately 5 mm across, and the larger this number, the wider the zipper teeth are.
For garment purposes, sizes #3 and #5 are the most common and can be found among different clothing types such as blouses, dresses, pants, children's clothing, and any other garment with lightweight to medium fabrics.
There are no strict rules when choosing a zipper, but mainly guidelines, and when in doubt, do a little bit of research before making a decision. If following sewing patterns, usually the type and the length of the zipper are noted, so it’s one less thing to worry about.
Tips for sewing zippers
- Sew both sides of the zipper in the same direction from bottom to top to avoid distorting the fabric.
- When sewing an invisible zipper, it is recommended to open the zipper and press the coils flat, away from the zipper tape. This process of opening the coils will help to sew as close as possible to them, which will result in a well-concealed, invisible zipper. Make sure to set the iron on medium heat while pressing since high heat might melt the coils (teeth), thus ruining the zipper.
- Before stitching, hand-baste the zipper in the seam allowances. This is very helpful, especially for those who are new to sewing zippers, but also helps a lot when working with slippery fabrics since there’s more control and the zipper will not shift from the original position.
- A zipper foot is always welcomed when sewing zippers. Before purchasing one, make sure that it’s compliant with your sewing machine. Each brand has its own zipper foot styles, but there are also standard ones that may fit several machines.
- Interface the fabric area where the zipper is being installed. Interfacing helps to reinforce and stabilize the fabric, and from the right side of the fabric, the zipper will have a smoother appearance.
- Go slow as you sew the zipper. This gives you more control to see each stitch and stop in case there’s any distortion.
Final thoughts on zippers
Zippers are an essential fastening tool in garments, bags, and many other items, providing a quick and practical way for easy wear and removal of garments, but also quick access to bags and pockets.
Even though zippers can be intimidating to sew, we already have laid out the basics in this article with everything you need to know before going into the next stage and sewing a zipper.
Considering the huge number of styles and zipper applications, you should always start with the easiest project, such as a zipper pouch or a zipper cushion.
Thank you for joining us today to learn about sewing with zippers! Before you leave, make sure to sign-up for our newsletter below. You can also join our Facebook Group or follow us on Instagram. Happy Sewing!