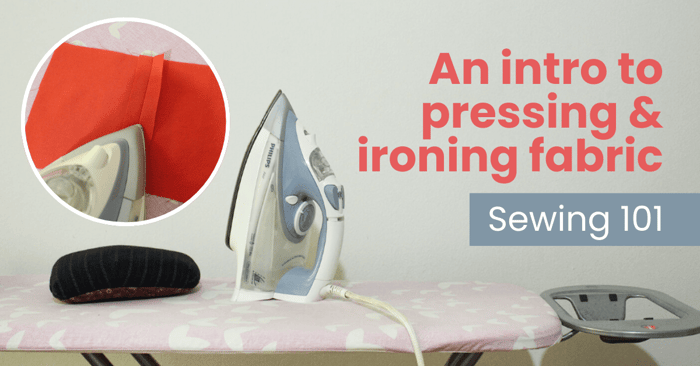
An intro to pressing and ironing fabric - Sewing 101
Today we're going to lean more about pressing and ironing fabric. To create garments that look professional, proper tools and techniques are needed to shape the fabric and neaten the seams, edges, and hems. Thus, ironing and pressing are crucial steps in any sewing project.
In this comprehensive article, we will explore the difference between pressing and ironing, how to press seams, tools to aid pressing, pressing different fibers, and many tips on how to nail pressing on different types of fibers.
Pressing and Ironing Fabric Guide
Pressing vs ironing
Let’s start by clarifying that pressing and ironing fabric are not the same, and they refer to two different applications using a heated iron.
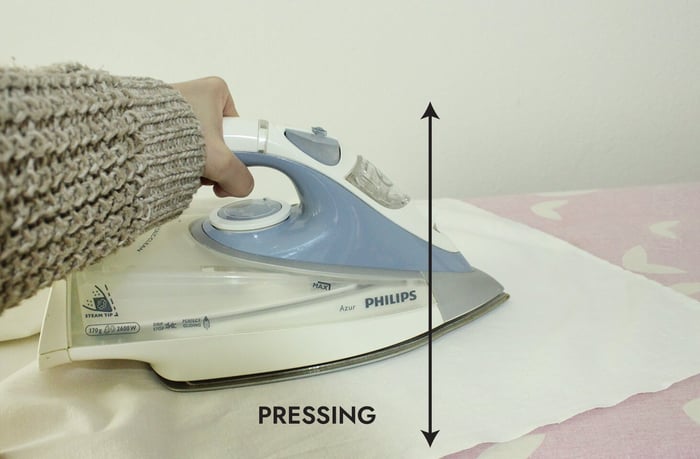
Pressing is the use of an iron in a lifting and lowering motion during garment construction. In addition, moisture is added using the steam function in the iron.
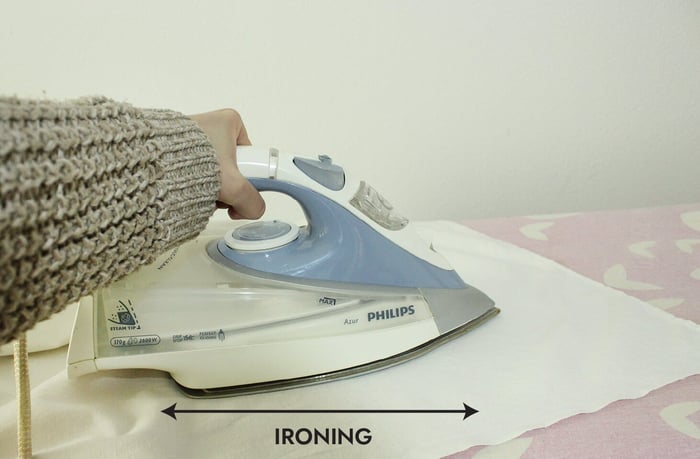
Ironing is a sliding back-and-forth motion to free a garment of wrinkles and is usually used after the garment has been finished or after it is washed.
Steaming
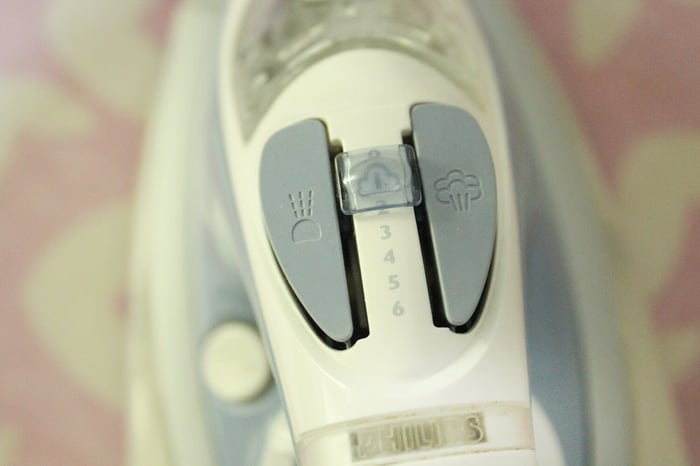
Steam is used both during pressing and ironing to shape and remove wrinkles from the fabric. Nowadays irons have a steam button included, which releases moisture to relax the fibers and heat to set seams or remove fabric wrinkles. It is recommended to use distilled water for steaming to not clog the iron with water minerals and impurities.
Why is pressing fabric important?
Creates a professional finish: pressing flattens seams, hems, and edges, making the garment or fabric item look professionally made.
Sets seams: Pressing seams (rather than ironing) helps "set" them in place. As a result, it reduces the seam bulk, especially in thicker fabrics. Additionally, flatter seams are easier to match with other sections of the garment.
Shapes the garment: Pressing can shape fabric by easing curves or creating crisp folds, pleats, or darts, which are essential in fitting garments to the body.
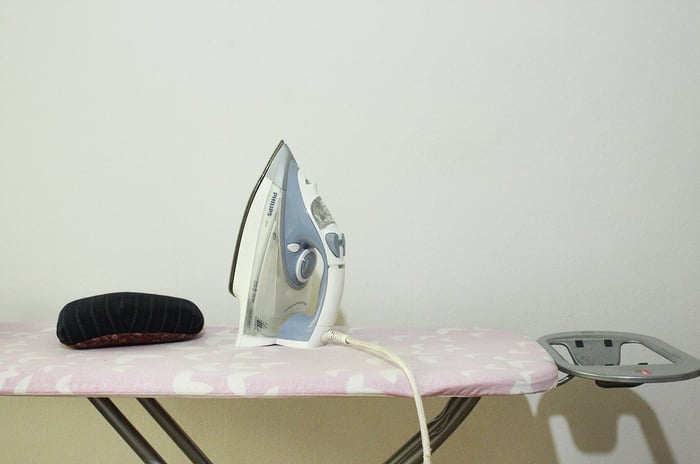
Tools and accessories
There are so many options regarding the tools that can be used to achieve a more professional finish on your garments. Below we mention the ones that you will need as a sewing beginner. With experience, you will get to know what works best for you and, of course, pick the tools that you benefit most from.
The iron
When it comes to irons, there are so many options to choose from in the market. We
suggest you go with the one that is within your budget, has the steam button included, and is above 1000 watts.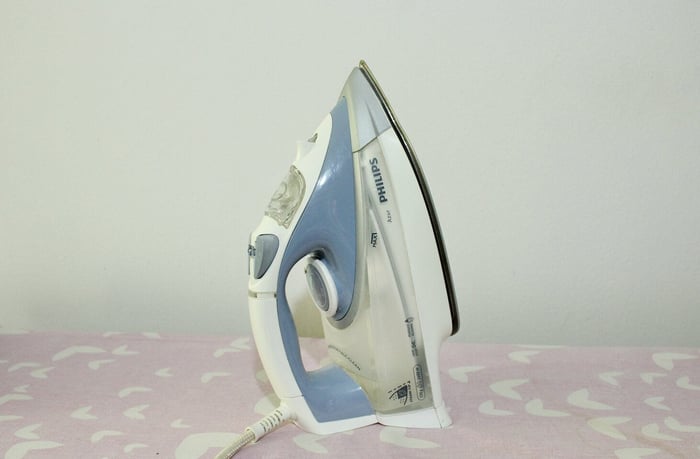
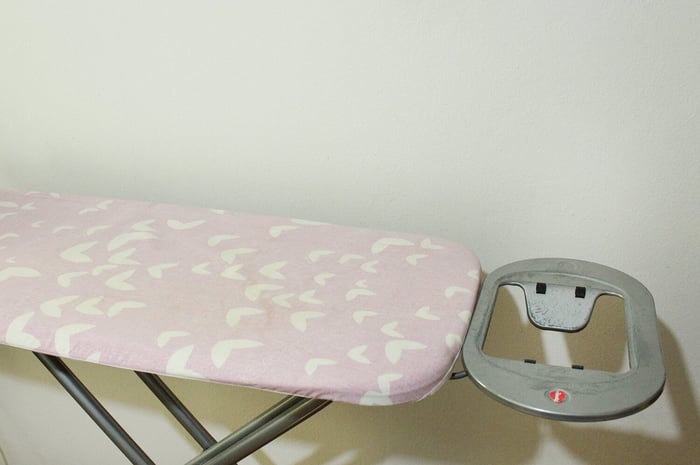
The ironing board
The key to good pressing and ironing is having a work area large enough to support your garment that is also heatproof. There are several types of ironing boards on the market that come in different sizes with accompanying accessories. Choose one that has great stability and enough thick padding to support fabric when pressing or ironing.
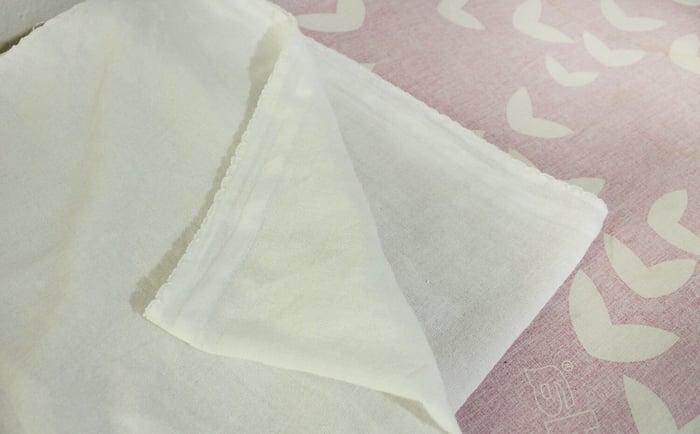
The press cloth
The press cloth’s role is to protect the fabric from direct heat that may result in discoloration, shine, and, in some cases, even fabric melting (if the temperature is incorrect). Choose a cloth that is similar in weight to the fabric you’re using. Lightweight to medium-weight kinds of cotton work well as press cloths, double gauze fabrics, and even linen.
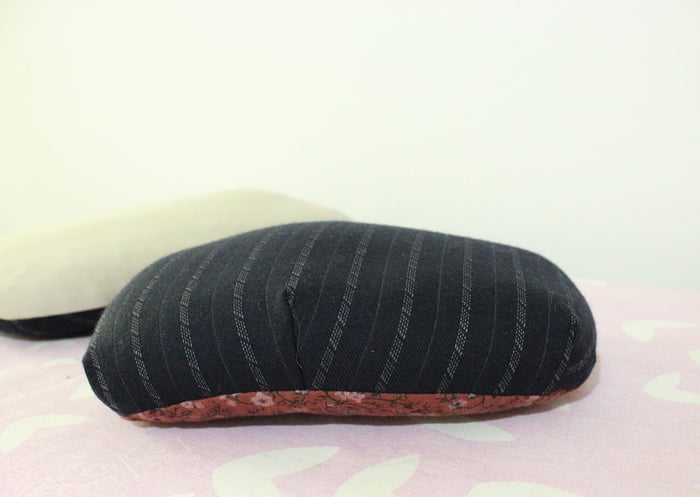
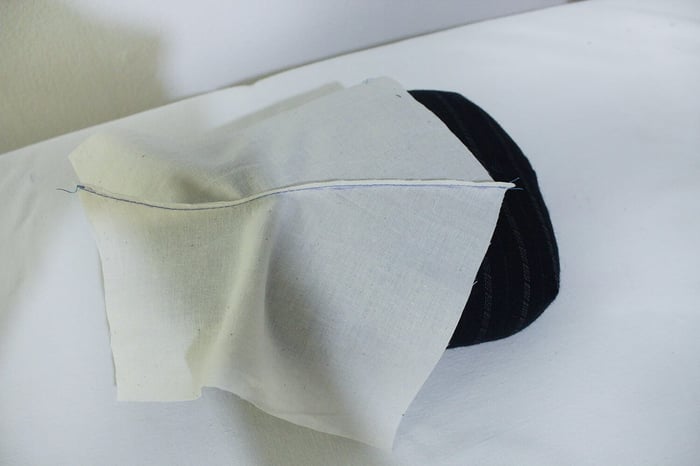
Pressing ham
Pressing hams (Tailor’s ham) come so handy when you need to press and mold curves, such as in necklines, sleeves, crotch areas, and darts. They have the shape of a round pillow that is usually stuffed with sawdust and has a cotton side to press high-heat fabrics and a wool/blend side to press low or medium-heat fabrics.
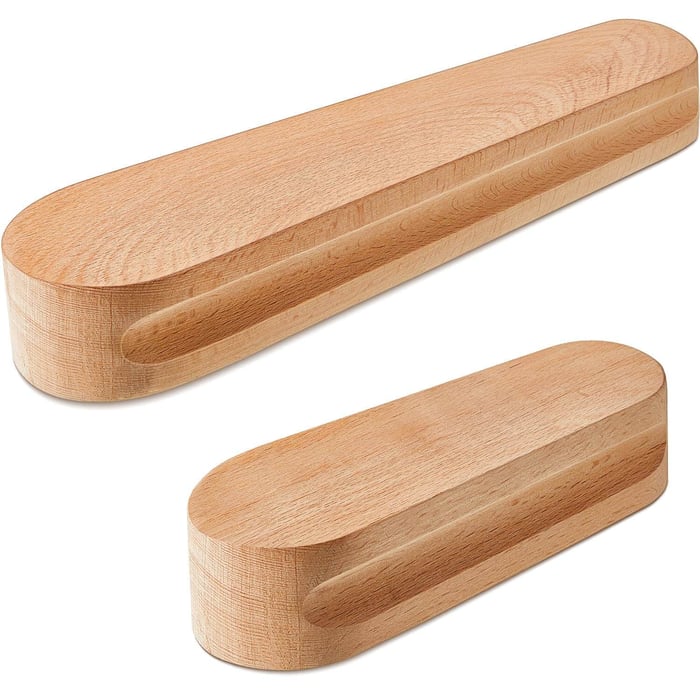
Tailor’s Clapper
The clapper is a rectangular wooden block, and it’s used to set the seam after it has been pressed with the iron. This tool absorbs the moisture from the fabric and leaves the seams neat and crisp.
Pressing and ironing different fiber contents
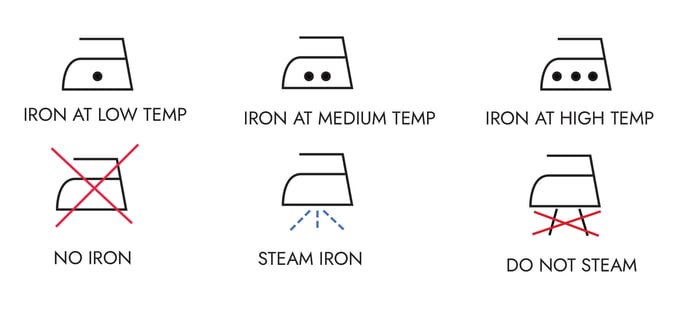
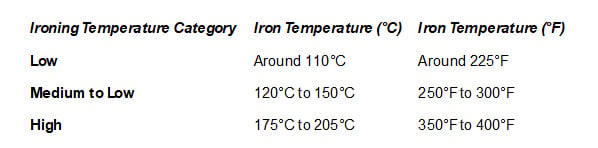
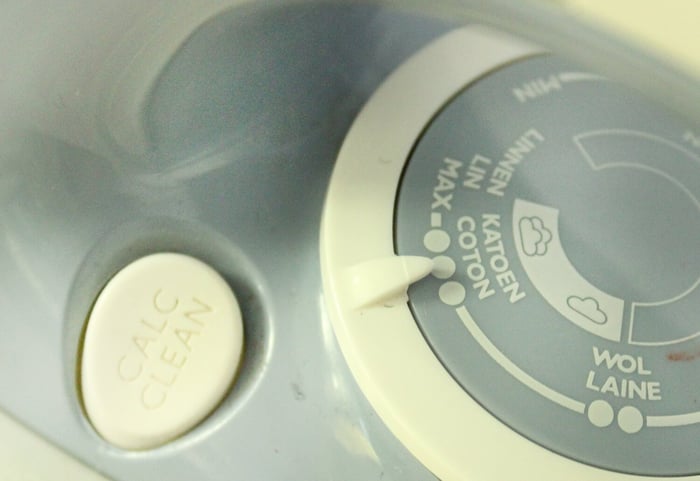
Each type of fabric, natural fiber or not, accepts a certain amount of heat, pressure, and moisture when in contact with an iron. Most irons nowadays have temperature settings for each fiber type, such as linen, cotton, wool, silk, and blends.
In the case that you’re working with a fabric but you do not know the fiber content, before ironing on the garment/project, always test a scrap first at low temperature. Check how the fabric is reacting to the heat and if the temperature needs to be increased.
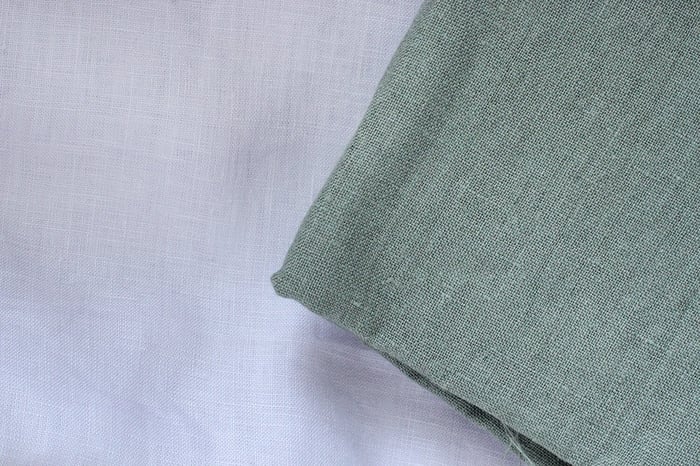
Linen
Compared to other fibers, linen fabric requires high temperatures and moisture. It’s recommended to be pressed on the wrong and to use a press cloth to protect the linen from direct heat.
Cotton
Similar to linen, cotton requires somewhat high temperatures and moisture. When it comes to cotton, weight also plays a role, and lightweight kinds of cotton require less heat compared to medium- or heavyweight ones.
Wool
Wool, in addition to a low-moderate temperature, also requires a source of moisture. When pressing wool, a wooden clapper does wonders since it absorbs the extra moisture and heat during pressing, which gives flat and neat seams. Extra care needs to be taken with wools that have texture due to their fragility.
Silk
Nowadays most irons have a silk setting, which we recommend trying out first on a silk scrap to test out if it’s the right temperature. In general, silks require minimal moisture and low temperature. Use a press cloth to avoid water and other marks on the fabric.
Blends
Blends are recommended to be ironed and pressed, starting with the lowest temperature and then increasing bit by bit in case it’s needed.
Polyester
Polyesters, depending on the fabric thickness, require low- to medium-temperature and minimal pressure. Press always on the wrong side, and use a press cloth in case you’re pressing on the right side of the fabric.
How to press seams
Iron the fabric before cutting
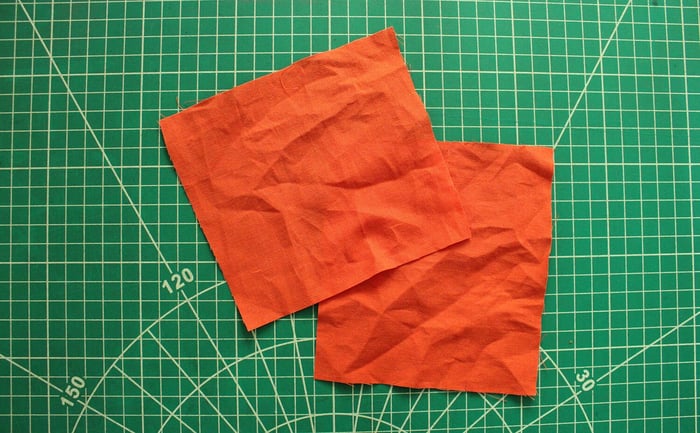
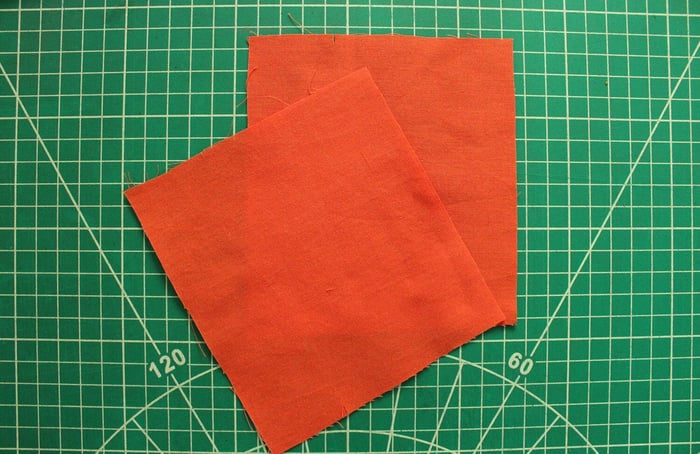
Most of the woven fabrics require ironing before cutting due to being more prone to creases and wrinkles. One of the many benefits of ironing the fabric before working with it is that on a flat and wrinkle-free fabric you can make more accurate cuts, which impacts the overall fit and appearance of the garment.
Pressing a straight seam
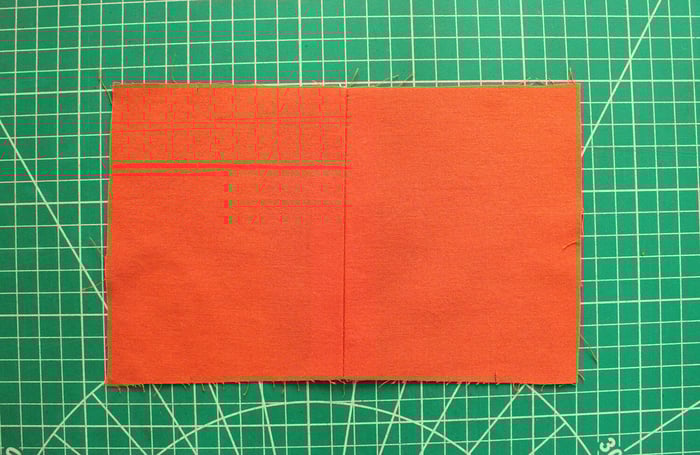
- Lay the fabric with the wrong side up on the ironing board.
- Set the iron to the correct temperature setting for the fabric.
- Press the iron along the stitched seam to set the stitches.
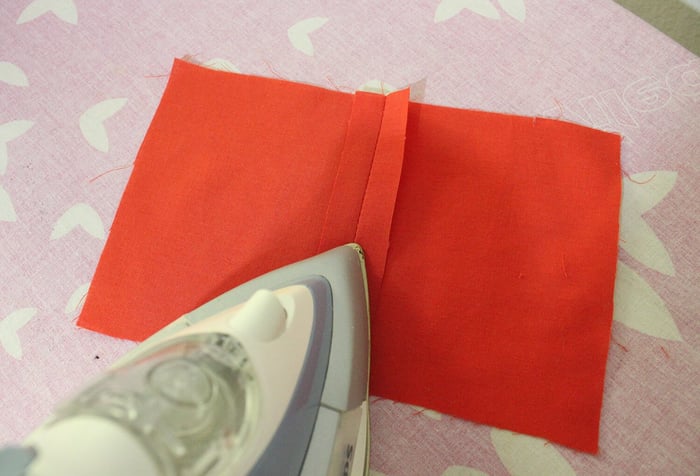
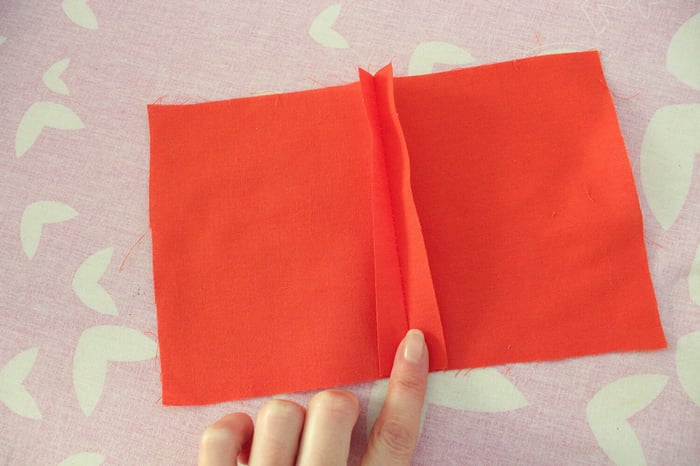
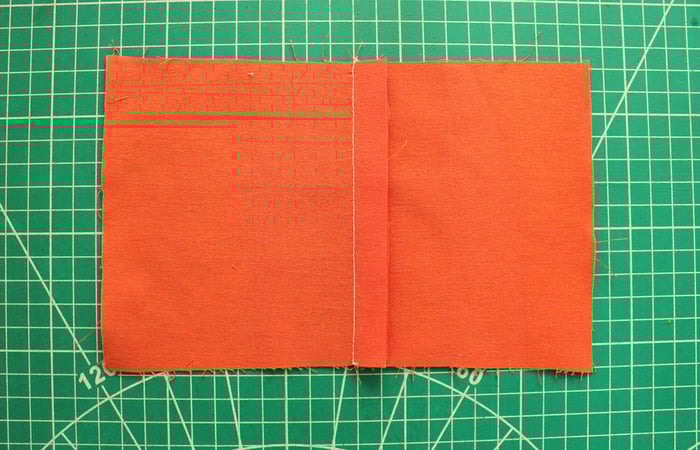
- Open the seam allowance with your fingers and press along the opened seam. Try not to use a lot of pressure to prevent marks on the right side of the fabric.
- Use a wood clapper or a similar tool immediately after pressing. This will set the seam open and will give the seam a crisp finish.
- Flip the garment over and press the seam again from the right side of the fabric. Always use a press cloth when pressing on the right side of the fabric. This way you protect the fabric, and there’s no room for error.
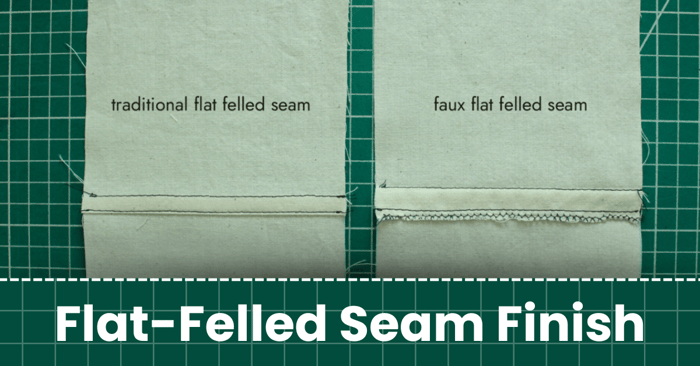
Depending on the garment but also the seam finishes, the seam can be pressed to one side too. For example, for the flat-felled seam, the seam needs to be pressed to one side.
Pressing a curved seam
The same steps as above apply, but in addition, tools such as a tailor’s ham come in hand and play a big role in creating shape and molding the fabric on areas such as sleeve caps, darts, shoulders, hip seams, and more.
Tips
- Always use the up and down motion when pressing. This way the seam is flattened without stretching or distorting the fabric grain.
- Aim to do most of the pressing on the wrong side of the fabric. In case that is not possible, damp a cloth, place it on top of the fabric, and press.
- Remove any basting thread or sewing pins before pressing. If not doing so, depending on the fabric type, markings could appear in the fabric.
- When pressing parts of a garment that may be difficult to reach, such as sleeves, use tools such as a sleeve board, sleeve roll, and even the point of the ironing board.
- When pressing the garment, always make sure you’re pressing on a single layer of the fabric; otherwise, you will end up making creases or folds on the other side.
- Use light pressure to press most of the seams. Too much pressure usually causes seams, darts, and hems to leave a mark on the right side of the fabric.
- Press in the same direction the seam was stitched to avoid stretching.
- Press each garment section before sewing it with another section.
Final thoughts
In short, pressing as you sew makes a significant difference, giving your garment a neat finish with well-defined seams, crisp lines, and a smooth overall appearance. As a sewing beginner, pressing may not seem as important as you’re learning to sew and everything else seems secondary. But besides stitching fabrics together, there are many other elements that complete a garment, and pressing is in the top three.
So, take the time to learn how to press different fibers with the right tools to aid the process, and the result will be there.
Thank you for joining us today to learn about pressing and ironing fabric! Before you leave, make sure to sign-up for our newsletter below. You can also join our Facebook Group or follow us on Instagram. Happy Sewing!