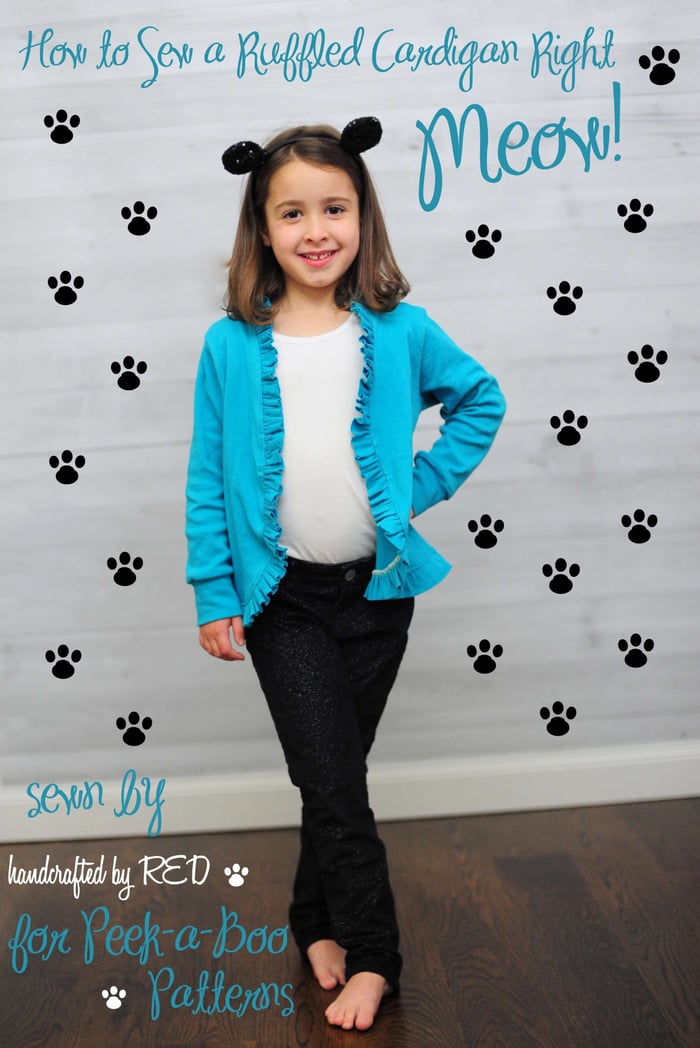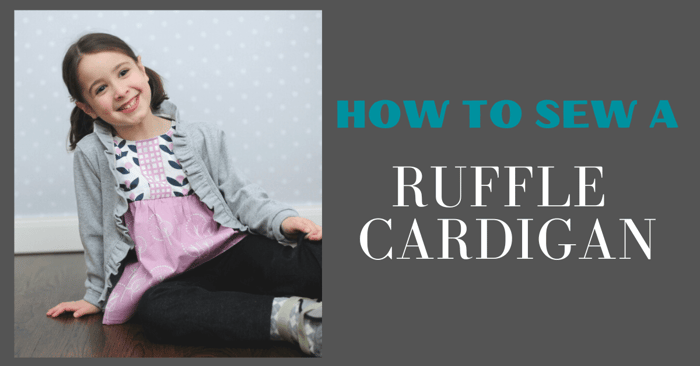
How to Make a Ruffle Cardigan
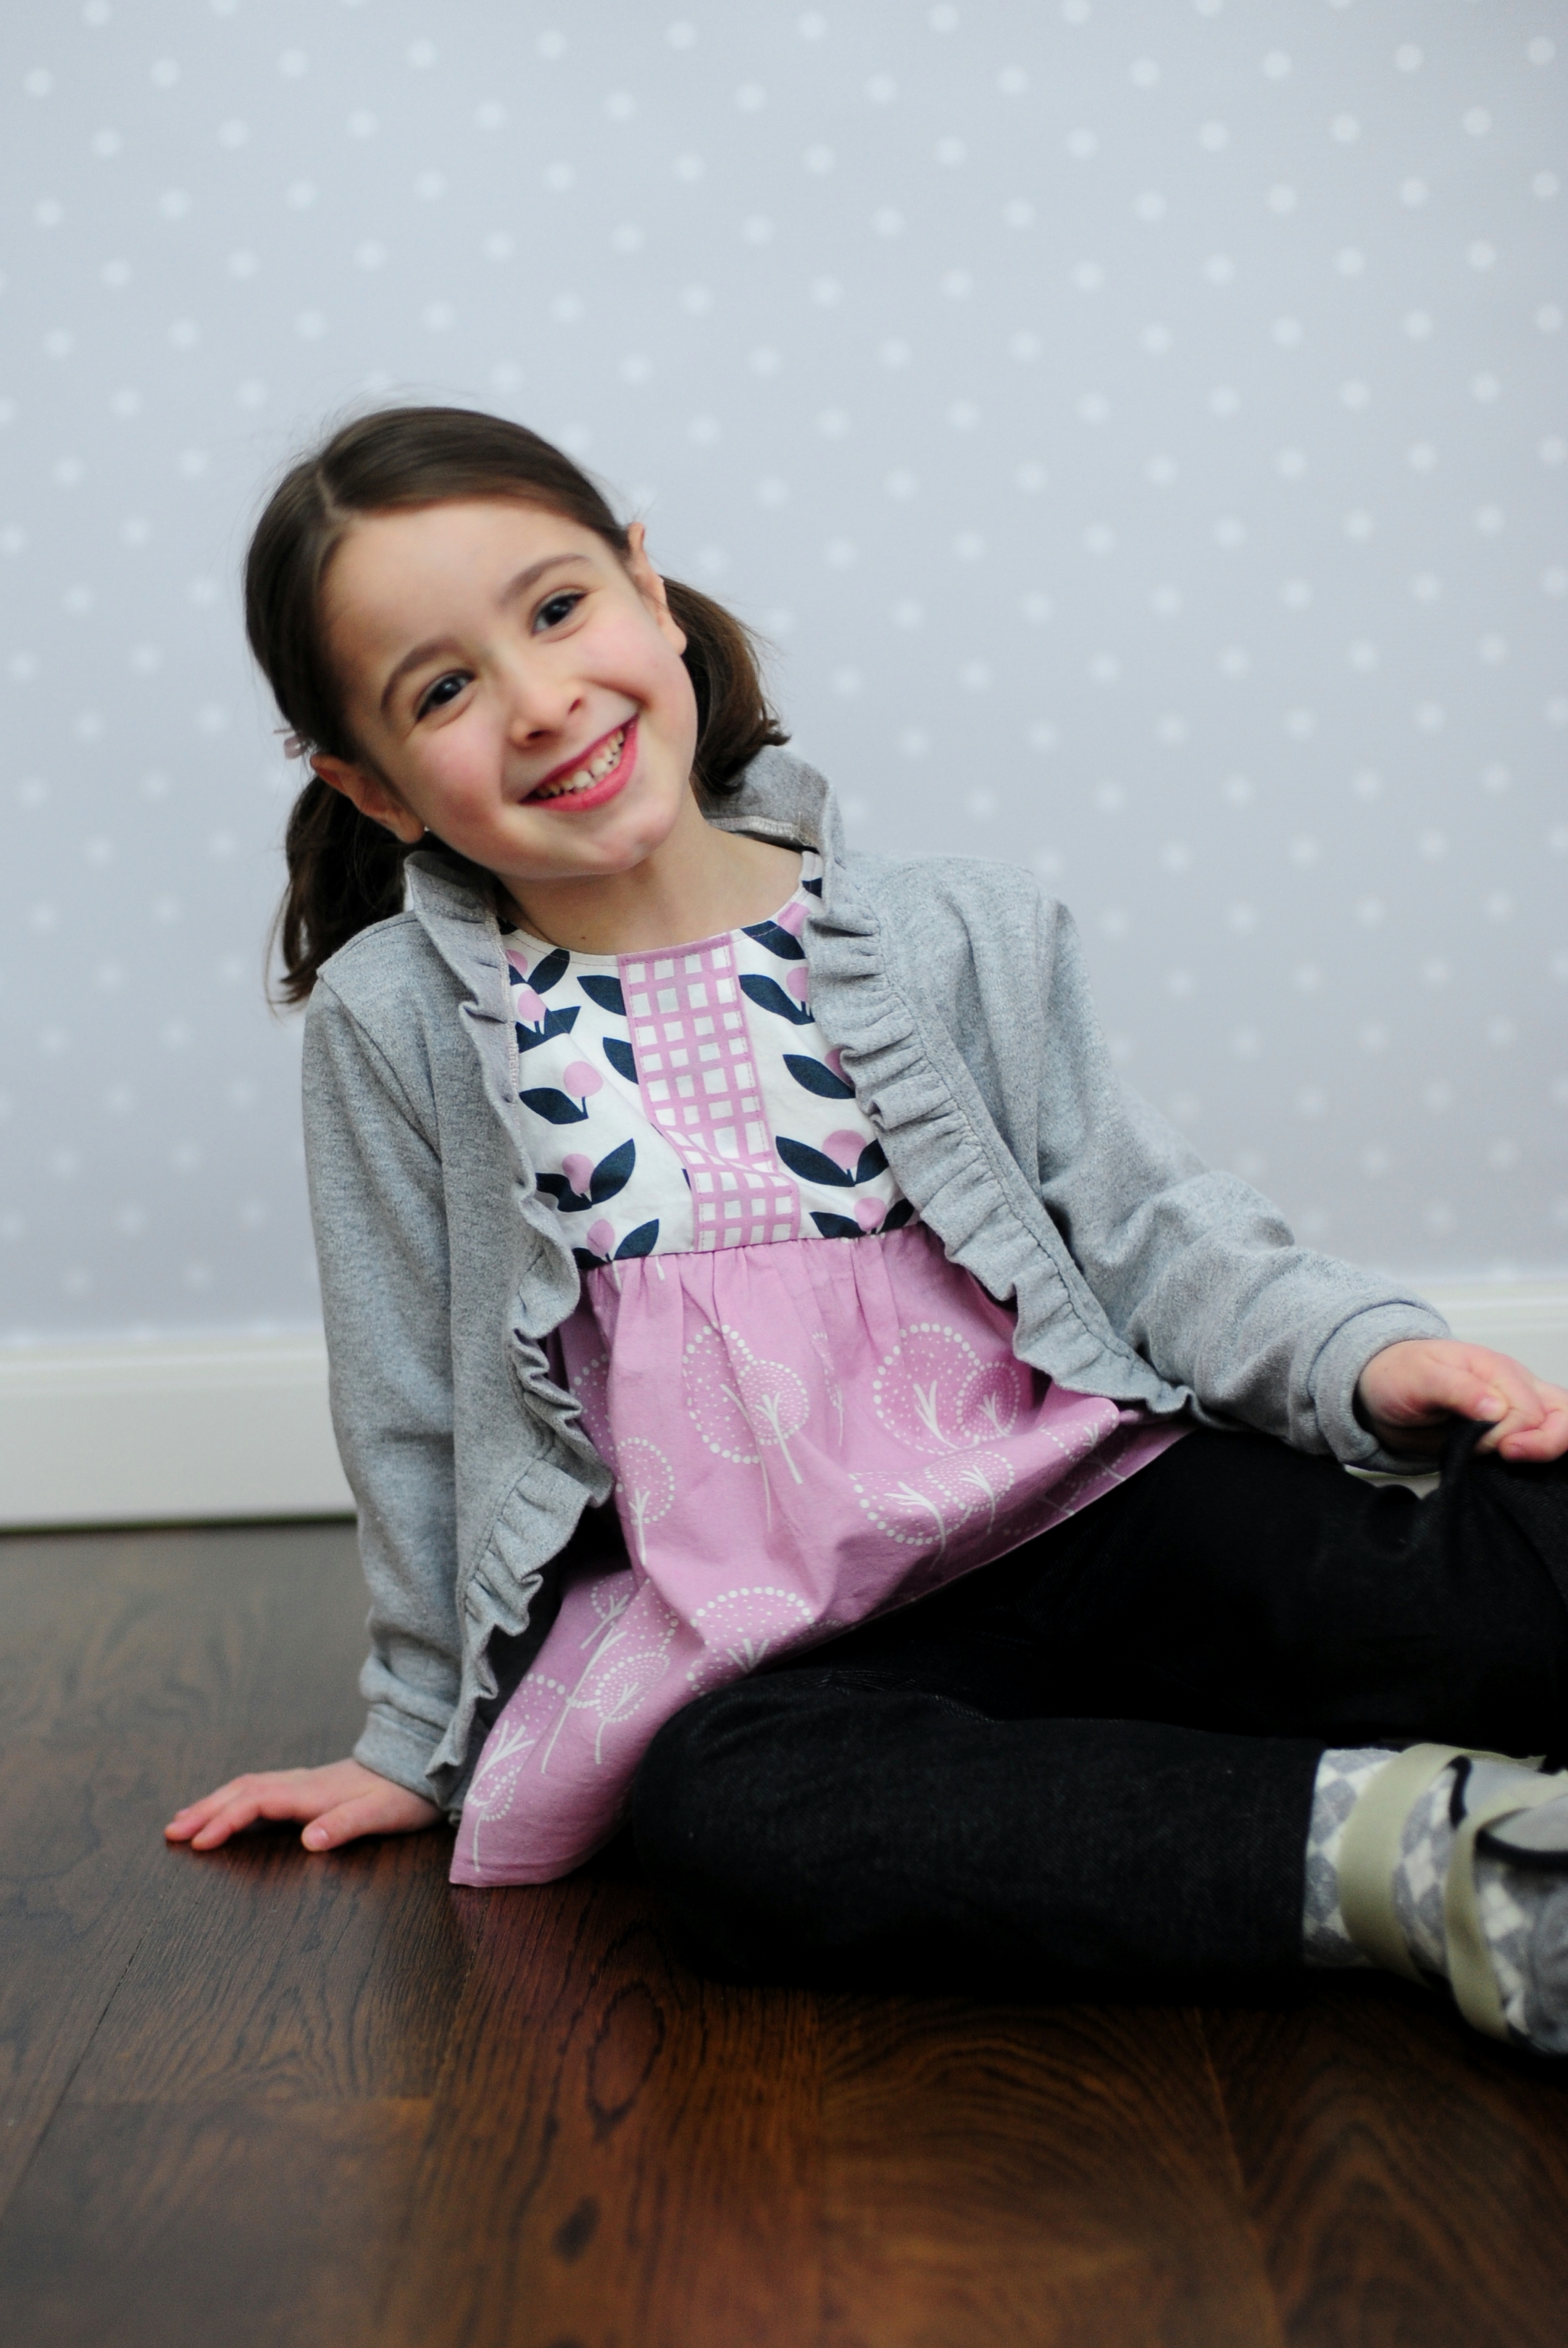
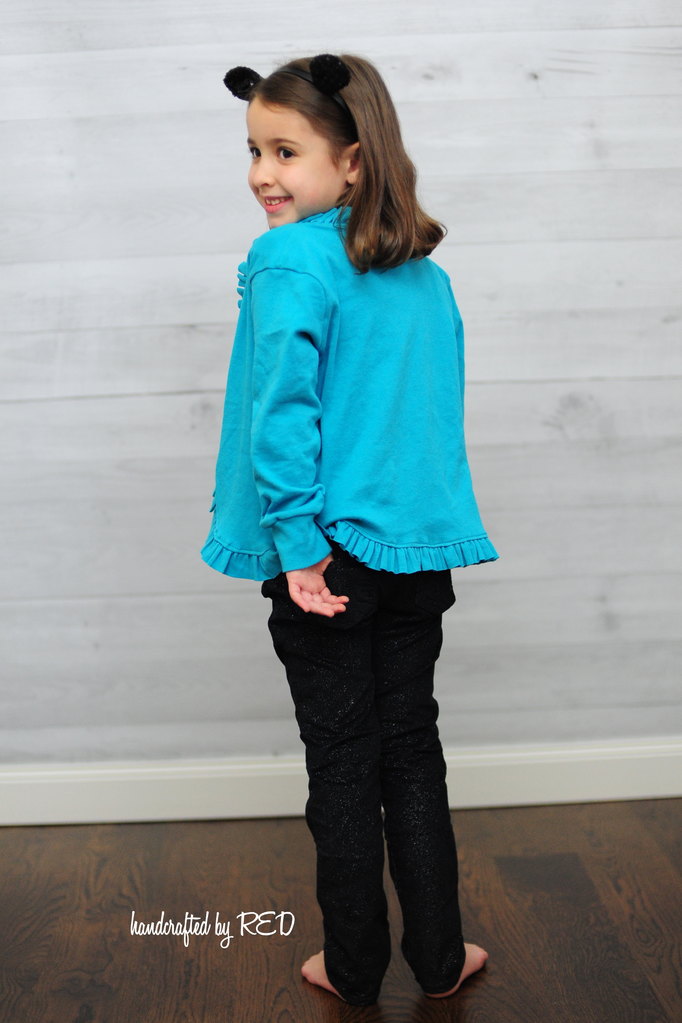
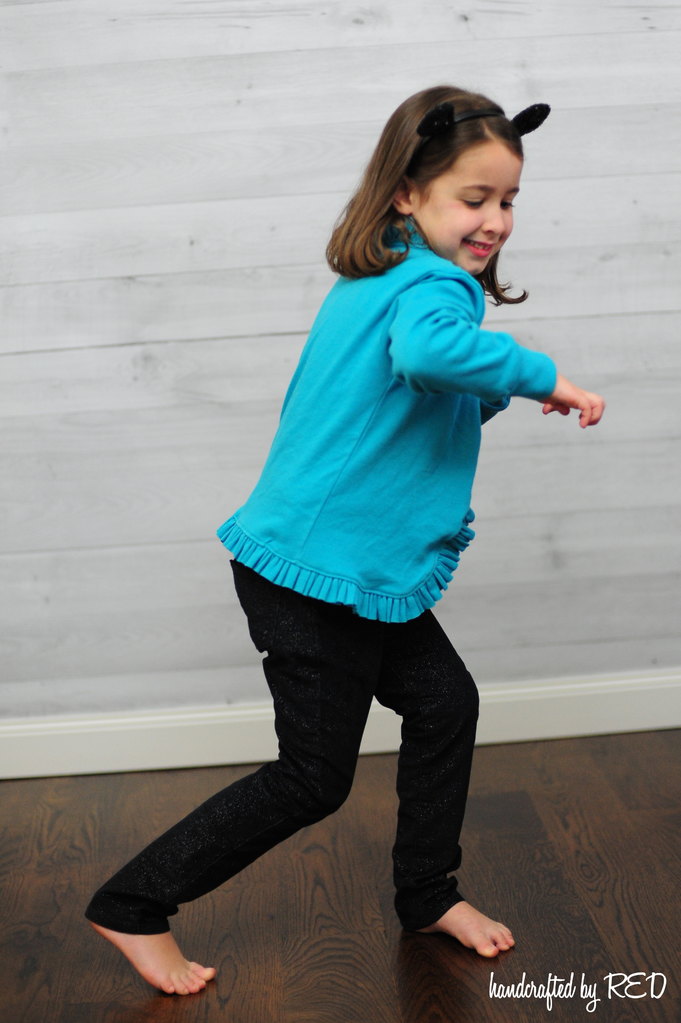
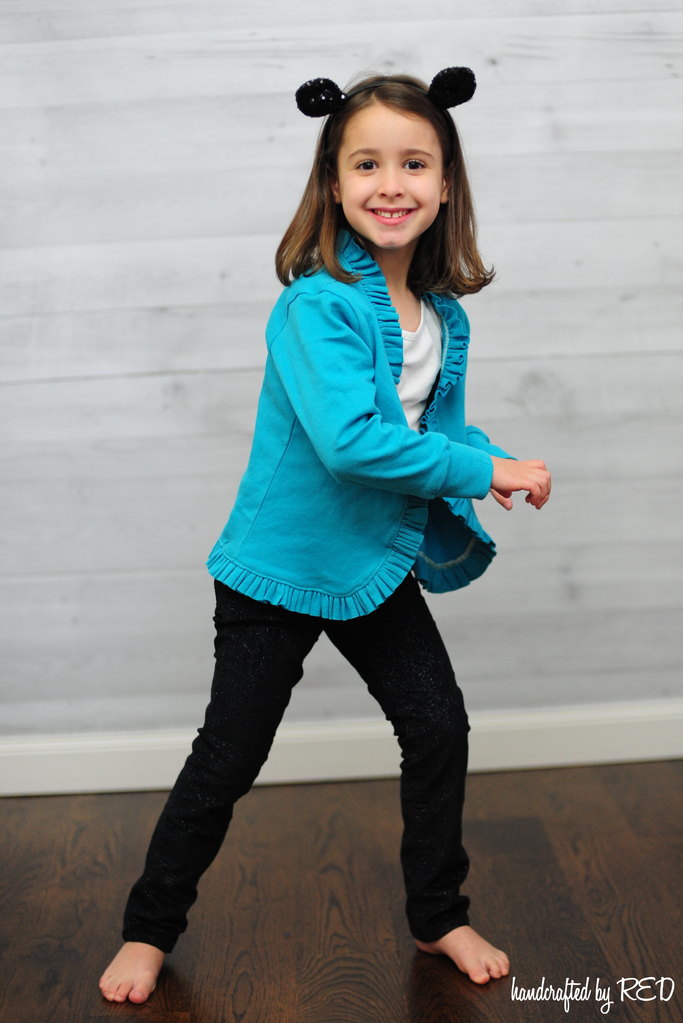
Today's project is a ruffle cardigan tutorial. Last spring for Miss P's school pics, she asked for a Hopscotch top. It was still pretty chilly here, so I sewed up a quick cardigan with ruffle trim that she could wear over it. She's gotten a lot of wear out of it already, and because of the drapey fit (there are no closures on this version), we just pulled it from her closet for her to wear some more this fall. Use this ruffle cardigan tutorial to make one for your girl!
How to Make a Ruffle Cardigan | DIY Tutorial
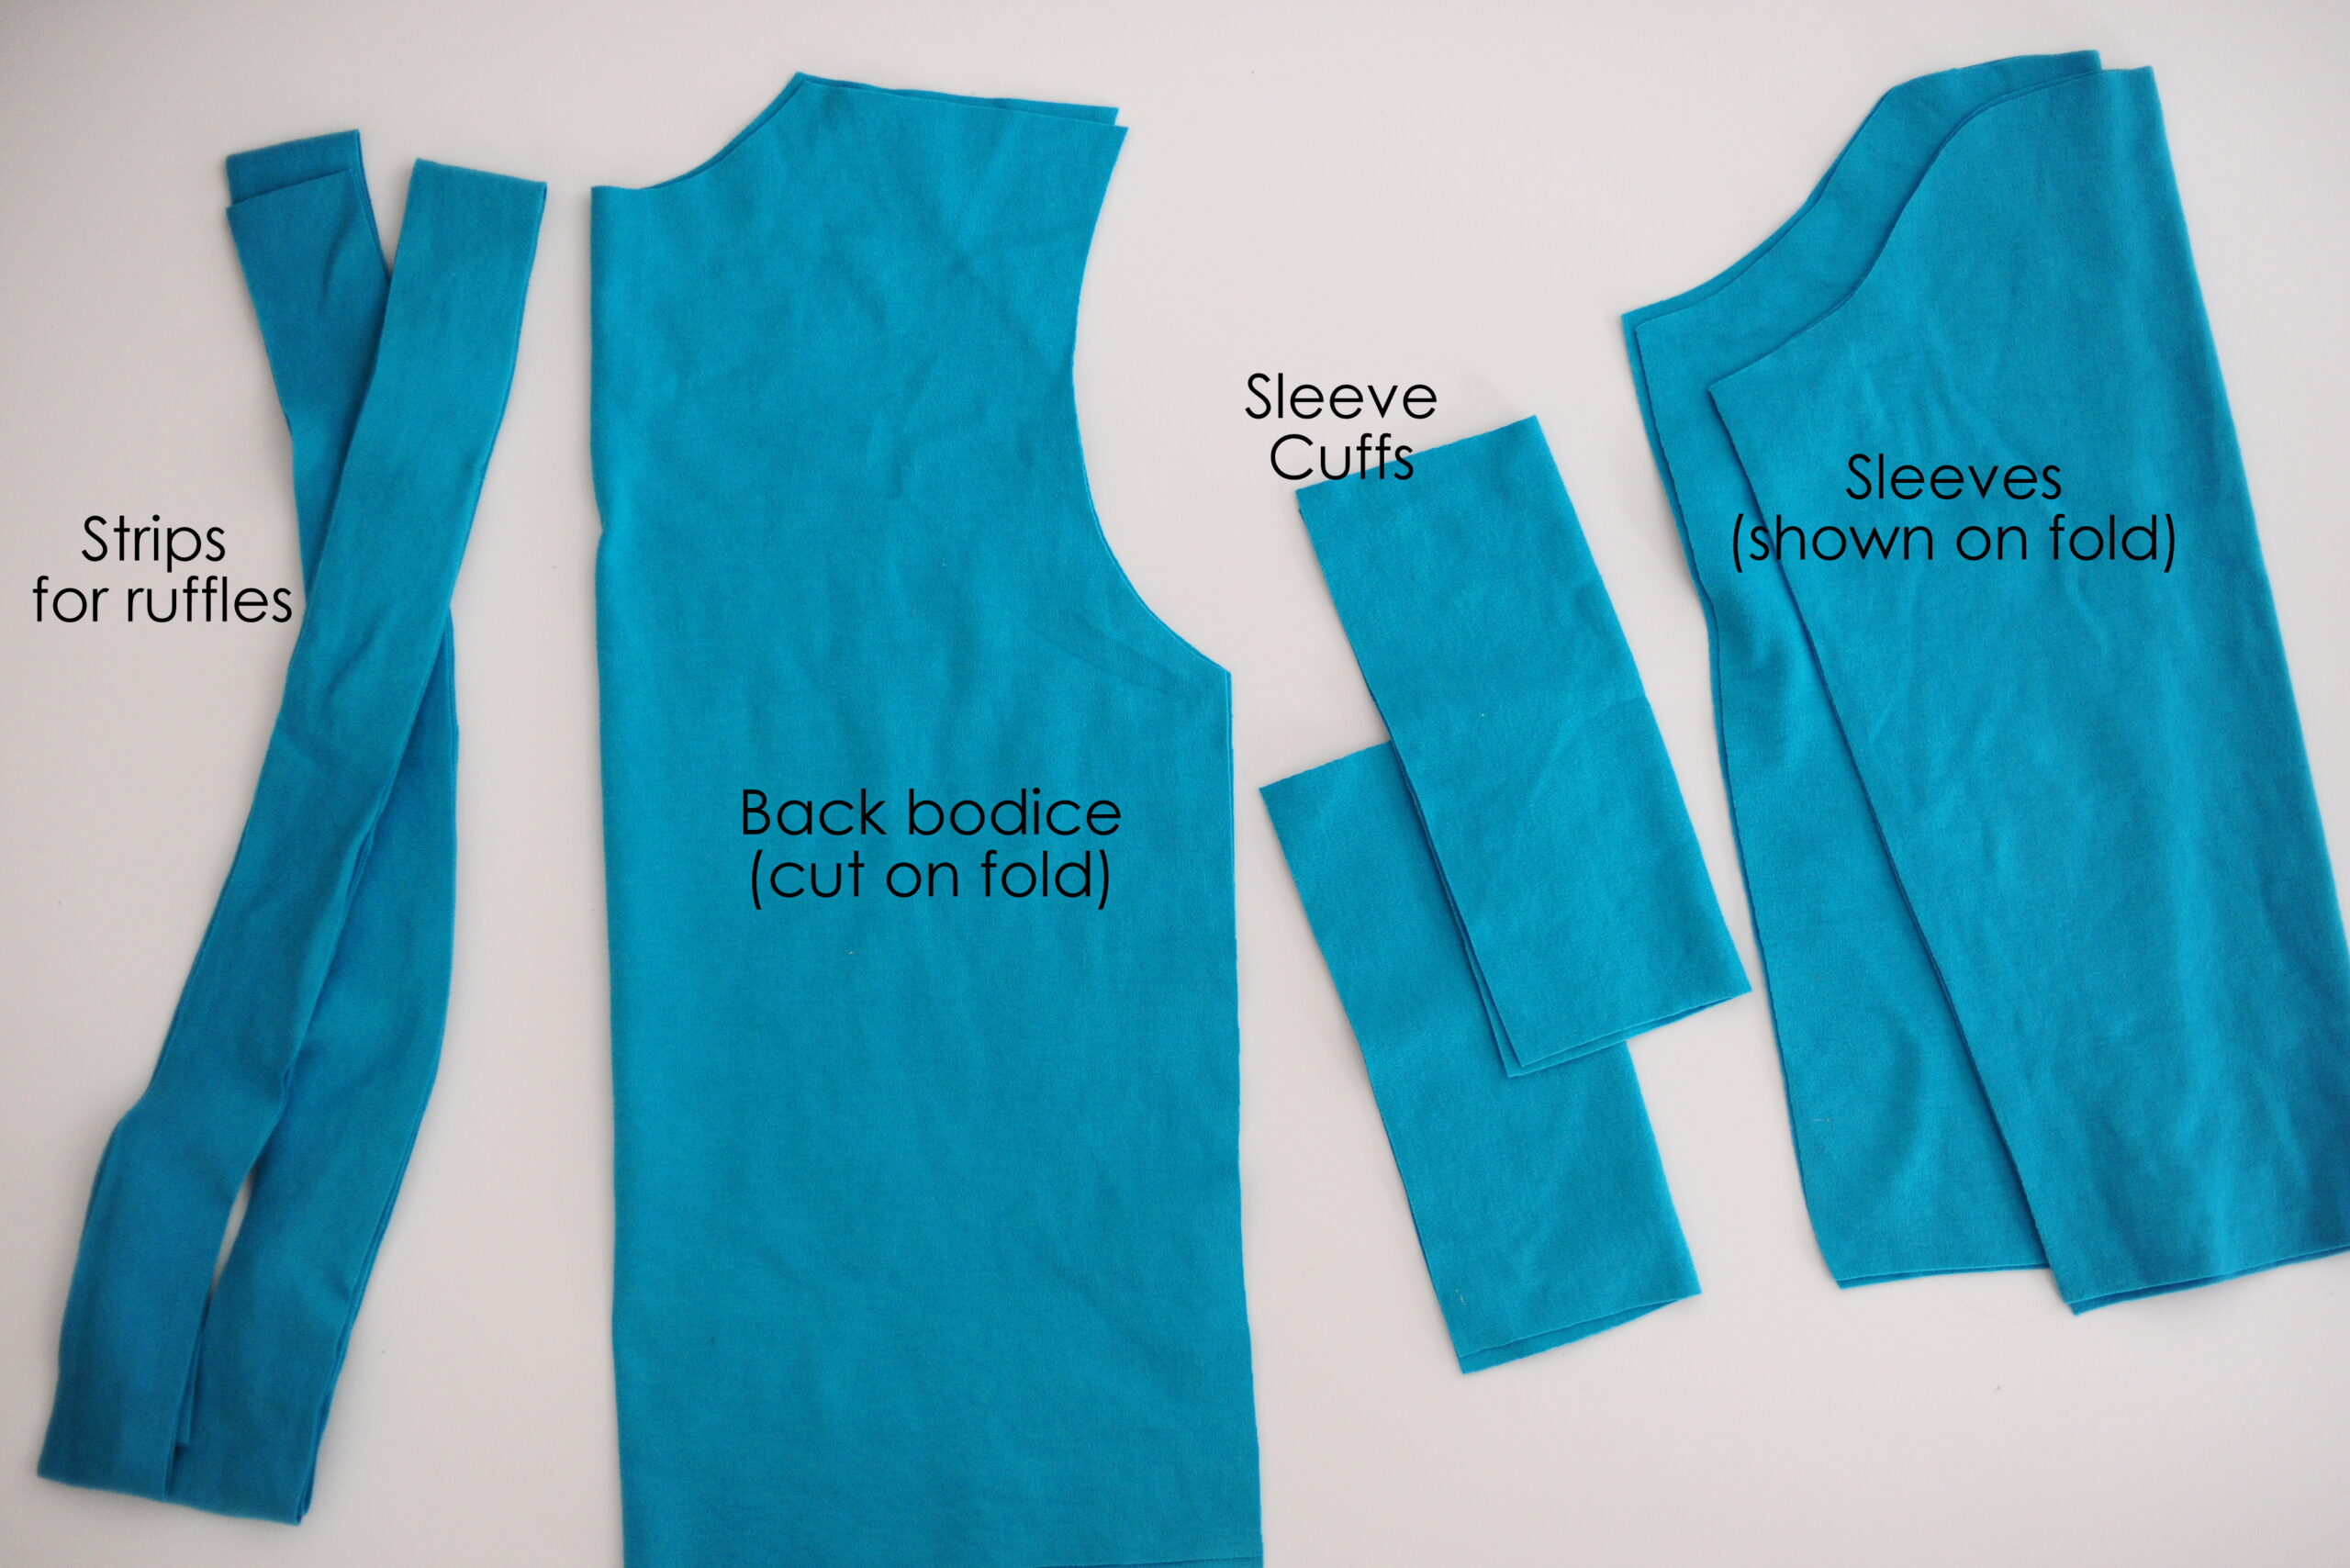
I used the V-Neck Cardigan pattern, but in this tutorial from March I showed how you can adapt a basic t-shirt pattern (like the Grand Slam or the Classic Ringer) to make this style cardigan. I used the V-Neck cardigan again for this tutorial, and started by cutting my pattern pieces. When you prep your pattern pieces, you'll want to start by curving the front piece. Make sure you cut a left and a right. You'll want to cut one back on the fold, and two sleeves. For the trim, decide how wide you want your ruffle to be, and cut a couple of strips of fabric to that length. I started by cutting twice the width of fabric and piecing them together, but I ended up needing to add a third strip because I gathered the ruffle pretty tightly.

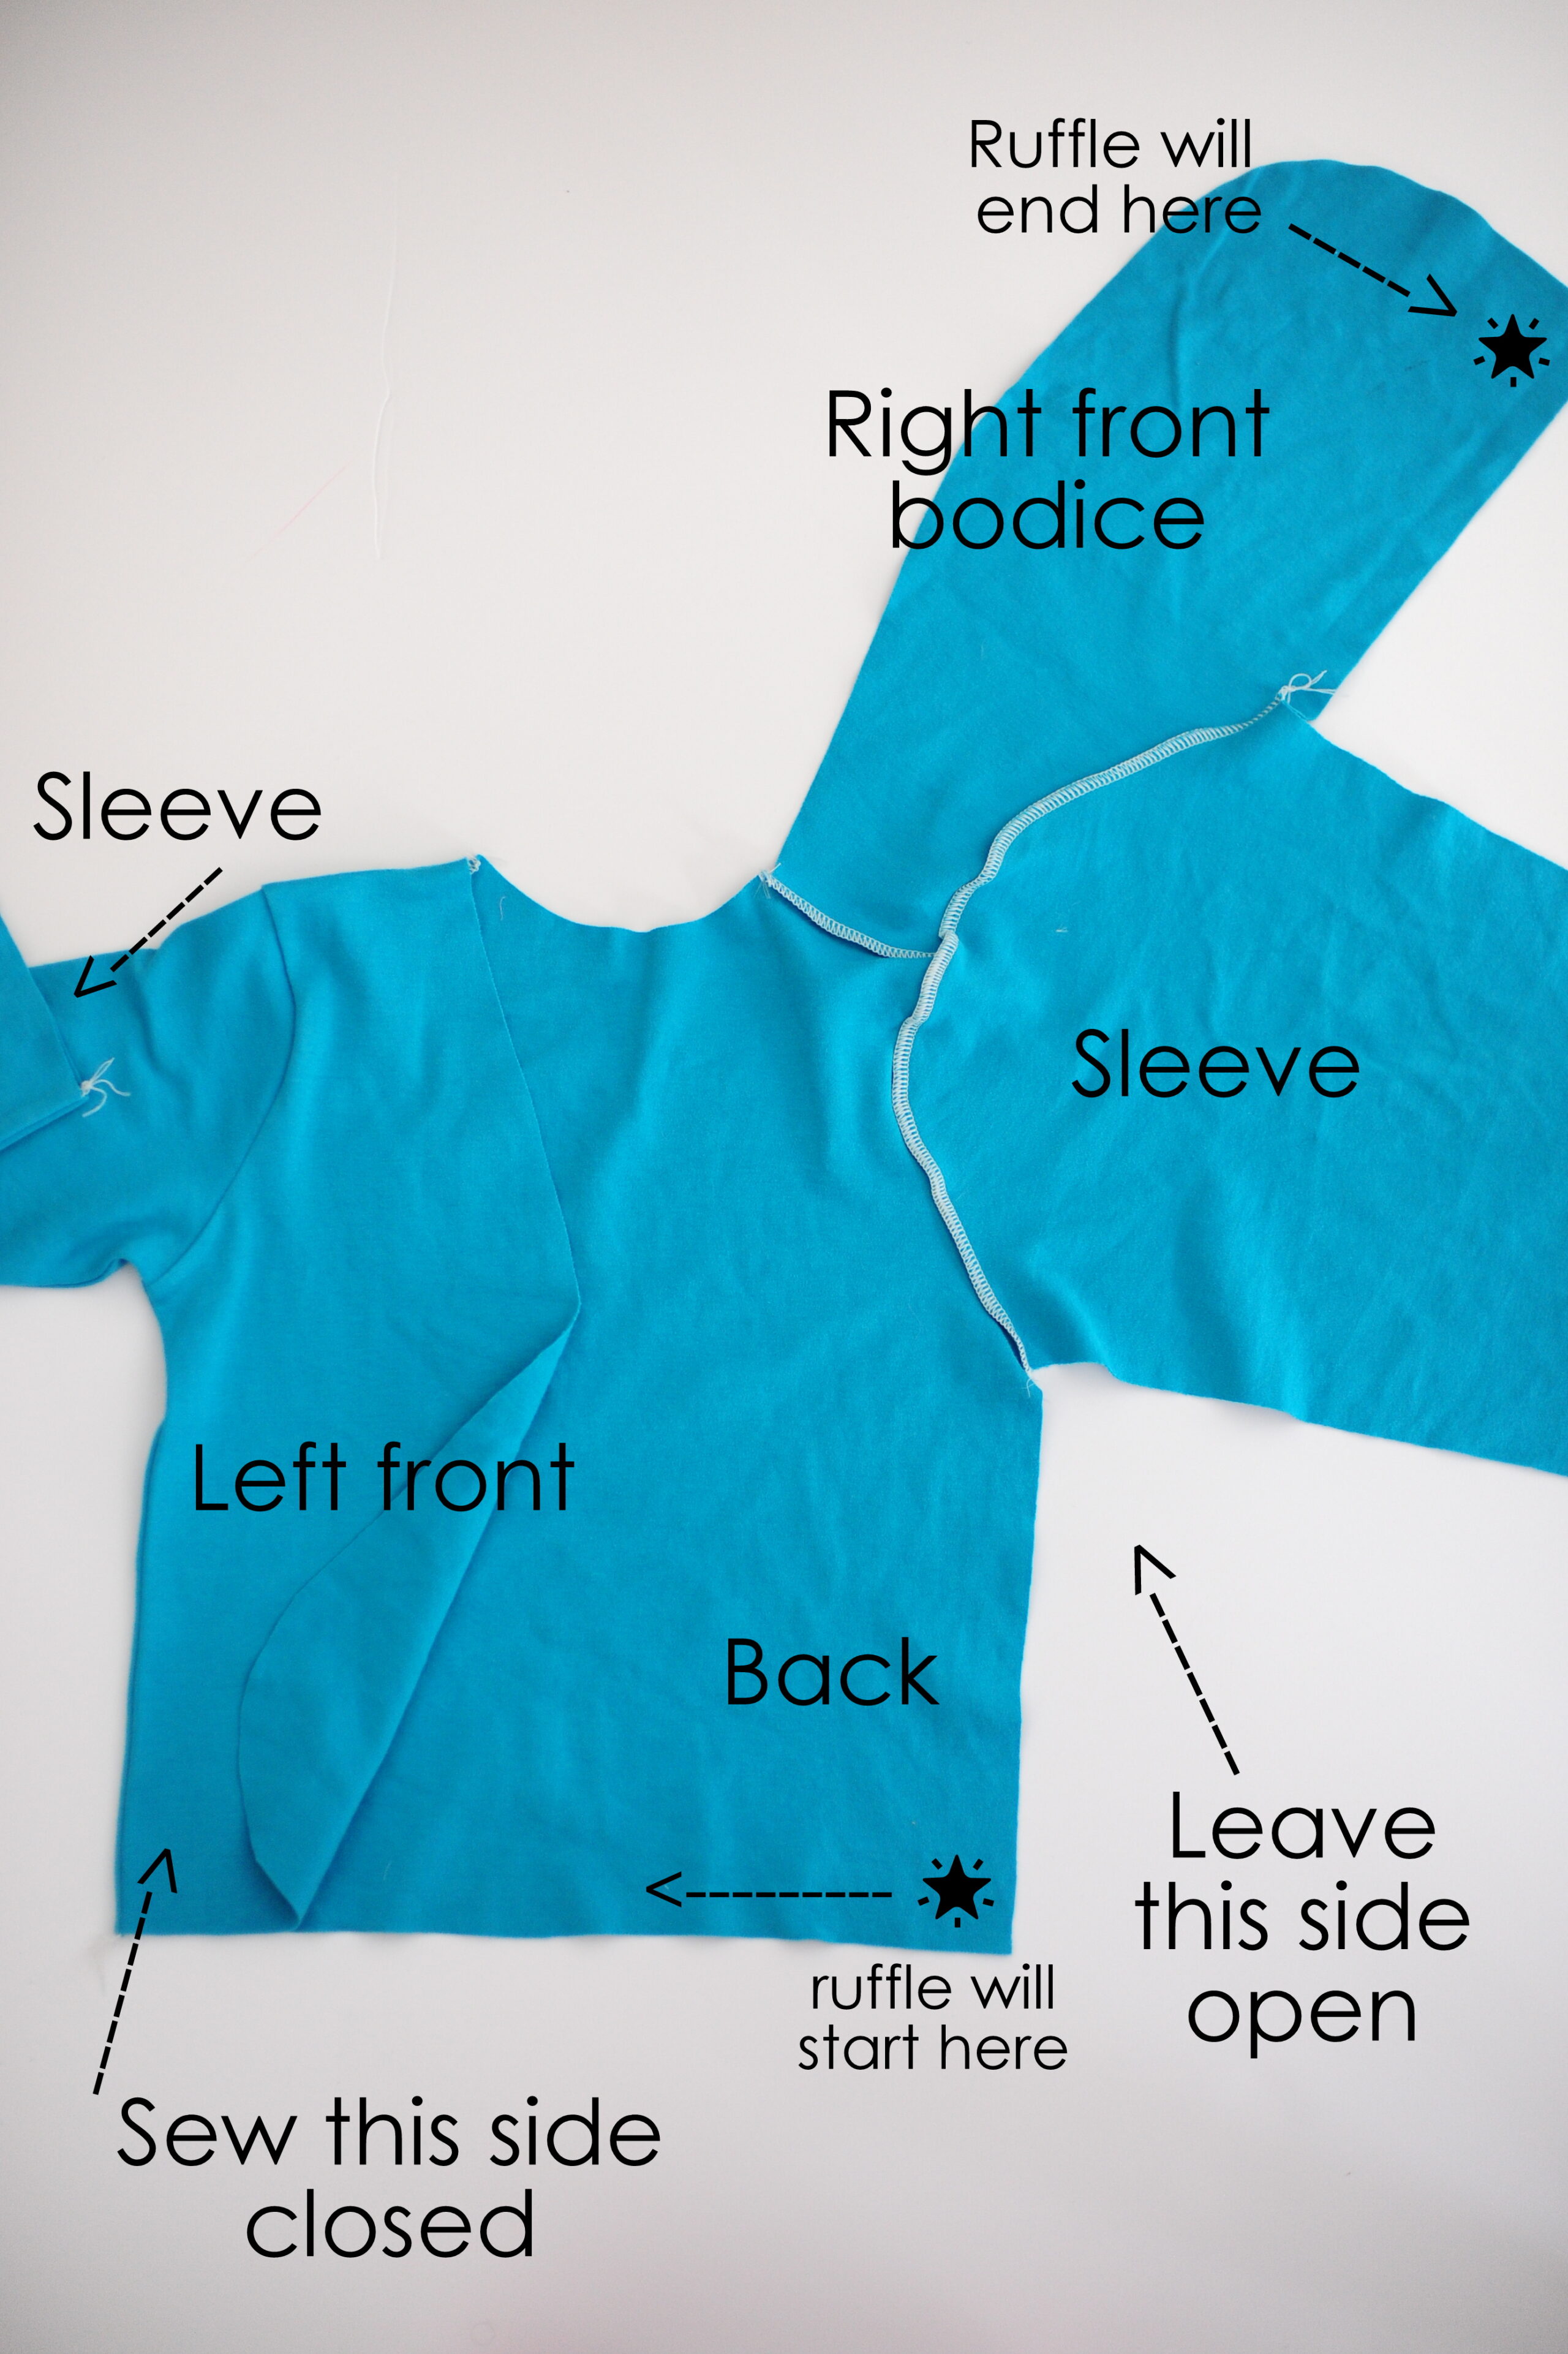
Sew the fronts to the back at the shoulder seams, and attach the sleeves flat. You'll want to sew up the arm and down to the hem of ONE SIDE ONLY, keeping the other side open for now. You'll close the second side after you've attached your ruffle.
There are two ways to make the ruffle - you can cut the strip to twice the width you want your finished ruffle to be, fold it in half the long way, and gather along the raw edges. This will give you a nice finished edge to the ruffle but it will also be much thicker since it is double the fabric. If you cut a single layer, you'll have a raw edged ruffle. This looks cute and curls up nicely in the wash. If you don't want it to curl or want a finished edge, you can do a rolled hem. Since I used interlock for this (it was a cotton Doodles remnant that I found at Joanns - I used nearly the whole piece, but I had less than a yard to start with for this size 4T with a little added length), I did a single layer and left the edges raw.
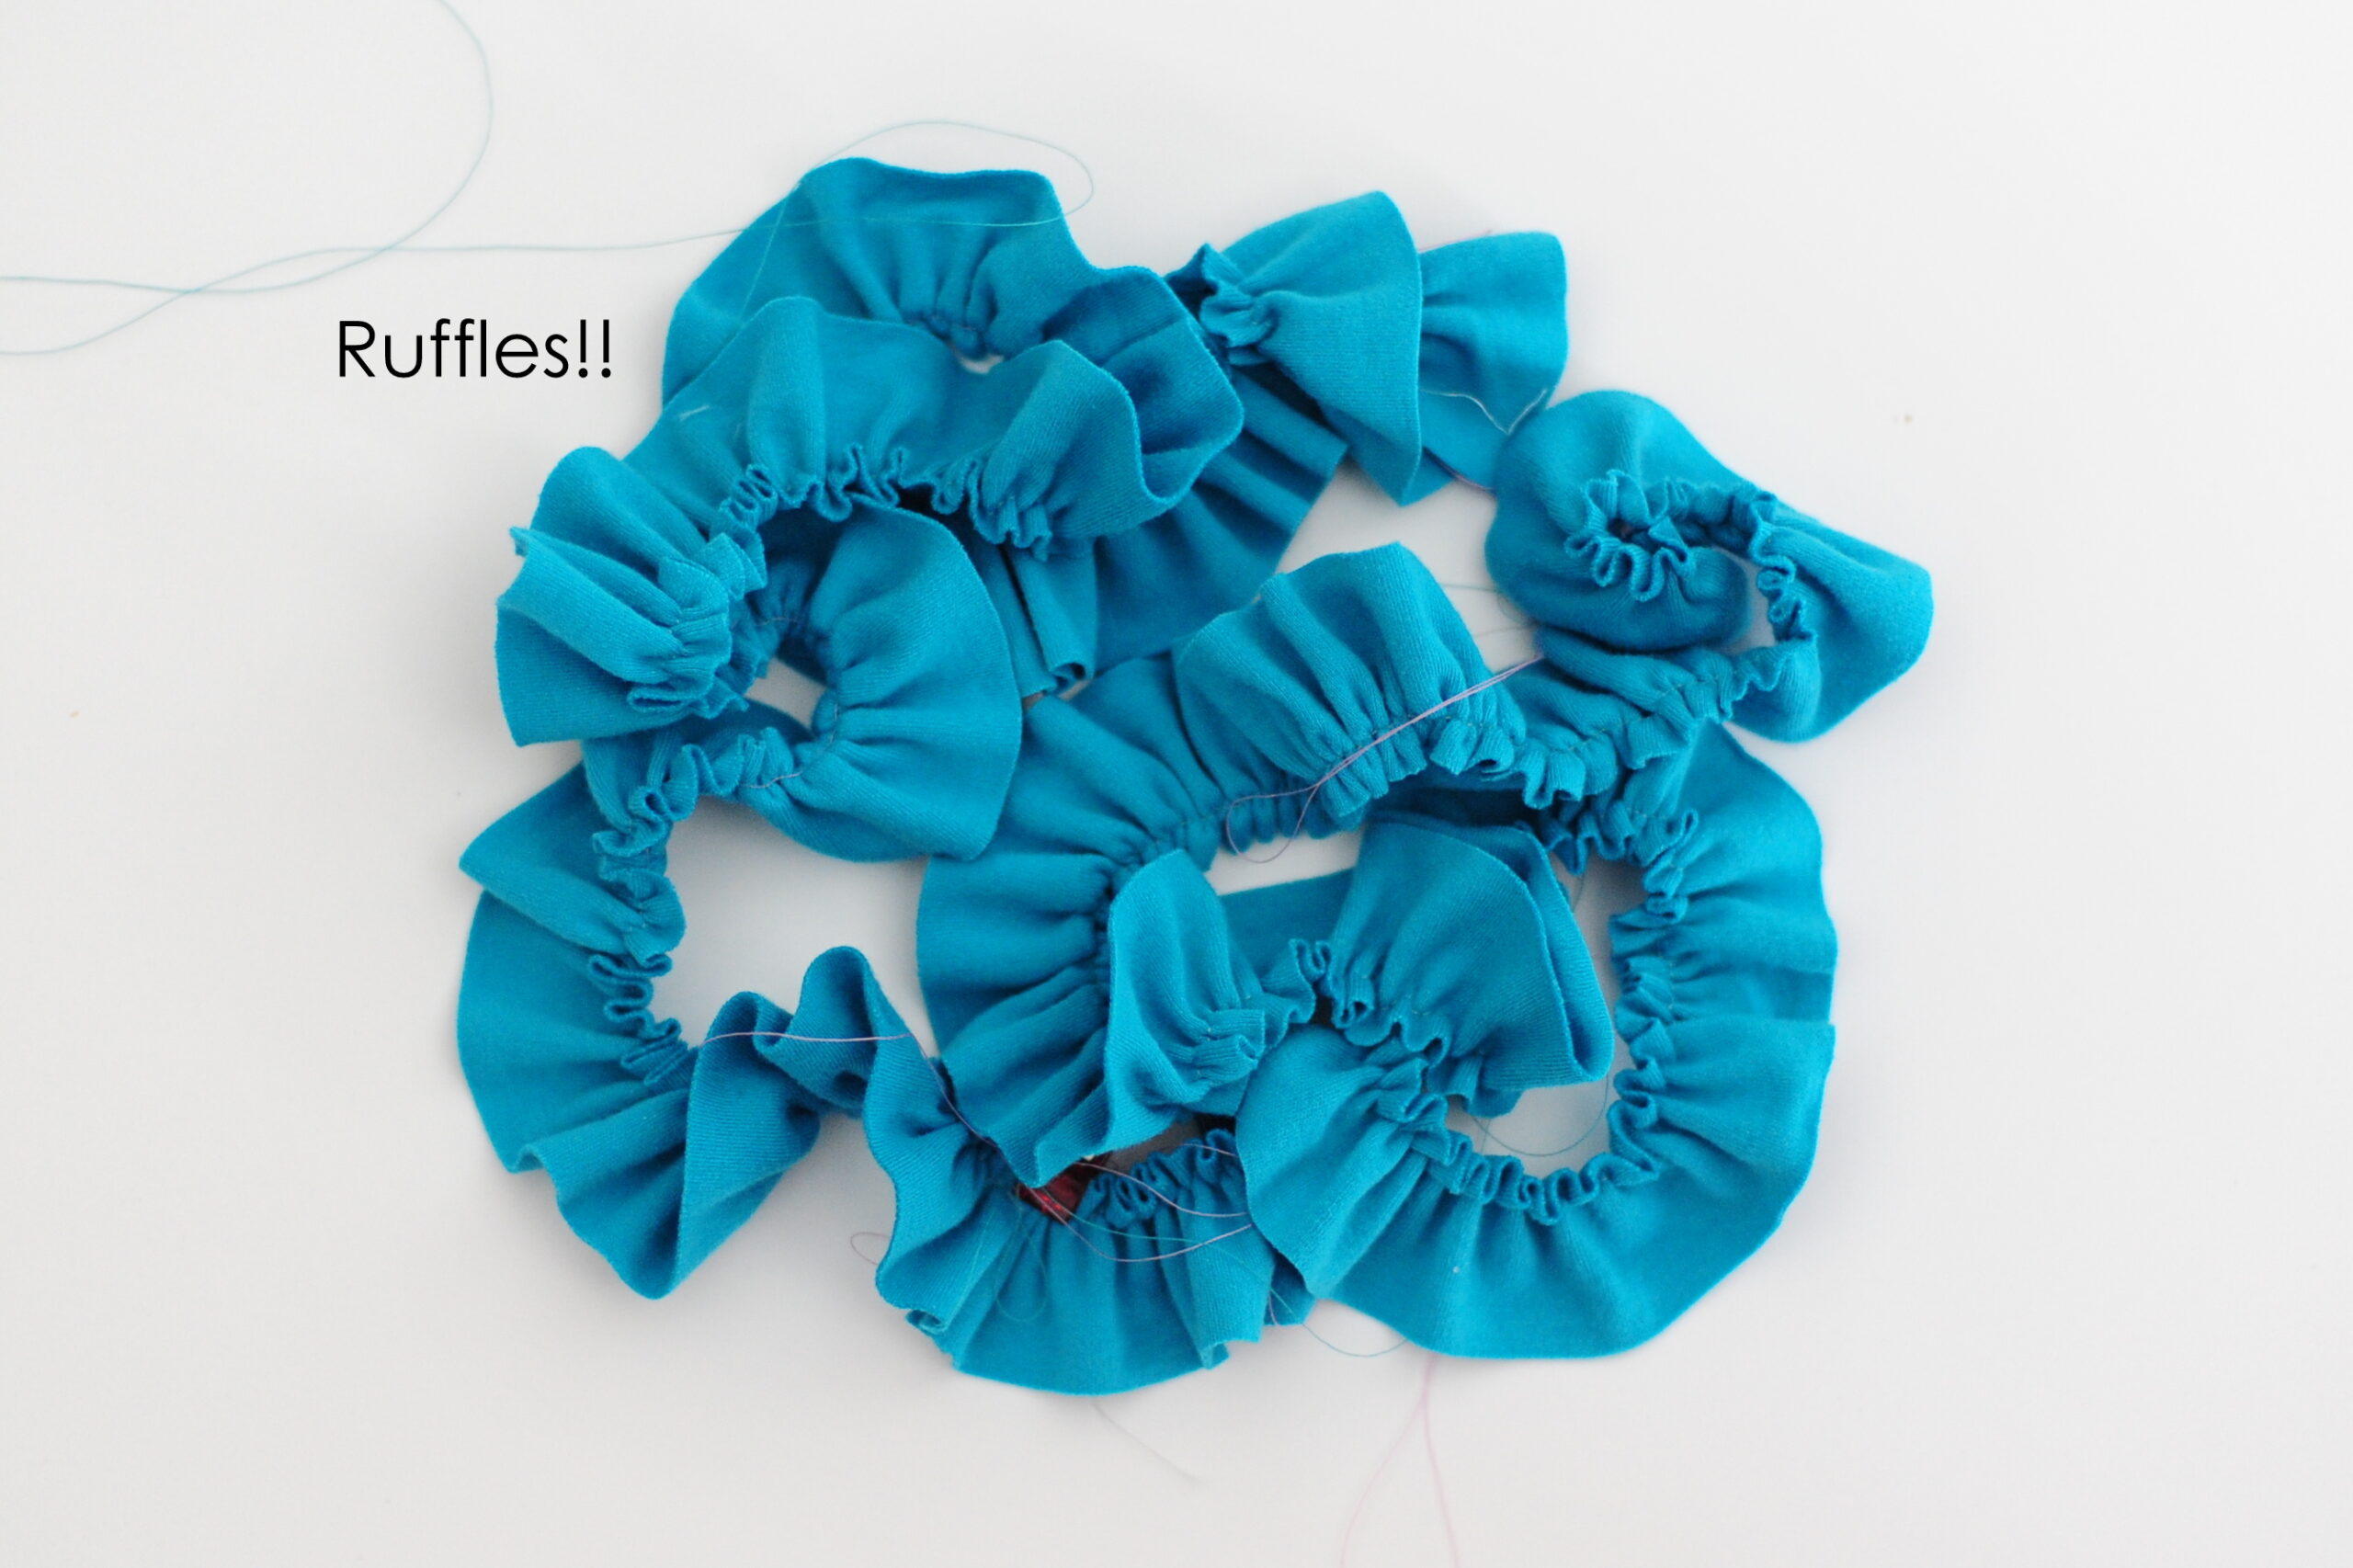
Once you've gathered your ruffle strip to approximately half of its original length, you'll want to start pinning (or clipping - I use Wonder Clips for everything these days!) all the way around from the back hemline (starting at the open side and moving toward the closed side), around the closed side seam to the front, up the front and around the neck, down the other side of the front, and across to the open side seam. Phew!
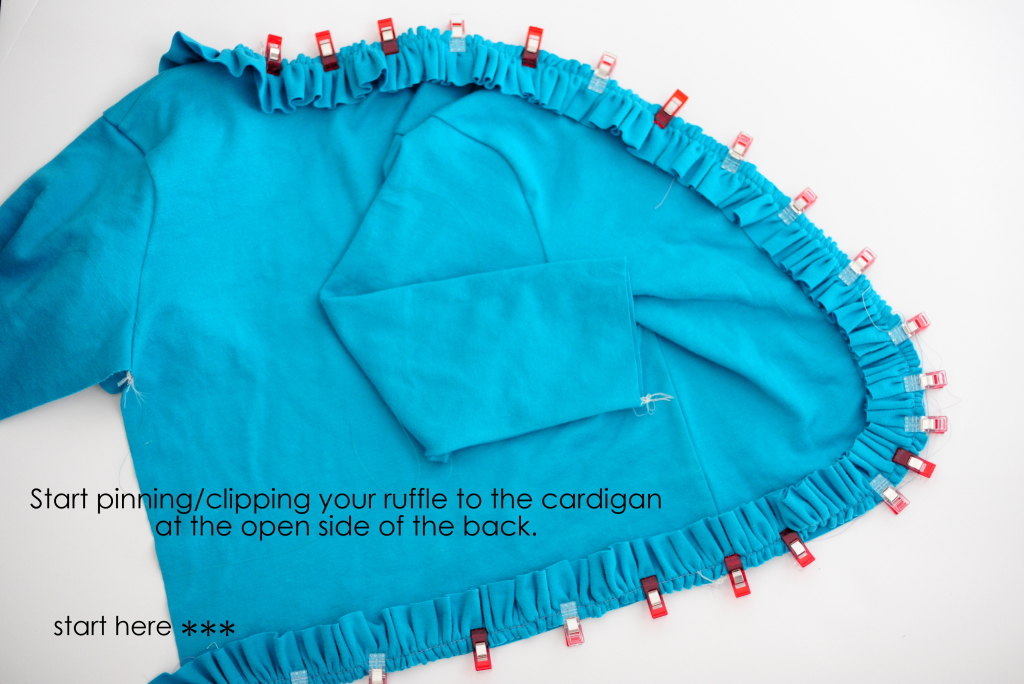
Tip: I give my ruffles a quick press with a hot iron to flatten them just a touch - it helps them lay nicely when I attach them to the garment.[/caption]

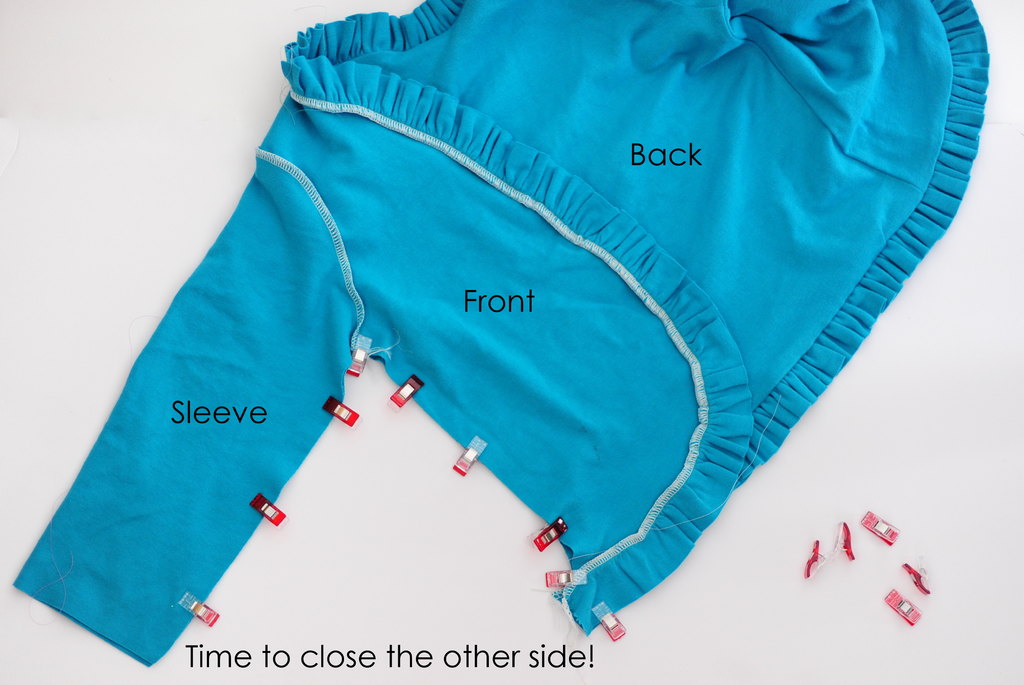
Bring the open sides together with right sides facing, and pin or clip layers together, beginning at the wrist and traveling up the sleeve, through the armpit, and down the side seam. Clip the edges of the ruffle together also, to make sure that it gets sewn together when you close the side seam, which you'll do now.
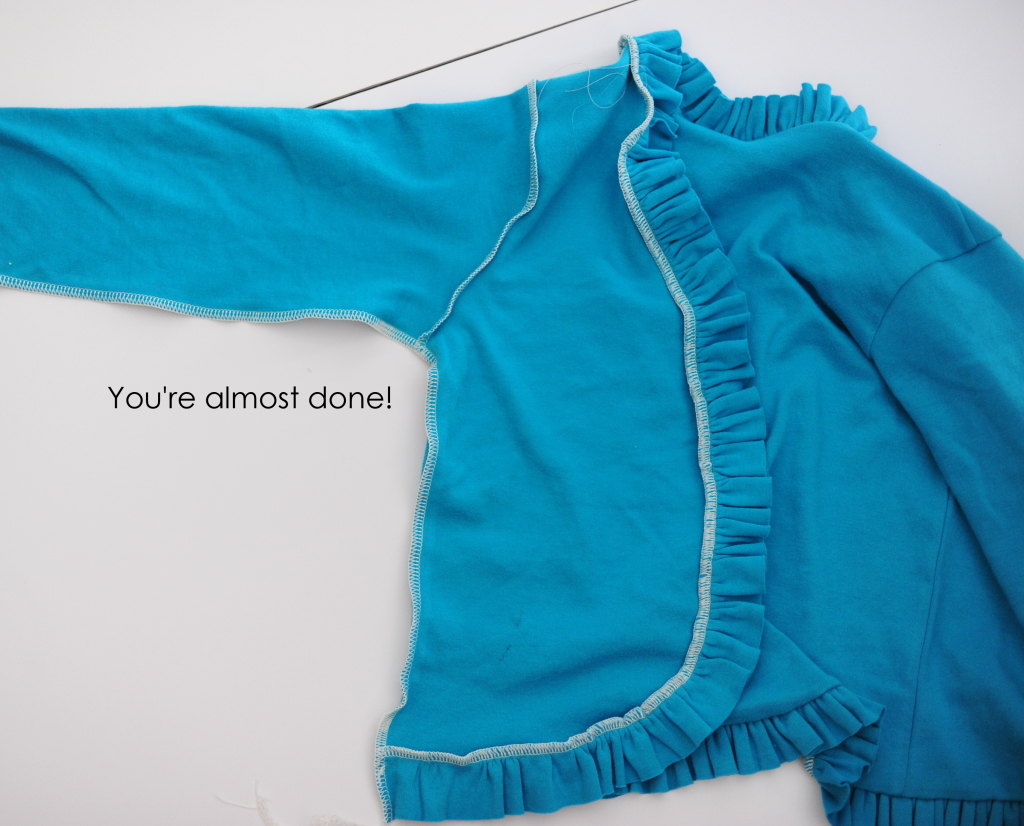
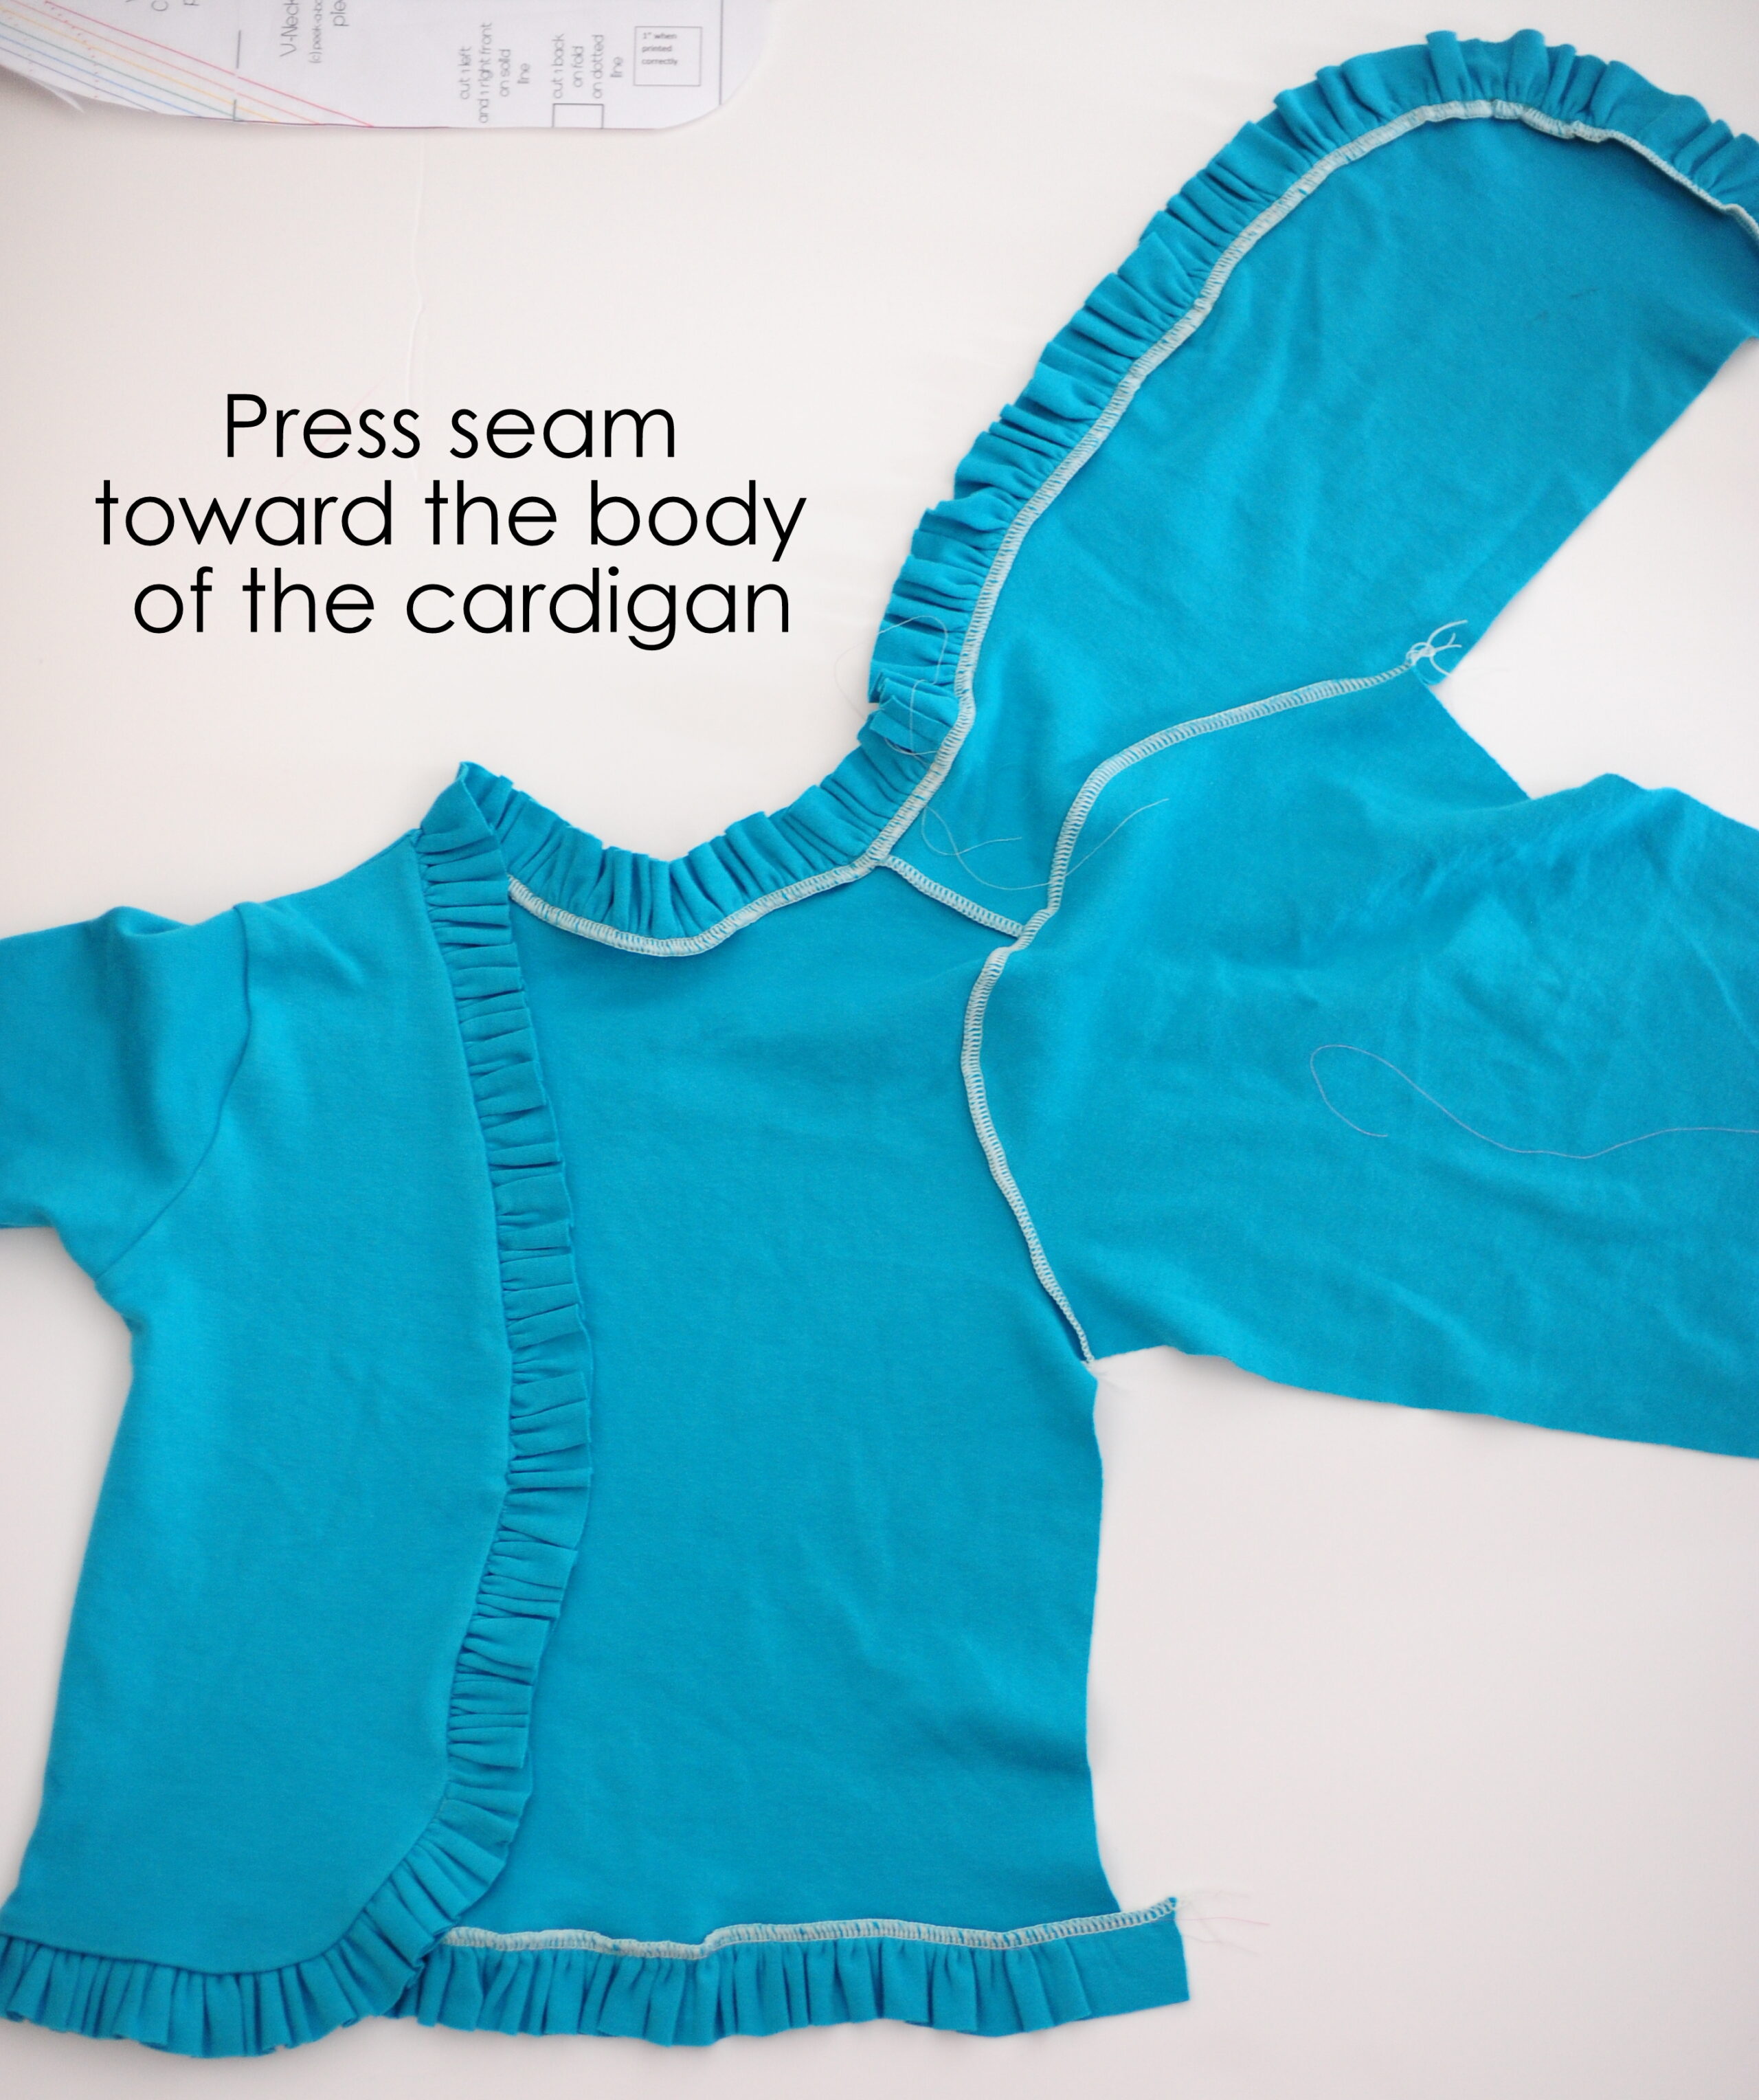
After you close the side seam, tuck in your serger tails to prevent it from unraveling (I use a tapestry needle to thread the tail back into the seam about an inch or so), and then press the seam toward the body of the cardigan. You can topstitch if desired (I don't recommend topstitching on sweater knit), and find a cutie to try it on!
There you have your ruffle cardigan tutorial. Make sure to stop by the PAB group on Facebook and share what you've been working on, too! Happy Sewing!