Adding a Soft Waistband to Jeans
Adding a soft waistband to jeans or pants can add an extra level of comfort. My son Connor has Asperger's Syndrome. It is a form of Autism that manifests itself in new ways every.single.day. Recently, Connor has sworn off jeans...right after I bought six pair. Of course. It turns out his tactile sensitivity was on overload because his little body could feel every single part of the waistband, zipper, and snap.
I know what it's like to itch from a tag, but I can't even imagine being able to feel every part of my clothing all the time. So, in a mad dash to fix the waistband problem I went searching for jeans that had a knit band instead of a traditional waistband. I had seen them before, but for whatever reason the only pair I could find was $30. For a kid that is constantly busting holes in pants, $30 a pair would put us in the poor house! Enter Mama's $2 fix! With that said, let's get into adding a soft waistband.
Adding a Soft Waistband
Waistband Supplies:
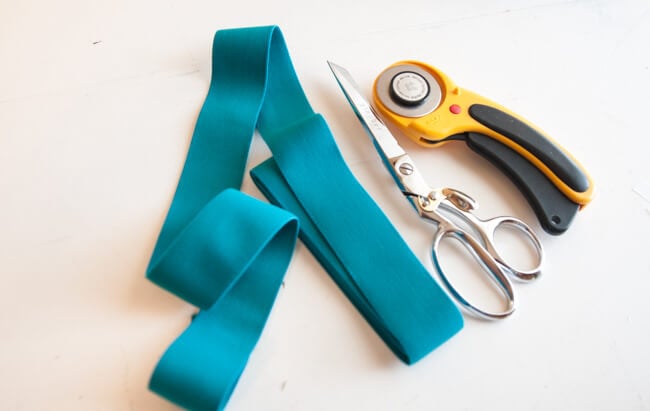
- Scissors or Rotary Cutter
- Jeans that you wanna fix
- 1.5" Soft Waistband Elastic (I used Dritz)
- Serger/Sewing Machine
- Coordinating Thread - Denim and for Elastic
Waistband Instructions
If your jeans have an adjustable waistband, make sure they are tightened to the most comfortable fit.
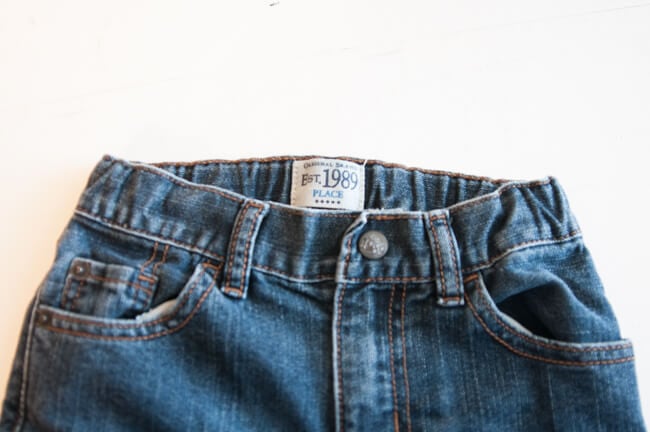
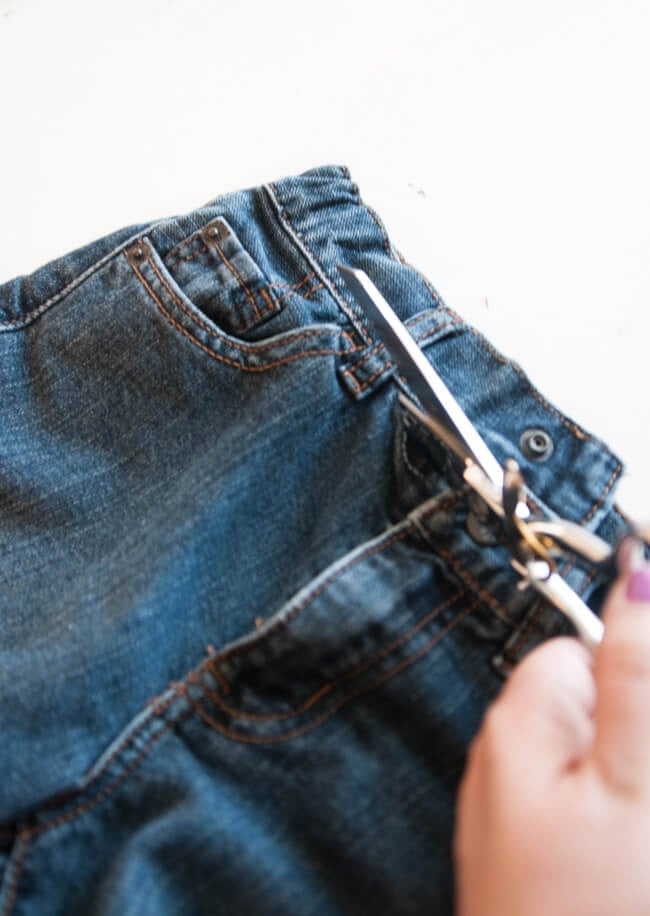
Grab your scissors and begin by cutting the waistband off the jeans. Set aside.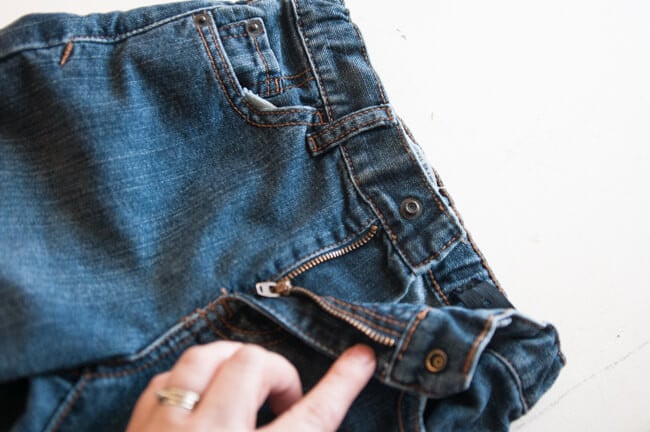
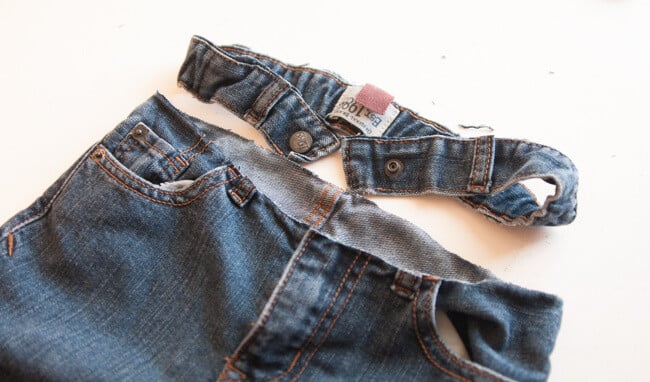
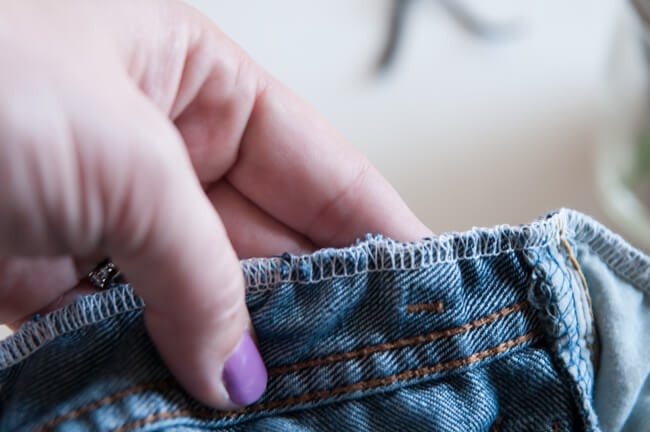
If your jeans have belt loops, they will likely now be cut in half. Open up the remaining part of the loop and snip off the part that is closest to the jeans. This is imperative if you are serging. If you don't do this part, you will break needles...or two like I did. :(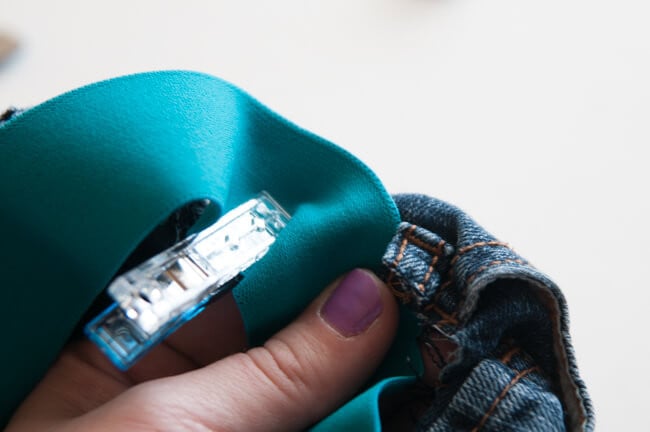
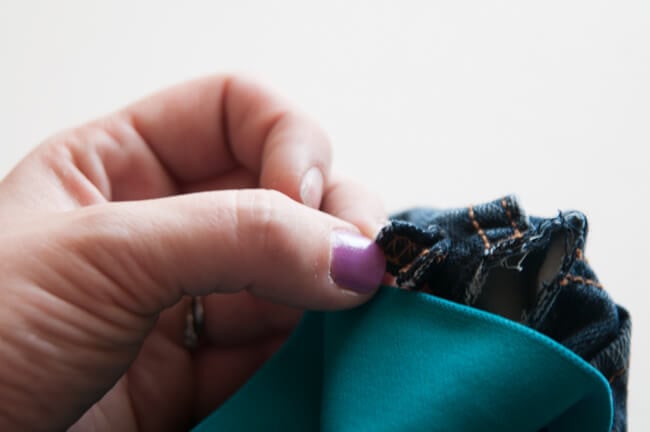
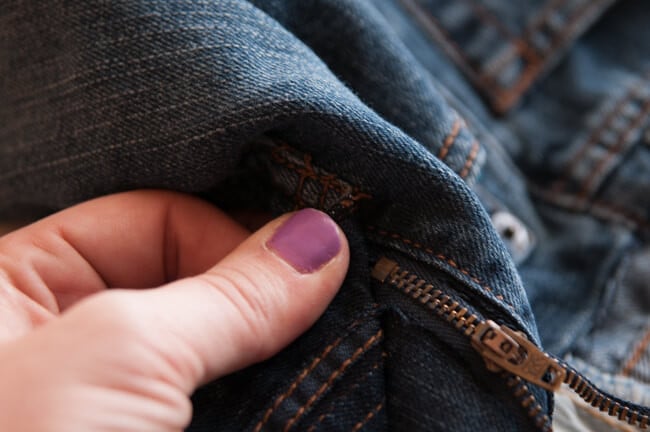
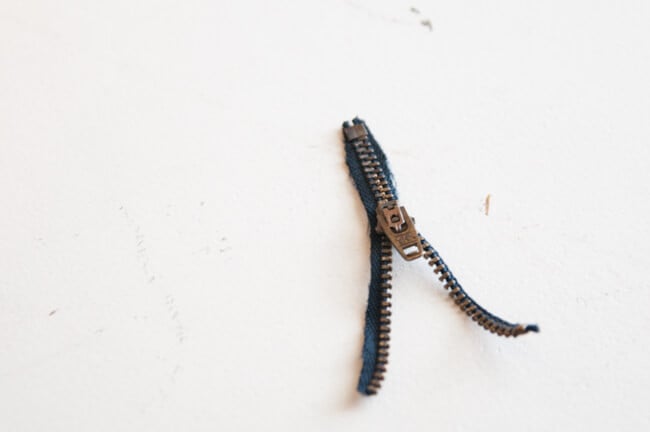
Open the fly and cut out the zipper. Go slow and be careful to not mess up your fancy sewing scissors by cutting the metal.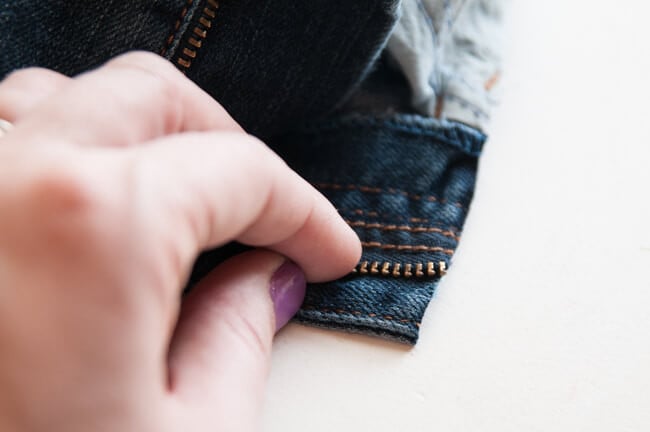
Grab your pins or clips and close the fly.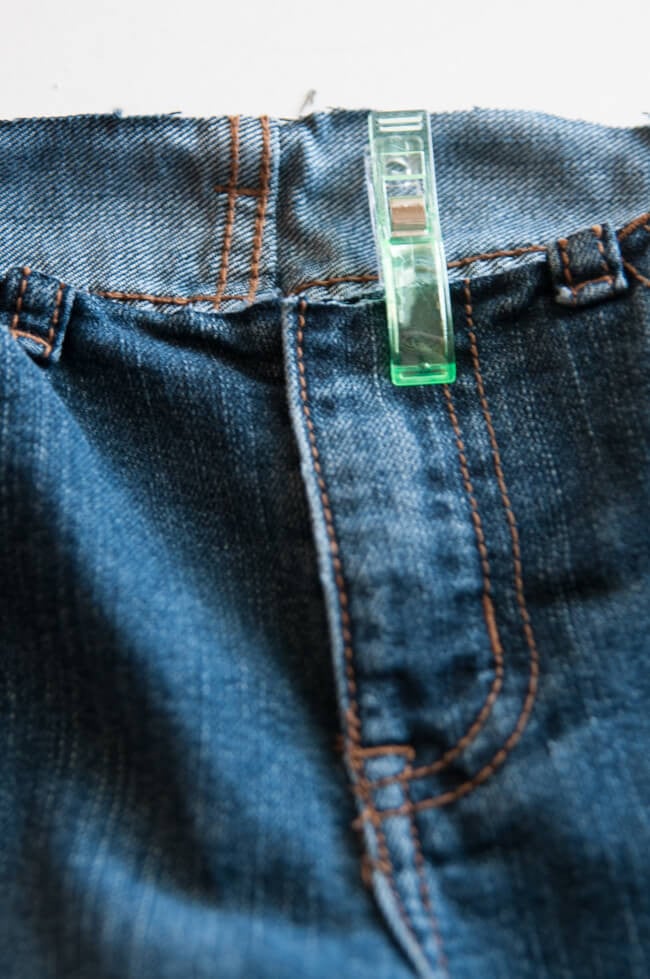
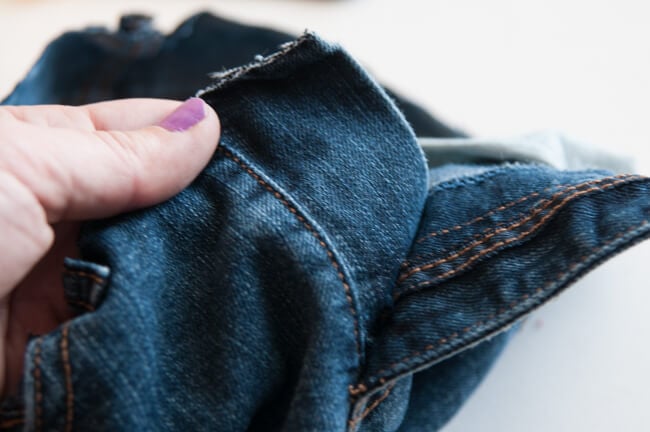
Load your sewing machine with either denim thread or match the jeans. I had an orange that was pretty close to the denim thread color used on these jeans. You will sew the fly shut making sure the inner flap is down flat.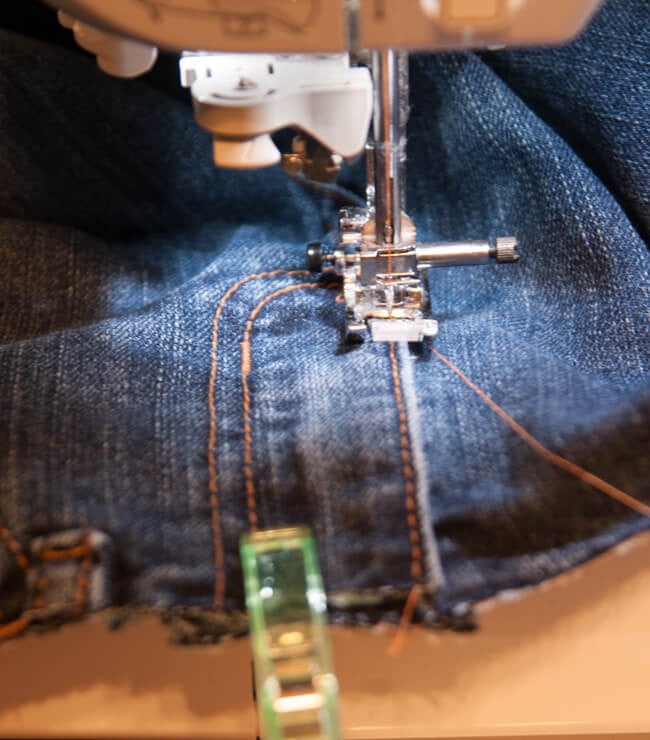
You may need to follow the curved part of the flap to be sure it lays flat on the inside.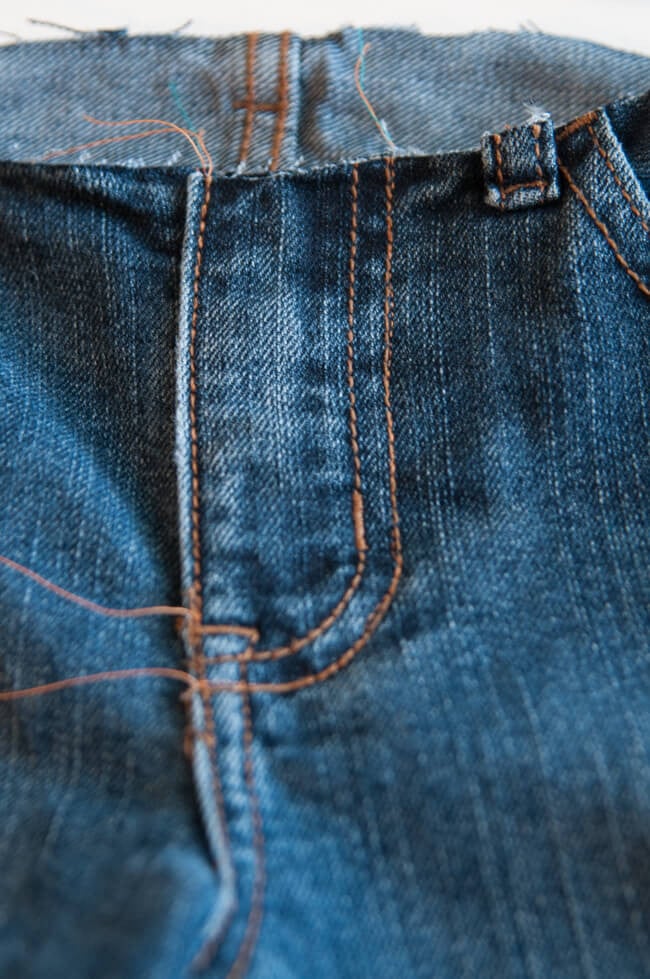
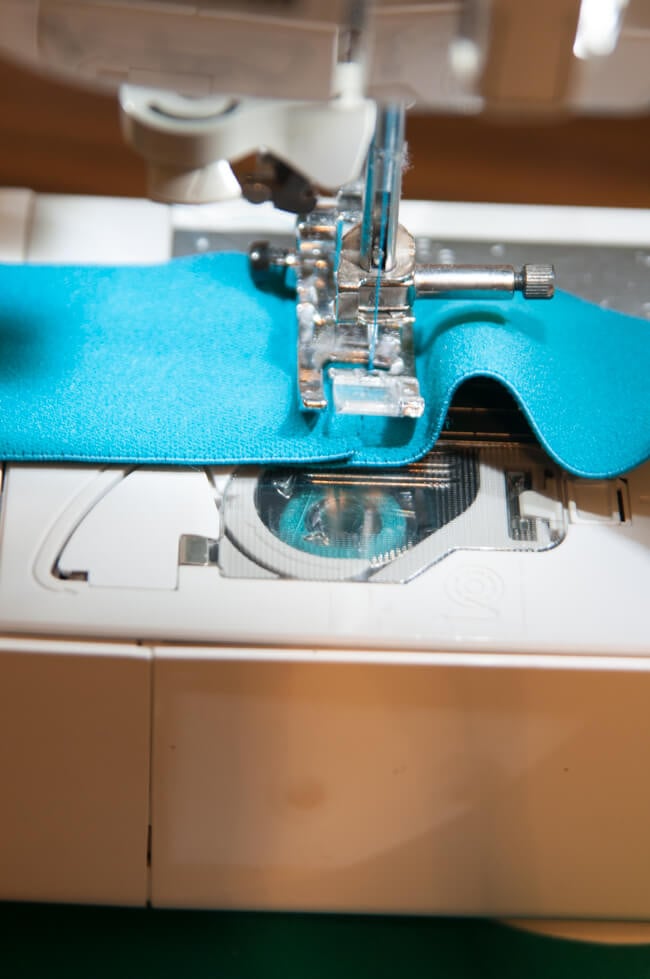
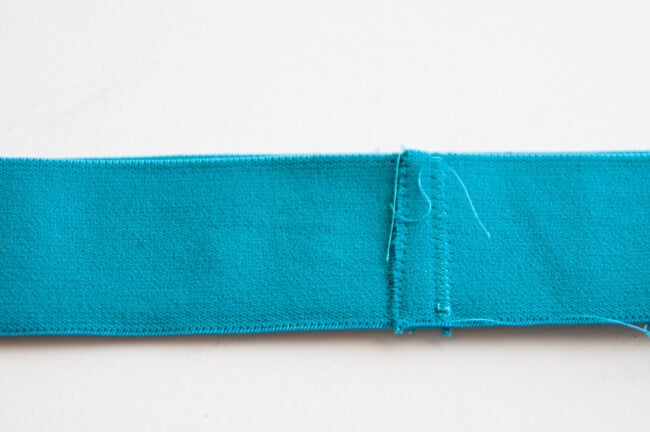
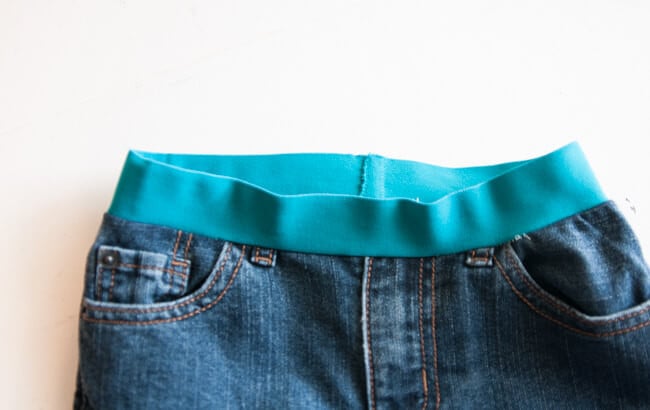
Get your waistband and cut a piece of waistband elastic the same length as your denim waistband. Overlap the ends by half inch making a loop. Sew the ends together using a zig zag stitch.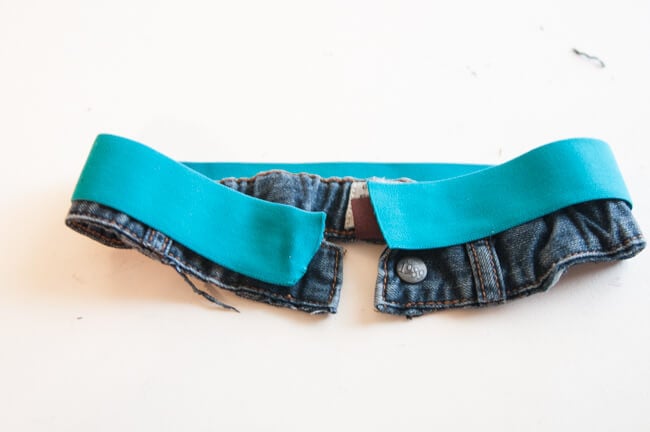
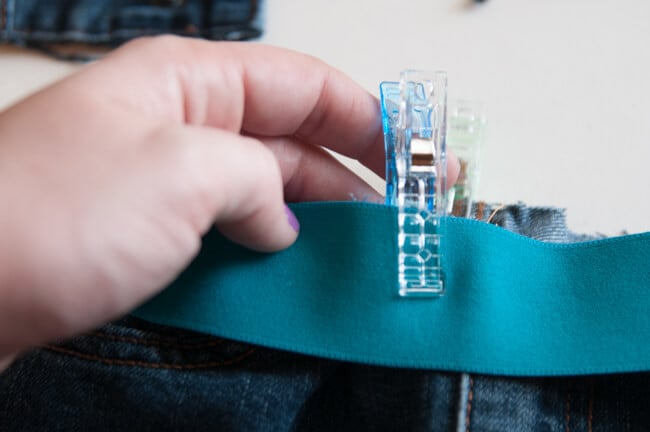
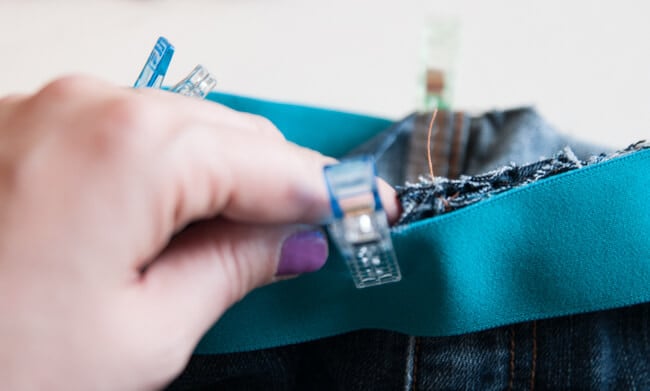
Once you have your loop trim the threads. We are now going to pin the band to the pants. Put the seam in the elastic at the back of the jeans. With right sides together (if your elastic has a design) pin the elastic to the jeans. It is best to think of your elastic in quadrants. Pin the middle back and then go to the middle front and line it up with the fly. Find one side's middle and pin it and do the same on the other side. You may have some gathering in the denim at this point and that is okay. Just make sure it is even.
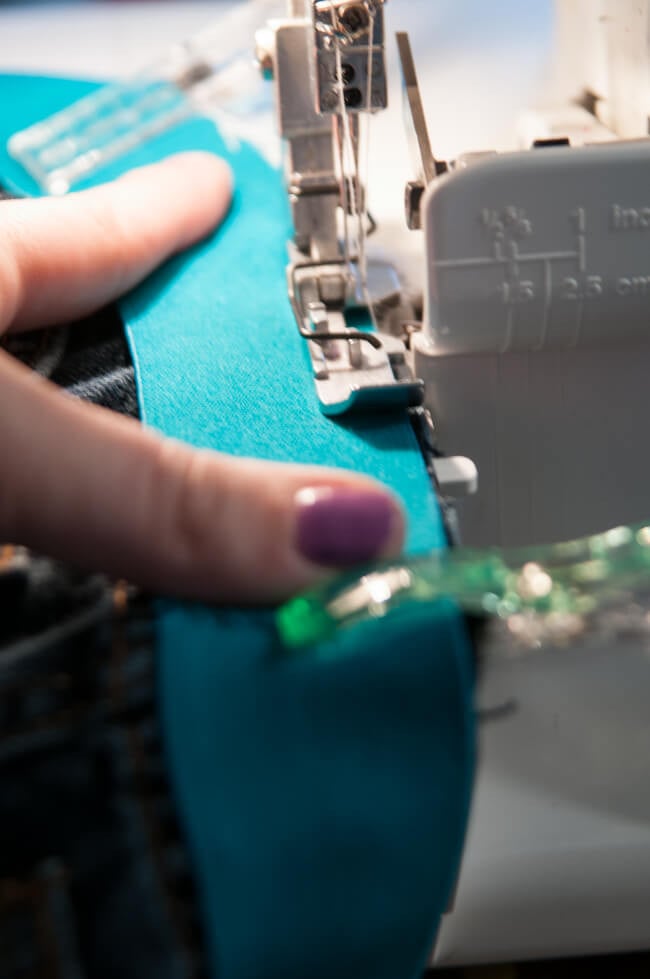
Go to your serger and put the blade up. You will not be able to use the blade with this elastic. Line the edge of your waistband up with the edge of the serging plate where your blade would normally come down and cut fabric. GO SLOW! I cannot say this enough. Slow and steady will make this project much faster in the long run. If you get misaligned, pull out your jeans and realign. If the elastic goes near the looper it'll be a much longer process to re-thread...so go slow! You may need to stretch the elastic as you sew to keep the pants from bunching. Do this s l o w l y. Is there a theme here??? :)
Wipe the sweat from your brow and pat yourself on the back!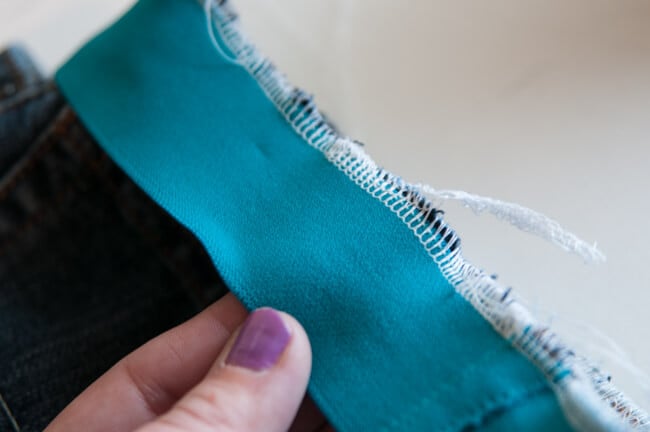
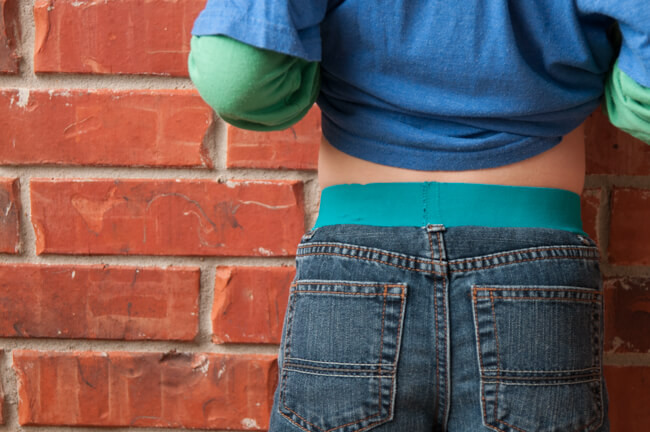
Trim your threads and hit the waistband with a steam iron to get it to shrink up a bit. Well done!
Connor immediately noticed his jeans were different and gave them a whopping two thumbs up! That's a big deal guys. :)
xoxo
b.
Thank you for joining us today, before you leave, make sure to join our Facebook Group. If you are interested in learning more about Asperger's Syndrom or supporting Autism Awarness - check out AutismSpeaks.org


