Fleece Sweatshirt Hoodie Dress Tutorial
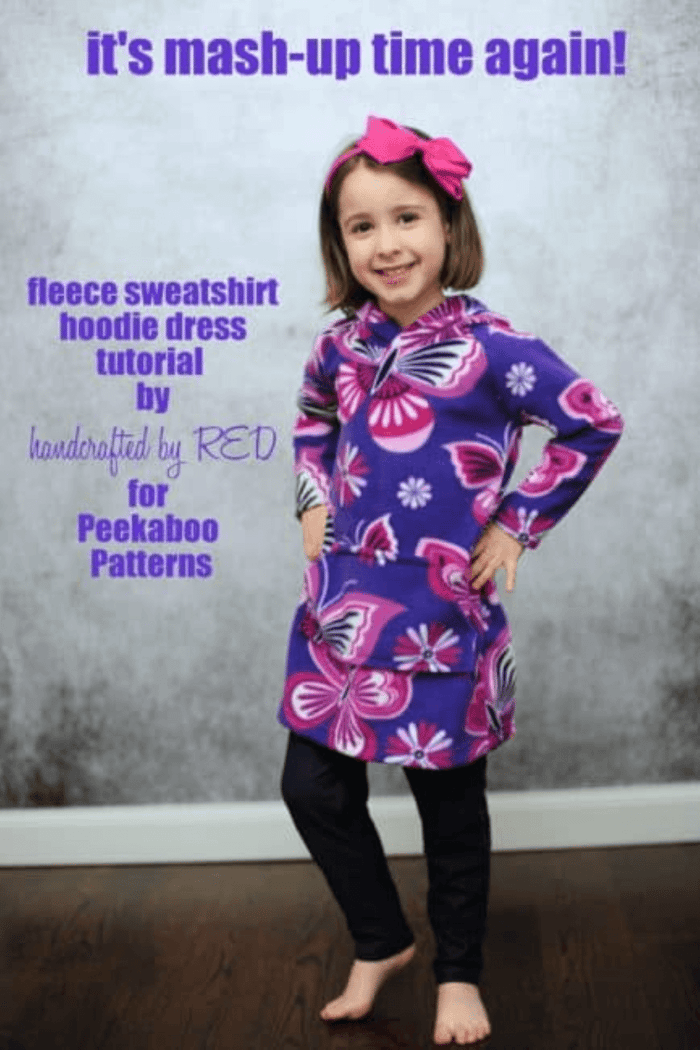
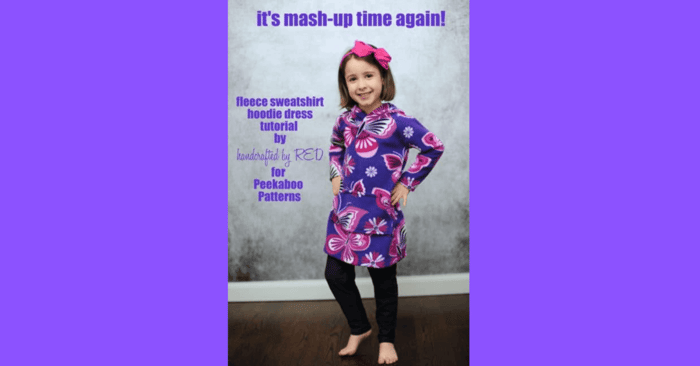
I'm really excited about this month's Fleece Sweatshirt Hoodie Dress Tutorial, as it's a quick and easy project that is definitely kid-approved! Last month, I posted this pic of Miss P in one of her favorite winter dresses in the Peekaboo group on Facebook, and I received a number of requests to write up a more detailed tutorial.
Fleece Sweatshirt Hoodie Dress Tutorial
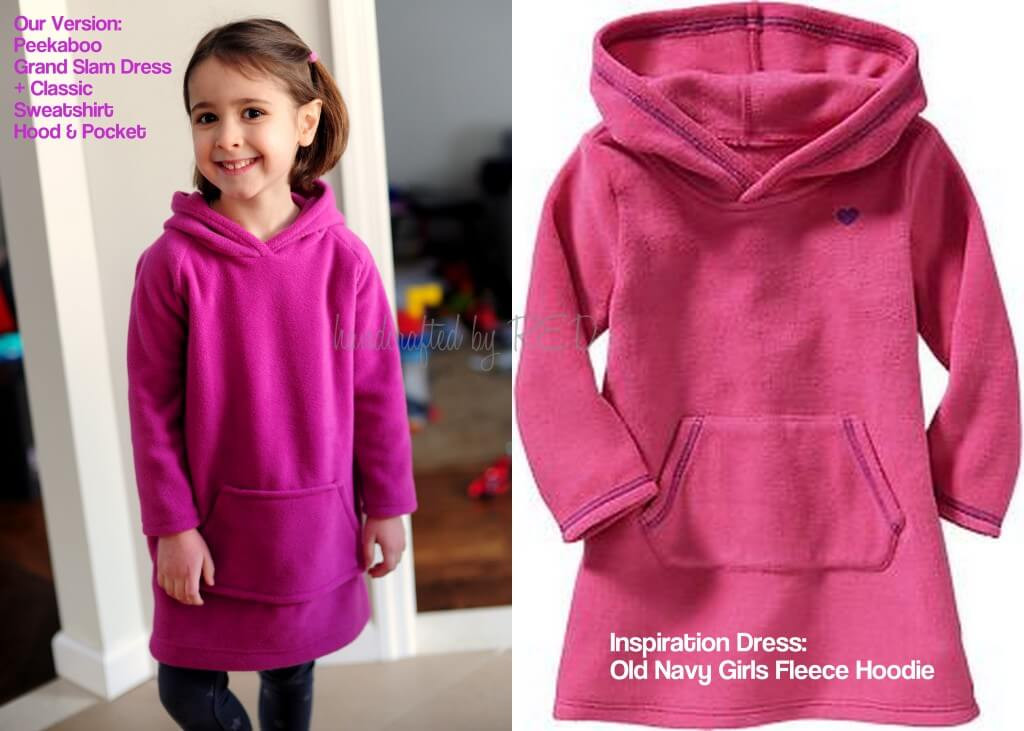
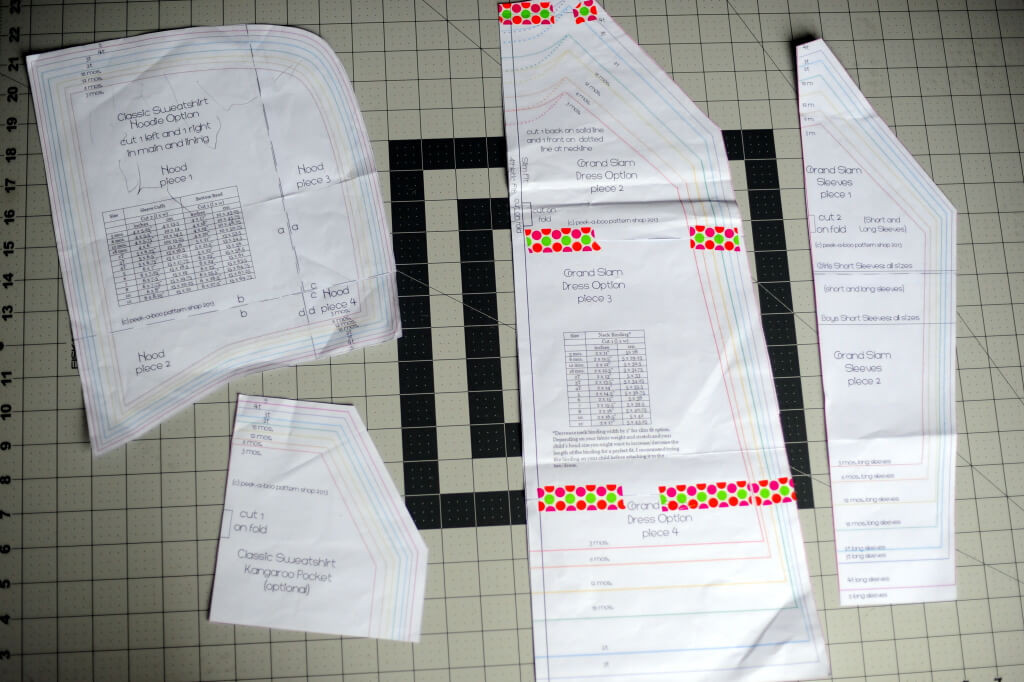
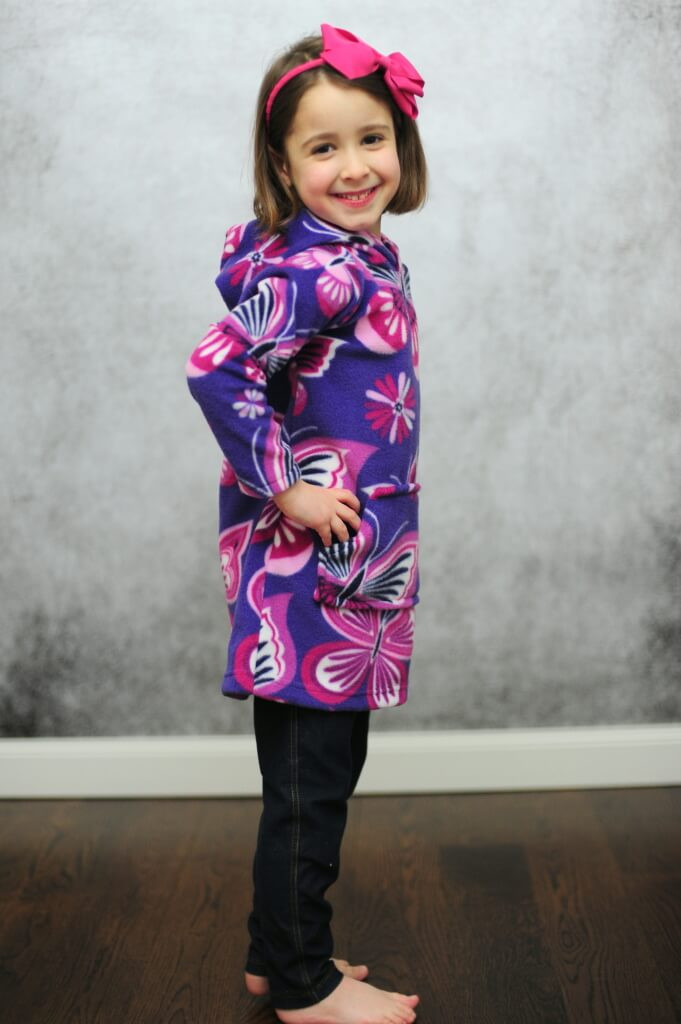
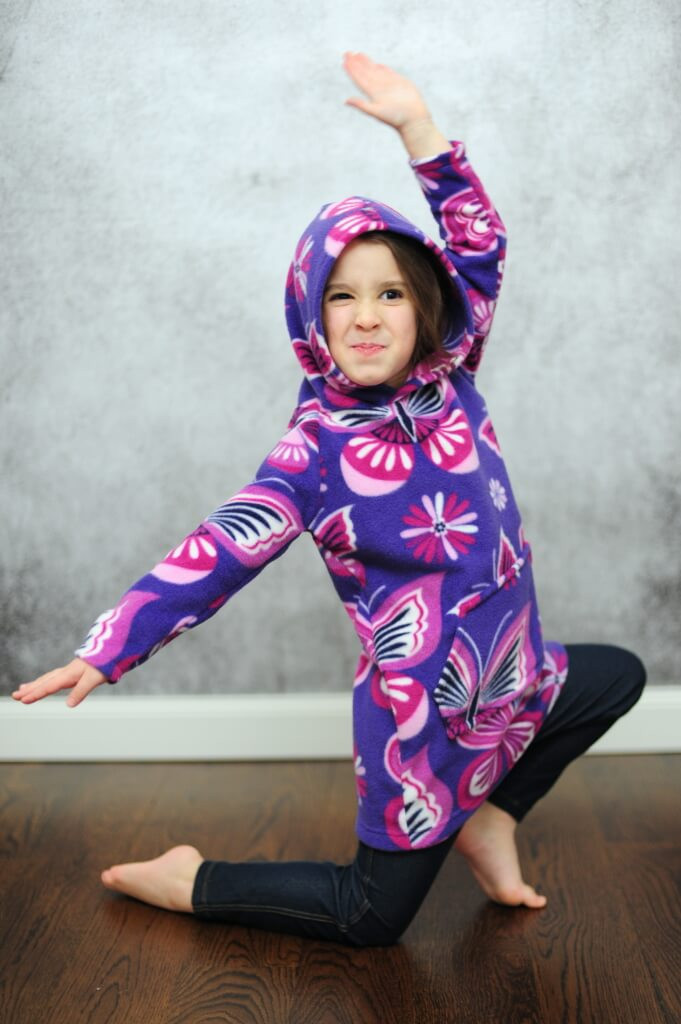
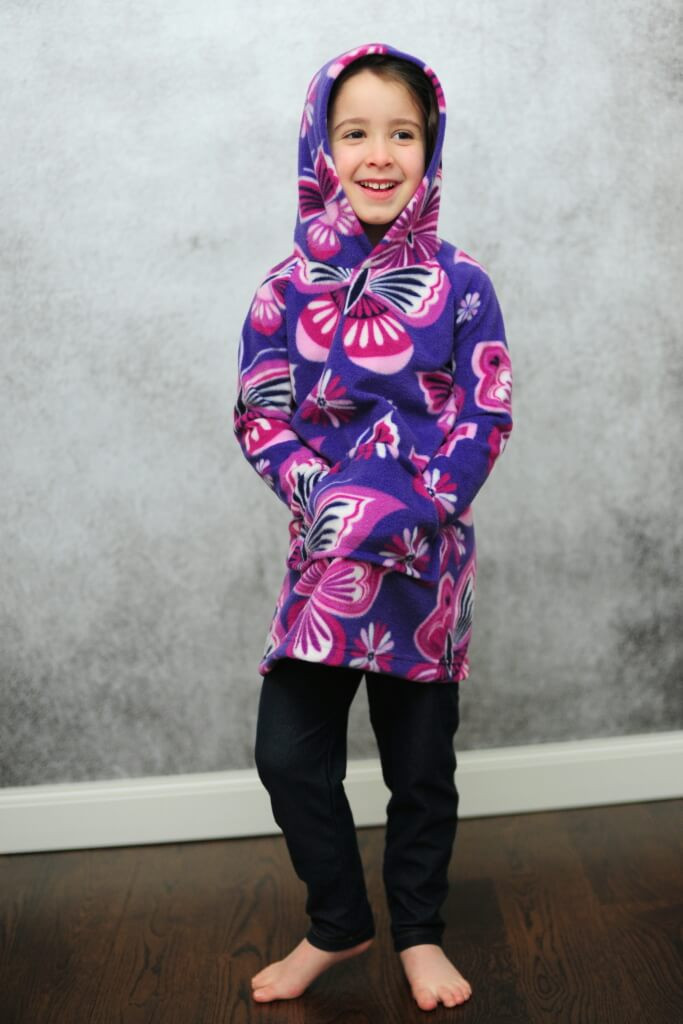
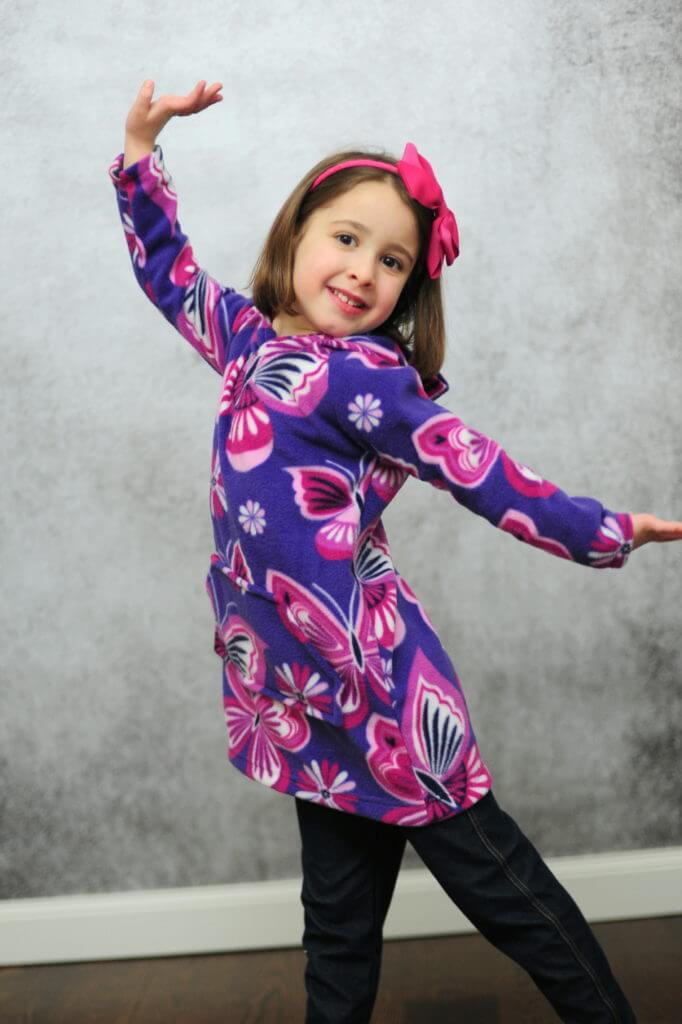
So, here we go! For my dresses, I used the Grand Slam dress pattern and the hood and kangaroo pocket from the Classic Sweatshirt. I used the Grand Slam because I wanted the dress to have raglan sleeves - I thought the slightly lower and roomier armscye (armhole) would be comfier with the fleece. As a bonus, raglan style shirts are super fast to assemble, too! You could certainly use a basic tee or the classic sweatshirt pattern, you would just need to flare out the sides from the armpit down to the hem to make more of an a-line shape as in the picture above.
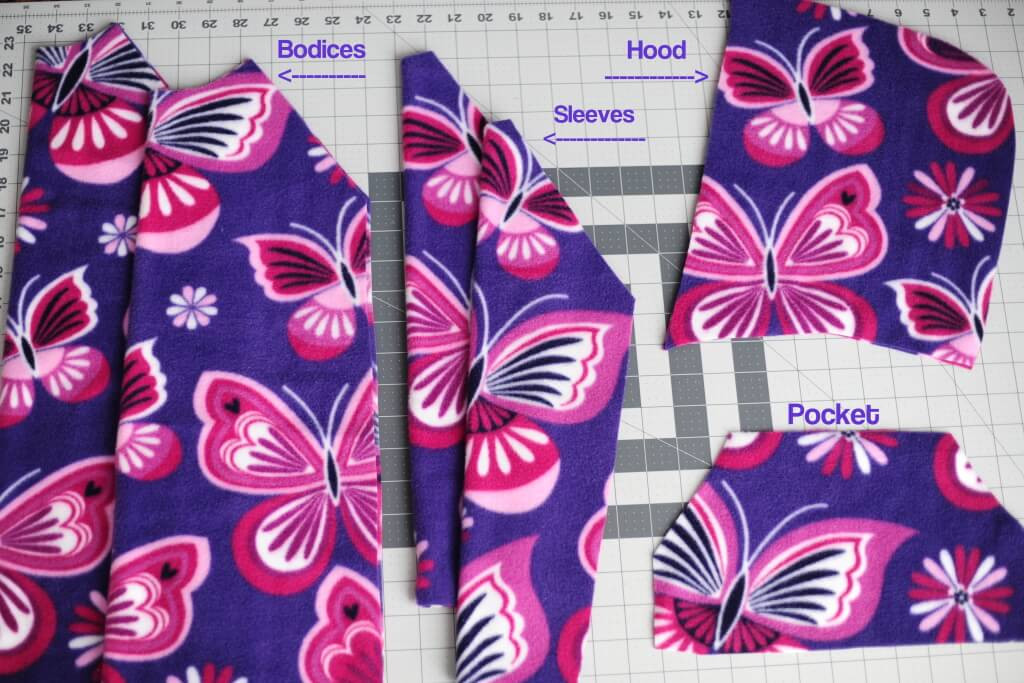
Since the Grand Slam pattern has a dress version included, I just used that. I used the athletic fit cut line for a slightly roomier fit, but you can also size up one size if your kiddo is nearing the larger end of her size. When I cut the hood and pocket, I used one size larger. I like to give myself a little extra room with hoods, to make sure that the neck opening will be large enough (and fleece isn't super stretchy, either, so it was essential here), and my kids LOVE big pockets, so I went a little bigger there, too.
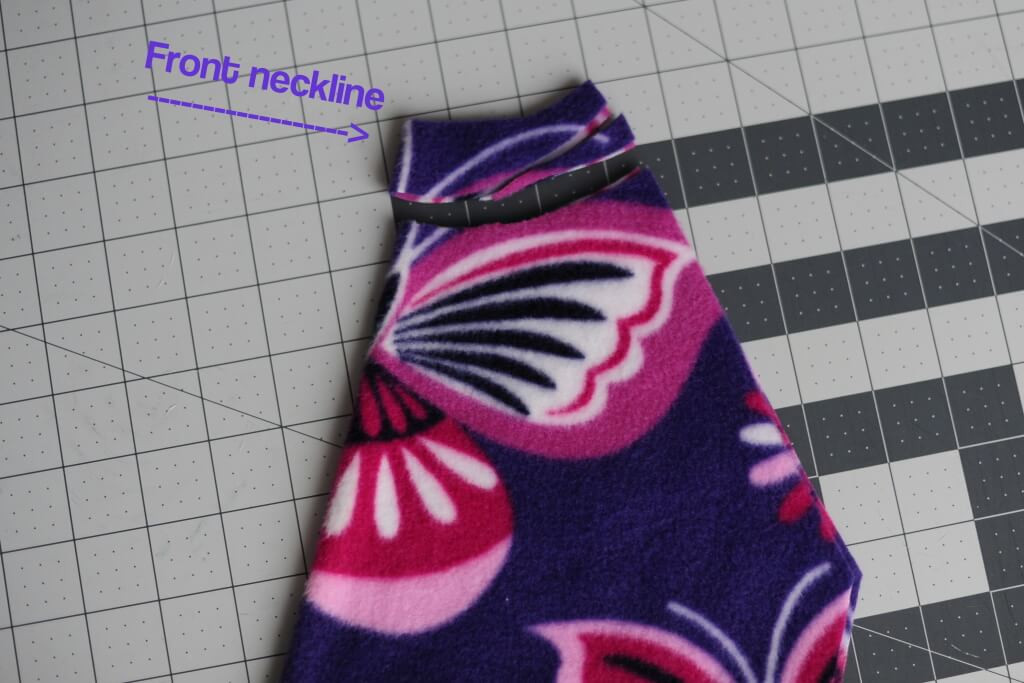
When I cut the front bodice, I scooped the front neckline about an inch lower than the pattern called for, to give the neck opening a little more room. Here's what it looked like. Scooping the neckline like this will mean that the sleeves won't match up perfectly in the front, but I'll show you a little later how I took care of that.
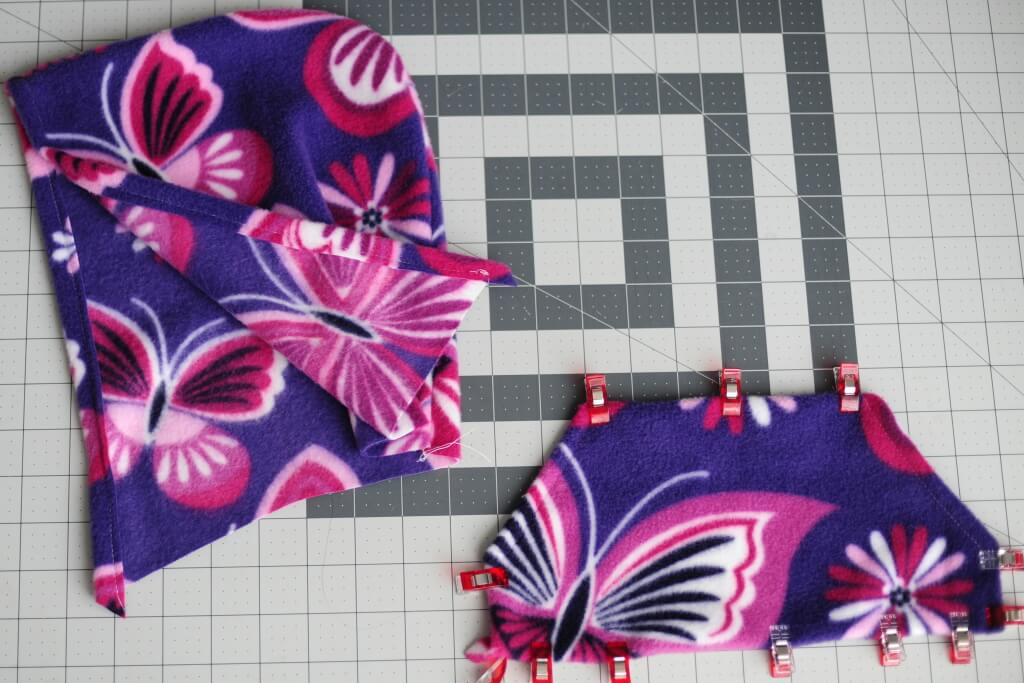
Next, I prepped the hood and the pocket. For the hood, I did a single layer instead of a lining (to cut down on bulk since the fleece is pretty bulky itself) so I just did a simple 1/2" hem. I actually did a long straight stitch to hem it instead of a stretch stitch because I don't think this seam gets stretched very much. For the pocket, you'll want to finish the two diagonal edges that will be the openings. Then I used my clips to hold the other edges in place (about 1/2" on each side) so it's ready for me to attach to the dress bodice.
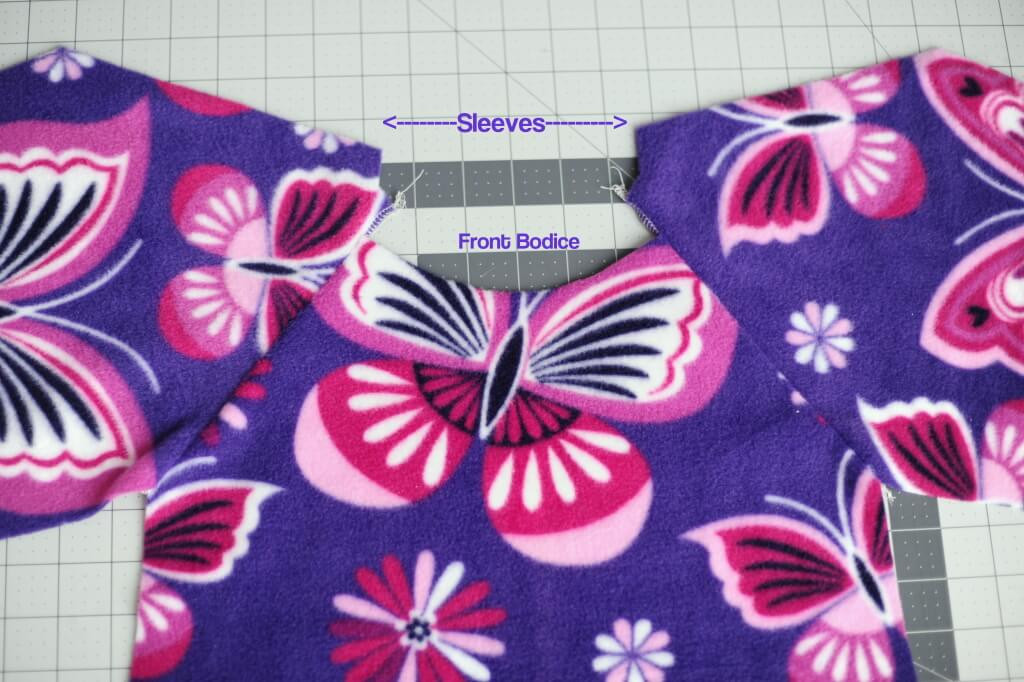
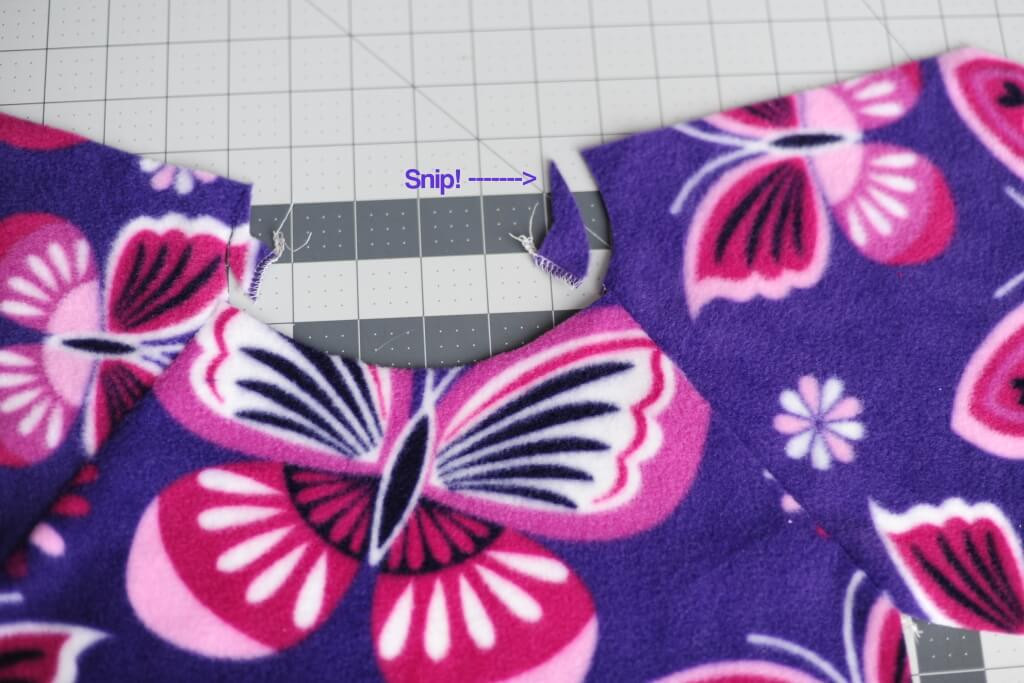
As you begin to construct the dress, you'll notice what I mentioned earlier about the sleeves extending a little beyond the front neckline, since we lowered that from what is specified in the pattern pieces. You'll want to trim that excess to smooth the neckline edge.
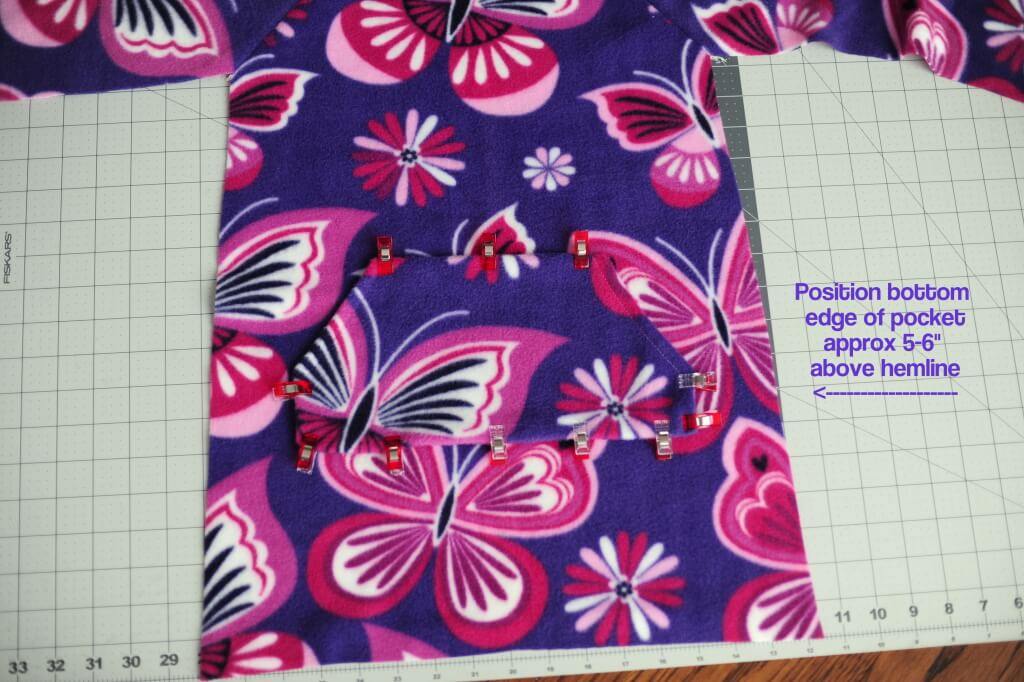
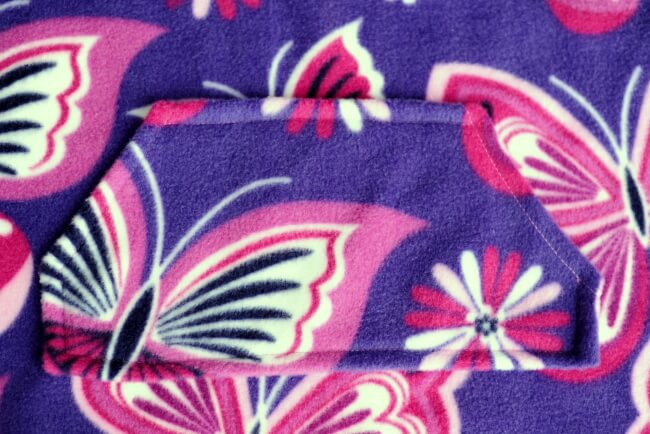
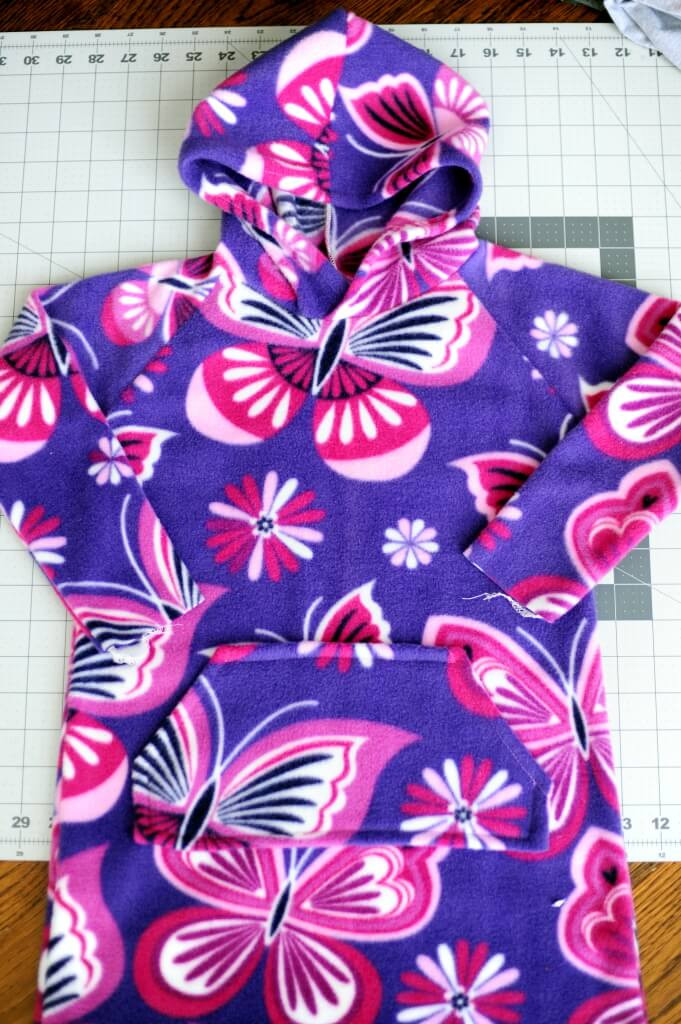
Before I finished the bodice and sewed up the side seams I attached the pocket, lining up the bottom edge about 6 inches above the hem of the dress. Miss P told me I put the pocket a little too low on the first dress I made, so I attached this one a little higher. You'll want to sew along the top edge, bottom edge, and the two short sides just below the hand openings. You may want to reinforce and backstitch a few times right next to the openings to help keep little fingers from pulling the pocket off the dress!
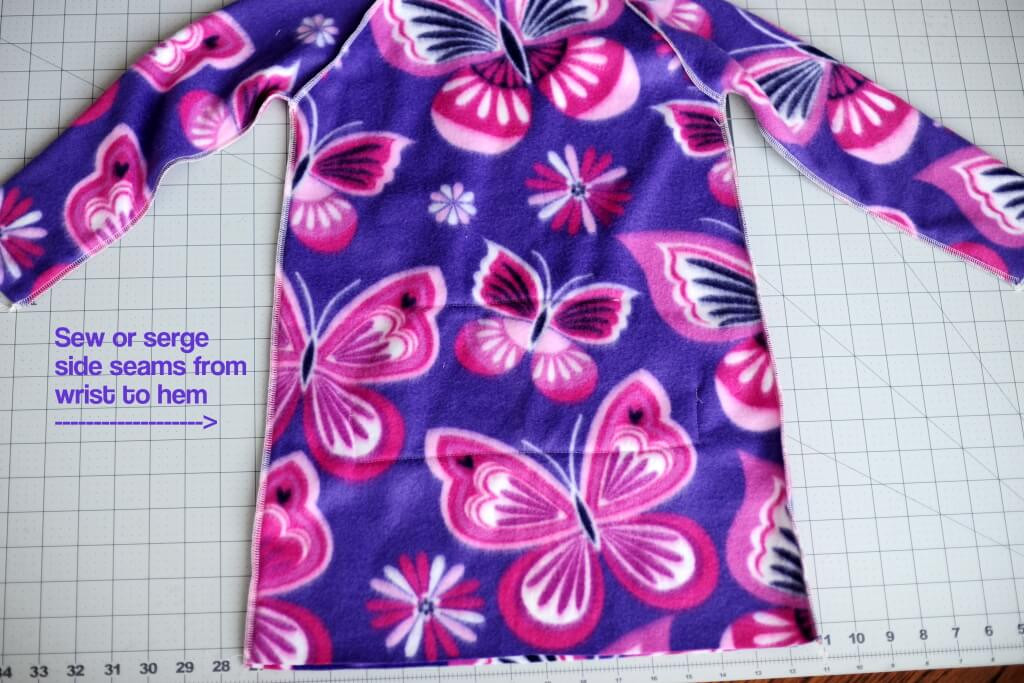
Next, I used my serger to sew the side seams from the wrists down to the hem. It's starting to look like a dress now!
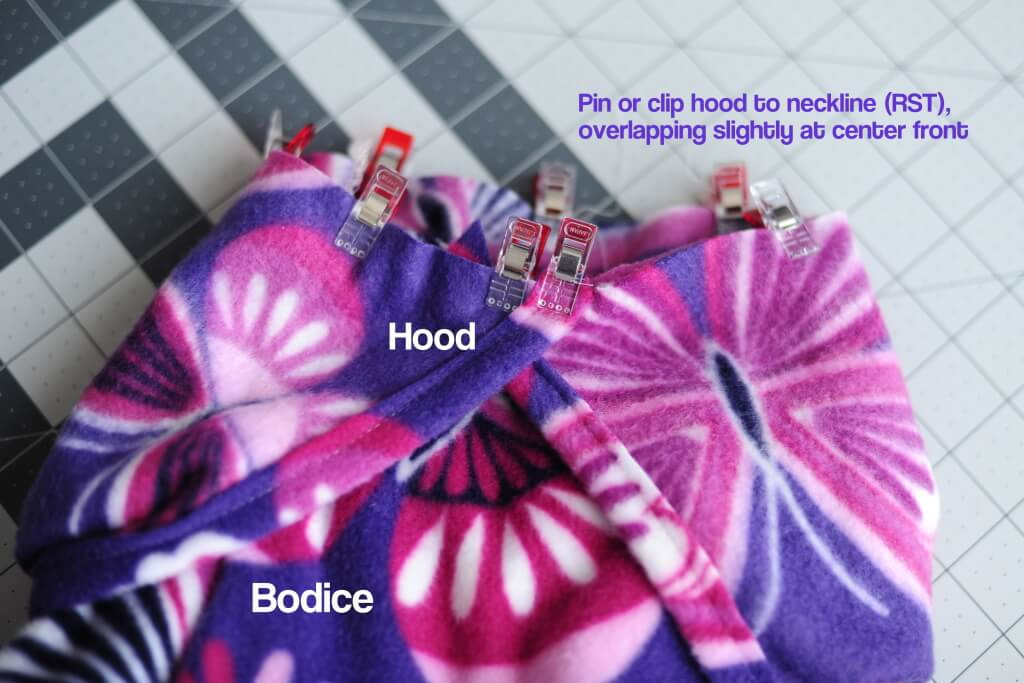
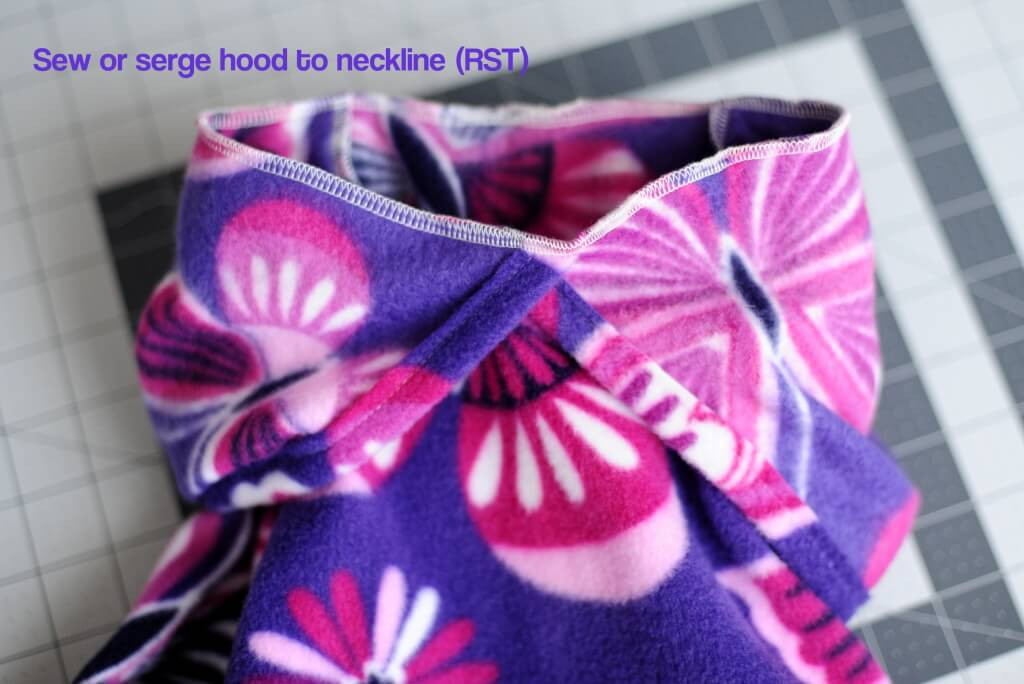
To attach the hood, I clipped it to the neckline with right sides facing. I find it easiest to start at the center back (lining up the center seam of the hood with the center of the back neckline) and then make my way around the neckline and end in the center front. I like to make sure the edges of the hood cross over a little bit, usually about 1/2" or so.
I also usually baste the front of the hood in place to make sure nothing shifts around when I serge the hood to the neckline (and also so I can check the placement and make any adjustments before I serge).
All that's left now are the hems!
You can add cuffs if you don't enjoy hemming small sleeves in the round (or just hem them flat before you sew up the side seams), and make sure to use a stretch stitch, twin needle, or coverstitch for the bottom hemline. That hem really does get pulled around a bit and could use the stretch. And there you have it! Told you it was an easy one - nearly instant gratification!
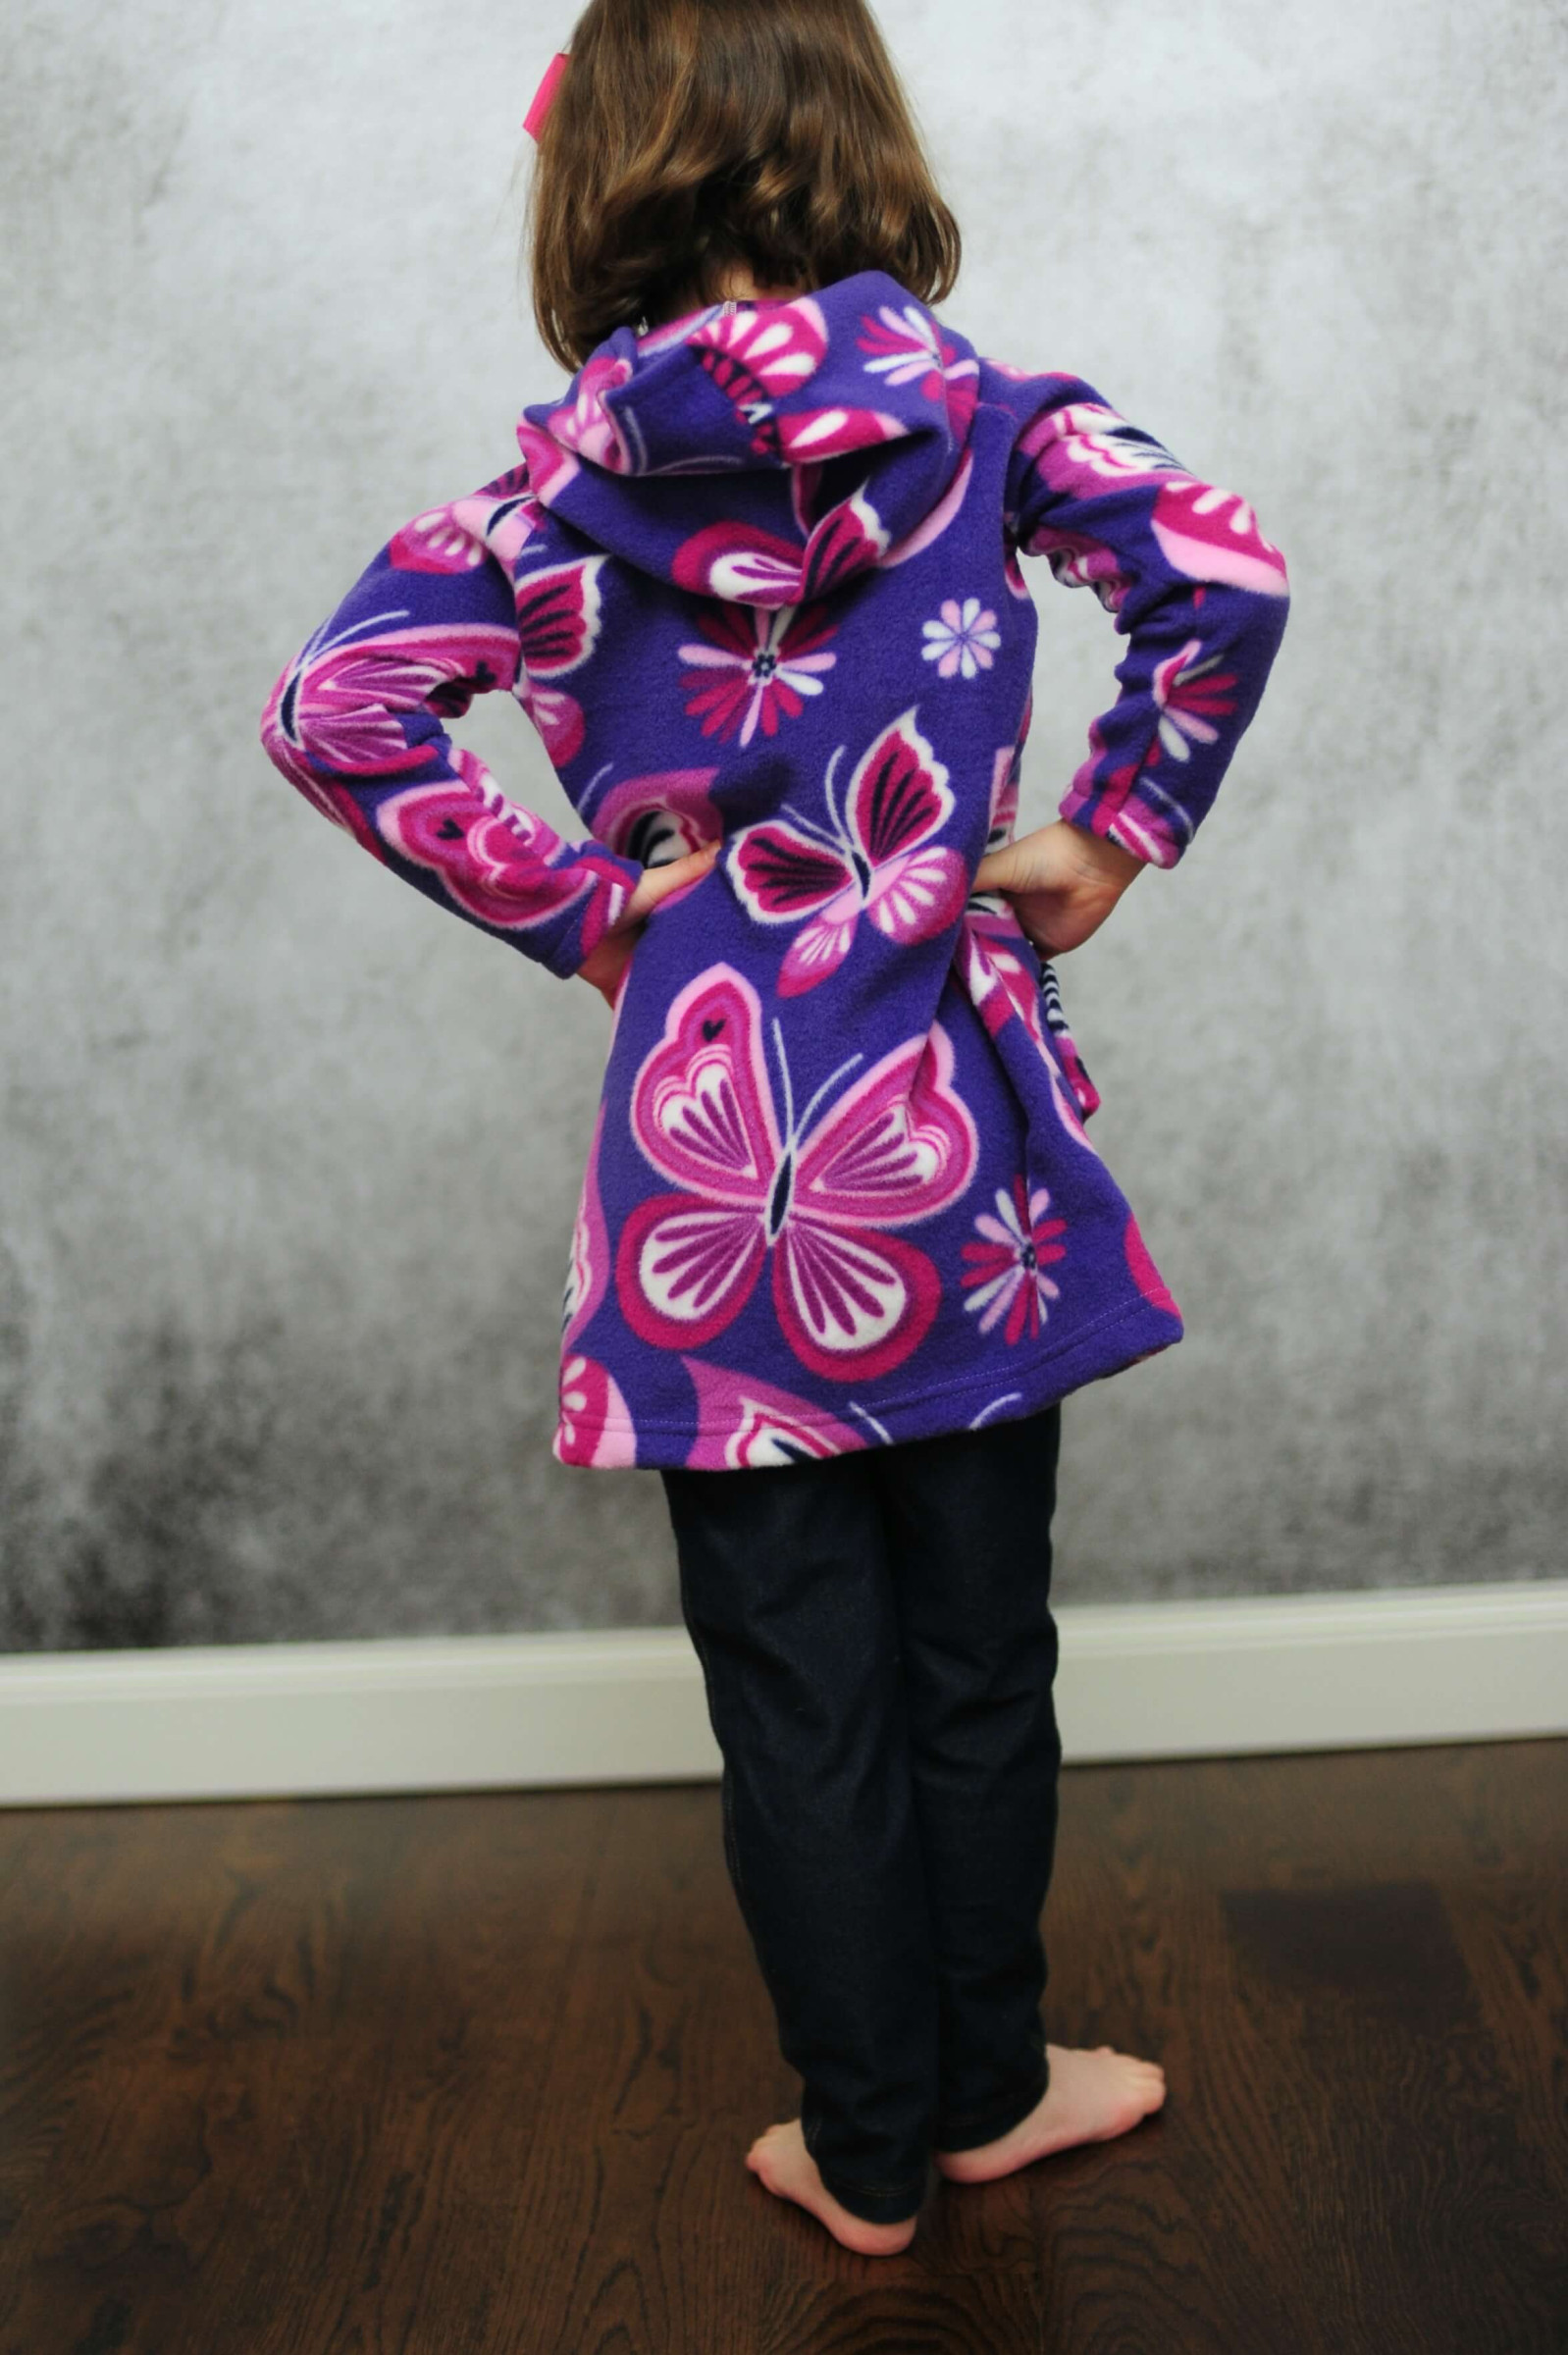
Find your favorite girl and ask her to try it on - and don't be surprised if she's too excited to pose nicely for you. ;) Any dress that's this comfy and cozy is a winner around here for sure!
