How to Use Clear Elastic to Stabilize Knits or Gather Fabric
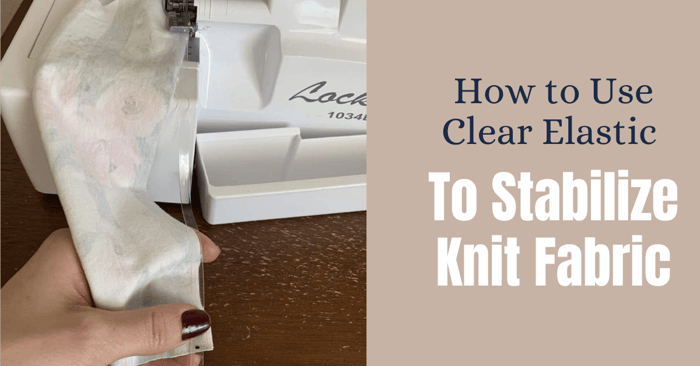
Hello everyone! It's Stephanie from Stephie B's Designs here with you again to show you how to use clear elastic to stabilize knits or gather fabric.
I started using clear elastic several years ago and have run through more than I'd care to admit. It's a small, subtle item that no one will (hopefully) ever know was used in the construction of a garment.
How to Use Clear Elastic to Stabilize Knits
What is Clear Elastic, and When Should it be Used?
Clear elastic is just that. Elastic that is clear. The primary purpose of clear elastic is to stabilize seams and neckbands in garments that will be stretched a lot or "heavy" once completed.
I generally use 1/4" width so it hides in the seam, but it's up to you what you'd like to use. Just like many things in sewing, it's personal preference.
Here's an example of when you should use clear elastic to stabilize a seam... a full-length maxi dress, like the Madrid Maxi Dress & More from Peek-a-Boo Pattern Shop I'm sewing today, will be very "heavy" with gravity pulling down on the dress. Stabilizing the shoulder seams with clear elastic will help those seams maintain their strength while constantly being stretched and pulled down.

Additionally, the waist seam will not only be stretched every time the dress is pulled on and off, but - as with the shoulder seams - it will bear the weight of the skirt, so will need that extra support. Stabilizing the waist will also provide well-needed stability and strength to keep the dress looking beautiful every time it's worn.
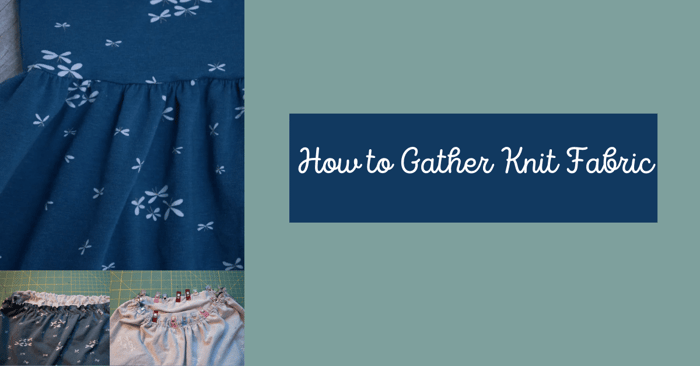
Adult maxis are not the only garments that benefit from clear elastic. The Mariposa Dress and Top, (the super adorable Peek-a-Boo Pattern Shop dress shown below with a pair of Chicka Chicka Bum Bum Bummies), is another example of when to stabilize a waistband. Any gathered dress would perform better and ultimately last longer with clear elastic.
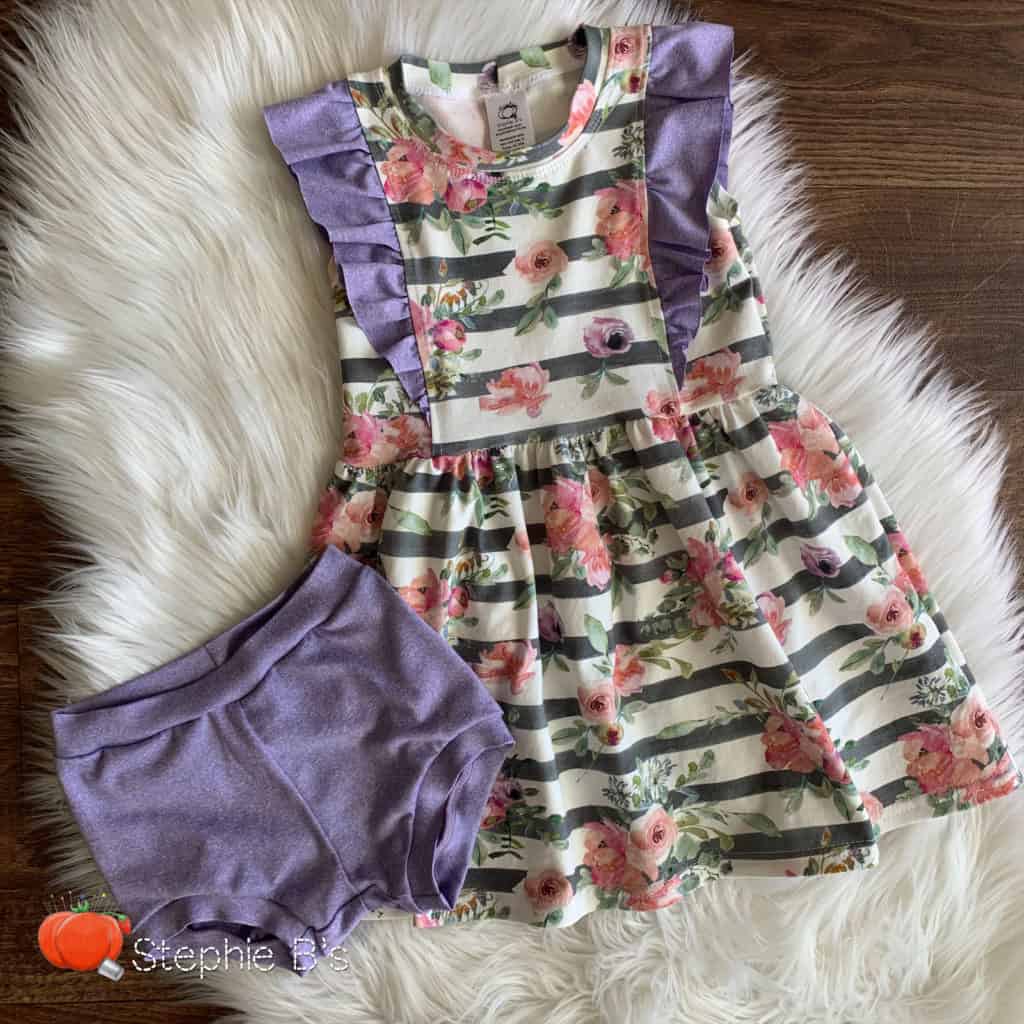
(As you can see, the Bridal Bouquet Cotton Lycra from KnitFabric.com has been very popular in my shop lately!)
Using Clear Elastic
I will be the first to admit that clear elastic is slippery and finicky to work with. But, as with many strange things we have to do when constructing garment, it's necessarily and when done right, will be well worth it.
Here are a couple tips for working with clear elastic:
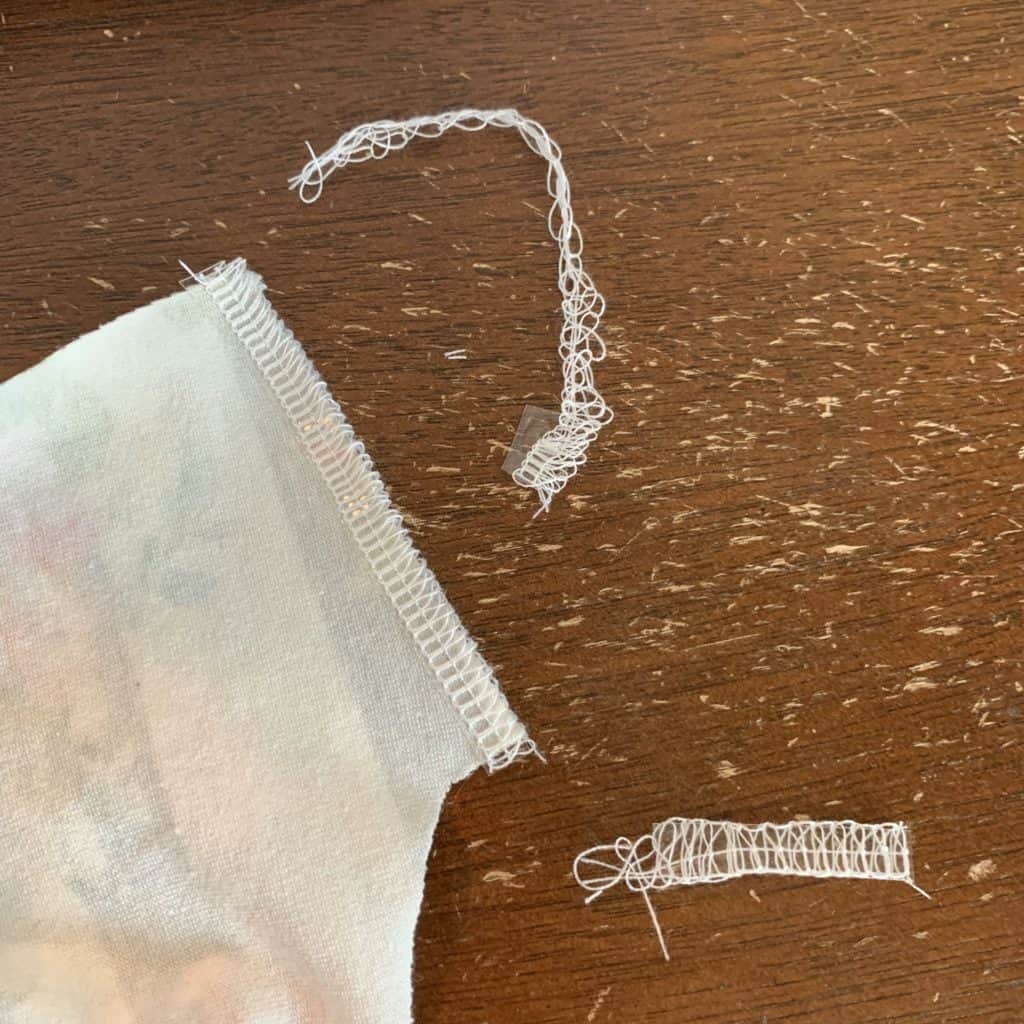
- Buy Extra. If purchasing clear elastic for a certain project, buy more than you need. If the seam isn't as perfect as you'd like, it's better to use a brand new piece because, unlike knit and braided elastic, clear elastic is "damaged" (punctured by the needle) when you use it.
- Stretch and Relax. I recommend stretching and relaxing your elastic a couple times prior to use so that it stretches to it's natural (not stiff) state prior to use. Unless you are gathering with the elastic, you will not be stretching it as you apply it.
- Leave Tails. When installing clear elastic, leave 1/2in or more excess elastic in either side of the seam. This will make it easier for your sewing machine or serger to grab and for you to hold on to.
- No Need to Baste. There is no need to baste it in place prior to sewing, plus doing so will add the extra thread/bulk to the seam that will already be bulked up with clear elastic.
- Start Slow. As I mentioned a minute ago, clear elastic is slippery. When you first start your seam, watch to make sure the elastic is picked up by the needle(s). If not, reposition, and try again. Don't get 1/2in-1in into your seam and realize the clear elastic has slipped away and wasn't grabbed. If that happens... I hope your seam ripper is nearby...
- Foot Good, Feed Dogs Bad. The clear elastic must never touch the feed dogs, so either place the elastic on top of the fabric or sandwiched between the layers. I tend so sew it on top of my fabric so I have more control over where is lays since it tends to slip and slide all over the place. Additionally, I lay the clear elastic against the side of the seam that will be pressed/sewn towards the back (more on that below).
Stabilizing With Clear Elastic
When stabilizing with clear elastic, use a 1:1 ratio, meaning the length of the elastic will be the same length as the raw edge/seam you'll be sewing. You will not stretch the elastic as you sew.
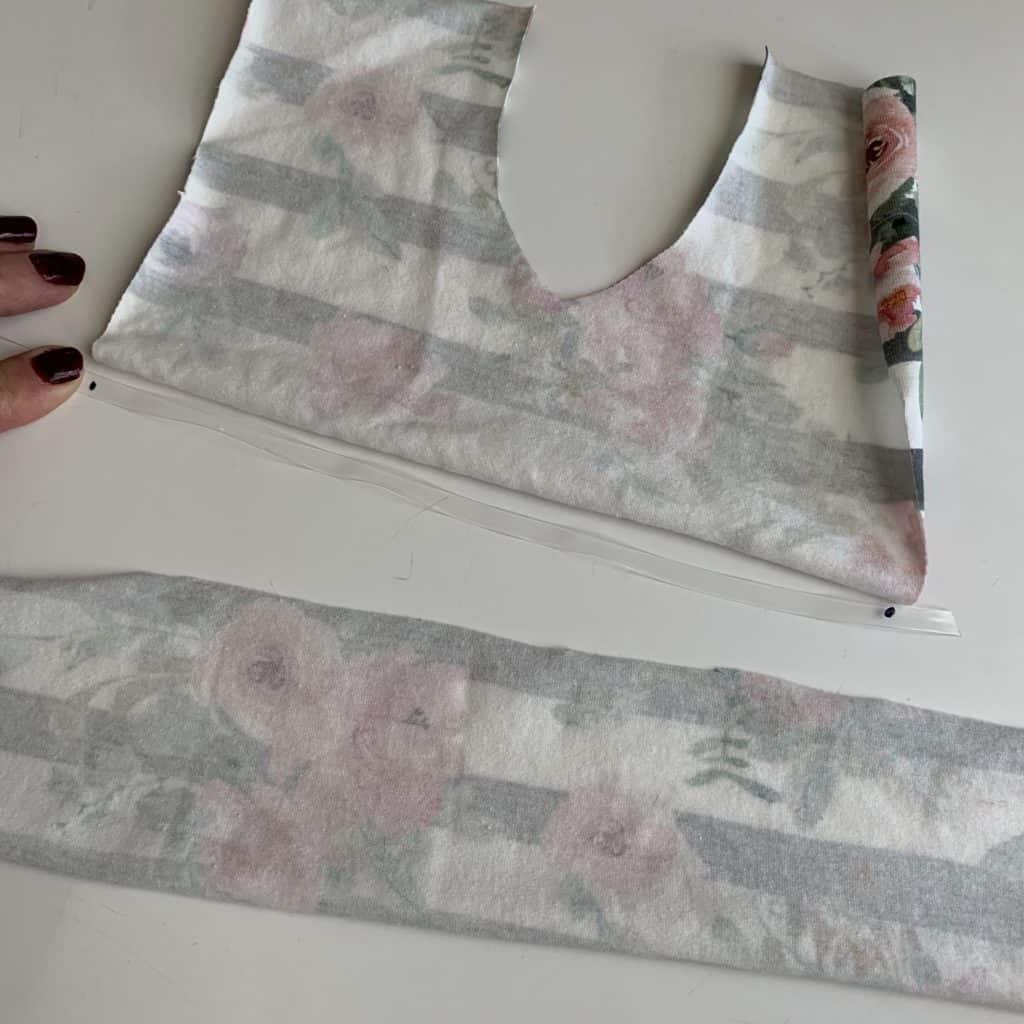
First, determine the length of the piece you'll need, including enough excess for the tails I mentioned above.
I quickly mentioned above that I place the clear elastic against the side of the fabric that will be pressed towards the back - this is so once the seam is sewn, the clear elastic will be sandwiched between the seam allowance and the fabric. I always press/"point" my shoulder and side seams towards the back (unless the pattern directs otherwise).
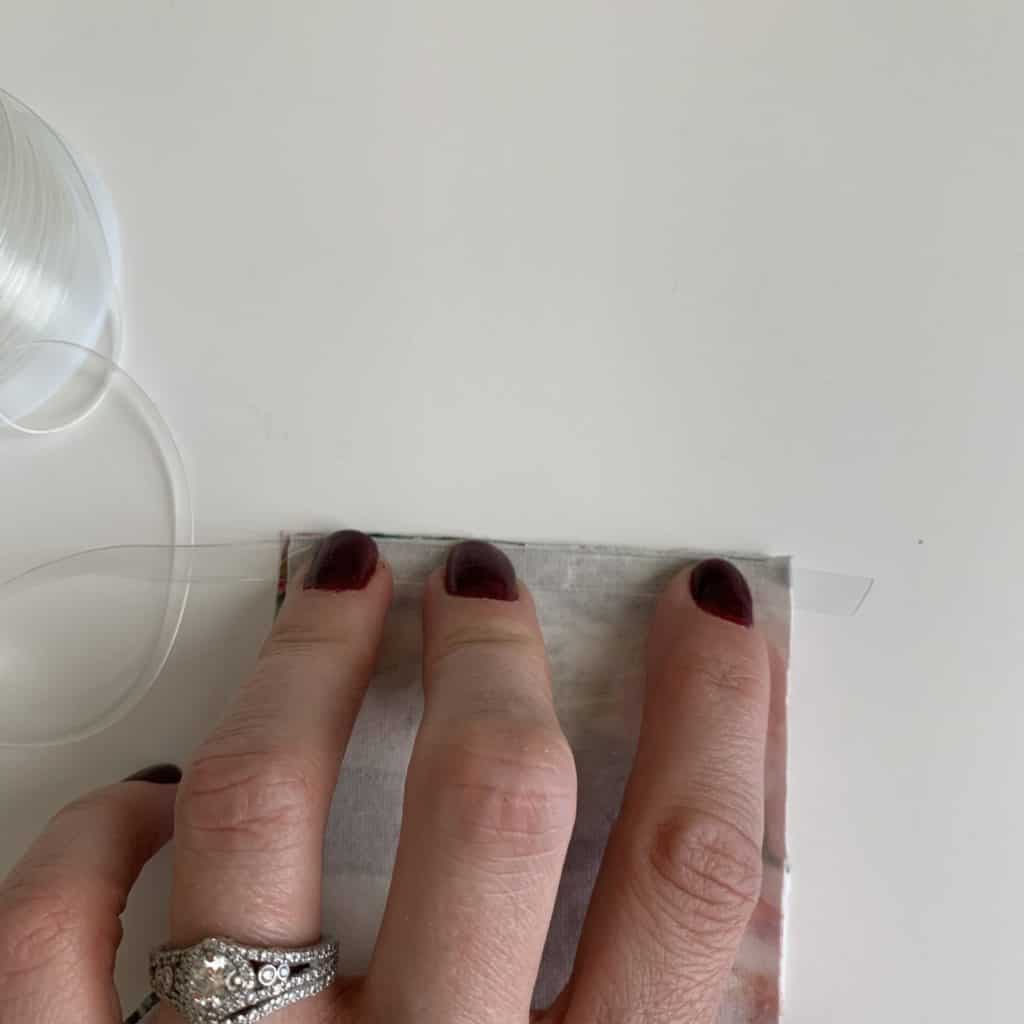
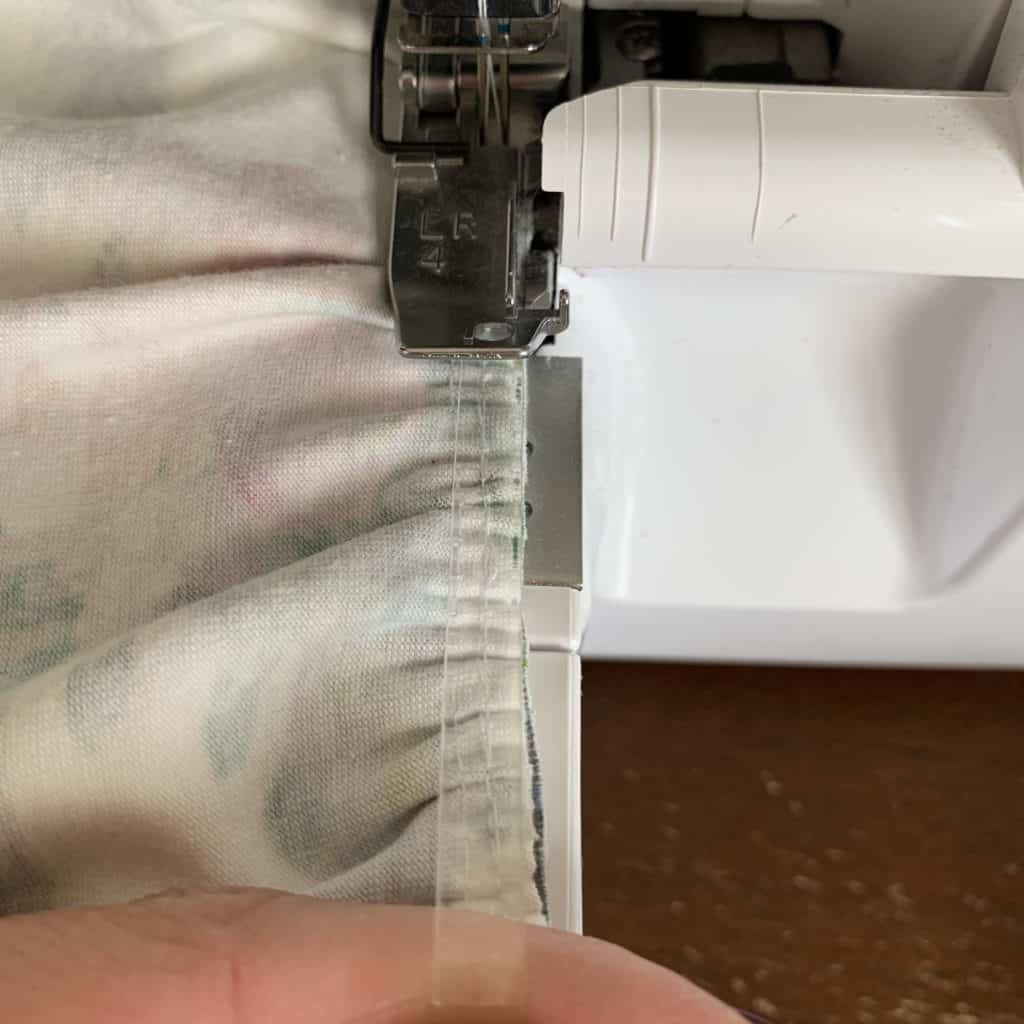
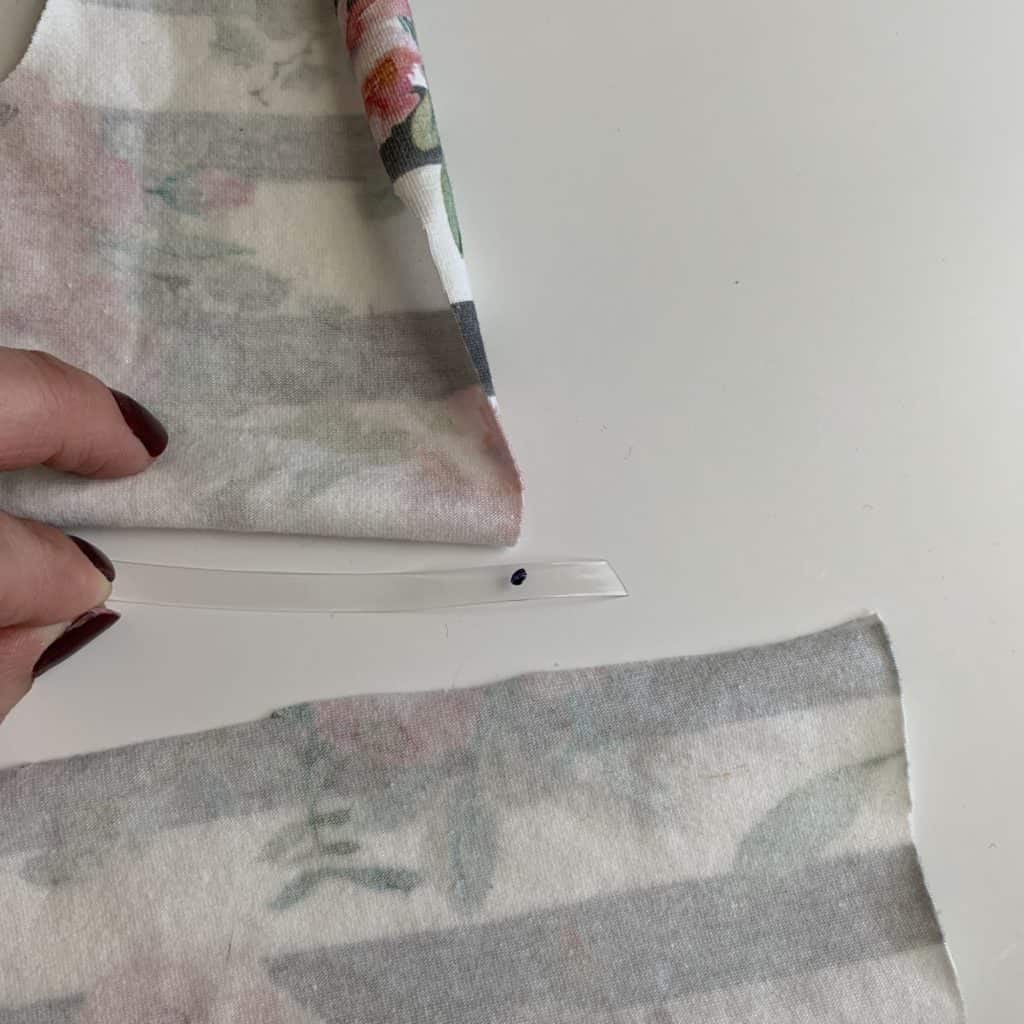
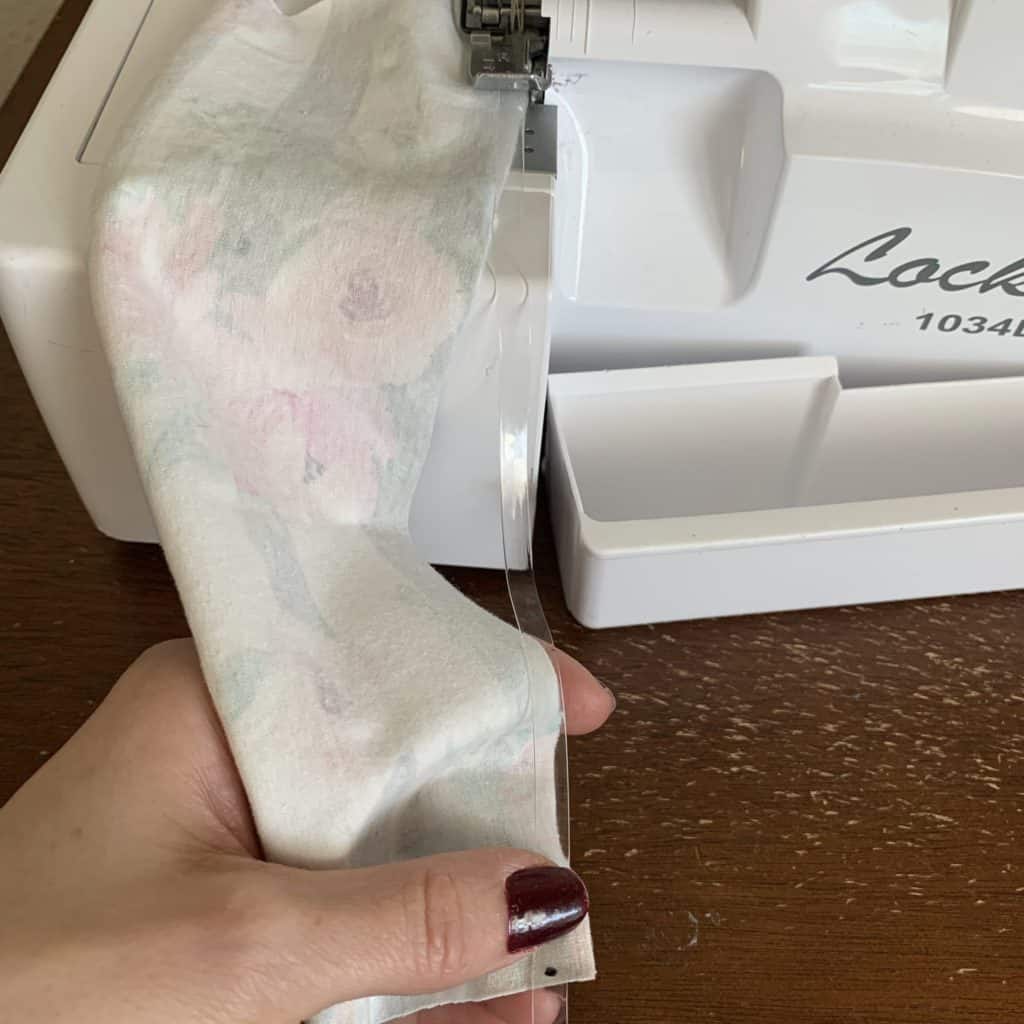
Next, place the garment and clear elastic onto your sewing machine/serger, positioning them so you will sew into the tail of the elastic prior to grabbing the fabric.
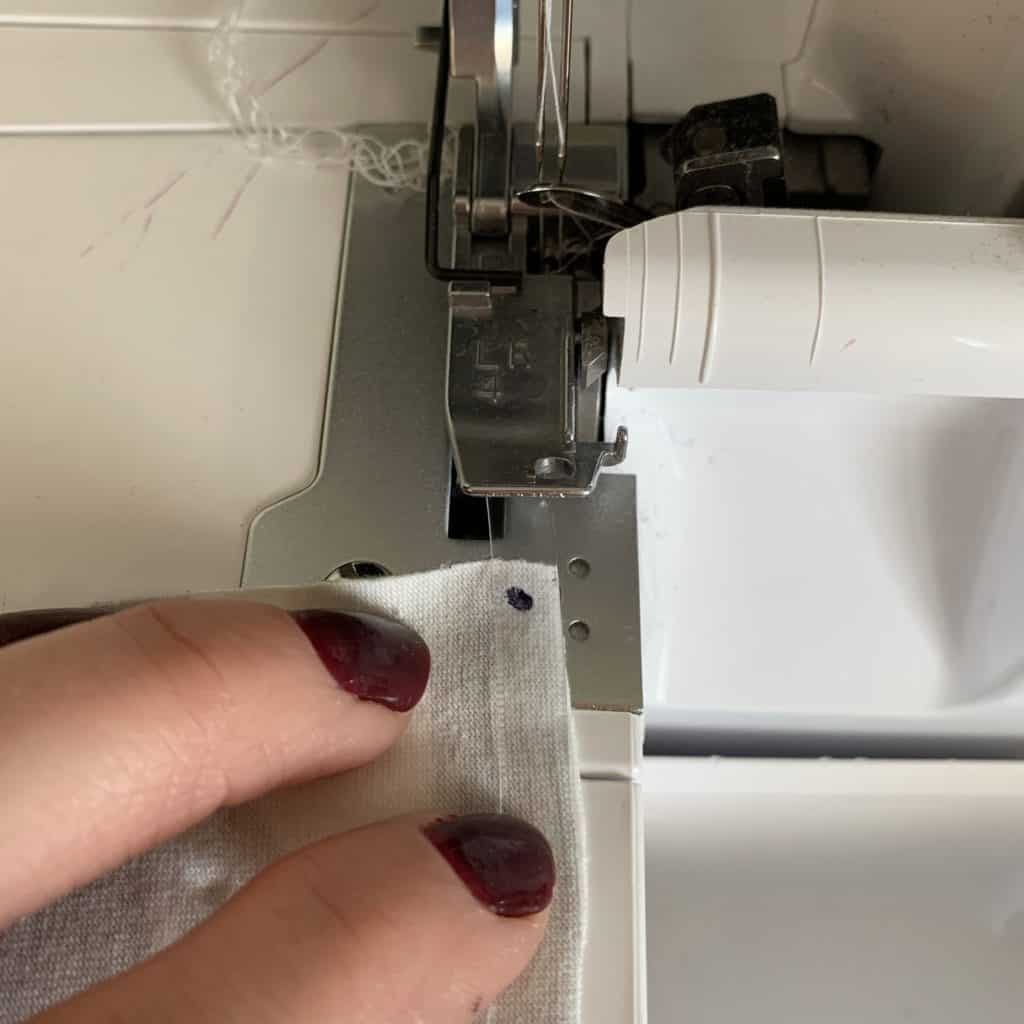
Working slowly, sew/serge the clear elastic onto the seam, lining the elastic up as closely to the raw edge as possible and ensuring it's grabbed by the needle(s).
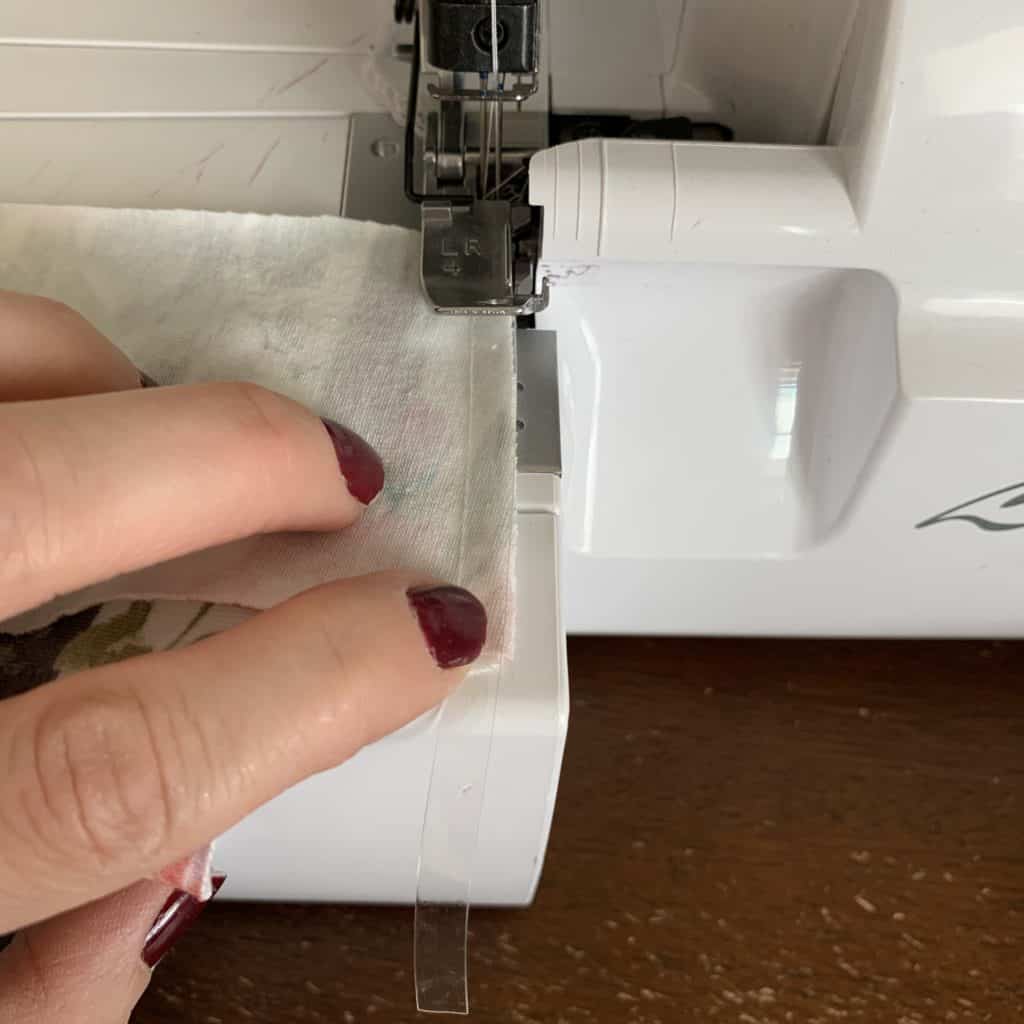
Once you know the clear elastic is being sewn into the seam, proceed sewing as normal.
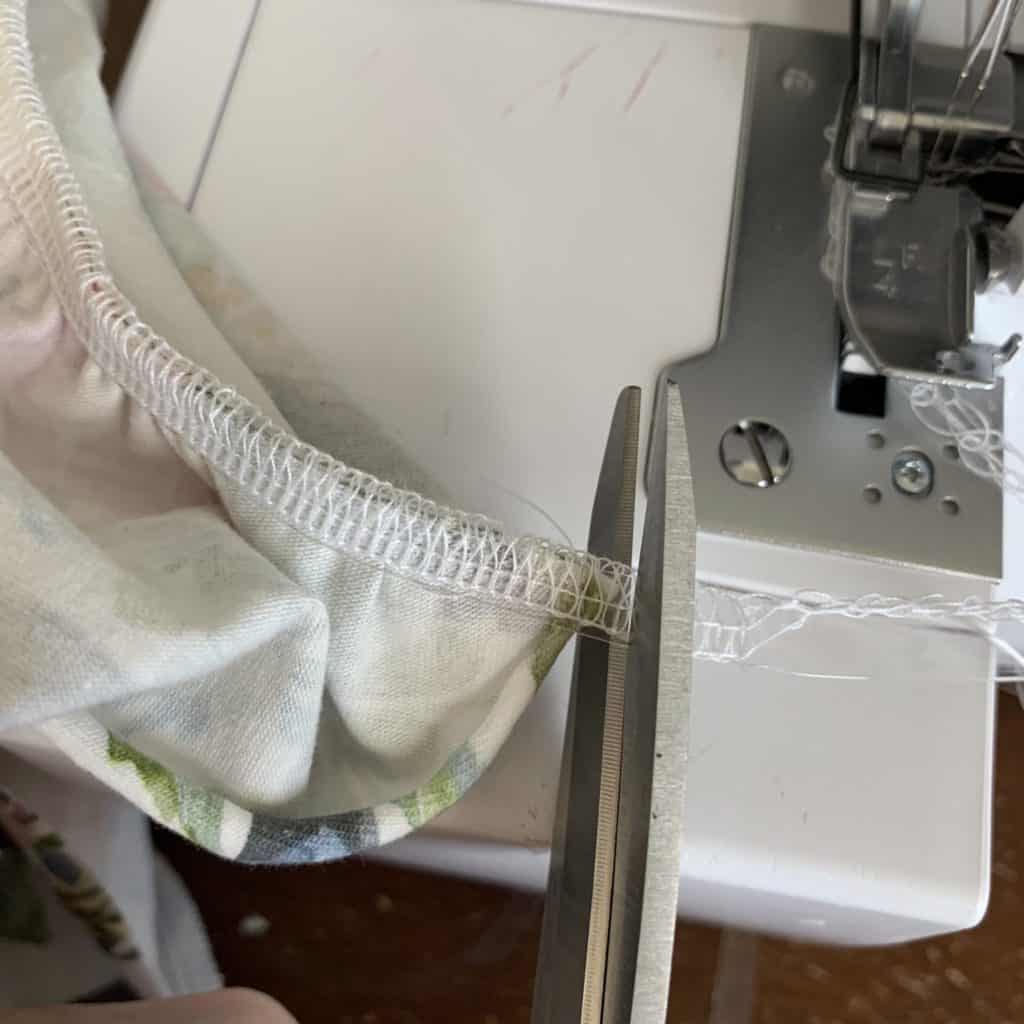
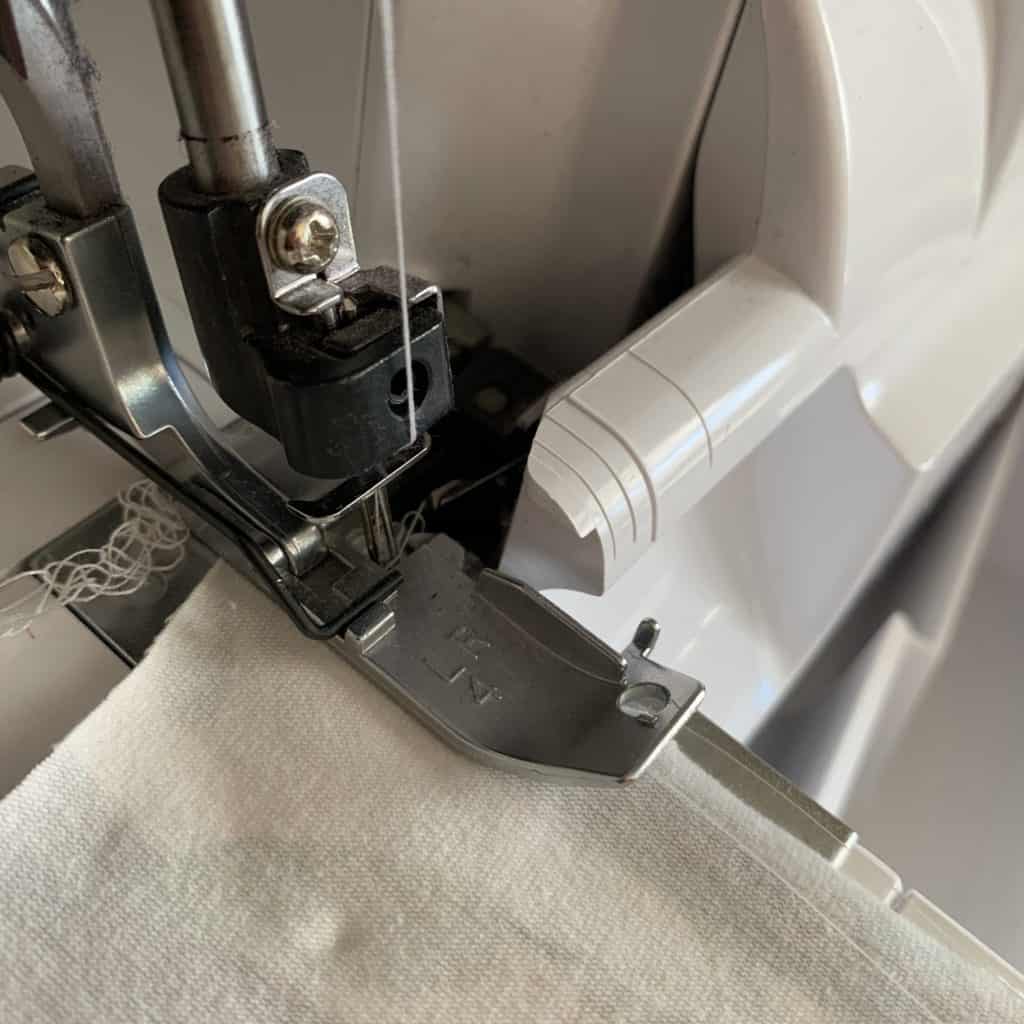
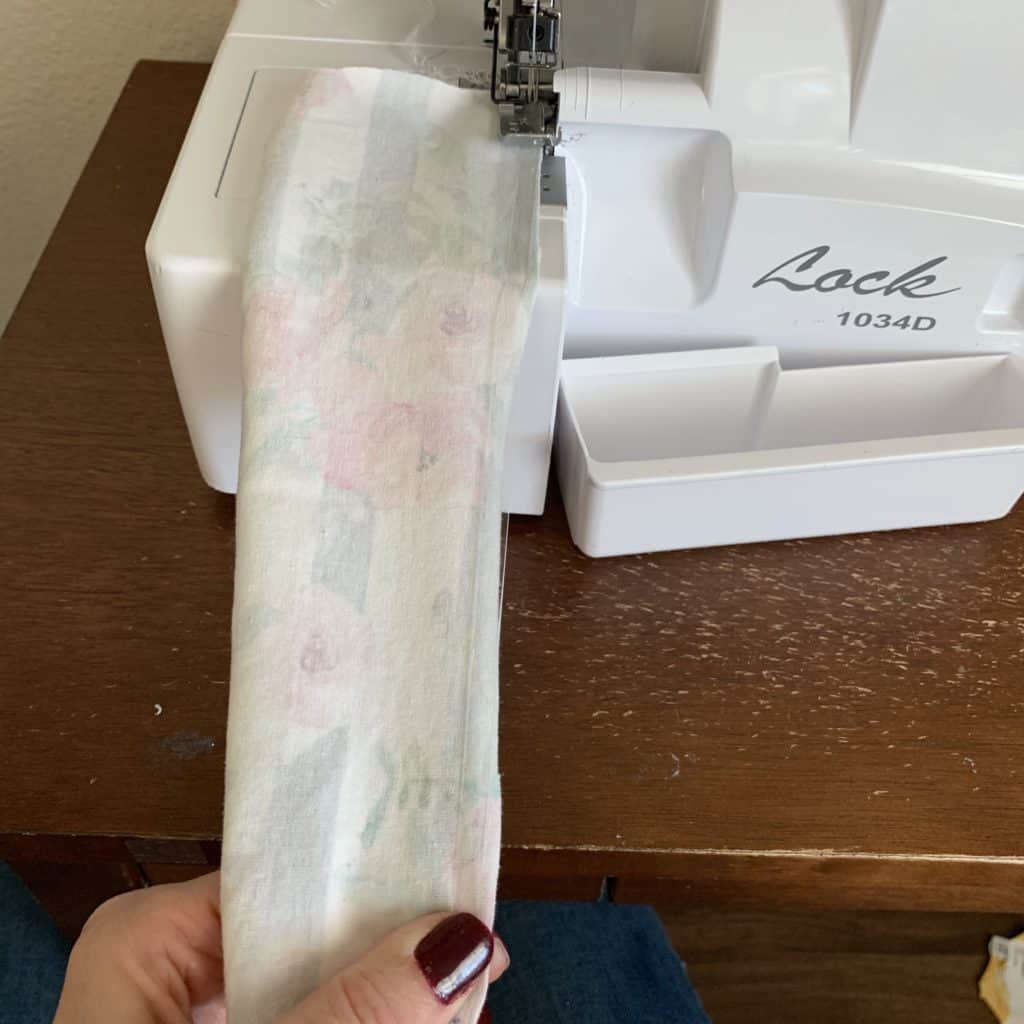
When you get to the end of your seam, continue to sew/serge over the excess tail...
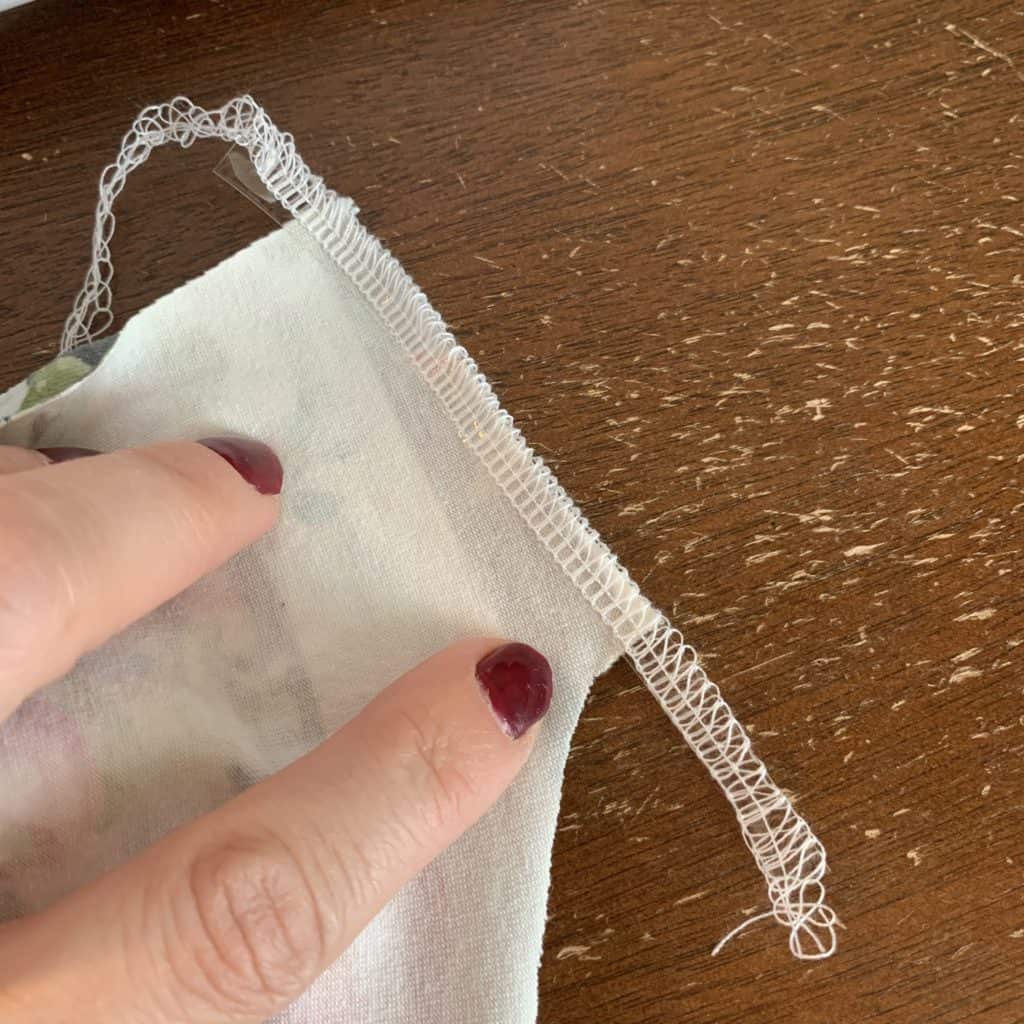
...then trim the tails.
Done! That seam is stabilized! Easy day.
Now, when you sew on your neckband and sleeve/arm bands, fold the clear elastic side so it's hidden and does not rub against the wearer's skin, as you can see in the image below .

Gathering With Clear Elastic
There are two ways to gather with clear elastic.
You can either gather then sew on the clear elastic, or you can gather with the elastic itself. Both have their own appeal - it's up to you which you prefer!
1. Gather then sew.
First, gather your fabric using your preferred method. Need some ideas on how to gather? Take a look at this Peek-a-Boo Pages tutorial on How to Gather Fabric (eight ways!).
When adding clear elastic, I don't use my serger to baste, as that will add bulk that I don't need more of. I stick to using the two lines of stitches method.
Once you've gathered your fabric, place your garment in your machine - ungathered side down as always - and follow the same steps you did above for stabilizing the seam.... Use a 1:1 ratio, leave tails at either end, start slowly, sew close to the raw edge, and so on.
Trim the tails, and you're finished!
Remove any visible basting stitches, and you're done!
2. Gather with clear elastic.
Rather than basting two lines, gathering, attaching the clear elastic, then removing those pesky basting stitches, you can gather WHILE you're attaching clear elastic - avoiding the basting all together! Amazing, thought, isn't it?
This method is pretty much identical to creating an elastic waistband using the sewn-in method (shown in the image below) on garments such as Peek-a-Boo Pattern Shop's Agility Leggings, so it may be a method you're already familiar with.

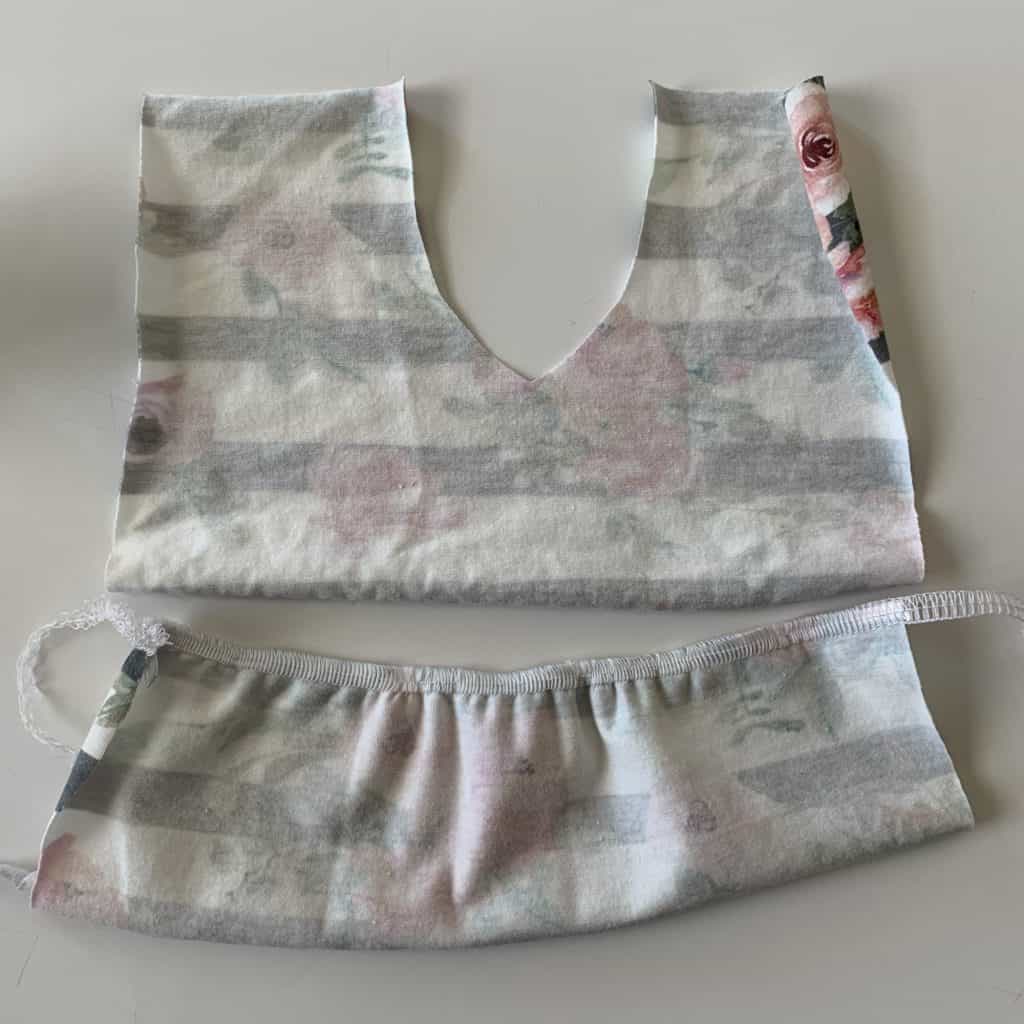
First, identify how long the gathered portion of your garment needs to be. If you're gathering a skirt for a dress, it will need to be the same width as the bottom of the bodice you'll be attaching the skirt to, as shown in the mock-up below.
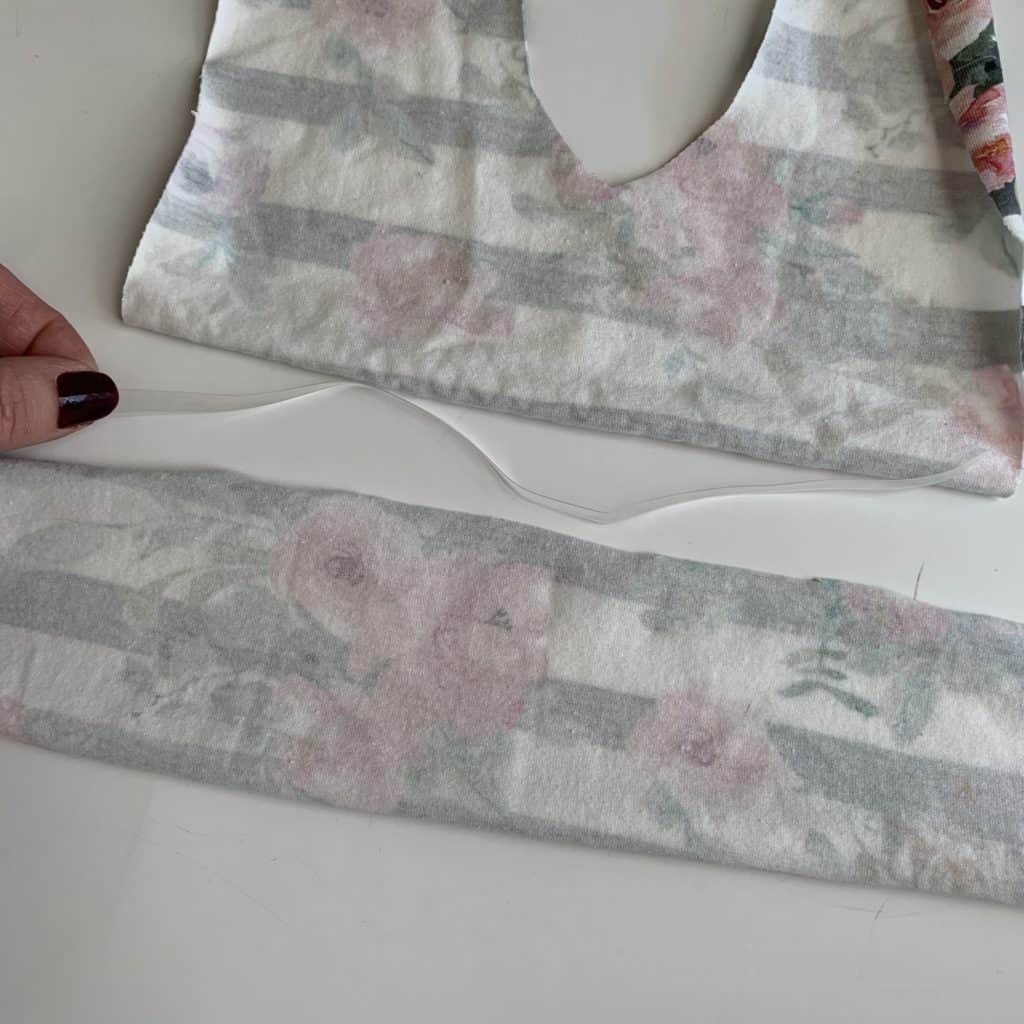
Leaving enough elastic to create the tails I've mentioned before, mark the start and stop points on your clear elastic.
I recommend leaving at least couple inches off the 'stop' point so you have something to hold on to and stretch as you sew.
Align the starting point along the raw edge of the fabric, then place your fabric and clear elastic in your machine - elastic against the foot or sandwiched between layers if applicable.
Try to position the 'start' tail near or under the needle(s) so the elastic will be grabbed quickly.
Once the fabric and elastic has been grabbed and is being sewn together, stop sewing (with the needle(s) lowered!) for just a minute as you get through the next step.
Align the stopping point with the edge of your fabric...
...and stretch!
Try not to stretch so hard that you are pulling against your feed dogs, but enough so the elastic - not the fabric - is stretched as much as it needs to be.
Trim your tails, and you're finished!
Wasn't that a great new method to learn?!
Now that you've seen how beneficial clear elastic can be, I highly recommend purchasing some and keeping it at the ready. Once I started having it on hand, I found myself using it all the time!
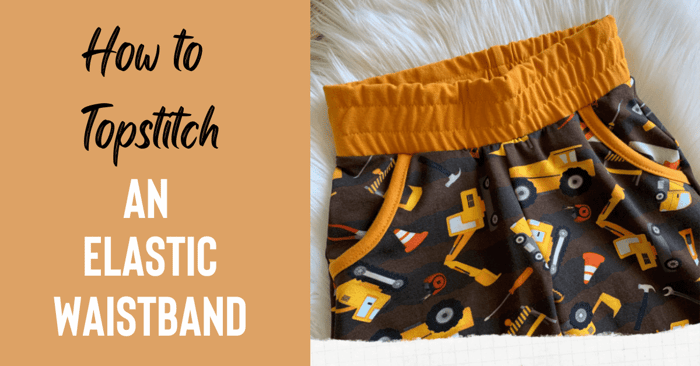
Want even more elastic tutorials?! Here's one I wrote a while back on Two Ways to Sew an Elastic Waistband. And here is a recent one on how to Topstitch an Elastic Waistband. Go check them out!
Hopefully, I was able to impart a little bit of sewing wisdom to you today. That's always my goal. :)
Come back next month for another tutorial! In the meantime, please share this tutorial and comment below if you have any questions or feedback. I'd also love to hear if there is anything you'd like me to create a tutorial for in the future, so please comment away!
![]()