How to Topstitch an Elastic Waistband
Hello my friends. Stephanie from Stephie B’s Designs. Today I have another super useful tutorial… how to topstitch an elastic waistband! This is such a cool method, and the results look professional and finished – as topstitching always seems to do in any situation you use it in.
How to Topstitch an Elastic Waistband
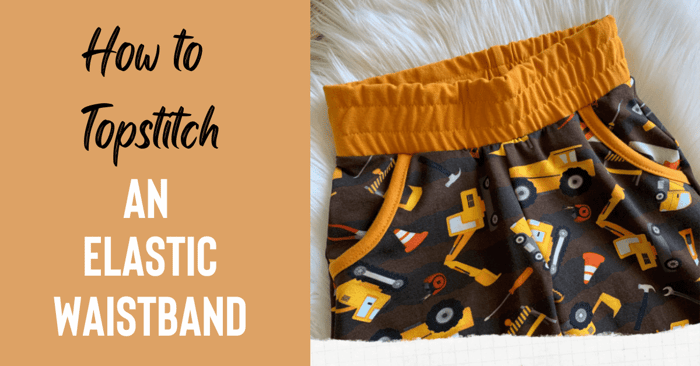
Here is what a topstitched elastic waistband looks like:
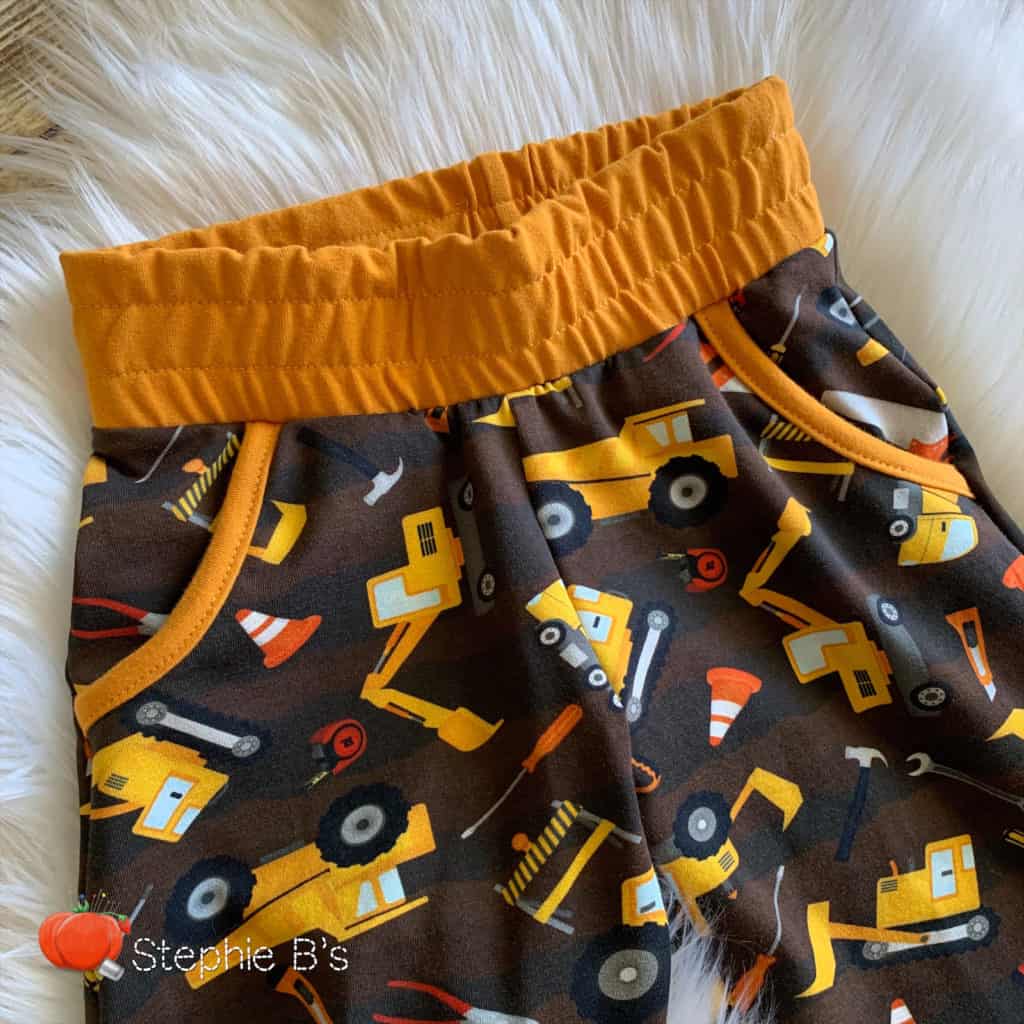
Love!!
When would you use this method? When sewing for gotta move, gotta play, gotta go go go kiddos! I have three of those. 🙂
Honestly, though, this method is used when making pants or skirts that have a knit waistband with elastic, such as the well-loved and well-used Junior Joggers, and fantastic new Joggers line; Jordan Joggers, Java Joggers, and Jackson Joggers), all from Peek-a-Boo Pattern Shop.
Topstitching helps keep the elastic in place within the waistband to prevent it from rolling after washing – I hate that! – and it helps keep a drawstring in place if you add one by creating a channel/path in the middle of the waistband.
I have only used the technique on elastic waistbands with casings that are sewn onto the pants – rather than ones where the elastic is sewn directly onto the pants themselves as shown in my Two Ways to Sew an Elastic Waistband tutorial. But the process will be pretty much the same either way.
Are you ready to dive in?! Great! Then let’s do this!
The Process
Insert the Elastic into the Waistband.
I’m going to start this tutorial once your casing/waistband has already been sewn as per the instructions in your chosen pattern.
I’m using the Jordan Joggers from Peek-a-Boo Pattern Shop today. For reference, will be picking up at step 19.
You’ll need the elastic already looped, the sewn together waistband casing, and the pants ready for a waistband.
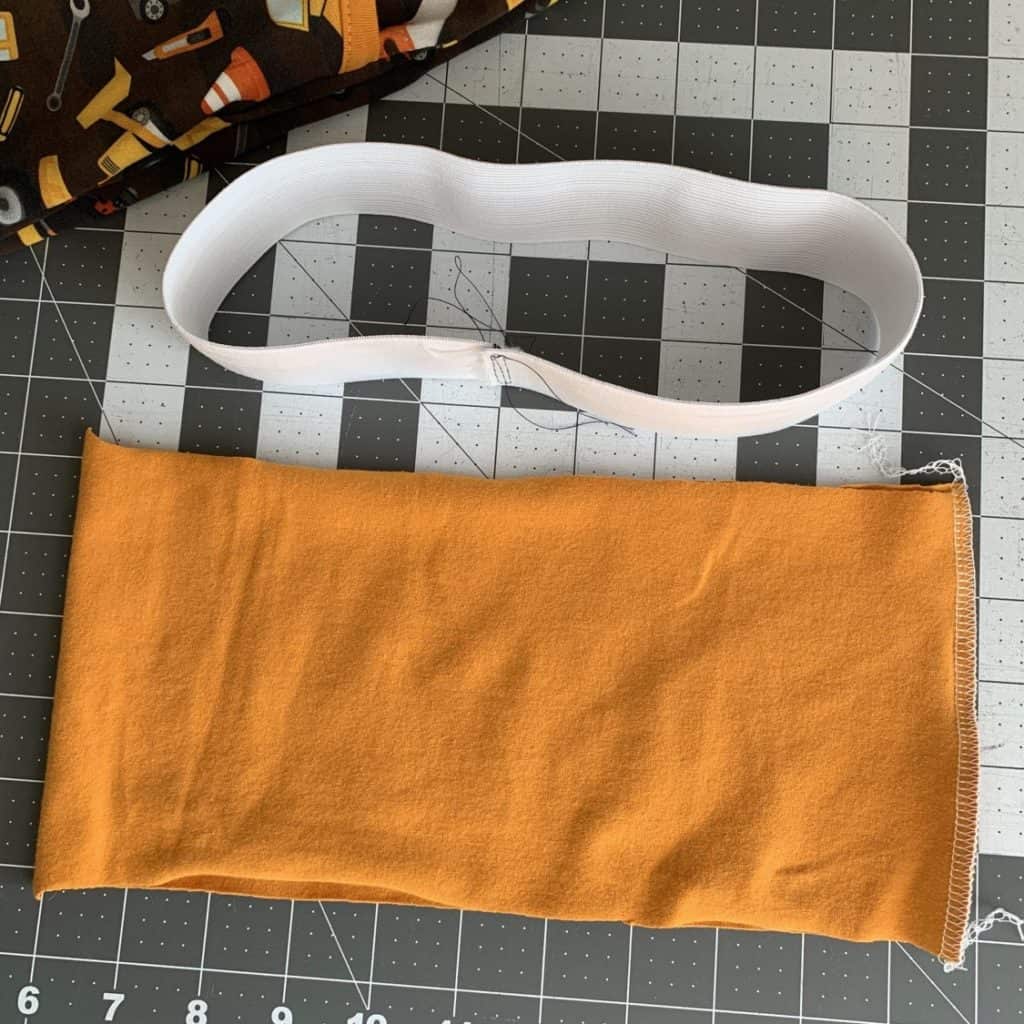
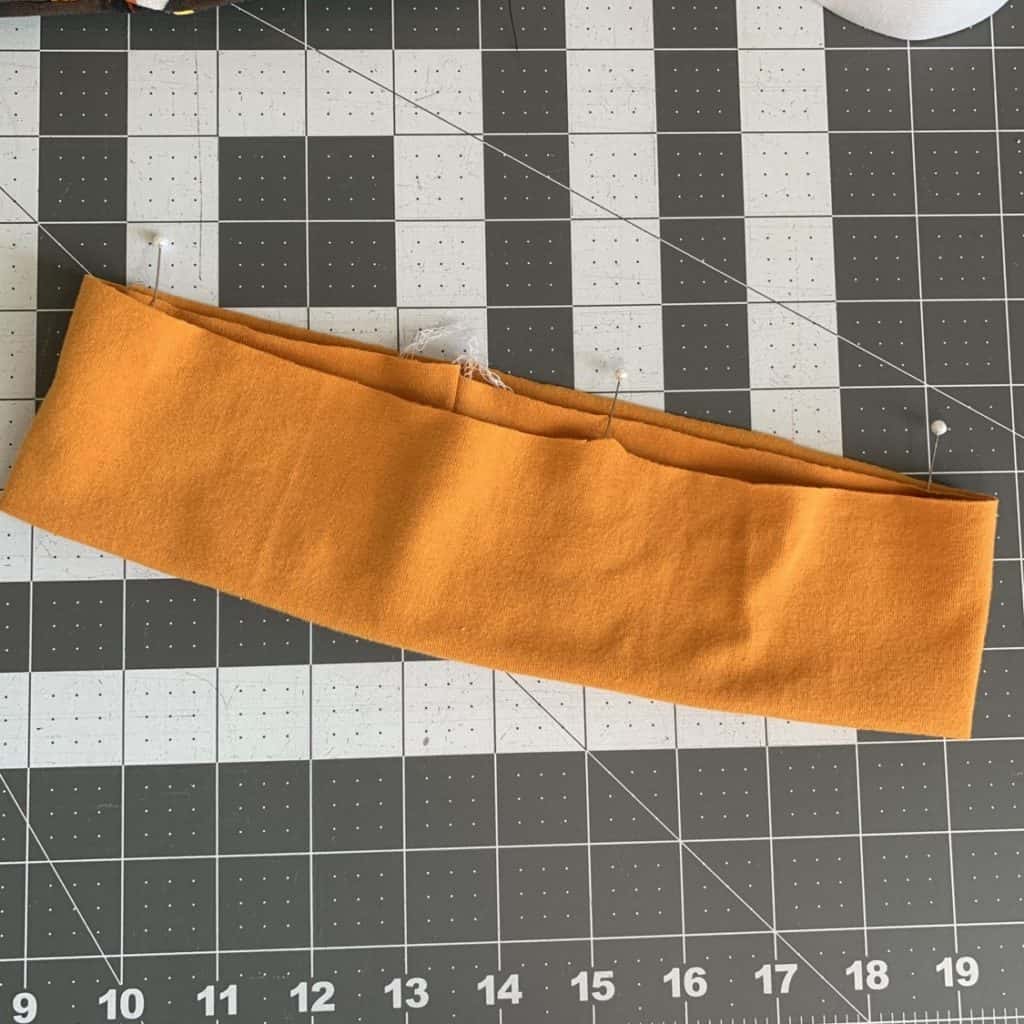
Slide the elastic inside the waistband, ensuring it sits as far down into the fold as possible. I tend to work in sections, starting with the front, inserting the elastic into the casing…
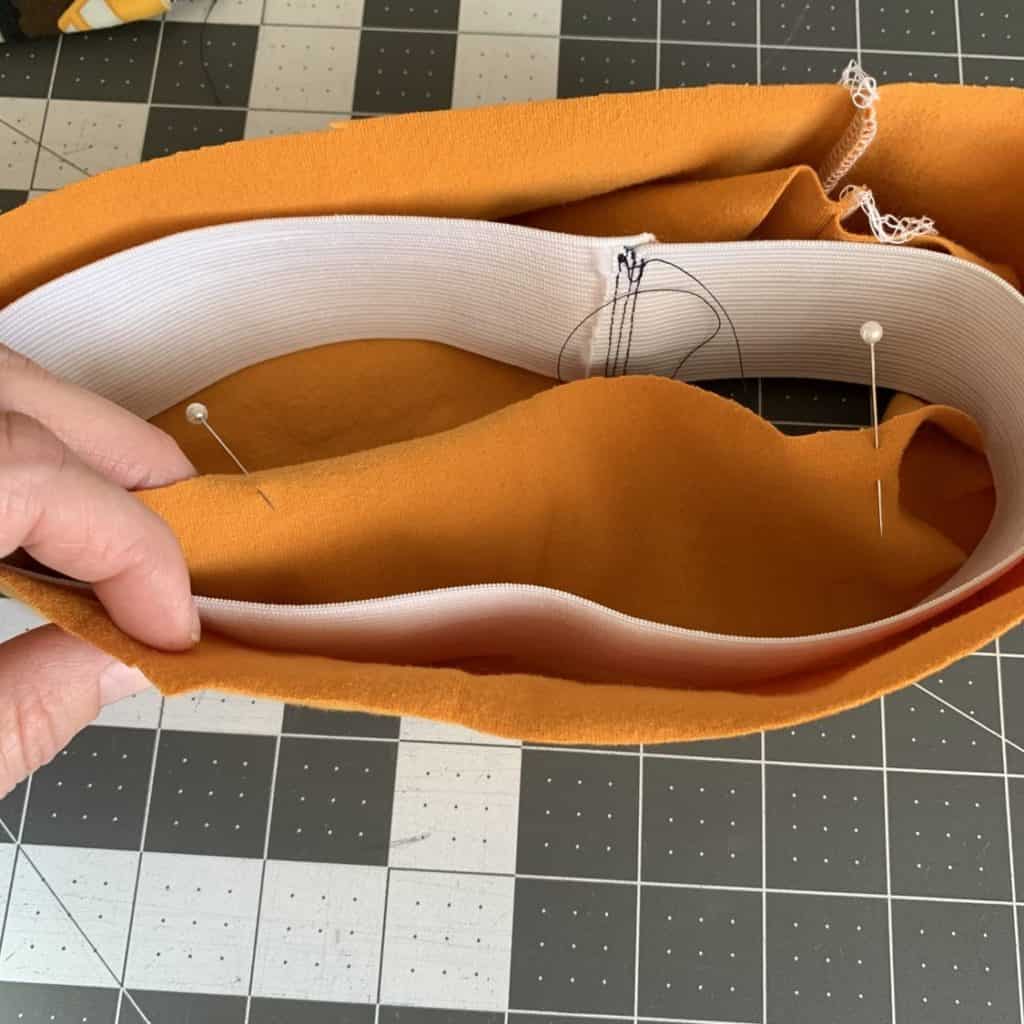
…then pinning the two sides of the waistband closed. Don’t pin into the elastic – instead, I suggest bringing your pin back up juuuust above the elastic so it holds the elastic in place as you continue.
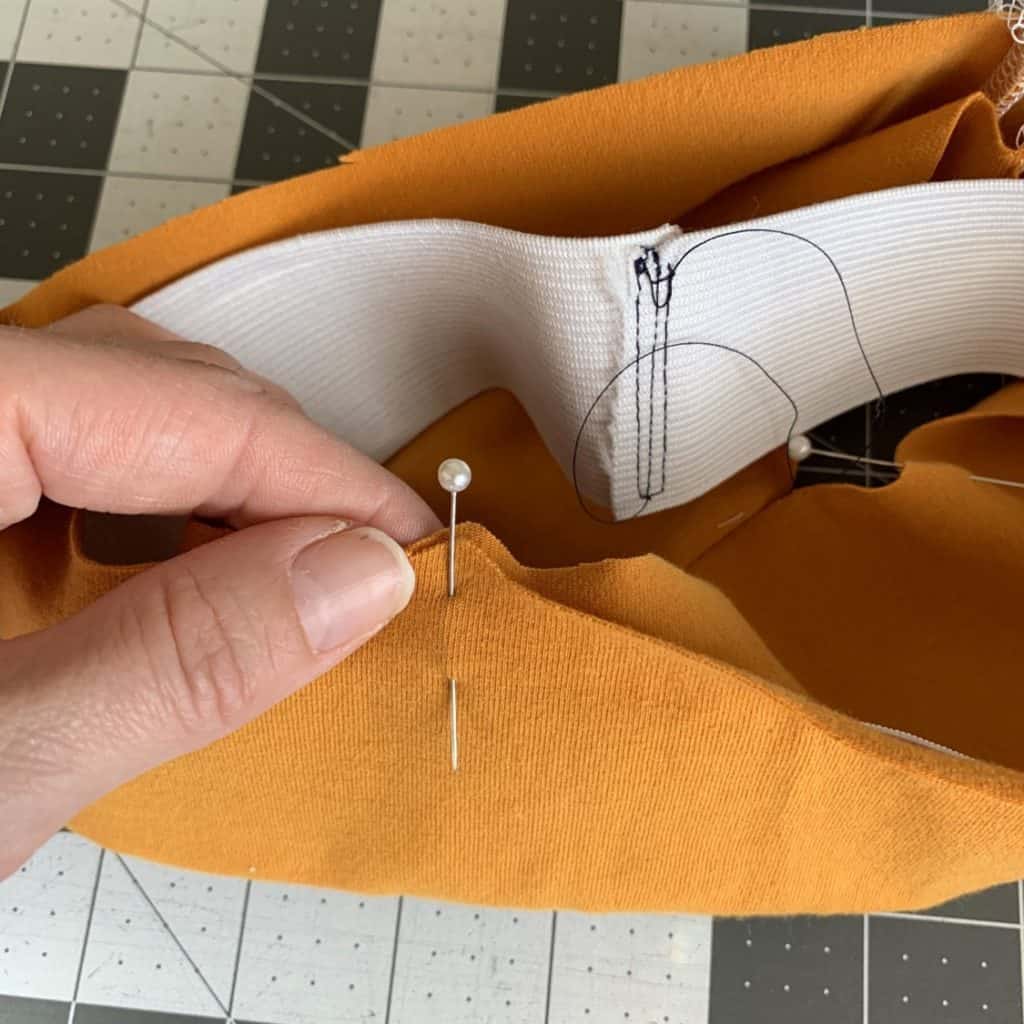
Continue working the elastic into the casing, pinning the two sides of the waistband together as you reach your marked points. I do front, then back, then side, adding the pin to the back at this step.
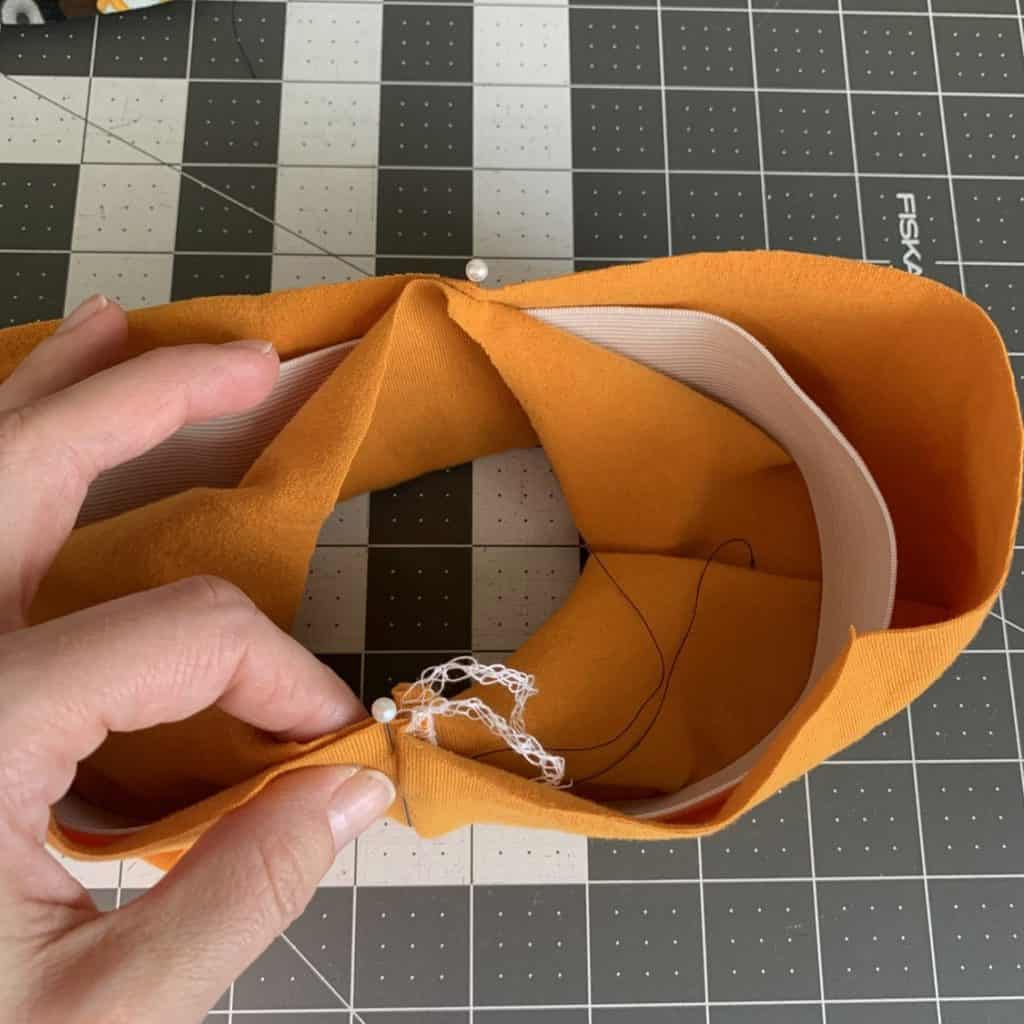
When you’re all done, your waistband should look a little something like this:
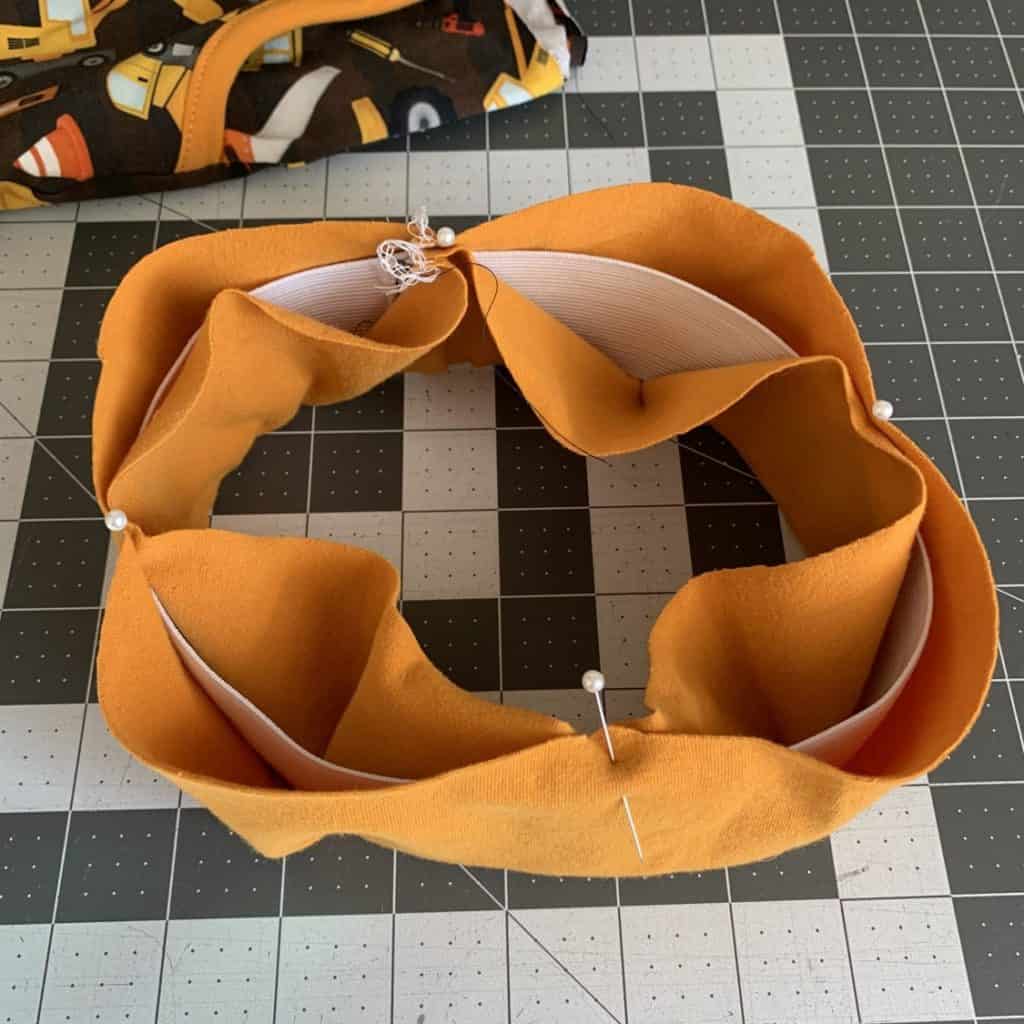
Topstitch the Waistband.
This is the part you’ve all been waiting for!
Fair warning, though. This whole step is a bit tricky, and you have to take it slow. But the end result is well worth it.
Baste the waistband closed as close to the elastic as possible without catching the elastic itself.
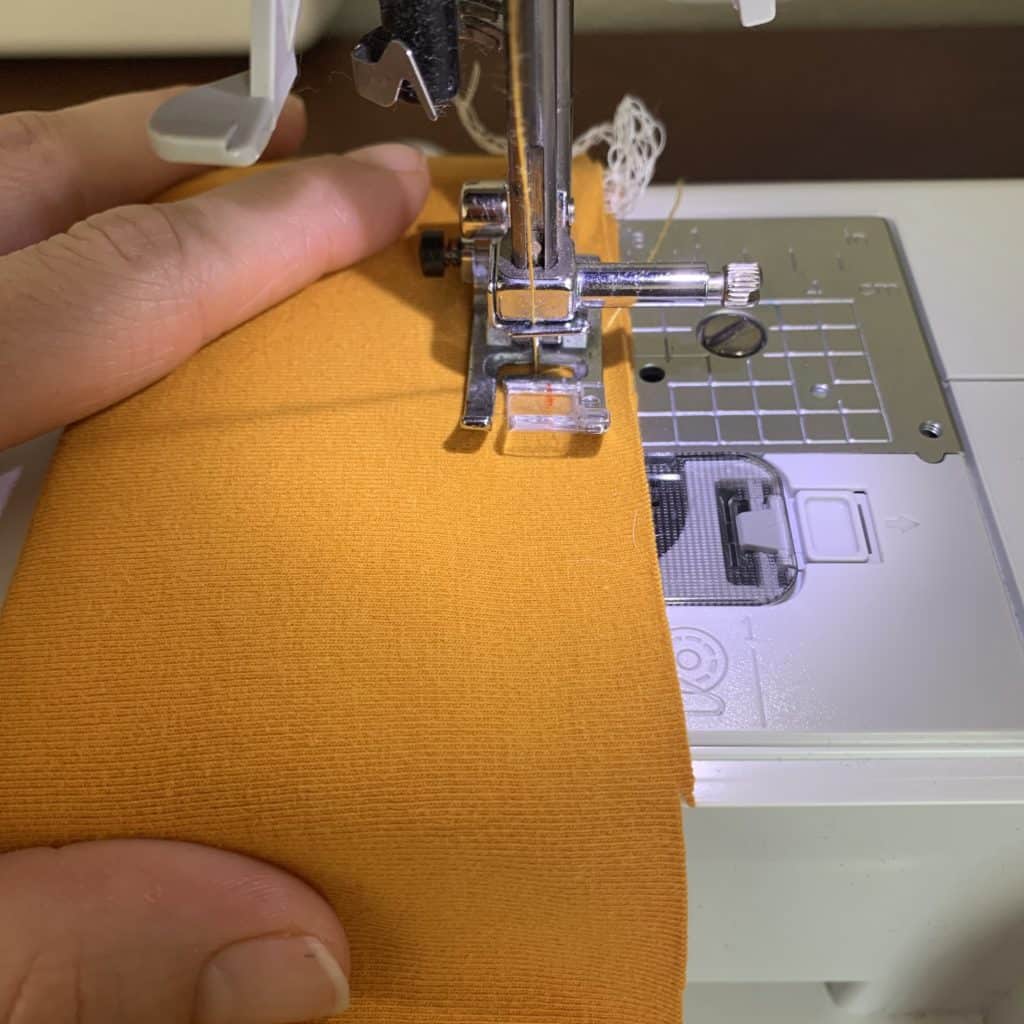
Note: as you baste around the waistband, you will encounter extra fabric, as shown in the first image below. This is of course because the elastic is smaller than the waistband.
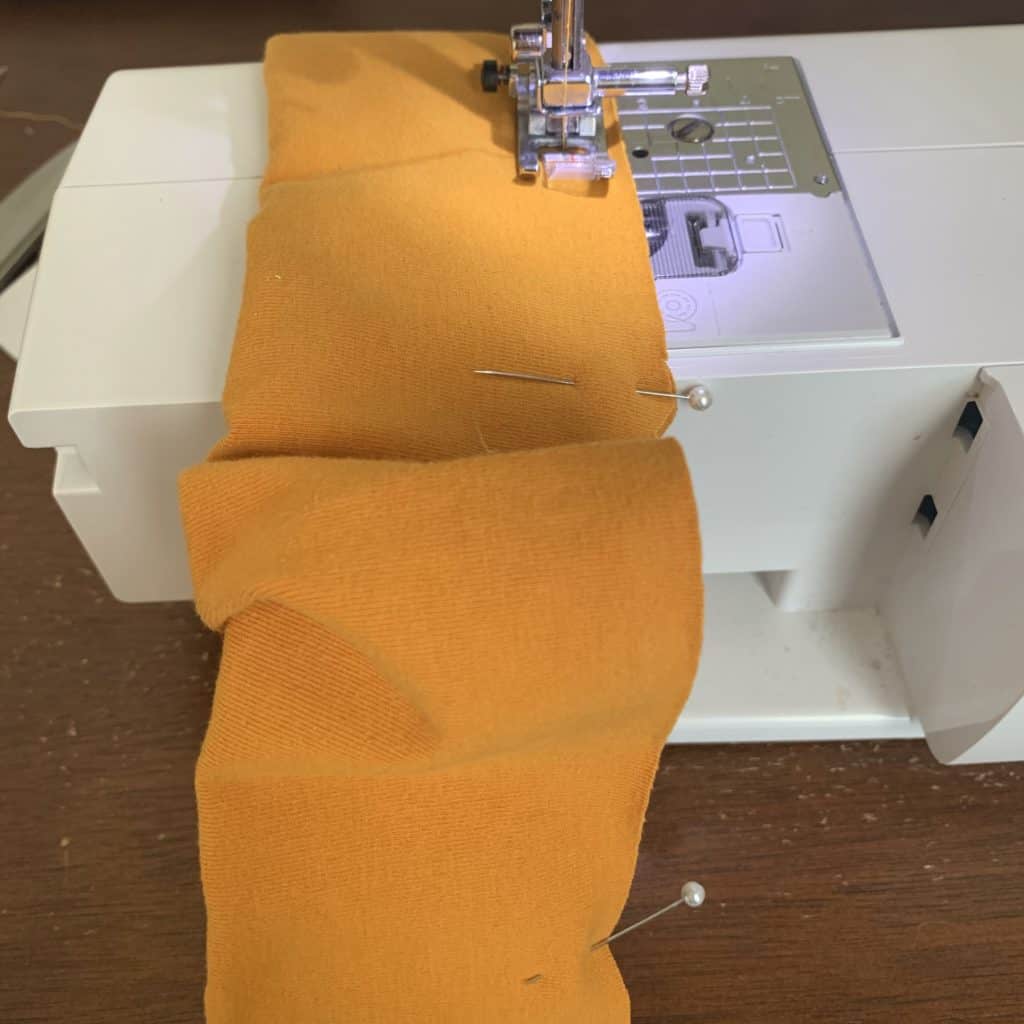
To fix that, “slide” the casting down the elastic towards your body to create a flat surface as you sew.
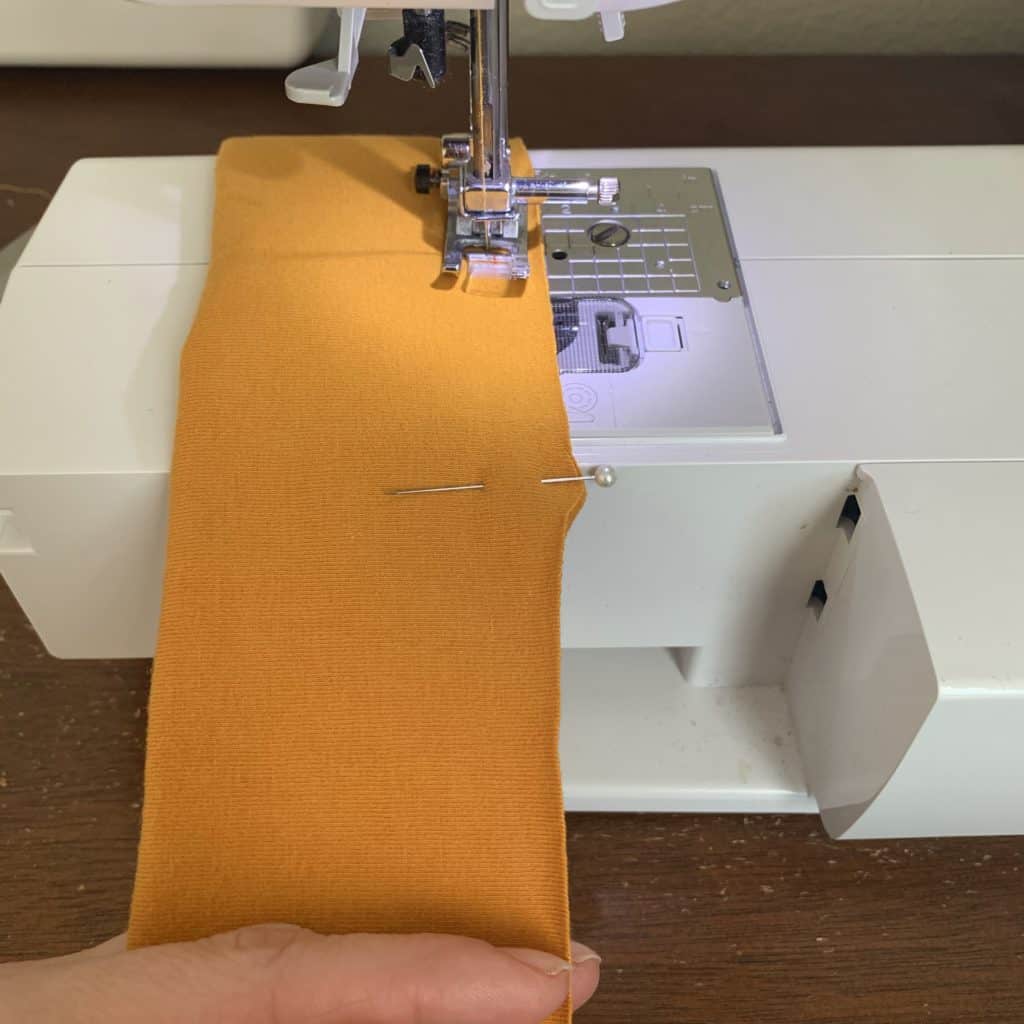
Keep doing this until the entire waistband is basted shut, and the elastic is fully enclosed within the casing.
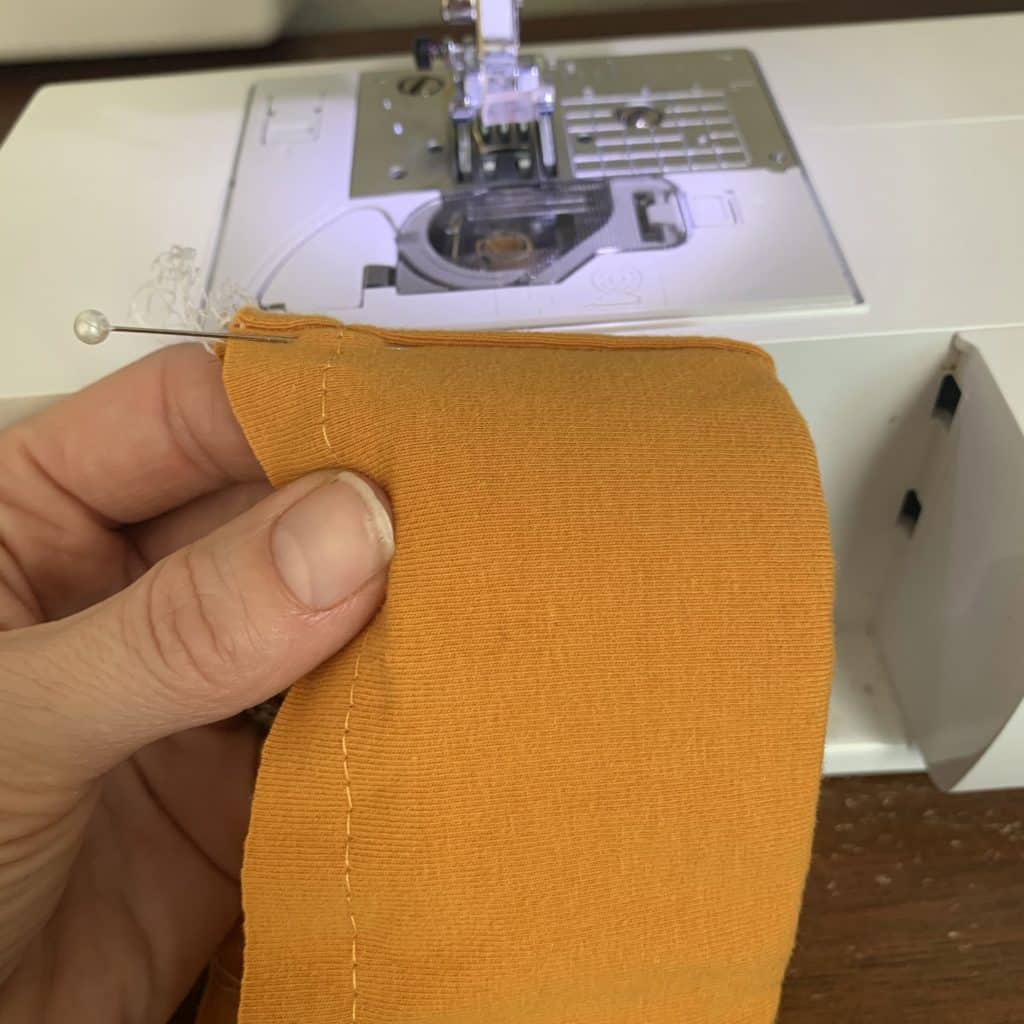
Topstitching time!
I tend to start with the top line of topstitching, along the fold of the waistband, but it truly does not matter if you start there or with the line near the bottom, raw edge.
How do you know where to topstitch?
I like to split my waistband into thirds as much as possible. For the 2″ elastic I’m using for this pair of Joggers, I opted to topstitch 5/8″ away from the top and 5/8″ away from the bottom (of the elastic, not the raw edge). That’s not perfectly thirds… but it’ll do. 🙂
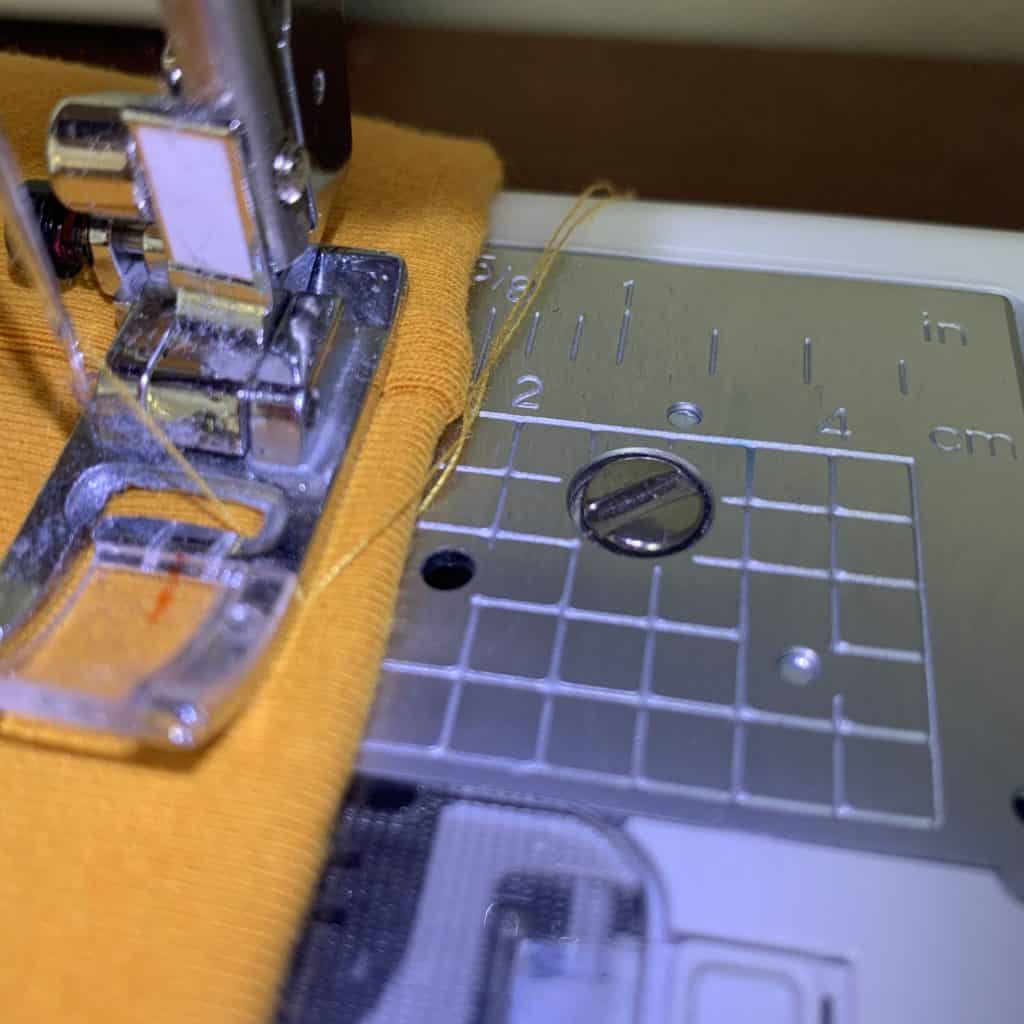
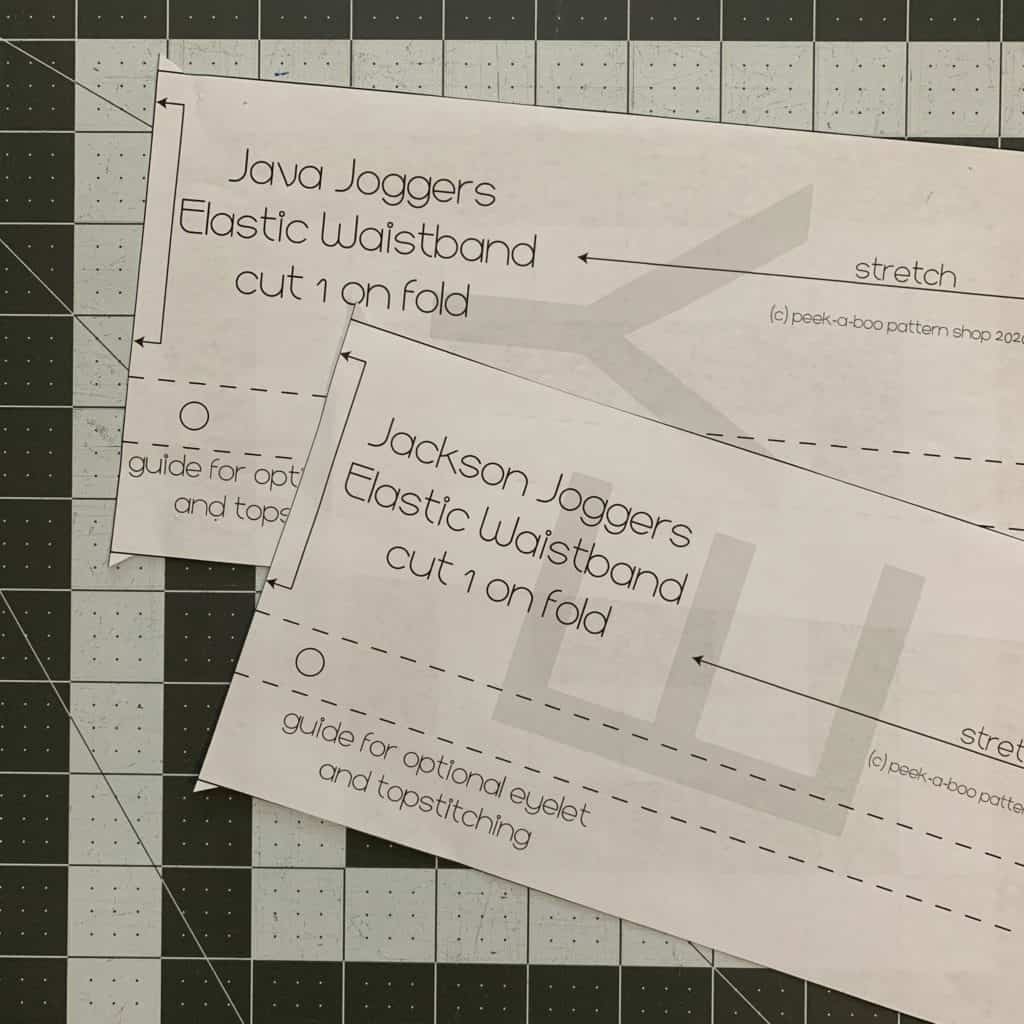
Some patterns, like the Java Joggers and Jackson Joggers from Peek-a-Boo Pattern Shop, actually suggest to you within the pattern where to add the topstitching! How handy is that?!
Using a stretch stitch or long straight stitch (I set mine on 4), drop your needle. That’s it – don’t sew just yet.
(No, my needle in the image below isn’t dropped – that’s what I get for taking pictures of the process before writing up how to do it!)
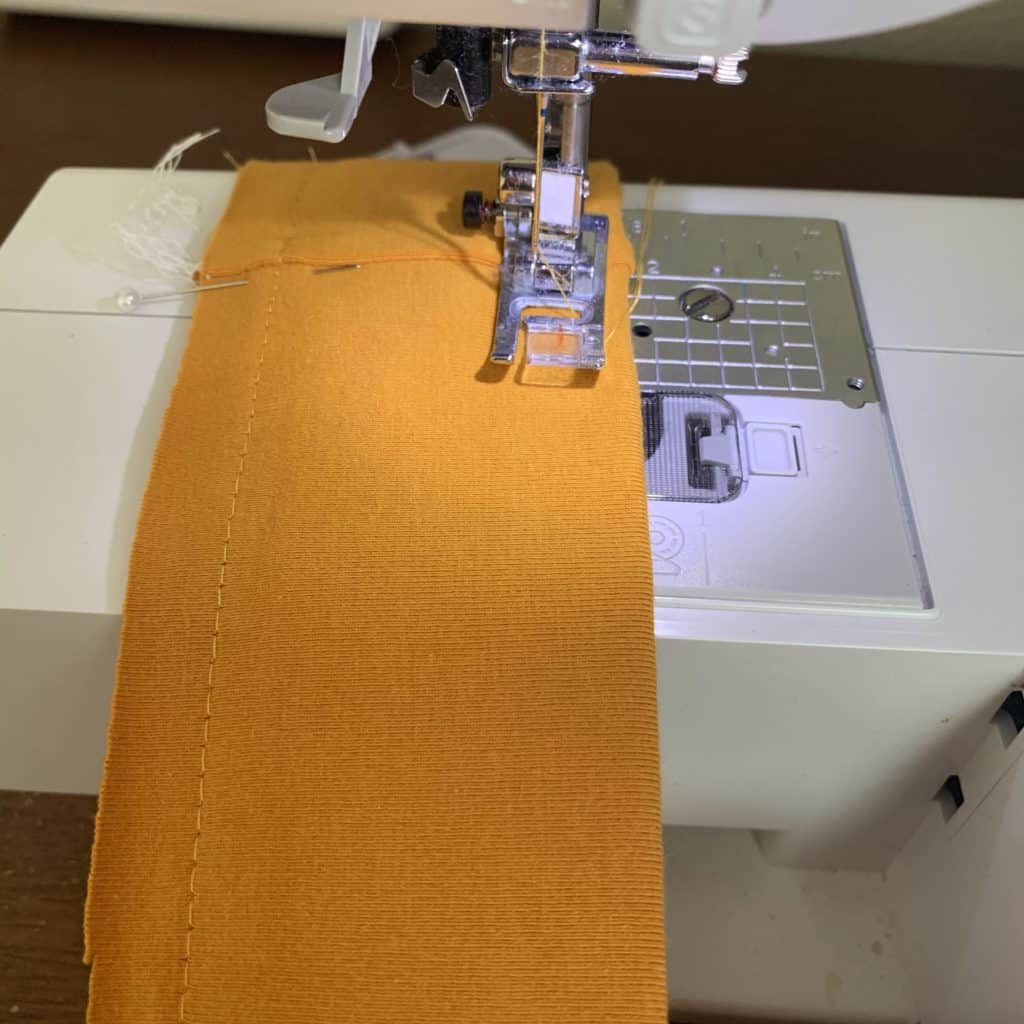
With your needle holding the waistband in place, with both hands – right hand at the front of your machine near your body and left hand in back, behind the needle – stretch the waistband until the fabric ‘matches’ the size of the elastic, and the casing is evenly distributed around the entire waistband.
I wish I could have taken pictures, but I haven’t taught my 1yo twins to take pictures yet, and this was a two-handed, no way to take pictures process.
With both hands holding the waistband (at the front and back as I just mentioned), slowly press down on your foot pedal, letting the feed dogs pull the waistband through. Be one with your machine and trust it to do it’s job.
Don’t pull so hard that you put tension on your needle or presser foot – they need to remain in place undisturbed and do their jobs along with the feed dogs. You only want to pull on the waistband just enough so the fabric stretches to the size of the elastic.
Topstitch a few inches, leave your needle down, adjust/move your hands, topstitch a few more inches, and so on until the entire waistband has been topstitched.
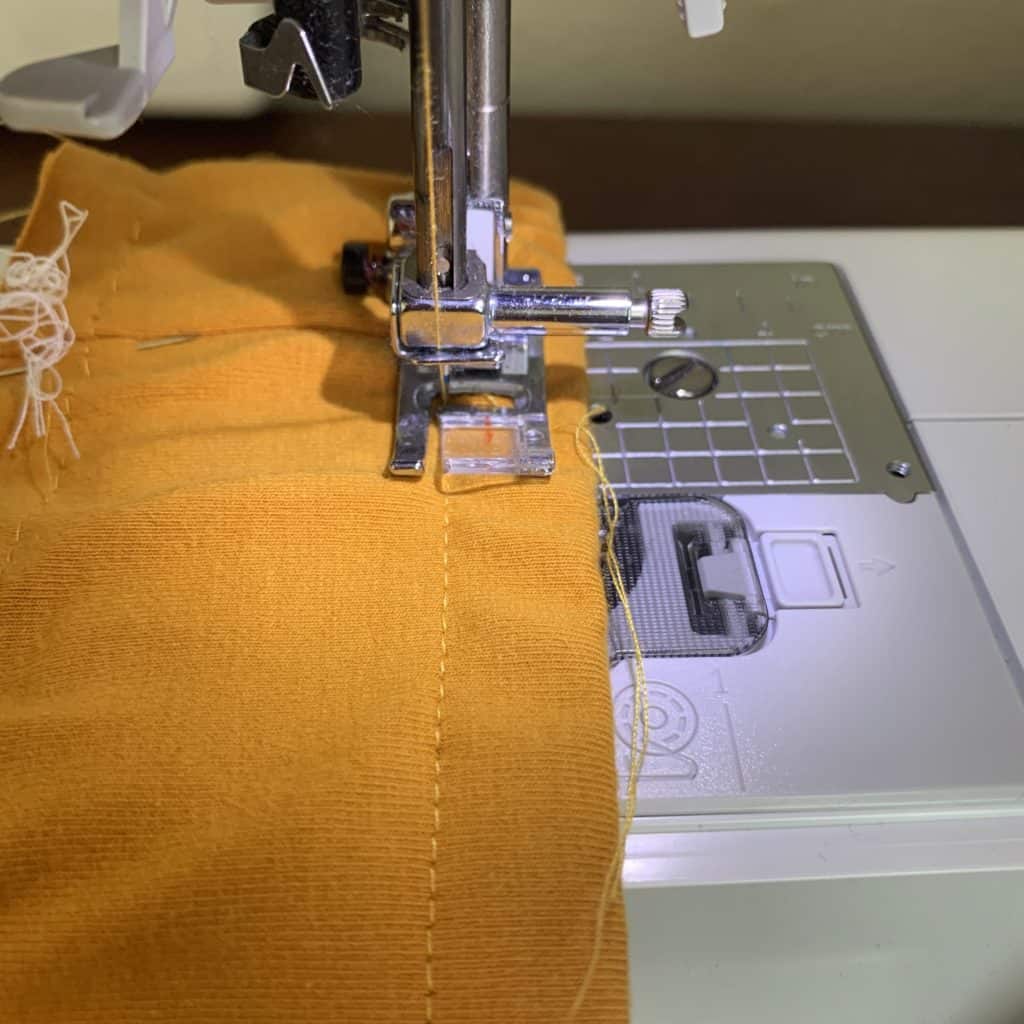
That was strange, wasn’t it?! I find that somewhat empowering, though! “Look, Ma, no hands!!”
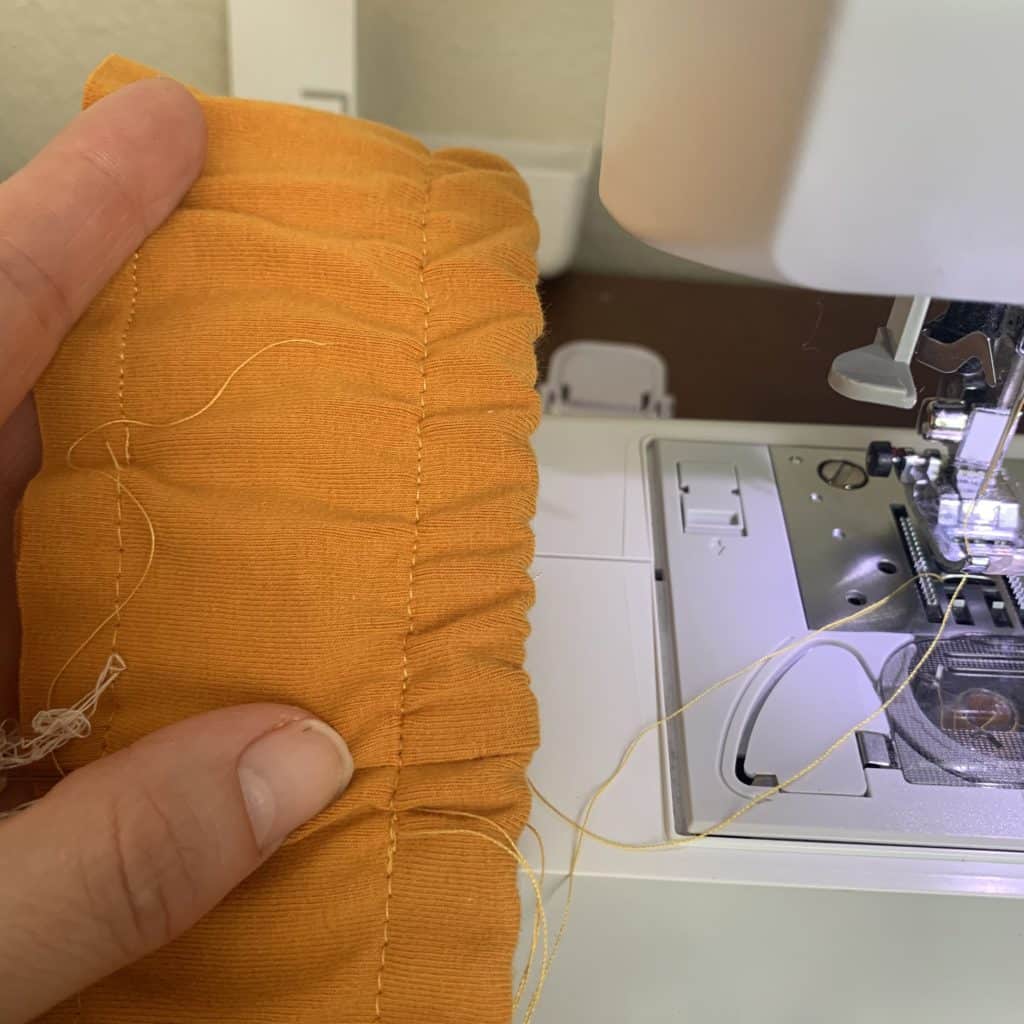
Next on to the second line!
In order to get good placement, you need to use the bottom of the elastic as the reference point, not the raw edge. I fold the raw edge over the elastic, as shown in the image below.
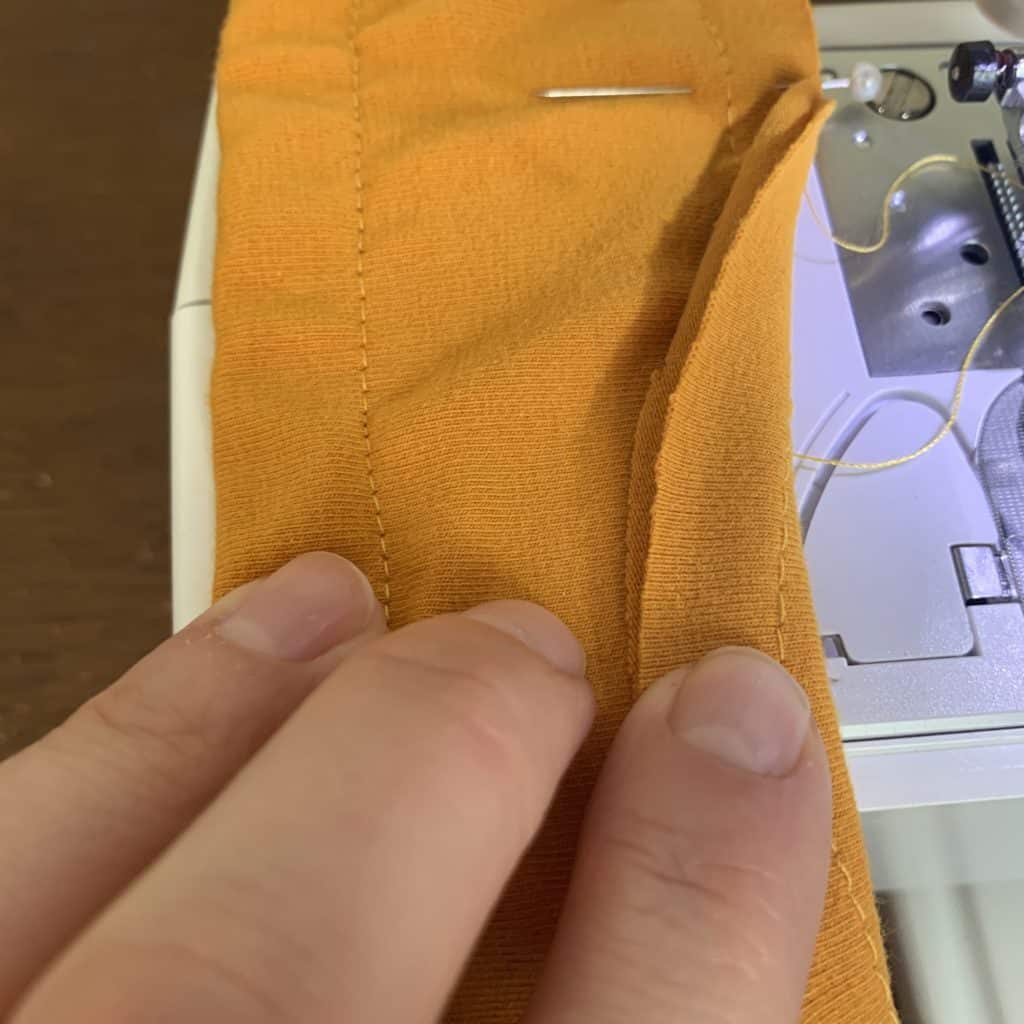
Slide the waistband under the presser foot, so the bottom edge of the elastic lines up with your chosen distance. Remember from a few steps ago, I’m using 5/8″ today.
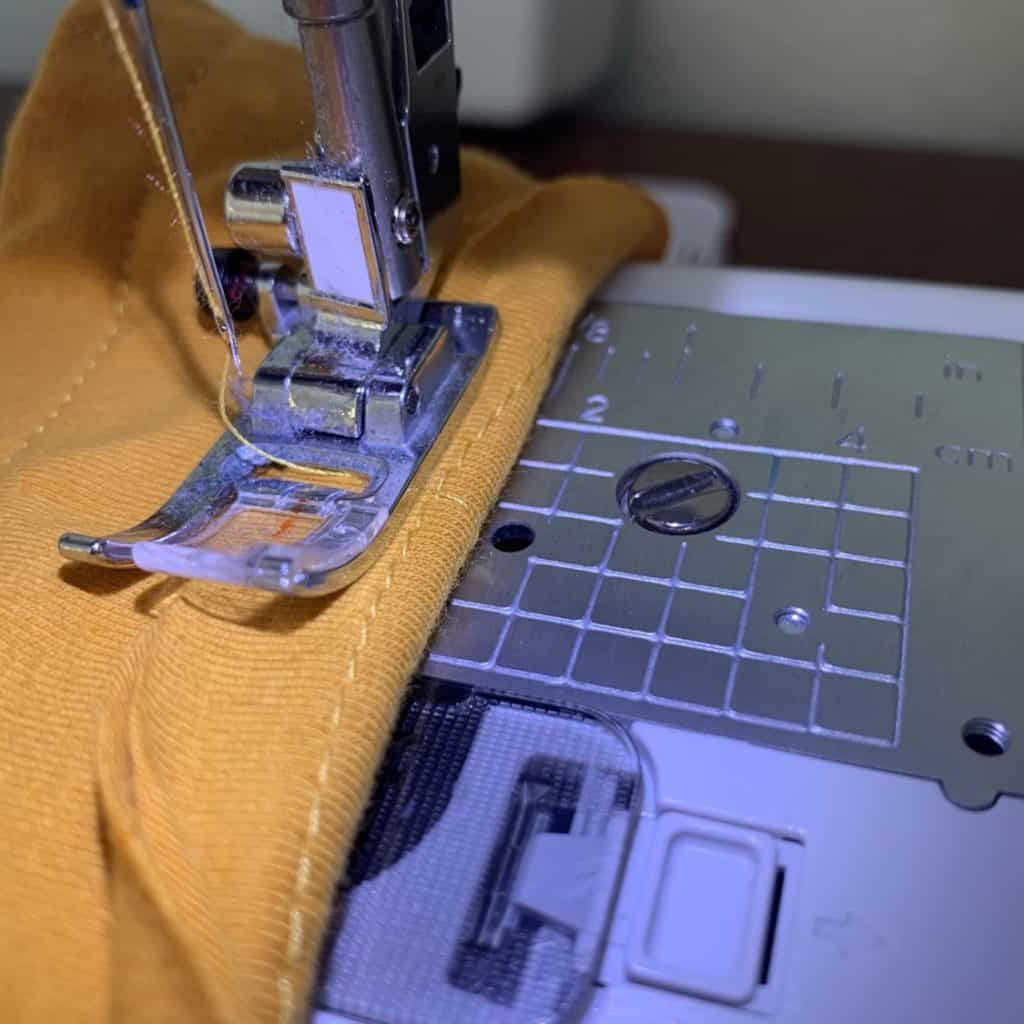
Unfold the raw edge/basted seam allowance, and note where it lays on the throat place. That is the line you will need to maintain as the feed dogs sew for you.
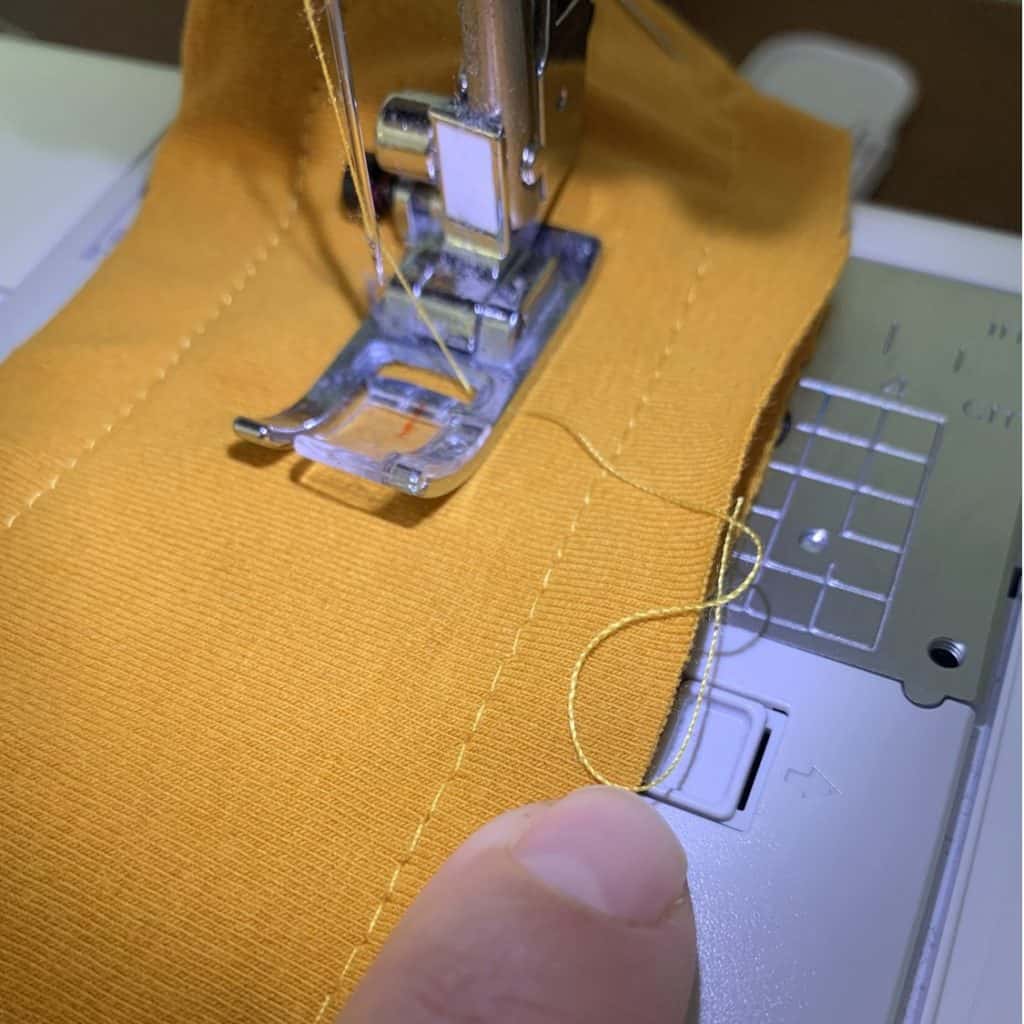
It may not be perfectly lined up with one of the edged marking. My reference point, for example, is the edge of the plate remover button thing (yes, that is the technical term for it… or maybe it’s not… but you catch my drift).
Use both hands to stretch and then topstitch just as you did for the top line, working slowly until you’ve made your way around the entire waistband.
And then you’re done!! Look at your waistband! A piece of art, I’m sure. 🙂
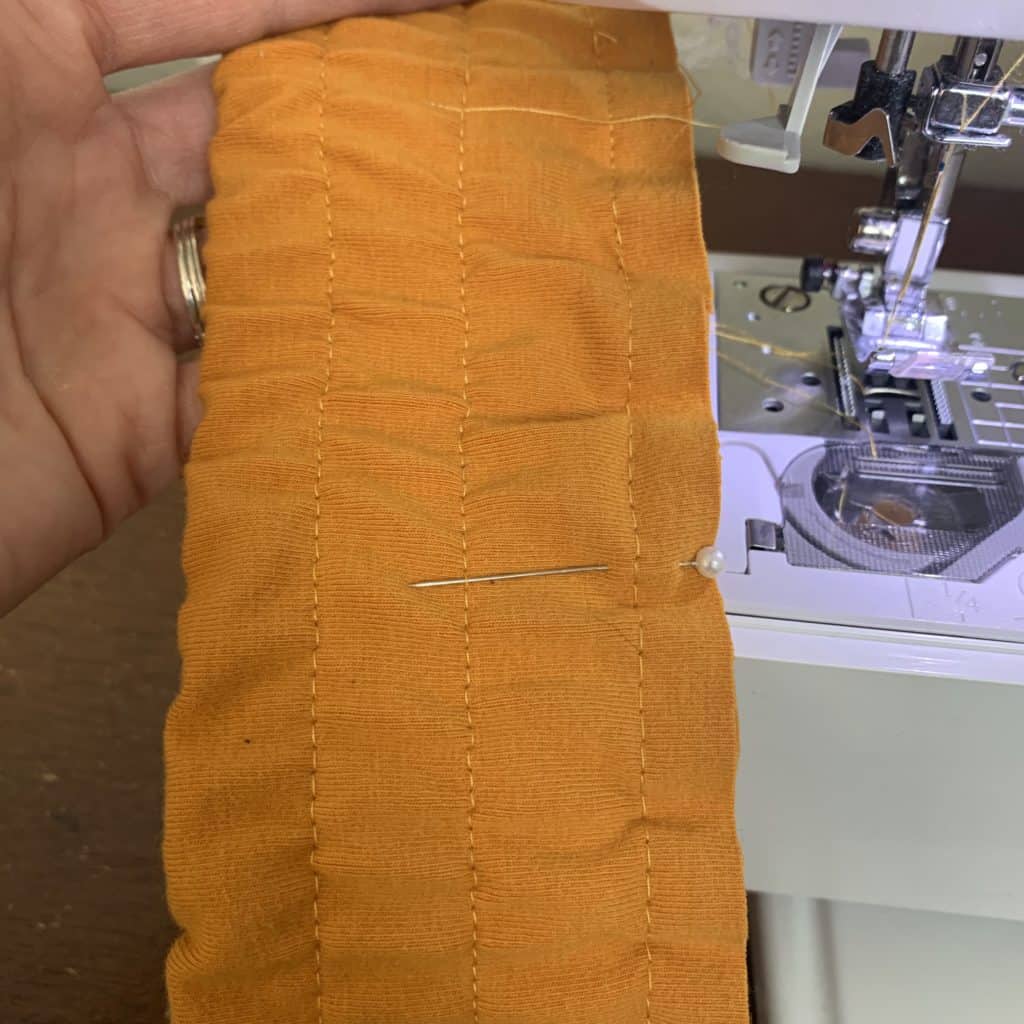
Attach the waistband to the pants.
Pin and sew/serge your waistband onto the pants as your pattern instructs, then stand back and admire the amazing detail that only you (and other sewists of course!) will probably every appreciate.
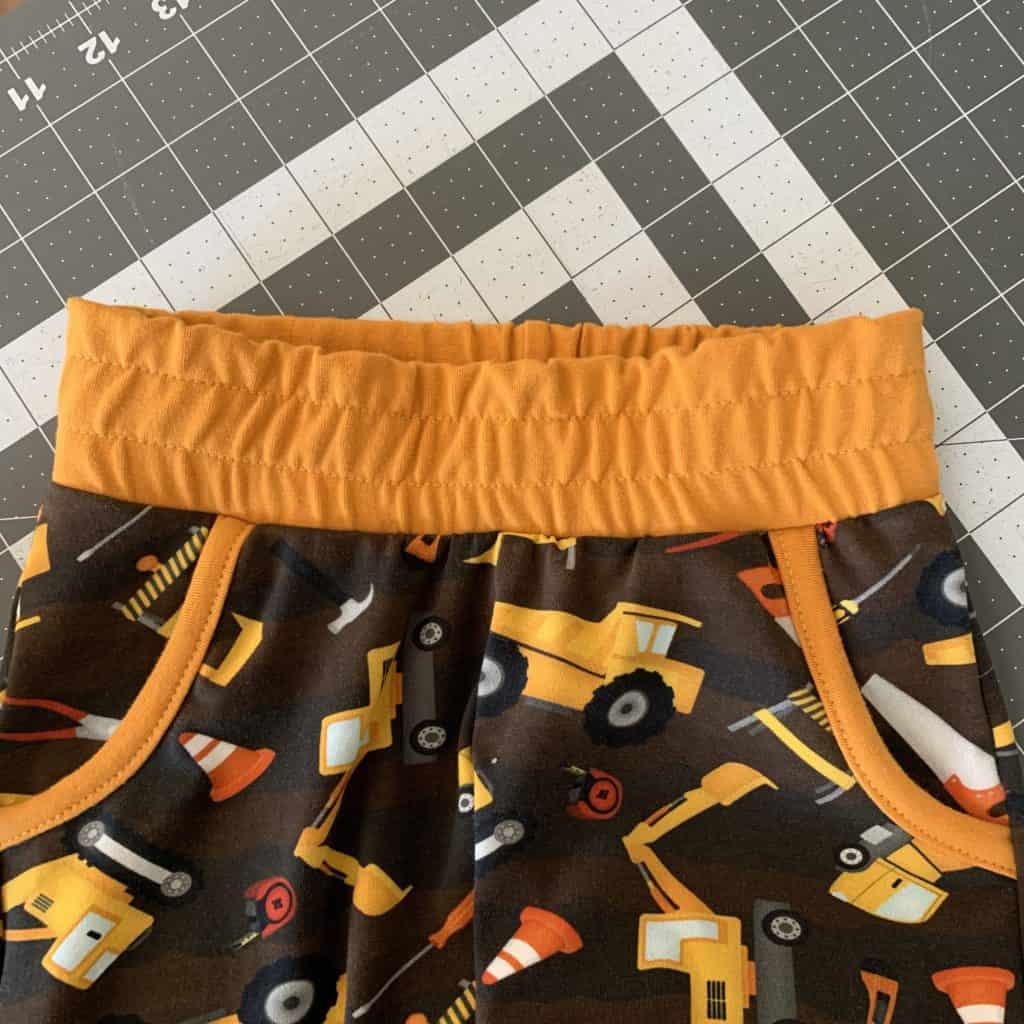
Congratulations on learning a fantastic new method that will make your garments look even better that they did before.
With every new trick comes more questions, so if you have any questions or comments from this tutorial, please comment below.
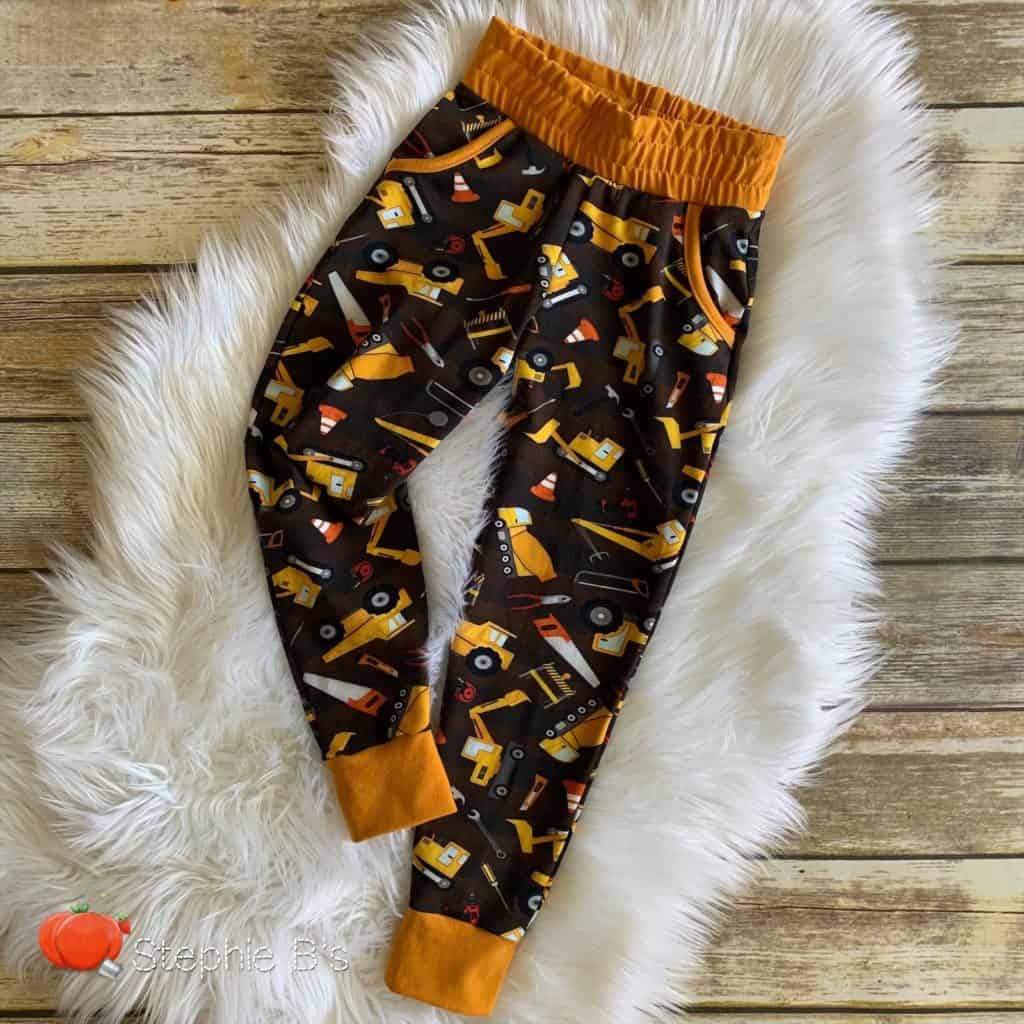
Wondering where I bought this FANTASTIC Construction Zone and the gorgeous solid mustard (both cotton Lycra) for the waistband?! KnitFabric.com! Head over and check out all the A. MA. ZING solids and prints they always have in stock. You will never be disappointed by their selection.
I look forward to our next tutorial! I wonder what I’ll be teaching you next month… come back and see! 🙂
Please Pin and share! 🙂

