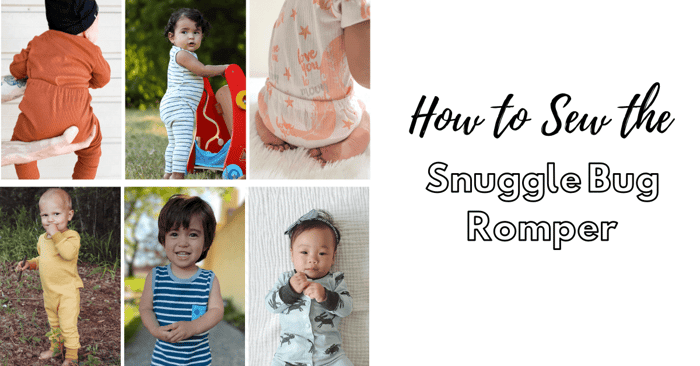
How to Sew the Snuggle Bug Romper
Today's project is how to sew the Snuggle Bug Romper. The snuggle bug romper is packed full of options featuring an on-trend envelope back closure that's incredibly convenient for diaper changes. Style it up with a button-down placket front and flutter sleeves for a cute daytime outfit or keep it simple for nighttime wear. Long or short sleeves, pants or shorts, this little romper pattern will have you covered all year around.
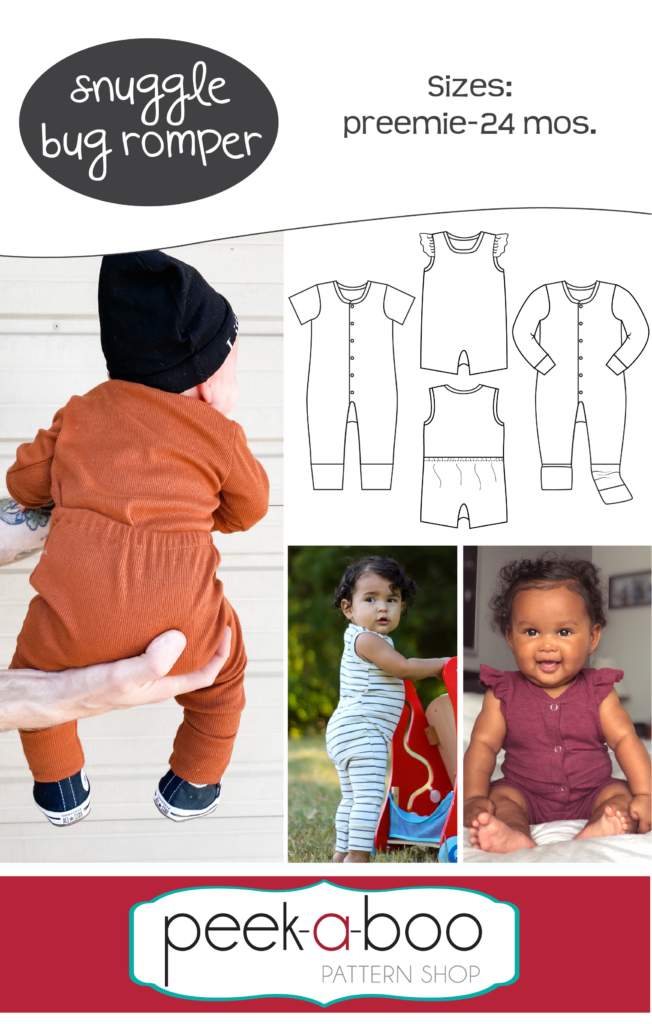
Options include:
- Solid or envelope back
- Solid or placket front
- Tank, short or long sleeves with a convertible long sleeve cuff option as well as flutters for the tank and short sleeve option
- Shorts or pants length with a convertible pant leg cuff option
Supplies:
- Snuggle bug romper pattern from peek-a-boo pattern shop
- Knit fabric with 4-way stretch for the main and 50% stretch for the cuffs
- 1/2" or 3/8" elastic
- Sewing machine, thread, clips, iron
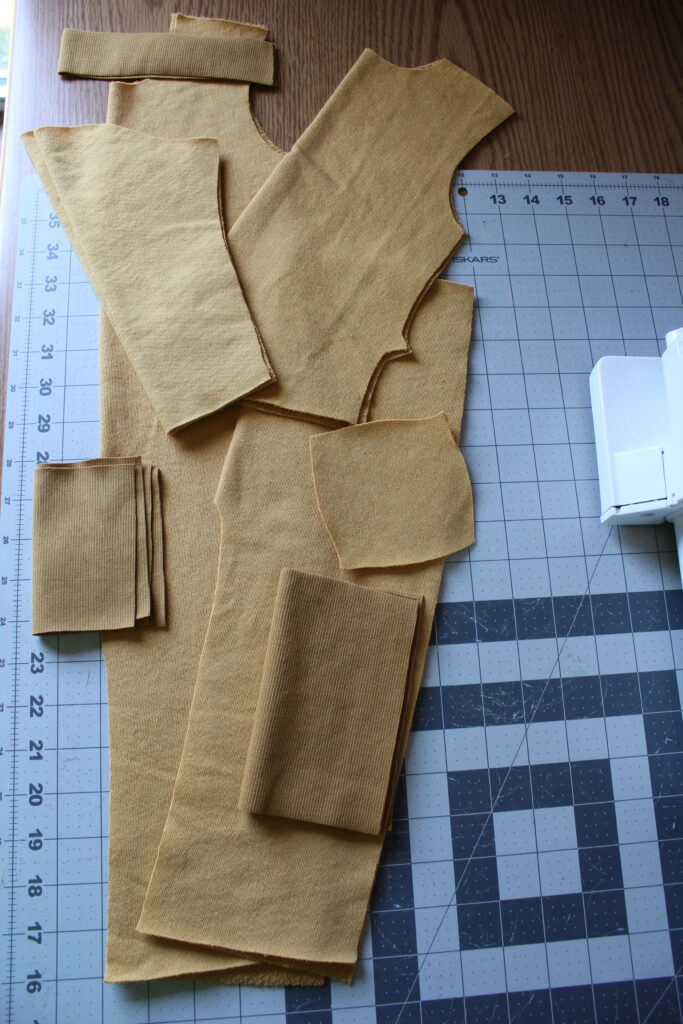
For this tutorial I will be sewing the solid front view with the envelope back. I chose french terry fabric for the main and a coordinating rib for the cuffs and neckband. Please refer to the pattern instructions and supplies list for how to construct the many other great views this pattern has to offer.
I've got my snuggle bug pattern pieces cut out and we are ready to get started!
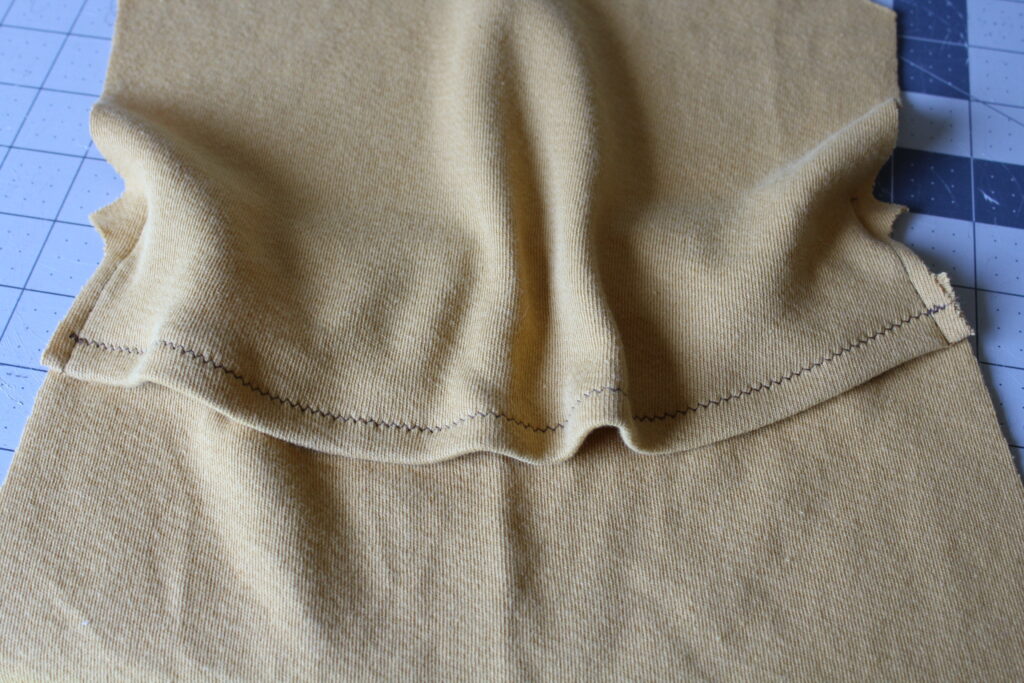
Step One: Upper and Lower Back
Press the bottom edge up towards the wrong side on the upper back piece 3/4".
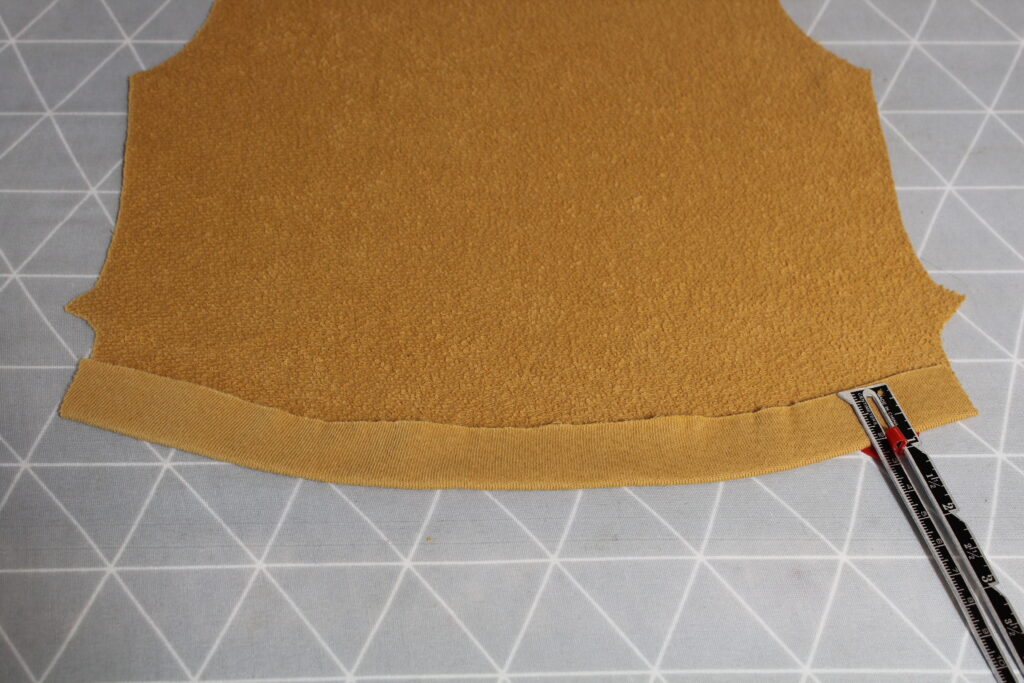
Topstitch the pressed edge with a double needle or zig-zag stitch.
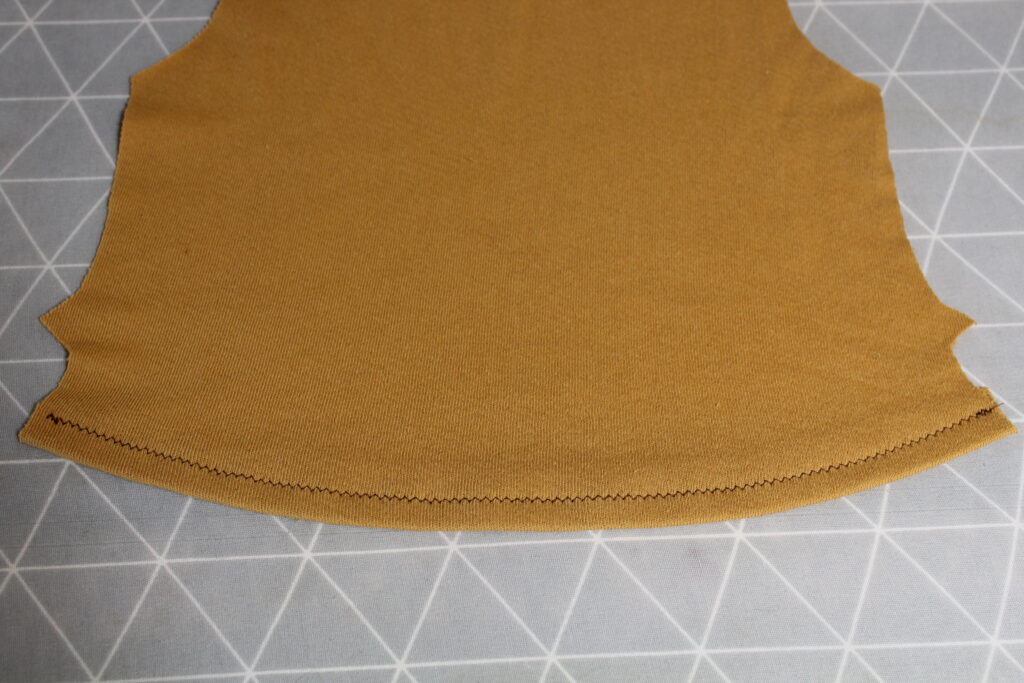
Press the top edge of the lower back piece 3/4" towards the wrong side.
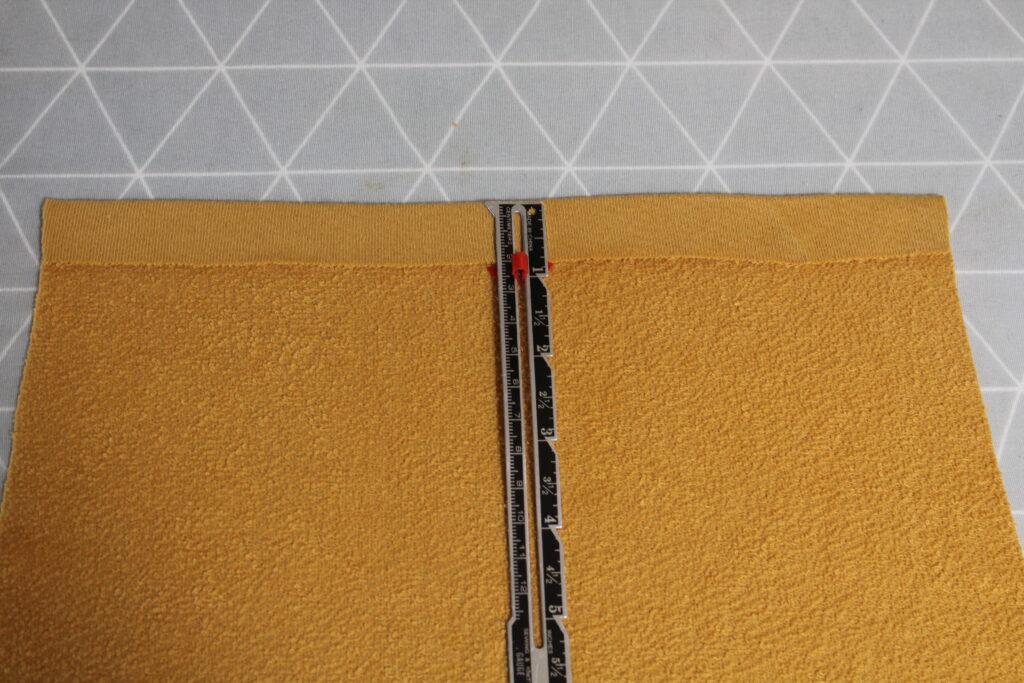
Topstitch the pressed edge in place. This will create our casing for the elastic. Refer to the pattern elastic cut chart for your specific size. I've got mine precut and ready to thread through the casing.
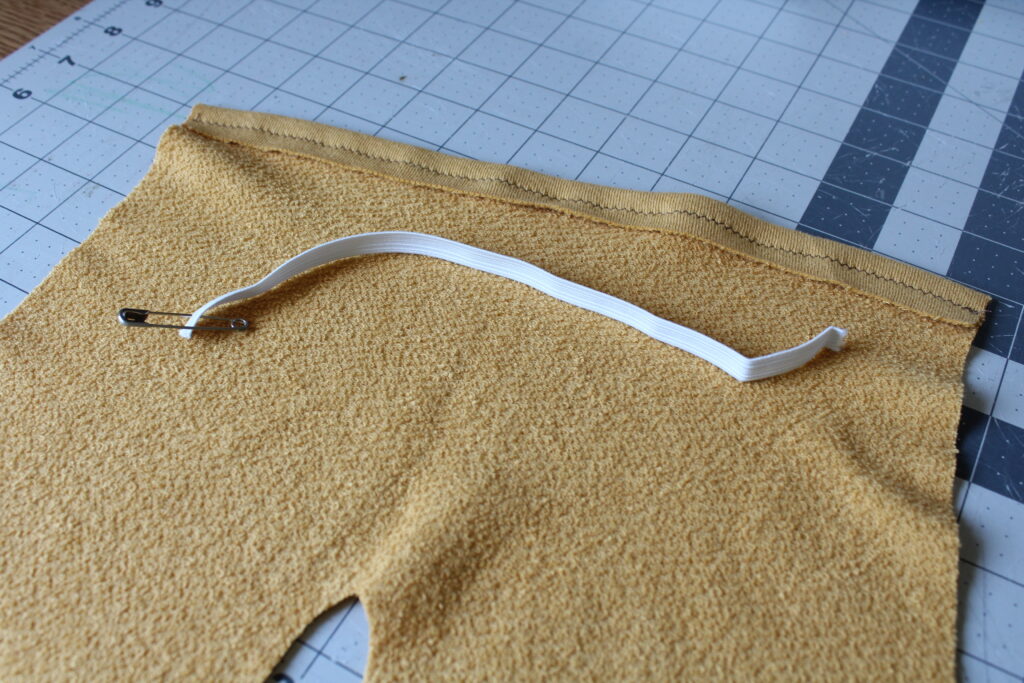
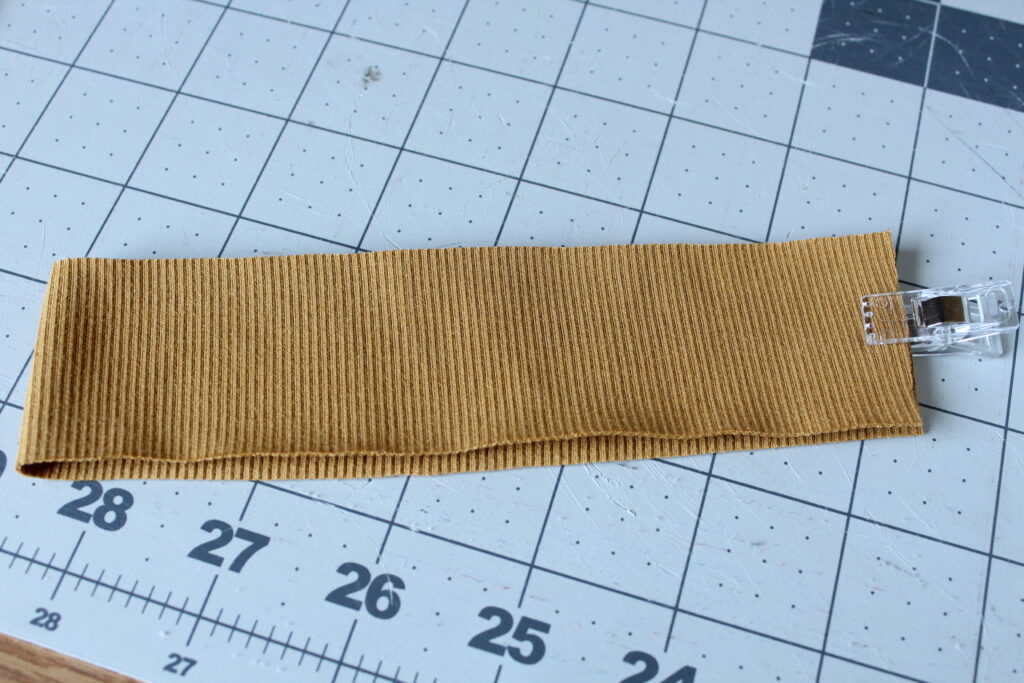
Now, we will thread the elastic through the casing we created.
Topstitch the ends of the elastic on both sides (ends) vertically to secure in place.
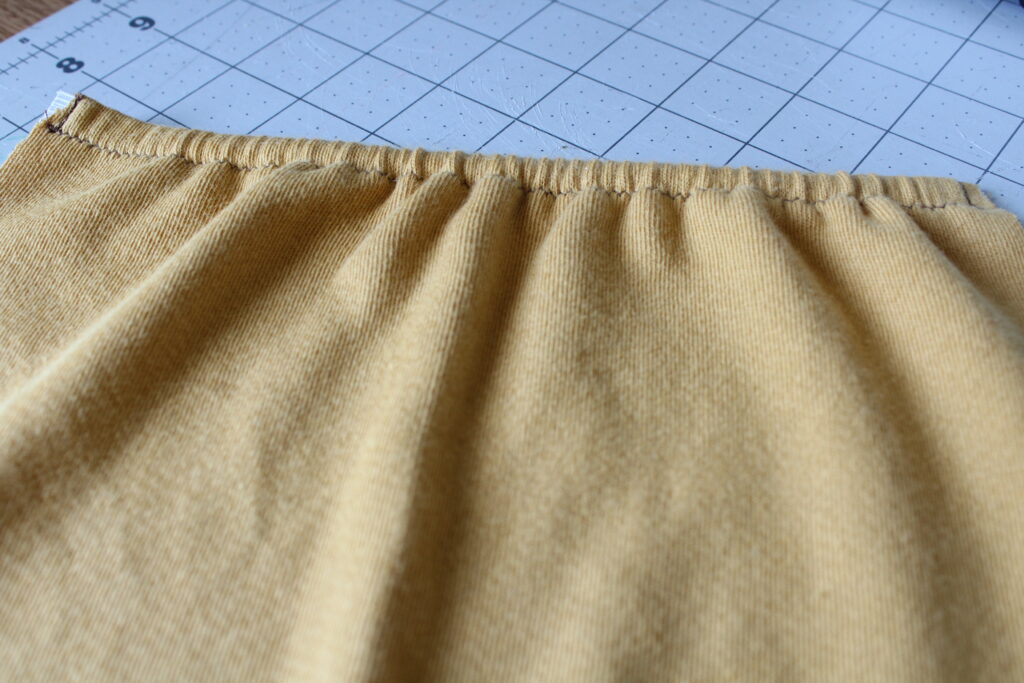
This step will be up to your discretion and preference. The bottom back piece can either lay on top of the upper back piece or the top piece can lay over top the lower back. I chose to lay my top piece over the bottom back. Once you've decided, pin or clip in place and baste the side seams on each side where our notches are located.
Side seams basted.
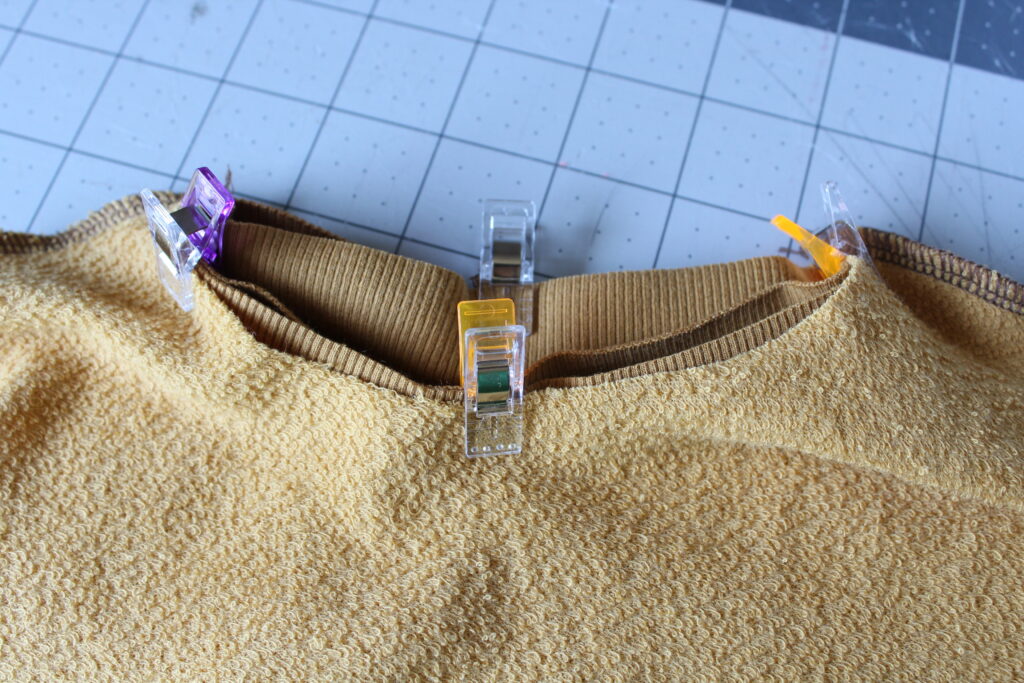
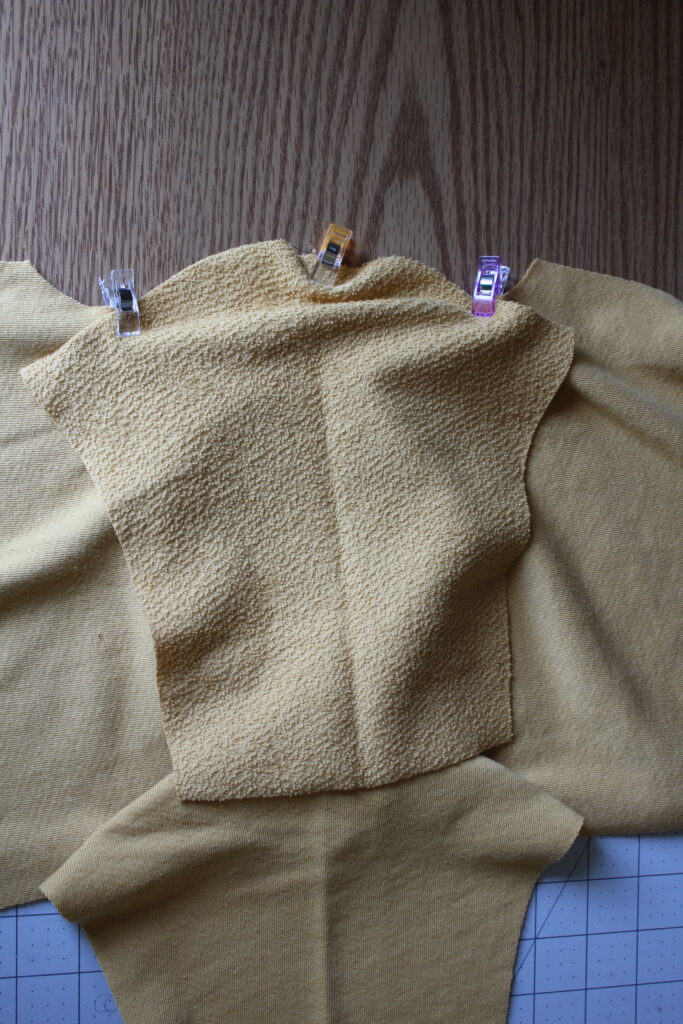
Step Two: Front and Neckband
Pin or clip the front and back together at the shoulders and sew.

Fold the neckband piece in half with right sides together and sew along the short edge.
Pin or clip the neckband in place with right sides together along the neck opening in quarters and sew to attach.
You may press and topstitch around the neck seam allowance now if you wish.
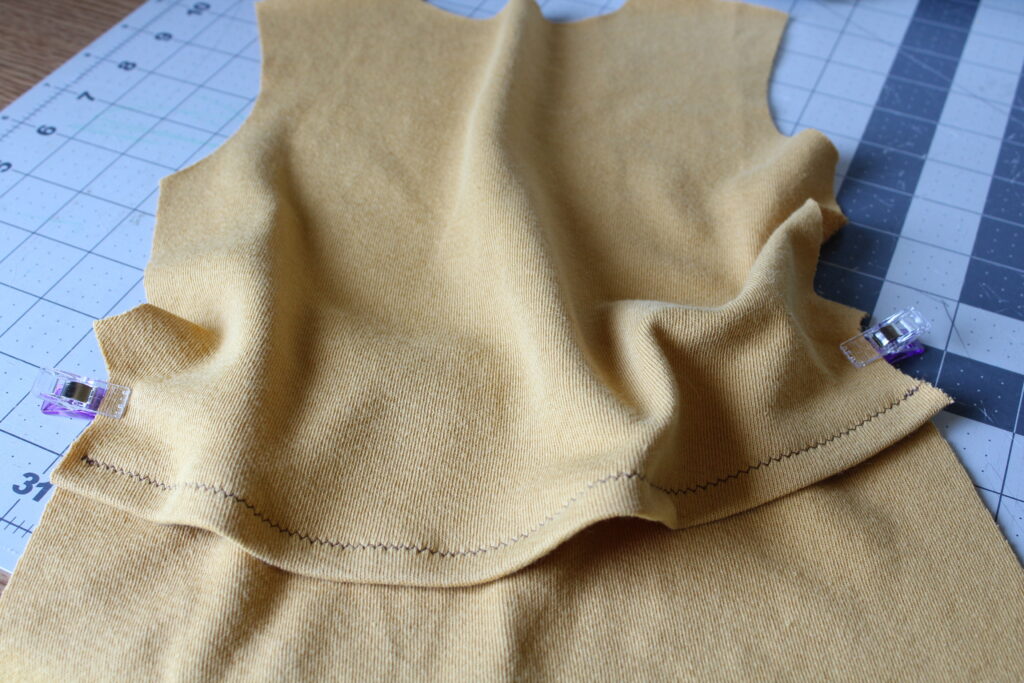
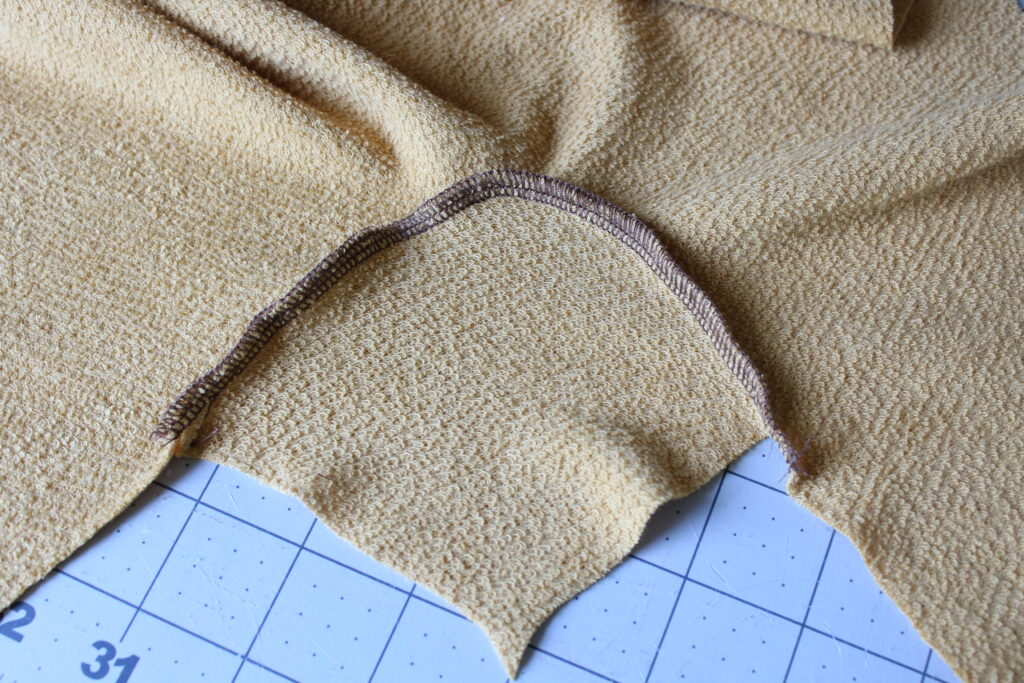
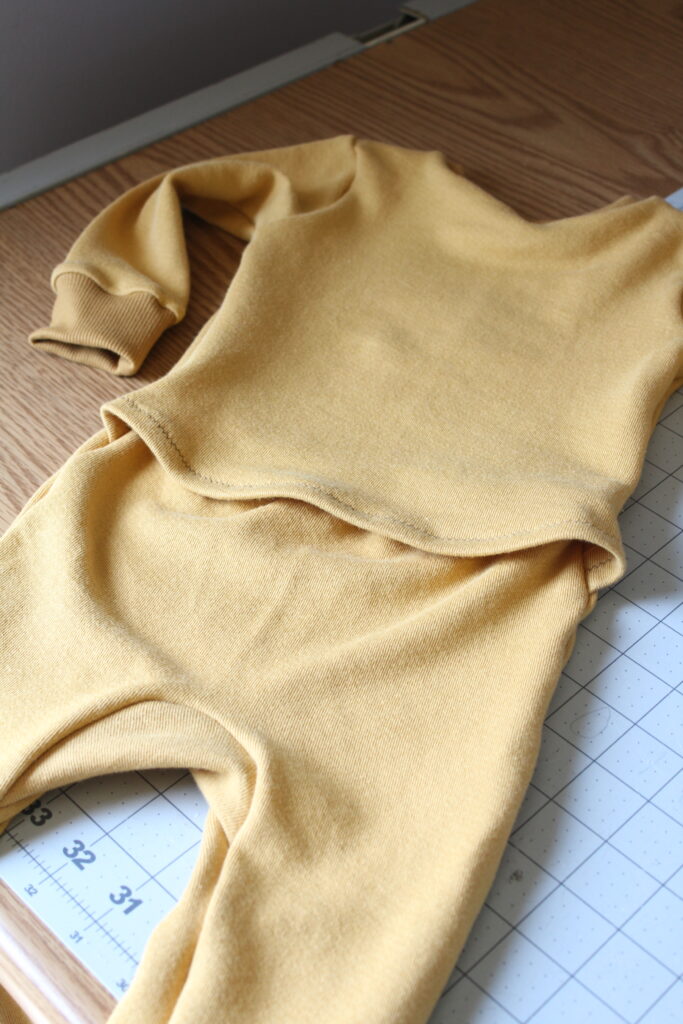
Step Three: Front Gusset
Pin or clip the notch of the gusset piece to the center front. Next, gently stretch one side of the gusset and pin or clip to the front of the pants. Keep in mind It is not meant to go all the way down the leg. Repeat for the other side of the gusset. It should look like this as shown.

Baste the gusset in place by beginning at one end and gently straightening and stretching as you sew to form a straight line. Go slowly and make sure you catch all of the fabric especially the center part that may want to pull back as you sew.
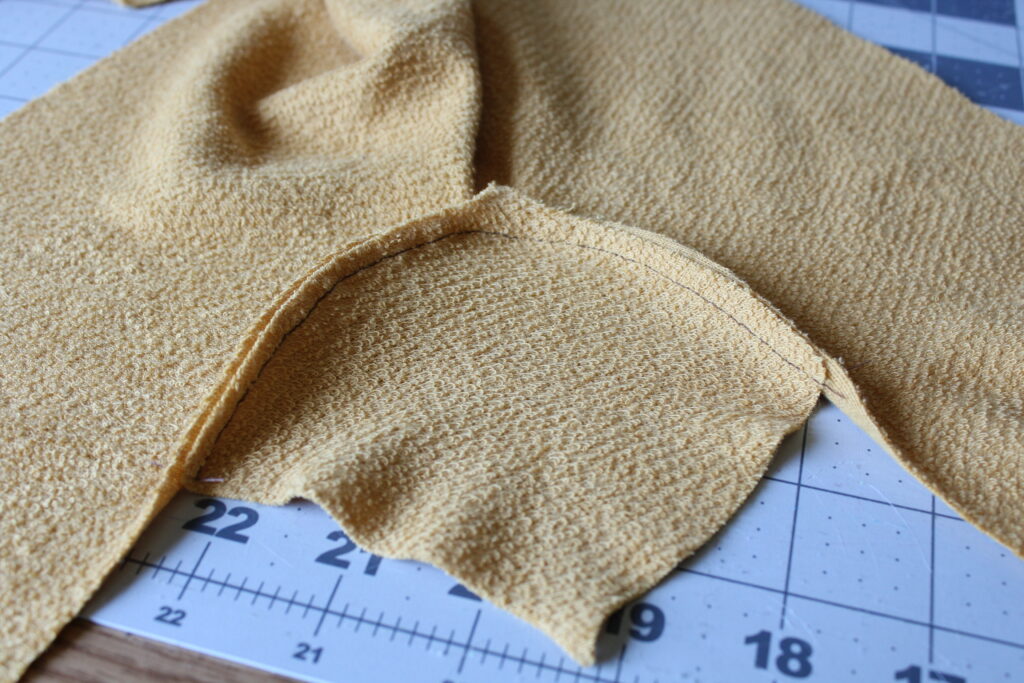
Sew or serge the gusset in place. I chose to serge so that it reinforces the center seam. You could also do this by sewing two rows of stitches on a regular sewing machine. This is not in the pattern instructions but it is something I like to do.
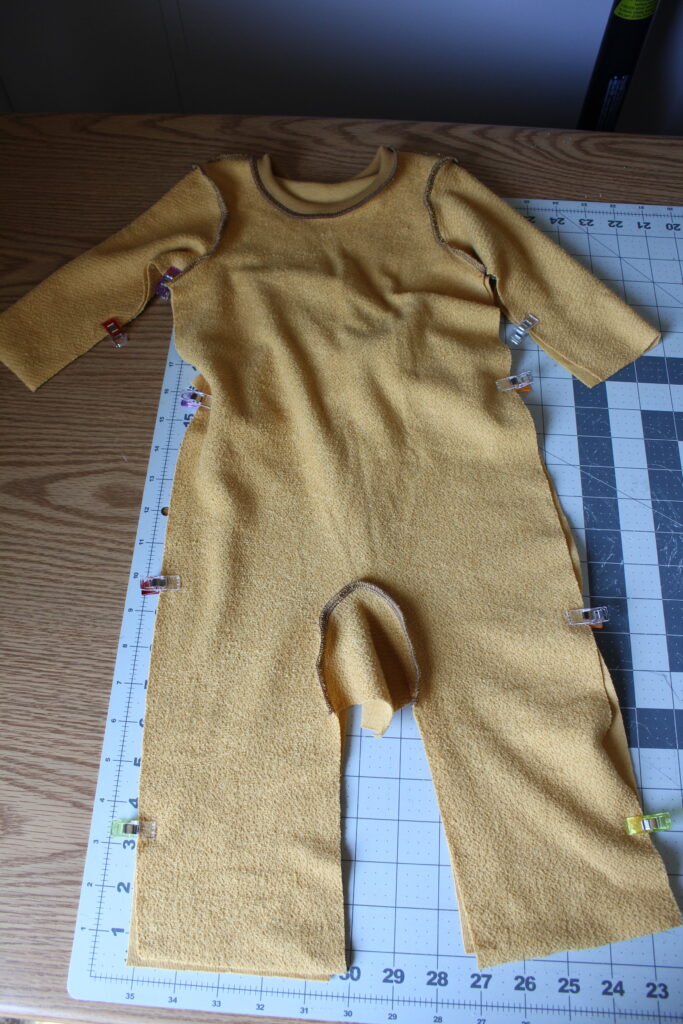
Step Four: Sleeves
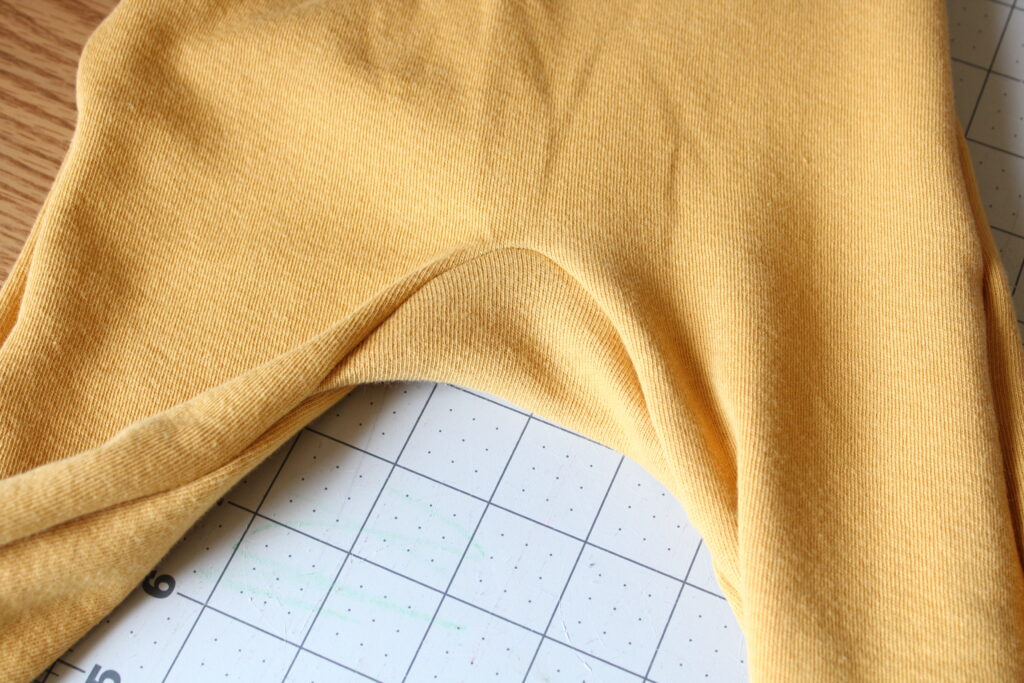
With right sides together, place the center edge of the sleeve onto the shoulder seam and pin or clip in place along the rest of the sleeve. Sew both sleeves to the armscyes.
Step Five: Finishing the Body
With right sides together, pin or clip the front and back together beginning at the sleeve edge and on down the sides. Sew each side together but leave the front and back center inseam unsewn for now.
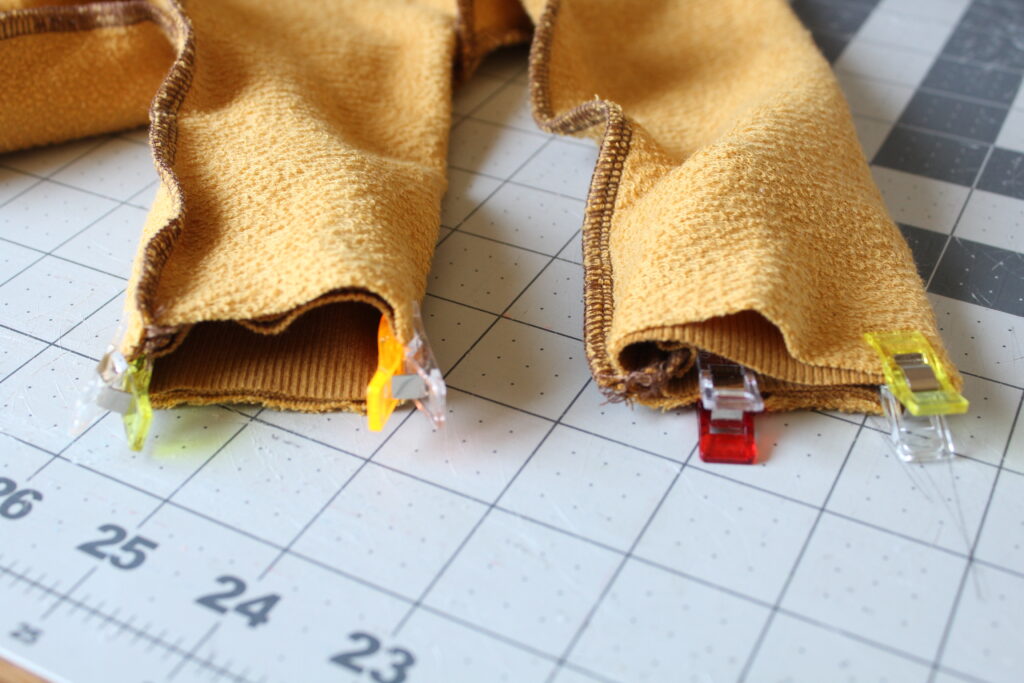
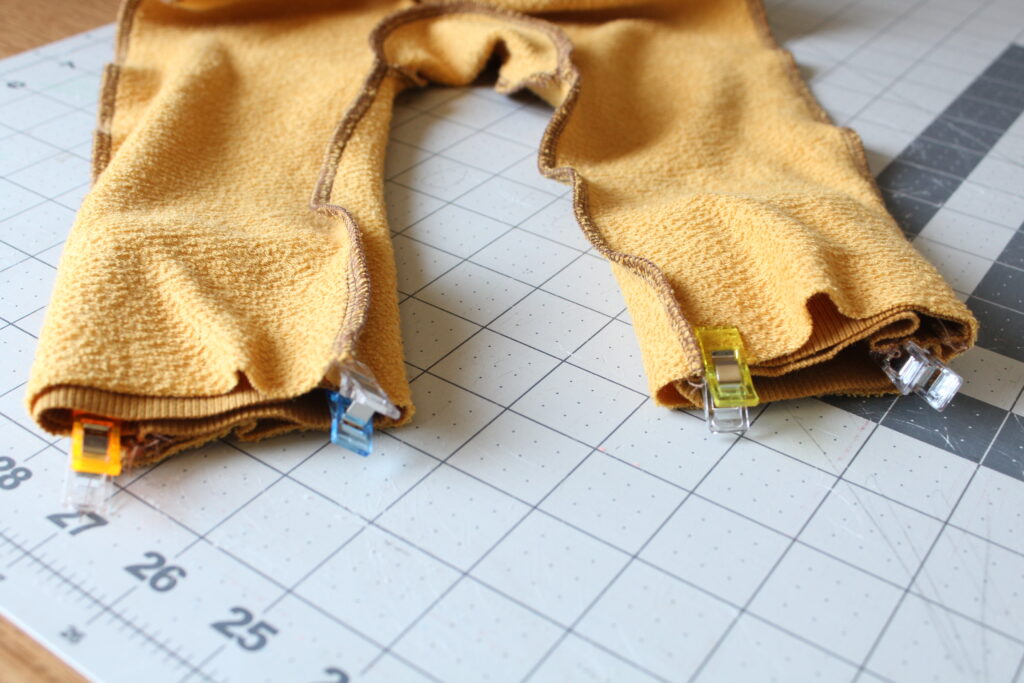
Step Six: Sleeve Cuffs
Fold each cuff in half with right sides together and sew along the long edge.
Next, take the cuffs and fold them in half with wrong sides together this time as shown on the right side of the picture.

Place each cuff inside the sleeve with right sides together lining up the side seams. Sew the cuffs to the sleeves. Alternatively, you can turn the romper right side out and place the cuff over the sleeve and sew.
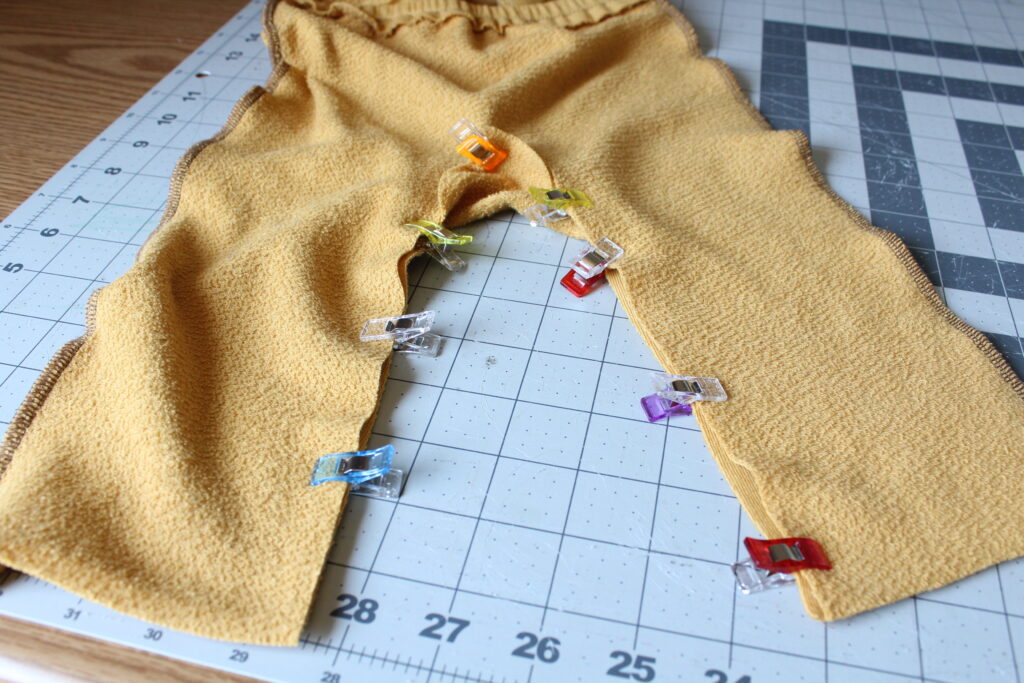
Step Seven: Back Gusset
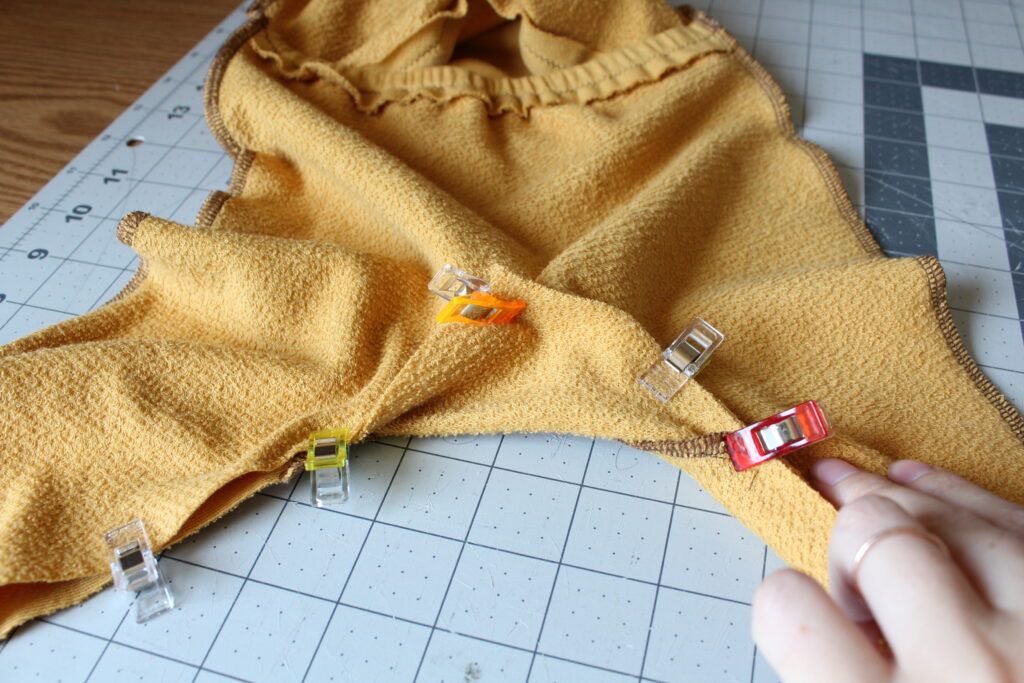
Pin or clip the center inseam together. The gusset will be pinned or clipped together similarly to the front we already sewed.
Another close up of the gusset being clipped into place. That center notch will be right sides with the back center seam.
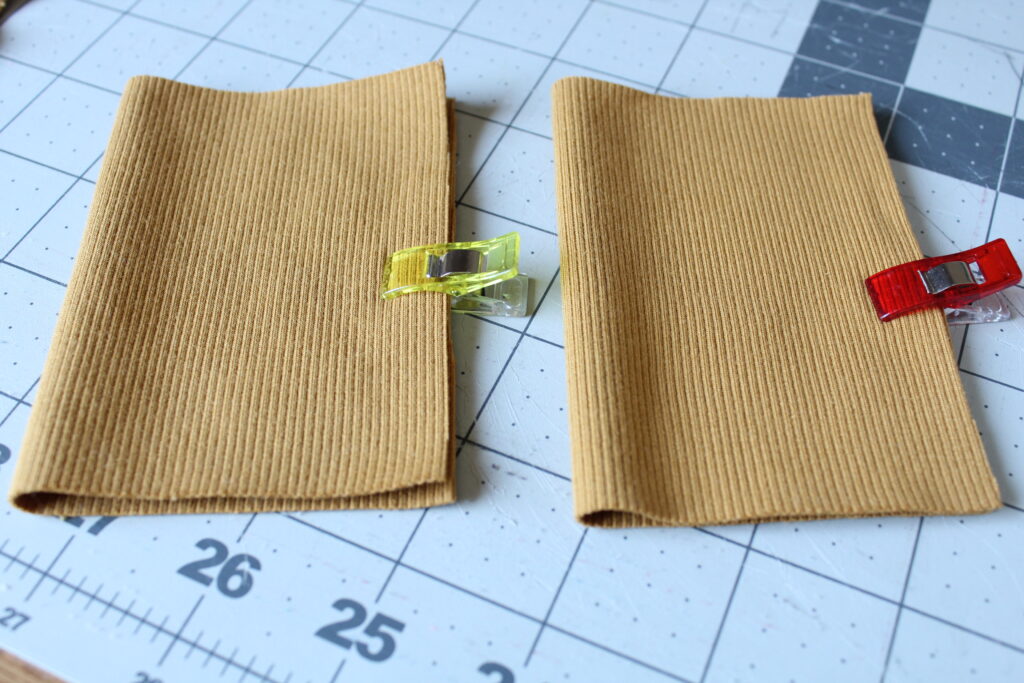
Step Eight: Leg Cuffs
This is the same construction as the arm cuffs. Fold the leg cuffs in half with right sides together and sew along the long edge of each cuff.
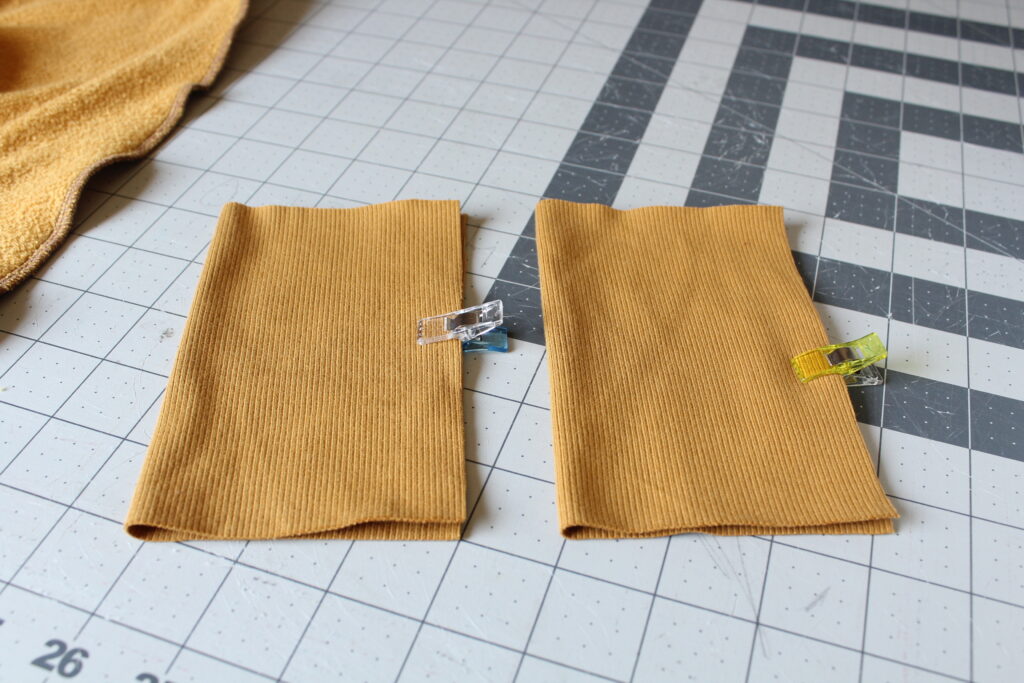
Fold the cuffs in half again but with wrong sides together this time.

Place the cuffs right sides with the legs, lining up the seams and sew in place. I like to sew my cuffs on this way. If you prefer to turn the romper right side out and sew the cuffs by placing them over the leg opening, you may.
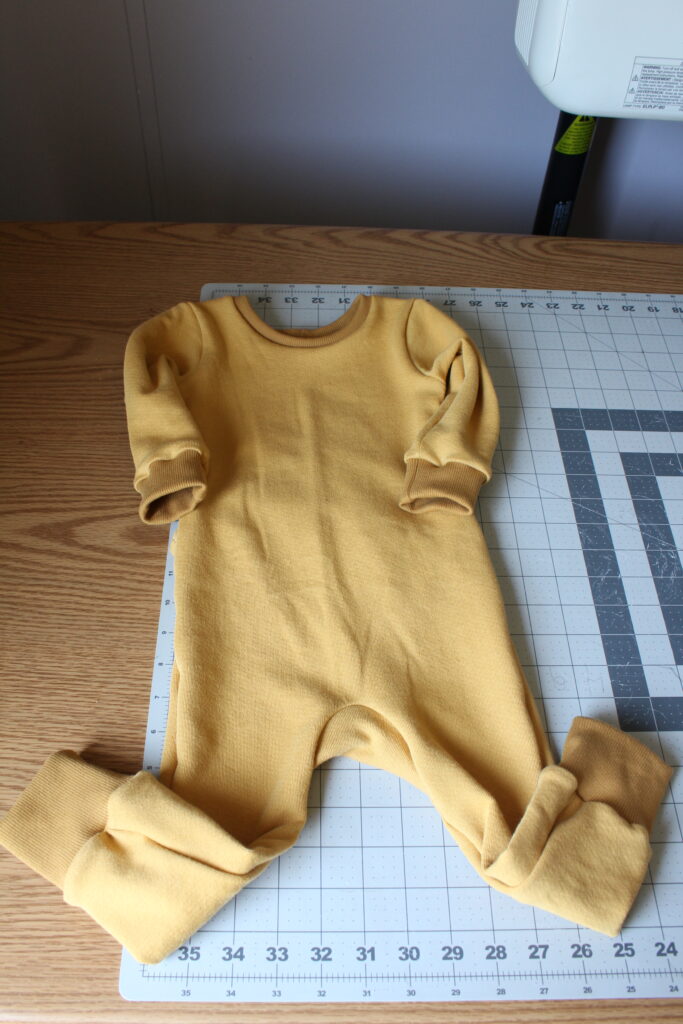
That's it! Our snuggle bug romper is complete and ready to try on.
Backside.
Close up of the envelope back.
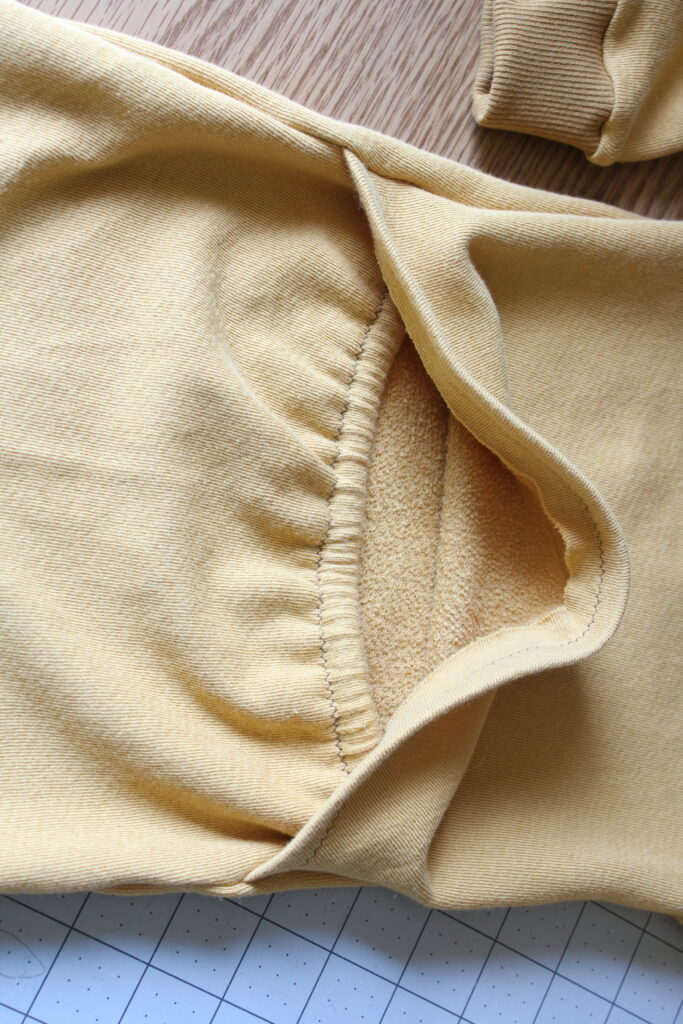
As well as a close up of our gusset piece all sewn up.
This romper pattern is just the cutest!
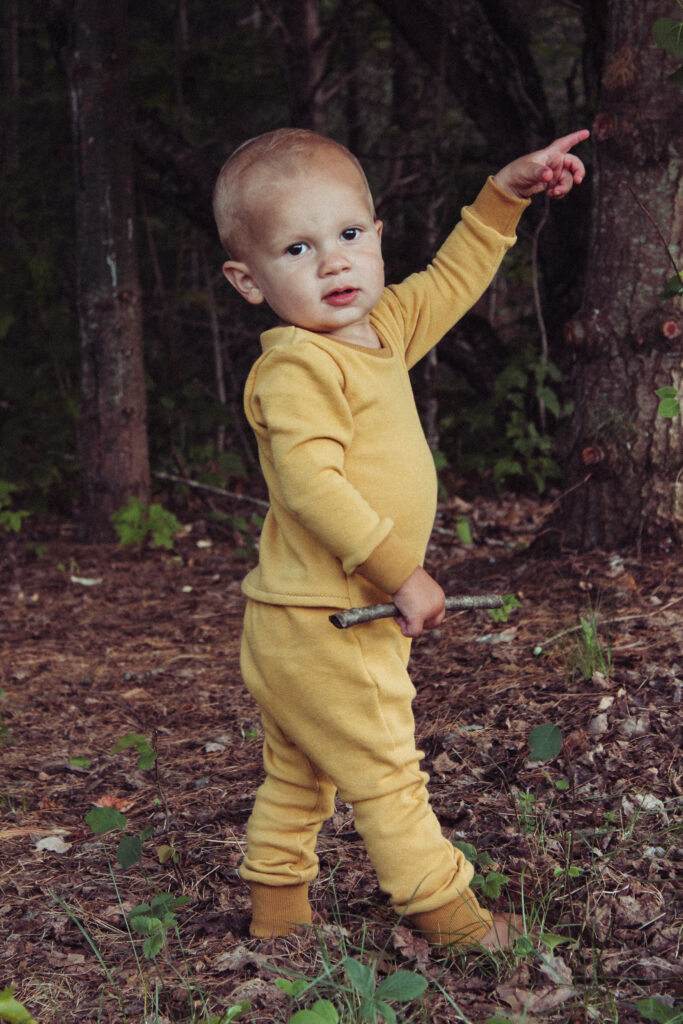
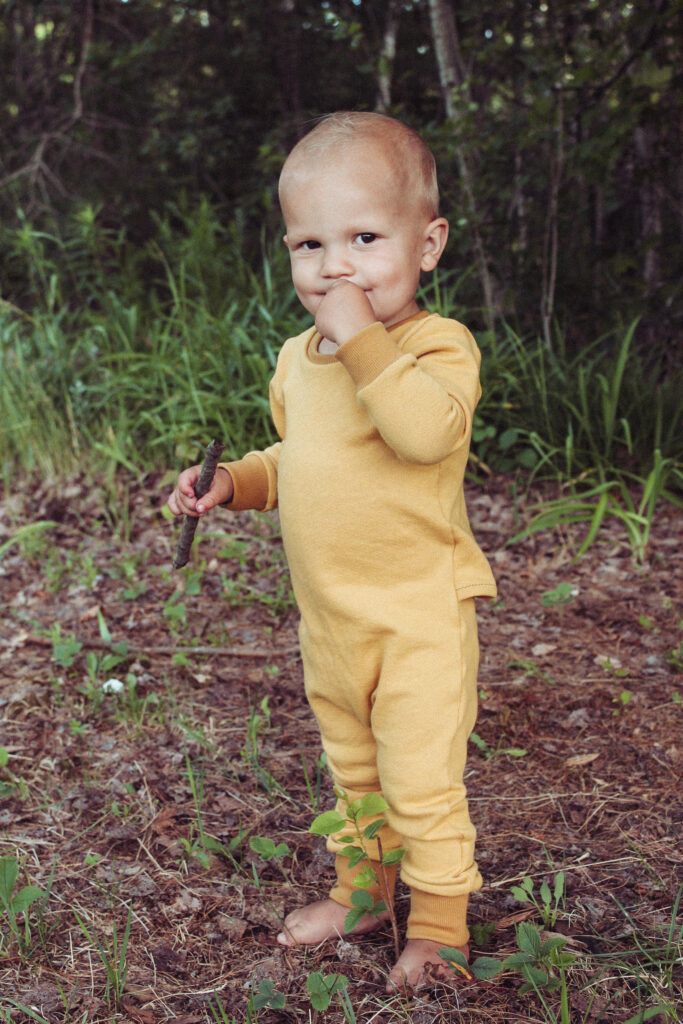
I just love this snuggle bug romper for my little guy. I made it with fall time in mind and he's got some room to grow in it yet so I think it will work out just fine for the next season to come. I also love the versatility this pattern has to offer. Day or night, it works great! With all the options the snuggle bug has to offer, there's sure to be something that will work for everyone's needs.
What view will you sew up for your little one? Be sure to check out the rest of our Sewing Patterns too.