How to Sew Pants | Best Pants Using the Classic Chinos
Today, we will go over the basics of how to sew pants. First, we'll give you a few tips on pants sewing in general. Then we'll go step-by-step through sewing pants with the Classic Chinos pattern from Peek-a-Boo Pattern Shop. This project will teach you valuable sewing skills such as measuring and cutting fabric, sewing seams, and hemming.
What are the basic steps to sewing pants?
The simple steps to sewing pants include measuring and cutting the fabric, sewing the front and back pieces together, adding pockets and a waistband, sewing the inseams and side seams, hemming the bottom of the pants, and adding any additional details or embellishments.
Choosing the Right Fabric for Pants
Choosing the right fabric when learning how to sew pants is essential to ensure comfort, durability, and a flattering fit. When selecting fabric for pants, it's important to consider factors such as breathability, stretch, and drape. Fabrics like cotton twill or denim are popular choices for casual pants as they offer durability and structure. For dressier pants, fabrics like wool or polyester blends provide a polished look with a good drape. Additionally, considering the weight of the fabric is crucial - lighter weight fabrics are ideal for summer pants, while heavier weights like corduroy work well for colder seasons. Ultimately, choosing a fabric that suits your style preferences and the intended purpose will ensure a successful sewing project.
Making Sure You Take Accurate Measurements
Taking accurate measurements is essential when sewing to ensure a proper fit. Pay special attention to the sizing chart of the sewing pattern that you're using. Start by measuring the waist, hips, and inseam length. To measure the waist, wrap a tape measure around the narrowest part of the waistline. For the hip measurement, place the tape measure around the fullest part of the hips. The inseam length can be measured from the crotch to the desired hem length, with the person standing straight. It's important to take these measurements while wearing well-fitting undergarments and using a flexible tape measure for accuracy. By taking precise measurements, you can create pants that fit perfectly and flatter your body shape.
Selecting a Sewing Pattern
When selecting a sewing pattern for pants, it is important to consider your skill level and desired style. Beginners may want to start with a simple pattern that has fewer details and a relaxed fit. This will allow you to focus on mastering the basic techniques of sewing pants, such as constructing the waistband and attaching the zipper. For more experienced sewers, a wide variety of patterns are available that offer different styles, such as straight-leg pants, wide-leg pants, or even tailored trousers. It is also worth considering the fabric you plan to use, as some patterns may be better suited for certain types of fabric. Choosing a sewing pattern involves finding the right balance between your skill level and personal style preferences.
At Peek-a-Boo Pattern Shop we have a wide variety of Pants Patterns. These patterns range from lounge pants like leggings, to joggers, jeggings, pajama pants, and more. We also have a great pattern for more dress pants - the classic chinos:
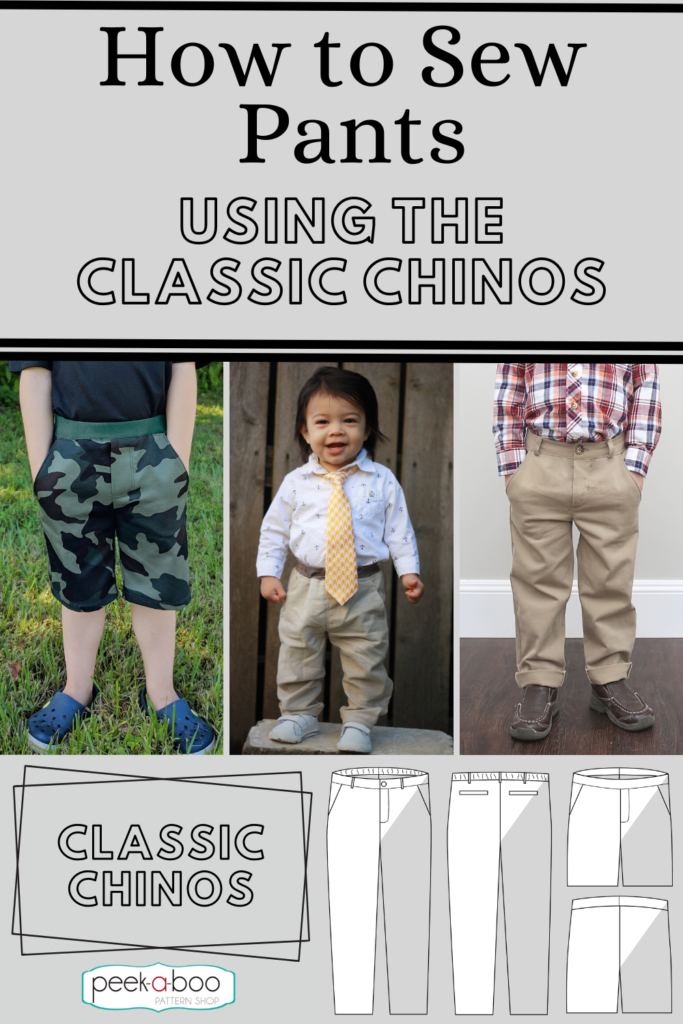
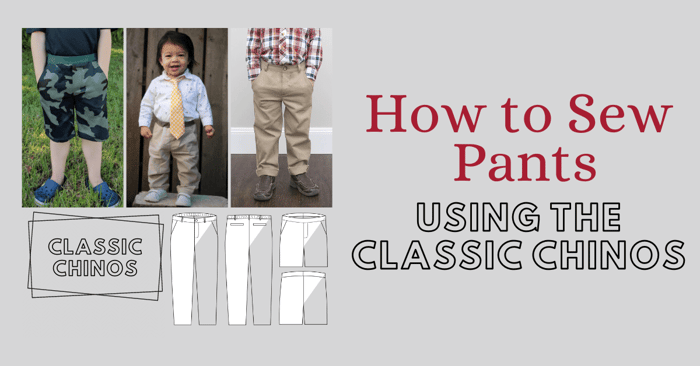
The Classic Chinos Pattern is a great customizable pattern to make a pair of pants for any occassion. It can be dressed up to wear for church, weddings, and formal events or it can be dressed down to create a more casual look for play, hikes and explorations all based upon your fabric choices. It features two different lengths- pants or shorts, with a straight or slim leg. Two different waistbands- a zipper with button closure or an encased knit elastic waistband and faux fly. It also includes optional back welt and front slant pockets.
You can also add a zipper to the Classic Chinos if you want. With detailed instructions and clear illustrations, even beginners can create a pair of stylish and comfortable pants that fit perfectly. Plus, once you've mastered this pattern, you can customize it to create various styles and looks.
How to Sew Pants | Getting Started with the Classic Chinos
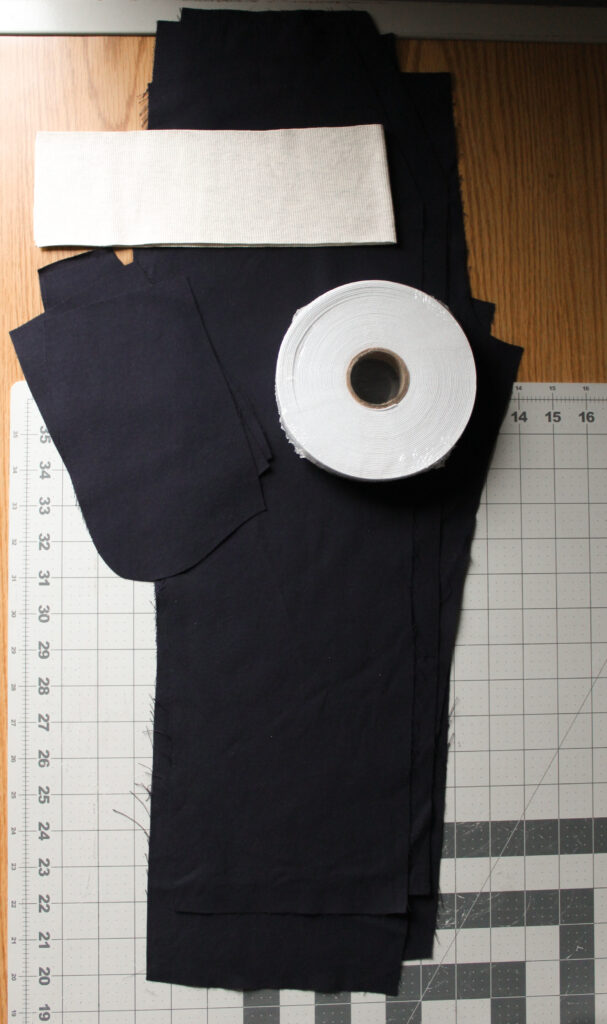
- Classic chinos pattern from Peek-A-Boo
- Bottom-weight fabric such as linen, corduroy, suiting etc.
- 1″ elastic and 1/8 yard of knit fabric for knit waistband
- Sewing machine, thread, needle, scissors, iron, clips or pins, and a fabric marking pen or pencil
For today’s article, I will show you how to sew pants with the straight version of the classic chions with an elastic knit waistband, front slant pockets and a faux fly. The pattern calls for a 1/2″ seam allowance unless otherwise noted. Since majority of this pattern is woven, be sure to finish your seam edges to prevent fraying.
I’ve got my pattern pieces cut out and the 1″ elastic ready. Let us begin!
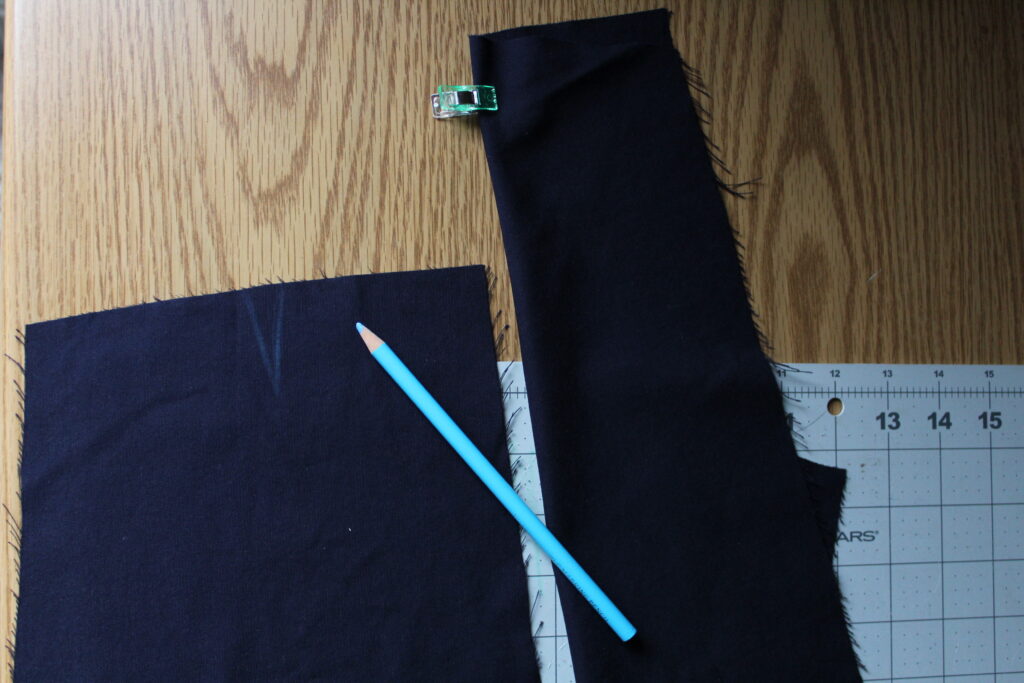
Step One: Darts
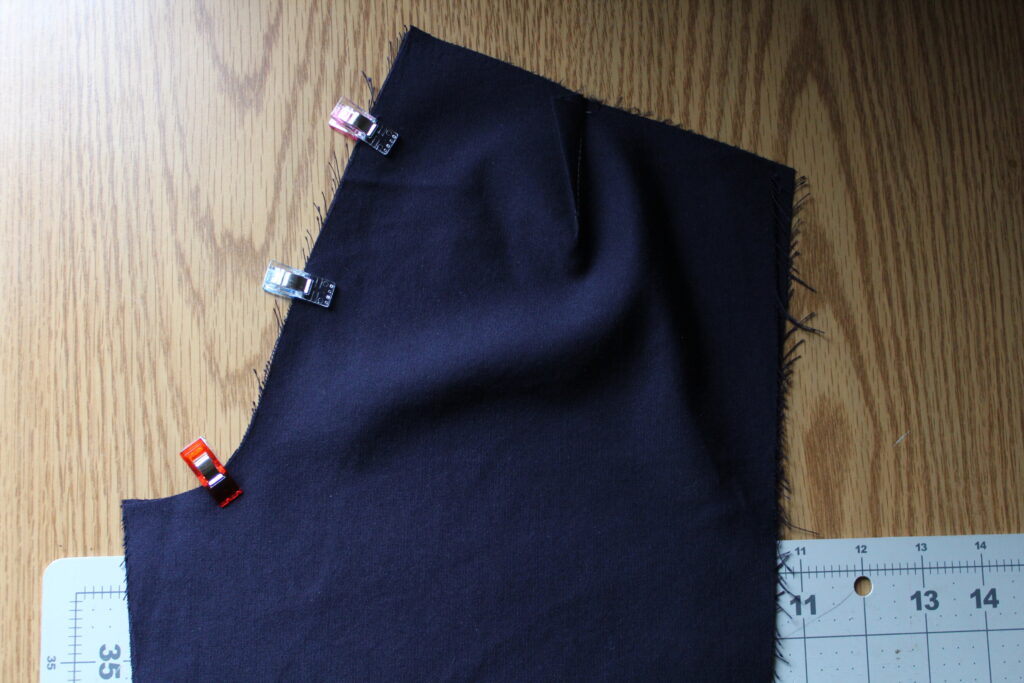
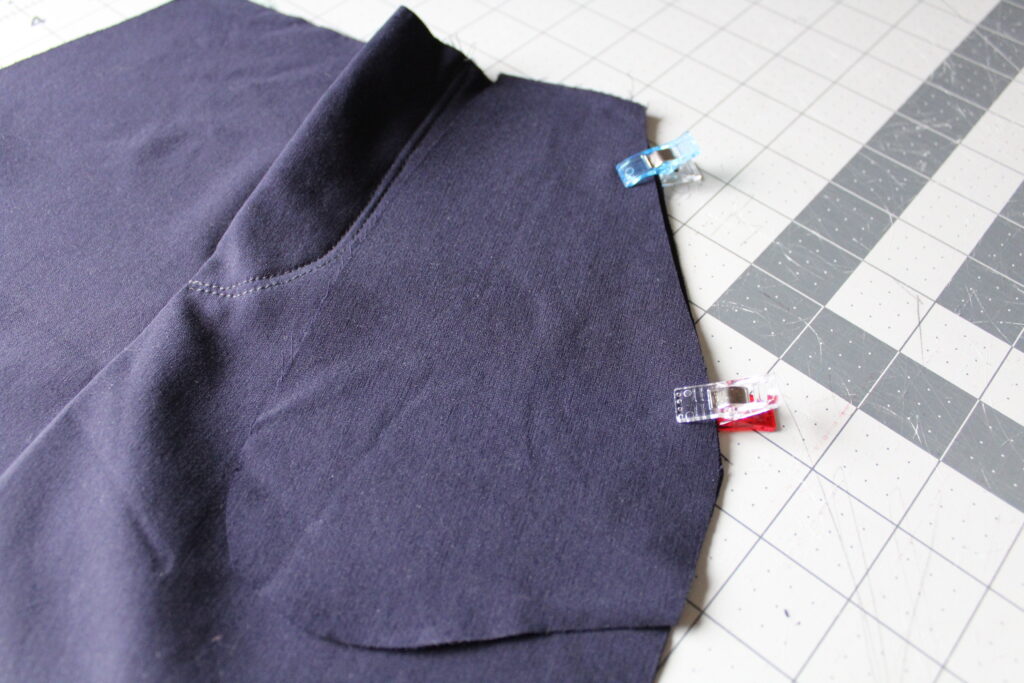
To continue sewing the pants, take the back pant pieces that have been marked with a "V" using a marking pen or pencil. Fold each pant piece onto itself with right sides together to prepare for stitching. Make sure to align the edges of the fabric before sewing to ensure a clean and professional finish.
Beginning at the top of the “V”, sew from the top down until you get to the point but don’t backstitch. Tie a knot with your two threads to secure the dart.
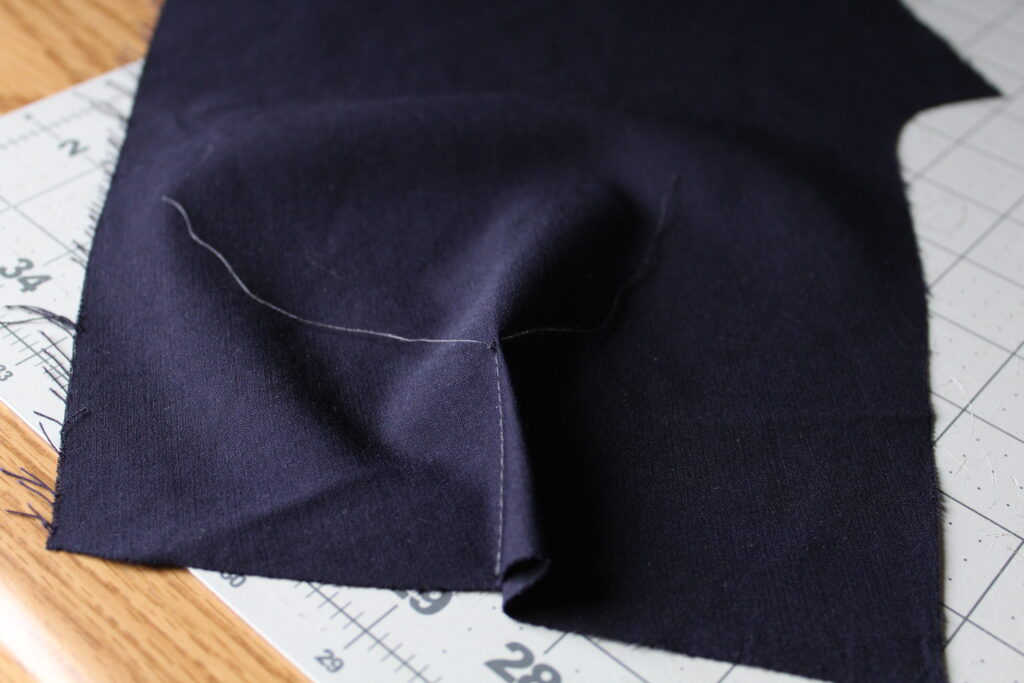
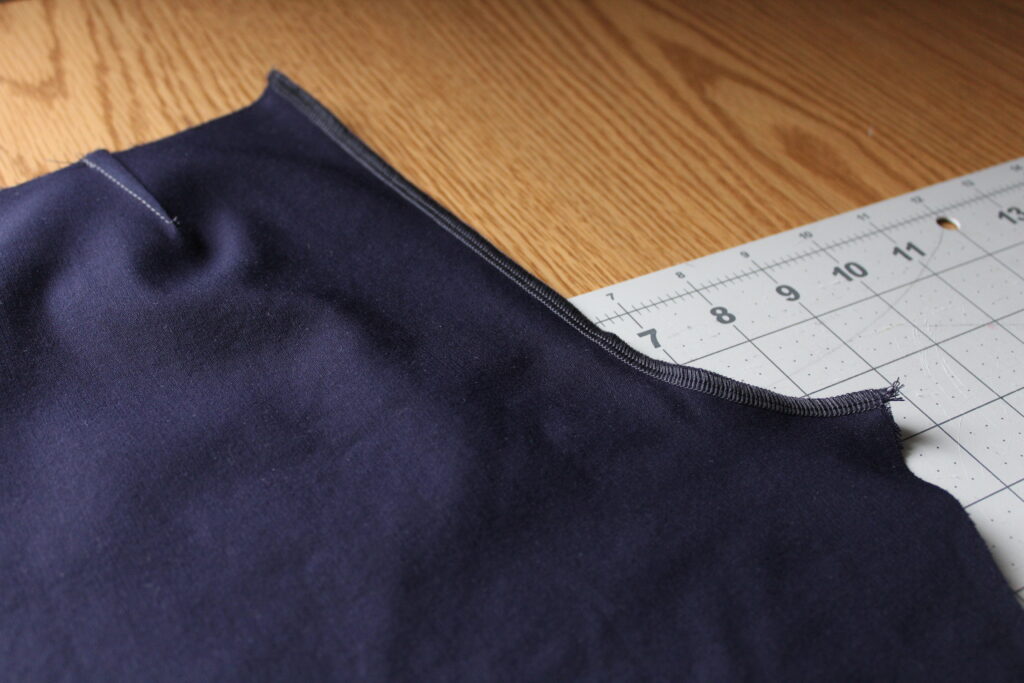
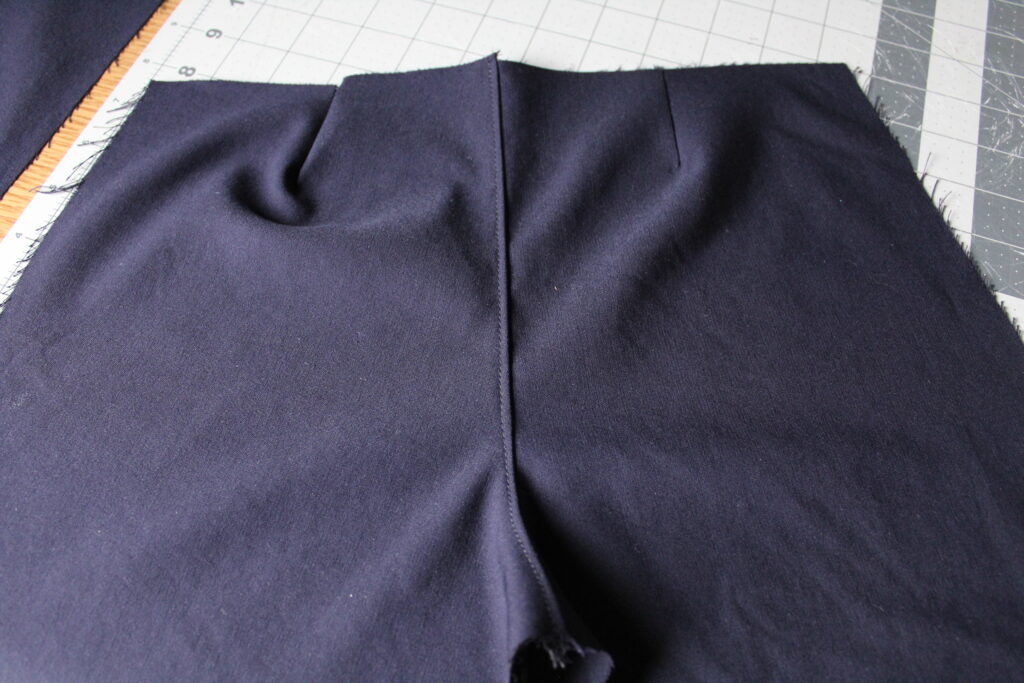
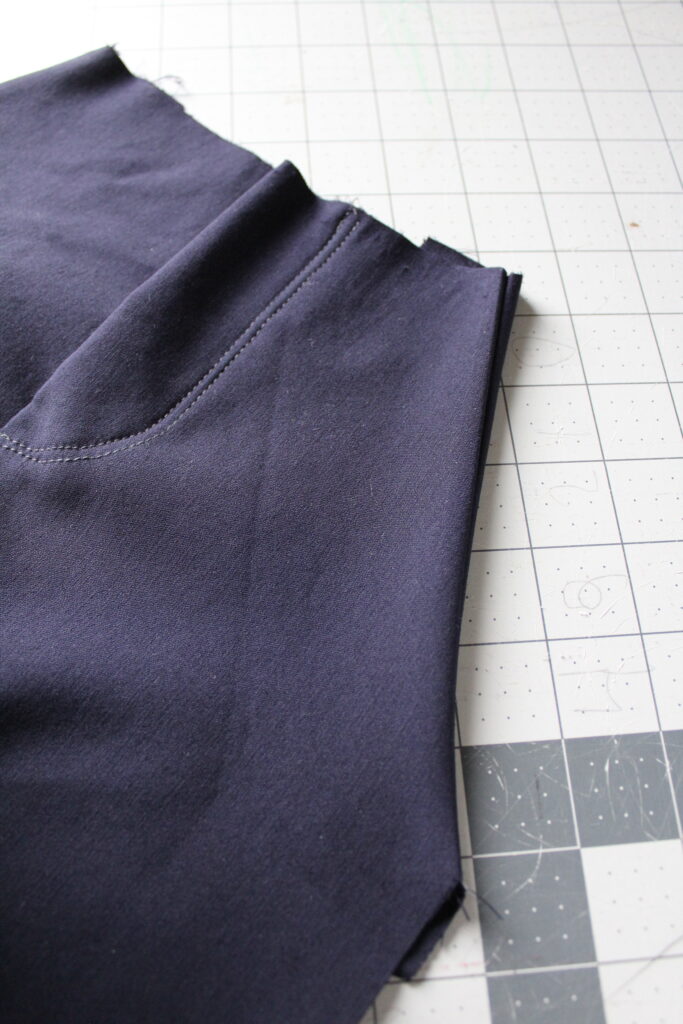
Press the dart towards the center seam. Repeat for the other back pant leg.
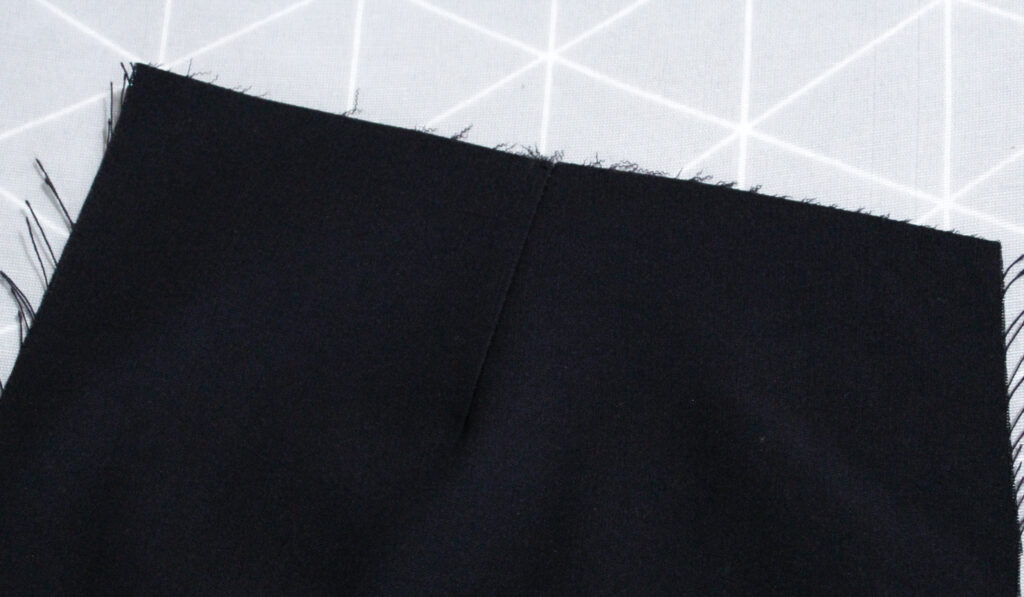
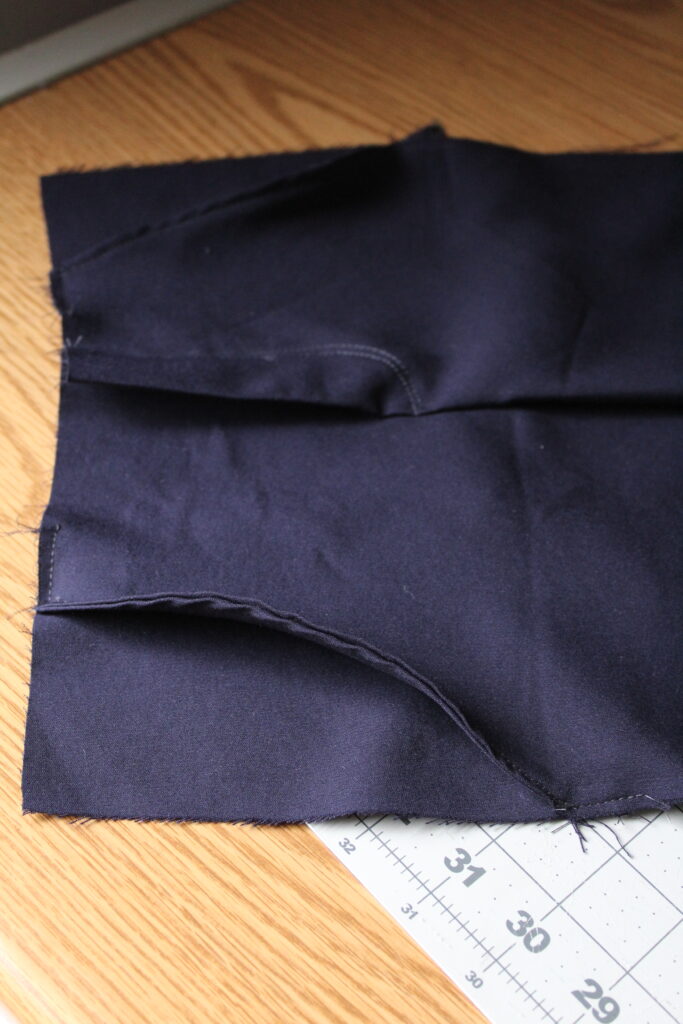
With the right sides together, sew the back rise using a half an inch seam allowance.
The back rise is sewn together. Ensure you finish your edges after sewing to prevent fraying with a zig-zag stitch, serger or pinking shears.
Topstitch the seam allowance to the left side if you wish to do so. I decided to topstitch mine but this step is optional.
Step Two: Faux Fly Construction
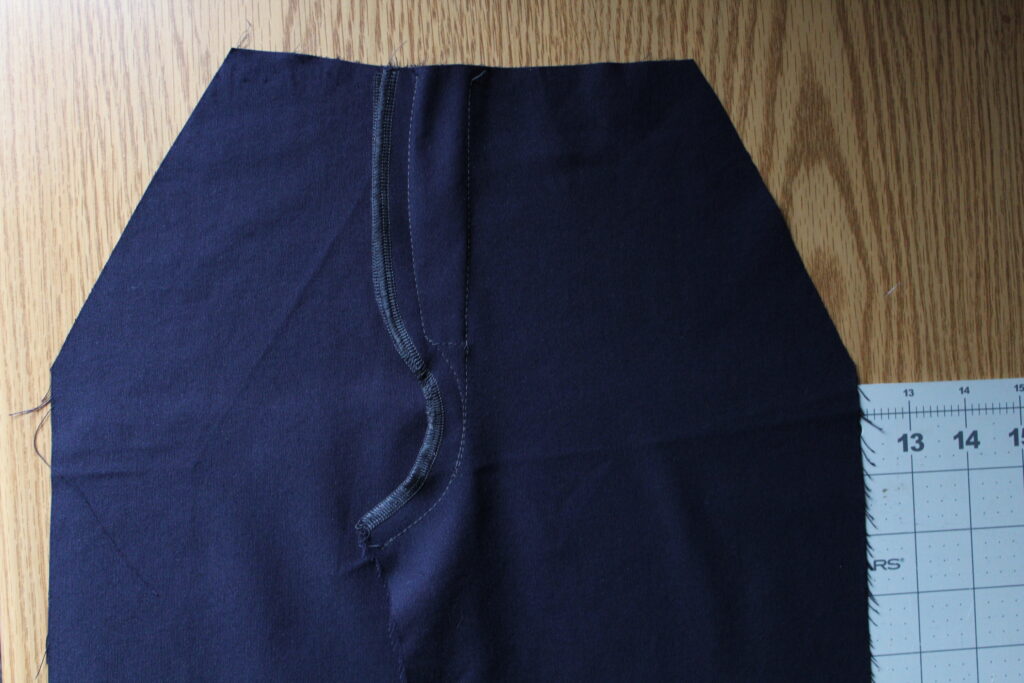
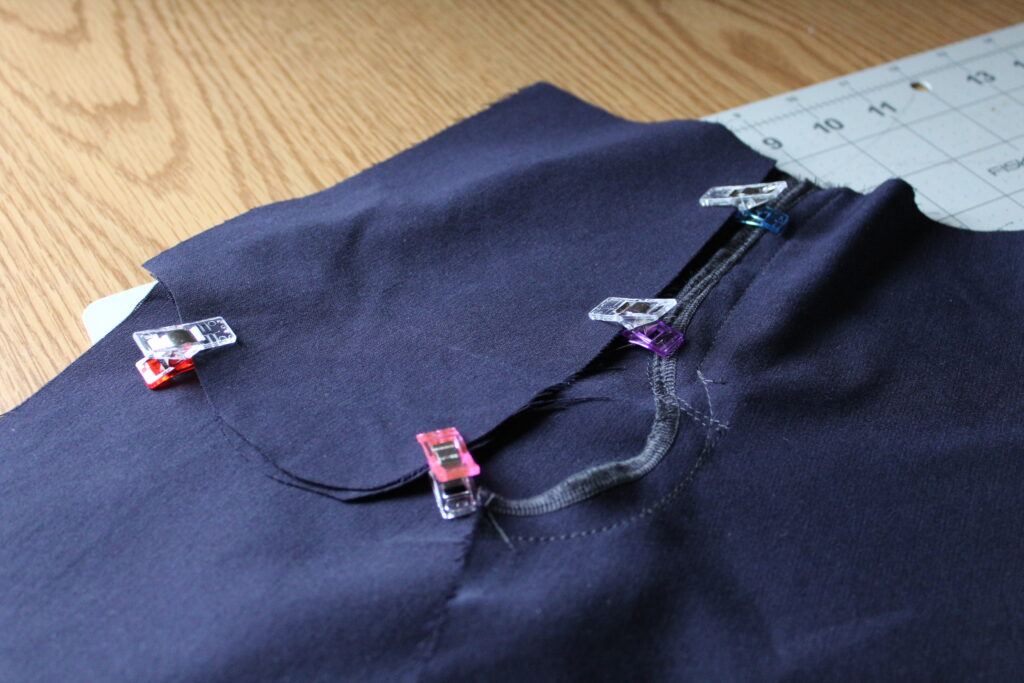
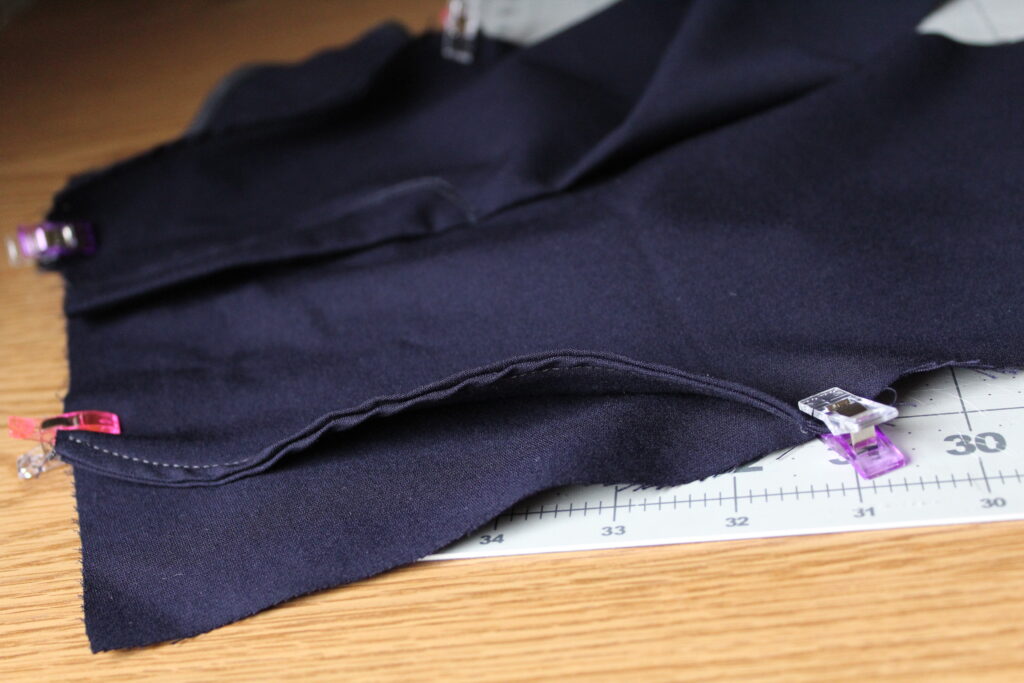
I went ahead and finished the raw edges first per the pattern instructions. With right sides together, sew beginning at the inseam and working your way up and around, stopping and pivoting at the dot before continuing. Baste from the dot up to the waistline. This will temporarily hold our faux fly in place when we topstitch it next.
Press both sides of the fly over to the left.
Using the template included in the pattern, trace the faux fly onto the front. I free-handed mine, and it worked out fine.
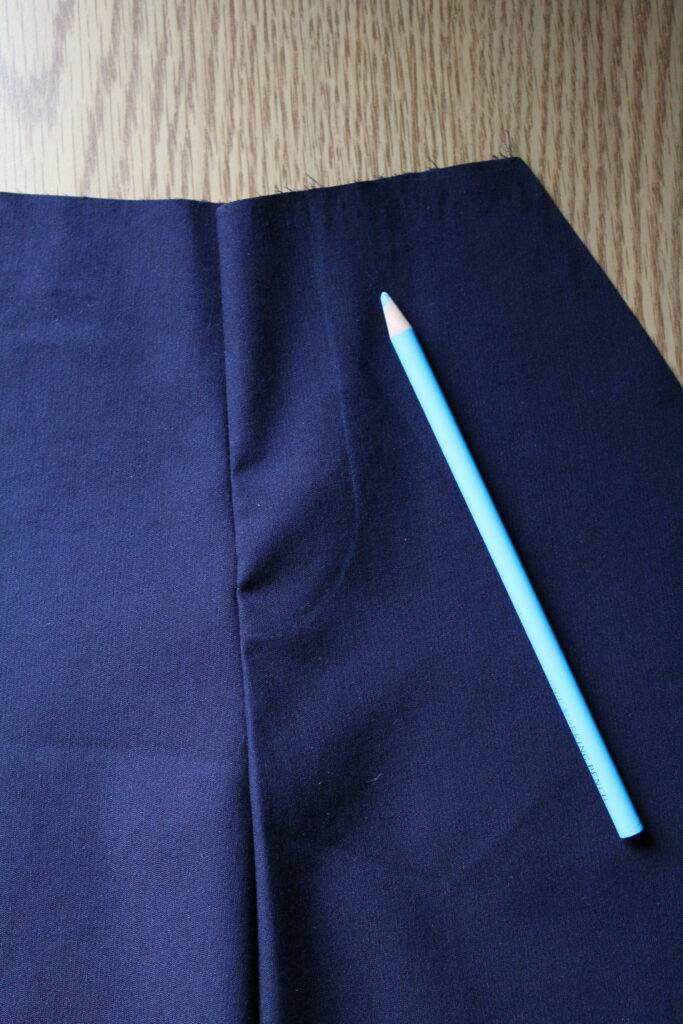
Topstitch along the template line. Remove the basting stitches from the previous step that we put in place to secure our faux fly down.
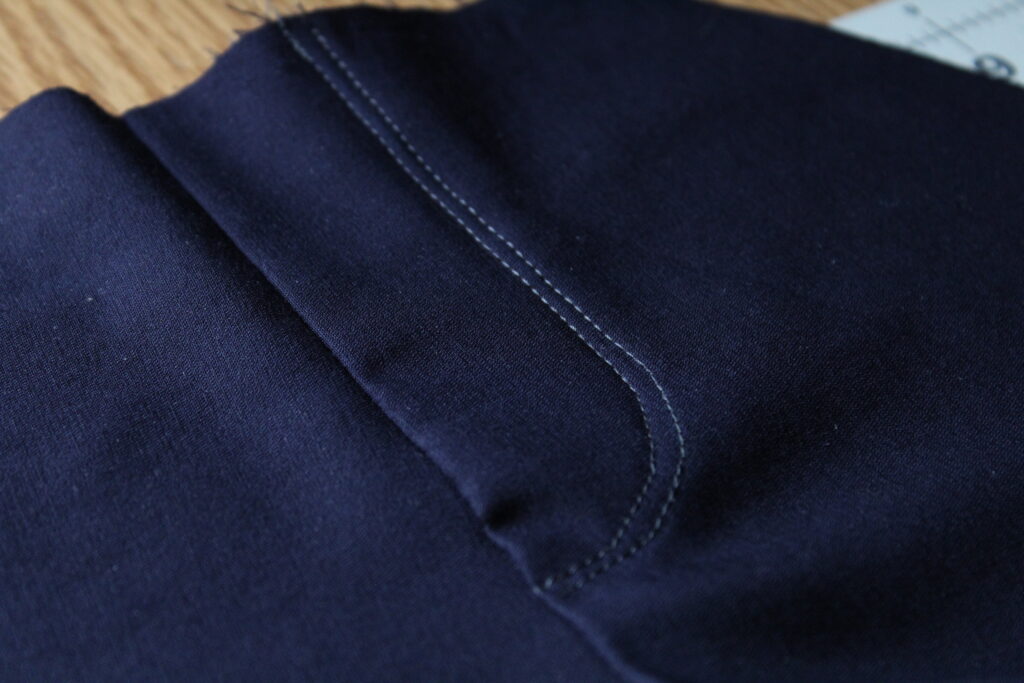
The basting stitches have been removed and we now have the look of our faux fly.
Step Three: Slant Front Pockets
With the right sides together, sew the slanted edge of the pocket lining pieces to the front piece of the pants.
Fold the lining piece back and topstitch 1/8 inch from the edge. I did press mine down before topstitching for good measure.
Topstitching for the outside front pocket is complete. Repeat the same steps for the other pocket lining.

With the right sides together, lay the pocket on the lining piece as shown. Sew along the curved edge, moving the pants out of the way as you sew.
Next, we will baste the raw edges of the pockets to the pants along the tops and sides.
Top and side basting is complete.
Step Four: Main Construction
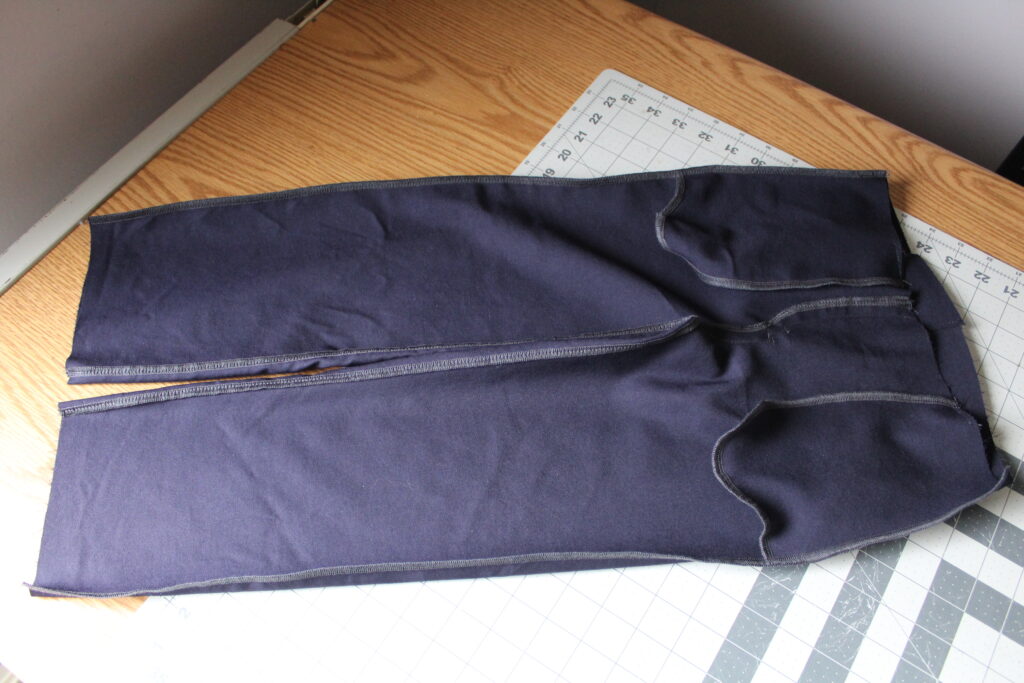
With the right sides together, sew the front and back pants along the inseam.
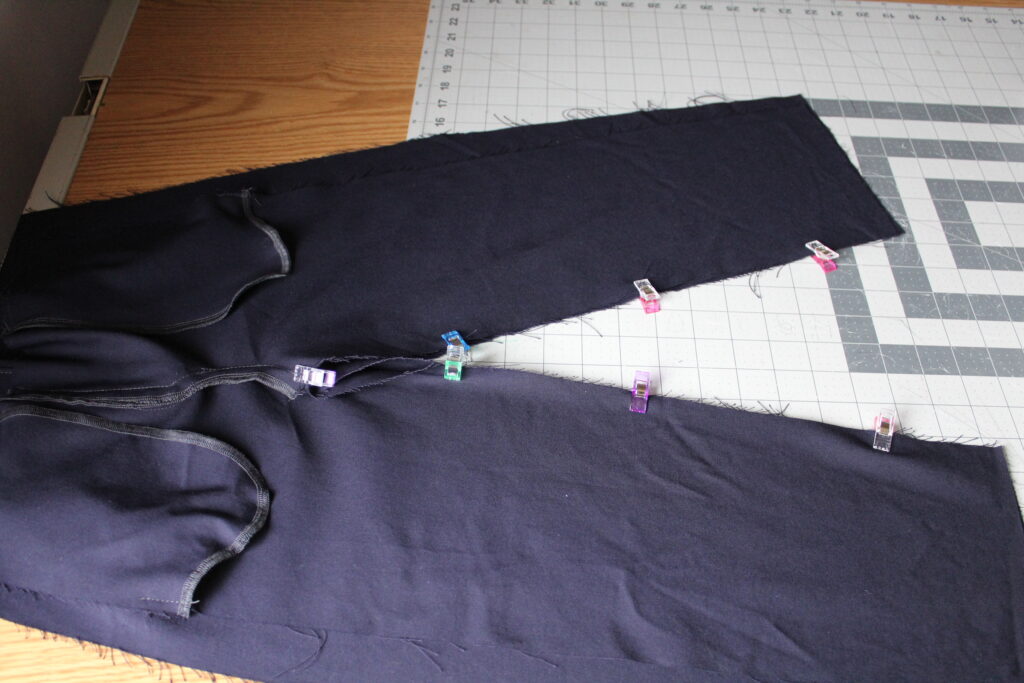
Inseam sewn.

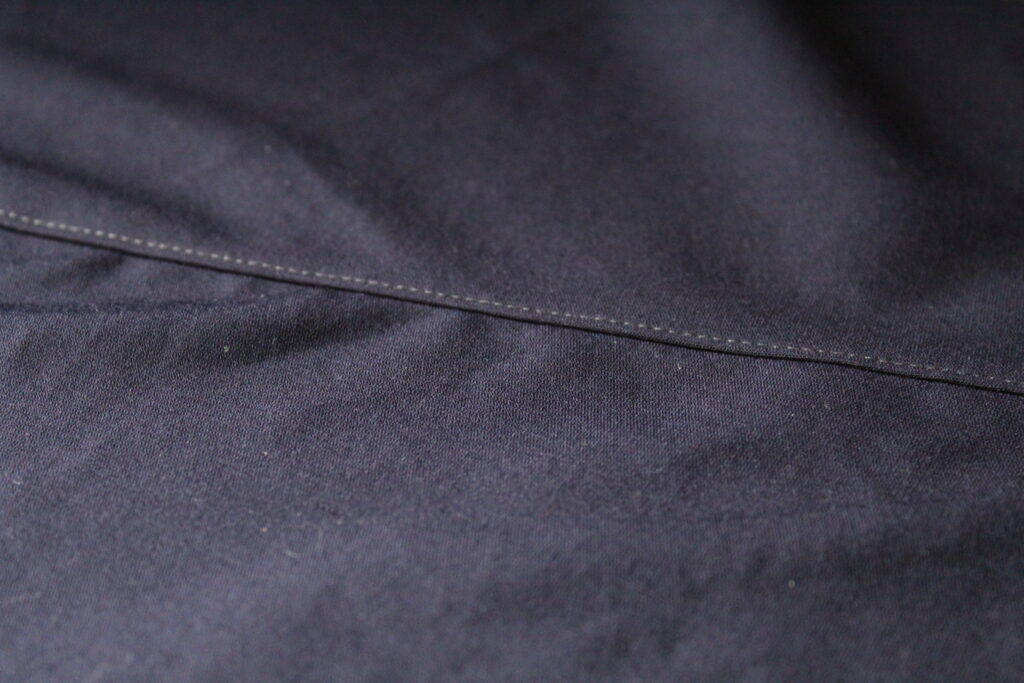
Topstitch the seam allowance to the front if you would like. This step is optional. I decided to carry on the look and topstitch here as well.
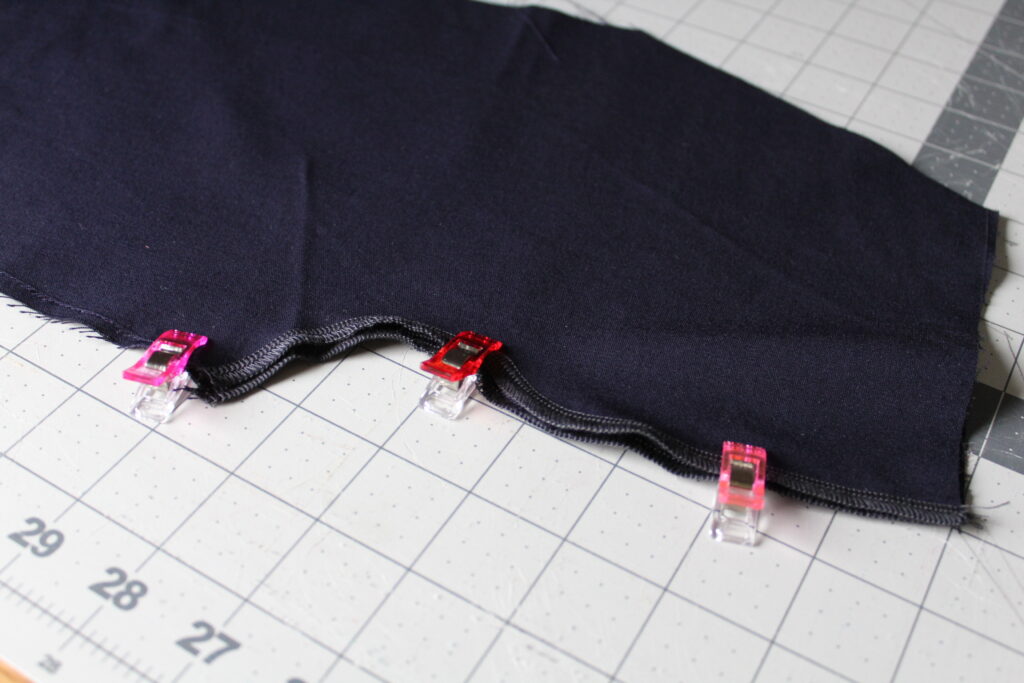
We will sew the front and back together along the side seams.
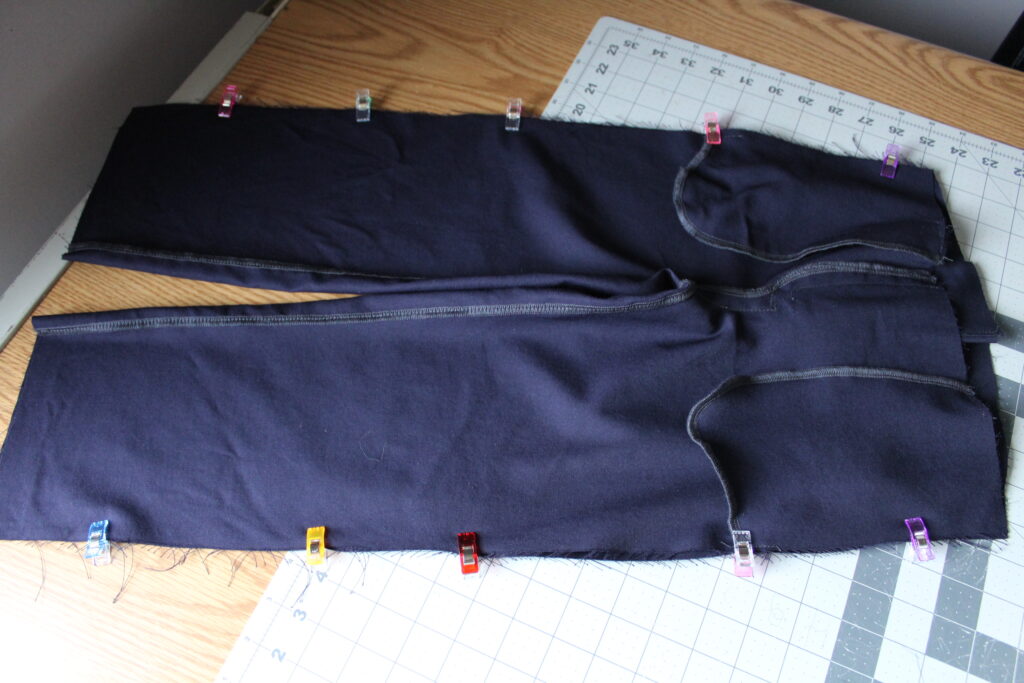
After completing the side inner seams of your project, it's important not to forget to finish your edges. This helps prevent fraying and ensures a professional-looking finish. Depending on the fabric and your personal preference, you can choose from a variety of edge finishing techniques such as serging or zigzag stitching.
How to Sew Pants Step Five: Hemming
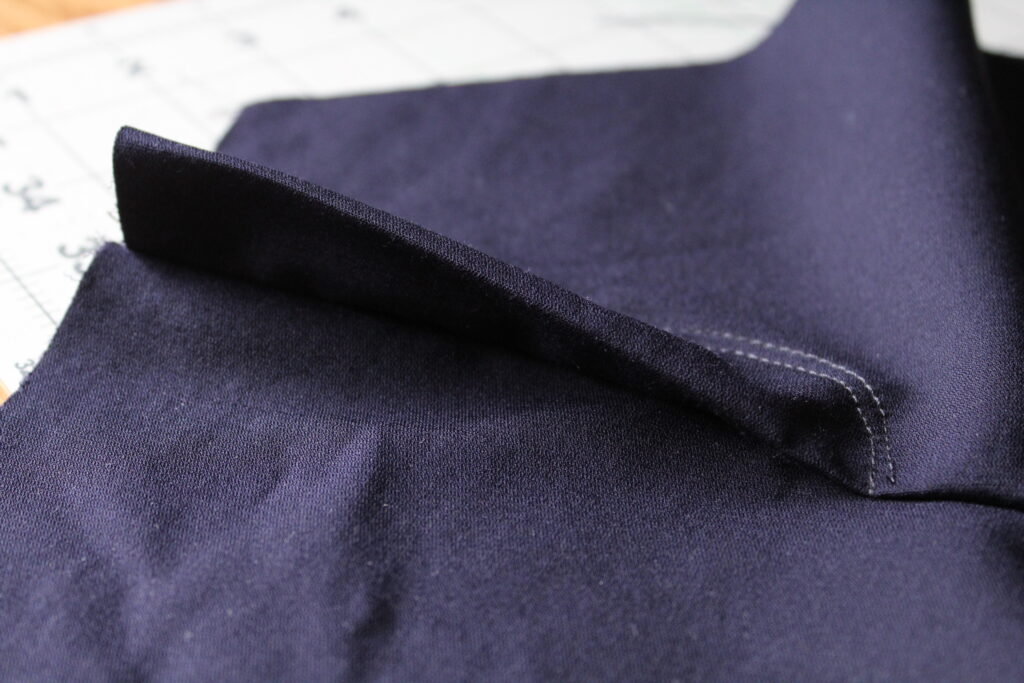
Press the bottom edge of the pant legs up a quarter inch and then again three-quarter inch. Topstitch along the first fold line to create your pant hem.
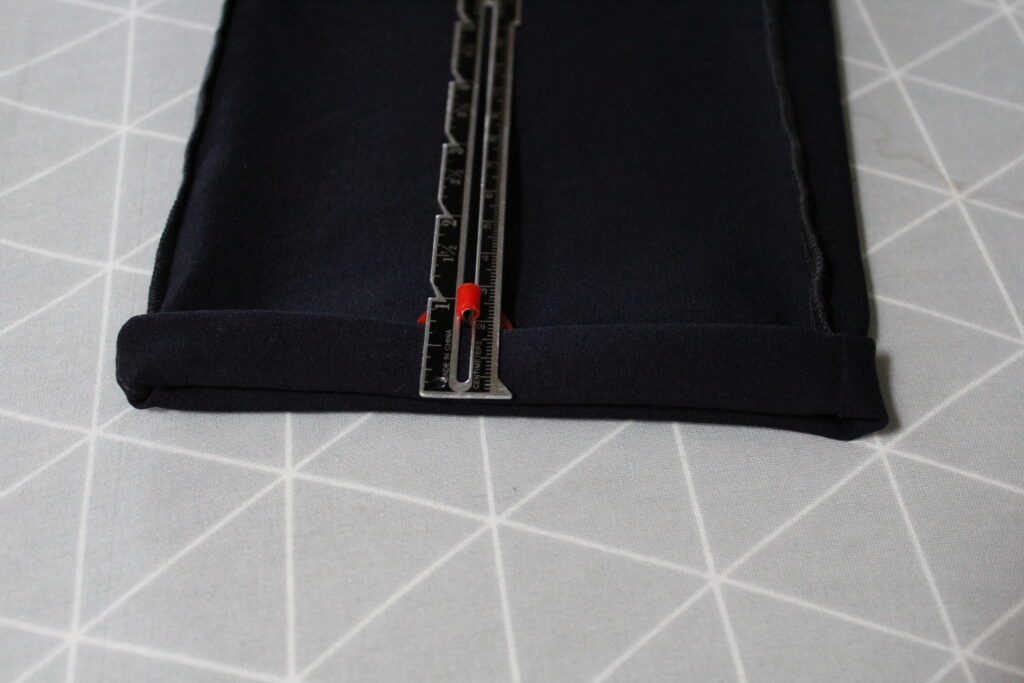
Hemming is complete. Speaking of hemming, we have a good article on 3 different ways to hem .

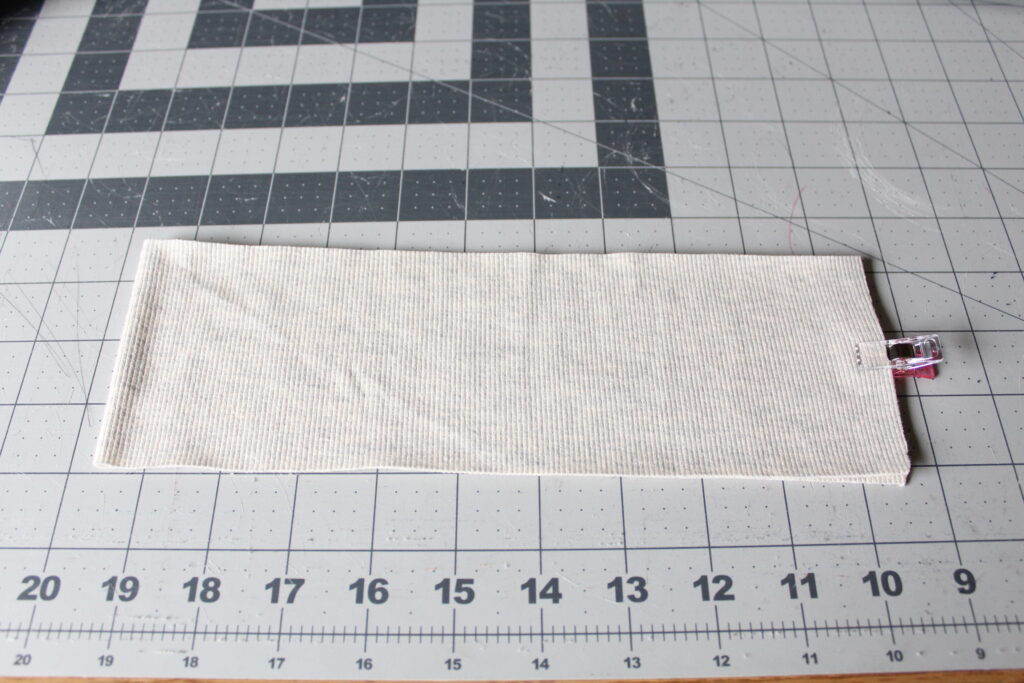
How to Sew Pants Step Six: Knit Waistband
With right sides together, sew the short ends of your knit waistband.
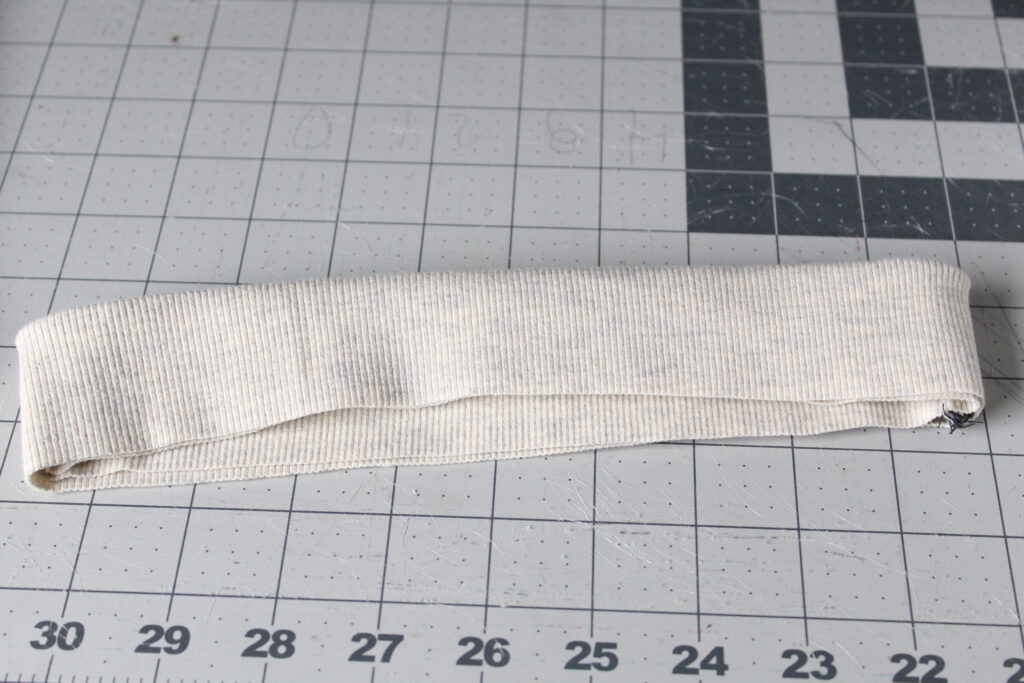
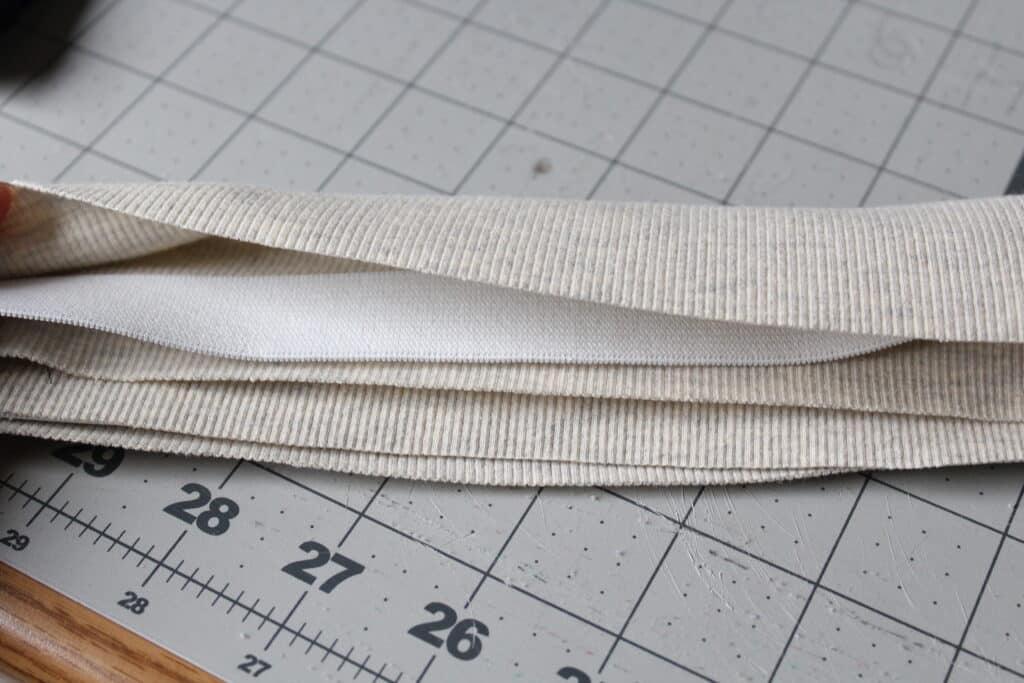
Fold the waistband in half with wrong sides together.
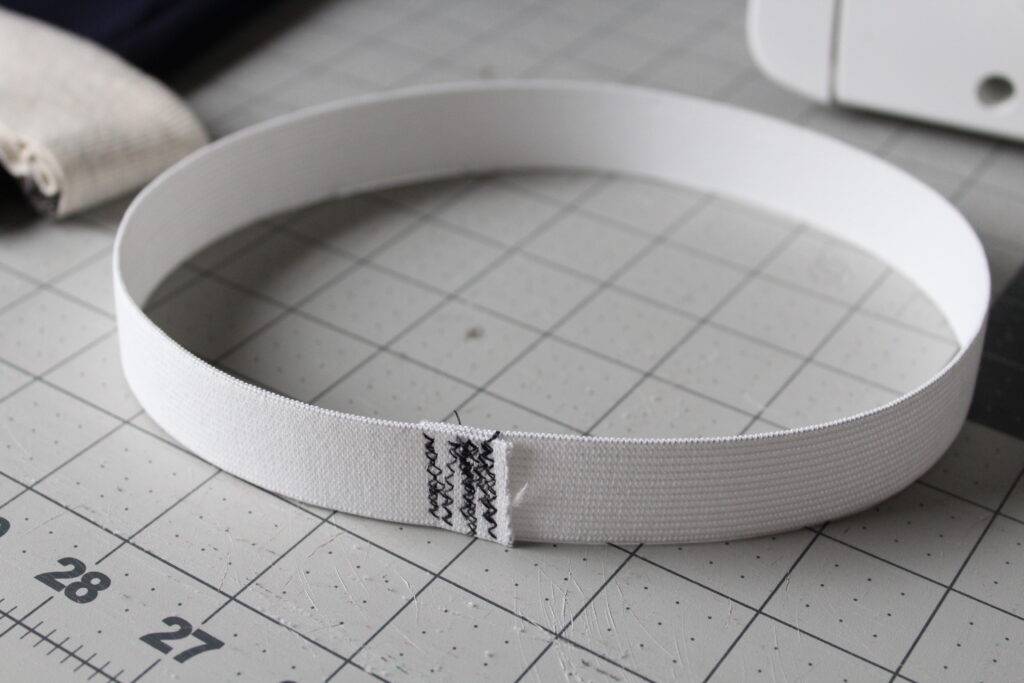
Cut your elastic to size and overlap the edges by half an inch. Secure using a zig-zag stitch. I like to reinforce mine multiple times.
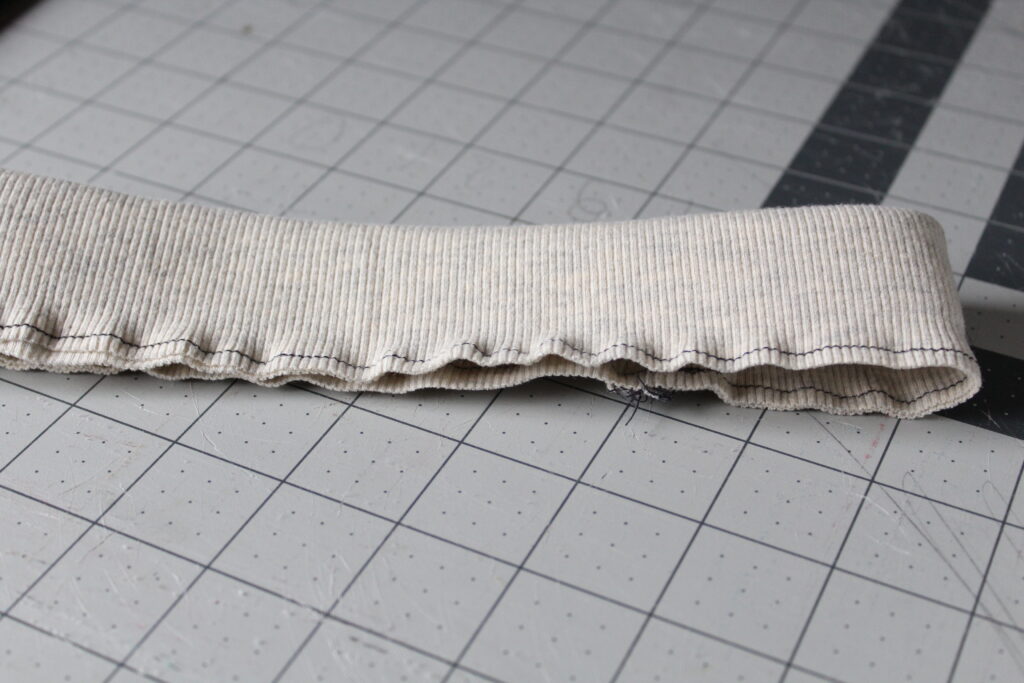
Slide the elastic into the waistband as shown.
Baste the edges together.
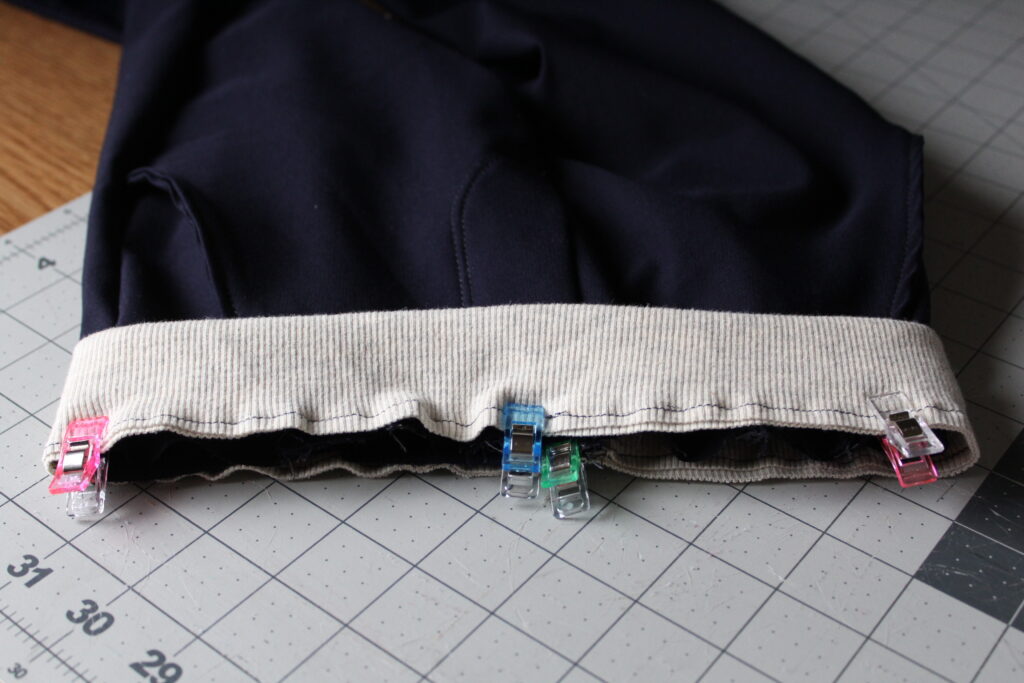
Slide the waistband over the top and clip or pin in place. Align the waistband seam with the back pant center seam. Sew in the waistband, stretching gently and evenly as you go.
If you wish to do so, topstitch the seam allowance using a long, straight stitch. I chose to do this step as well. This will help the waistband seam to lay flat and not be wavy.
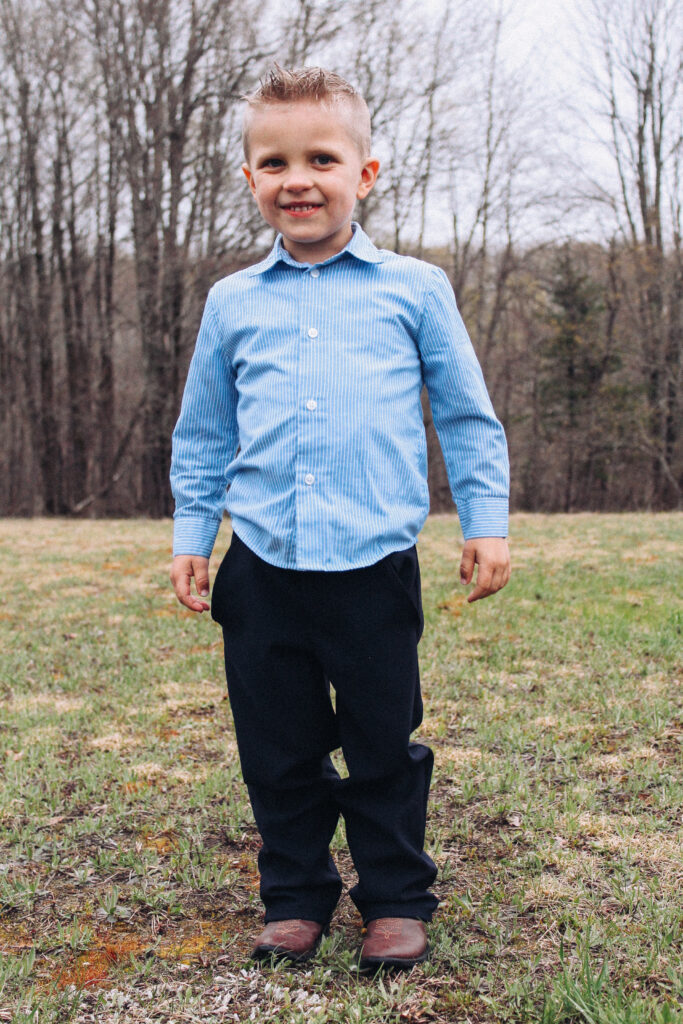
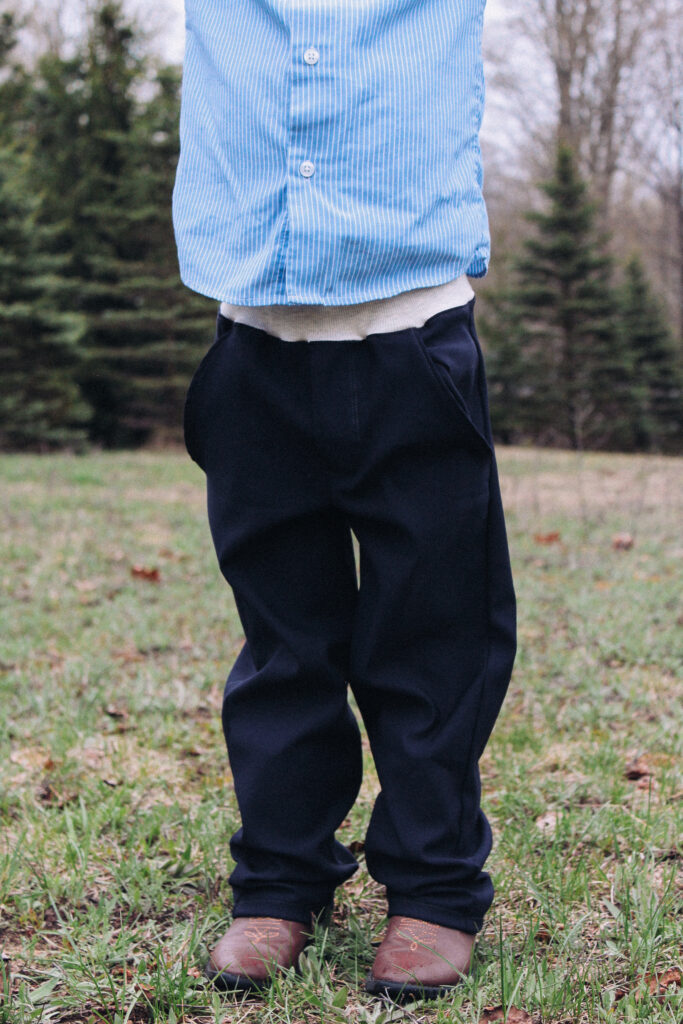
The Classic Chinos are now complete!

This guy is pretty happy in his new, snazzy dress slacks!
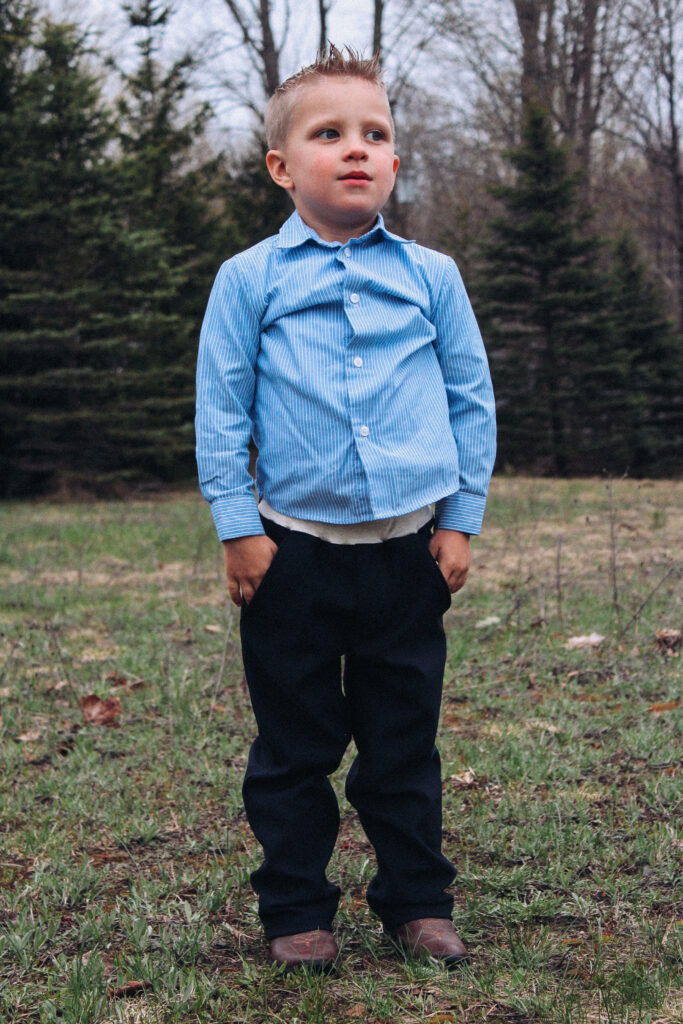
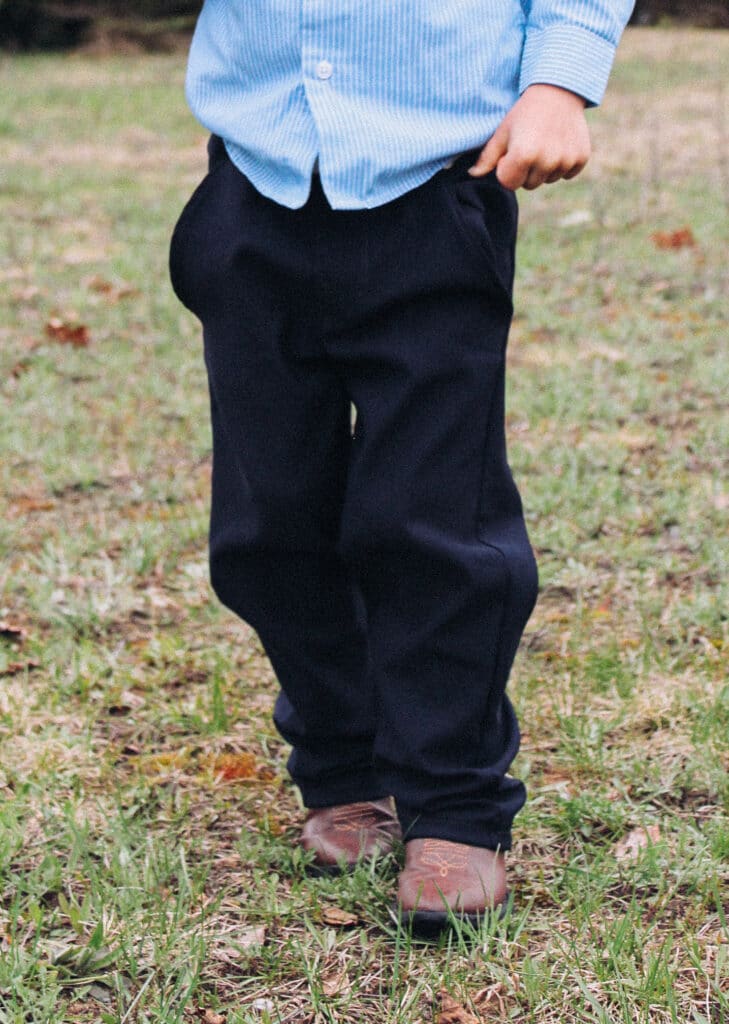
Pockets tested and approved!
He will have some room to fill them out and grow into them a bit more.
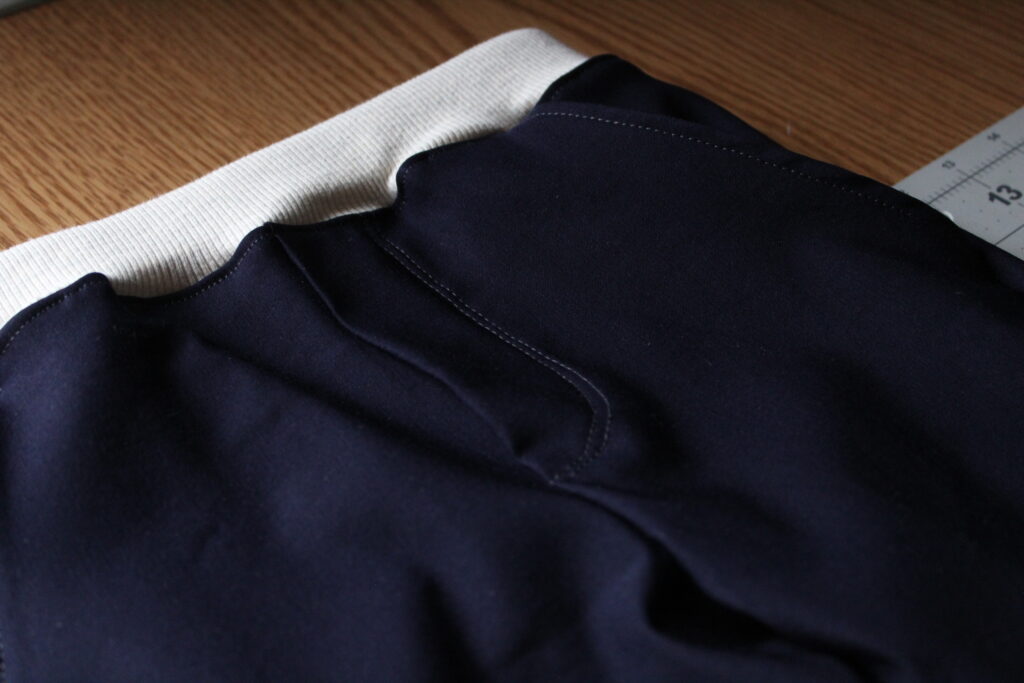
Comfortable knit waistband!
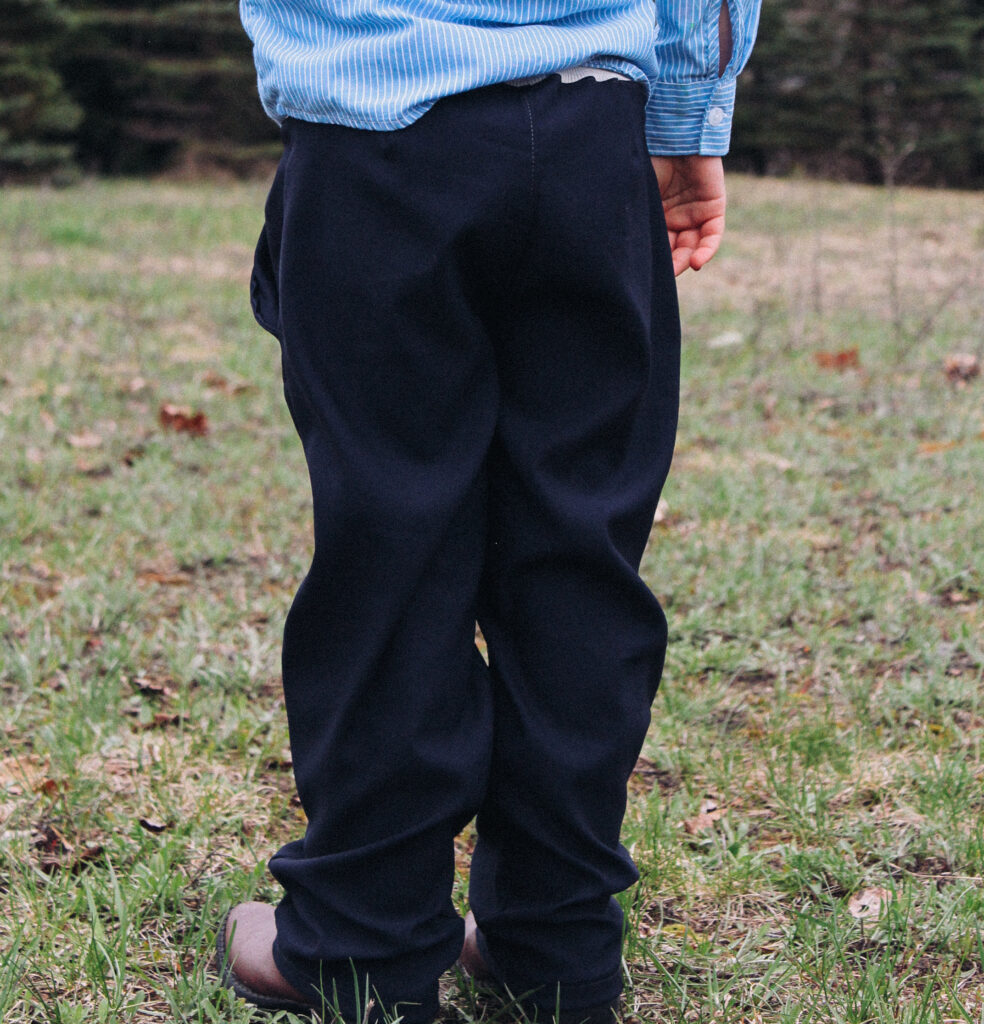
Back of the pants view. You can see the topstitching there.
Well, what did you think about learning how to sew pants? I know kids can be pretty particular about their clothes when they reach a certain age. Mine is no exception, he likes to pick out his own clothing and lets me know when he doesn’t prefer a certain piece, yet I think he felt pretty special in his classic chino pants when he tried them on! With all the different options this pant pattern has to offer, you really can’t go wrong. I love when just one pattern allows for several different looks! Who do you plan to sew a pair or two up for?
Tips for Troubleshooting Common Sewing Issues While Making Pants
Troubleshooting common sewing issues can be a frustrating task, but with a few tips and tricks, you can overcome these challenges and create beautiful garments. One of the most common issues is uneven stitching or puckering along seams. This can be caused by using the wrong needle or thread tension. Make sure to use a ballpoint needle for knit fabrics and a sharp needle for woven fabrics. Adjusting the thread tension can also help achieve even stitches. Another common problem is fitting issues, such as pants that are too tight or too loose. To address this, take accurate body measurements before starting the project and make adjustments to the pattern accordingly.
Lastly, if you encounter issues with zipper installation or waistband attachment, take your time and follow the instructions carefully. Sewing requires attention to detail and precision, so don't rush through these steps. By troubleshooting these common sewing issues, you'll be able to create well-fitting and professionally finished pants that you'll be proud to wear.
How to Make My Pants Look Professionally Made?
When learning how to sew pants, making your pants look professionally made is all about attention to detail and precision. First, ensure that the fit of the pants is tailored and flattering to your body shape. Focus on the finishing touches. Use high-quality thread and stitches that are neat and even throughout the garment. Pay attention to details such as hemming, topstitching, buttons, and zippers, making sure they are secure and well-sewn. Lastly, choose appropriate fabrics for a professional setting and avoid any visible flaws or imperfections. By paying close attention to these details, you can elevate the look of your pants and give them a professionally made appearance.
Thank you for joining us today to learn how to sew pants. Before you leave, make sure to come join our Peek-a-Boo Pattern Shop Facebook Group for sewing tips, sewing help, and as a good place to share what you make.