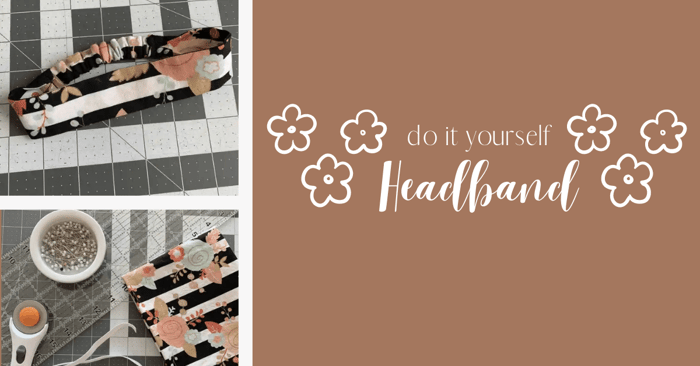
How to Make an Elastic Headband | DIY Headband Tutorial
Are you ready to learn how to make an elastic headband? It’s Stephanie from Stephie B’s Designs here again today to walk you through this fun and super easy elastic headband tutorial. Sounds fun, right?! What is also great about this style is that you make it from woven cotton rather than knits as used in most headbands. That means you have a lot more options, especially if you have a huge cotton stash!
How to Make an Elastic Headband | DIY Headband Tutorial
Let’s get started with the DIY headband!
Elastic Headband Tutorial
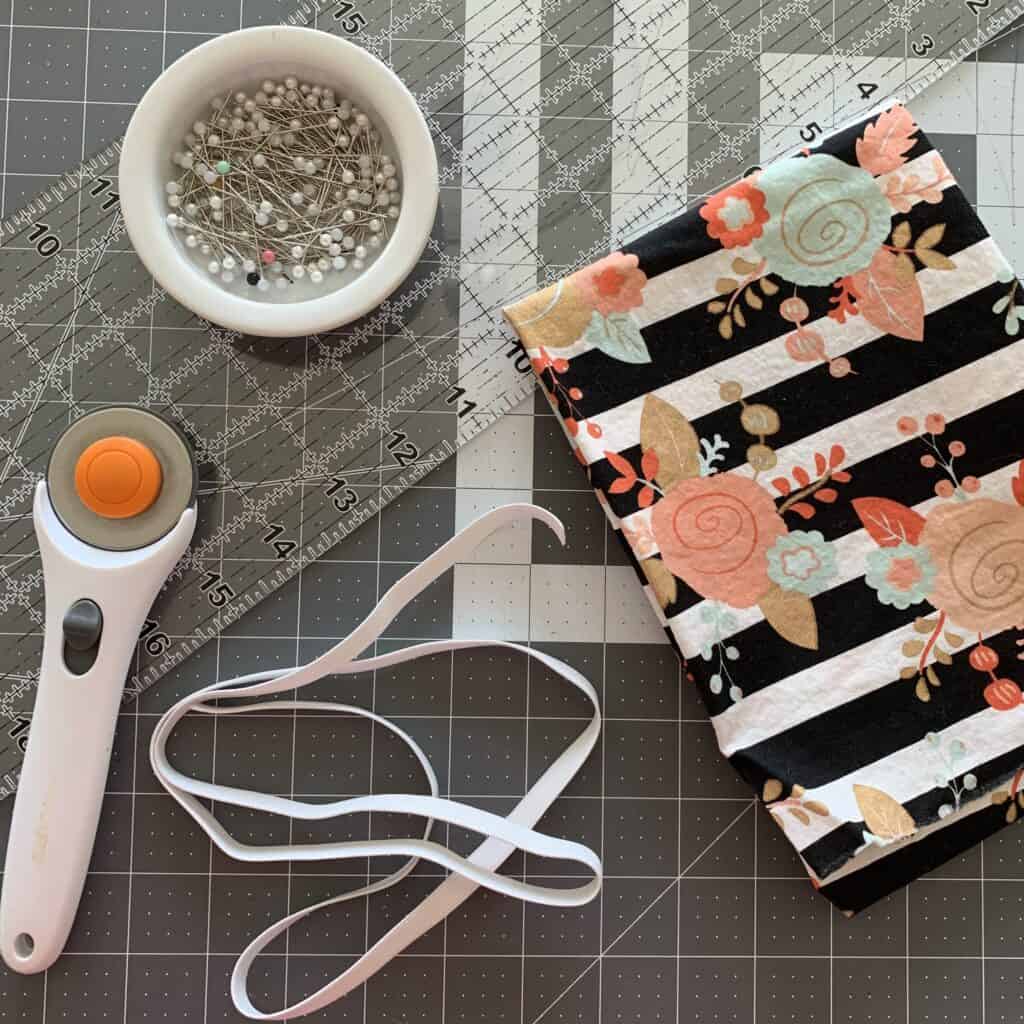
Gather Your Materials
- Fabric. I’ll cover the measurements below. Big strip of fabric for the top portion of the headband and smaller piece for the elastic casing.
- Elastic. I recommend 1/2" to 1", depending on your preference. I’ll cover the length below.
- Acrylic Quilter’s Ruler or your favorite household ruler
- Rotary Cutter or fabric scissors
- Bodkin or safety pin
- Thread, pins, and sewing machine
Determine The Length and Width for Your Elastic Headbands
Length
If you can measure the child or adult to get the exact head circumference, awesome! But if not, below is a generalized head circumference chart you can use for reference when making these headbands.
- Newborn: 14″
- Up to 1 Year: 17″
- Toddler: 19″
- Child: 20″
- Teen: 23″
- Adults: 24″
Once you know the circumference you’ll be using – in my case, I am making a toddler-sized one, so I will use 19" length – you need to do a little math… but don’t let math scare you! The length will be split into two parts.
Top Portion: The Larger Piece of Fabric
The top portion will be 3/4 (.75) the length of the circumference. You will need to add in an additional 1/2in on each side of the top portion that will be tucked inside itself, and that same amount to each end of the elastic because it will also be tucked into the band.
This sounds like a lot, but you got this. Bear with me! Lets take this step by step.
- Top portion: circumference x .75 + 1in (in my case, 19in x .75 = 14 1/4in + 1in = 15 1/4in)
Elastic and its Casing: Smaller Piece
The elastic will be 1/4 (.25) the length of the circumference. Again, add an additional 1/2" on each side.
- Elastic circumference x .25 + 1in (in my case, 19in x .25 + 1in = 5 3/4in)
For the elastic casing, you’ll want to add an extra 3in or so to the elastic length to allow the elastic to stretch.
- Elastic casing: elastic + 3in (in my case, 4 3/4in + 3in = 7 3/4in)
My elastic will be 5 3/4" long, and the two lengths of fabric will be 15 1/4" and 7 3/4".
Width
Wait, there’s more??!! But this was supposed to be EASY! This is much easier to figure out… you’re almost there with a couple of simple steps. 🙂
- Top portion. This measurement is somewhat up to you, how wide you want it to be. You can make it really wide to fold it or scrunch it, or you can leave it somewhat thin. I opted for a 1 1/2in width. Whatever width you’d like, double that since the two sides will be sewn together. You will also need to add in the 1/4in seam allowance of excess fabric, so add an extra 1/2in on top of your preferred width.
Top portion: preferred width x 2 + 1/2in (in my case, 1 1/2in x 2 = 3in + 1/2in = 3 1/2in)
- Elastic casing. This depends on the width of the elastic you opt to use. I like 1/2in, especially for little kids, but you can use large width if you’d prefer. It’s up to you! You’ll double the width of the elastic, and add the 1/2in as you did before for 1/4 seam allowance.
Elastic casing: elastic width x 2 + 1/2in (in my case, 1/2in x 2 = 1in + 1/2in = 1 1/2in)
The width of my two fabric pieces will be 3 1/2" and 1 1/2". Sooooooo! If my public math is correct, my two pieces will be 15 1/4in x 3 1/2in and 7 3/4in x 1 1/2in
Still tracking?!? I hope so! It’s all downhill from here!
Step-by-Step How to Make an Elastic Headband Tutorial
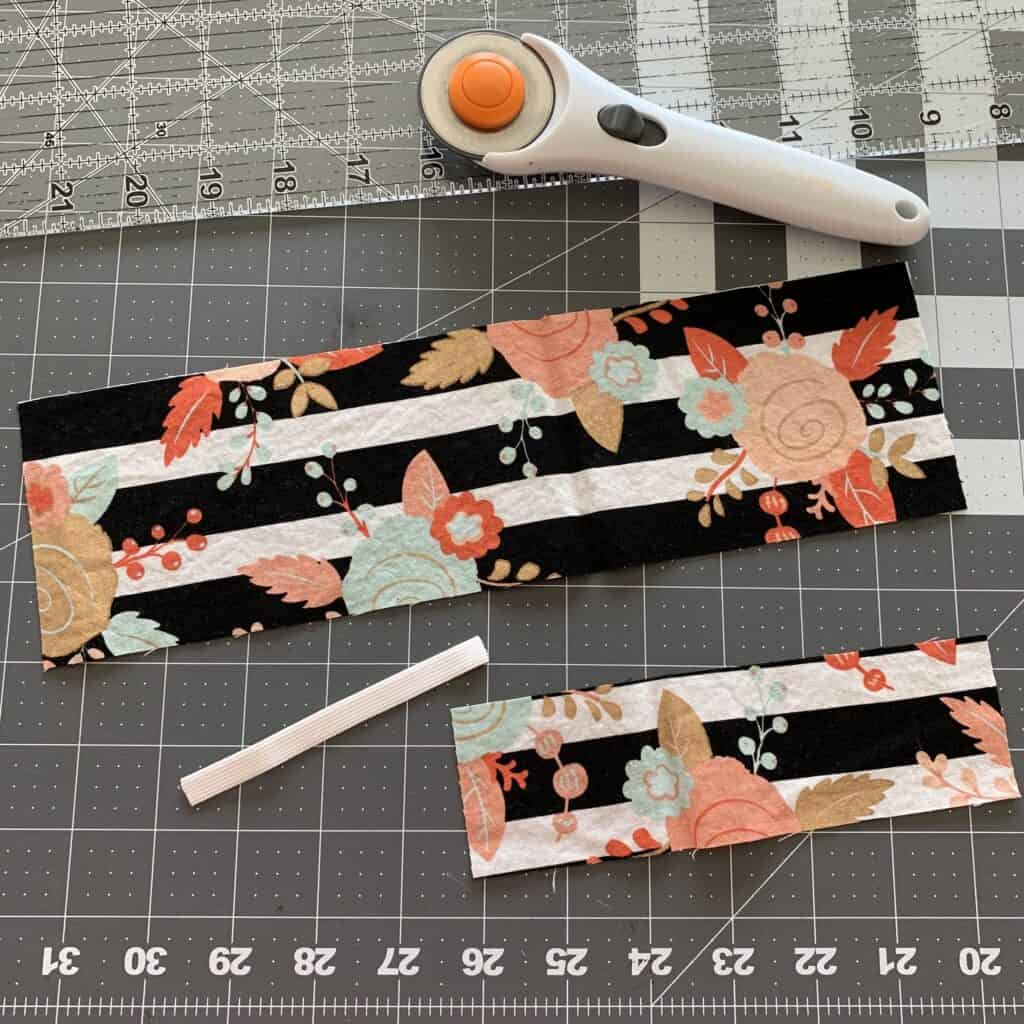
Step 1. Cut your pieces
Cut each rectangle of fabric according to the instructions above!
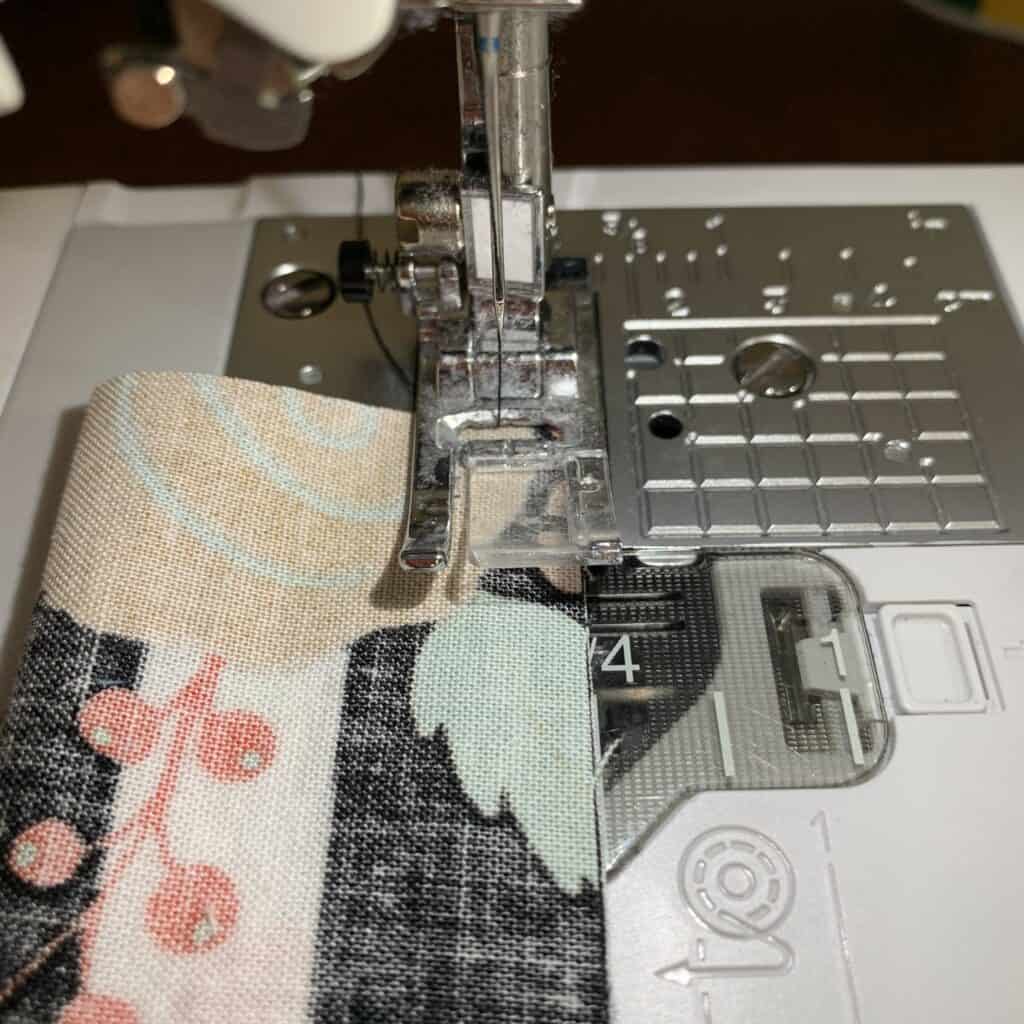
Step 2: Make the Headband by Sewing the Two Pieces of Fabric
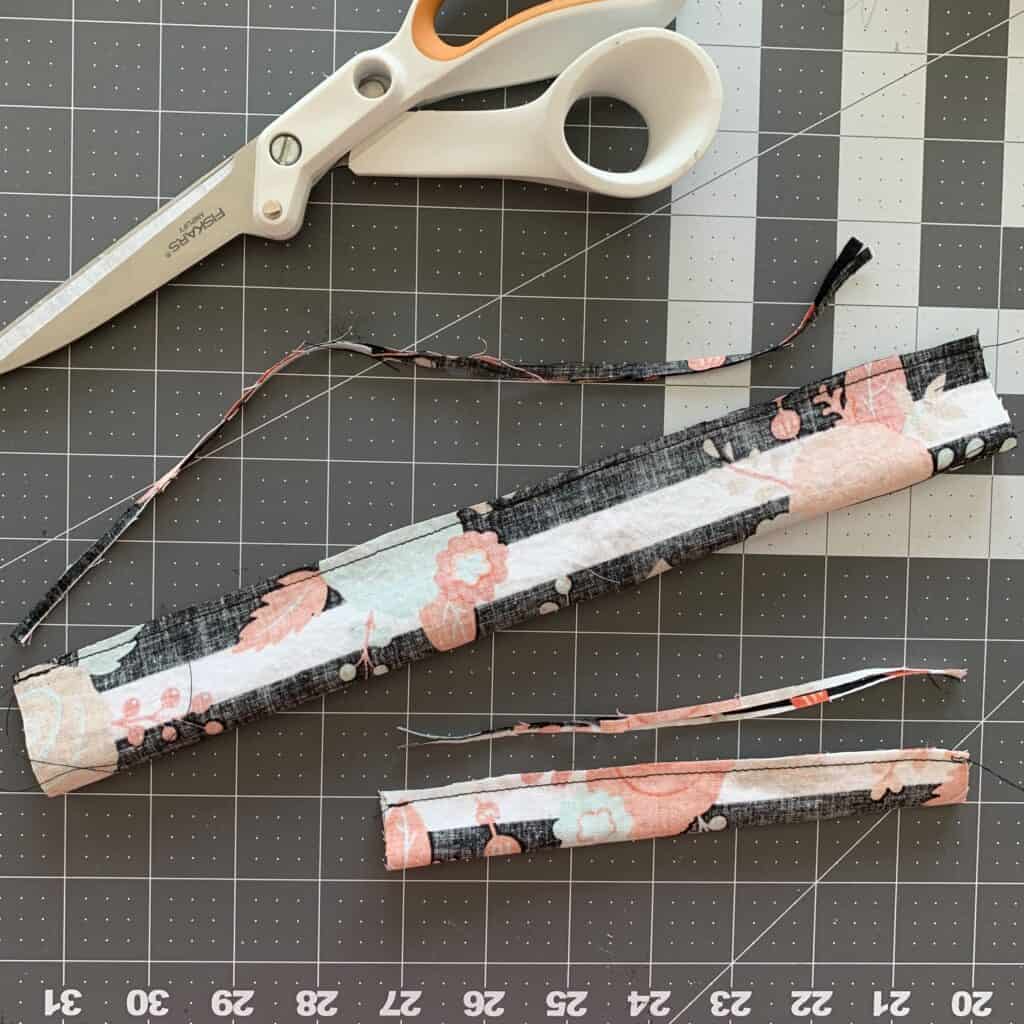
Fold your two pieces in half along the long edge (like a hot dog bun) and sew, using the 1/4in seam allowance.
Side note… it’s always a good idea to make sure your bobbin is full enough to make it through your project……. (doh!)
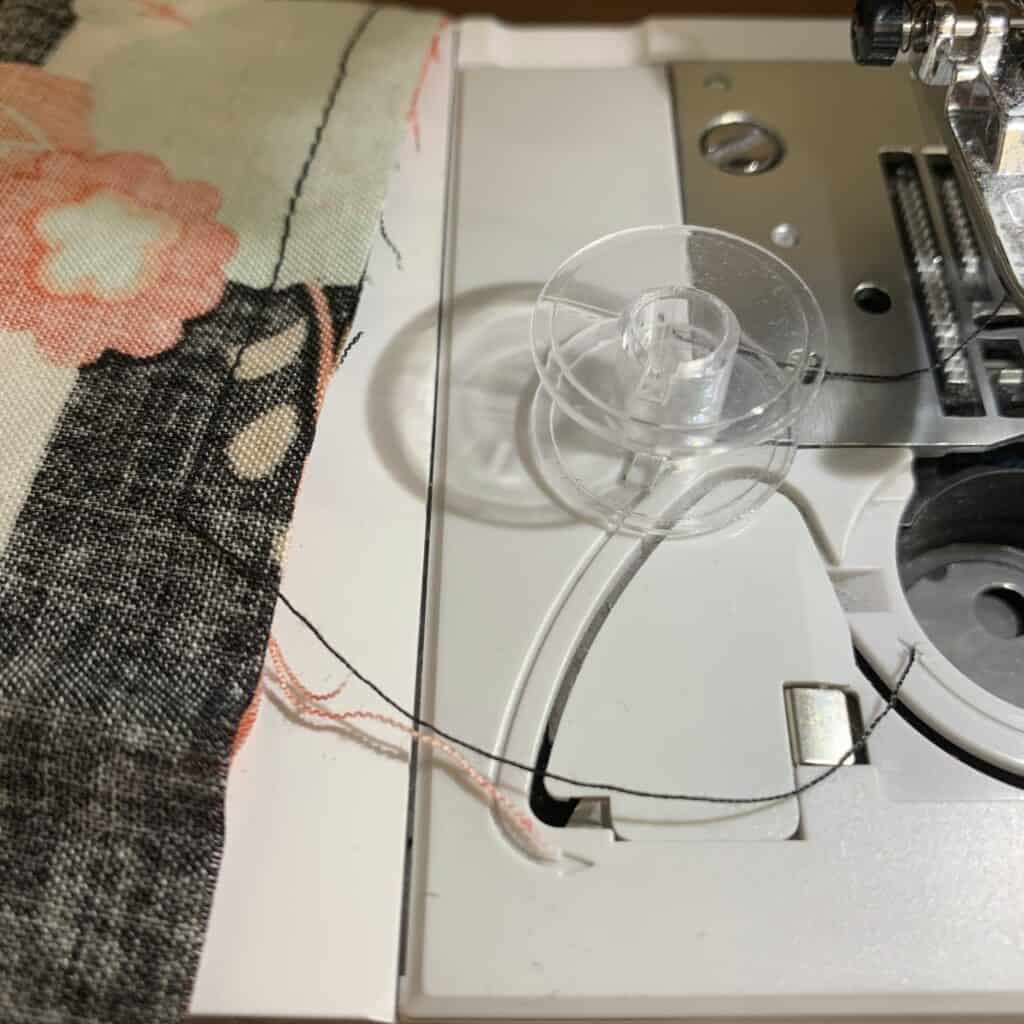
Back in business. Repeat with the elastic casing.
Trim your seam allowances to reduce bulk.
Want to learn some additional ways to reduce bulk? Check out this tutorial on Reducing Bulk; How to Trim, Grade, Notch, and Clip Seam Allowances.
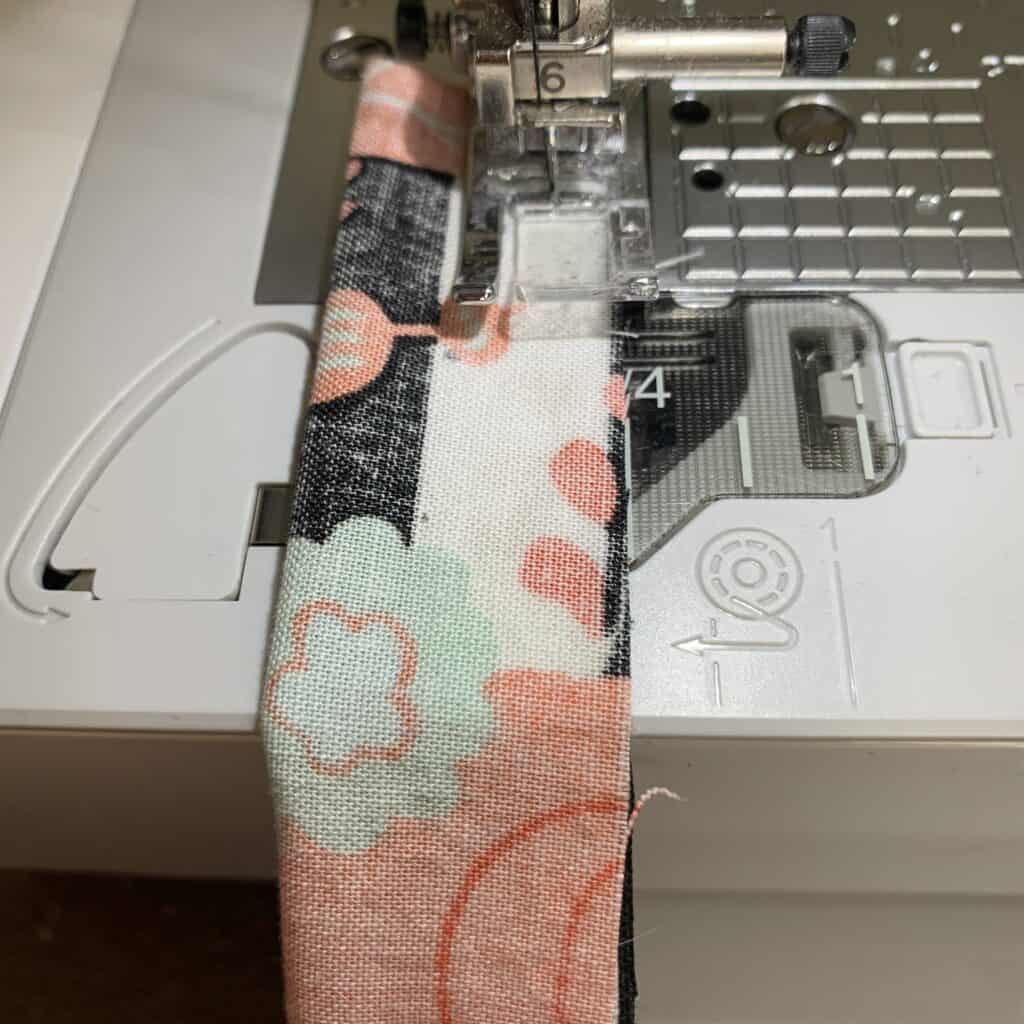
Step 3. Flip and press
Turn your tubes to the right side of the fabric using a bodkin or safety pin.
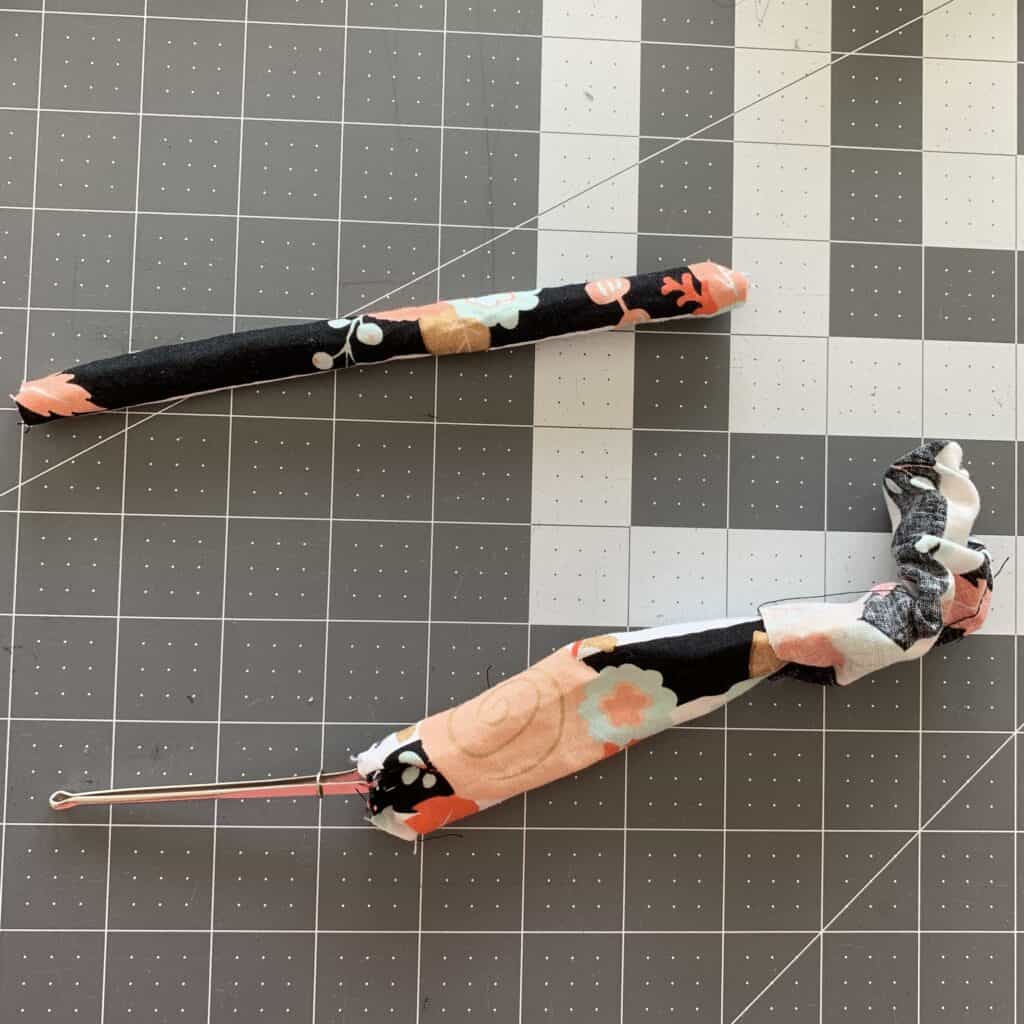
Press, with the seam along one of the long sides.
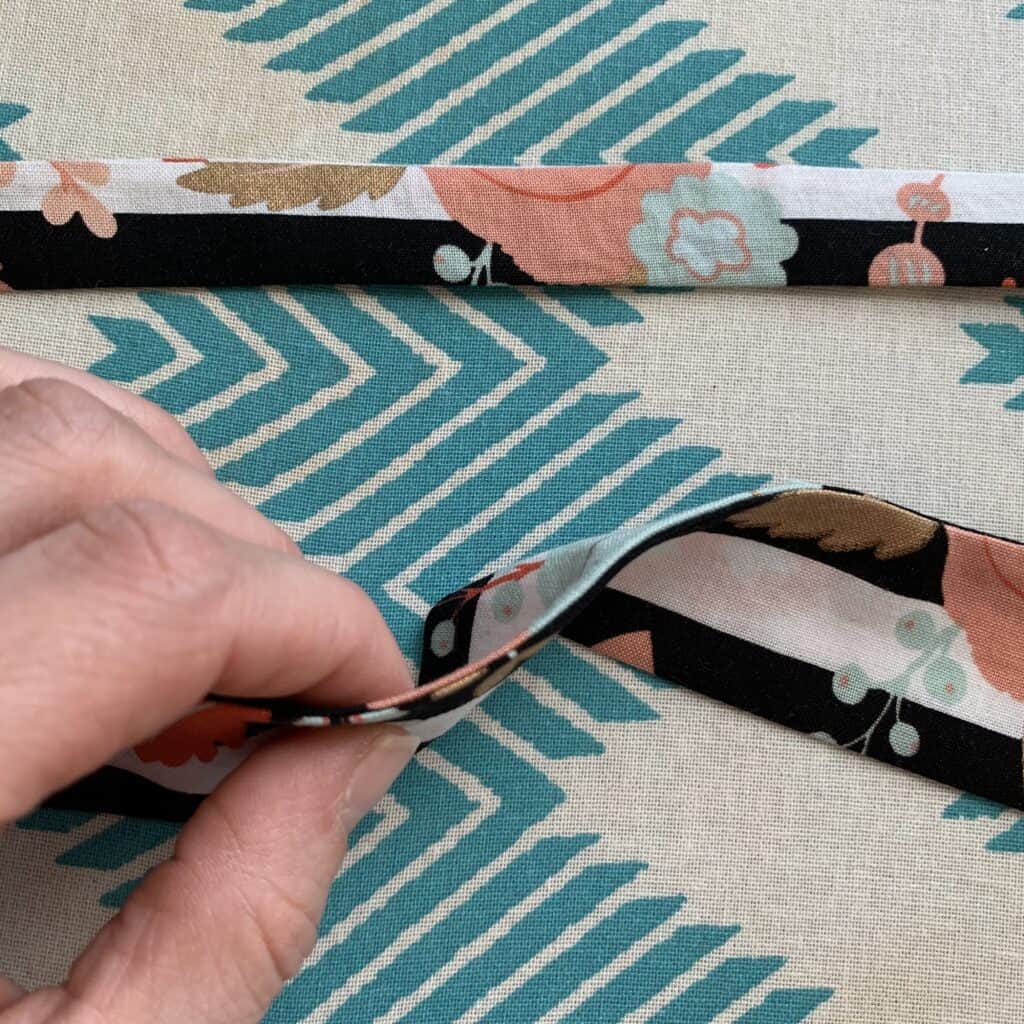
Step 4. Tuck and press
Tuck inside and press 1/2 inch of each side of the top portion (the longer piece of fabric).


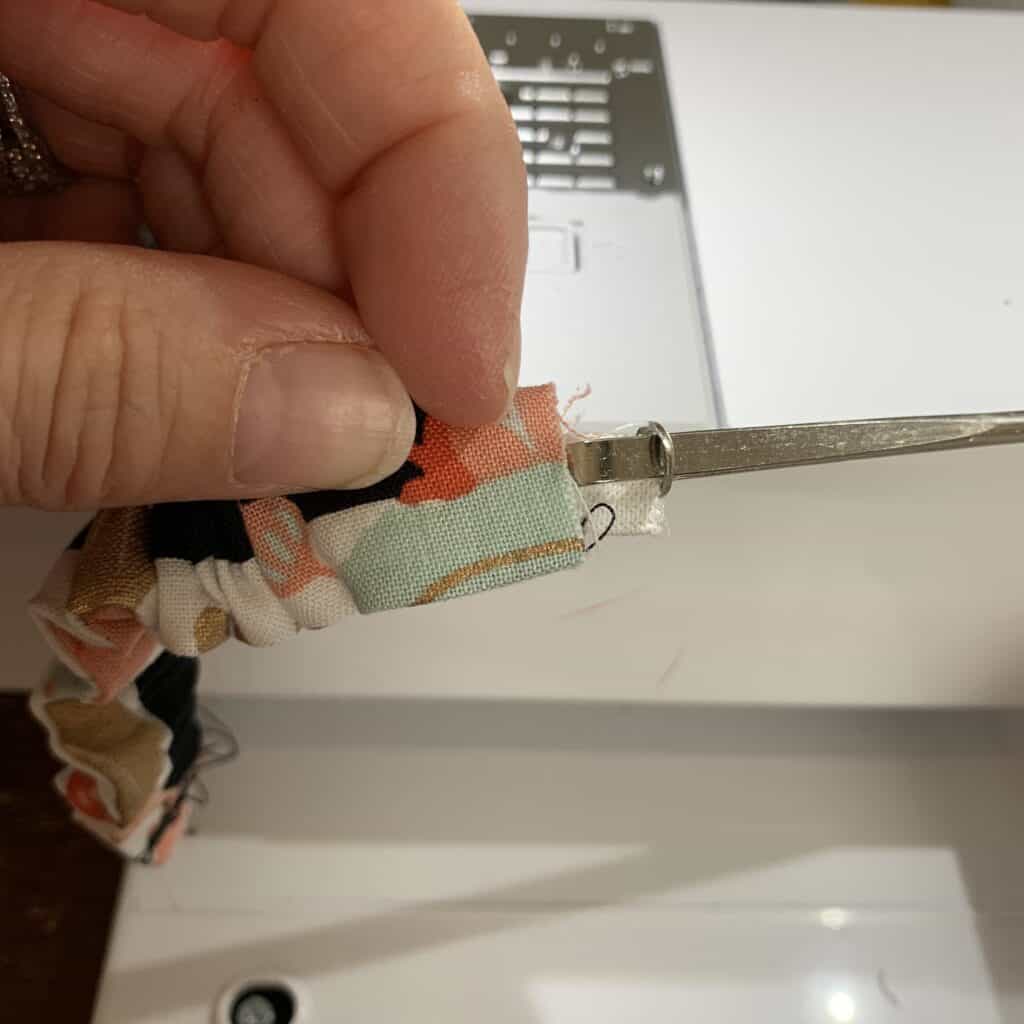
Step 5. Put the elastic into the elastic casing
Attach a bodkin or safety pin to the end of the elastic and slide it into the casing.
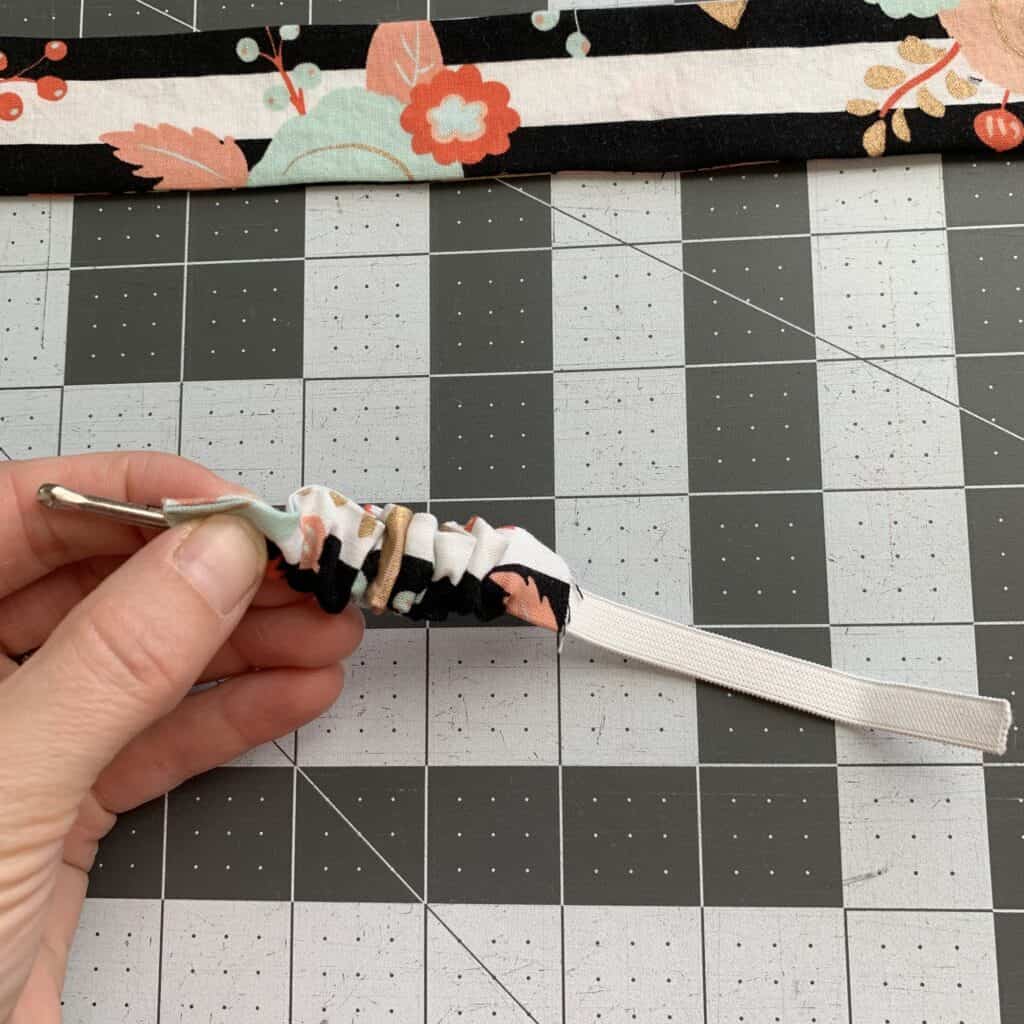
Stop pulling the elastic through the casing when the end of the elastic without the bodkin/safety pin is even with the raw edge of the fabric.
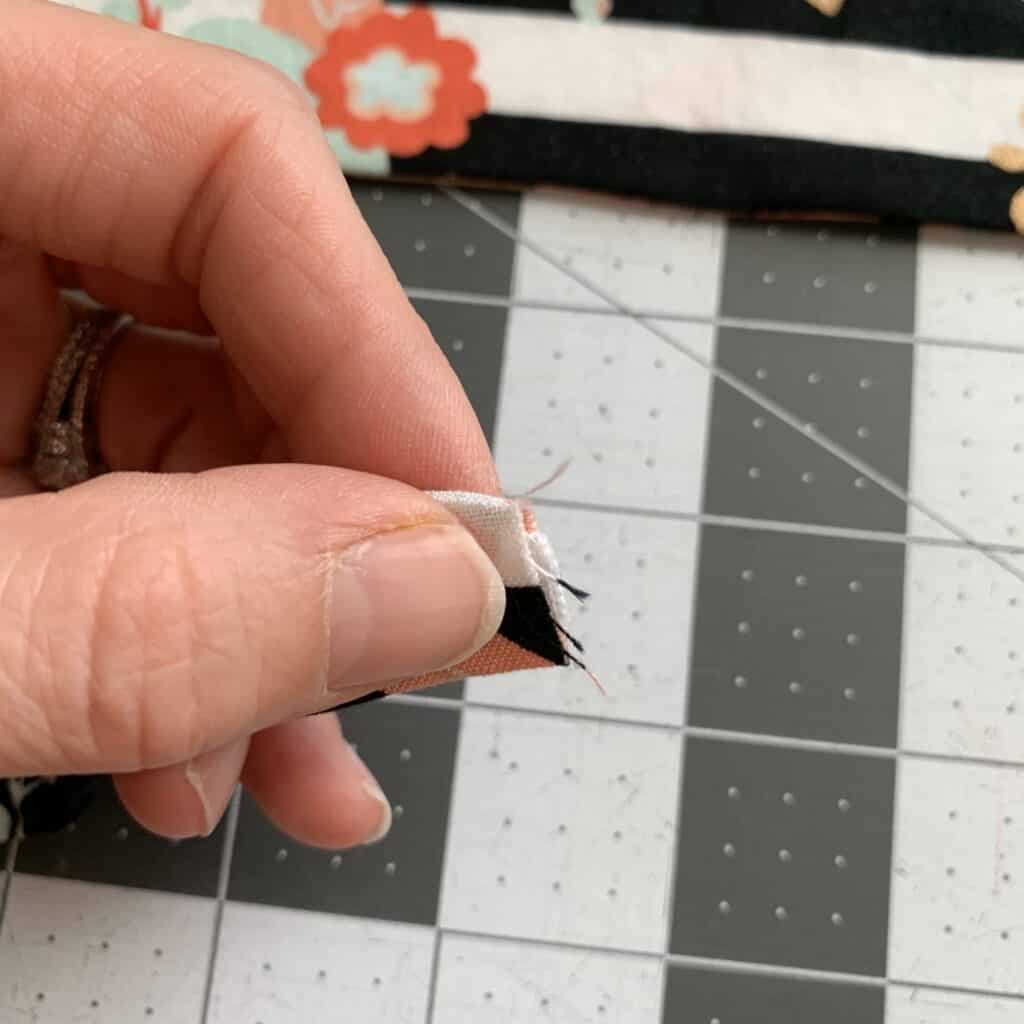
Sew in place, backstitching and sewing back over the stitches several times to strengthen.

Repeat with the other side, pulling the bodkin/safety pin out just enough to hold it in place as you sew. You don’t want the elastic springing back into the casing before you can sew it in place!
The casing is finished! Almost done!

Step 6. Attach the two pieces together
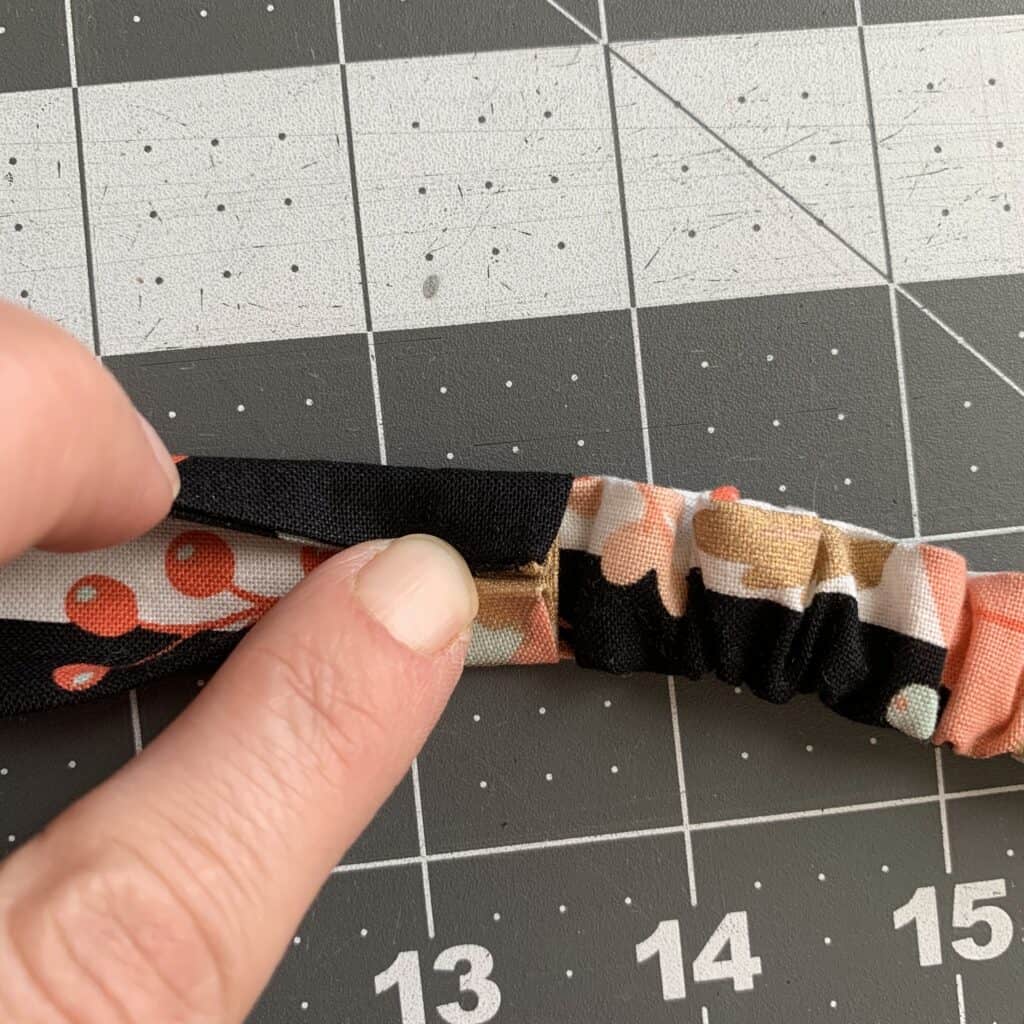
Slide one end of the elastic/casing into one end of the headband 1/2in. I recommend making sure the sides with the seams are both facing the same direction.
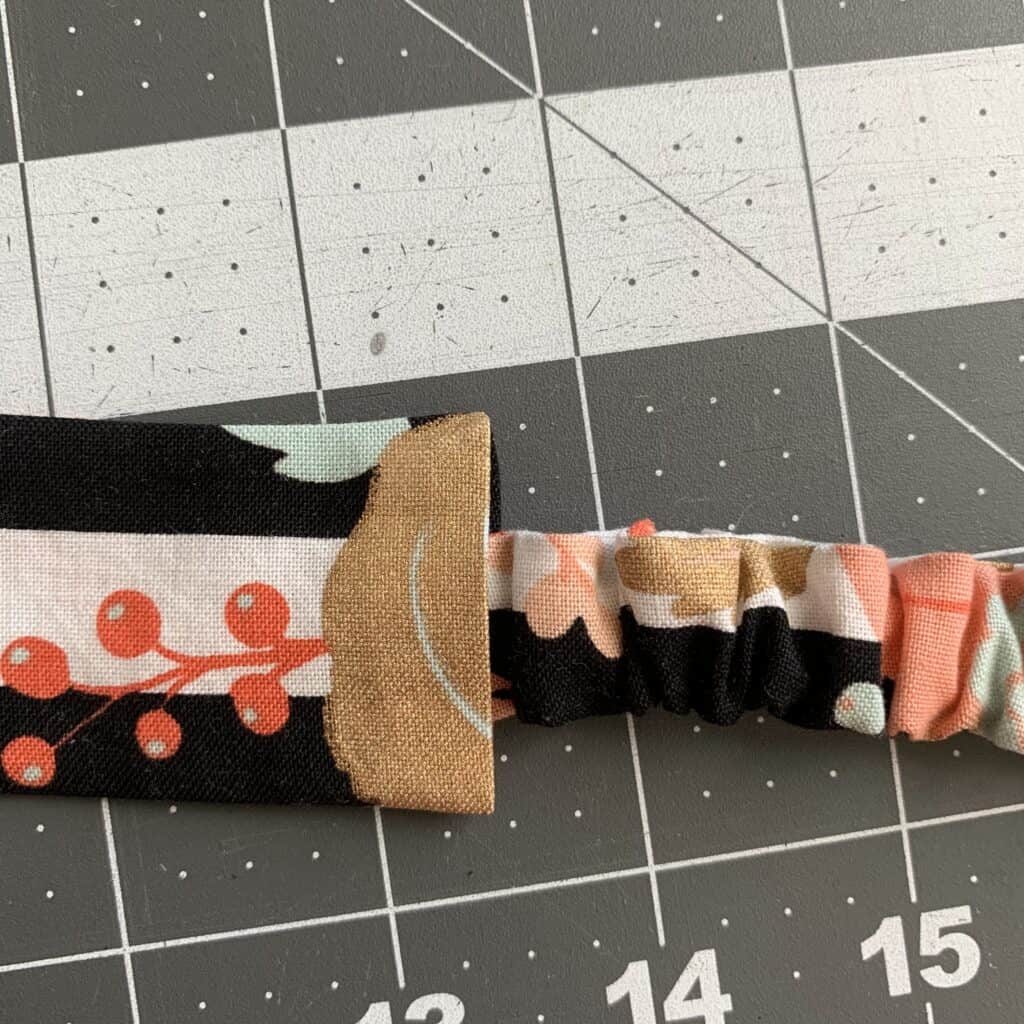 Fold the extra fabric over…
…and pin in place.
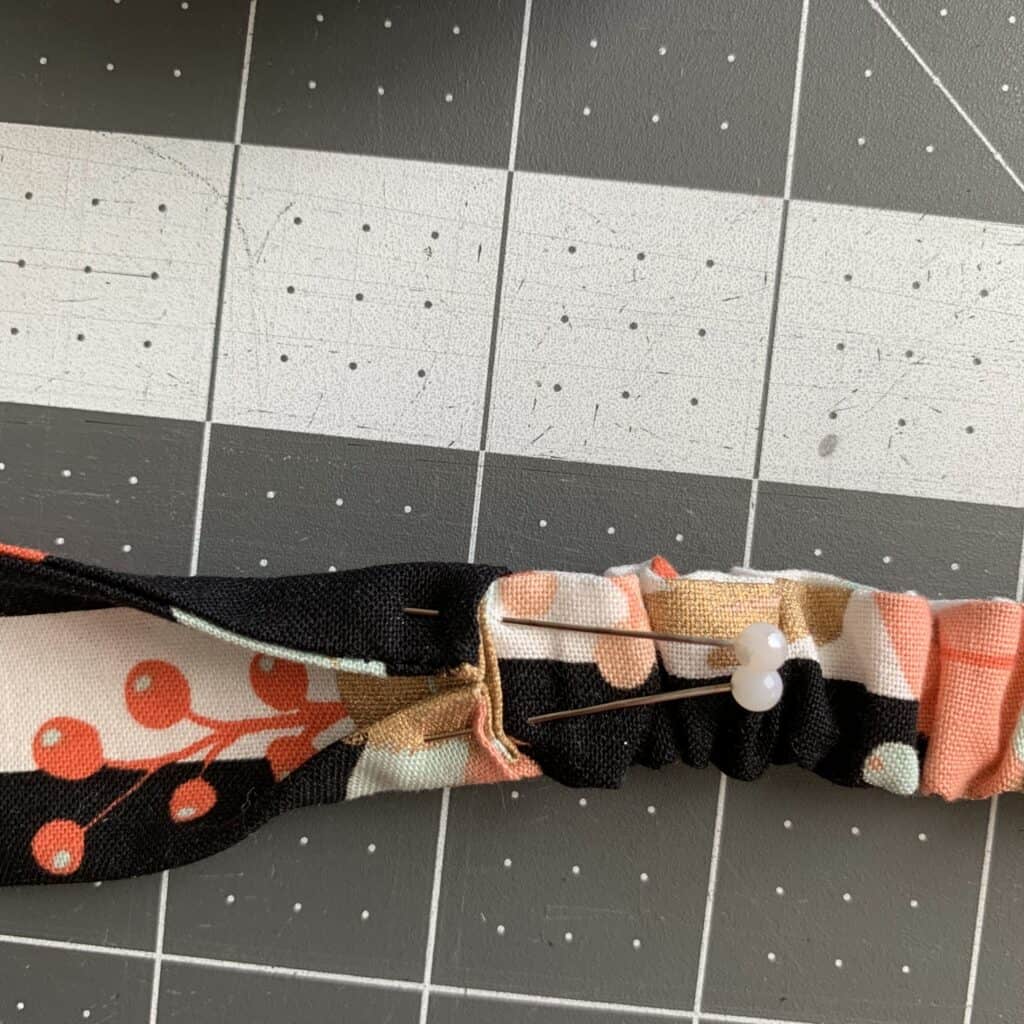
Repeat with the other side.
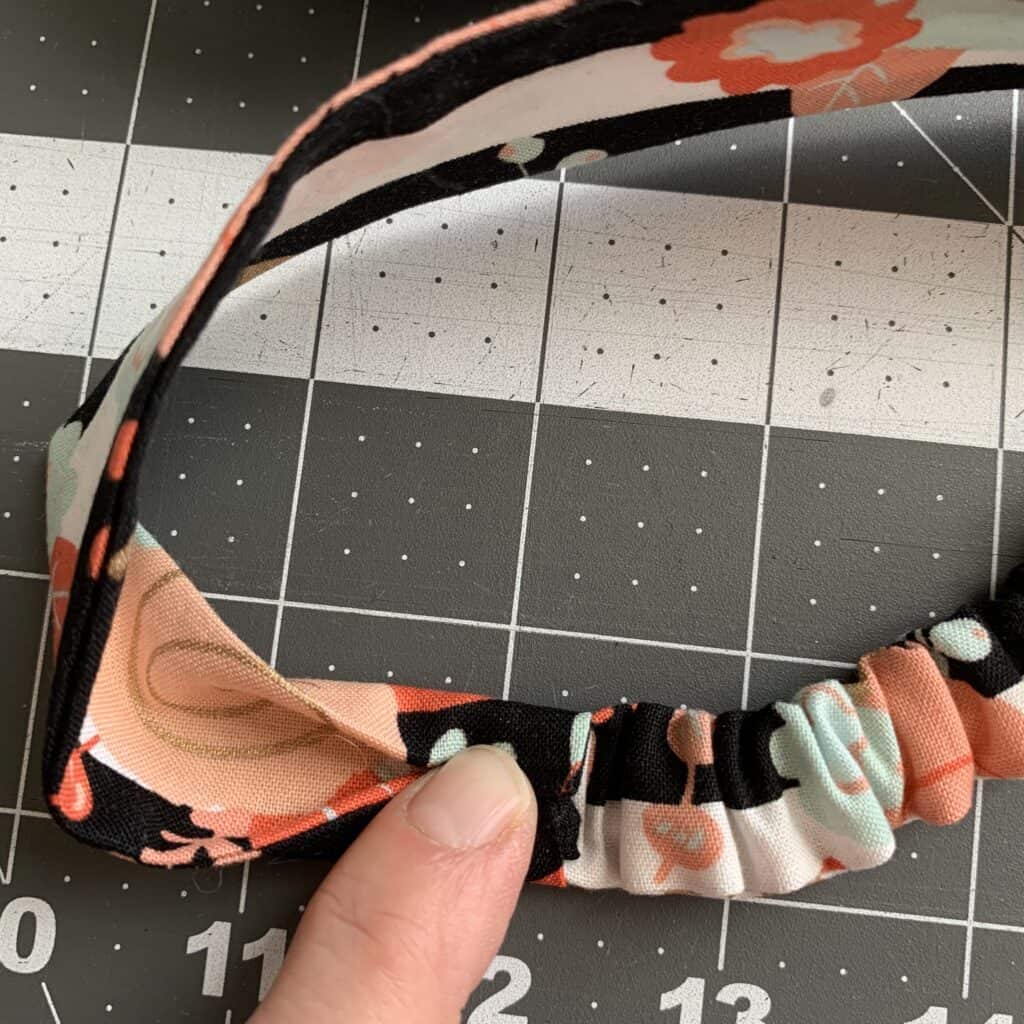
Before you sew, make sure the DIY headband isn’t twisted or folded the wrong way.
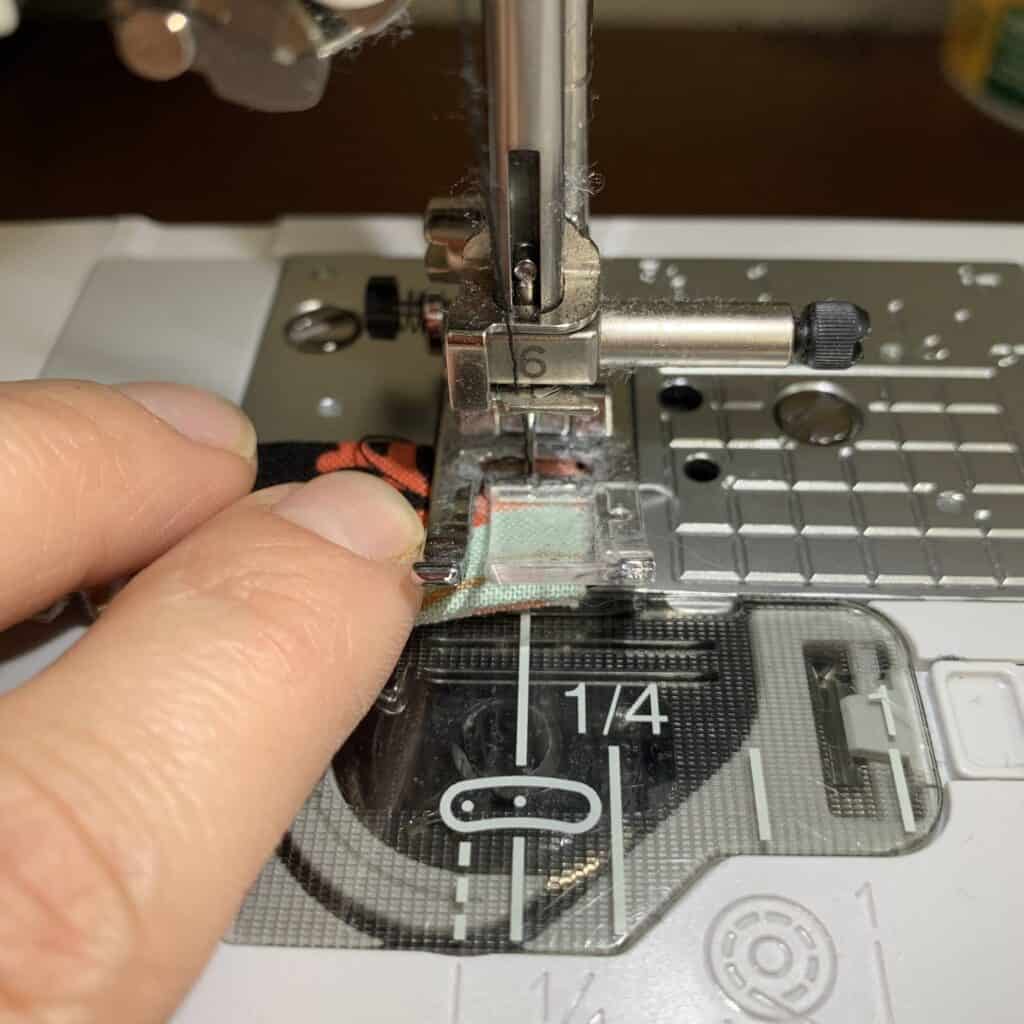
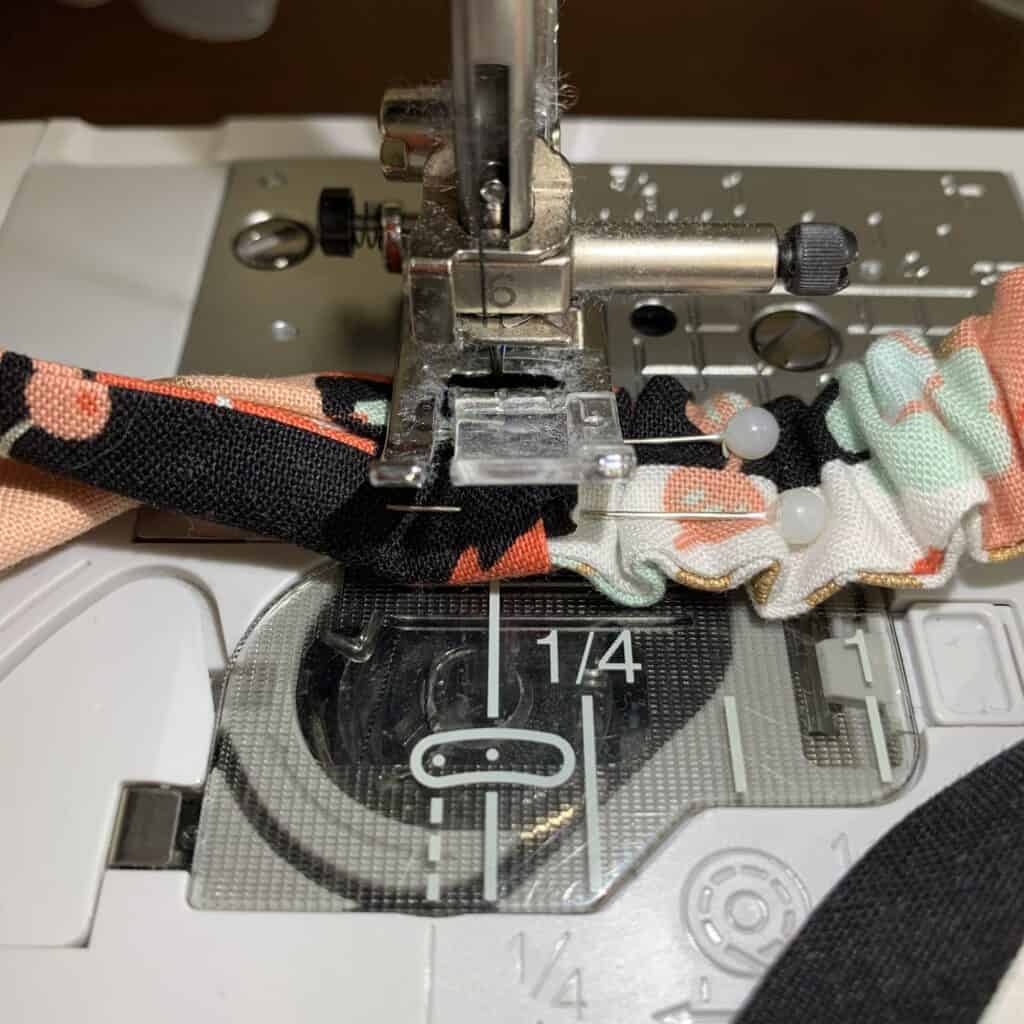
Step 7: Sew
Sew across the pinned sections several times to ensure they have a good, strong hold. Be sure you catch the elastic/casing as you sew!
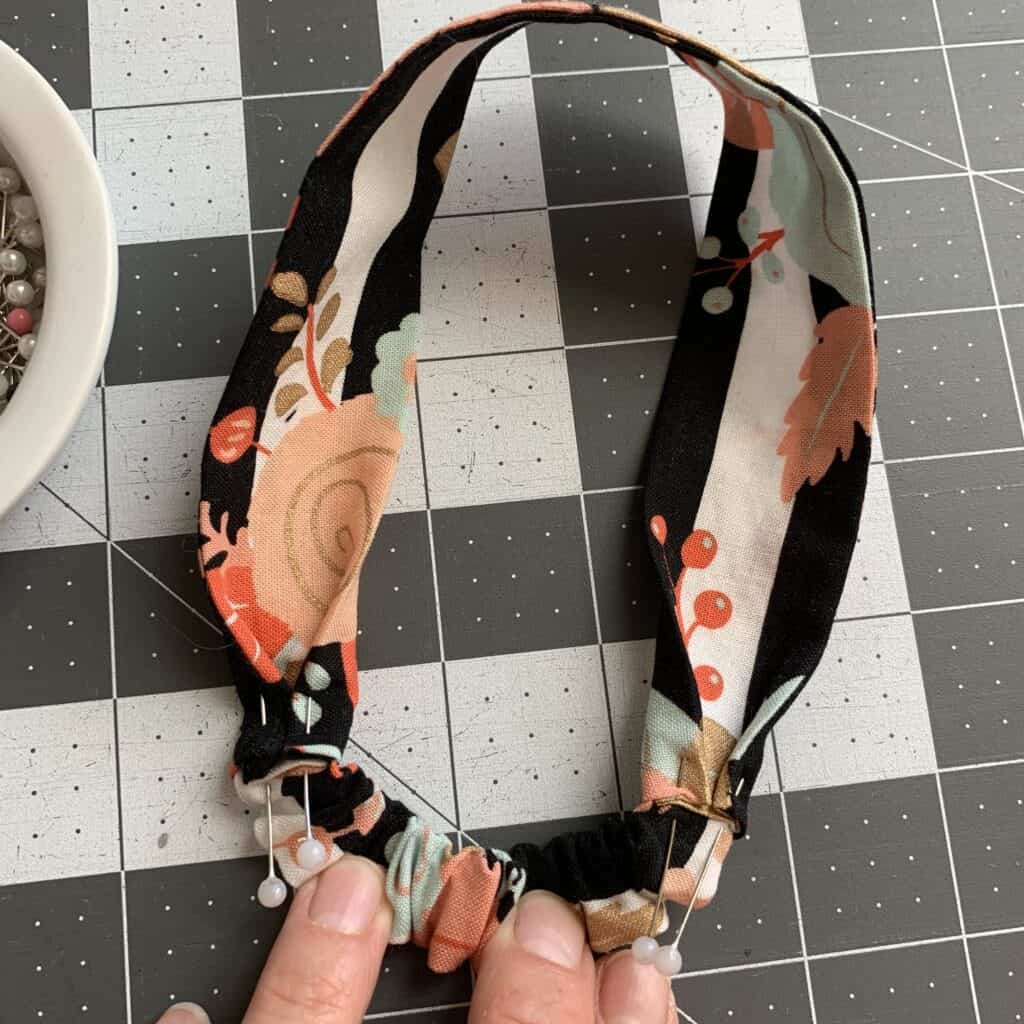
And there you have it! Your headband is finished!
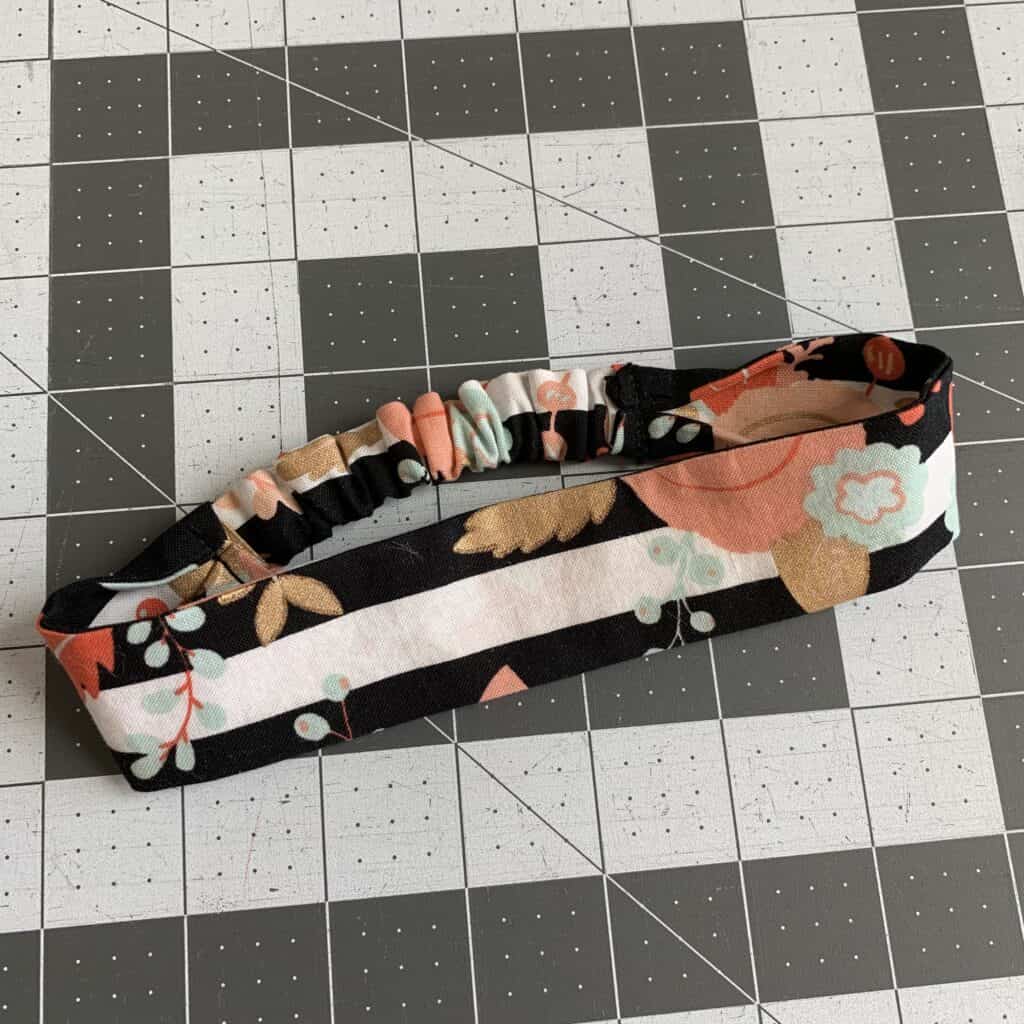
If its too small, you can unstitch the last part and created a longer elastic/casing part. and if it’s too big, you can shorten that part as needed. Super easy!
Thank you for joining us to learn how to make an elastic headband! To see what’s new with Peek-a-Boo Pattern Shop or get help with your sewing projects, join our Peek-a-Boo Pattern Shop Facebook Group.