How to Sew a Leotard by Upcylcing Leggings | Ballet Leotard Pattern
Hey sewing friends! It’s Bonnie from Sew Love You again here to show you how to sew a leotard. The Ballet Leotard and Dress released and I’m here to share one of my favorite sewing secrets! My oldest daughter is a teenager and I’ve sewed approximately one million leotards for her over the years. She’s danced since she was three and I started sewing around the same time she was born. When she was younger, one of my favorite sewing hacks was upcycling women’s leggings into leotards. At that time, patterned and colored leggings were all the rage. Now I’m sewing for my youngest daughter who just started taking dance classes. I’m excited to use this sewing hack again!
How to Sew a Leotard Using a Pair of Leggings

Although patterned leggings aren’t as popular today, you can shop thrift stores to find leggings or maybe even your own closet. You can also find them relatively cheap at regular stores. Walmart is usually my go-to. Although prices have gone up in 10 years, I can still usually find them for under $7 or on clearance for $3-$4. Since the Ballet Leotard doesn’t require any elastic, the leggings will be your only supply. That makes for a pretty cheap leotard!
What to look for
When looking for leggings to upcycle, you need to make sure they have the required stretch for your pattern. TheBallet Leotard pattern requires knit fabric with 50% 4-way stretch. Most leggings should fulfill this requirement, but it doesn’t hurt to double-check. Fabric content and recovery are important. Most leggings should have a decent amount of spandex, but always double-check the fabric content and stretch the leggings to check for recovery. Leotards are meant to have negative ease and good stretch, just as leggings would, which is why they are a great option for this project.
To get the most bang for your buck, you also need to look for the biggest leggings you can find. I try to look for at least sizes XXL to XL. The bigger the leggings, the more fabric you’ll have to work with and the larger size leotard you can make.
Remember that if your leggings have a directional print, you’ll need more fabric. You’ll also need more fabric for sleeves. Additionally, you’ll want to find leggings that only have an inseam seam and not a side seam. You DO NOT want leggings with a side seam unless you want a seam running up the front and back of your leotard. That wouldn’t be very comfortable to the child.
Last, if you're using brand new leggings, you will want to pre-wash them before sewing, just as you would fabric. Wash the leggings in the same way you will wash the leotard later.
Deconstructing the Leggings
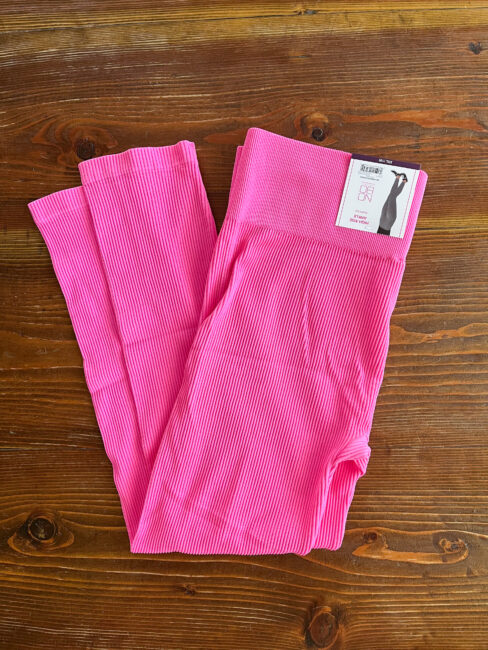
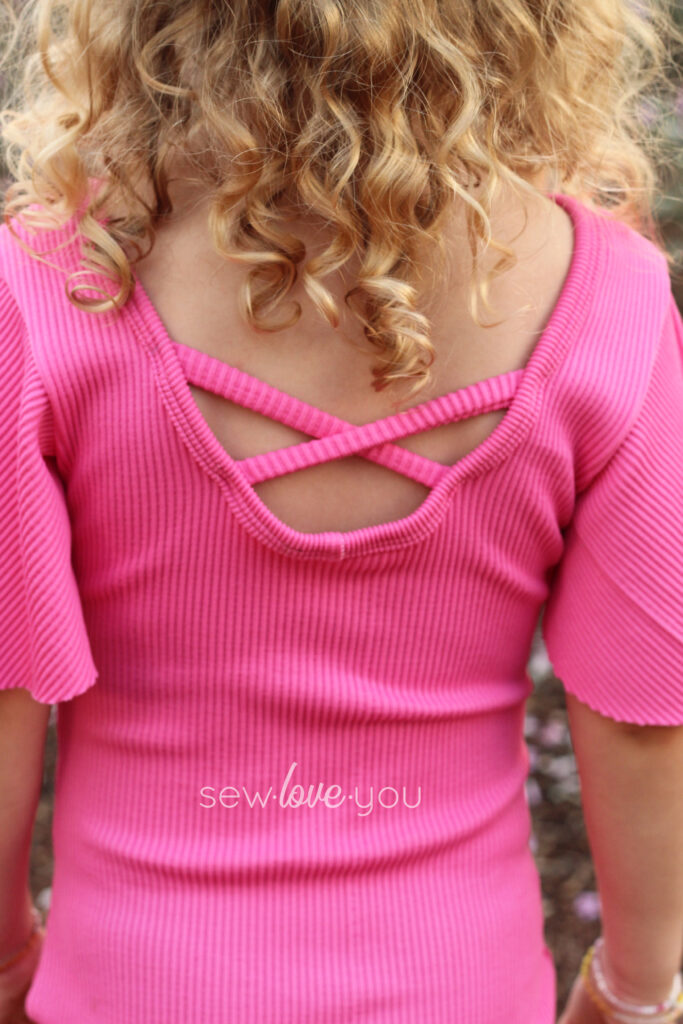
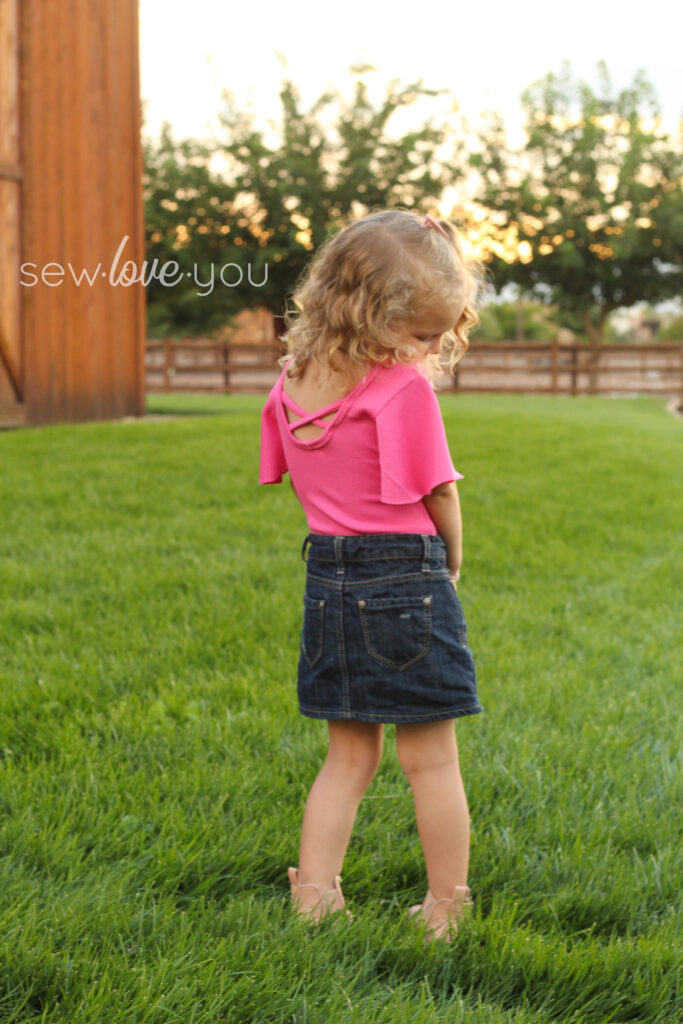
I found the leggings I’m using in this tutorial at Walmart for $11. That’s a little more than I would usually spend, but I loved the look of the leggings and it’s still cheaper than buying a ready to wear leotard of similar quality and price. The leggings are made of a soft ribbed material that is 95% nylon/5% spandex. I bought an XXL size and was able to get a 4T Ballet Leotard with flutter sleeves and cross back straps from the leggings.
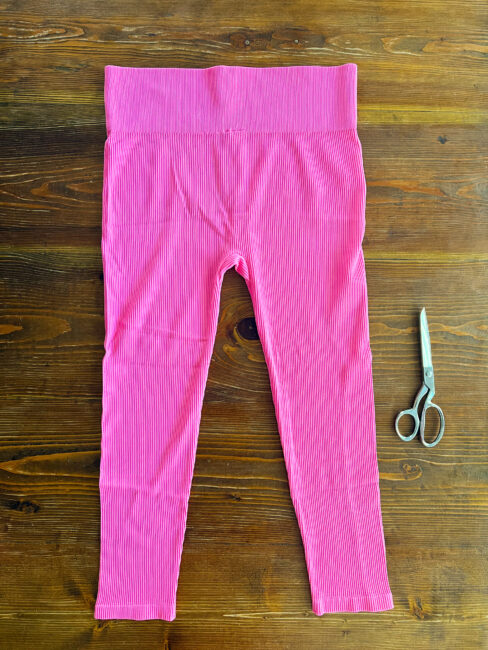
After pre-washing your leggings, lay them out. Many leggings only have an inseam seam. Flip your leggings inside out and cut along that seam line. Use fabric scissors to get the cleanest cut and try to cut as close to the seam as possible.
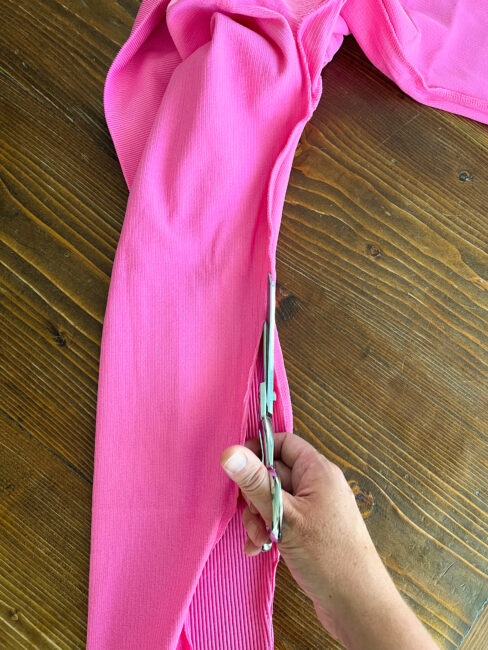
If your leggings have a front and back seam, you’ll also cut there as well. These pink ribbed leggings did not. After that you’ll cut off the waistband. Many leggings have elastic inside the waistband. I unpick the seam, take the elastic out and use it for other pants projects. These pink leggings did not have any elastic in the waistband.
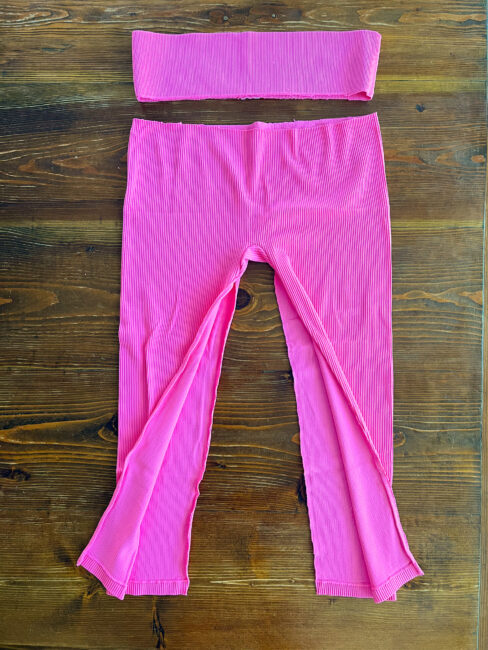
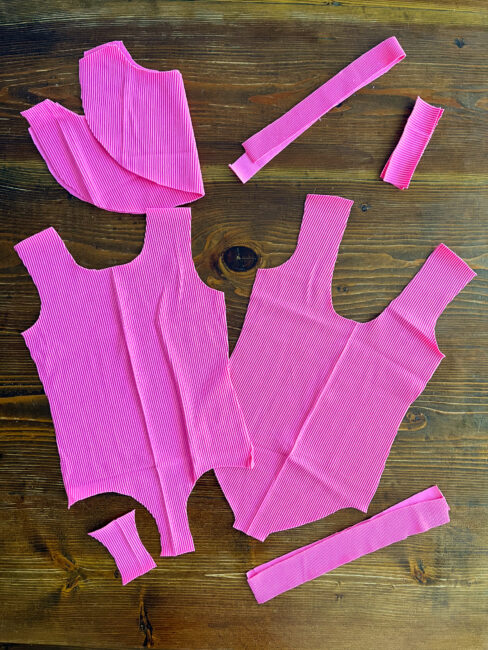
I layed the leggings out and used my projector to cut out the pieces I needed. From the “legs” portion of the leggings I cut the front and back of the leotard, the flutter sleeves, back straps and gusset.
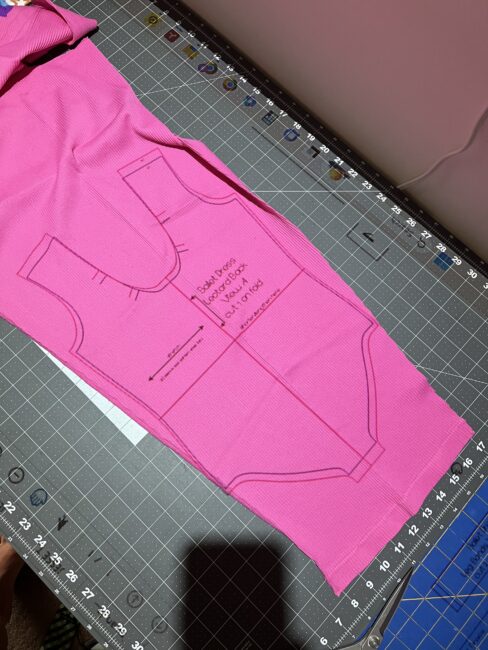
While cutting I noticed that the “ribs” on these leggings were smaller on the waistband. Therefore, I used the waistband of the leggings to cut out the leg bands and neck binding for the leotard.
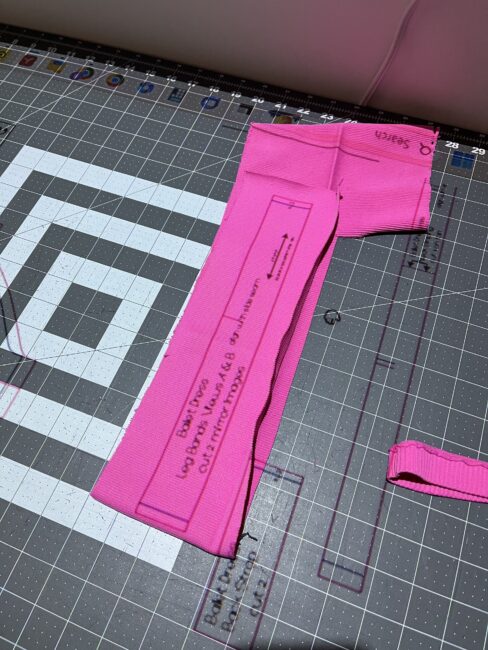
If for some reason your leggings aren’t big enough you can always use fabric from your stash for the leg bands, neck binding and gusset. You could also do the long sleeve or peplum options in fabric from your stash or make a color blocked leotard from several pairs of leotards. The options are endless! Use your creativity and experiment.
Sew The Leotard
Once everything is cut out you’ll sew the Ballet Leotard according to the directions. One of my favorite things about this pattern (besides the flutter sleeve option) is that you don’t need any elastic when sewing this pattern. Which means the leotard will sew up super quick!
I like to batch sew leotards. Cut several out at once and then sew them together assembly line style. It’s not excessive to have a new leotard every week for class, right?!? Haha.
Once you’re done sewing, remember the Ballet Leotard isn’t just for dance or gymnastics. I love using my daughter’s leotards for everyday wear. We like them with skirts, jumpers or skirted overalls. They make a great top, especially with the flutter sleeves. It’s a fun touch!
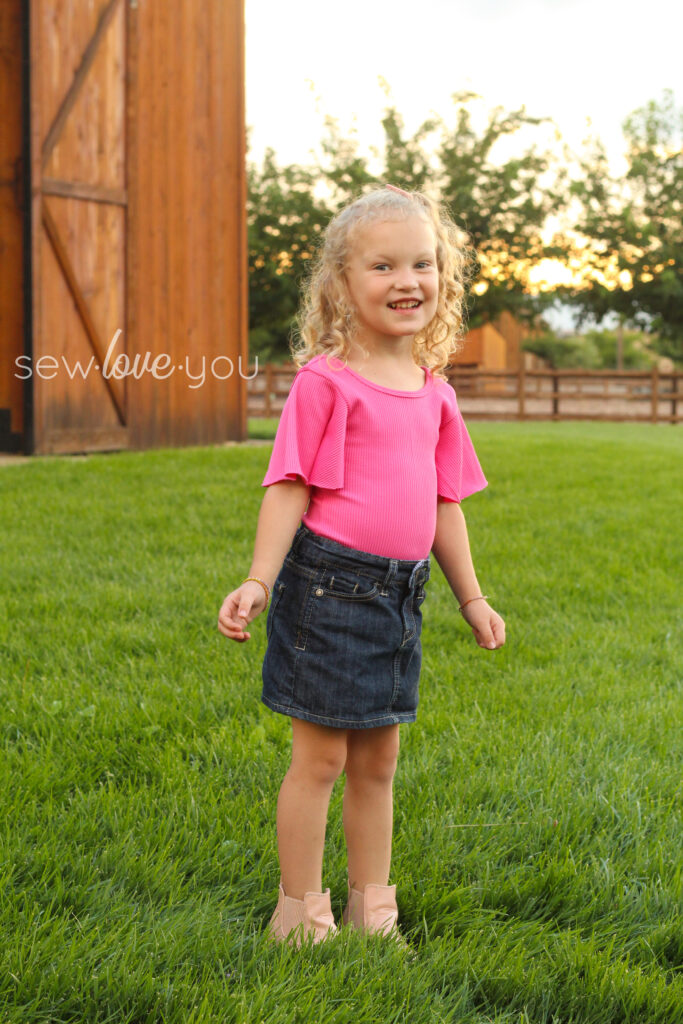
One of my favorite things to do is making leotards for the different seasons or holidays. Some people may cringe at holiday leggings now, but I’m always eyeing to find the cutest prints for a leotard. My daughter thinks it’s super fun to wear holiday leotards to dance. And like I said, they’re fun as bodysuits/shirts as well.
The Ballet Leotard isn’t the only Peek-a-Boo pattern that this hack will work with. The Sun n’ Fun, Swan Lake, Streamline or Marilyn would also make adorable dancewear made from leggings. So what are you waiting for? Grab some leggings and get started today!
![]()

