DIY Unicorn Costume | Sew With the Ultimate Costume Creator
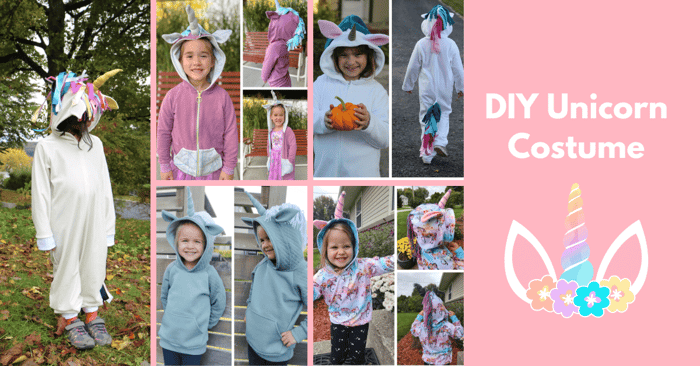
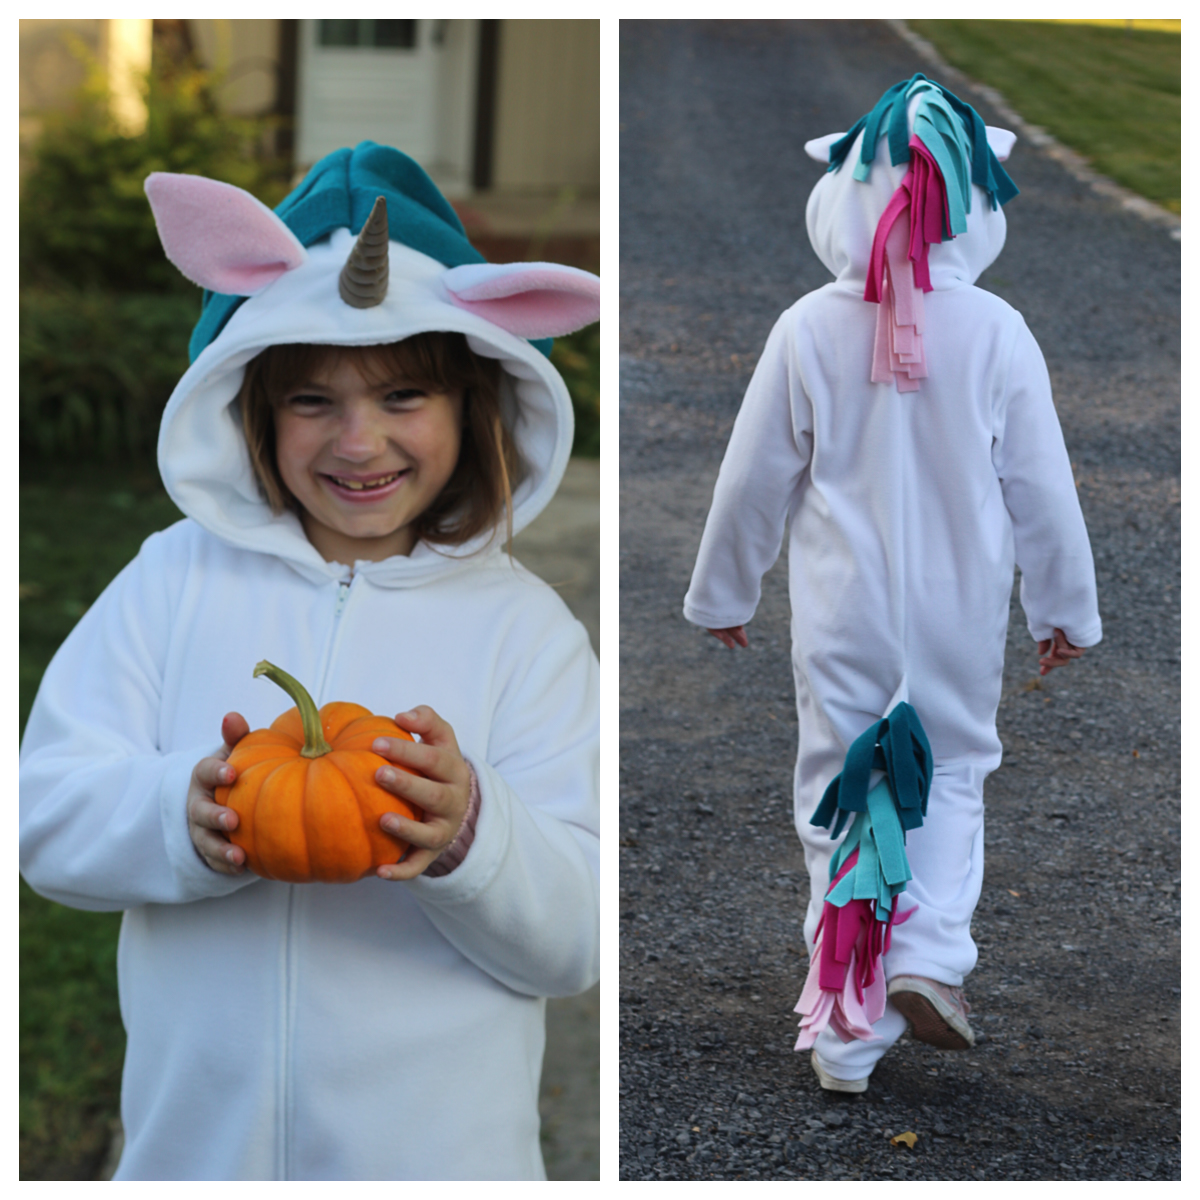
Let's sew a DIY Unicorn Costume today. We have a couple of different options to help you sew a unicorn costume. First, take a look at these fun unicorn hoodies made out of the Wild Thing Hoodie Pattern.
 |  |
Second, Chinmy has gone through and given us a step-by-step tutorial on how she made a Unicorn Costume using the Ultimate Costume Creator Pattern. Here are a couple Unicorns people have made with the ultimate costume creator:
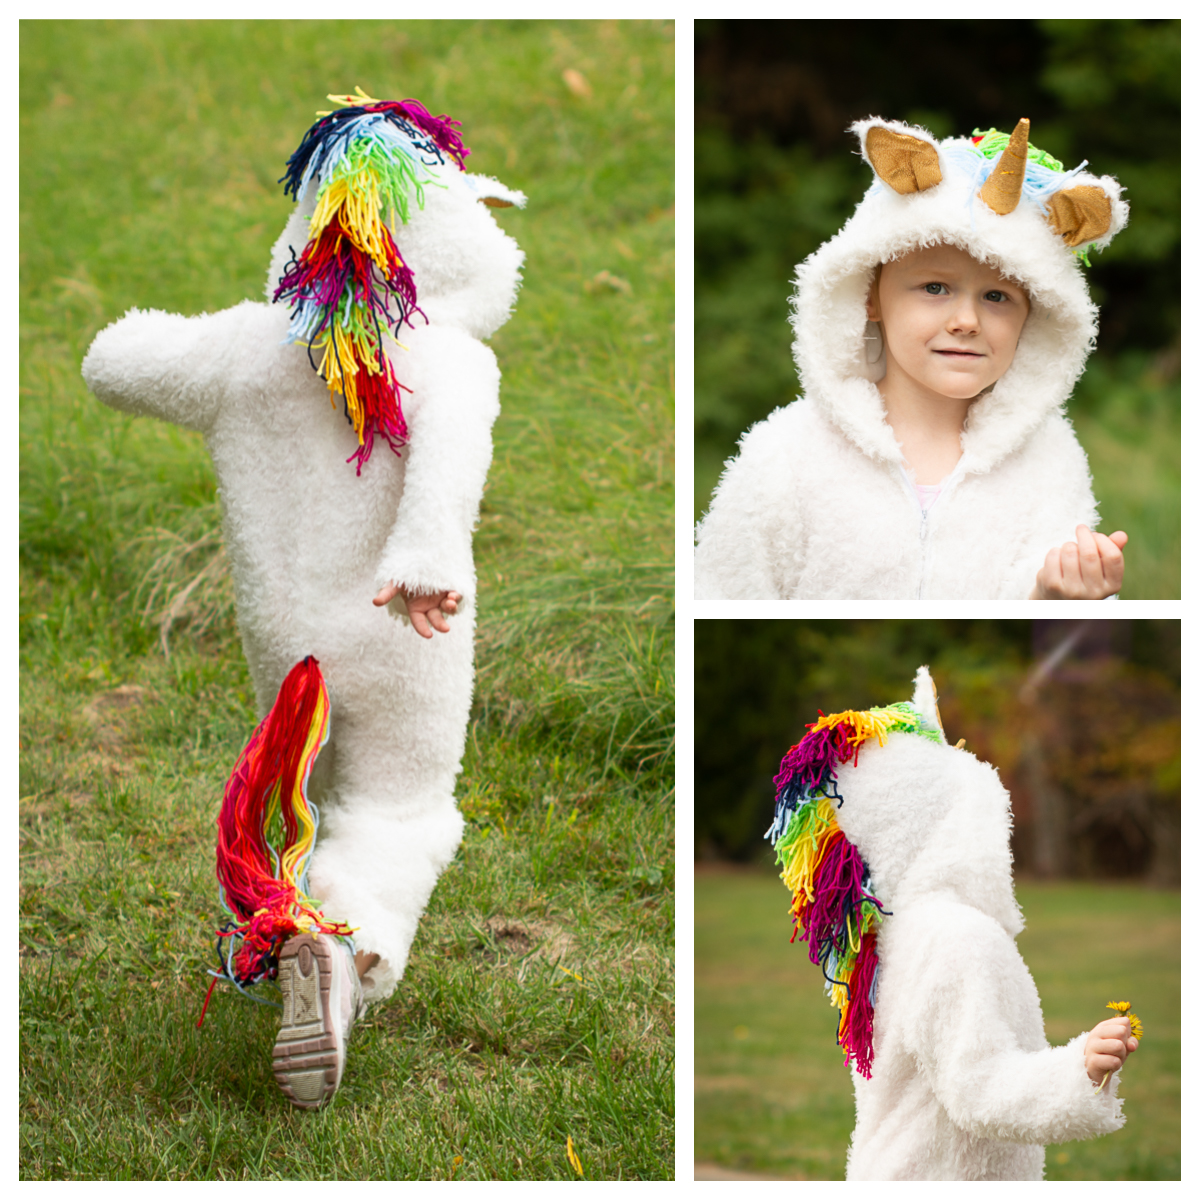 |  |
Step-by-Step DIY Unicorn Costume with the Ultimate Costume Creator
Halloween season is fast approaching, and its time for us to be knee-deep in the costume creation phase if we want to get everything done for the spooky season. Let us dive deep into costume creation!
Peek-A-Boo Pattern Shop has a few costume creation patterns that are so versatile, you can create anything that you need by mixing these patterns. Last year, a mix of regular patterns came to my rescue. This year, it is the Ultimate Costume Creator Pattern. My daughter has requested a very specific costume. She wants to be a Unicorn. Now that is not that unique right? Most every little girl wants to be a Unicorn at some point in their life. But my daughter's request this year is a winged Unicorn. I do have some store-bought wings from their previous costumes, so if I don't have enough time to create the wings from the Wonderland Wings pattern I will still have something ready to go.
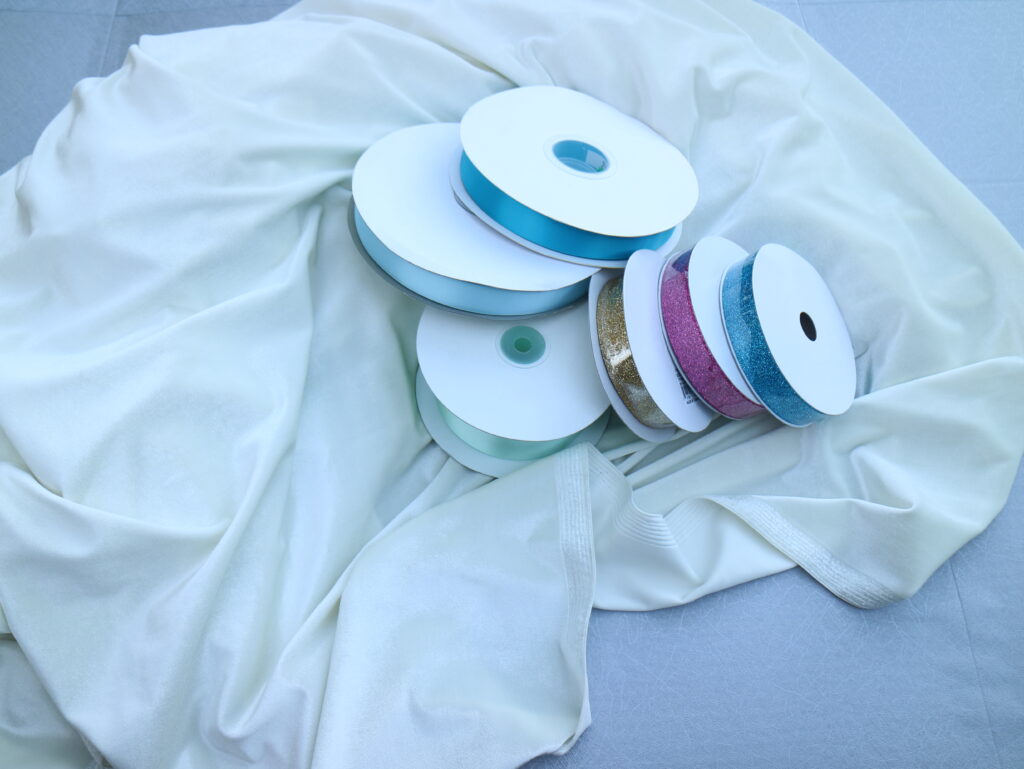
The weather has started cooling down considerably around here we have another month to go. I briefly considered using Sweatshirt Minky in the Ecru Melange from KnitFabric.com, but with all the details I hope to add it would be too bulky to sew through. So I ended up deciding to use white stretch velvet fabric. This won't be easier, but it will be light enough and have the beautiful magical look of the fantasy creature. The stretch Velvet has enough stretch and recovery as the pattern requires, but I might use a tiny bit of rib for the sleeve cuffs.
DIY Unicorn Costume
Unicorn Supplies
Alright, let's get started. We are going to need a lot of supplies, most of it we can find easily in our craft room. And since we are making a Unicorn, we need a few unicorn-specific pieces as well.
- Main fabric - For this pattern, the main fabric can be either medium-weight knits or Woven Fabric. Some suggested fabrics include Fleece, French Terry, Quilting Cotton etc.
- For the Neckband and Cuffs, we need fabric that has at least 30% and 50% Stretch respectively.
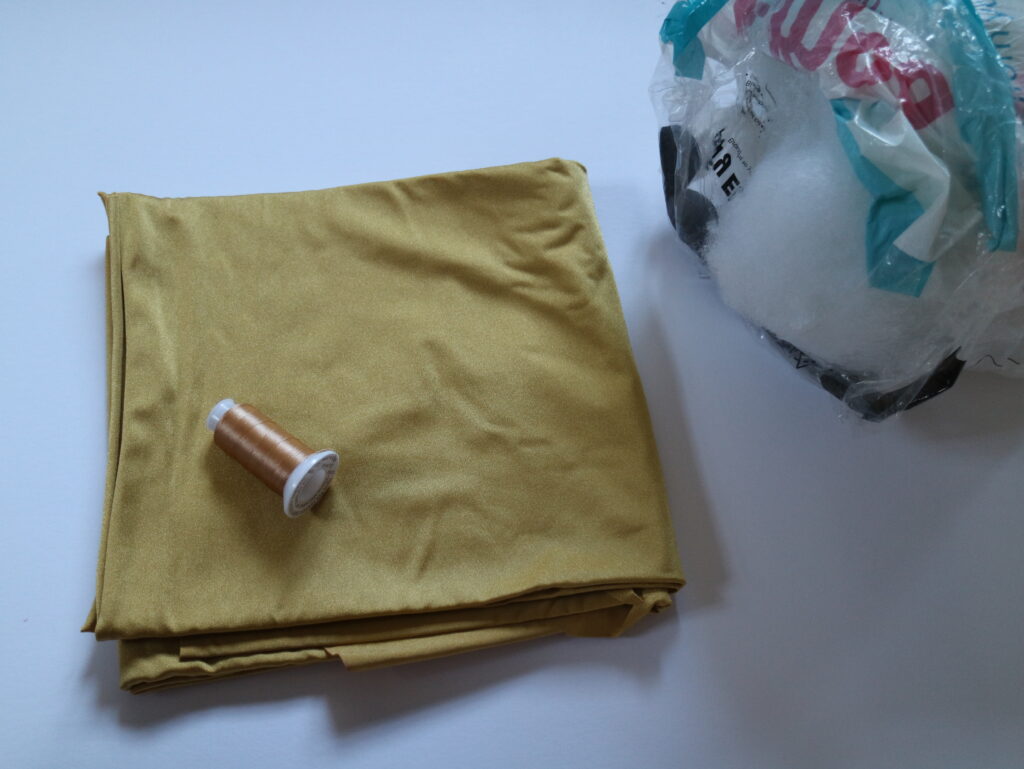
- For the Unicorn horn, the suggestion is Fleece or Felt and embroidery thread to create the spiral detail. I am going rogue and using this golden matte Miliskin fabric I had on hand. This is a sturdier knit that is similar to performance fabric.
- I am making a Size 6 - It will probably be a little longer for my daughter as she is in the starting range of the height chart, but this will give her some longer wear. For a size 6, we need a 16" Zipper with a closed bottom.
- Interfacing to stabilize the details, like neck opening and giving structure to the ears and the details.
- Polyfil for the horn and ears.
- And for the tail and mane, I’m thinking Ribbons. Many many different-sized ones in different colors.
Sewing the Unicorn Costume
Now that we have identified and assembled all of the supplies let us get creating.
- Cutting out all the main pattern pieces.
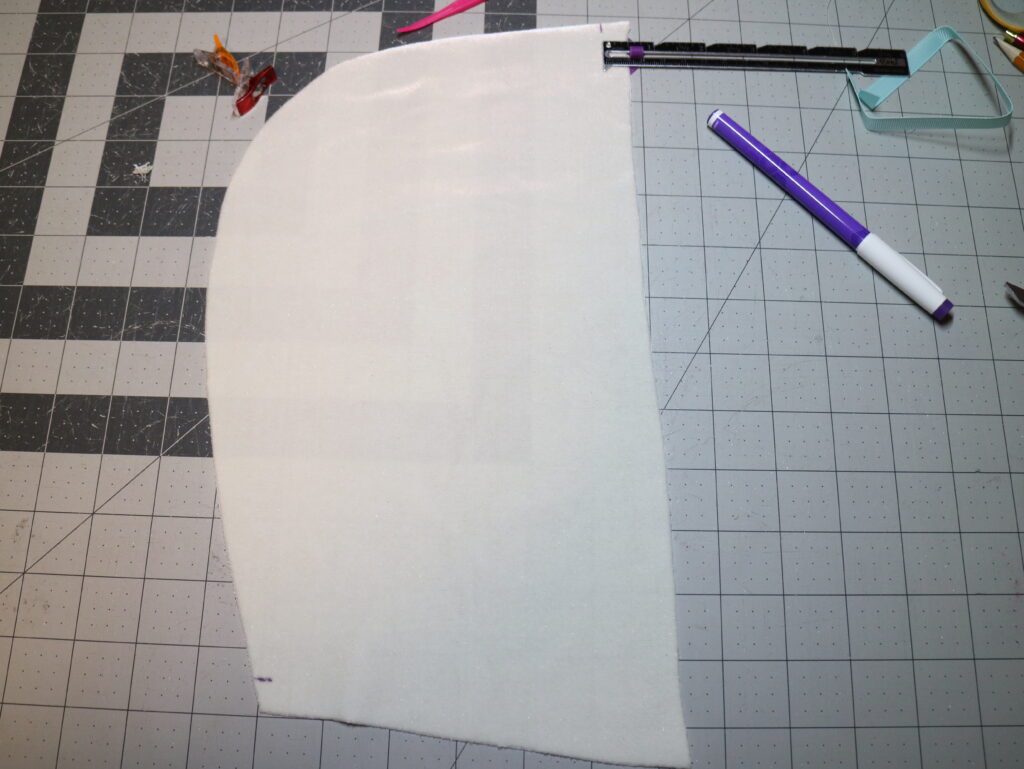
For the unicorn, we need one set of front pieces and one set of back pieces. So, we will cut out one mirror image set of the front and back bodice pieces. If you are using Velvet, minky, or similar fabric, make sure that the nap is in the same direction for all the pieces. I also cut out two sleeves and all the hood pieces. For the sleeve and foot cuffs and the neckband, I am using a cotton lycra fabric.
- Cutting out the details for the unicorn I
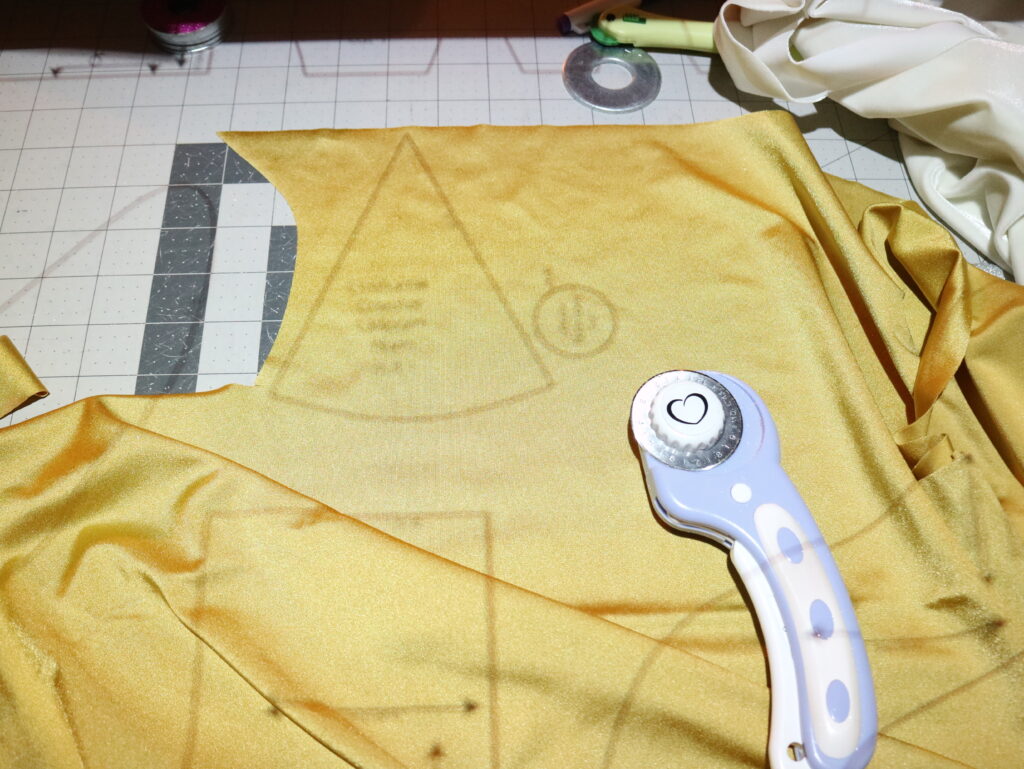
We must cut out 4 of the unicorn/horse ear pattern pieces. I am cutting 2 in the main fabric and 2 in the golden fabric for the inner ear.
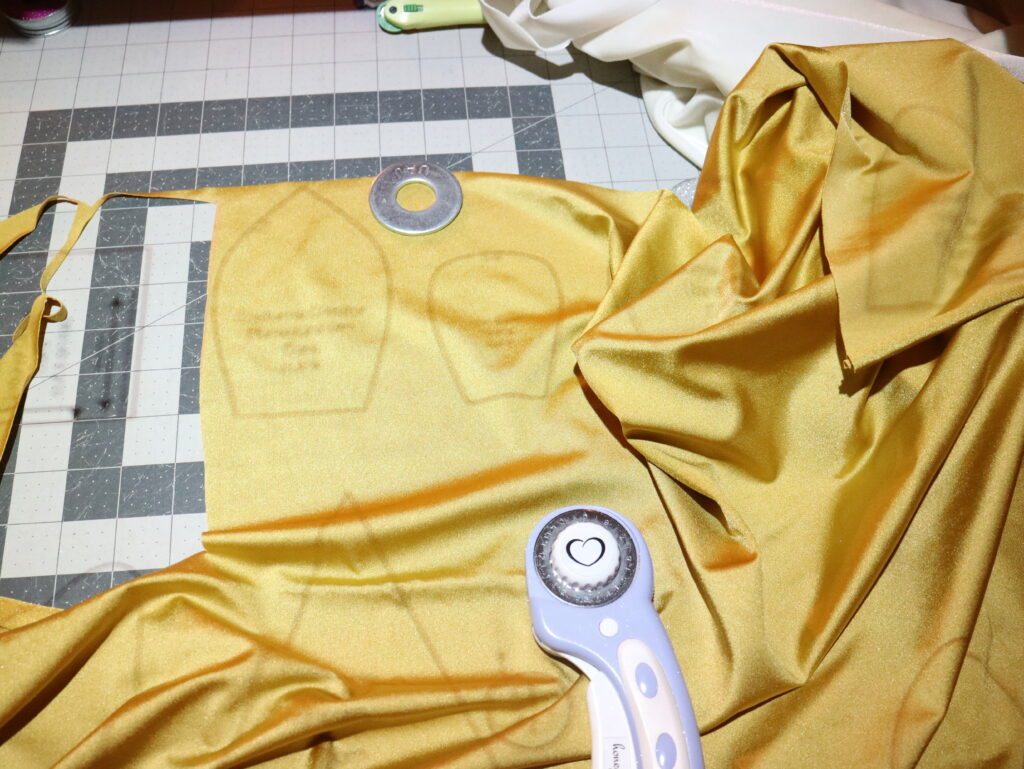
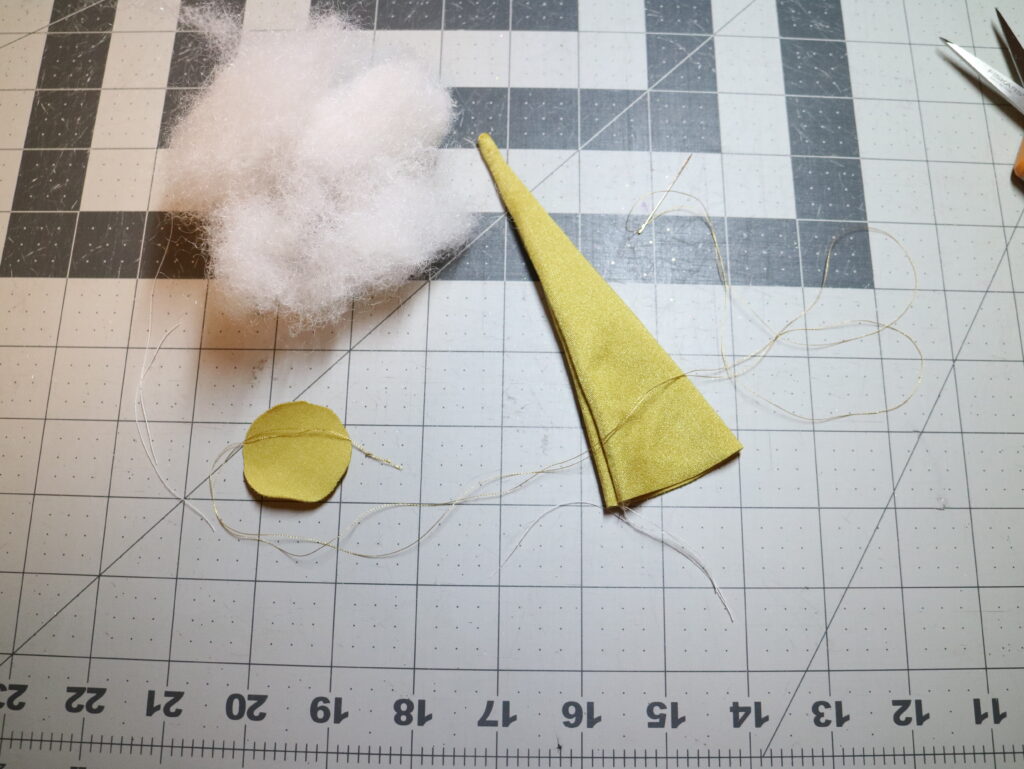
For the unicorn horn, I have to cut one horn piece and one bottom of the horn piece. Since the bottom of the piece is a small round, I decided to trace the pattern and cut with scissors.
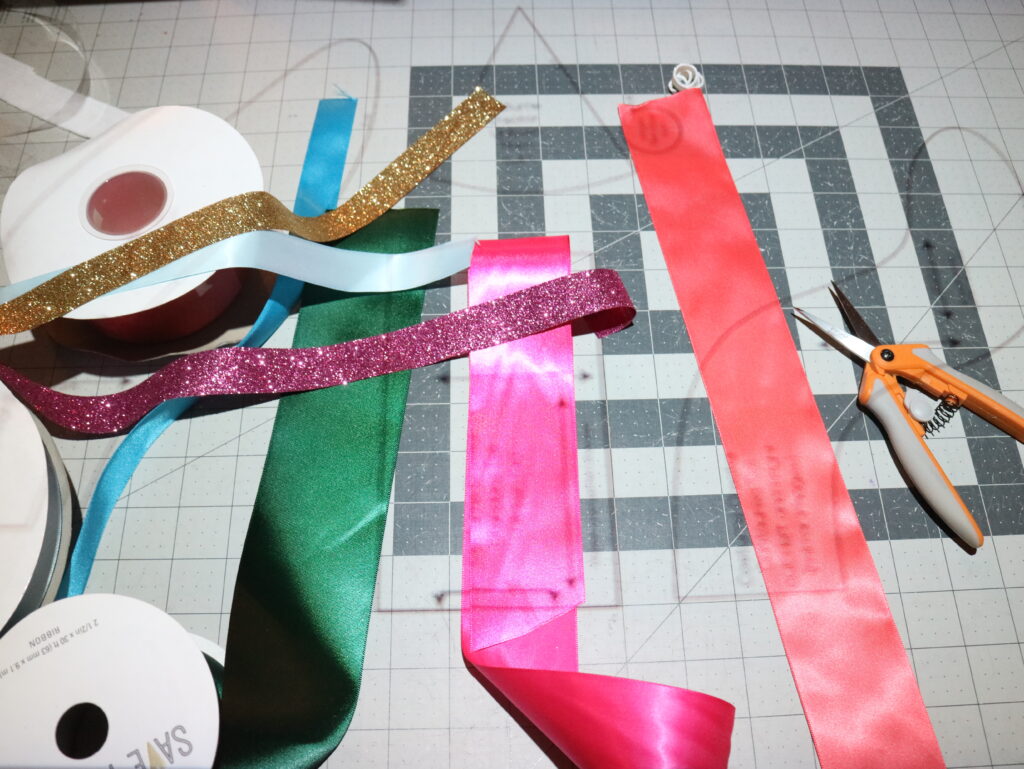
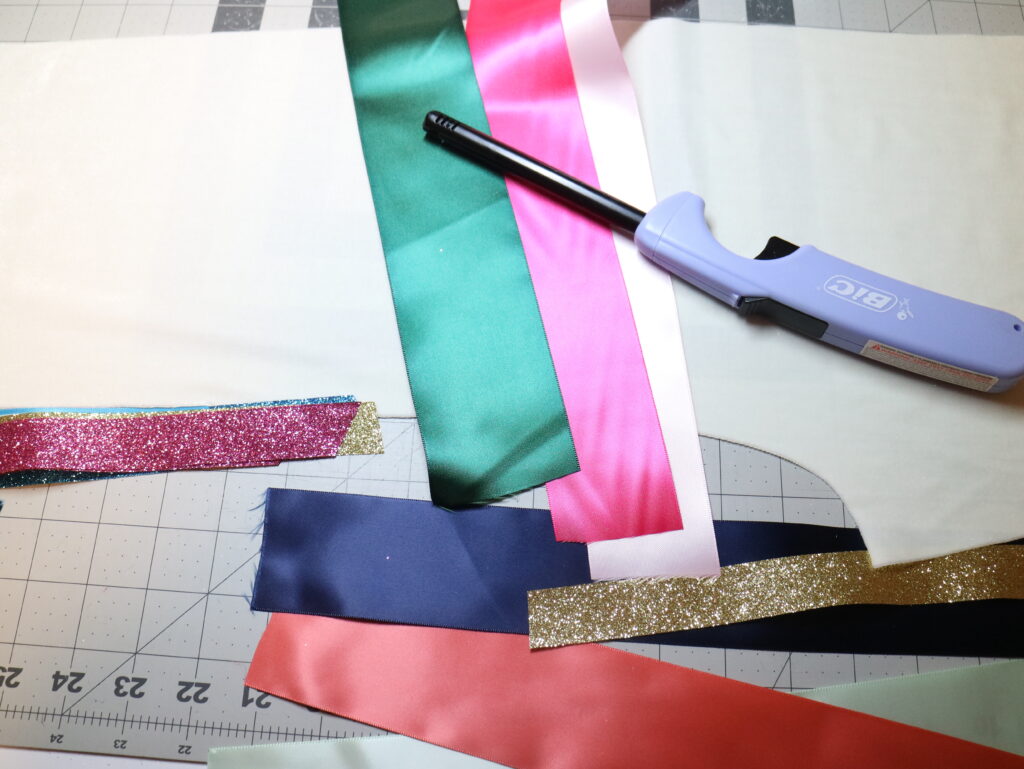
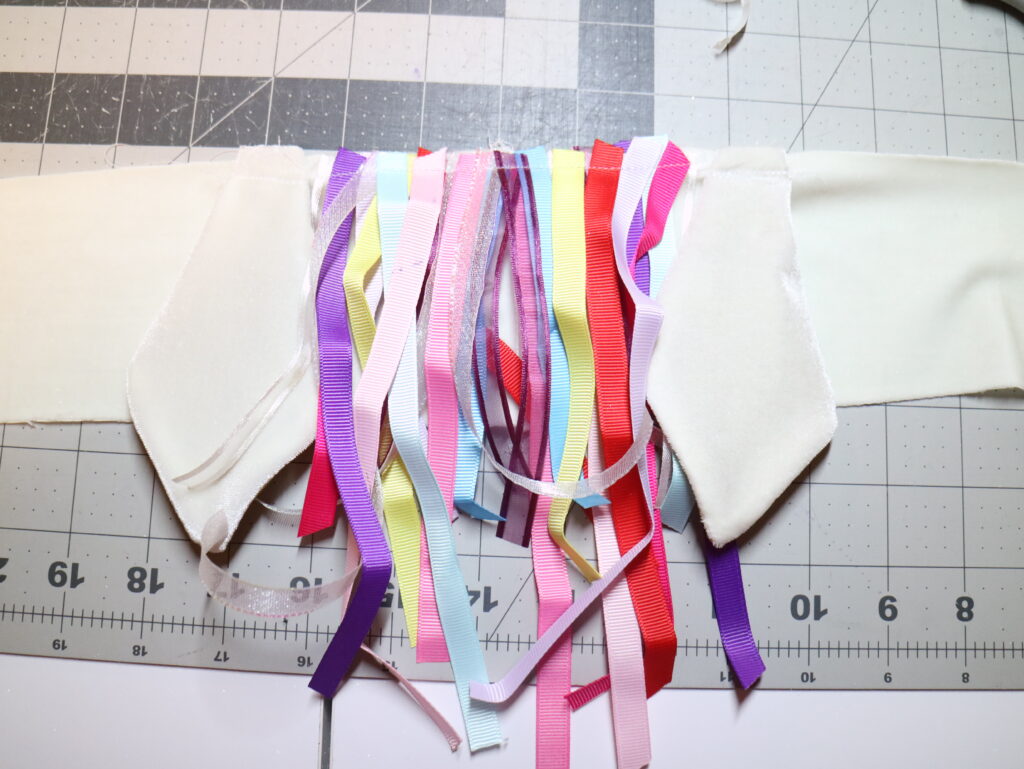
Next up, the Tail and the Mane! We can use fleece, yarn, or ribbons for these. I am using a mix of these glitter ribbons and satin ribbons. I used the pattern pieces for the tail and mane and cut out a few random ribbons in a rainbow of colors. I figured I could always cut more if necessary!
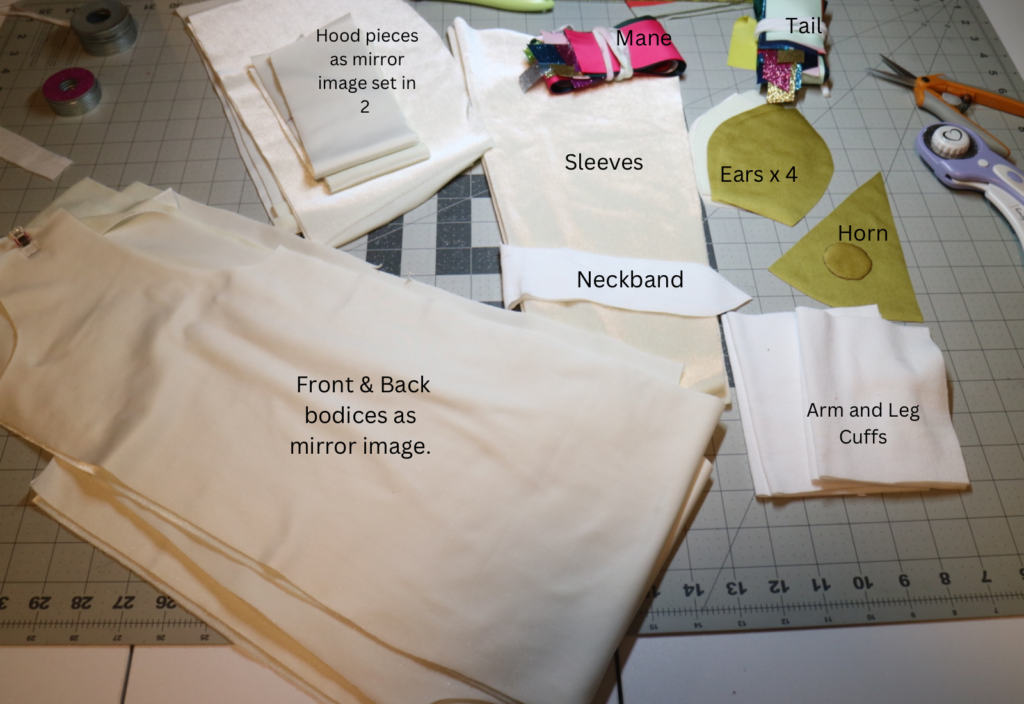
And here we go, we are ready to sew! All pattern pieces are ready to be sewn together. Not pictured are the interfacing, poly-fil, and the zipper. Pictured is an extra neckband I cut out accidentally in addition to the hood!
Sewing the Costume
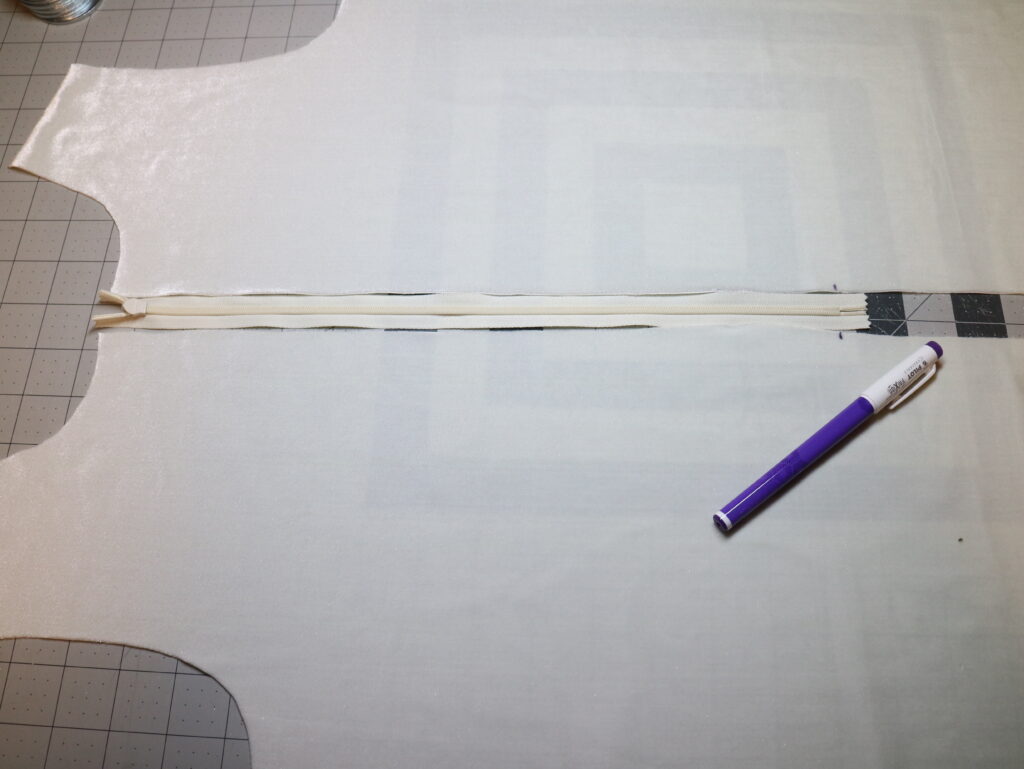
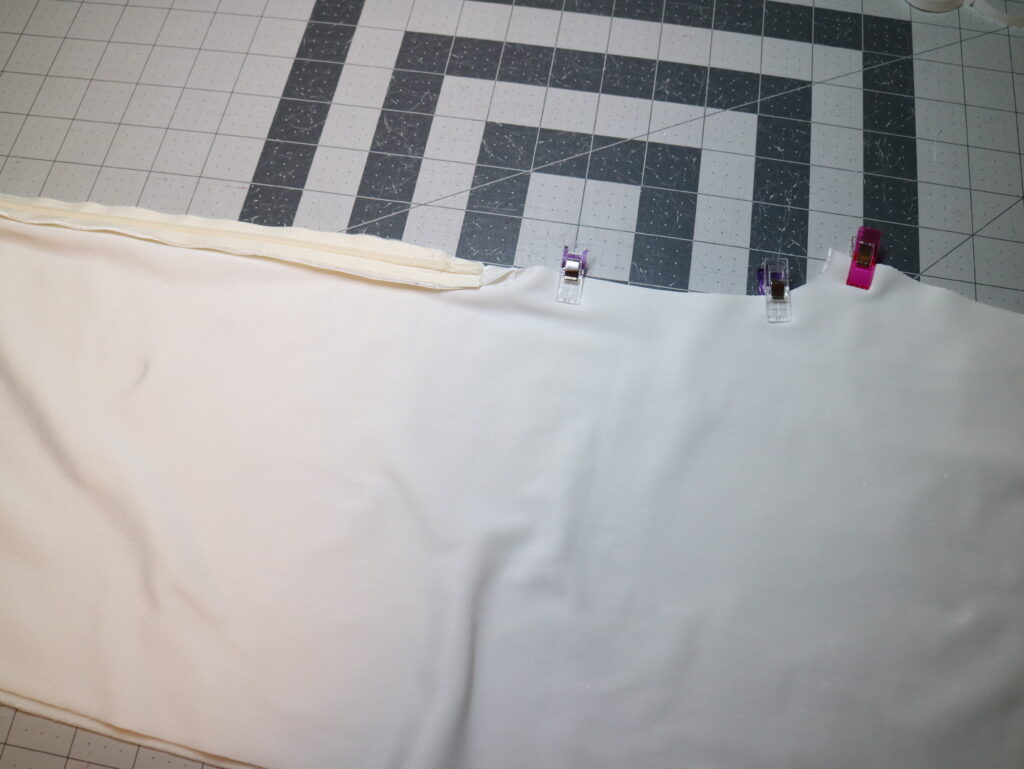
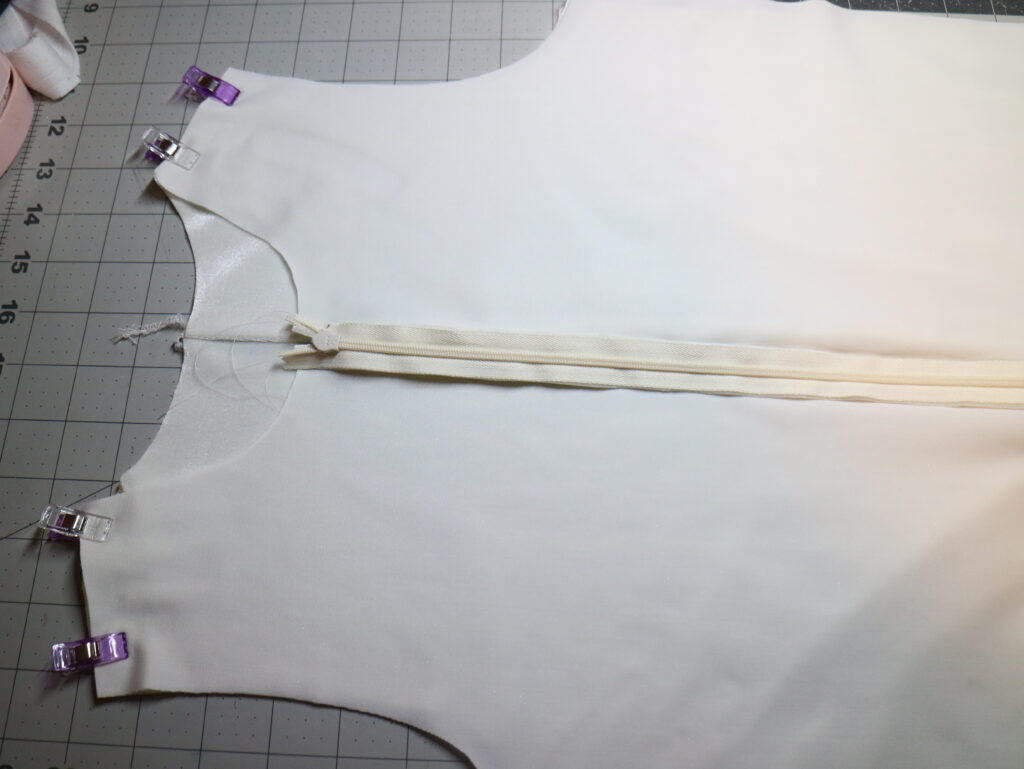
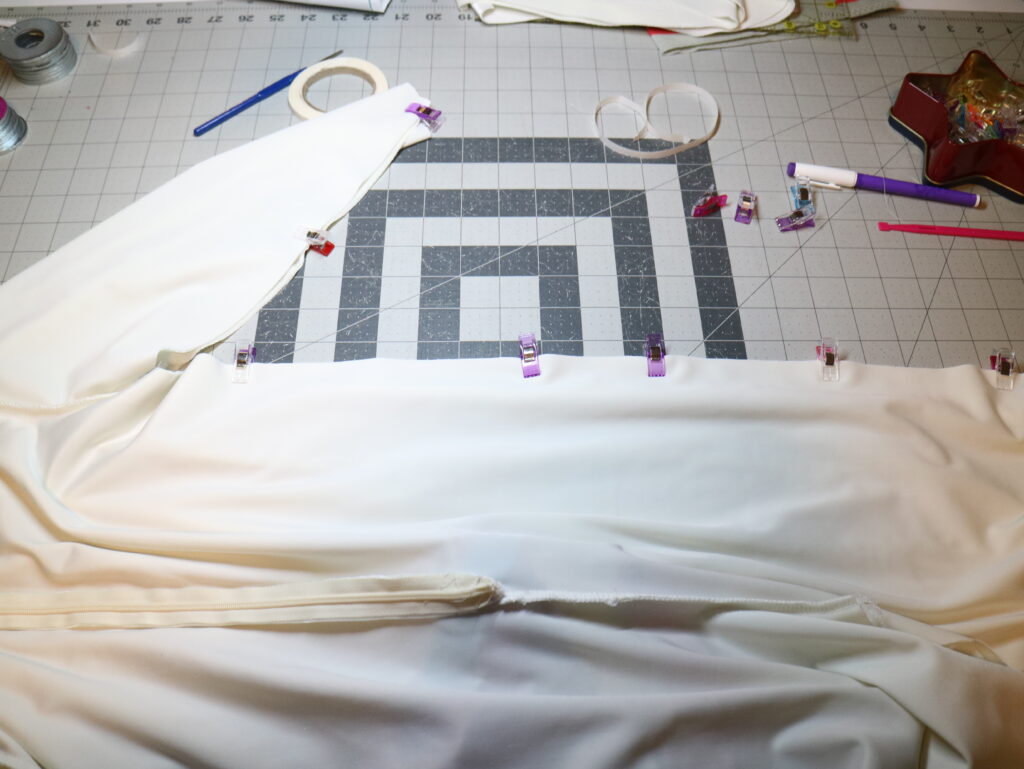
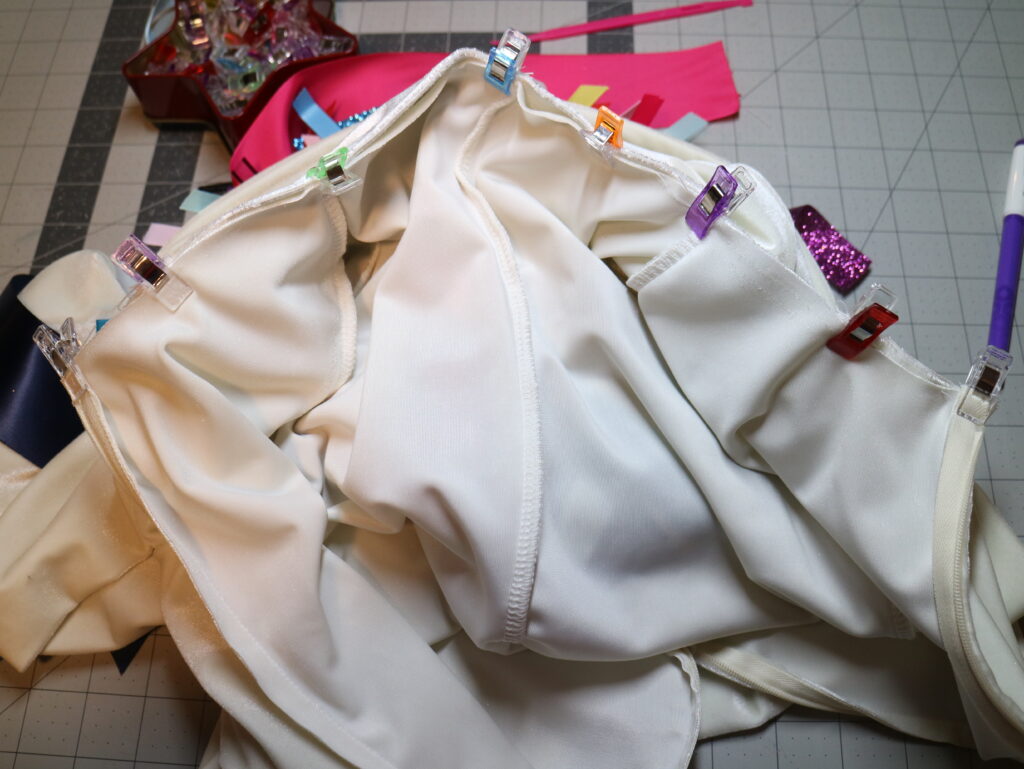
The first step is to sew the zippers in. This pattern calls for the regular zipper and uses a centralized zipper installation technique. But I use an invisible zipper to match the off-white stretch Velvet. The suggested zipper length for this size is 16". And since I am installing the invisible zipper, I didn't follow the pattern directions. Start by laying the zipper along the front bodice piece with the zipper stop aligned half an inch below the neckline. Also, mark where the zipper stops at the bottom of the zipper aligns with the bodice piece. The back of the invisible zipper is pictured here so that you can see where the zipper stop is.
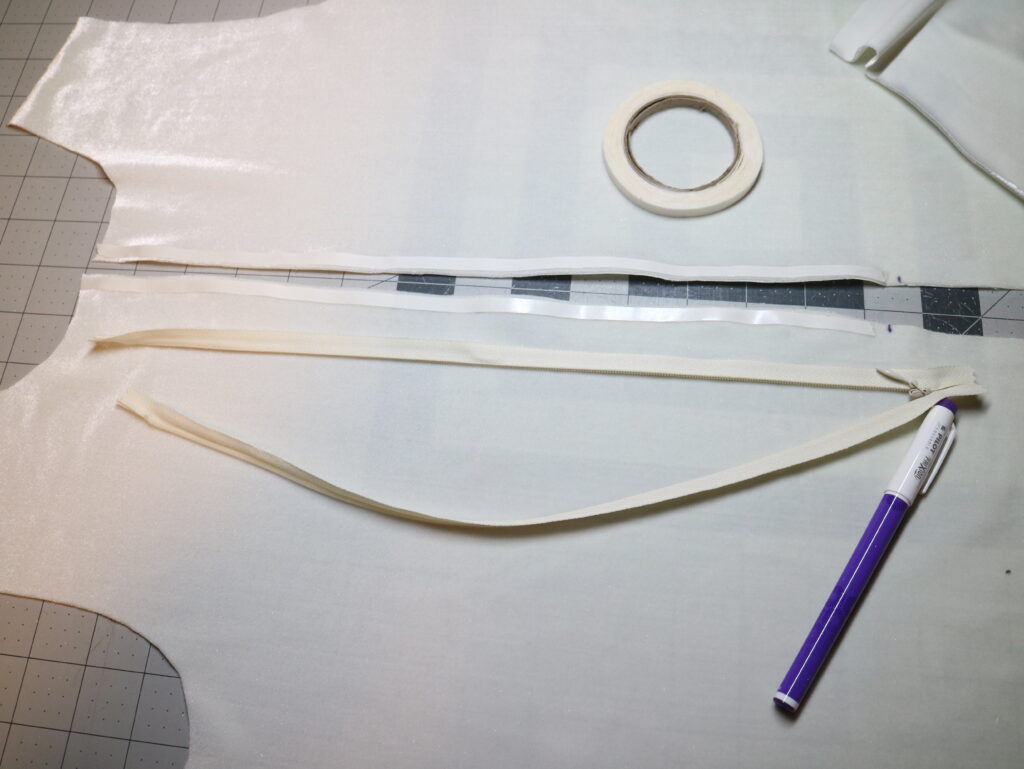
When sewing the zipper onto stretch fabric, I like to use this fusible tape to hold the zipper in place and to keep the fabric from stretching. You can see below that I have applied the fusible hem tape where the zipper is going to be sewn together. Lay the zipper down on one side, so that they are right sides together and sew using a zipper foot and repeat on the other side.
Once the zipper is installed, make sure that the zipper closes and that everything is aligned. If the necklines do not match at this point, apply the zipper. The invisible zipper gives the costume a cleaner finish. But a regular zipper also works perfectly fine if you follow the pattern's instructions as the zipper won't be visible.
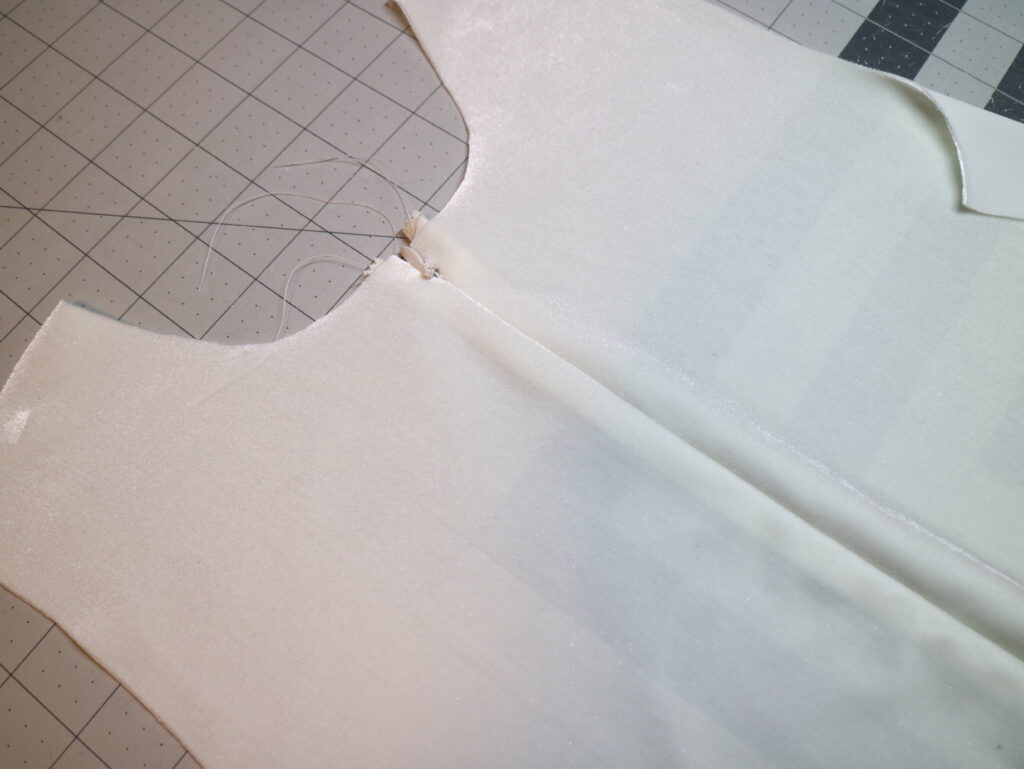
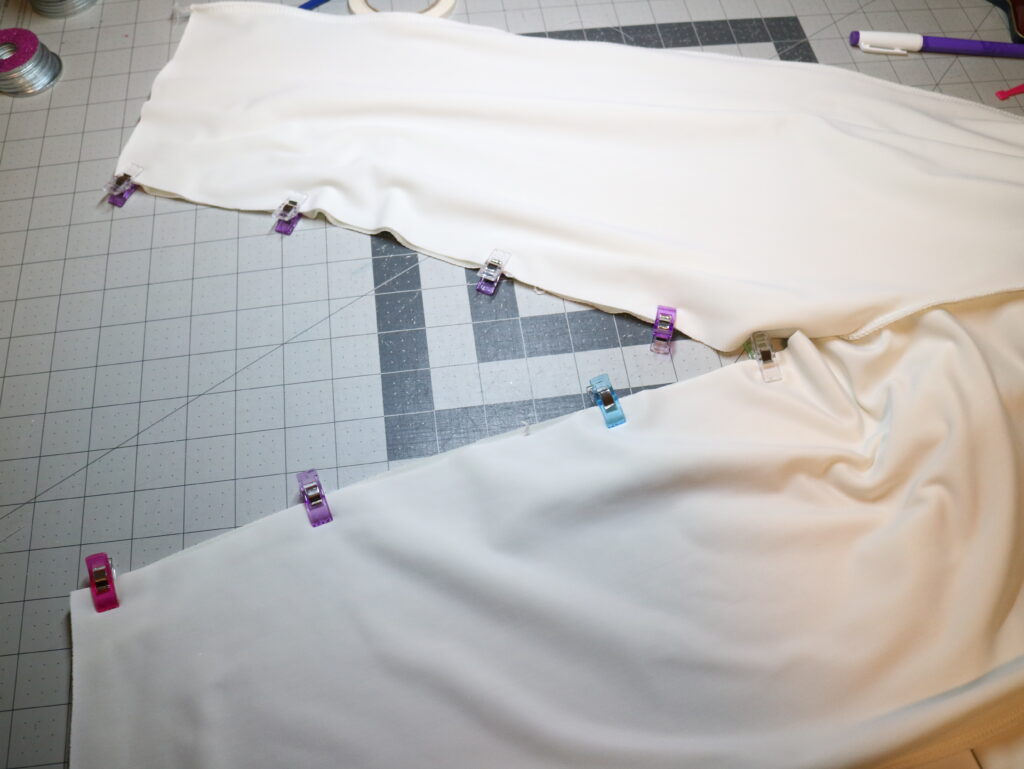
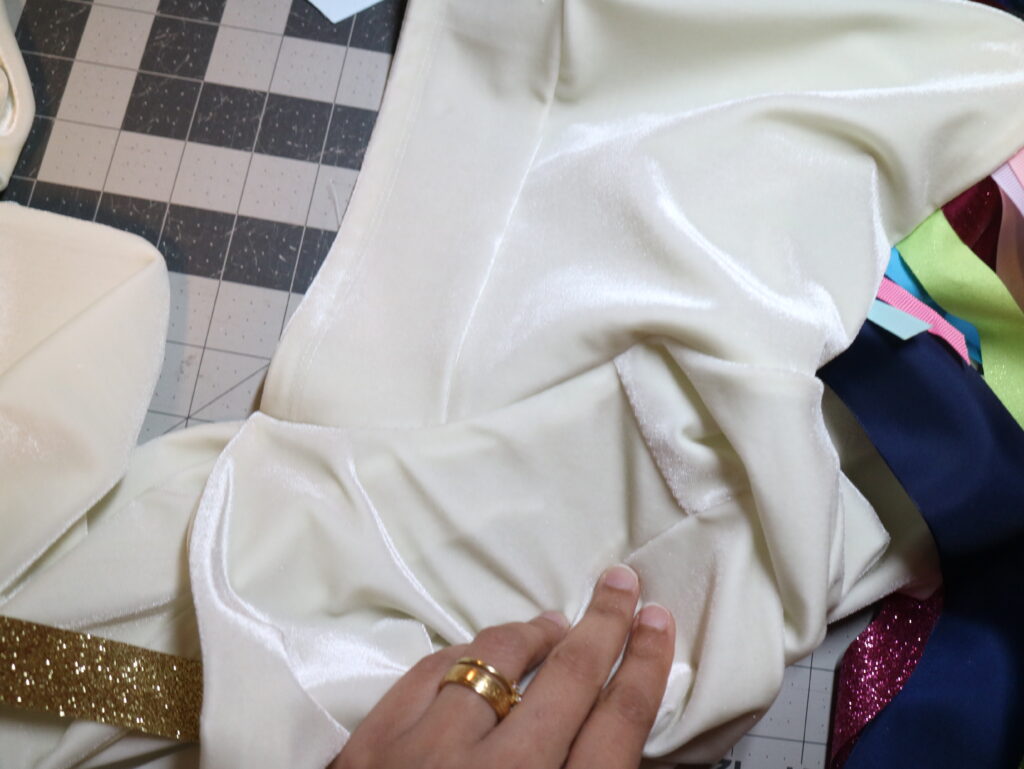
Once the zipper is installed, clip together the curve below the zipper. Do not sew through the inseam of the front piece. We are only finishing the top of the front bodice. Sew from the end of the zipper, we marked all the way down to the end of the top curve. Make sure to backstitch and reinforce the bottom of the zipper. Our Front Bodice is now ready for further assembly.
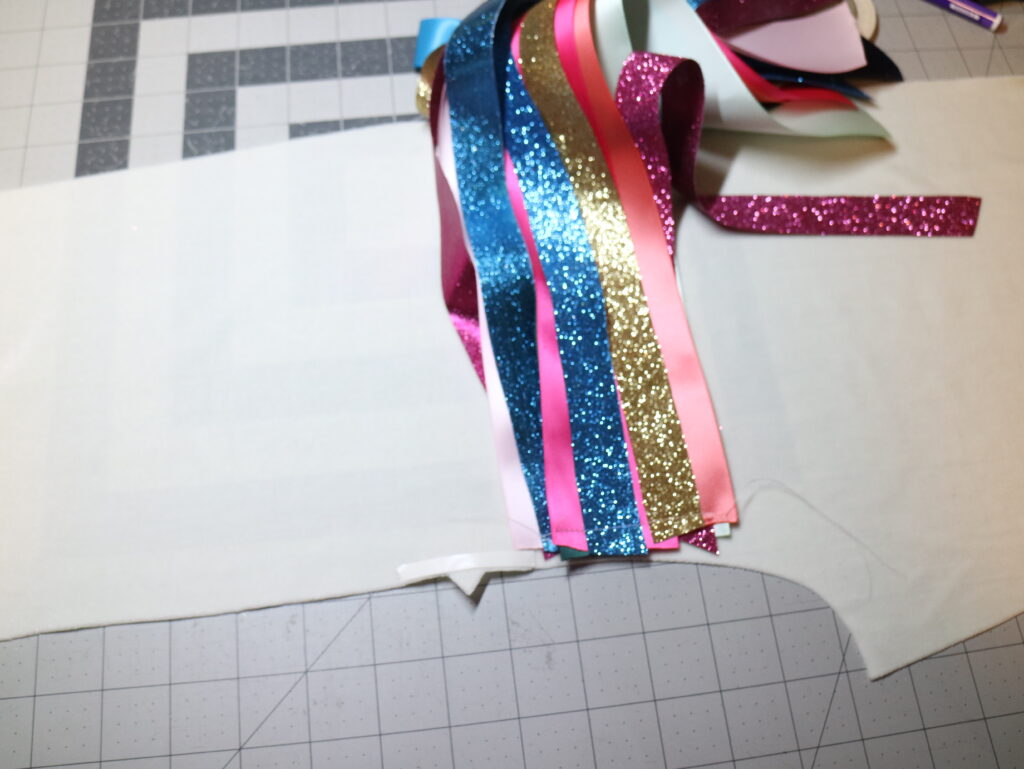
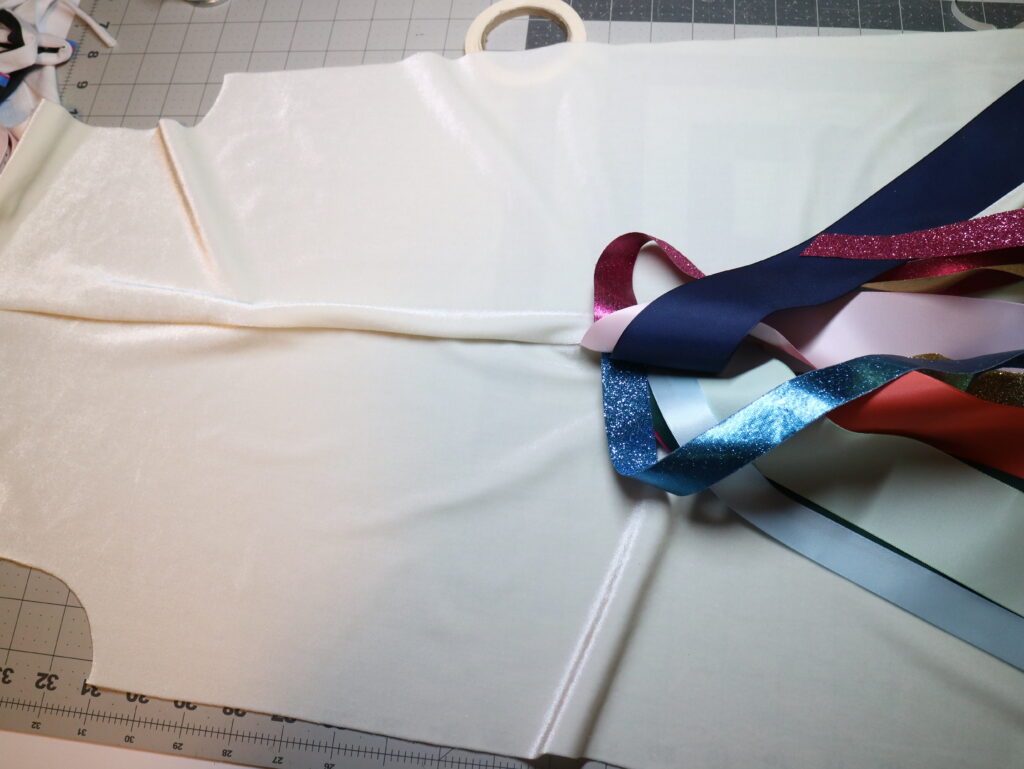
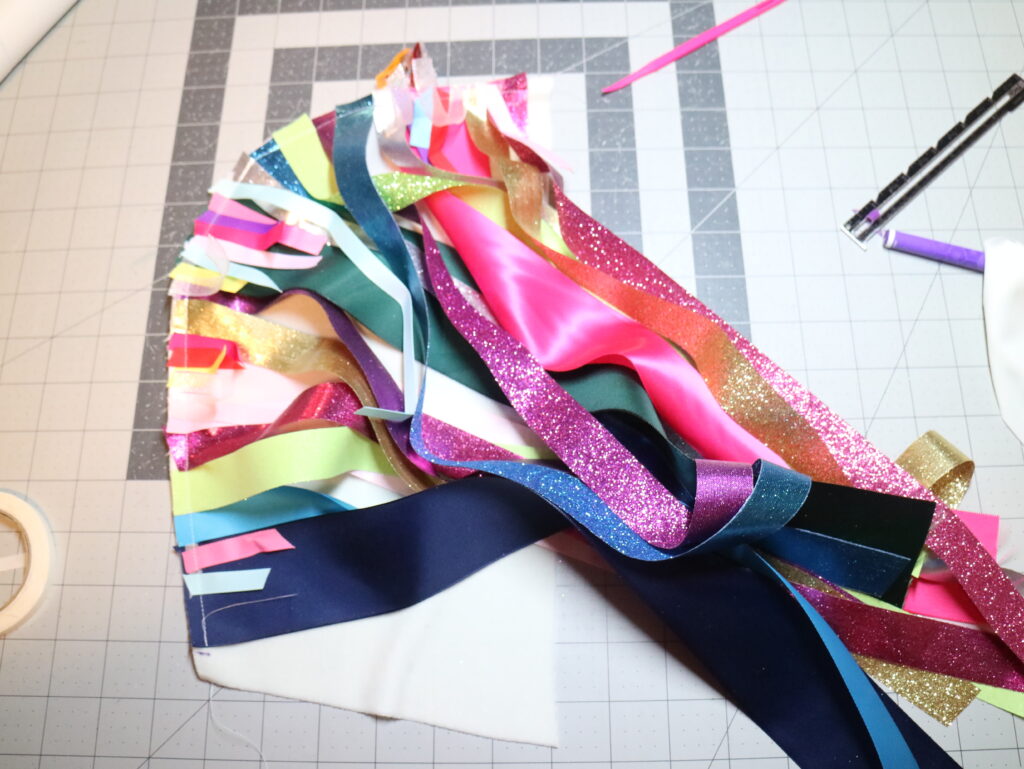
Before we can sew the back bodice piece together, we have to attach the tail. I am using multiple pieces of ribbons. If there are satin or grosgrain ribbon or any kind that generally frays, remember to heat seal the cut ends. Once you do that stack the ribbons the way you want it to flow. The outermost ribbons should be placed first right sides together.
I have made two stacks of ribbons staggered slightly and basted them together. Place the stacks on one right side together with the bodice piece matching the notch for the tail. Place the other stack's wrong sides together with the first stack of ribbons. This way when sewn together, the ribbons will look right sides out from both sides. Sew the tail onto the back bodice.
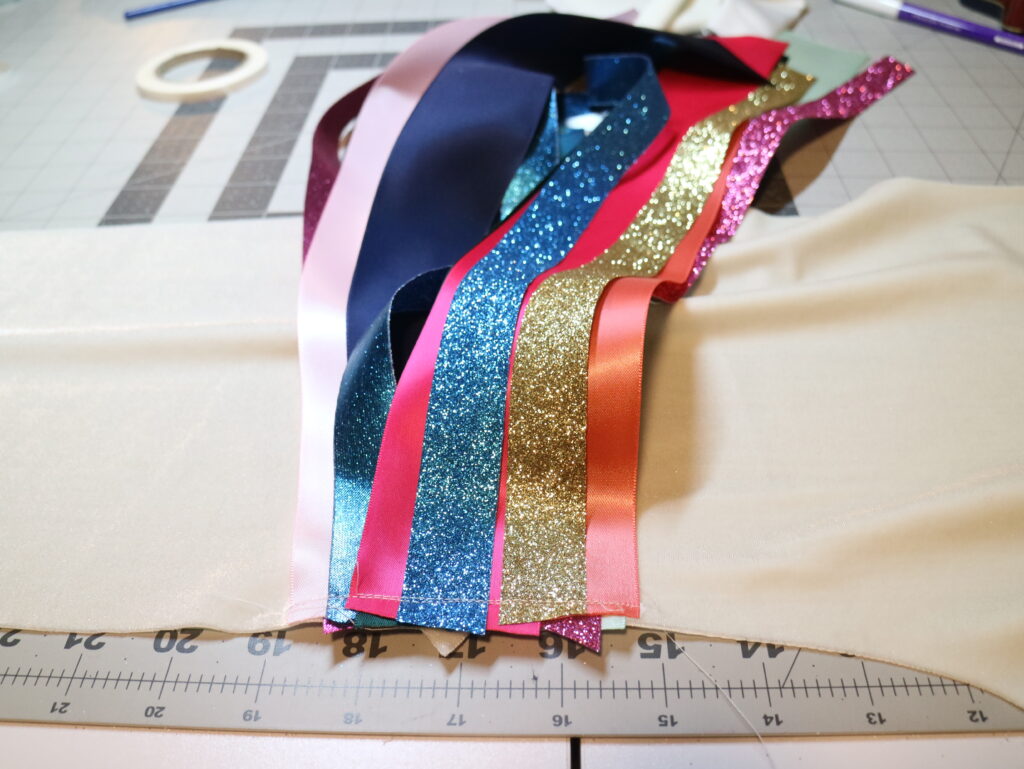
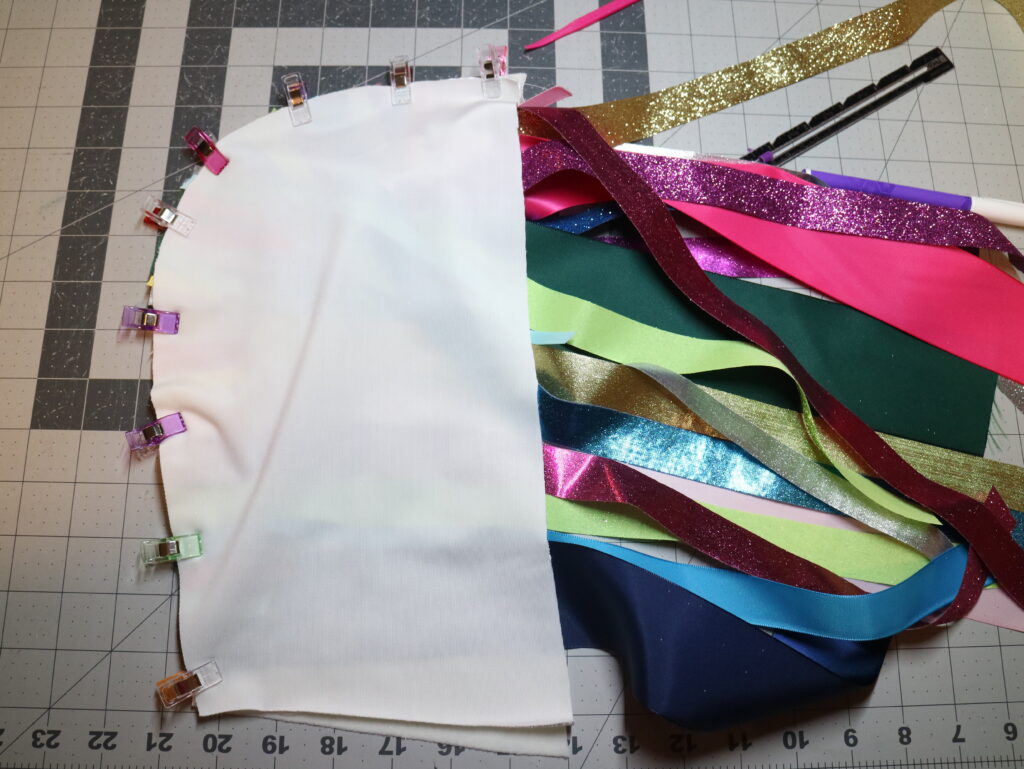
Now place the other back bodice piece on top of the other, sandwiching the tail that we just attached. Remember to ensure the ribbon ends do not get caught in the sewing when finishing the back piece.
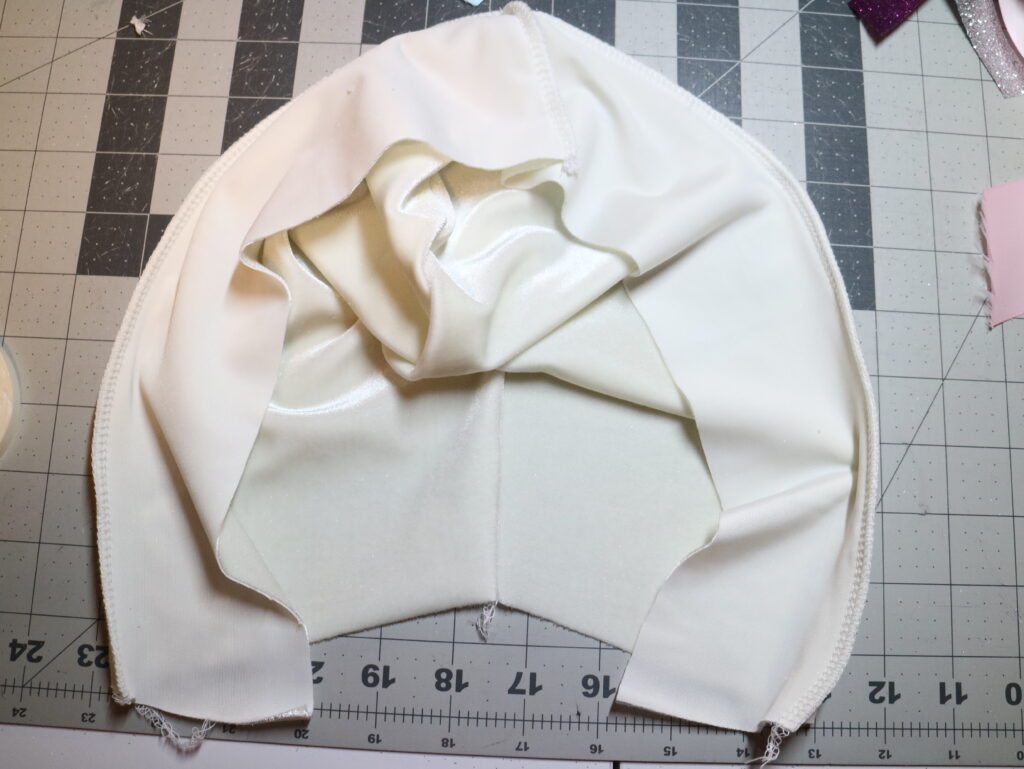
The back bodice, once sewn together, will look like below. You can trim the ribbons in an angle to have the tail look more full. Also, make sure that the tail isn’t too long and pose a tripping hazard.
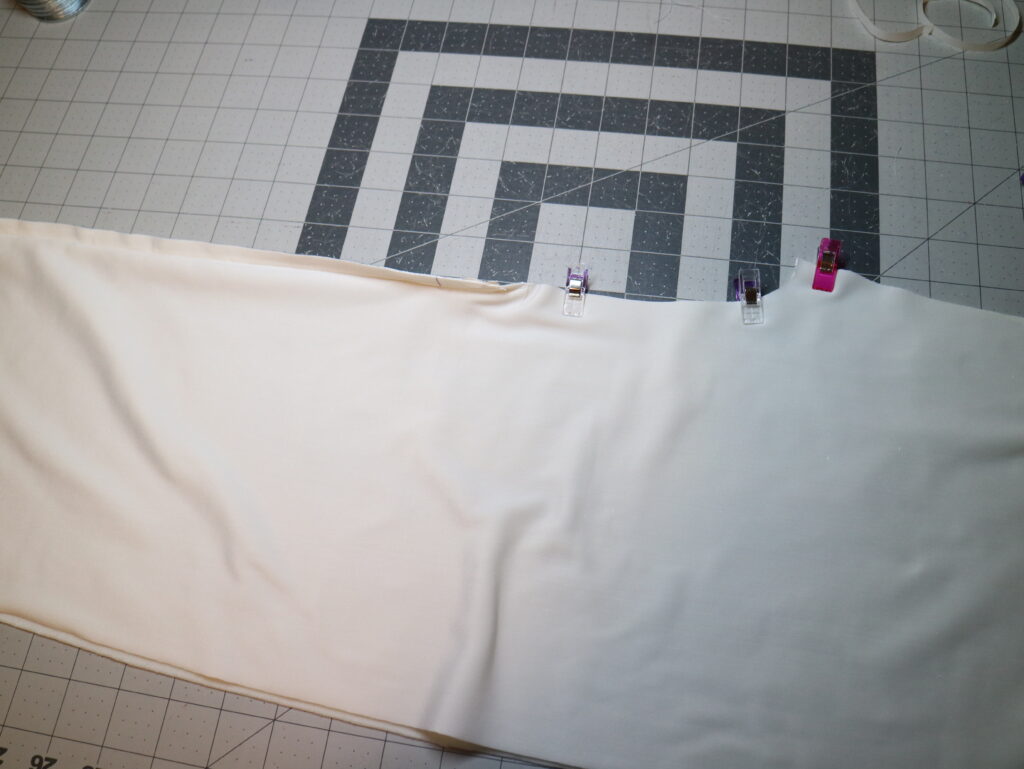
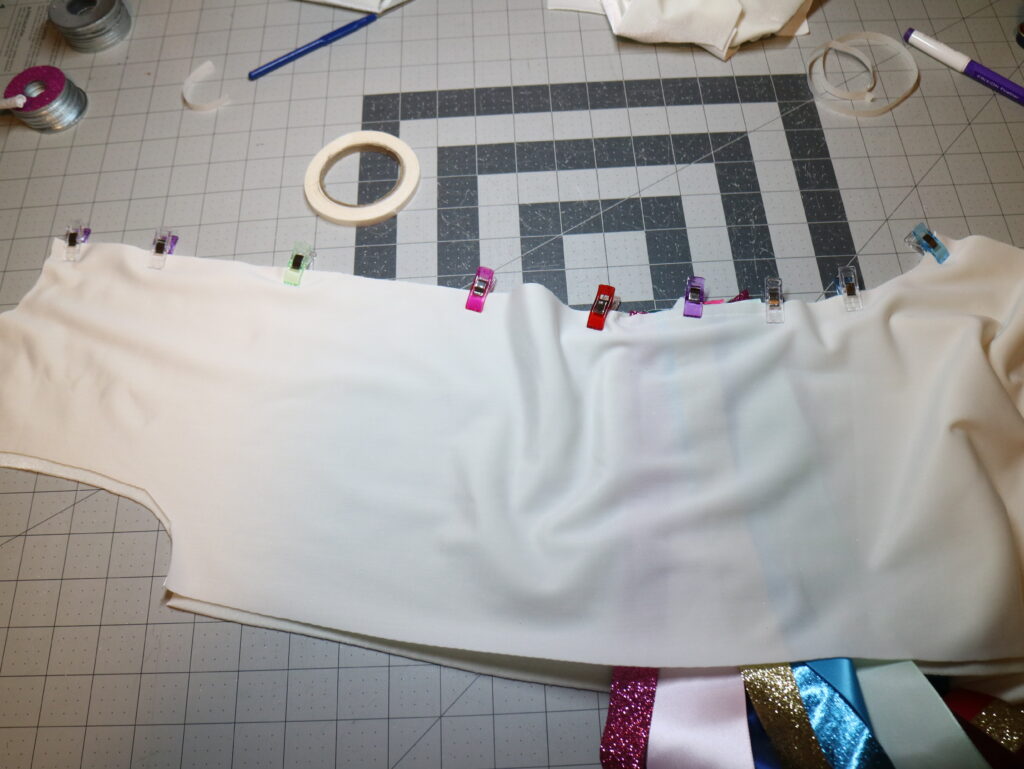
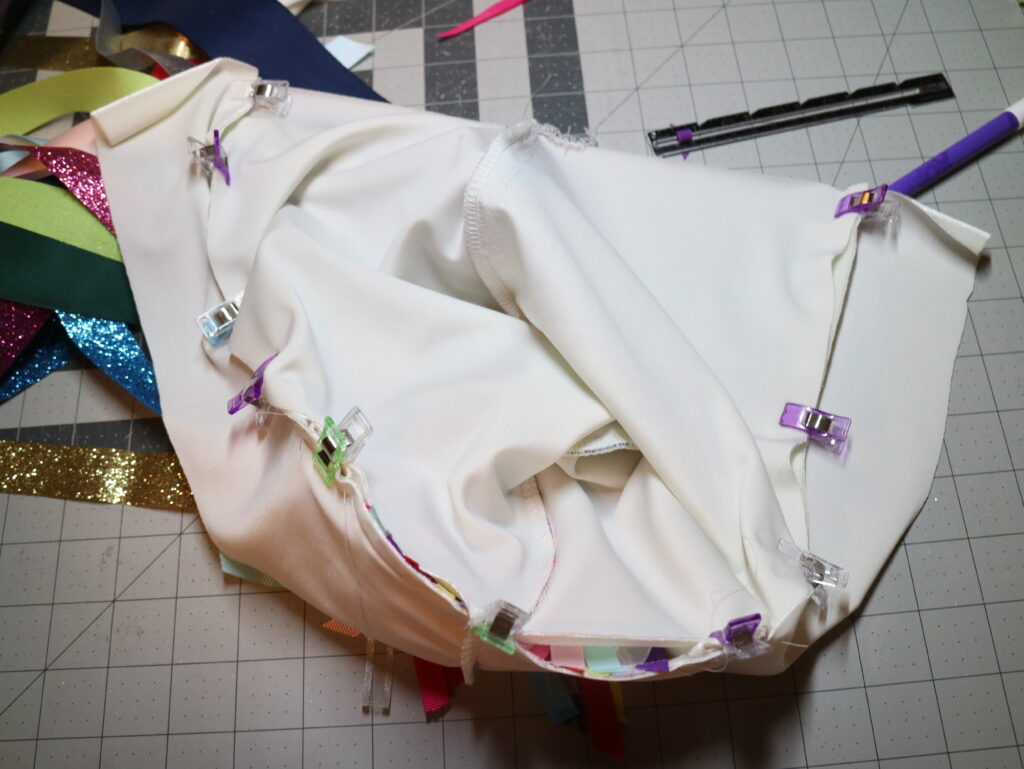
Place the front bodice and back bodice pieces on the right sides together and pin/clip along the shoulder. Sew the shoulder seams together, as shown below.
Once the shoulder seams are sewn, sew the sleeves on the matching center of the sleeves to the shoulder seams along the raw edges and ease it around the armscye. Repeat this for the other sleeve.
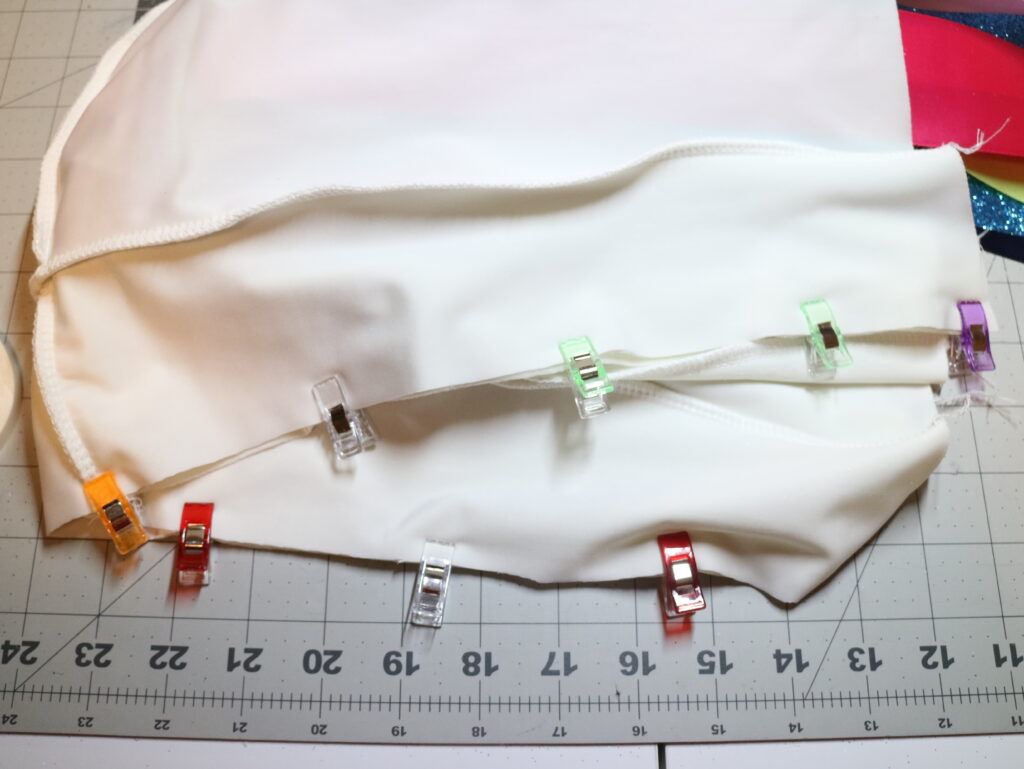
Once the sleeves are sewn together, sew the side seams together. Make sure that the sleeves align and the legs match up. Repeat this on the other side.
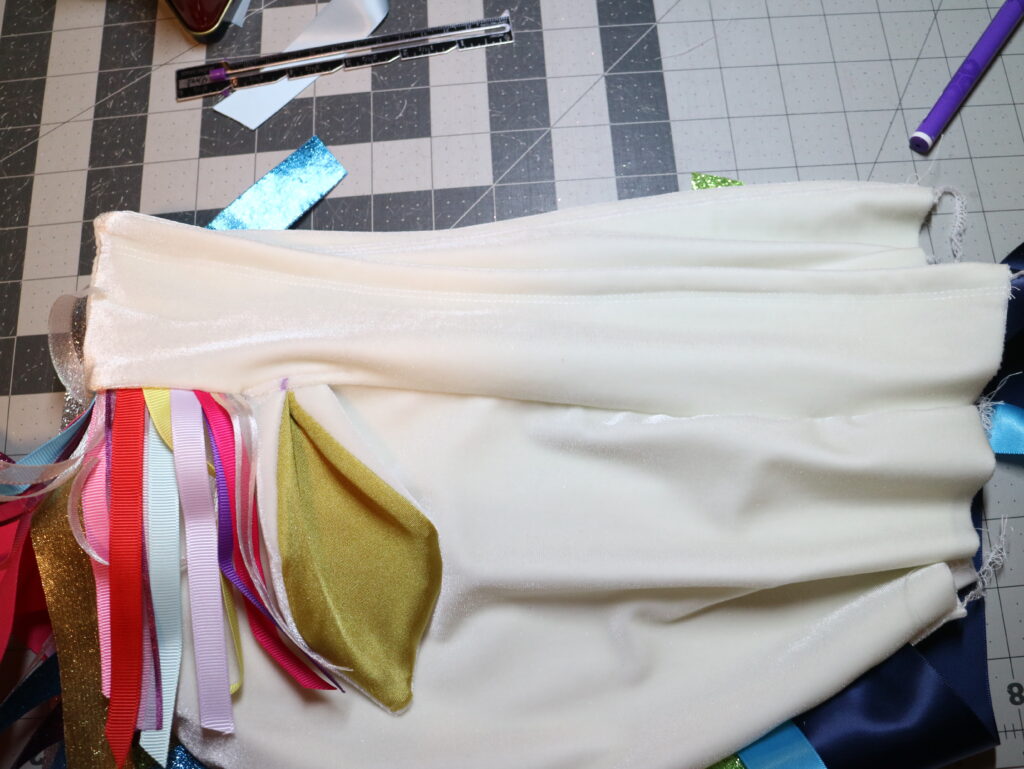
After sewing the side seams, we can finish the Inseam. Sew along the inseam, matching the seams of the bodices.
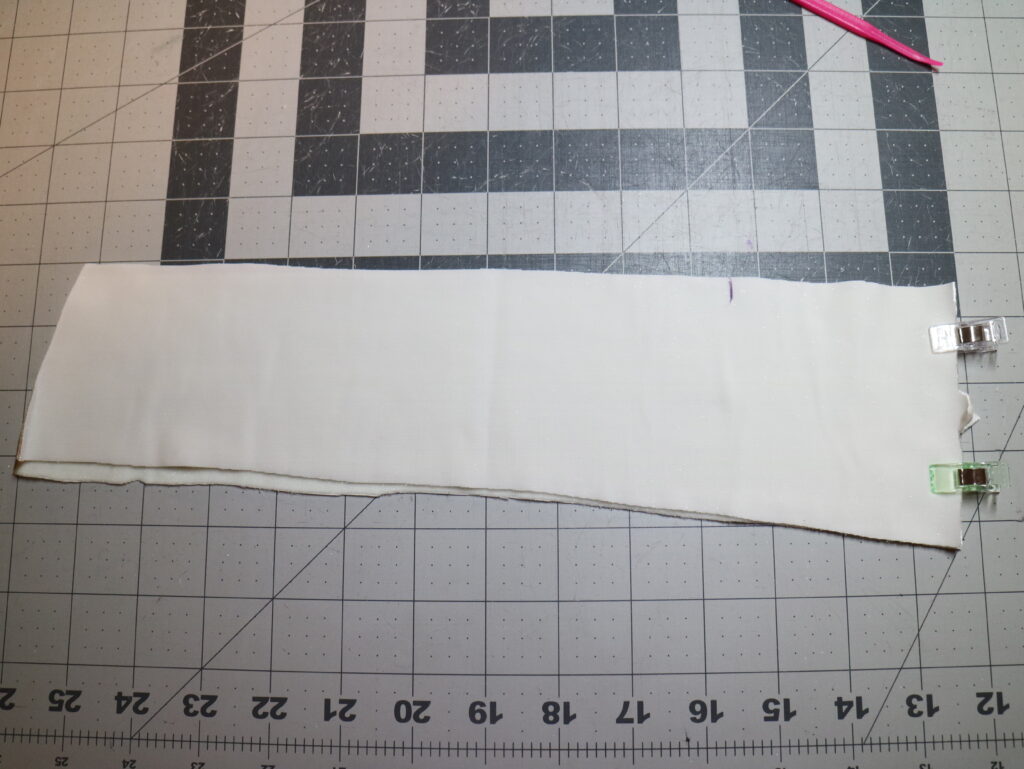
I am adding cuffs. Fold the cuff pieces wrong sides together and sew along the long edge. Fold the cuff in half, enclosing the seam creating the cuff.
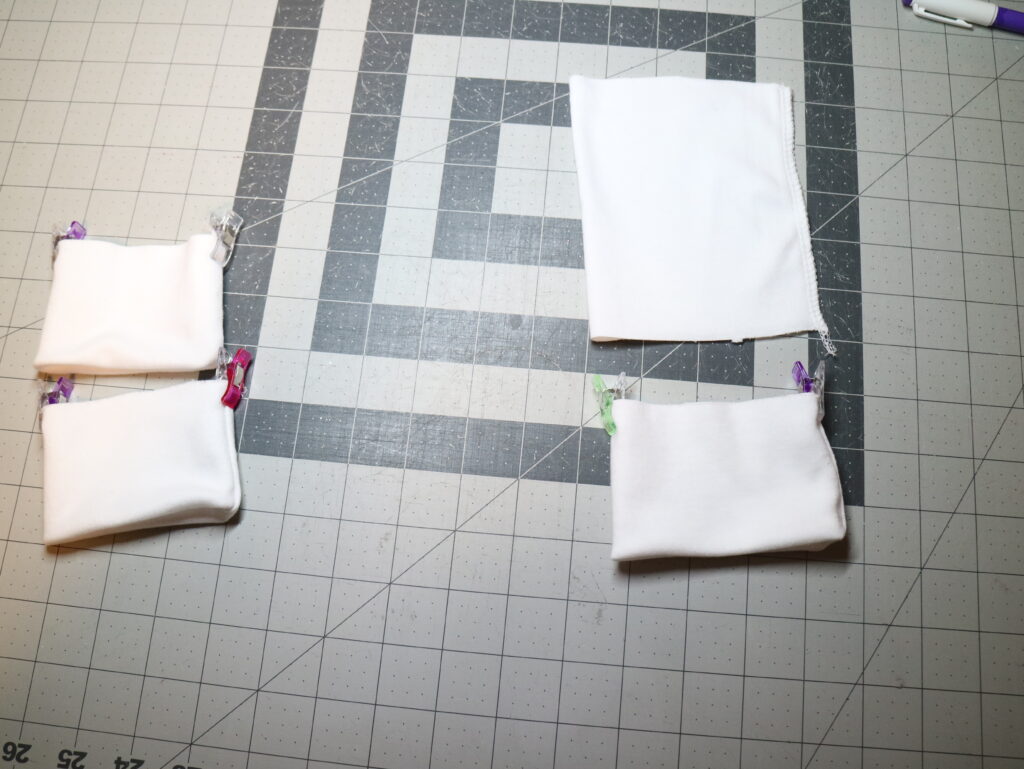
Slide the cuff into the sleeve opening at the hemline, matching the seams and center points. Repeat the same process for the remaining cuffs, both arms and legs.
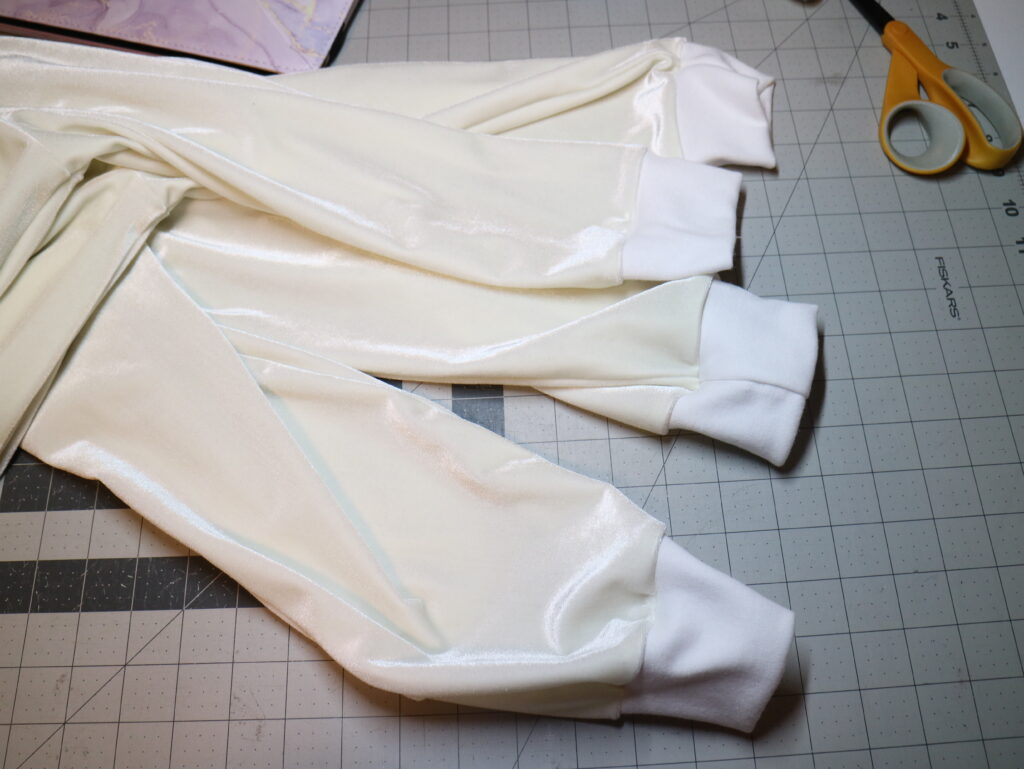
You can test the length and fit of the costume before we create the hood. I prefer a loose fit so that she can layer it with regular clothes as extra protection and ease if she has to get out of the costume at school.
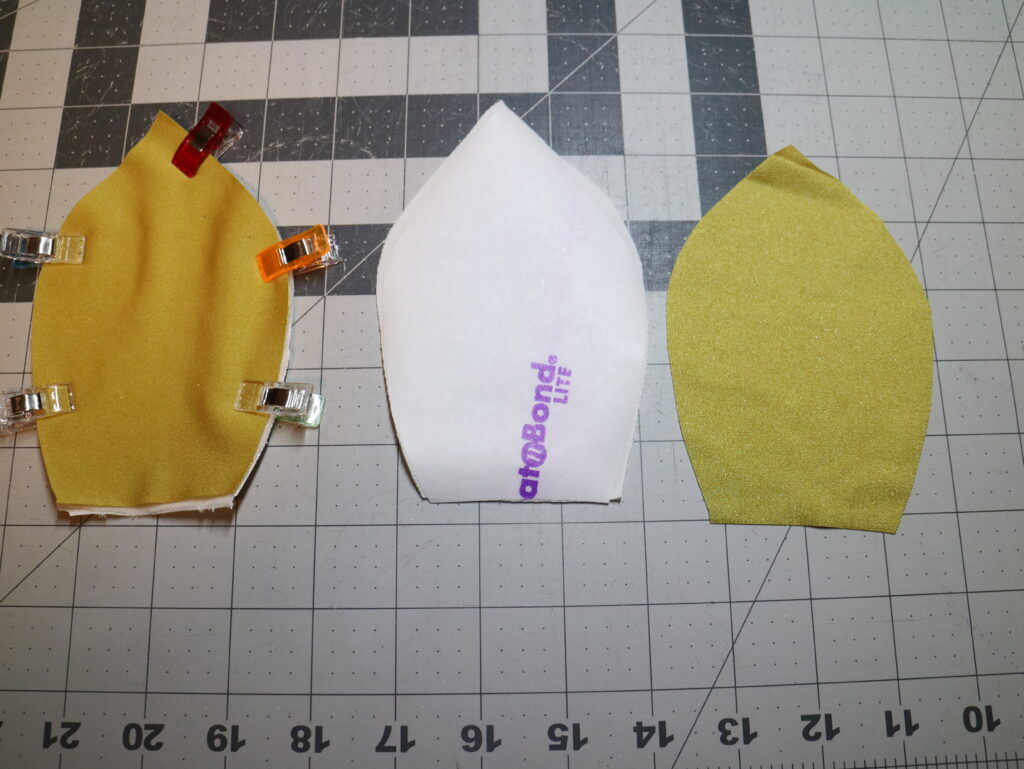
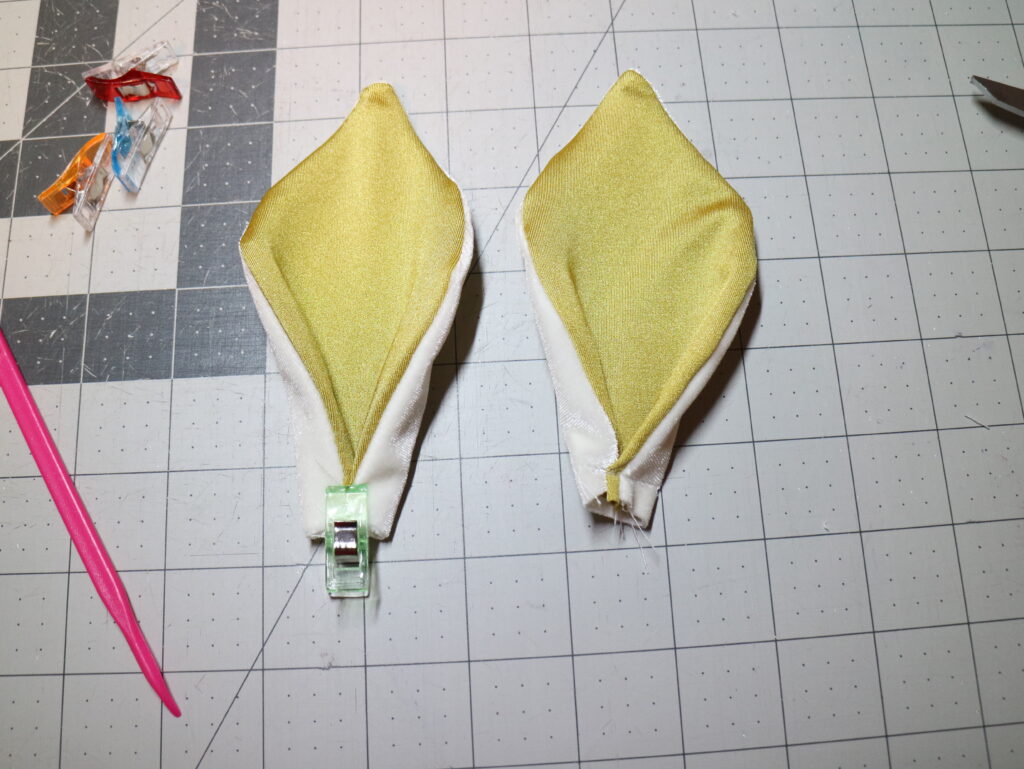
Next up is the ears. I am using interfacing for a little bit of structure for the ears. Place the ear pieces right sides together and sew around, leaving the bottom part open for turning. Turn them right side out, give it a good press, and overlap the bottom to create the depth present for these ears. Repeat for the other ear.
Next, we will sew the front pieces of the hood together for the main and lining. Lay the pieces right side together, matching the notches together. Sew to create the hood front piece.
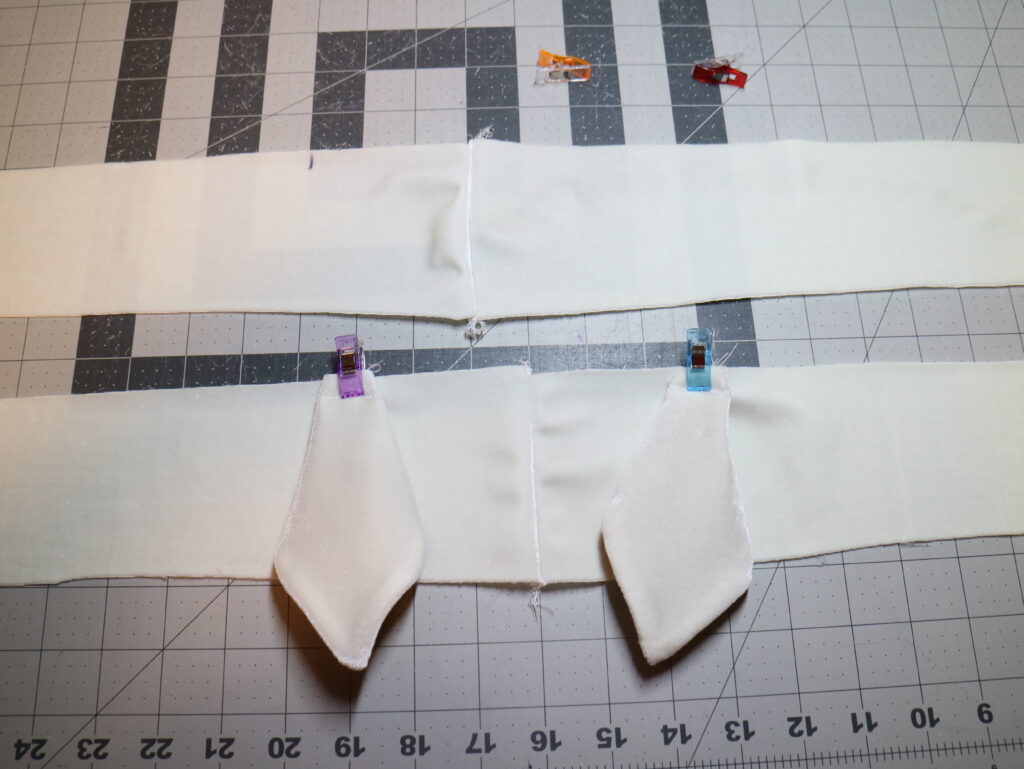
When you lay it out you can see that this piece has a flat side and is slightly pointed at the center seam side. We are going to place the ears on the ear placement marks. Place it so that the inner ear and right side of the hood are together, and baste the ears in place.
I will be adding some smaller ribbons as the mane that shows through between the ears. I placed them along the raw edge of the hood between the ears and basted them on. The length of these ribbons can be adjusted after the hood is constructed to keep them away from the wearer's eyes.
Once that is sewn on, we are going to sew the mane piece onto the Hood. I repeated the same process as above with the ribbons, making sure to evenly space the ribbons out along the center curve of one of the main hood pieces
After the mane is attached, place the other side of the hood piece and sew along the center seam. Repeat this step for the lining piece as well.
Now, take the front piece of the hood piece and the hood piece and sew along the raw edges. For the main hood, this will mean that the ears and mane seam will be sandwiched between these pieces.
Place the lining hood on top of the main hood's right sides together so that all the details that we added are sandwiched between these layers. Sew the pieces together to ensure not to catch any of the ribbons in the seam.
Turn the hood right side out and top stitch along the front half inch from the seam we just finished. The hood is now ready to go on the outfit. We will add the horn later.
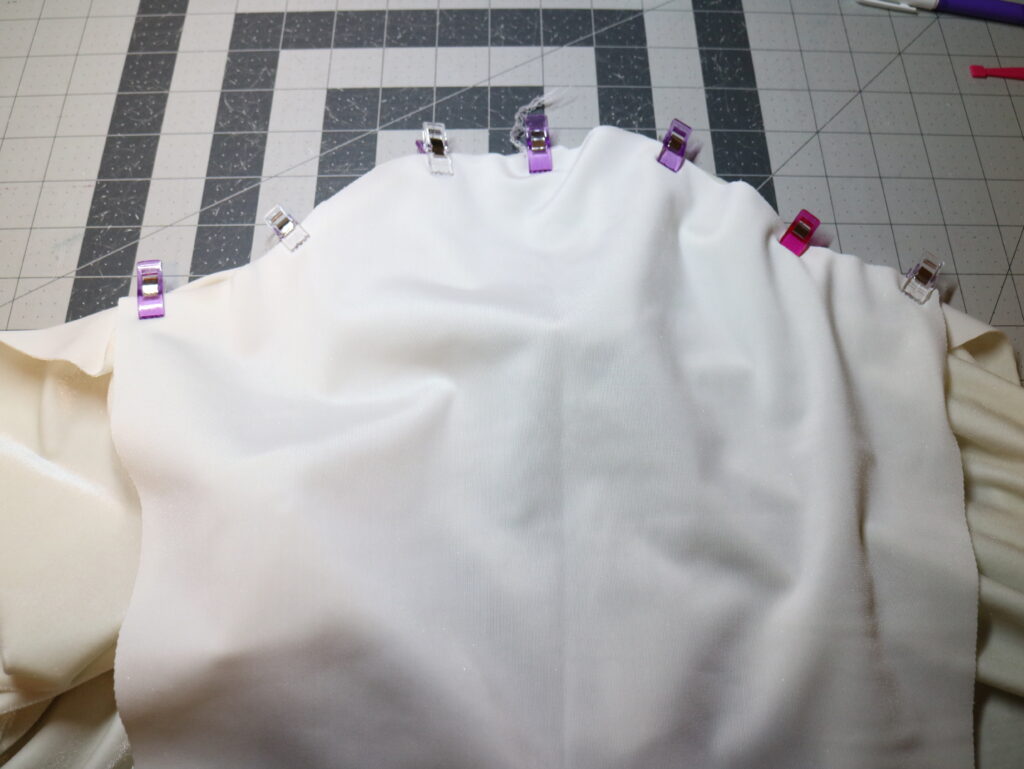
Aligning the raw edge of the hood with the neck, matching the hood's neck and center seam of the hood with the center seam of the back bodice, carefully attach the hood to the bodice. Flip the seam allowance down and top stitch around the neckline.
Flip the seam allowance down and top stitch around the neckline. I didn’t sew around the entire neckband. Instead, I did a tack-down stitch at the tips to hold the zipper facing down.
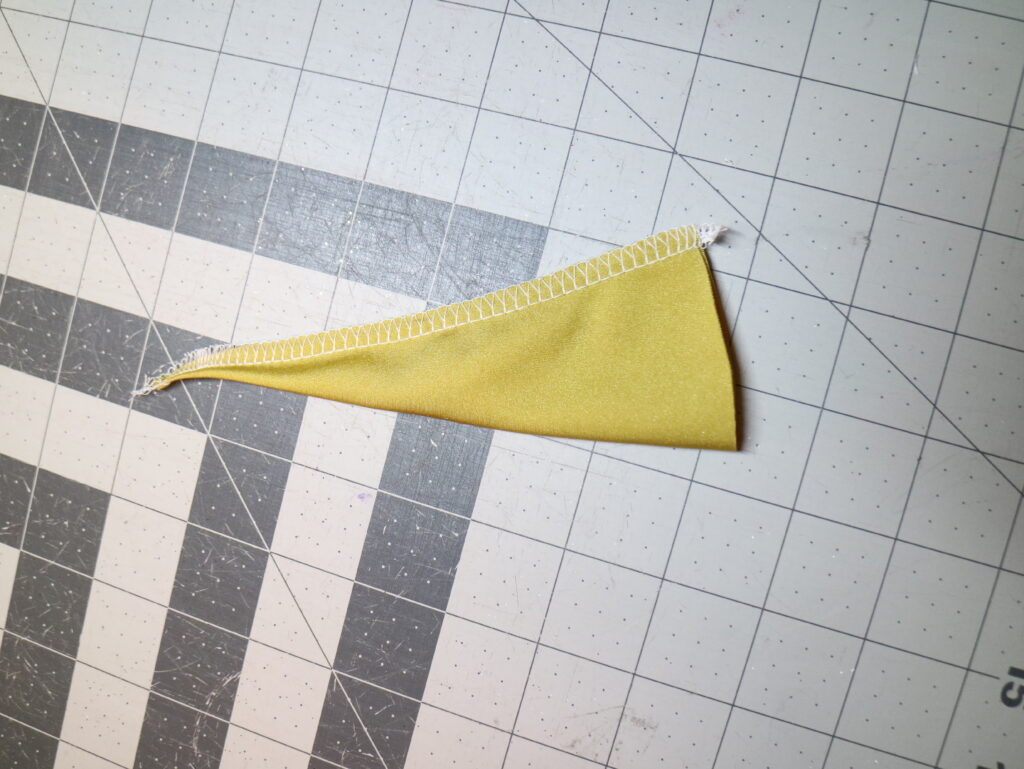
Now, it’s time to start making the horn. My fabric gave me a bit of trouble, so it’s not a perfect horn. Start by folding the horn's right sides together and sew along the edges, creating a cone.
Turn the cone right sides out and give it a good press. Make sure you use a point turner or similar to get the tips of the cone fully turned.
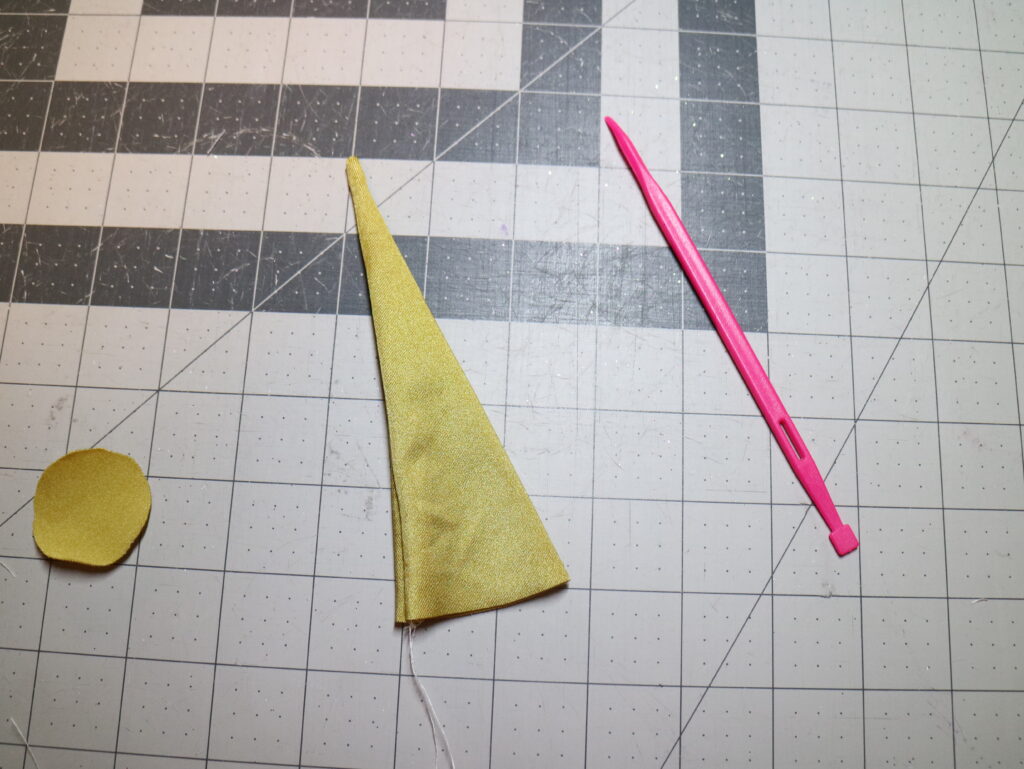
We are going to need embroidery floss and filling for the next step. I am using the polyfill that I had on hand.
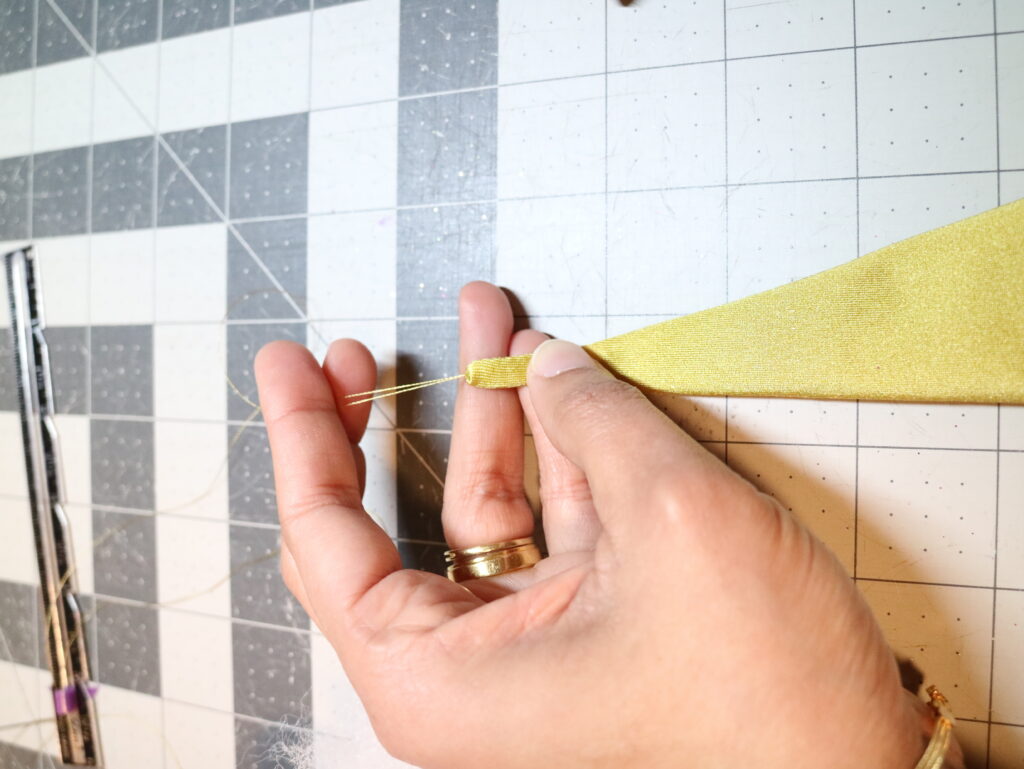
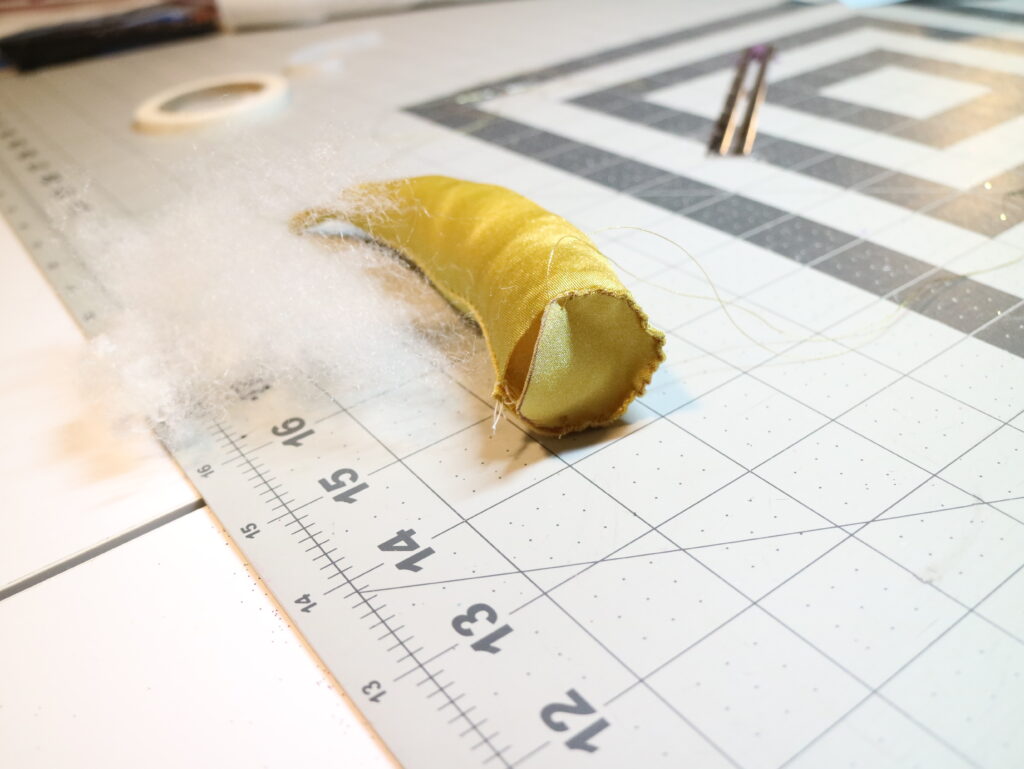
Thread one set of needles and floss through the tip of the horn through the inside. Leave the needle and thread free. I started stuffing the horn a tiny bit before sewing the bottom opening closed.
I decided to use another needle and thread to sew the bottom piece on halfway through. I used a slip stitch, but feel free to use an invisible stitch or a ladder stitch.
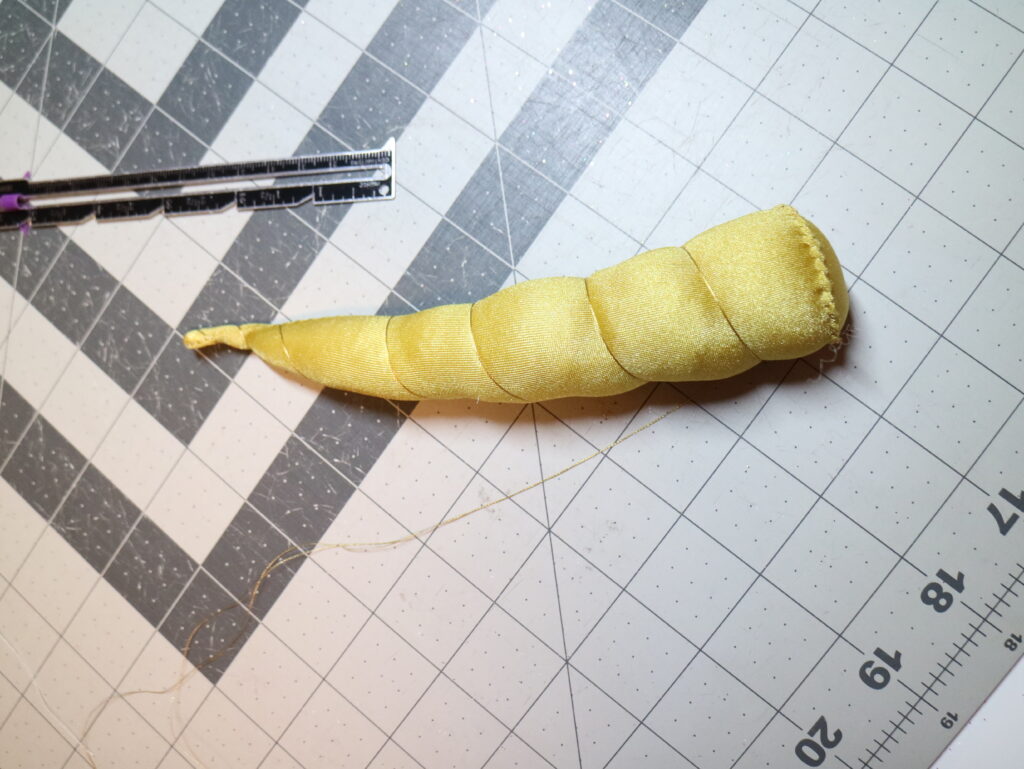
Stuff the horn to your preference and sew the opening closed. I stuffed it pretty tight so it would stand up straight. Once you close up the bottom, twist the embroidery thread we pulled through the top of the horn and twist it around it to create the twisty texture. Secure the thread to the base of the horn.

Hand-sew the horn onto the hood at your preferred location. I also trimmed the ribbons here at an angle.
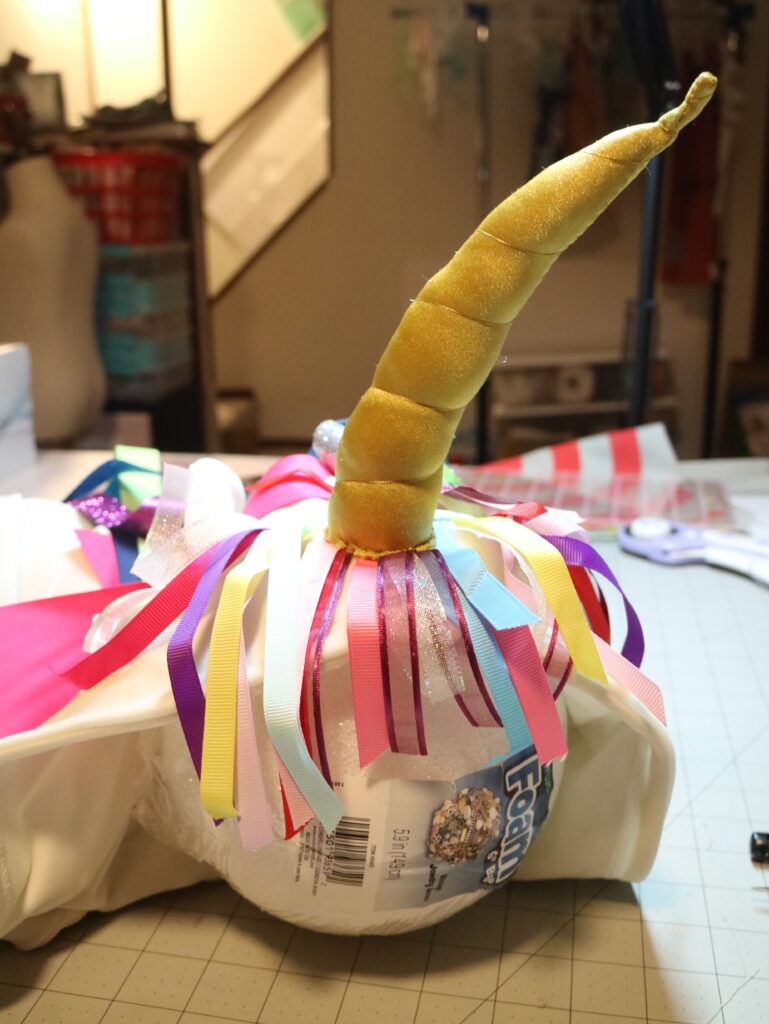
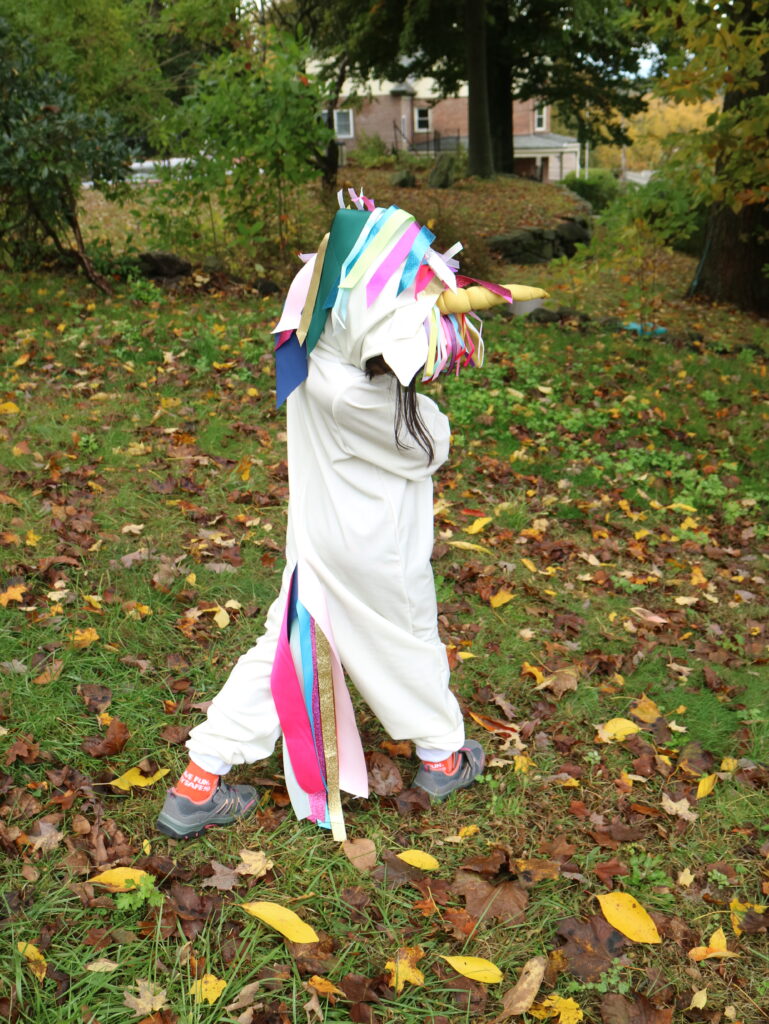
Here are a few pictures of the costume before adding the horn and trimming the ribbons.
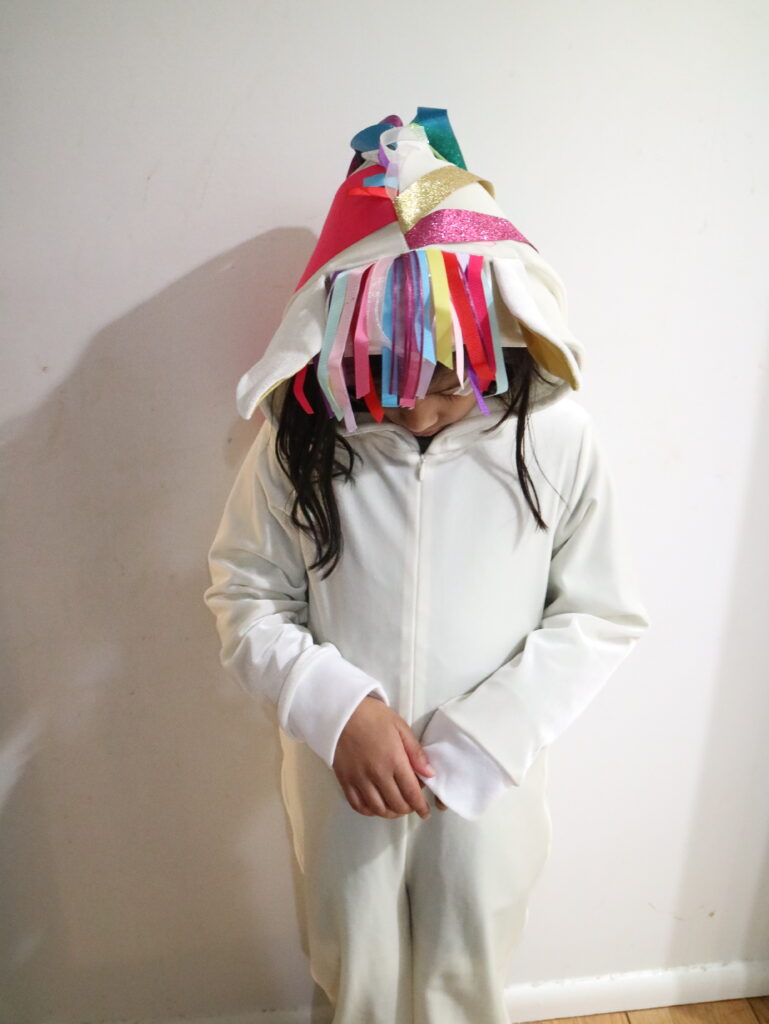
I am going to trim the mane a little bit, too. That way, it will look a bit prettier. Below are some of the pictures of the costume as she plans to wear to the Halloween Parade at school.
As you can see, trimming the mane at varying lengths makes it look much better. She was a bit upset when she saw I made it pretty short. But when I showed her how it looks long and short, she was happy with it. I also reminded her that the wings would be so much easier with the shorter mane!

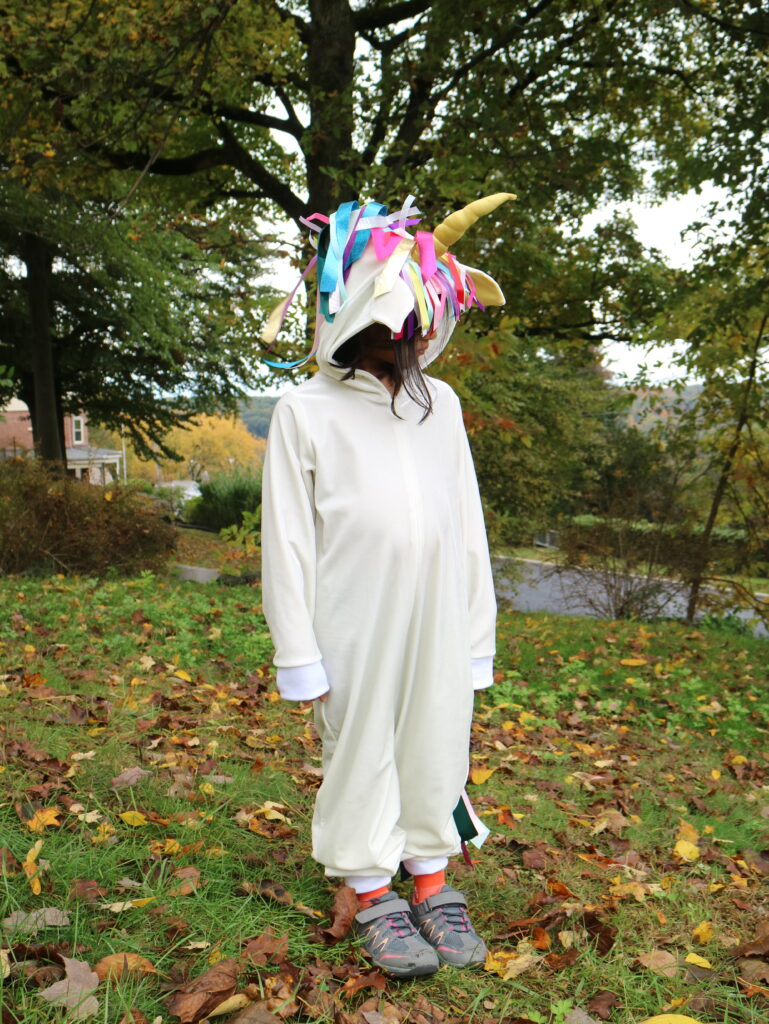
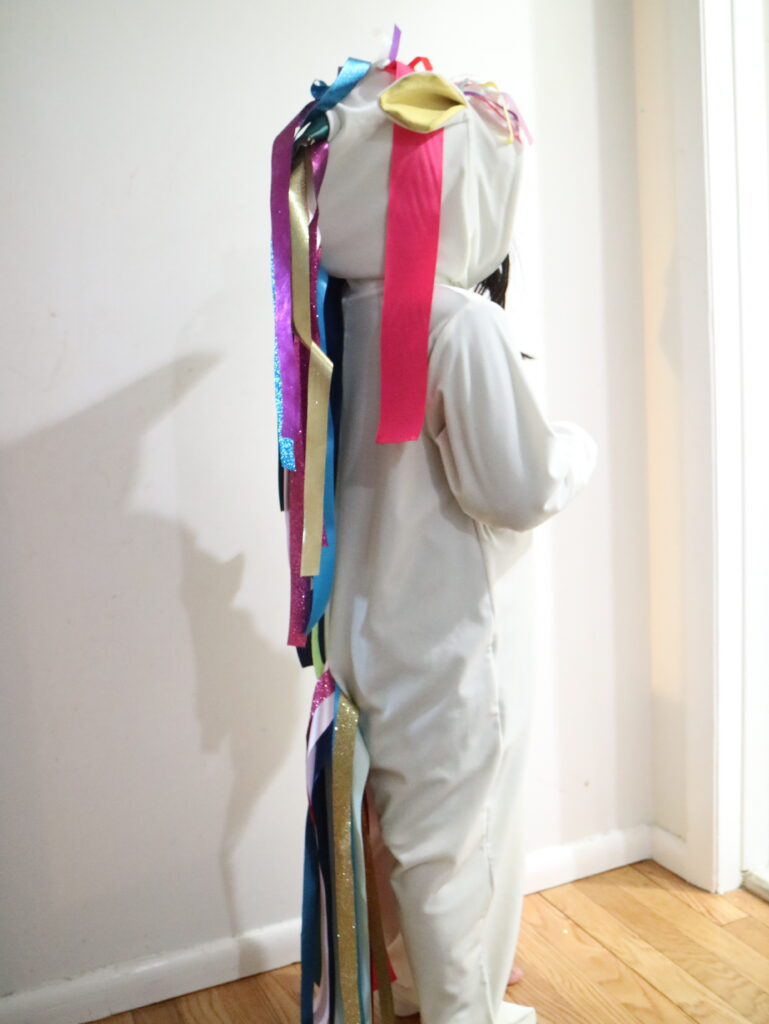
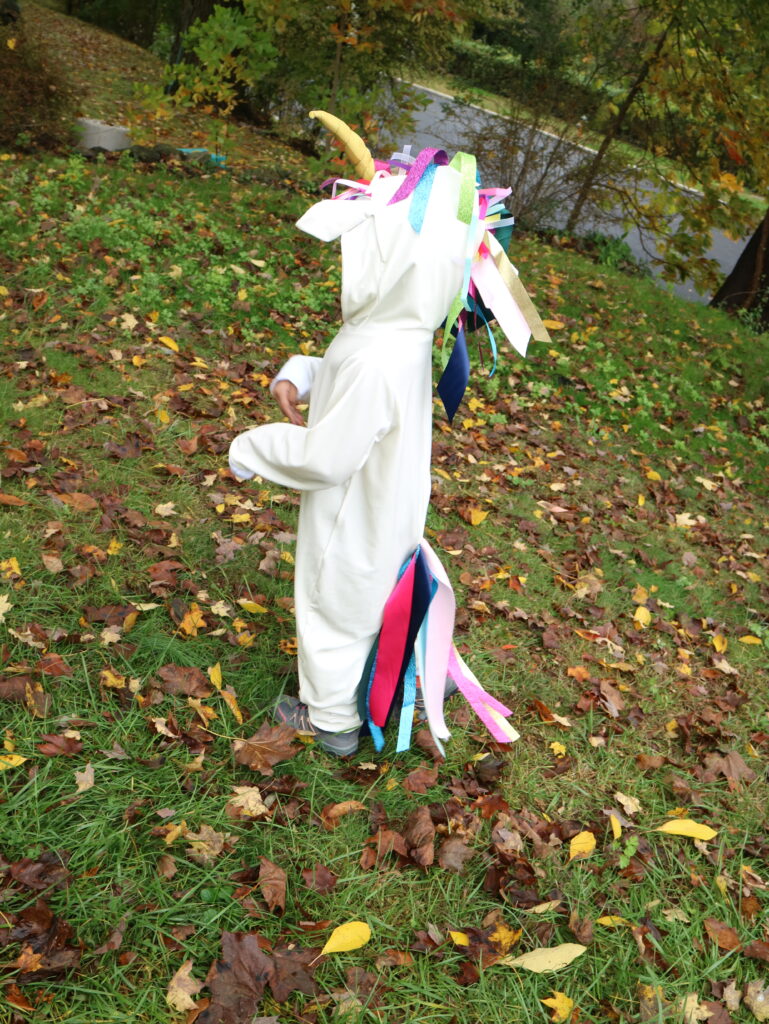
I want to get the tail trimmed, too, but she said she wants it this long. I guess this will have to do. And yes the costume is a little too big and baggy on her now, but she needs to layer up under the costume; she feels cold pretty fast, and the days are pretty chilly already.
I hope this will inspire you to make your own Unicorn Costume either with the Ultimate Costume Creator like I did or with the Wild Thing Hoodie.
Thank you for joining us today for our DIY Unicorn Costume tutorial. Before you leave, make sure to join our Facebook Group and follow us on Instagram. Happy Sewing!