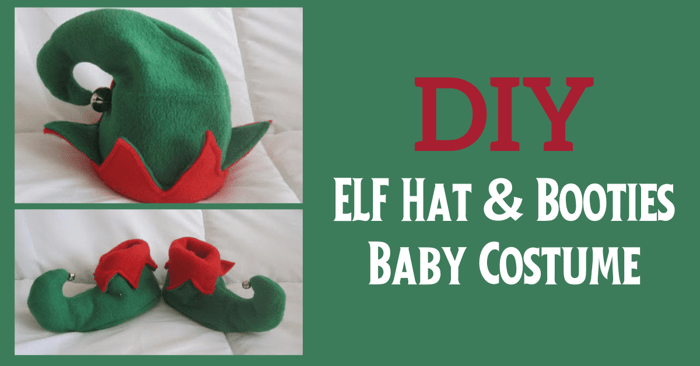
DIY Elf Hat & Booties Costume Tutorial
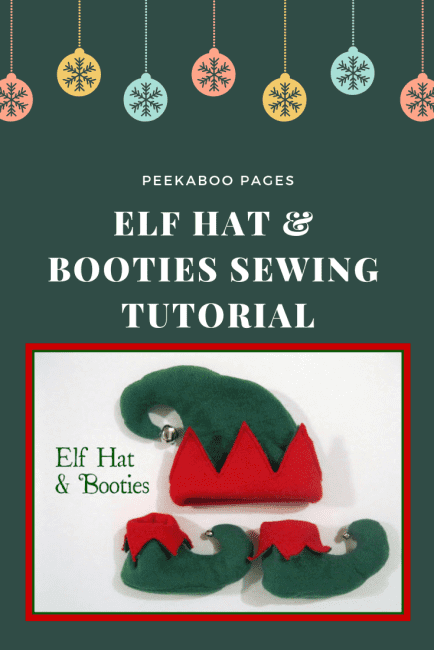
Nothing says Merry Christmas like a jolly little elf! Let's make a DIY Elf Hat and some booties to go with it for a baby today.
DIY Elf Hat and Booties
Hat and Booties Materials and Pieces
I made these as a gift for my friend's newborn so I don't have any photos of them actually on a little elf, but I'm sure you can imagine how much cuter it would be on a nice chubby baby:) Everything is made of fleece so it's a nice quick project and super comfy and warm for the elf!
Hat and Booties Step 1: Cut out your pieces- I had a pattern piece for you and then it vanished (bummer!). But I promise you can still do it without one. Here's what you need:
- 4 hat pieces: 2 red and 2 green. Leave enough room along the bottom to turn the fringe up
- 4 soles: 2 red and 2 green. Just a basic foot shape with a pointed toe.
- 2 Outer Bootie Pieces: Measure your sole from heel to toe (going around the outside not straight up the middle) and that should be length of your bootie from the centerpoint to where it starts to curve upward for the curly toe
- 2 Liner Booties Pieces: Cut the same size as the outer piece but then trim down the toe or it will be too hard to slip inside at the end
- Jingle bells:)
- Polyfill (optional)
Elf Hat Tutorial
Let's start with the hat
Hat Step 1: Sew your hat pieces together along the side seams. Repeat with the liner.
Hat Step 2: With wrong sides together slide the hat and hat liner together and top stitch along the fringe.
Turn up the fringe and sew on a jingle bell and you're done!
Elf Booties Tutorial
Now for the booties- my favorite part:)
Booties Step 1: Fold each bootie piece in half and sew up the curly toe and front, leaving the fringe and bottom open.
Repeat with the liner except you have a sloped toe instead of a curly one
Booties Step 2: With right sides together sew the soles onto the outer pieces and the liner pieces. The seam from the last step should be right at the point of your sole (sorry- no picture for this step)
Booties Step 3: With wrong sides together slide the liners into the outer booties. If your toe seems a bit floppy you can stuff some polyfill in it first. Top stitch the fringe together.
Booties Step 4: Add a bell to each toe, flip the fringe down and you're finished!
These really were pretty quick and you don't have to worry about getting a perfect fit (I know you really just want them for a cute picture with Santa right??? And he won't judge)
Thank you for joining us today. Before you leave, make sure to join our Facebook Group and sign-up for our Newsletter below.
