DIY Pain and Panic Costumes | Tutorial Inspired by Disney’s Hercules
Table of Contents
Today’s tutorial is DIY Pain and Panic Costumes inspired by Disney’s Hercules! Hello, It’s Whitney from Sew Whit Designs, and I’m back today sharing one of my VERY favorite things to sew! Halloween Costumes! I’ve been sewing my kiddo’s costumes for the past 14 years! And usually, they include a Peek-a-Boo Pattern, or two.
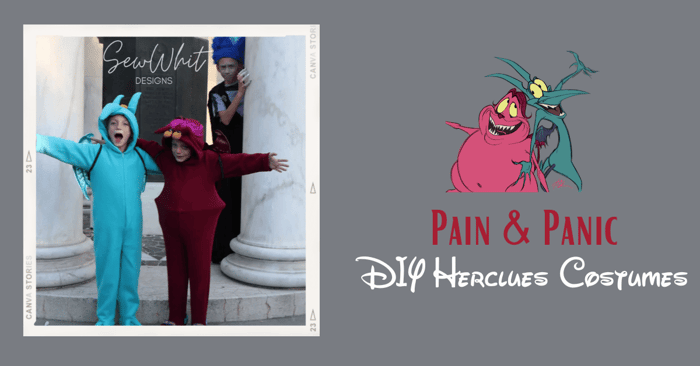
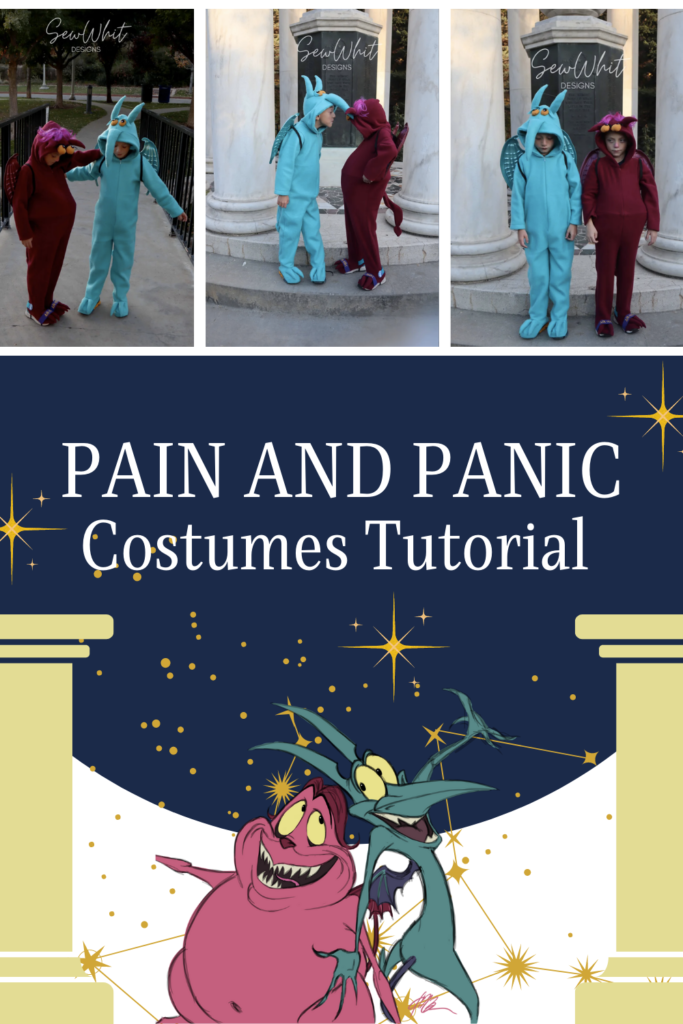
For Halloween 2022 we chose to do Hercules – I made my boys Pain and Panic Costumes!
DIY Pain and Panic Costumes


As I was brainstorming how I could make my Pain and Panic Costumes come to life I immediately thought of the Ultimate Costume Creator Pattern! However, my littles insist on shoe covers, (I’ve created monster, no pun intended. ;)) It’s just part of the magic I guess to have your real shoes covered. So in order to create those, I mashed the Classic Zipper PJ’s for the perfect cute little Demon Costumes.
Here is how I did it…
Choosing Costume Fabric
For the fabric, I choose to use Fleece from Joann’s for these costumes for a couple reasons. 1. Its fairly inexpensive 2. It comes in lots of colors 3. It will keep my kids warm trick-or-treating on Halloween night. Fleece worked great for both of these patterns.

Cutting the Pain and Panic Costume Pieces
I started by cutting out the Ultimate Costume Creator…I did a size 5 width with a 7 height for my little guy. (hence the extra lines on the projector.) I measured and figured out where to add the footed part of the PJs and it ended up being just about perfect on the “CUFF CUT LINE” but you will want to measure and compare to your kid, or an existing pair of pajamas before you cut.
 |  |  |
After cutting the costume creator off at the “cuff cut line” I opened up the Classic Zipper PJs Pattern and laid it on top of the already cut costume creator.
I cut out the arch and the top of the foot from the footed PJ pattern.

Panic’s Costume Details

I also needed to cut out some extra pattern pieces for the Tail, (and tail end) the nose, and the two horns for Panic. These I free handed. If you are short on fabric, or nervous about making a mistake you could always make a pattern on paper first.
 |  |  |
 |  |  |
 |  |
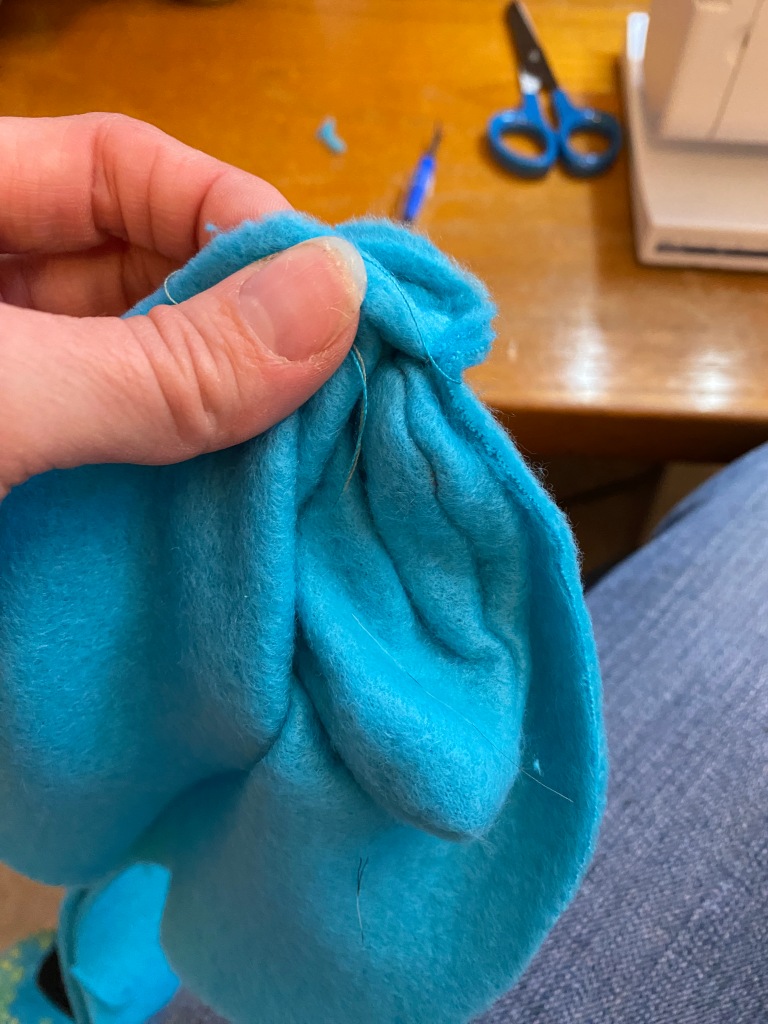
Next, I sewed the tail. Sewed around the tip of the tail first, right sides together and then trimmed the seam allowance so it was easier to turn right side out. I wanted a little pleat on the tip of the tail to give it some dimension. I just eyeballed that pleat and pinned it to the tip of the tail.
Pin the tip of the tail piece to the bottom of the tail (right sides together) and add the second tail piece on top, the tiny tail piece will be sandwiched in between the long tail piece. Take care to make sure you won’t sew the sides of the tiny tail piece as you are sewing around the long part of the tail. I found it easier to baste the tiny tail first before sewing all the way around the long tail.
Start at the short straight end, go all the way around the long tail. Leave the short straight end open and turn right side out. You may want to trim your seam allowances on the tail to reduce bulk.
At this point you can choose if you want to stuff your tail. I did not stuff these. Then pin the tail marking on the back of your pattern pieces. The tail will be sandwiched between your back pieces at the center back seam.
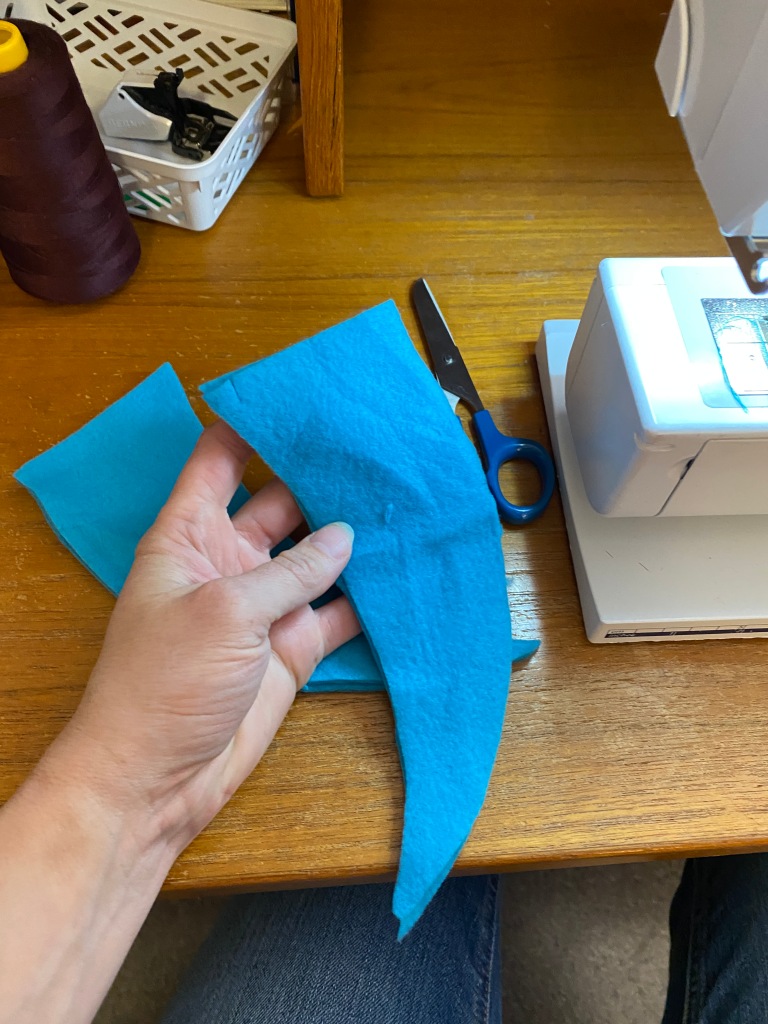 |  |  |
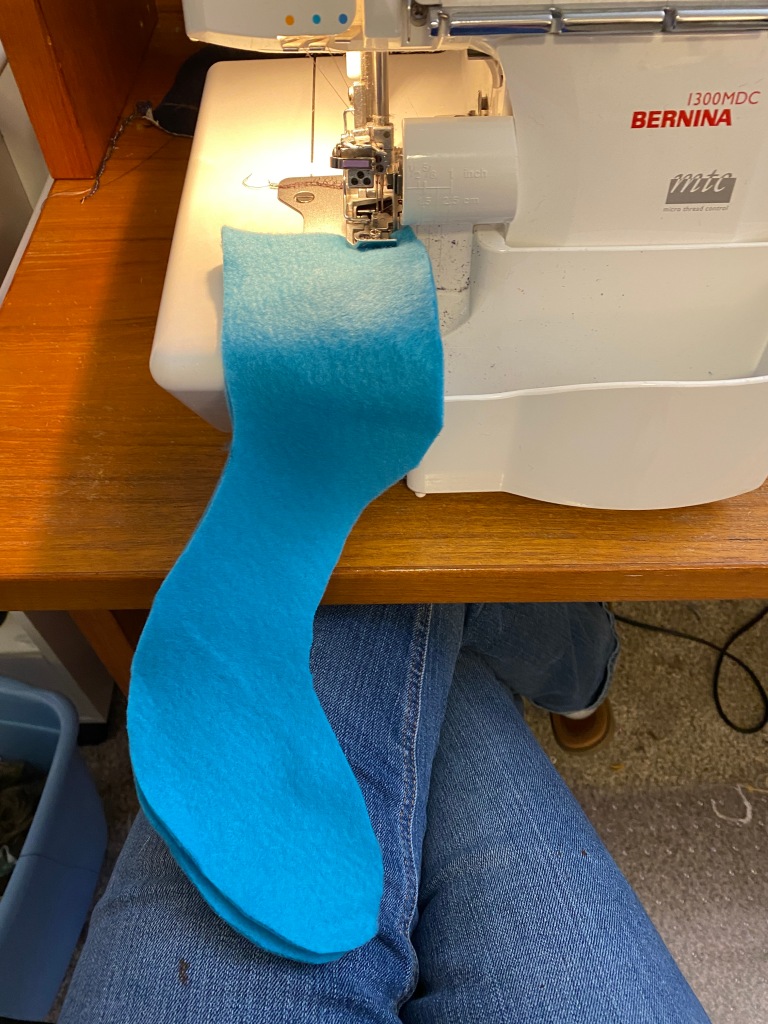
Next up I did the 2 horns on the top of Panics Head. Just like the tail I started on the bottom short straight edge, sewed up to the tip, pivoted and wend back down the other side.
Trim the seam allowances, especially at the tips so they will easily point when turned right side out. These Horns, along with the “beak” I did stuff with poly-fil.

I wanted the beak to be a little more three dimensional, so I added a 3rd triangle shape to the underside. Pin the triangles together along the long sides to the point and sew. Trim the seam allowances at the tip. Turn right side out and use scissors to poke the tip out.
 |  |  |
After stuffing these pieces with fiber-fil you will add the Horns and the Beak to the Hood Part of the costume.
Before adding the hood band, center the beak with the center of the hood. Baste the beak matching the center seam of the hood and the center seam of the beak right sides together. Basting the beak on makes it easier to add the hood band.
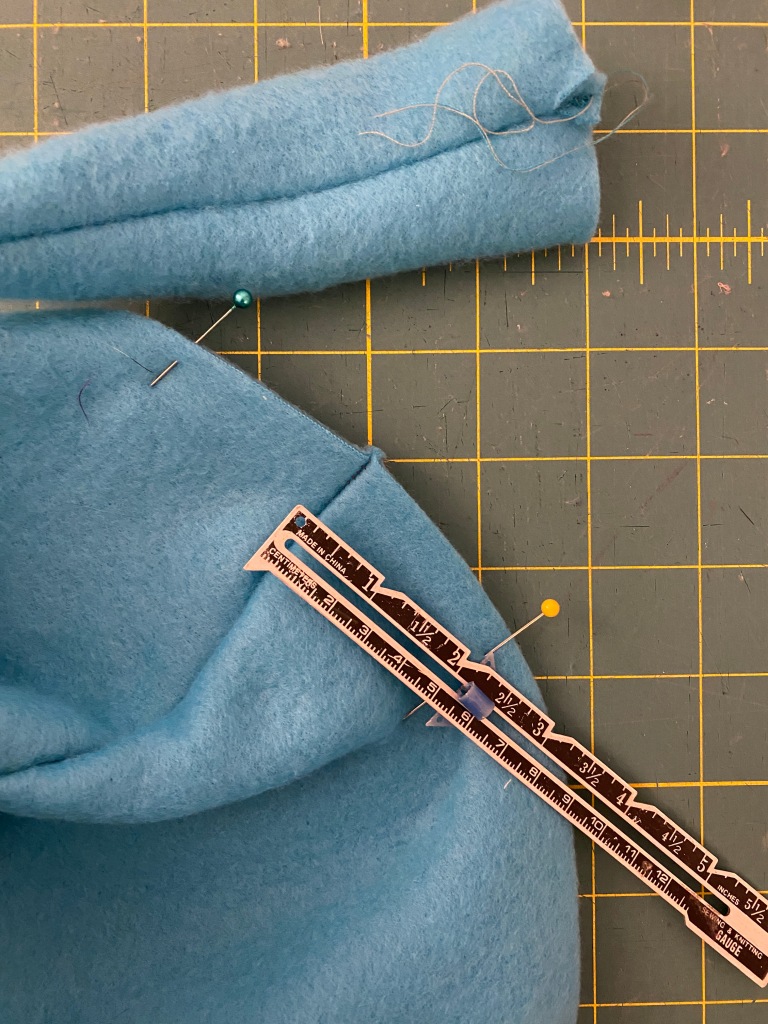 |  |
Next we will add the smaller horns. Try on the hood and marke the spot you want to add the horns. Measure and make sure you are placing them evenly on each side of the hood. Mark the horn placement with pins.
 |  |  |
 |  |
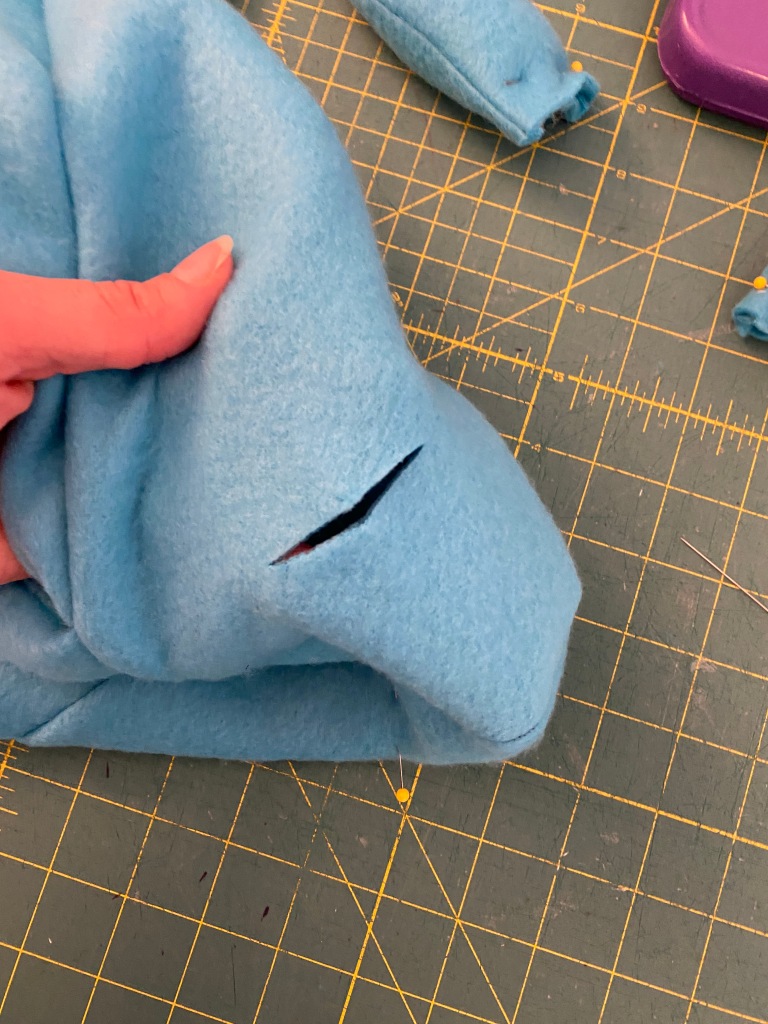
Cut a slit into the hood just barely wide enough to slide the horn into. Slide the horn in the slip and sew on the back the same way as you would sew a dart. Start on one side on the very edge of the fabric gradually sew across the horn/hood edge and taper at the other end.

Sew the rest of the costume according to the directions on the costume creator pattern.

Pain’s Costume Details
Pain is a little bit Shorter and a little bit rounder than Panic so we had to do a little bit of alterations around his middle section.
To create Pain’s roundness I added to the pattern at the side seam marking. I measured approximately 2 inches at the side seam mark and then tapered from the bottom of the armsye, out to my mark and then back down at the hip.


I sewed up the side seams as normal according to the instructions. Added the Center Front Zipper and added the tail into the center back seam.
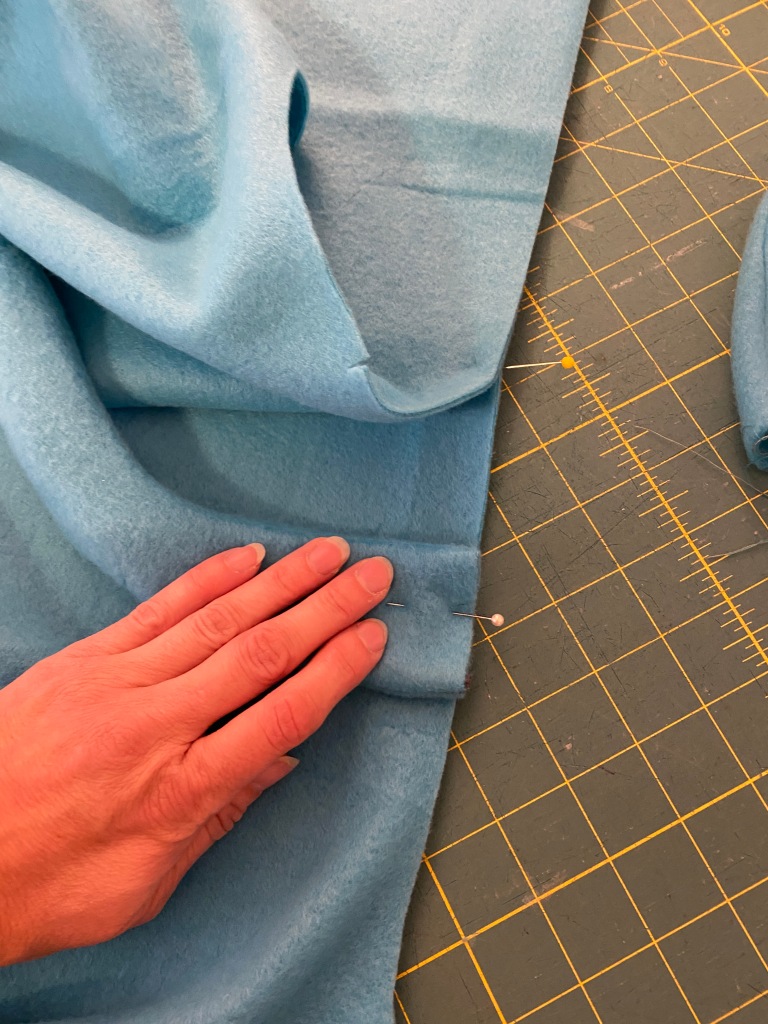
I decided to use boning around the waist area to make the costume stand out and hold its shape. I cut a strip of fleece 1/8″ wider than the boning. Starting at the center front zipper I pinned the fabric “channel” around the entire costume taking care to make it even around the waist area. Then I stitched around the casing on the top and bottom of the channel.
Thread the boning through the channel. I removed the tubing that came with the boning so it would slide easier through the fleece.


I made pains horns similar to how I did panics. I attached pains ears onto the hood similar to how I did panics beak. Make sure they are evenly spaced and baste on before adding the hood band.

I also cut a wig in half and used the front part as Pains Hair. I sewed a straight basting stitch right down the middle part onto the hood.
The Pain and Panic Costumes Feet
The pictures will show how I did Pain’s feet (Shoe covers) but I did Panic’s exactly the same way. Sew the top of the foot to the bottom of the leg just like the directions call for.

Instead of adding the bottom foot pieces like the normal classic pajamas we are going to add a band instead.


Take a measurement around the entire foot piece to determine how long to cut your band. Normally you would need to worry about adding the seam allowance to this “cuff” measurement, but the fleece has enough stretch to it that I didn’t bother adding it and it worked great.
I cut the band width 2 inches wide. After the band is cut, sew the two short ends together. then fold the band in half (hot dog style) with the wrong sides together. Pin the folded band around the outside of the foot and sew all the way around just like if you were putting on a cuff or neckband. flip the band down.


Next up were are adding “claws or two toes” I sewed these up just like the horns listed above except smaller in length and a little bit straighter than the horns. You need 4 per costume. Construct just like the horns. Stuff with fiber fill and then attach to the top of the foot near the seam. Stitch and flip down.
You may want to tack the claws/toes down by hand. From the underside of the foot, piece stitch up and catch the bottom of the claw and back down and knot. This will keep them from flopping as they walk.

Take a rough estimate of how much elastic could go around the child’s shoe. To keep the covers held down over the shoe. It shouldn’t be so tight that the child can’t get the elastic straps over the shoe but short enough to hold the cover down on top of the shoe.
Pin across the bottom opening and stitch parallel to the band along the bottom of the foot.


The last step is to make the eyes! For the eyes, I cut a circle approximately 2 inches in diameter. Run a hand-basting stitch around the edge of the circle and then pull the thread to gather the edges together. Stuff with poly-fil the desired firmness and shape that you want.
Not the basting stitch and hand sew the eyes to the top of the hood. Cut a black circle out of felt in the shape of the pupil you want and hand stitch or glue to on top of the eyeball.
Their wings I purchased at dollar tree! They were green foam so I pained them with metallic acrylic craft paint. It took 2 coats to completely over the wings. And I’m thrilled with how well they turned out!

At the very very last minute Pain insisted he needed some “Air-Herc Sandals” so I cut strips of felt and made some vinyl lettering on the Cricut and since we were down to the wire, I hot glued them to his feet.
And there you have it – the pain and panic costumes!

“Pain & Panic at your Service!” ready to do Hades bidding! Thank you for joining us today. Before you leave, make sure to join our Facebook Group and follow us on Instagram.
FAQs
Pain and Panic Costumes FAQ
Frequently Asked Questions - DIY Pain and Panic Costumes
What sewing patterns do I need for Pain and Panic costumes?
You'll need two Peek-a-Boo patterns: the Ultimate Costume Creator (for the main body and hood) and the Classic Zipper PJs pattern (for the footed shoe covers). The tutorial mashes these patterns together to create the complete demon costumes with attached feet.
What fabric should I use for Pain and Panic costumes?
Fleece is the recommended fabric for several reasons: it's inexpensive, comes in many colors (you'll need purple for Pain and blue for Panic), keeps kids warm for trick-or-treating, and doesn't fray at cut edges. You'll need approximately 2-3 yards per costume depending on size.
Do I need special materials beyond fabric?
Yes! You'll need:
- Poly-fil stuffing (for horns, tail, beak, and eyes)
- Zipper (for front closure)
- Elastic (for shoe cover straps)
- Boning (optional - for Pain's round belly shape)
- Black felt (for eye pupils)
- Wings (can purchase at Dollar Tree and paint with metallic acrylic paint)
- Optional: wig for Pain's hair
How do I make the shoe covers stay on?
Cut a band that fits around the foot opening, attach it like a cuff, then add elastic straps across the bottom of the foot. The elastic should be tight enough to hold the cover over the shoe but loose enough for kids to slip their shoes in and out.
What's the difference between Pain and Panic costumes?
Pain (purple):
- Rounder, wider body (add 2 inches at side seams)
- Uses boning around the waist for structure
- Pointed ears on hood
- Two short horns on top
- Hair (from a wig sewn to hood)
Panic (blue):
- Thinner, standard fit
- Bird-like beak on hood
- Two curved horns on top
- Long curved tail
How do I attach the horns to the hood?
Cut a small slit in the hood where you want the horn, slide the stuffed horn through the slit, and sew it on the inside like a dart - starting at one edge, gradually sewing across the horn base, and tapering at the other end. This creates a secure attachment without visible stitching on the outside.
Can I make these costumes without a serger?
Yes! A regular sewing machine works perfectly. Fleece doesn't fray, so you don't need finished seams. Use a ballpoint or stretch needle and a zigzag or stretch stitch for seams that need to stretch.
How difficult are these costumes for a beginner?
These are intermediate level costumes. You should be comfortable with:
- Following sewing patterns
- Installing zippers
- Sewing curves (for tails, horns, beaks)
- Basic hand-sewing (for attaching eyes)
If you're new to costume-making, start with the simpler Panic costume before attempting Pain's rounded belly modification.
How long does it take to make Pain and Panic costumes?
Expect 6-10 hours per costume depending on your experience level. Breaking it down:
- Cutting pieces: 1-2 hours
- Main body construction: 2-3 hours
- Hood and details (horns, tail, beak): 2-3 hours
- Shoe covers: 1-2 hours
- Hand-sewing eyes and final details: 1 hour
Where do I cut the pattern to add the shoe covers?
Cut the Ultimate Costume Creator pattern at the "CUFF CUT LINE" on the leg. This is where you'll attach the footed portion from the Classic Zipper PJs pattern. Measure against your child or existing pajamas first to ensure proper placement.
How do I make Pain's round belly?
Add approximately 2 inches to each side seam at the waist, tapering from the armpit down to the waist and back to the hip. After sewing side seams, create a fabric channel around the waist and thread boning through it. The boning holds the costume out and creates Pain's characteristic round shape.
What's the easiest way to make the three-dimensional beak for Panic?
Cut three triangle pieces. Sew two triangles together along the long sides to the point, then add a third triangle underneath. Trim seam allowances at the tip, turn right side out, stuff with poly-fil, and baste to the center of the hood before adding the hood band.
Can I make these costumes in adult sizes?
Yes! Both the Ultimate Costume Creator and Classic Zipper PJs patterns come in adult sizes. You'll just need more fabric (3-4 yards for adults) and larger horns, tail, and other details to maintain proper proportions.
How do I make the eyeballs?
Cut 2-inch diameter circles from white fleece or felt. Run a hand-basting stitch around the edge, pull to gather, stuff with poly-fil to desired firmness, knot the thread closed, and hand-sew to the top of the hood. Cut black felt circles for pupils and glue or hand-stitch on top.
Where can I find wings for these costumes?
The tutorial used wings from Dollar Tree (green foam wings painted with 2 coats of metallic acrylic craft paint). You can also find wings at craft stores, Halloween stores, or make your own from craft foam or wire and fabric.
Quick tip: Read through the entire tutorial before starting, and lay out all your pattern pieces to visualize how they fit together. These costumes look complex but break down into manageable steps!