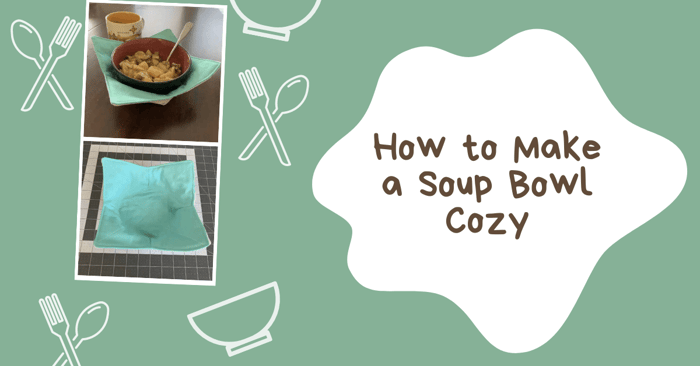
How to Make a Bowl Cozy | Bowl Cozy Pattern
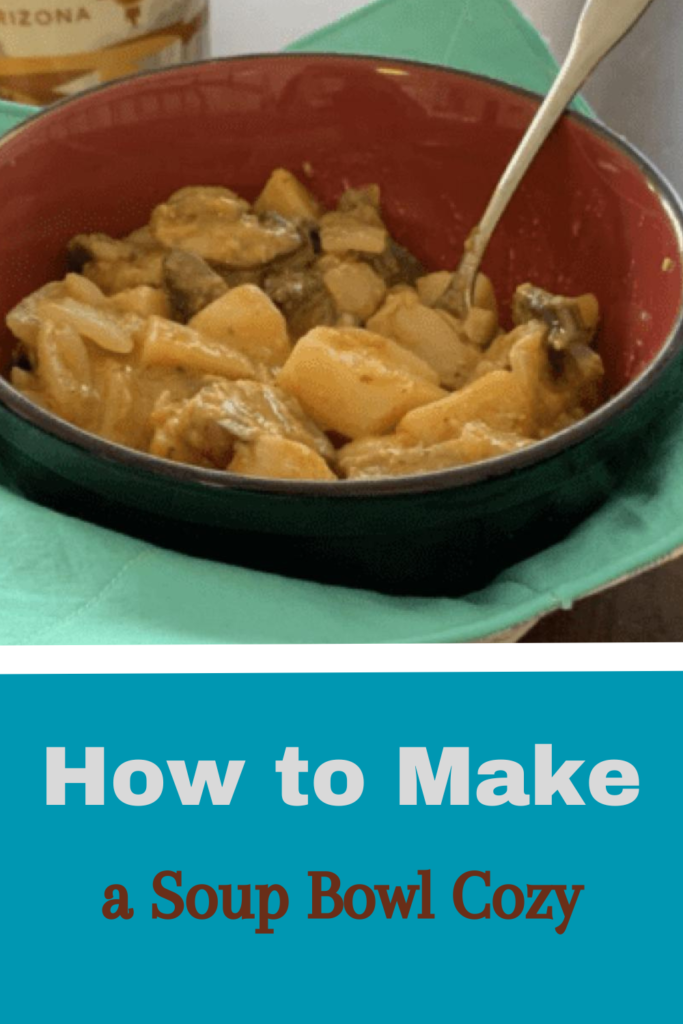
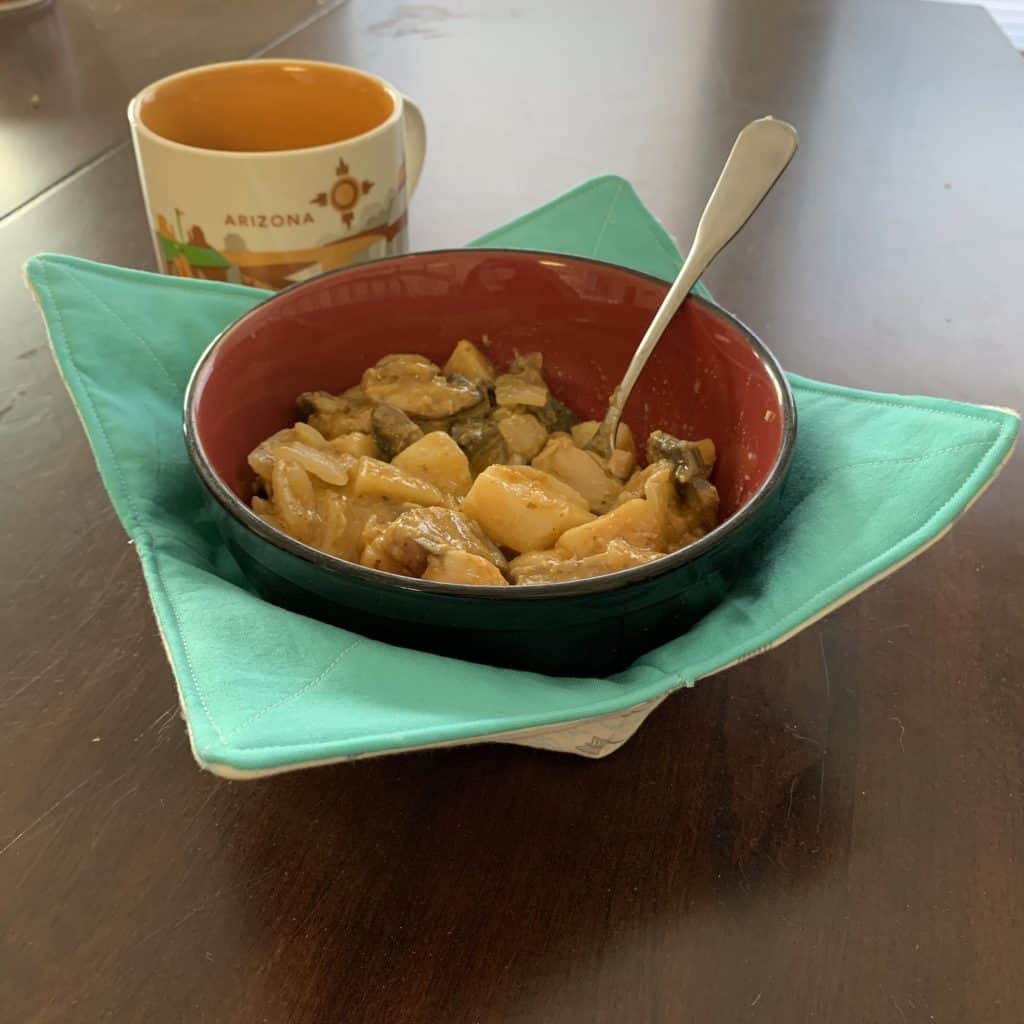
Hello friends! Stephanie from Stephie B’s Designs is here again today to walk you through how to make a bowl cozy for a hot bowl of soup(that can be a great last-minute Christmas gift this time of year!) This is a fun and easy project with a simple and free bowl cozy pattern. It's a great way to use up extra fabric.
Learn How to Make a Bowl Cozy
Sewing a DIY bowl cozy sounds fun, right?! You can easily whip a few of these soup bowl cozy’s up and send them to your friends, or of course, keep them for yourself.
I didn’t realize that Arizona was going to be as chilly as it is in the winter, so I find myself preparing soups, stews, chilies, curries, and other warm comfort foods several times a week. Inevitably we have leftovers, so find ourselves heating up our bowls in the microwave all the time… and subsequently burning our poor hands as we hungrily try to take the bowl out too soon. OUCH!
These cozies are the perfect solution for that!
Plus, you can use them while you’re eating your meal right off the stove or out of the slow cooker! AND, they can even be used to hold your cold bowl of ice cream in the summer!
So… lets dive on in!
Gather the Bowl Cozy Materials and Cut Your Bowl Cozy Pattern
For each cozy, you’ll need:
- Two 10″ squares of 100% cotton fabric, such as quilting cotton (remember, these will go in the microwave, so you must use 100% cotton – avoid fabric metallic accents as well)
- Two 10″ squares of microwaveable 100% cotton batting – I used Pellon Wrap-N-Zap Cotton Quilt Batting
- An air- or water- soluble ink marking pen or fabric marker
- Ruler
- Scissors, pins, rotary cutter, sewing machine, 100% cotton thread, etc.
There isn't an actual template for this because all you really need is to cut the square of fabric and batting as noted above.
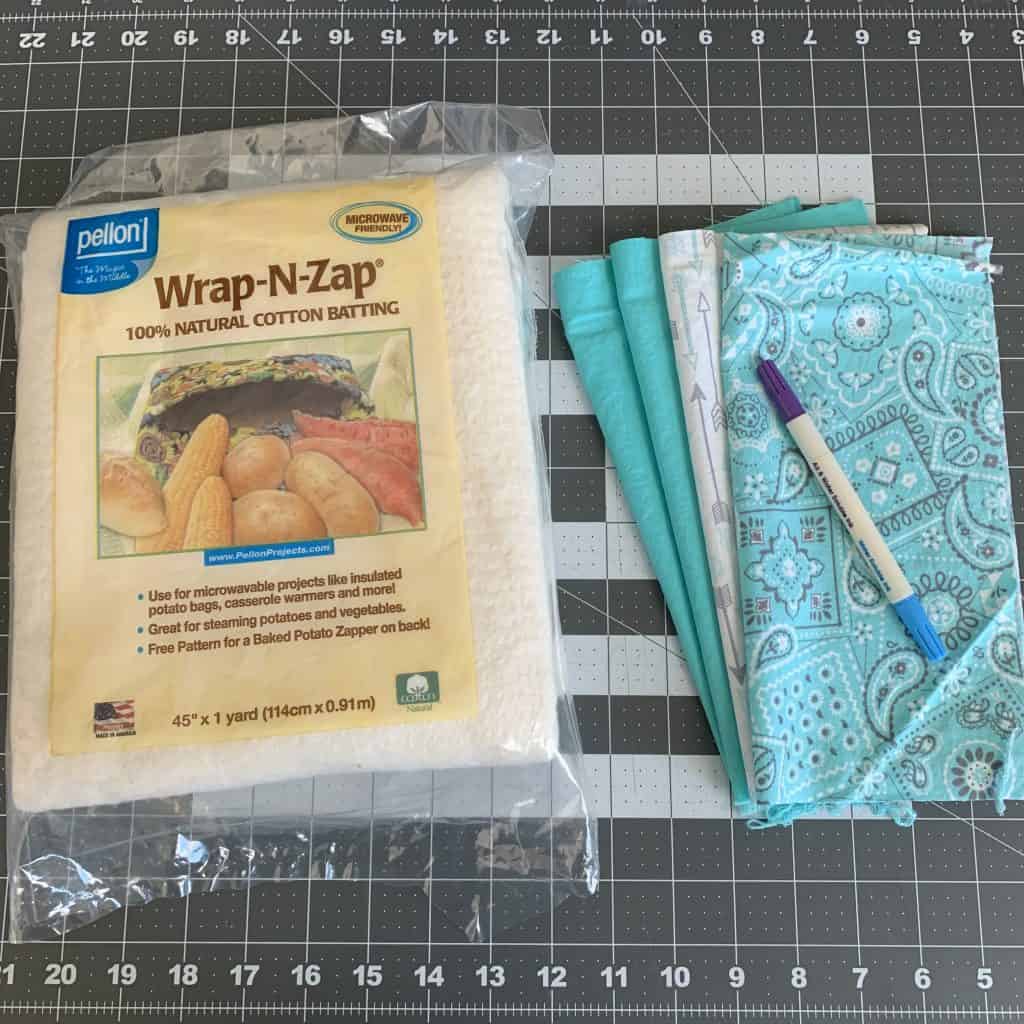
I’m making two cozies today, which is why I have four fabric squares.
Assemble Your Bowl Cozy
Bowl Cozy Step 1: Pin one square of batting to the wrong side of one of your square pieces of fabric.
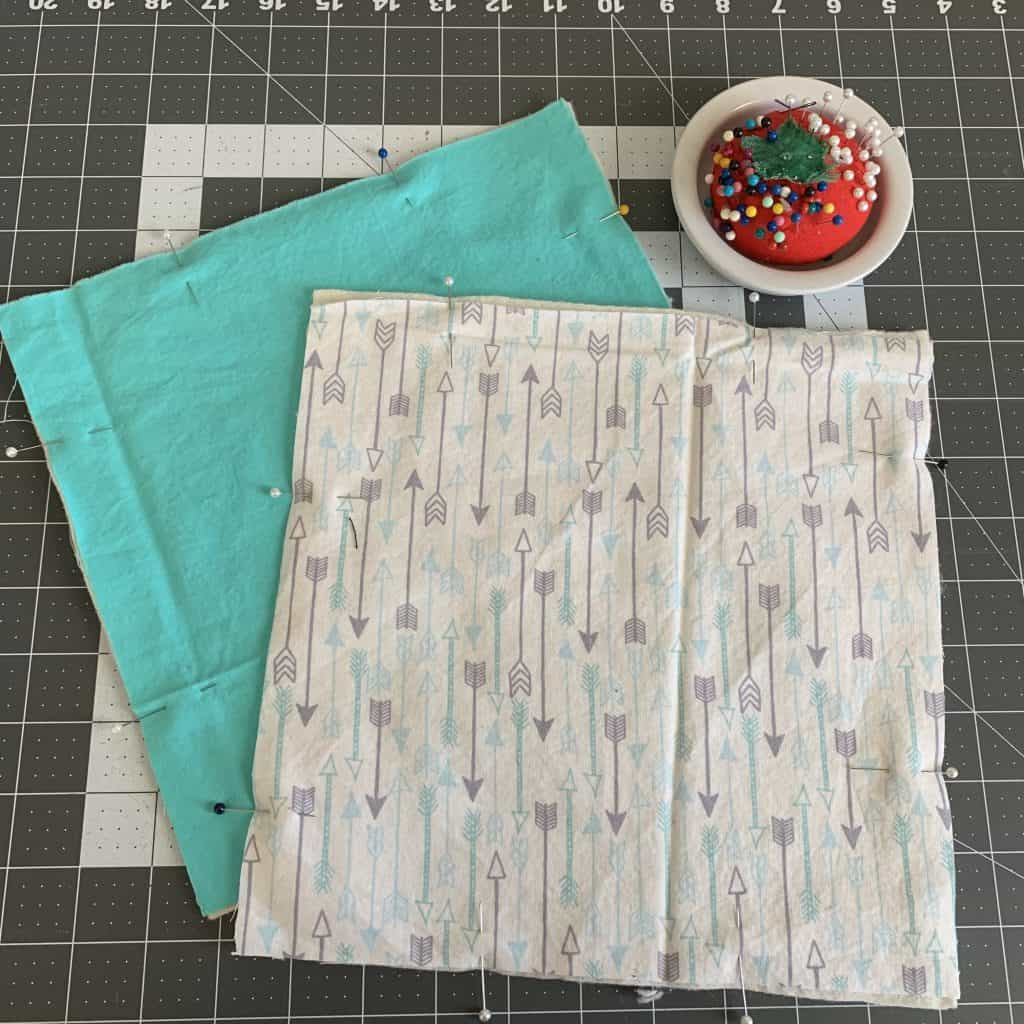
Look! It’s the awesome Magnetic Pin Cushion I taught you how to make a little while back!
Step 2: On the backside of the batting, draw some diagonal lines across the square from one corner to the other. Repeat with the other two corners, creating an “X” in the square.
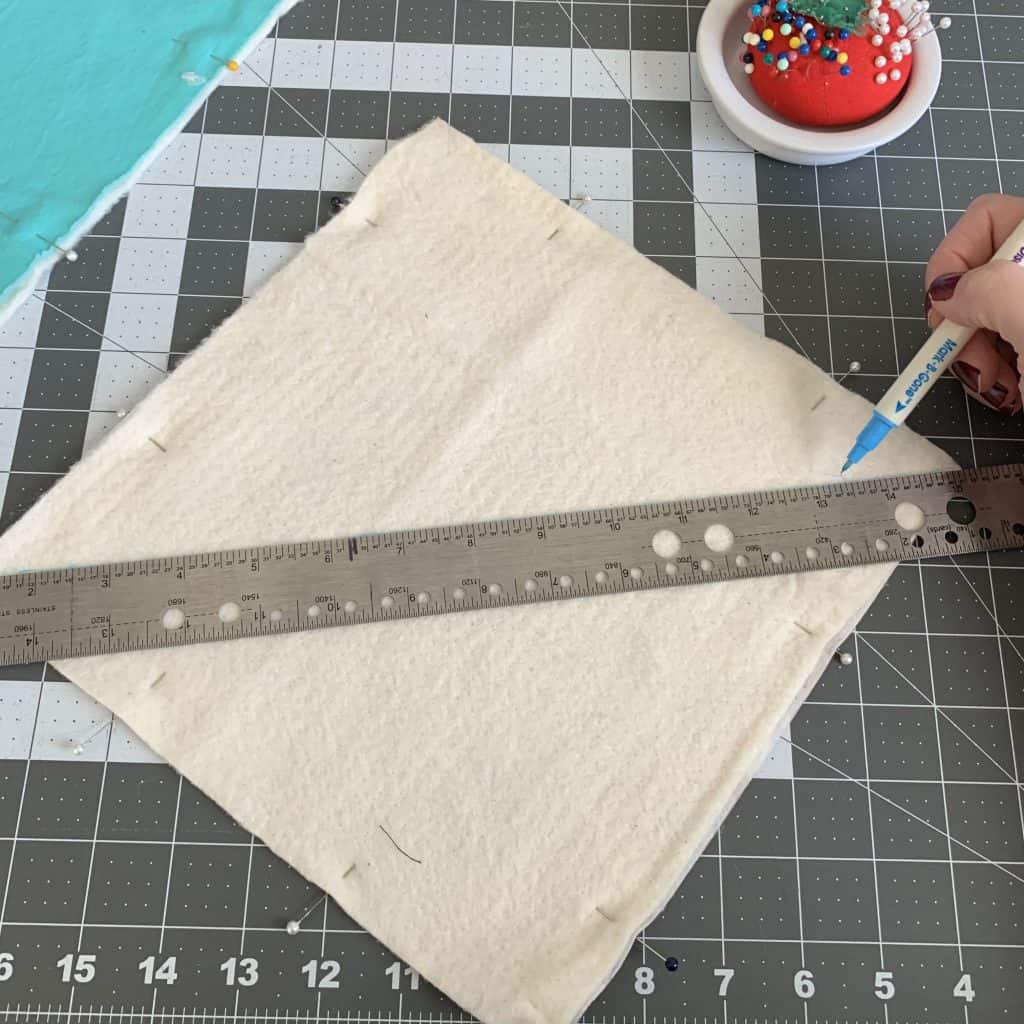
Step 3: Repeat with the second square.
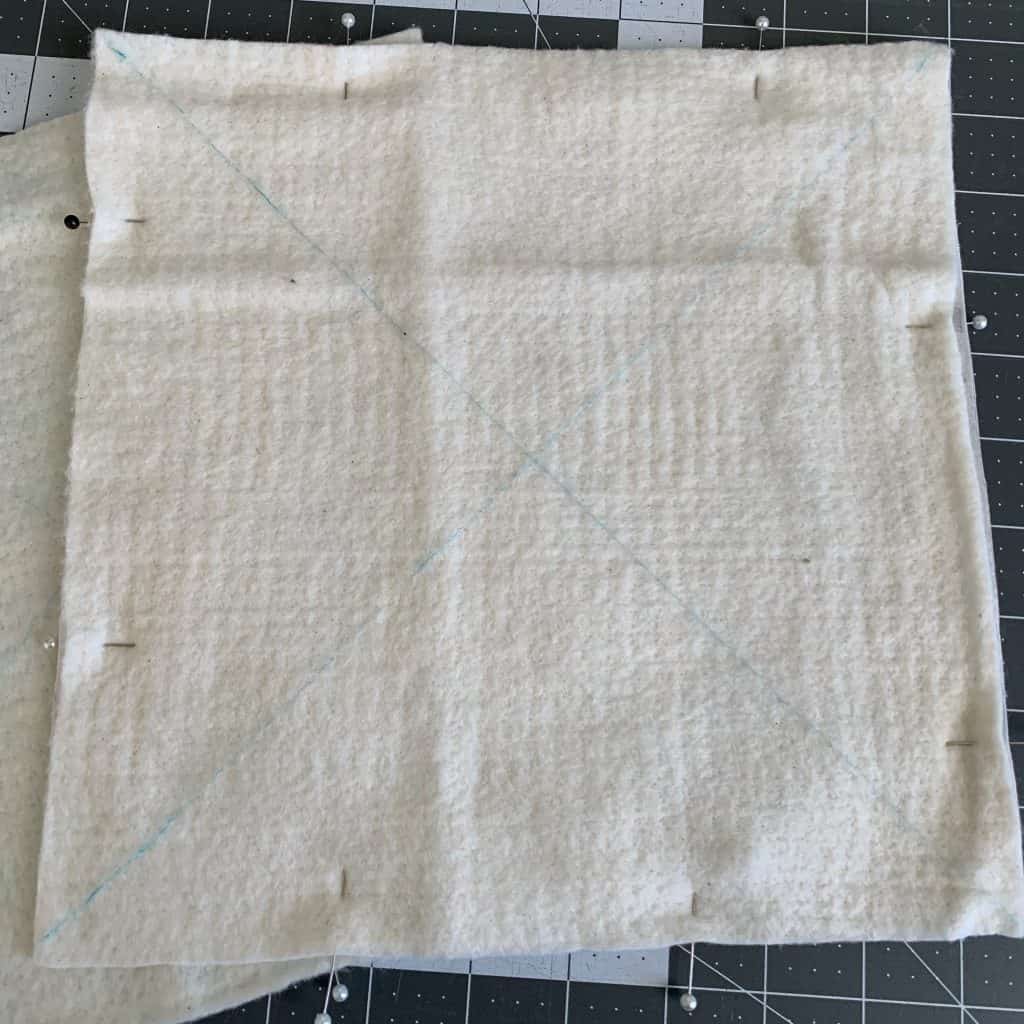
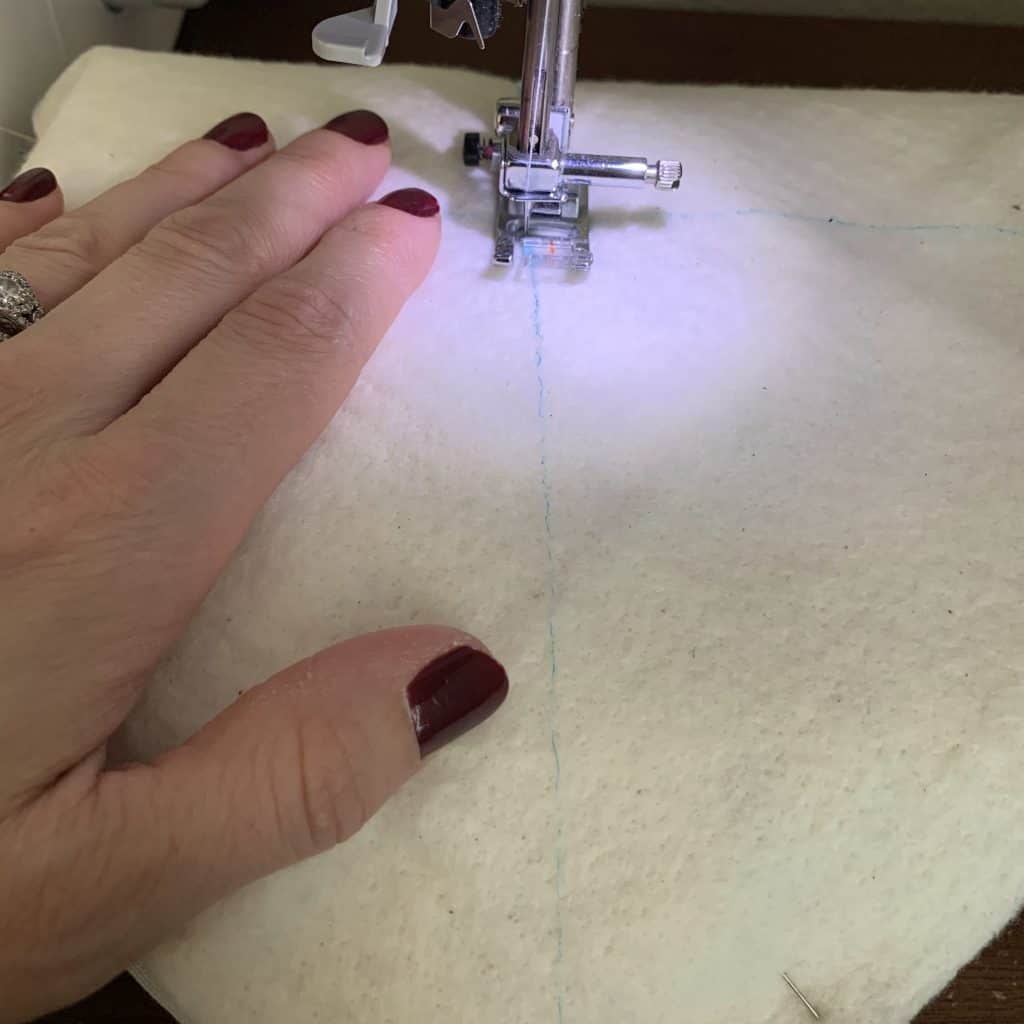
Bowl Cozy Pattern Step 4: Sew a straight stitch along the drawn lines of both squares.
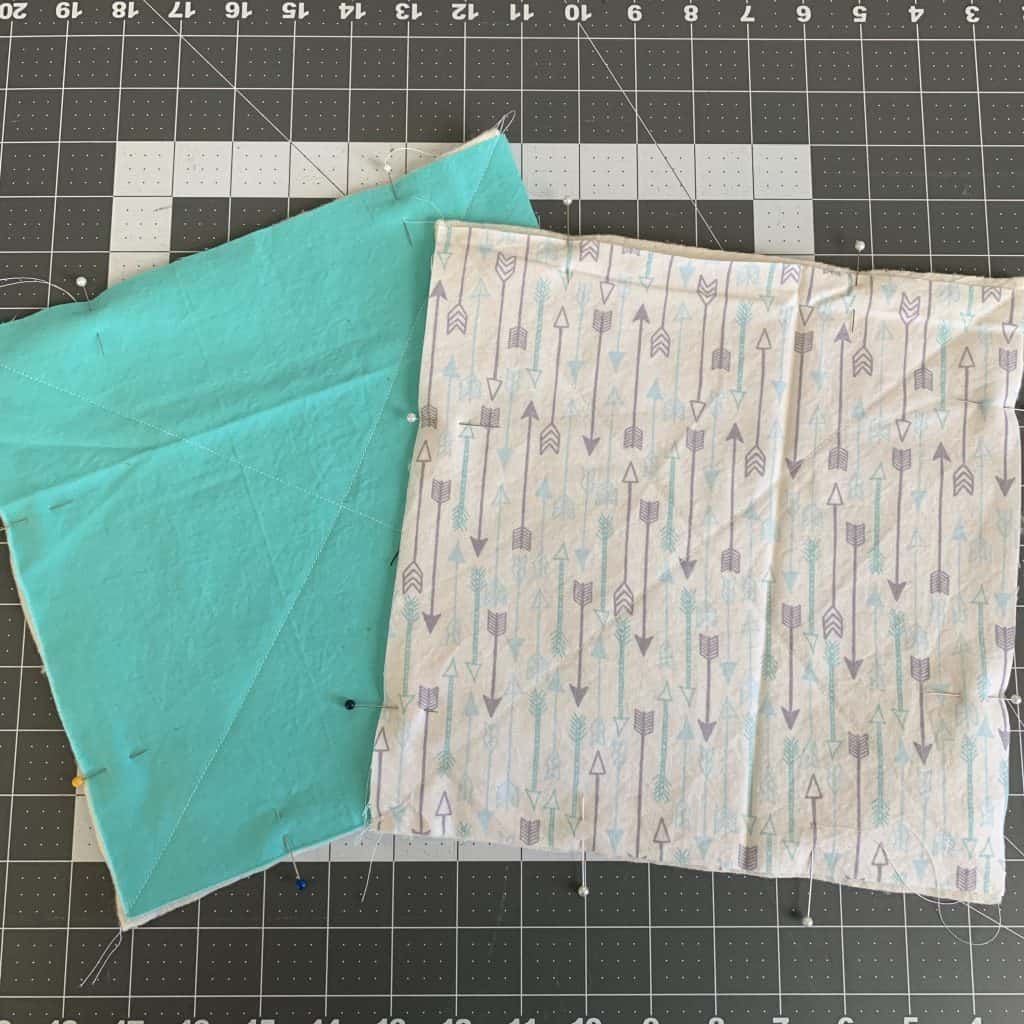
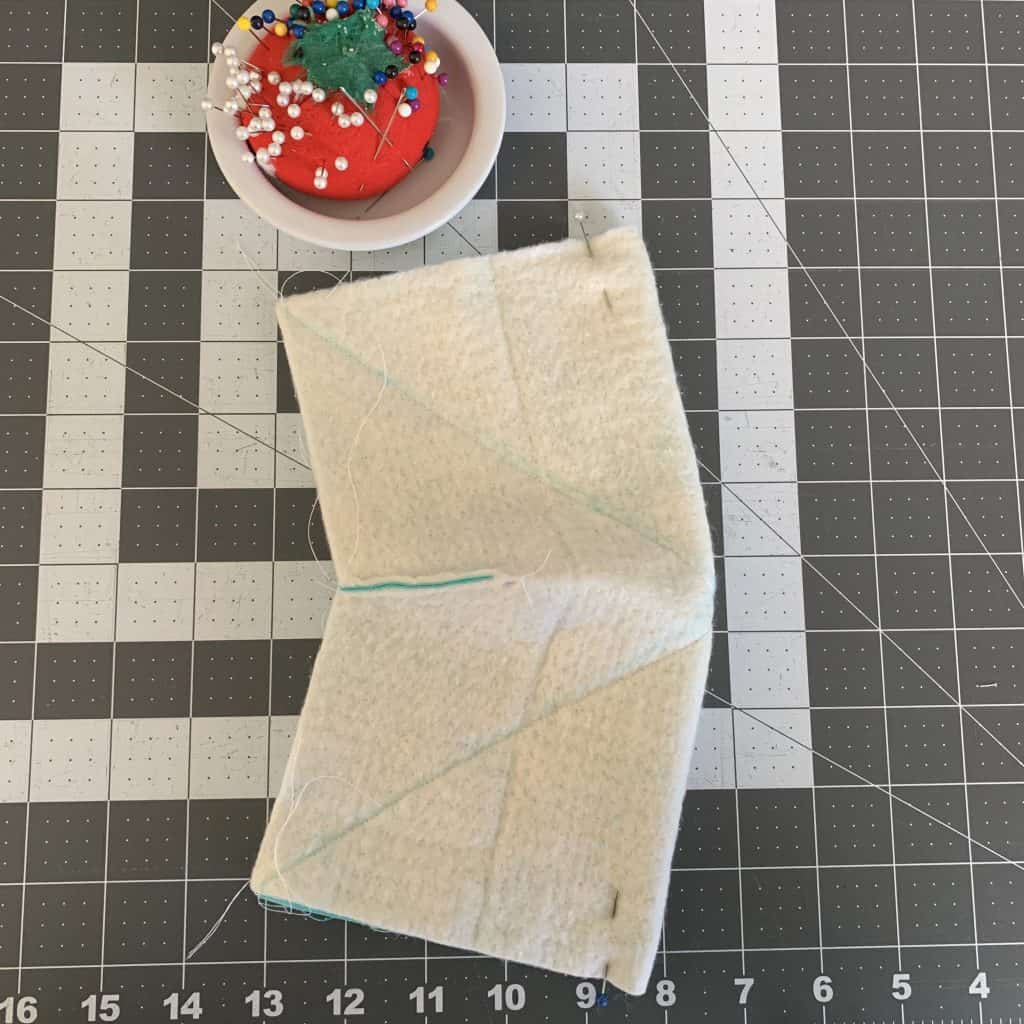
Bowl Cozy Step 5: Fold one square in half, batting side out. Mark a dot 1″ away from the fold and 2″ down from the top and draw a line between them.
As a reference point, in the first image below, the tip of my pen is closest to the folded edge of the bowl cozy.
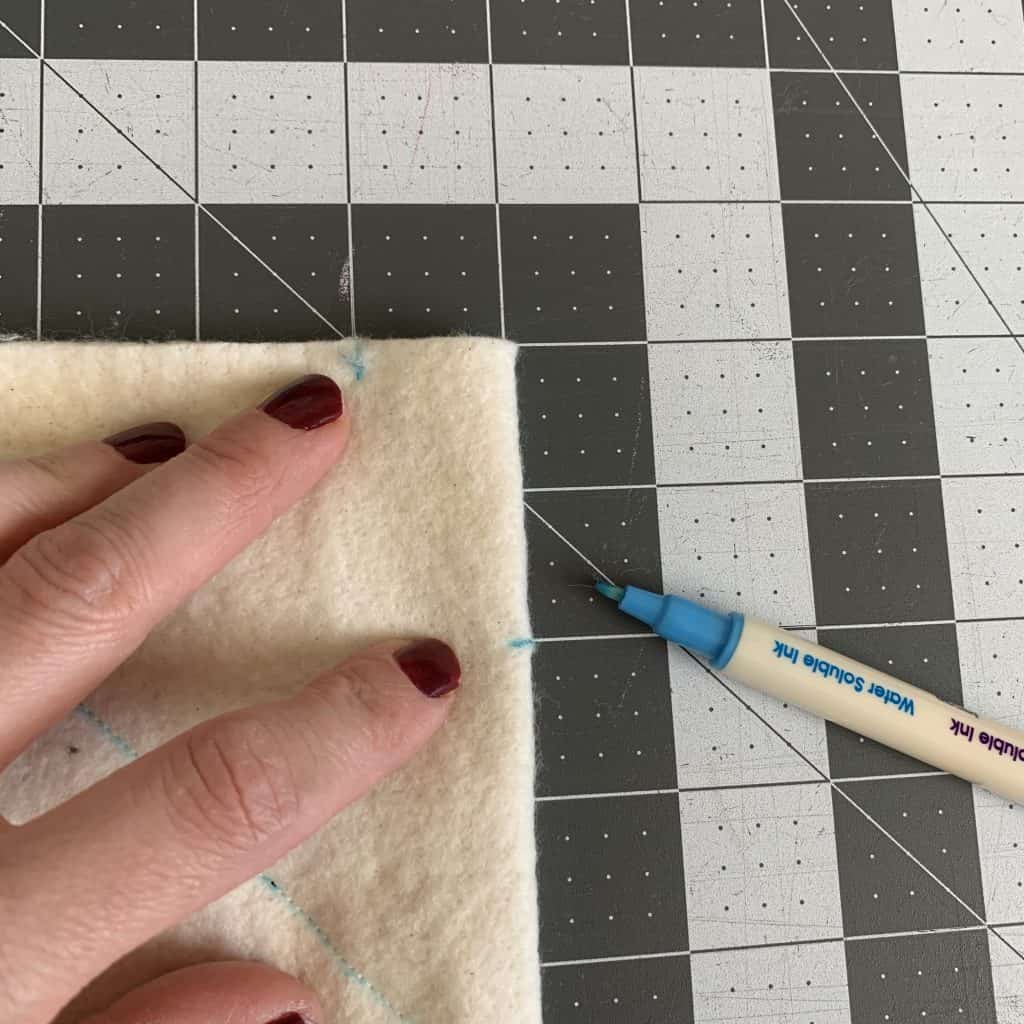
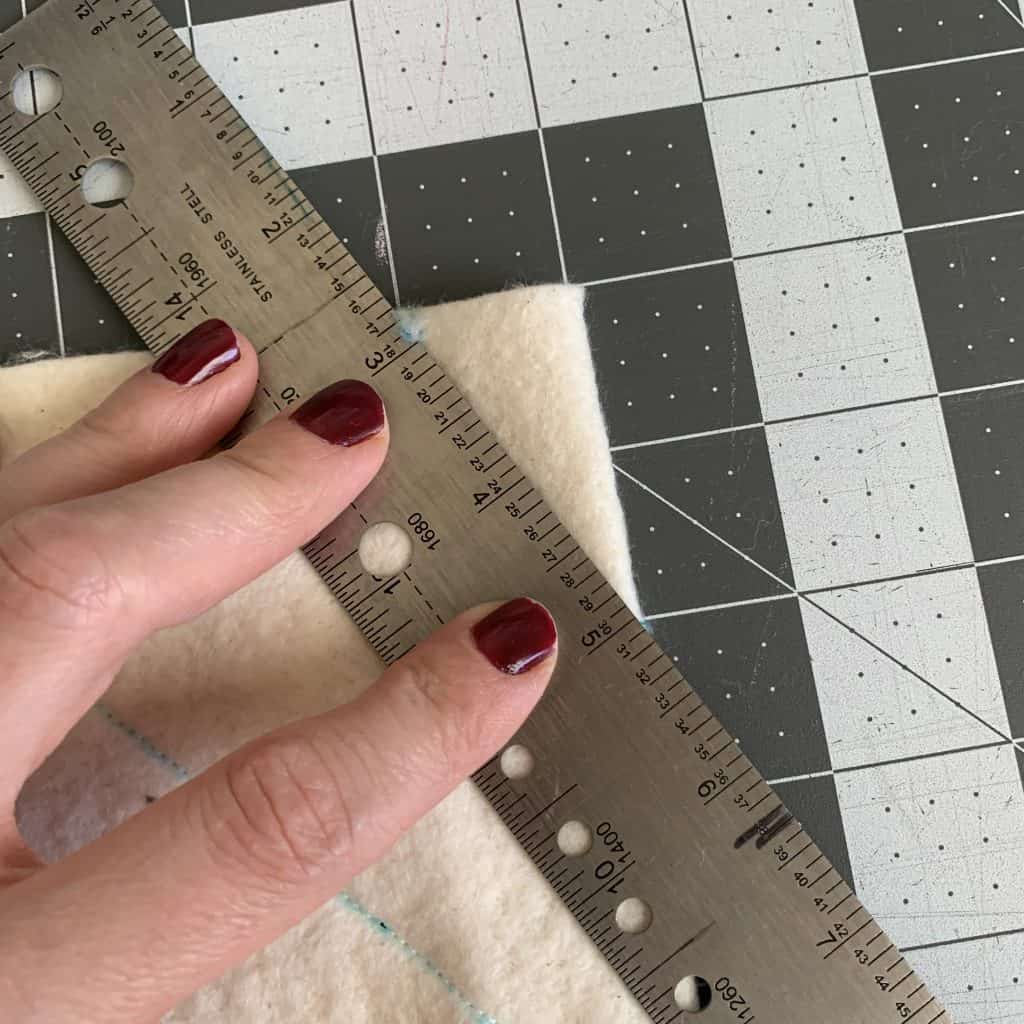
Repeat with the bottom corner of that square. I recommend pinning to hold the fabric in place.
Your square should look like mine does in the image below.
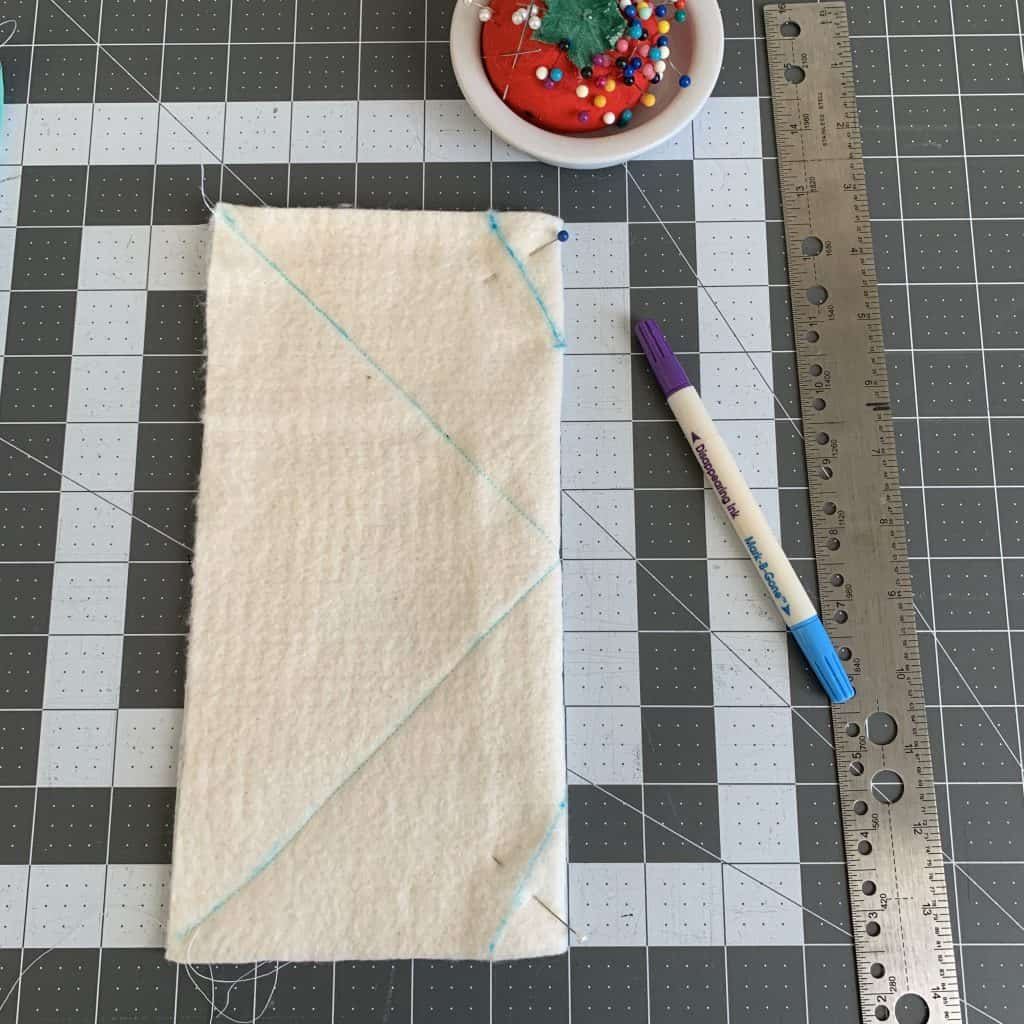
Step 6: Sew along the marked lines on both squares, then trim seam allowance to 1/8″ (or as close as you can get it without compromising the seam – bulk is not your friend in this project).
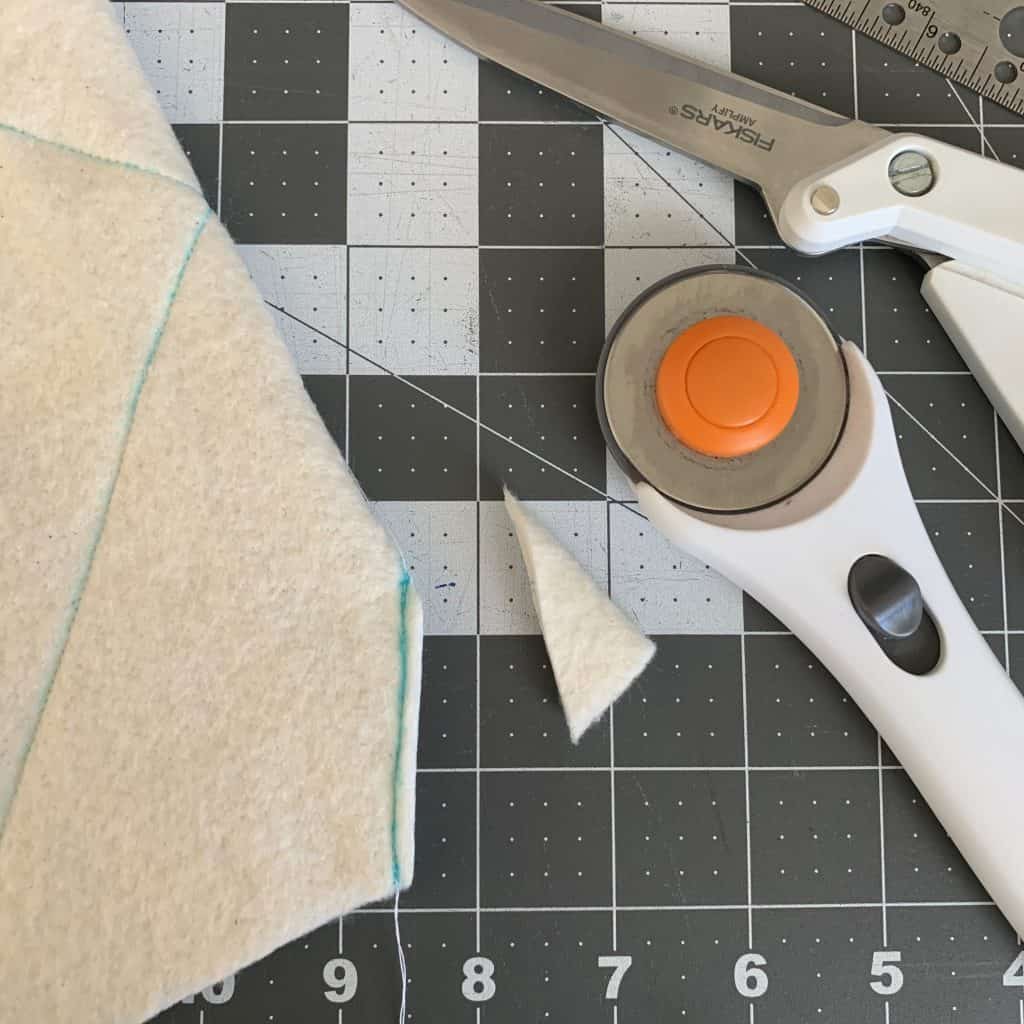
DIY Bowl Cozy Step 7: Repeat with the second square.
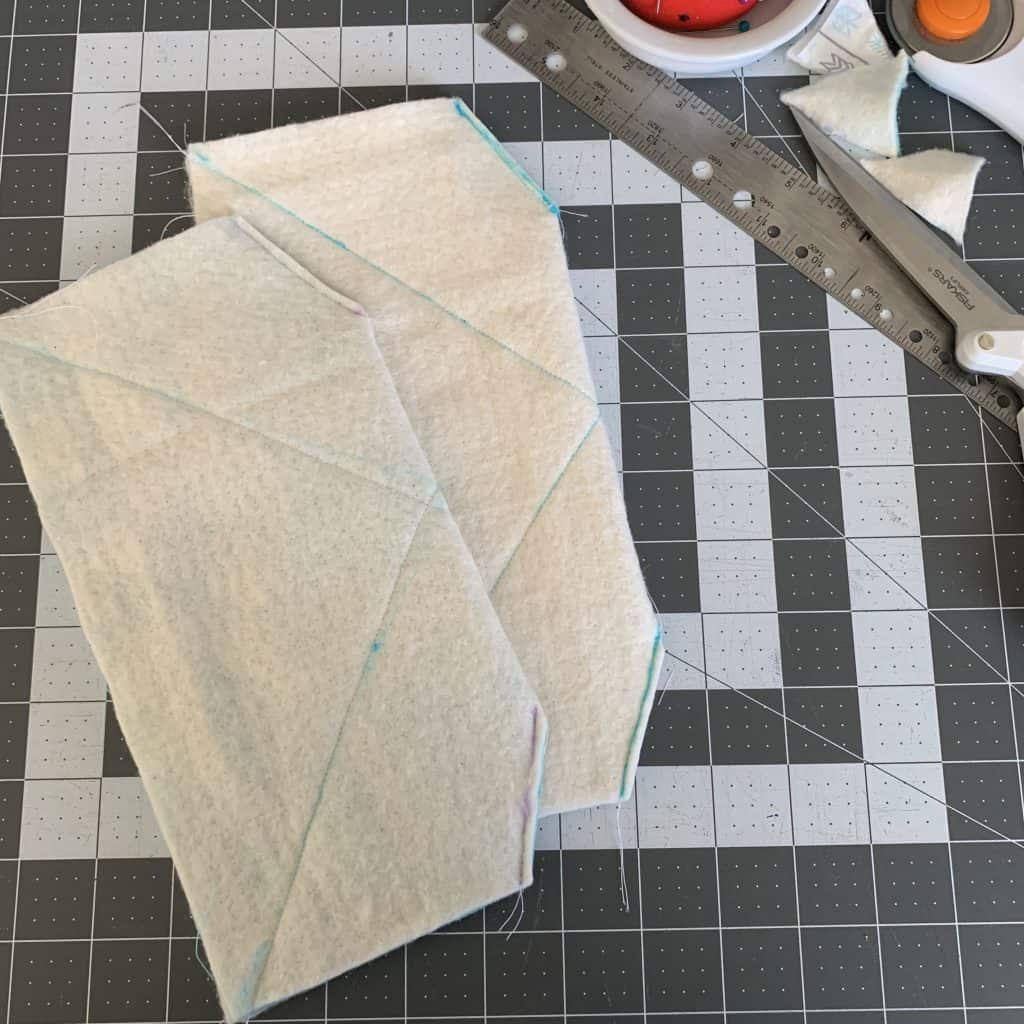
Step 8: Fold each square in half in the opposite direction, and repeat steps 5-7, marking, then sewing, then trimming the corner of each square.
It gets a kinda tricky here with the first two corners already sewn – the square won’t lay flat – so I recommend pinning along the fold (as shown in the first two images below) before you mark so the fabric stays in place as you draw your line.
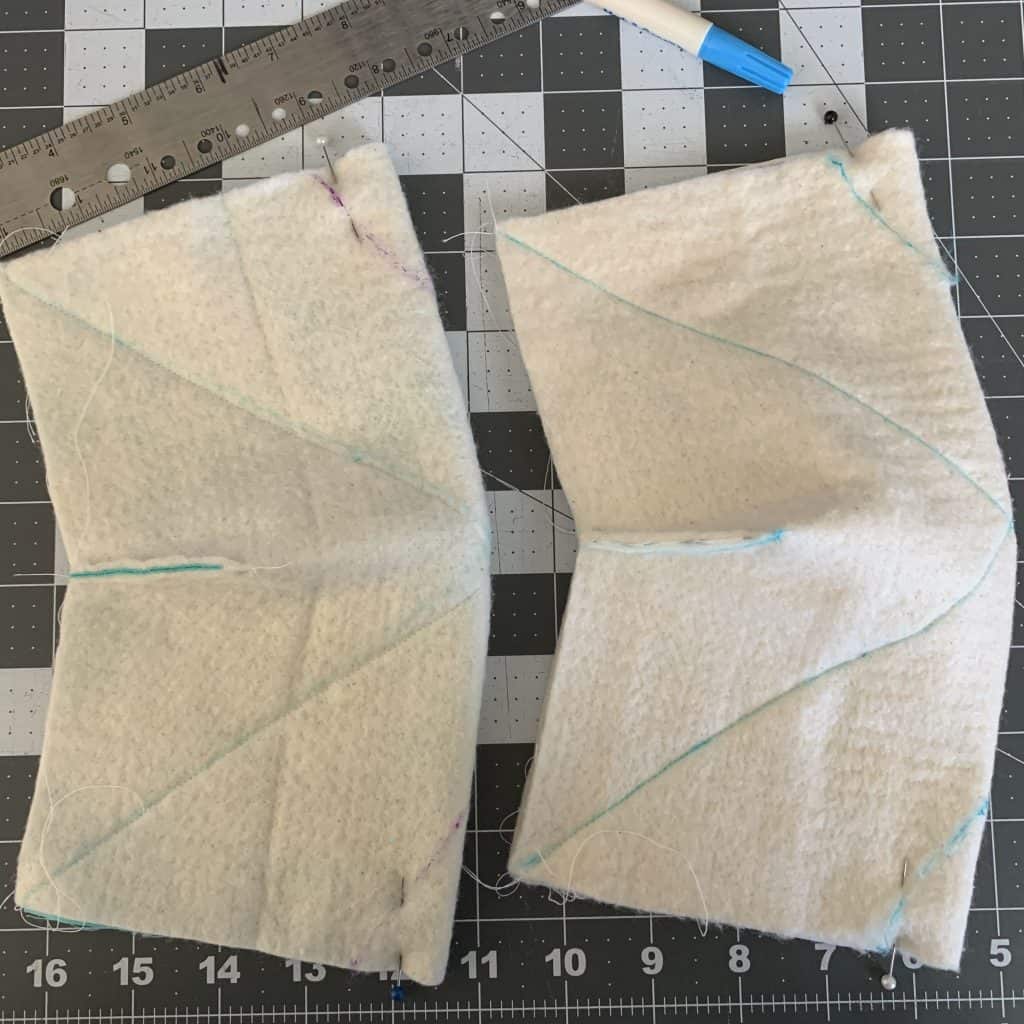
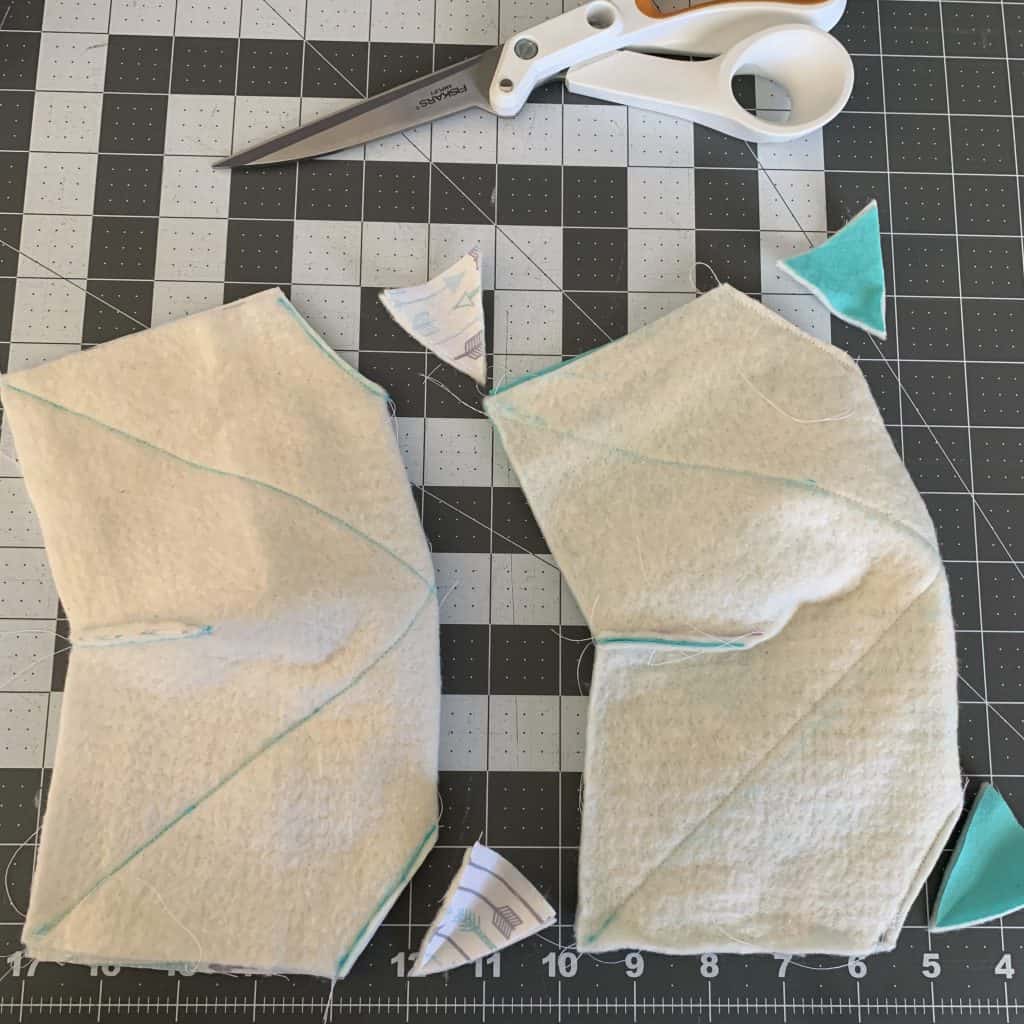
Step 9: Unfold your squares. You should have two pieces that look like mine in the image below.
Step 10: Turn one batting face up. Pin the two pieces right sides together, matching the seams.
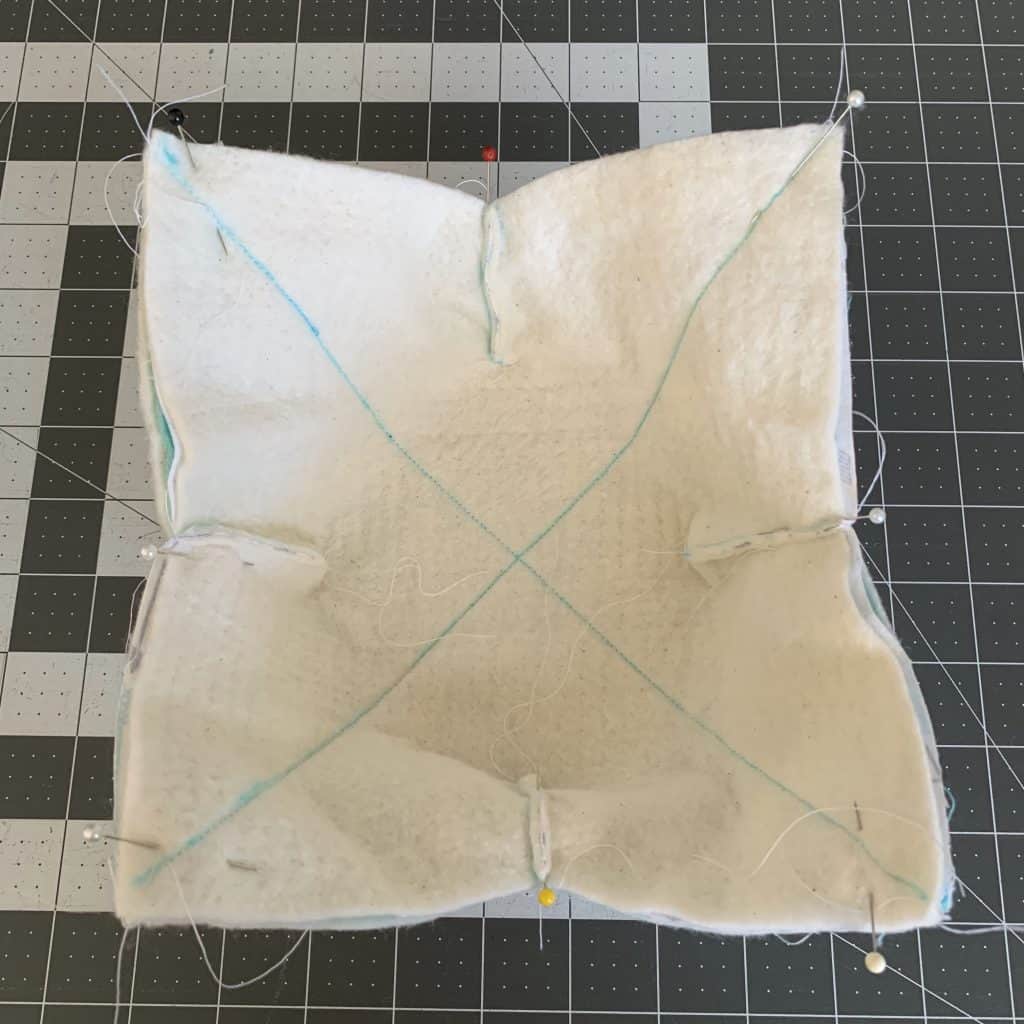
I find it easier to match the corners together and pin, then pin along the trimmed seams. But that’s just me!
Step 11: Using a 1/4″ seam allowance, sew the raw edges of the two pieces together, leaving a 2″-3″ opening to turn the cozy right side out.
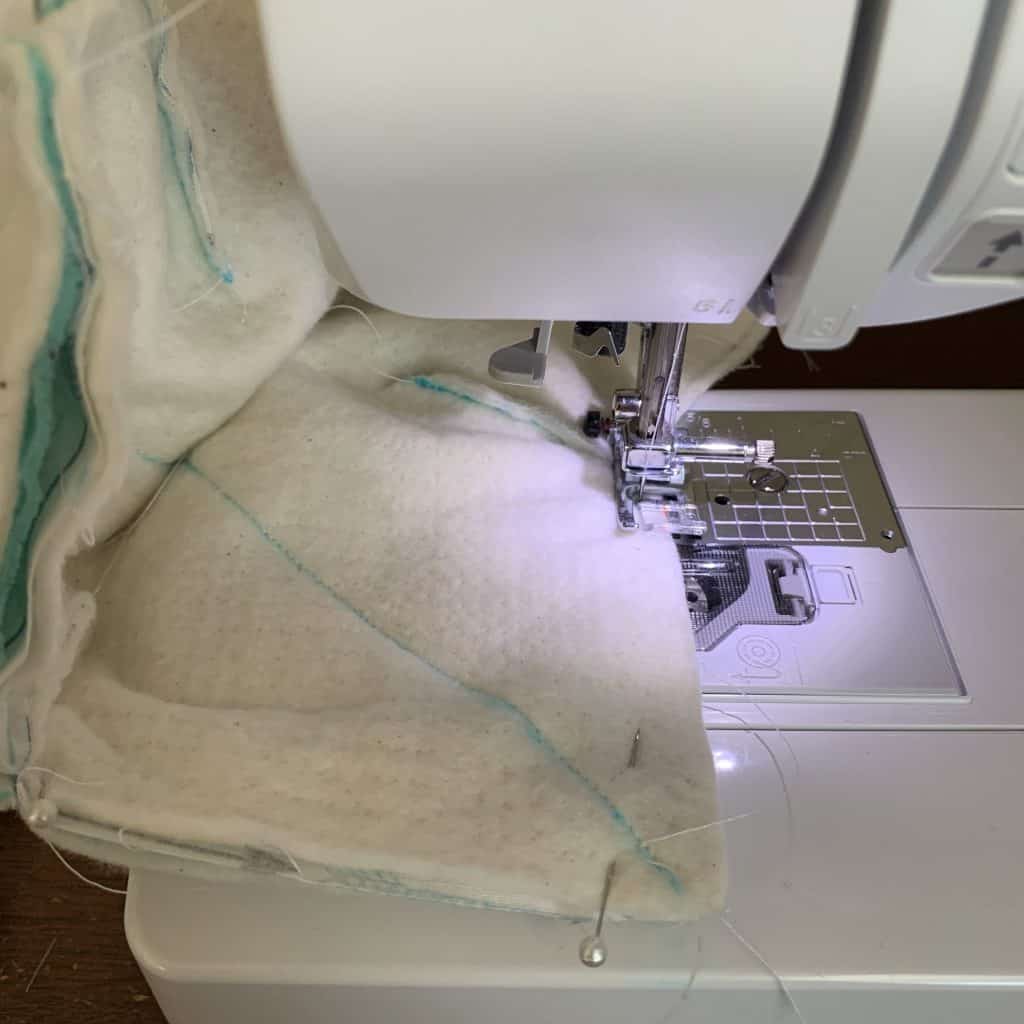
Step 12: Trim the seam allowance and corners to remove excess bulk.
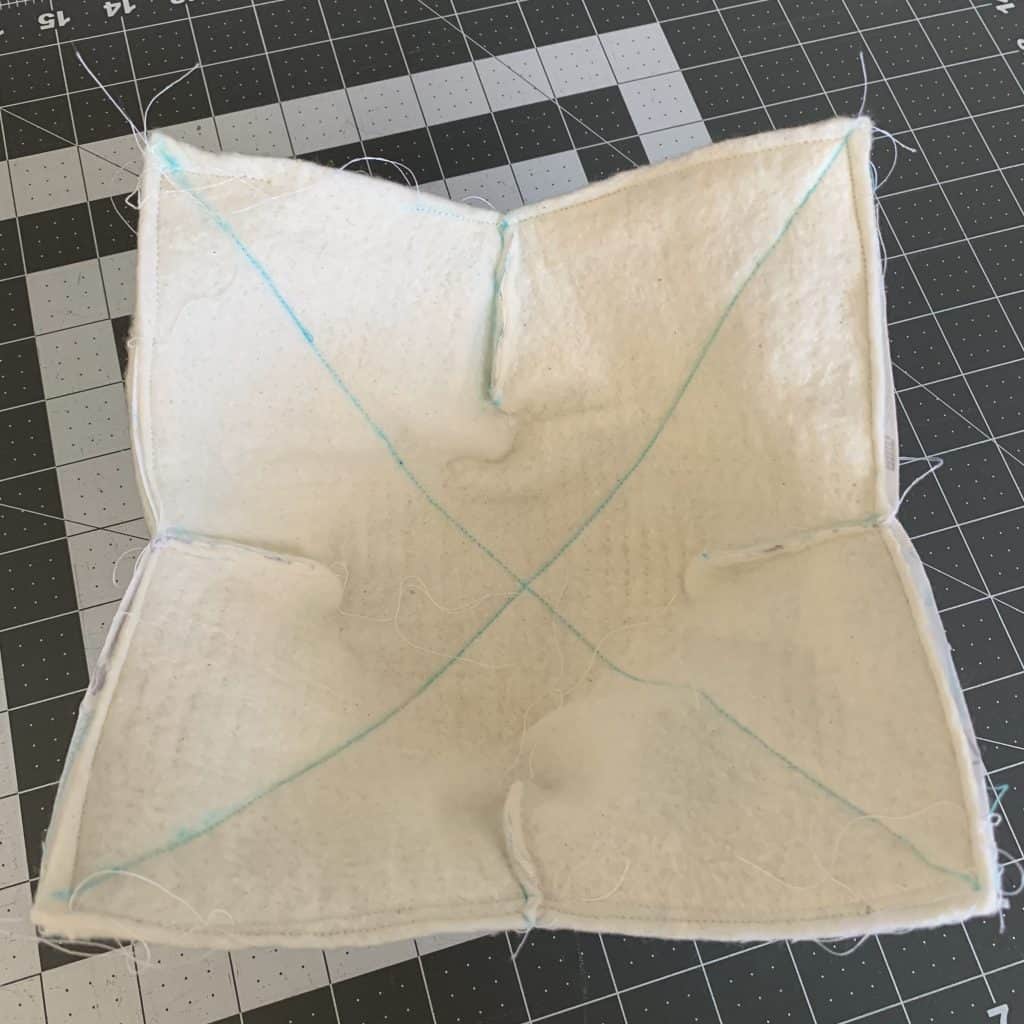
(For some reason I took the picture above before I clipped off the corners, so pretend you don’t see them there!)
Step 13: Turn the bowl right side out through the opening. Push out corners with a point turner, chopstick, scissors, or whatever tool you prefer.
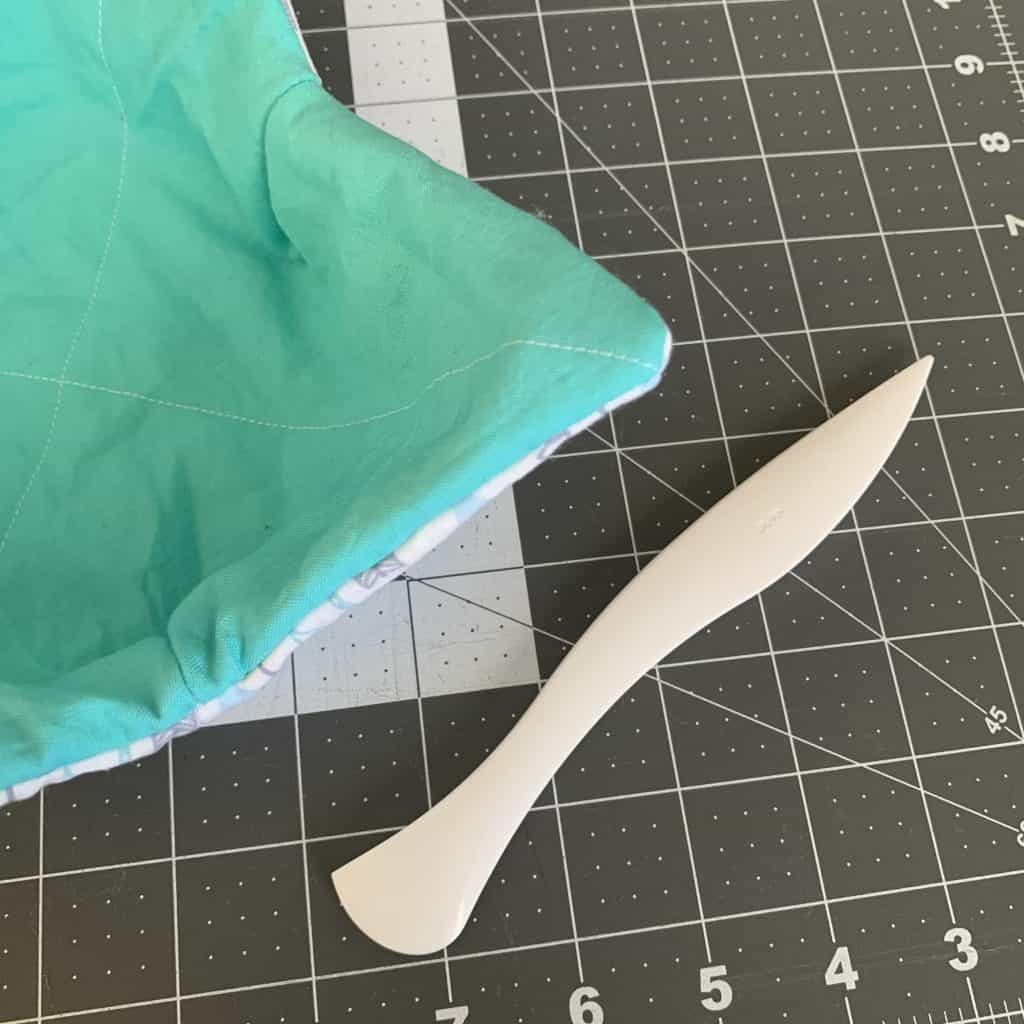
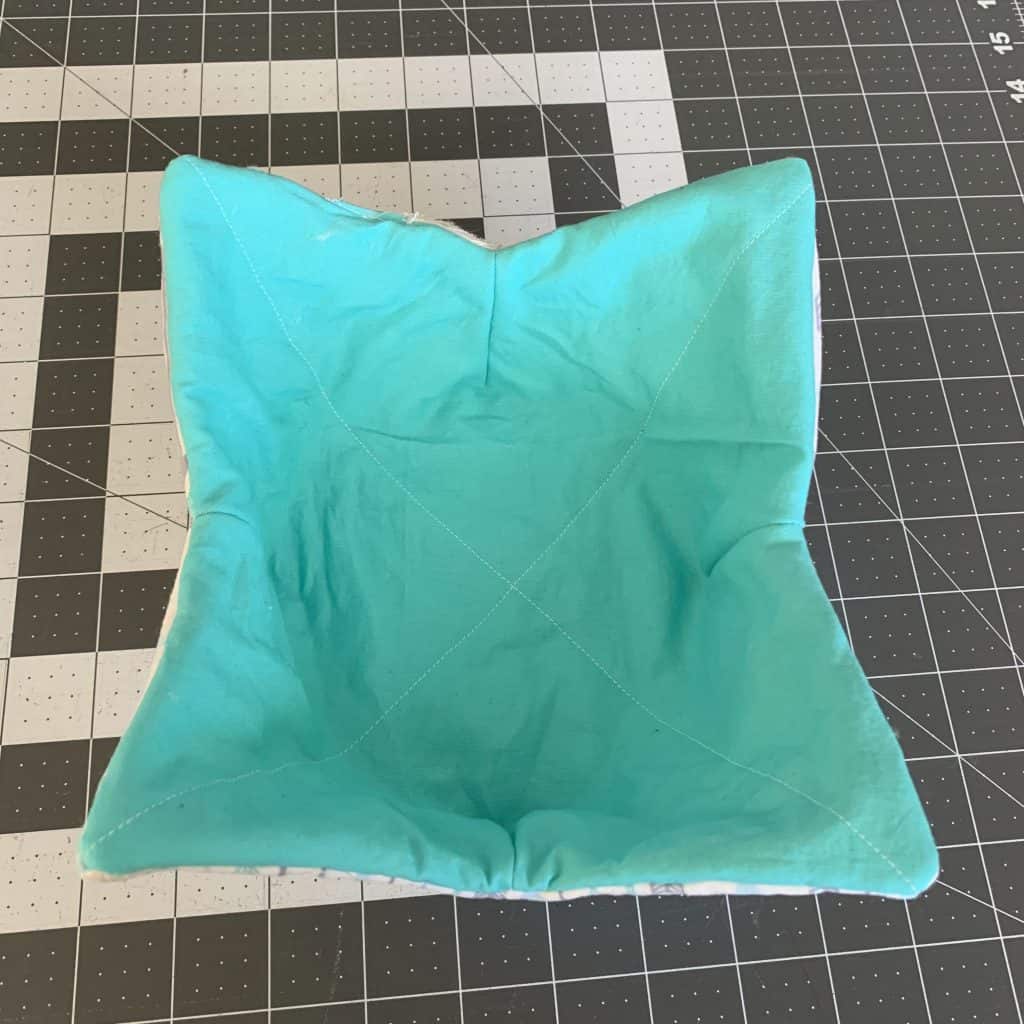
Step 14: Now is a good time to press your cozy. It will get super wrinkly during the turning out process, so spend some time making it look lovely again.
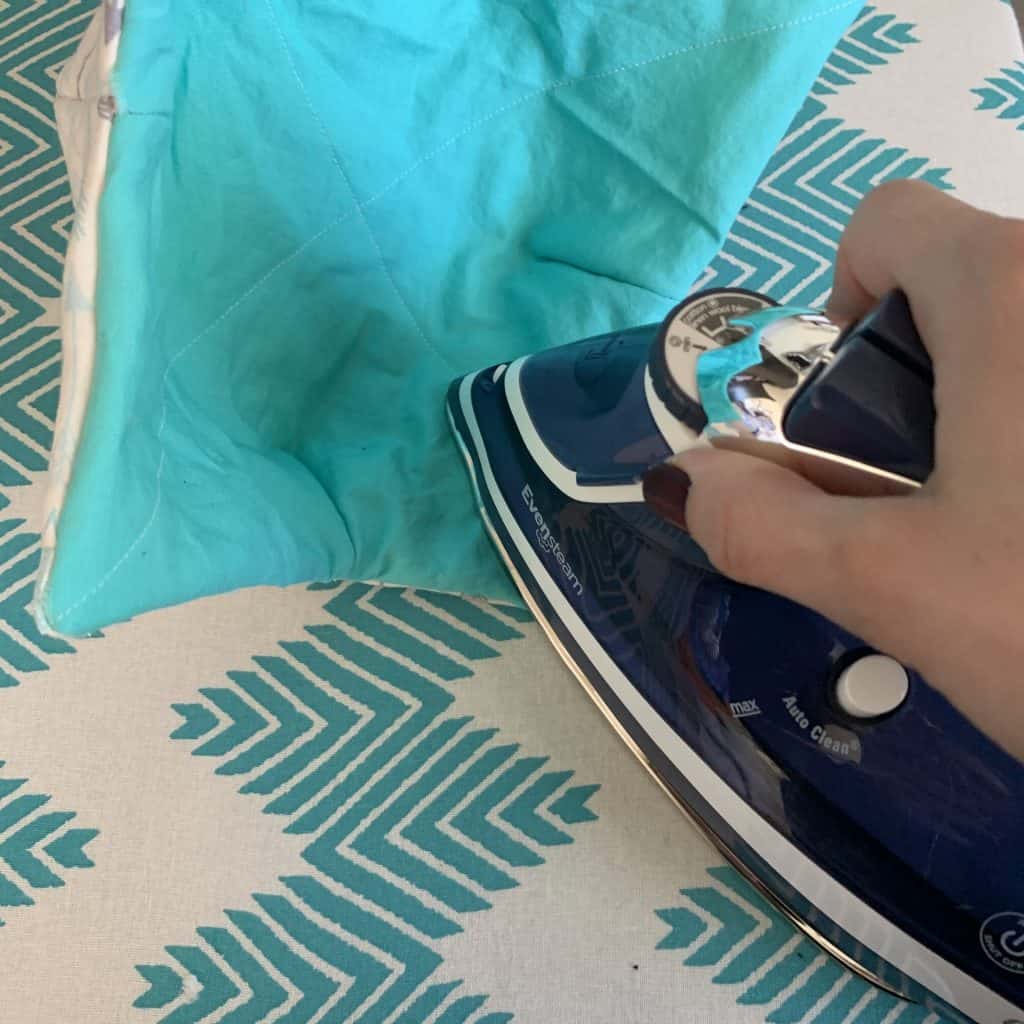
Recognize this ironing board? It’s the one I showed you how to make in How to Make a TV Tray Ironing Board!
Step 15: Topstitch or hand sew the opening of the squares of fabric shut.
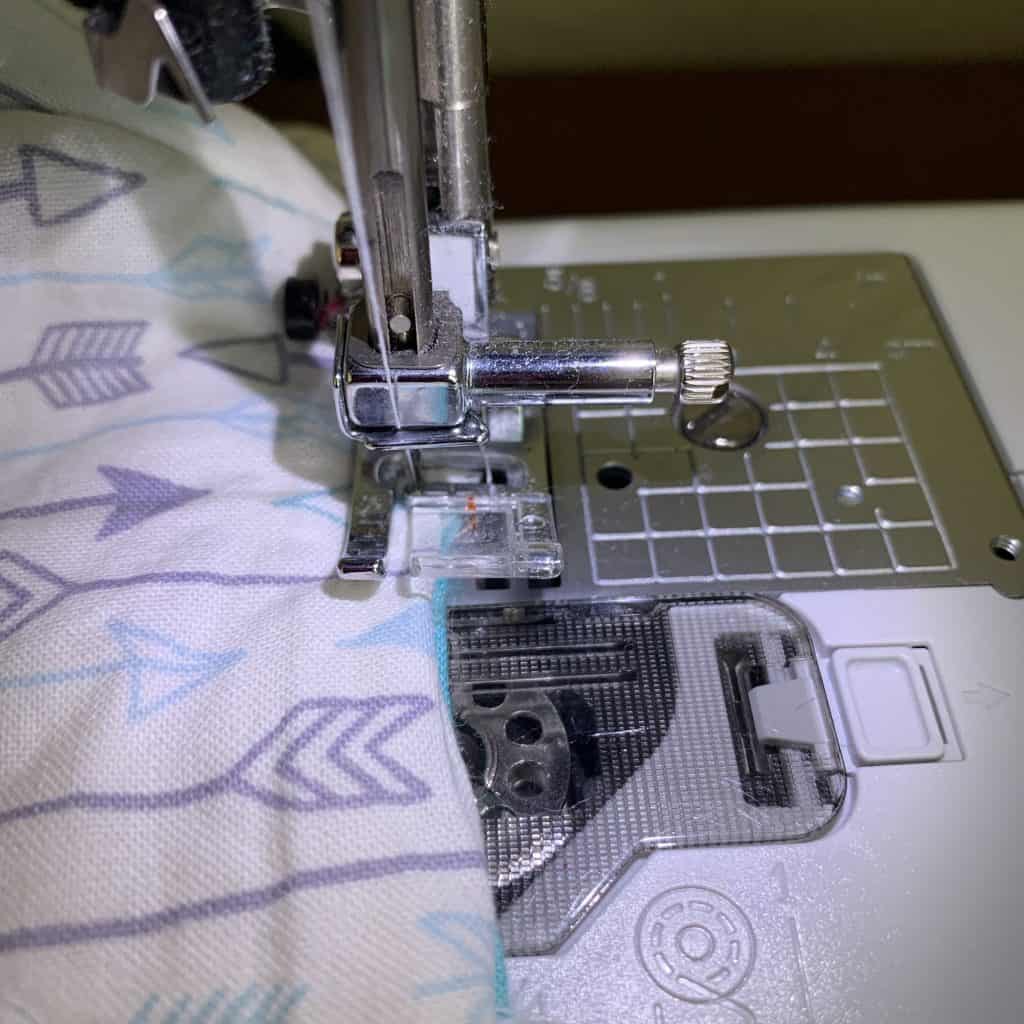
Bowl Cozy Pattern Step 16: Topstitch around the edges of the cozy using 1/4″ seam allowance.
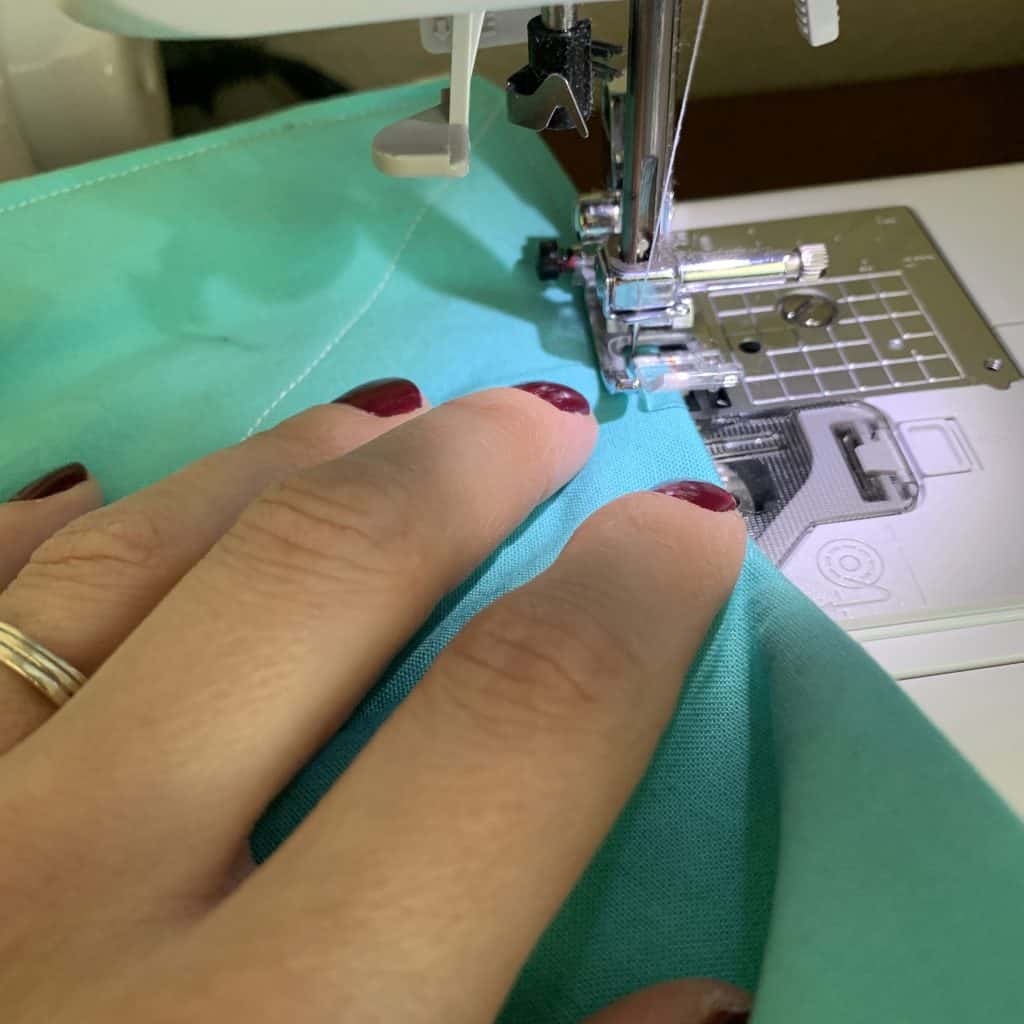
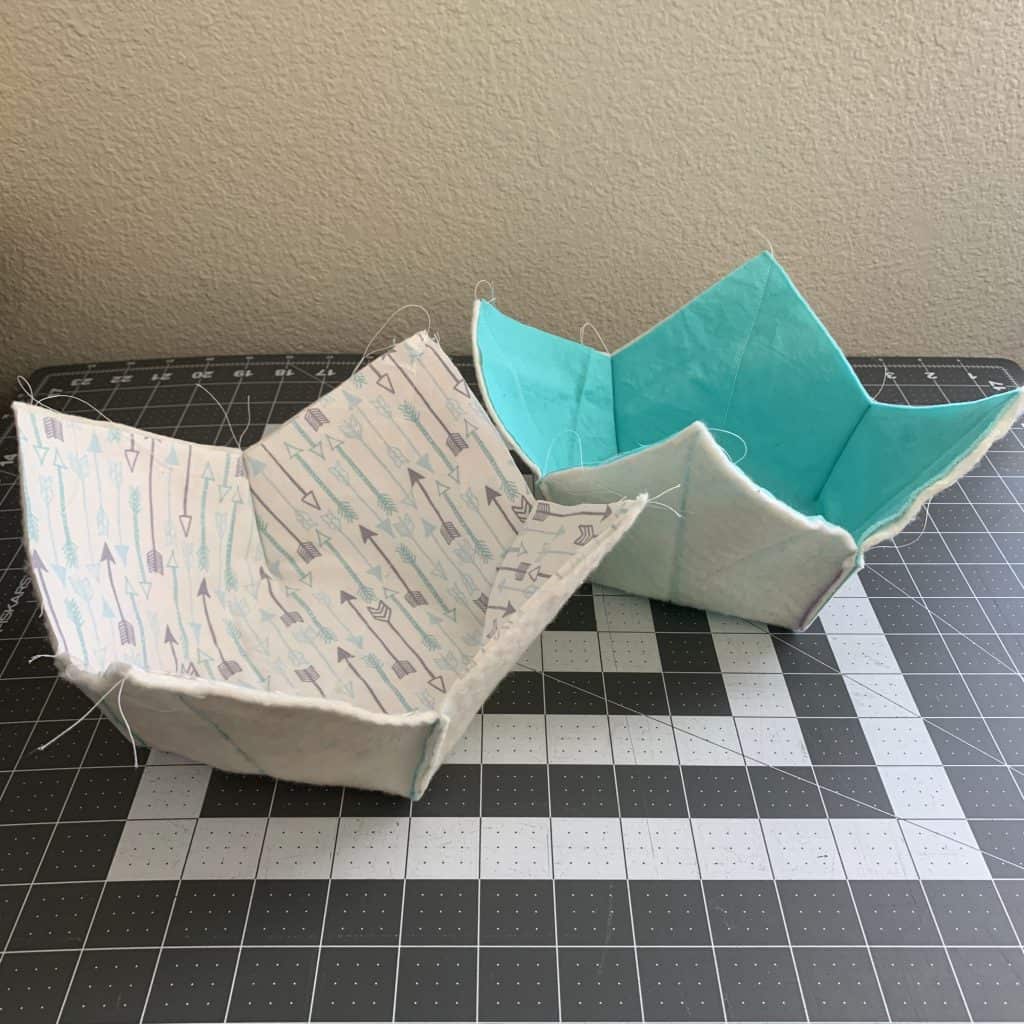
And there you have it!!! There were a lot of steps, but I think you’ll agree that they went pretty quickly.
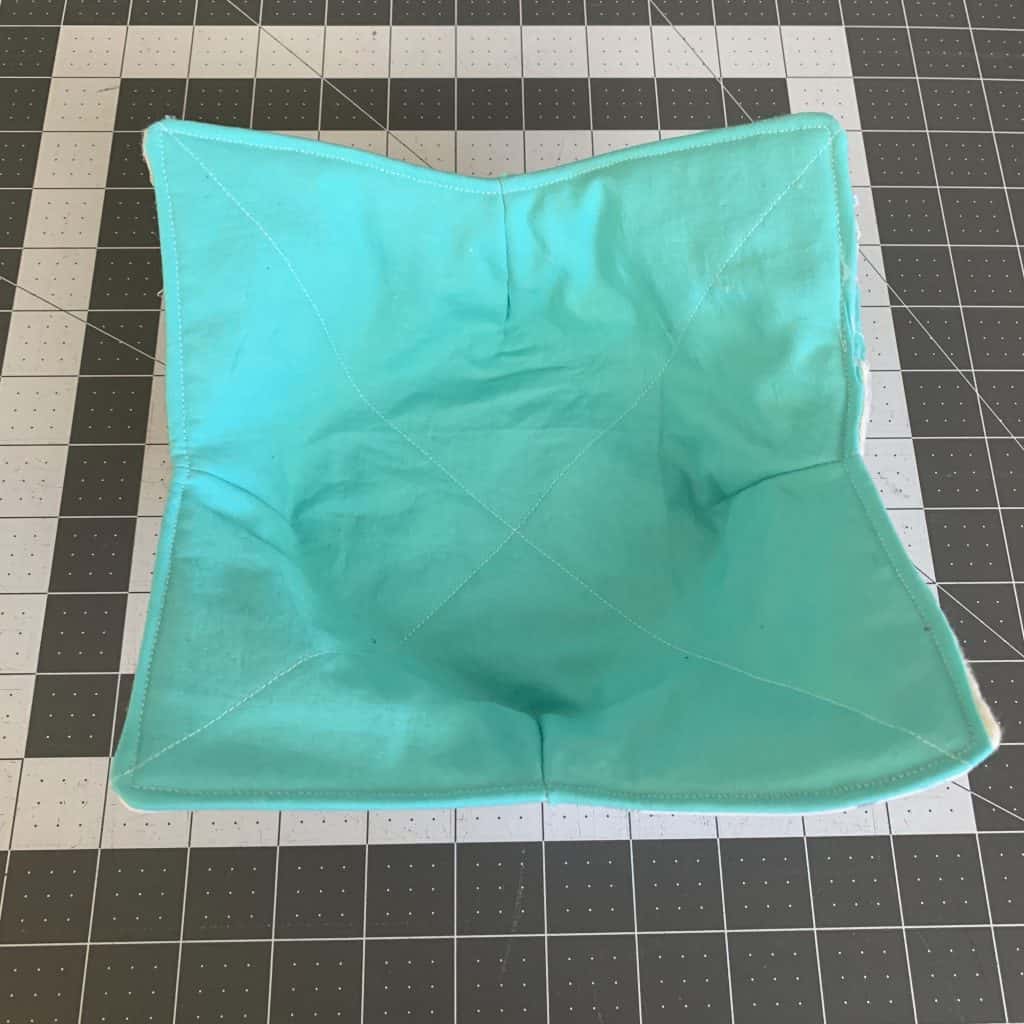
Time to get some hot dishes and go test my new cozy out… I have some leftover Chicken Korma calling my name!
Some quick important notes.
- You can place your bowl directly onto the table after removing it from the microwave.
- Microwave in 2-minute intervals for no longer than 8 minutes total.
- They are not designed for long-term heating.
- These are machine washable and can be thrown in with your normal wash when needed.
How do you clean a bowl cozy?
To clean a soup bowl cozy, spot clean any spills or stains with mild detergent and warm water. If needed, hand wash the cozy in warm soapy water and air dry. Avoid harsh chemicals or bleach to preserve the fabric.
Thank you for stopping by my little bowl cozy pattern tutorial. Hopefully this inspired you to make your own. These are such handy little things for that hot bowl of soup, and once you have one, you’ll wonder what you ever did without them! Also, it's a great beginner sewing project
Before you leave, make sure to follow us on social media by joining our join our Facebook Group. Also, please come back again for more How-Tos, and while you’re here, browse through some of the other amazing blog posts and pdf sewing patterns. There is so much to learn, and this is a great place to do it. 🙂
