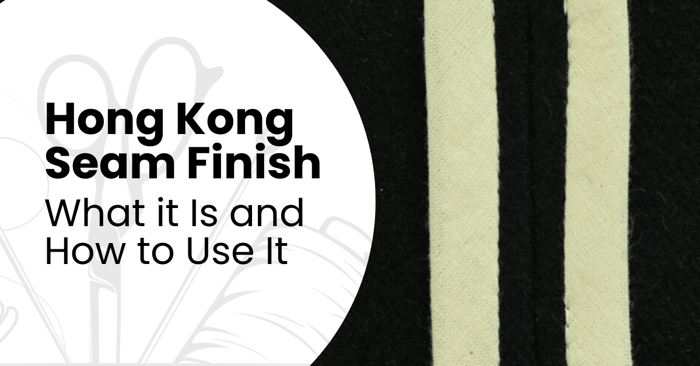
Hong Kong Seam Finish - What it Is and How to Use It
The Hong Kong seam finish is part of the so-called bounded seams, where fabric raw edges are enclosed with bias binding to keep them from fraying but also add a decorative touch to garments with exposed seams.
In this comprehensive article, we will explore everything you need to know about the Hong Kong seam finish, where to use it, step-by-step tutorials on how to sew this type of finish, and many tips on perfecting it.
What is a Hong Kong Seam and how does it work?
The Hong Kong seam finish is known as a method to finish seam allowances, where each raw edge is enclosed in a bias strip of lightweight fabric. In other words, it involves binding a seam, but compared to traditional bound seams, the binding on the wrong side of the fabric's raw edge is not turned but left as is.
Finishing usually takes longer than a zigzag, serger, or French seam, but it adds so much personality to the inside of the garments. This type of seam finish can be used for aesthetic reasons, but at the same time it’s strong and durable, and the results are well worth it.
Seam Anatomy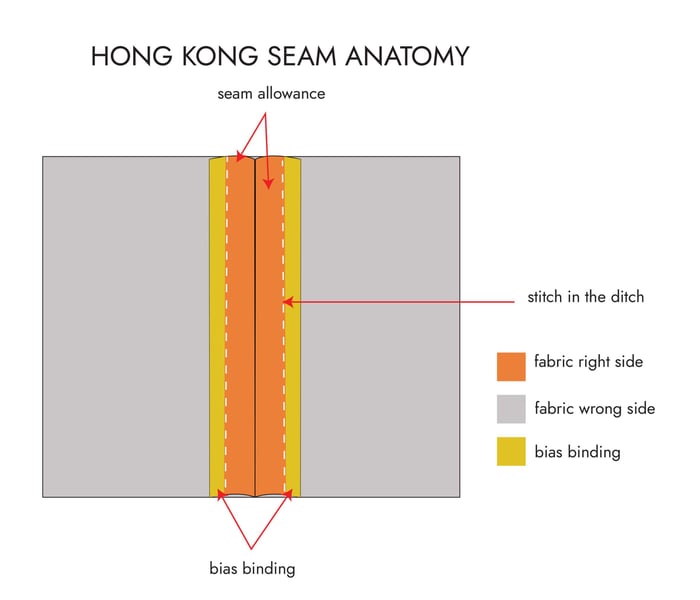
Where to use Hong Kong seams?
This seam finish encloses seam allowance raw edges with quite elegance, and that is why it is widely used on unlined coats, jackets, vests, skirts, and dresses. In addition, they’re preferred for thicker fabrics, such as wool, to minimize the bulk but also achieve a clean finish.
Specifically, this type of finish can be used to finish the raw edges of facings, finishing seams on unlined garments made from fabrics that are delicate, unlined bags, and accessories.
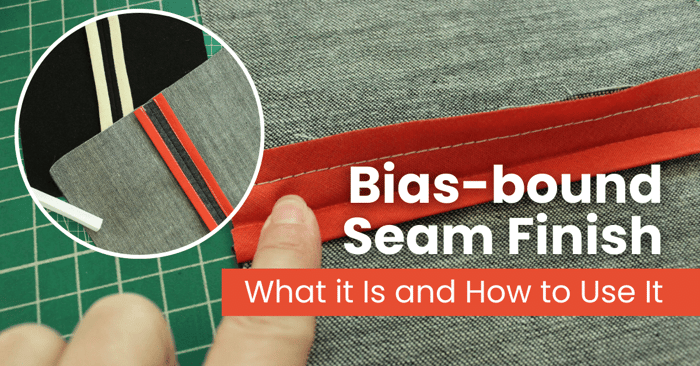
What is a bias bound seam and where to use it?
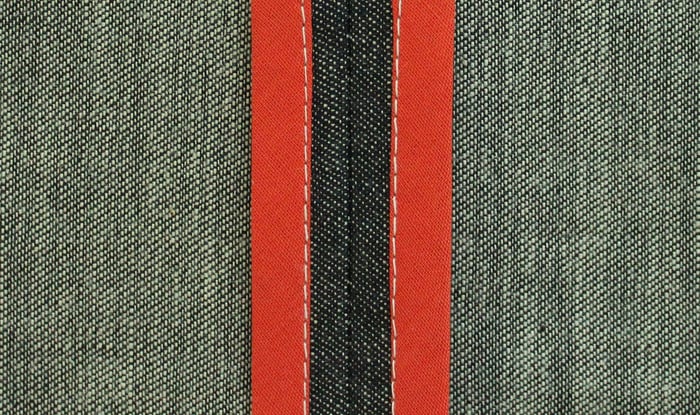
The bias-bound seam uses pre-folded bias binding to finish fabric's raw edges. The bias-bound seam can be applied to each fabric raw edge separately or to fabric raw edges together.
Similar to the Hong Kong finish, the bias-bound seams are commonly used in unlined jackets, coats, and dresses.
If you only have unfolded bias binding, that could work too, but you have to do some ironing to create the double fold on biding for easier application on the seam. The process gets way faster if you already own a binding folding tool, which you can use to directly make your binding.
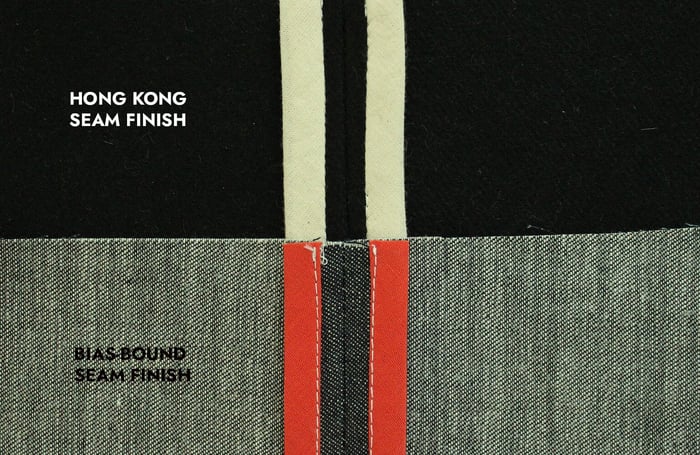
Is there a difference between the Hong Kong seam and the bias-bound seam?
The role of both of these techniques is to enclose raw edges and create a professional-looking finish, but they do differ in construction and appearance. The Hong Kong finish is more convenient than bounded seams because there is one step less. It is not required to press and fold the bias binding before the application.
The Hong Kong seam finish is used on seams that are to be pressed open, and on the other side, the bias-bound seams can be pressed open but also to the other side.
Let’s take, for example, a dress where both of these seam finishes can be used. The Hong Kong seam on the side seams and center back, and on the armhole area the seam is pressed to one side and finished with bias-bound seam.
Sewing a Hong Kong Seam
PREPARATIONS
Seam allowance
At least a 1.6 cm (5/8”) seam allowance is recommended for sewing a Hong Kong seam finish. If you’re planning to add this seam and your pattern pieces have less seam allowance, be sure to add that extra amount that is needed. 1 cm (3/8”) may not be enough and can be challenging to sew this seam finish.
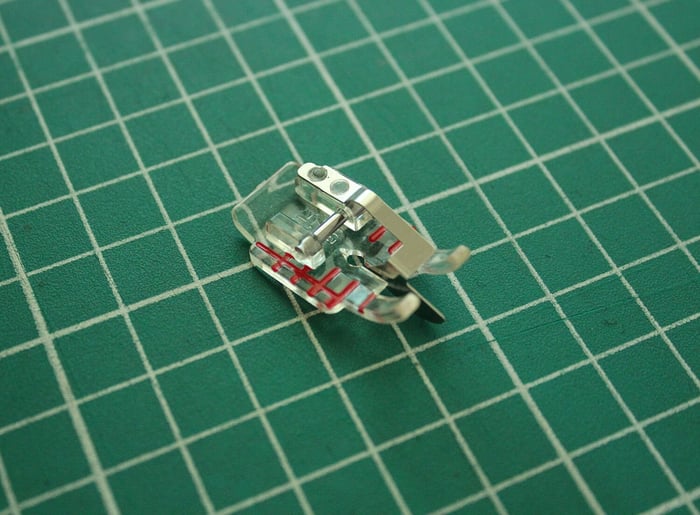
Sewing foot choice
The Hong Kong seam can be sewn without the use of any special pressure foot. So, the basic presser foot does the job just right.
On the other side, if a ¼” quilter’s foot guide, or stitch in the ditch foot is one of the sewing machine accessories you may have, then these feet ensure a consistent and neat seam finish.
Bias Binding
To sew the Hong Kong seam finish, you will need a 2.5-3 cm (1-1 1/4") wide bias binding (unfolded). The width should be enough to enclose the fabric's raw edges but not extra wide since it adds to the bulk. Take into consideration that you will need twice the amount of the binding. For example, if your seam is 20 cm long, then you will need 40 cm of bias binding (20 cm for each side of the raw edge).
To reduce bulk, it’s recommended that the bias binding be made of lightweight cotton or lining fabrics. If you’re making your own bias binding, always make sure to cut the fabric strips on the bias. This way, each strip has enough stretch and flexibility to lay flat when sewn on the fabric's raw edge.
HONG KONG SEAM FINISH
The tutorial shows how to create a Hong Kong seam finish with a 5/8″ (1.6 cm) seam allowance.
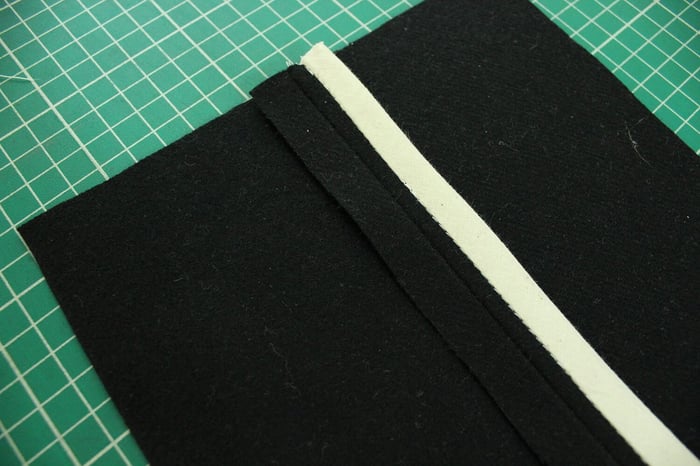
- Place both corresponding fabric layers with the wrong sides together and stitch 1.6 cm (5/8”) from the fabric's raw edge. Press.
- Press the seam allowance open.

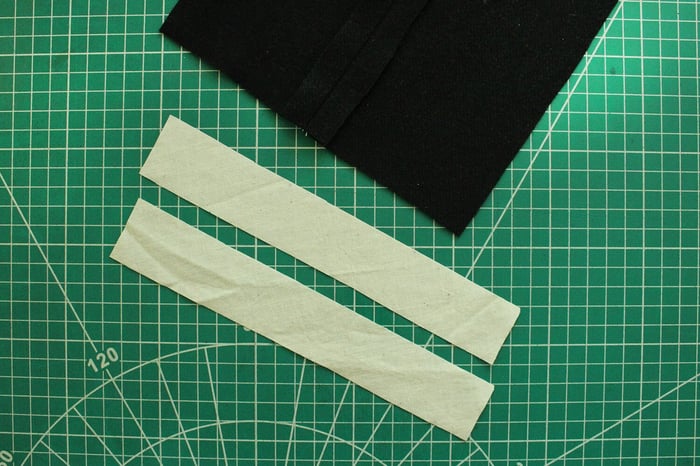
- Cut a 2.5- 3 cm wide fabric strip on a bias from your chosen fabric. Measure the needed length + seam allowance.
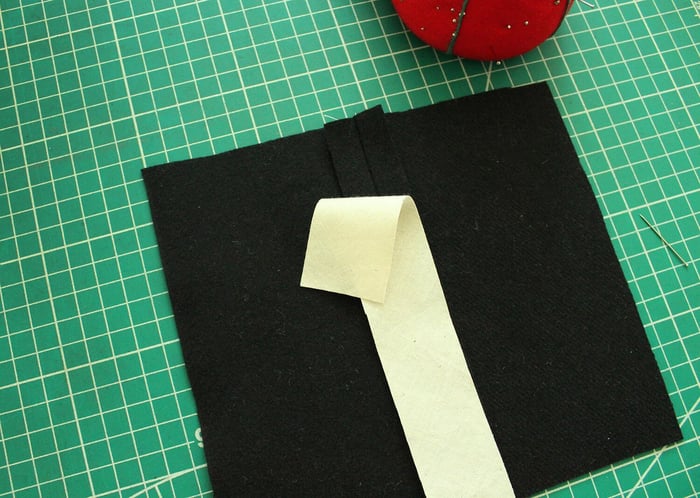
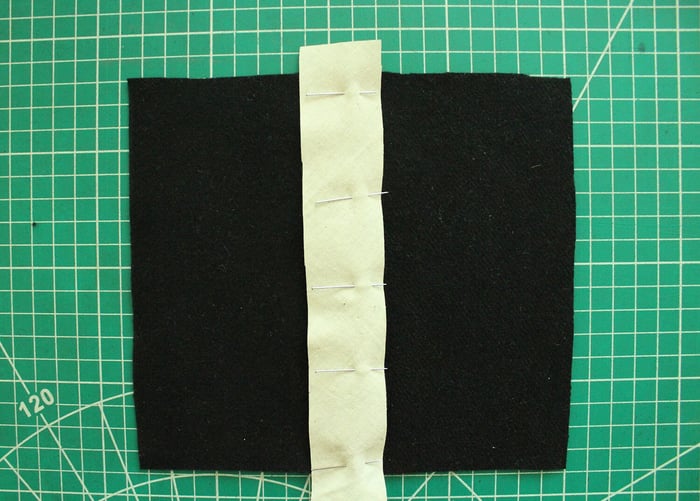
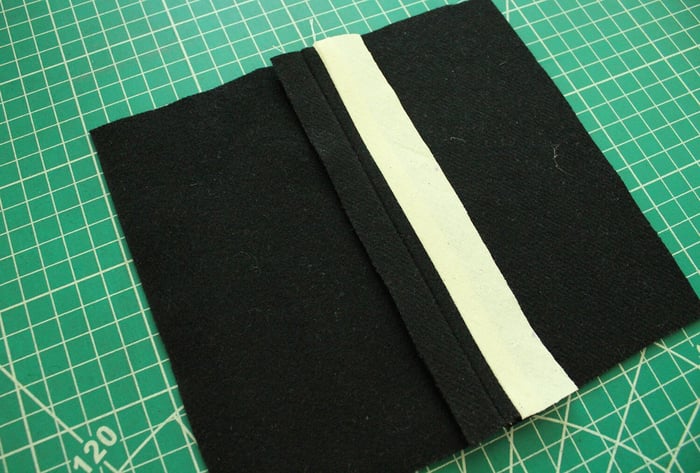
Place the unfolded bias binding along the edge (right sides together) and make sure to line up the raw edges. Secure with pins in place.
Stitch the binding in place with a 6mm (¼in) seam allowance (this will be just inside of the first crease line on the binding).

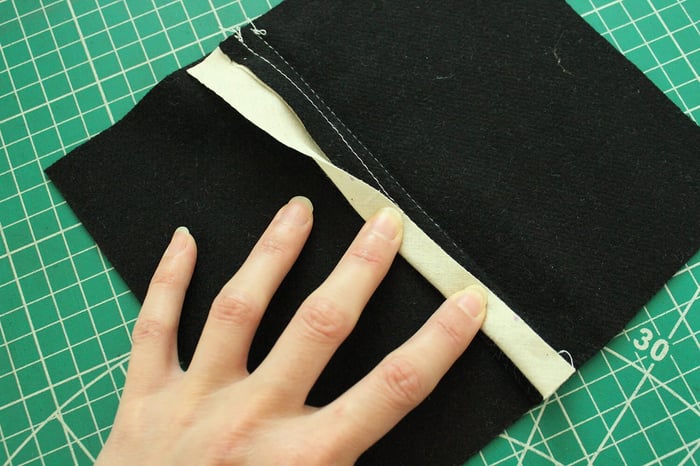
Press the bias strip away from the garment seamline.
Fold the bias strip over the raw edge, encasing the raw seam allowance, and press. Keep the binding on the back of the seam allowance flat (not folded double) to reduce bulk in the seam.
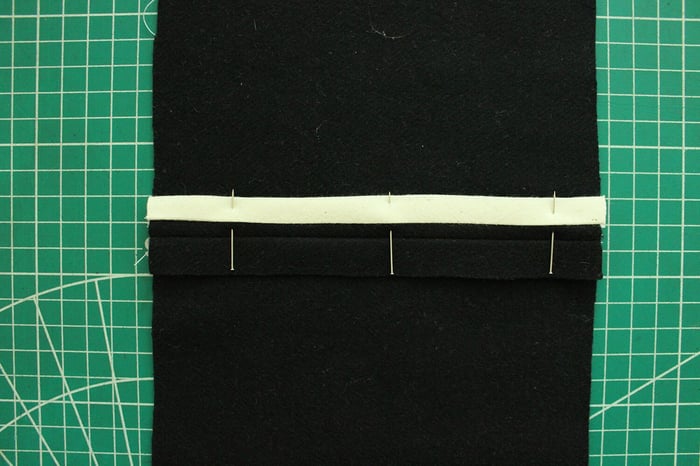
From the right side, pin the folded strip in place and then stitch in the ditch to secure the strip in place. Trim excess bias fabric close to the line of stitching on the underneath side if necessary.
Give the seam a final press. Repeat the same steps for the other side of the seam.
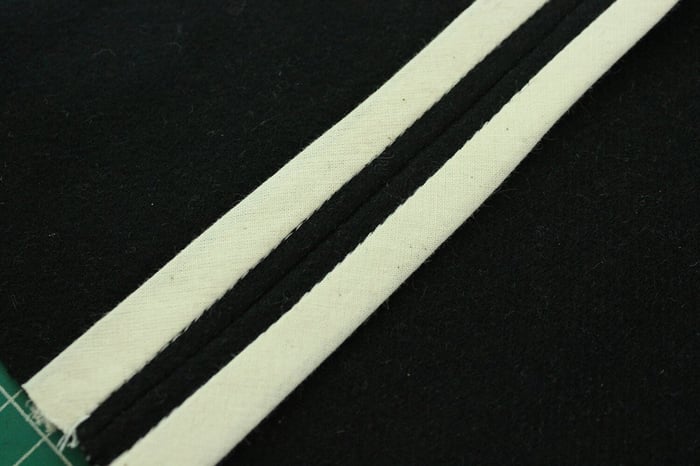
 The back of a Hong Kong seam finish
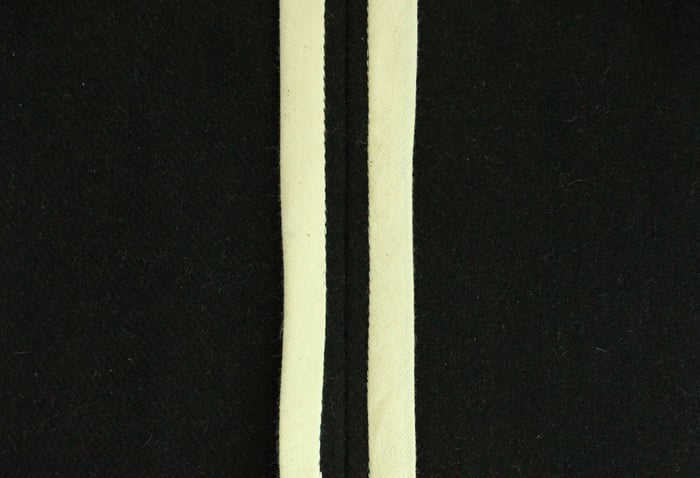
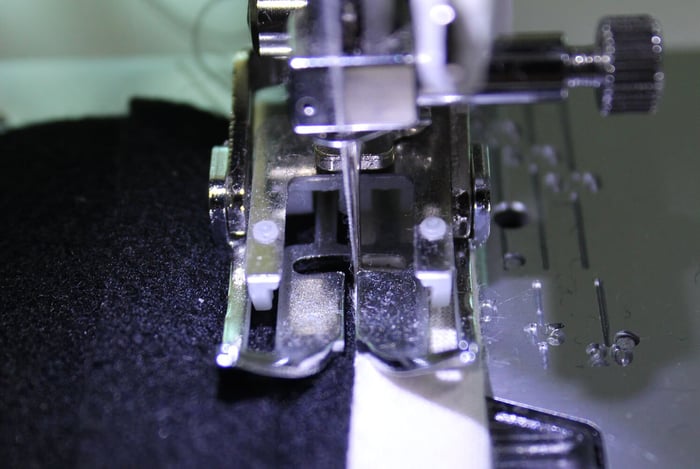
The Hong Kong seam requires invisible stitching, or the so-called “stitch in the ditch." This is a simple technique that is used to sew and secure fabric layers in place by stitching down in the channel of an existing seam. This way the stitches are not visible on the outside.
As a beginner, it is challenging to achieve a neat stitch in the ditch, especially without a stitch in the ditch foot. Instead, we also recommend edge stitching close to the seam line. The seam will be visible on the outside but nonetheless will still look neat and professional.
TIPS
- Using the tool of your choice (a ruler or a sewing gauge), always be sure to mark the seam allowance correctly.
- Depending on the fabric choice, keep in mind to choose the right thread and needle size. If all three are in line, then the strength will be impeccable.
- As with any other sewing technique, pressing is a must, and in order to get a neat finish, press your seams after every step.
- If sewing Hong Kong seams for the first time, practice on different scraps; this way you will get to see the difference it makes depending on the fabric weight.
- Try your best to avoid stitching over the binding. If you stitch in between the binding and the main fabric, the stitches will be almost invisible on the right side of the binding finish.
Final thoughts on Hong Kong seams
Compared to other seam finishes, the Hong Kong seam has a more complex construction, but do not let this intimidate you. Even as a sewing beginner, you can nail this technique by practicing on scraps and choosing the right bias binding. So, take the time to go through our guide and practice the Hong Kong seam so your future projects have a professional finish inside and out.
There are so many different types of seam finishes, and sometimes it can be overwhelming to decide on the right one for your project. Taking into consideration factors such as the fabric weight, the seam location, lining, or no lining will make it easier to come to a decision.
But as for now, we recommend that you take a trip to your closest clothing store and browse through different types of garments and take notes on the types of seam finishes used and on what seams they were used.
Thank you for joining us today to learn about the hong kong seam finish! Before you leave, make sure to sign-up for our newsletter below. You can also join our Facebook Group or follow us on Instagram. Happy Sewing!