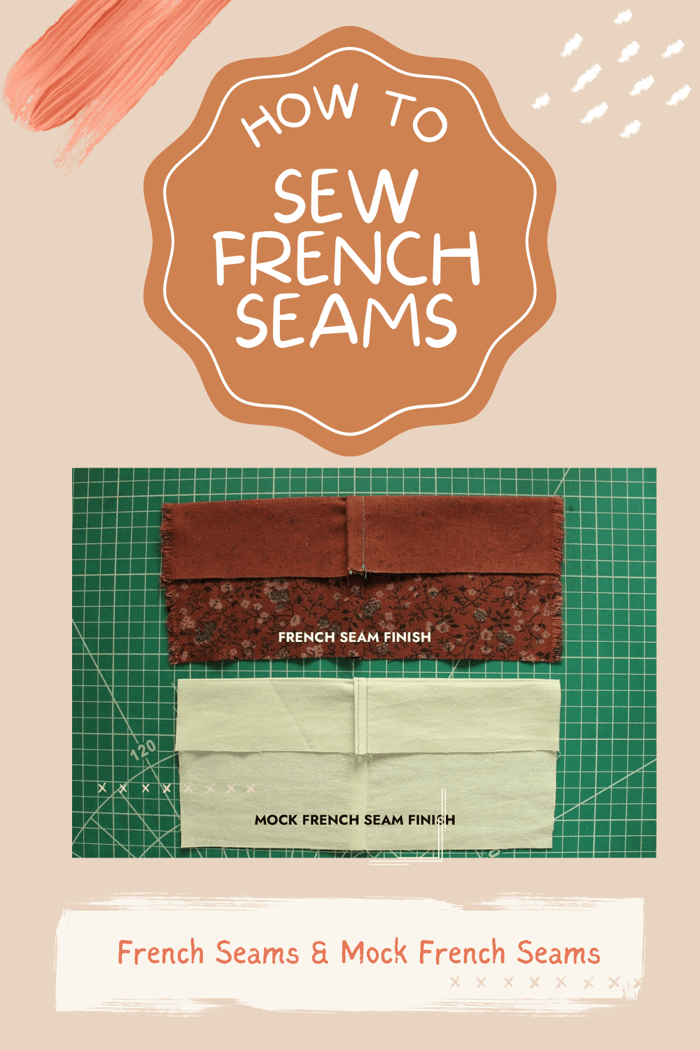
French Seam Finish | What it Is and How to Use It
Among many other seam finishes, thre french seam finish is classic and always the first choice when it comes to sewing with delicate fabrics to create clean and elegant finishes.
In this comprehensive article, we will explore everything you need to know about the French seam, where to use it, step-by-step tutorials on how to sew a regular French seam, a French seam on a curve, its mock version, and many tips on how to perfect this type of seam finish.
What is a French seam and how does it work?
The French seam is known as a strong and durable seam finish. The fabric raw edges of this seam finish are enclosed, resulting in an elegant seam finish without the need for a serger.
When sewing a French seam, we must ensure that the first seam is trimmed (narrower than the second seam). If trimming is not done up to 0.3-0.6 cm (1/8- 1/4"), then the fabric's raw edges may end up being visible on the right side of the fabric.
French seam anatomy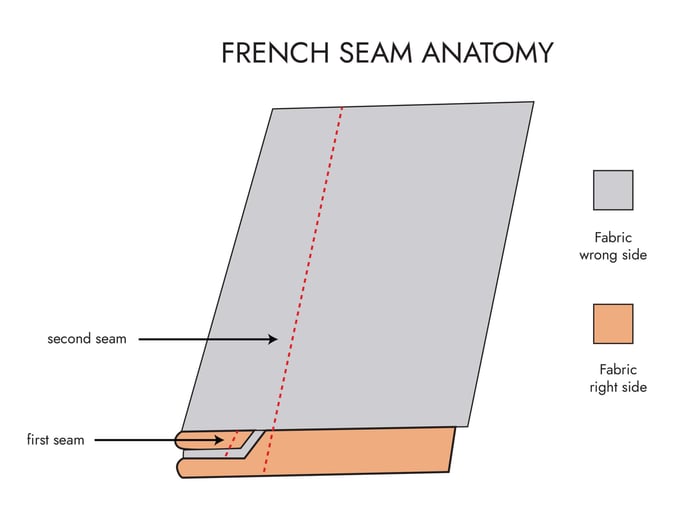
Where to use French seams?
French seams are typically seen on lightweight, sheer, and delicate fabrics that are prone to fraying. They provide a clean finish but also reduce fabric bulk. Typically, this seam finish is seen on dresses and shirt side seams, pants and skirt pockets, as well as on coats or jackets without lining, pillowcases, and more.
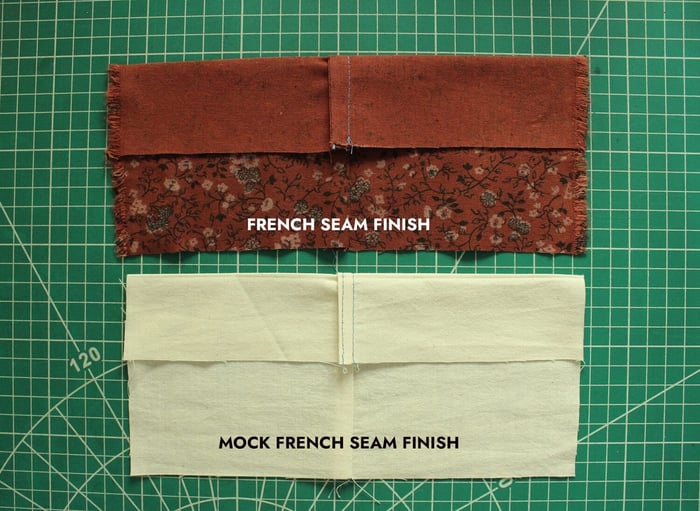
What is a mock French seam and where to use it?
The mock French seam is a simplified version of the French seam finish. This seam finish has different construction steps compared to the French seam, and it is usually used by sewing beginners to enclose fabric raw edges.
As the French seam gets quite challenging to sew on a curved seam, some sewists use the mock French version on curves, which is easier and gives a clean finish inside and outside of the garment.
A mock French seam is quite useful if the inside of the seam is visible on the outside of the garment, and this is why it is widely used on sheer fabrics such as organza, voile, and chiffon. It’s very easy to distinguish both of these seams since the mock French has visible topstitching along the seam folded edge and on the other side the traditional French seam does not.
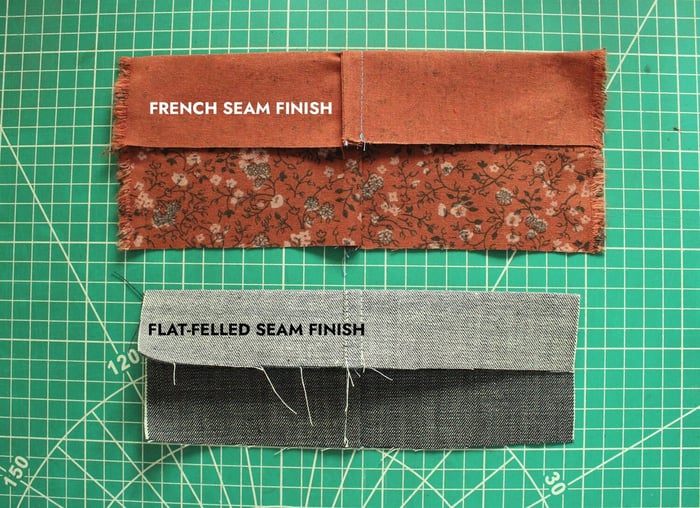
Is there a difference between a flat felled seam and a French seam?
The role of both of these techniques is to enclose raw edges and create a professional-looking finish, but they do differ in construction and appearance.
French seams are enclosed seams on the inside of the garment, and on the right side of the garment, it looks like a regular no-show stitch.
On the other side, the flat felled seam involves folding one edge of the fabric over the other. This way, the raw edges of the fabric are enclosed and sewn through all layers. Then it’s pressed flat and stitched to keep the seam nice and flat.
Sewing a French Seam
PREPARATIONS
Seam allowance
At least a 1.2 cm (1/2”) seam allowance is recommended for sewing a French seam. If you’re planning to add this seam and your pattern pieces have less seam allowance, be sure to add that extra amount that is needed.
I personally feel that for beginners in sewing, a 1.6 cm (5/8”) seam allowance for the French seam is more appropriate and easier to finish. As you get experience, you will be used to being more precise, and less seam allowance will not be a problem.
Sewing foot choice
The French seam can be sewn without the use of any special pressure foot. So, the basic presser foot does the job just right.
On the other side, if a ¼” patchwork foot guide is one of the sewing machine accessories you may have, then this foot ensures consistent and neat French seam.
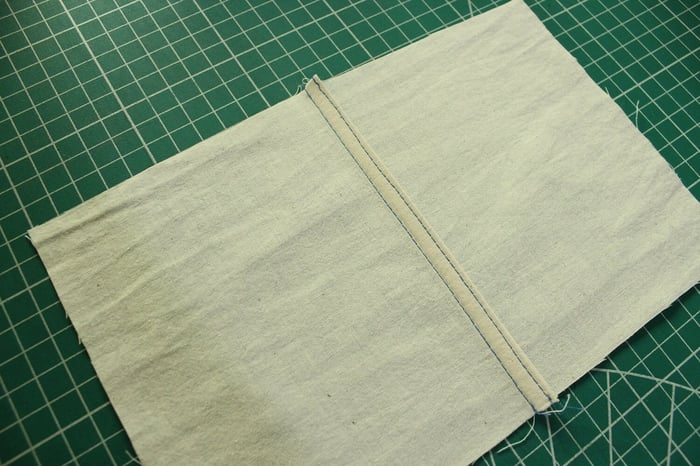
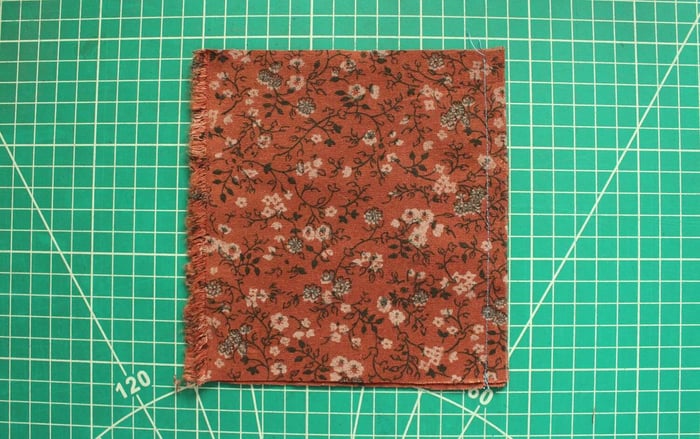
FRENCH SEAM
How to sew a French seam
The tutorial shows how to create a French seam with a 5/8″ (1.5cm) seam allowance.
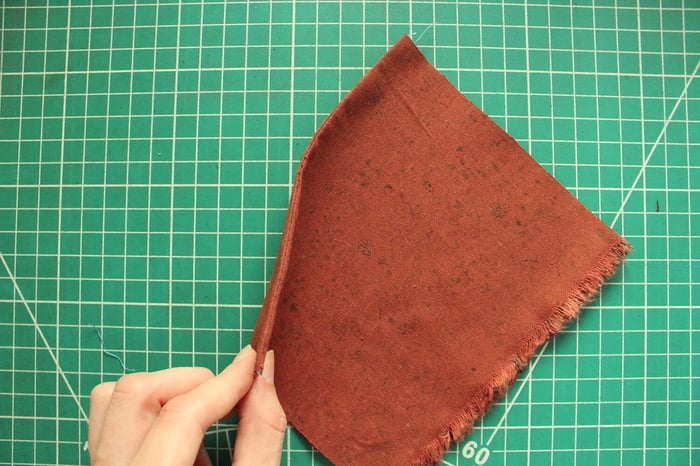
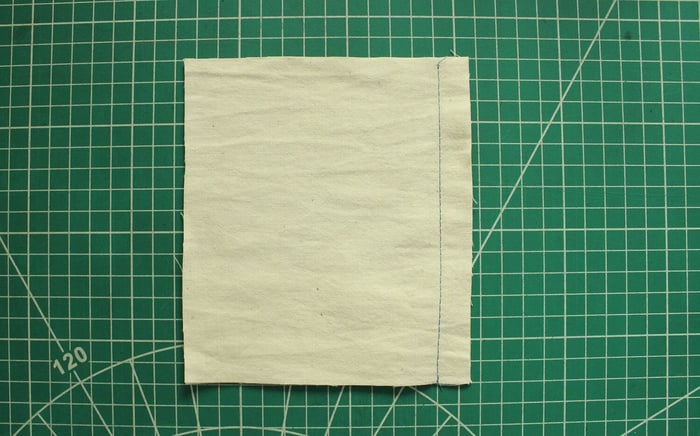
- Place both corresponding fabric layers with wrong sides together and stitch 1 cm (3/8”) from the fabric raw edge. Press.
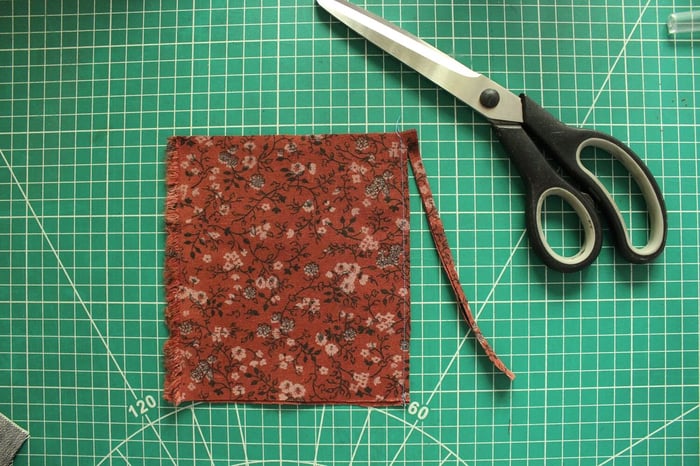
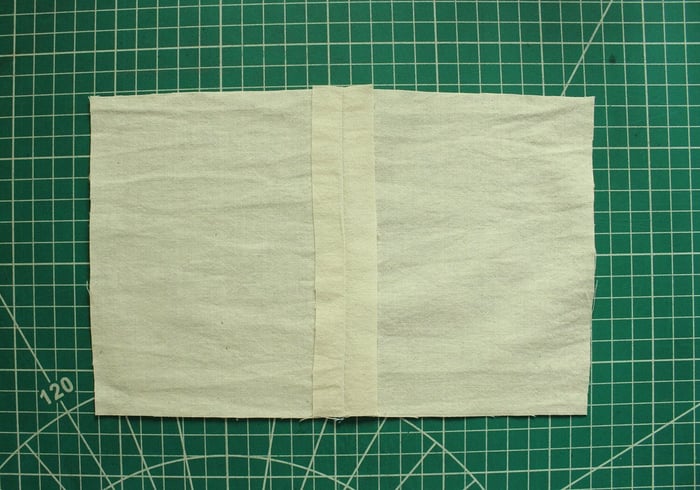
- Trim down the seam allowance by half down to 0.3 cm (1/8”) and any threads that may hang loose.
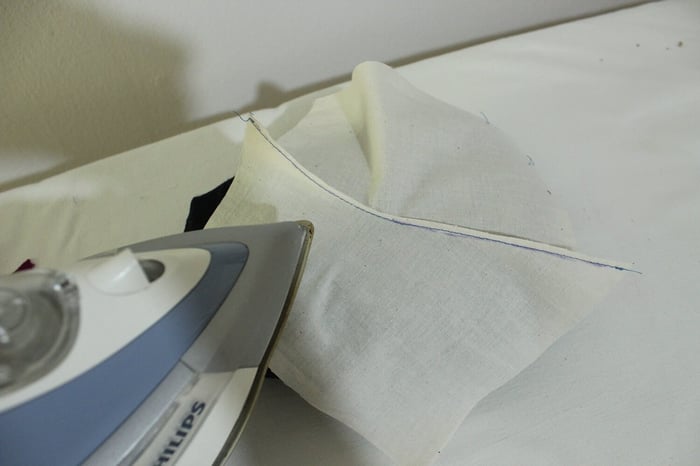
- Press the seam allowance to one side.
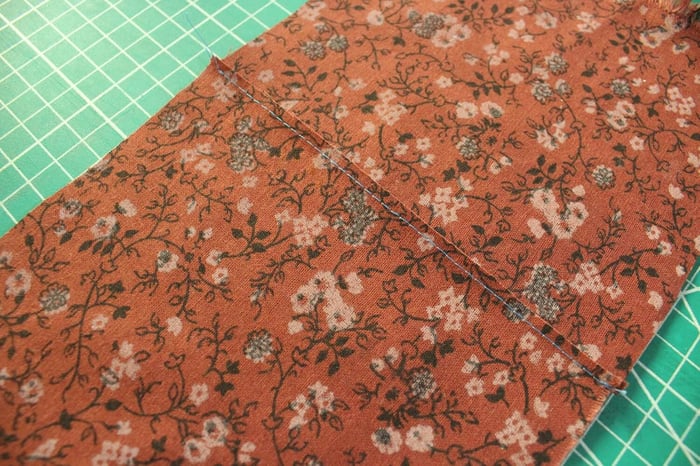
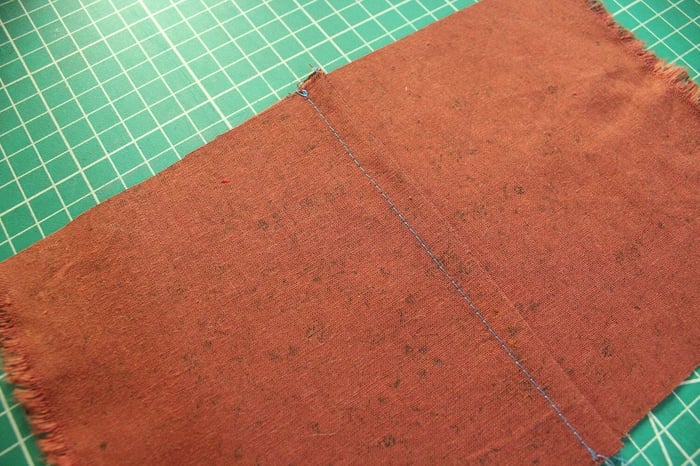
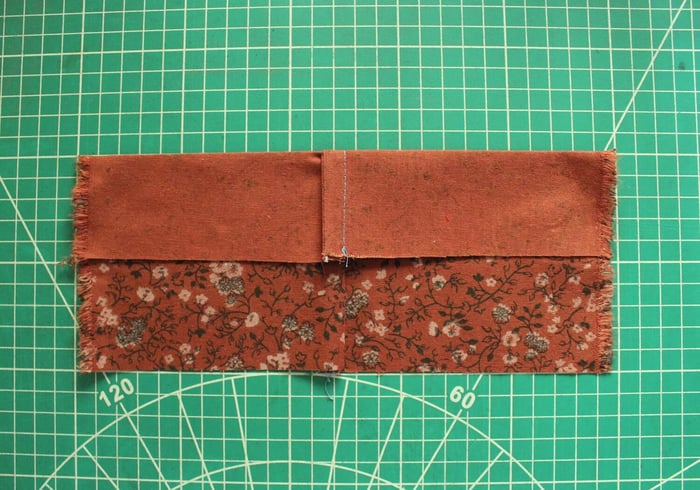
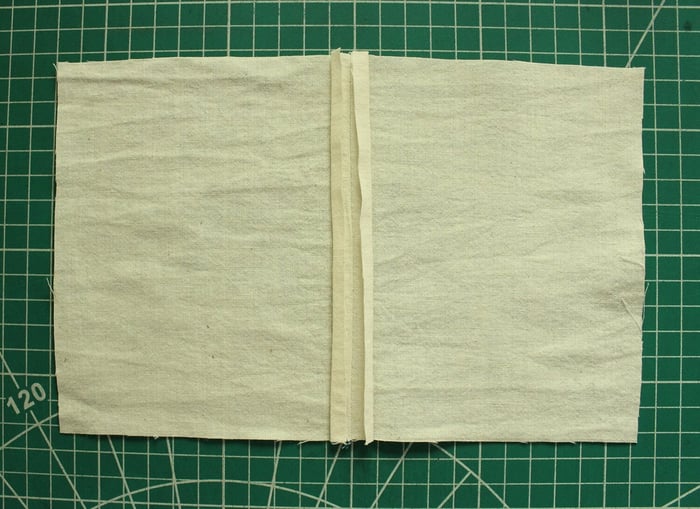
- Fold the fabric at the seam line with the right side together and press. The fabric raw edges are now sandwiched between two layers of fabric.
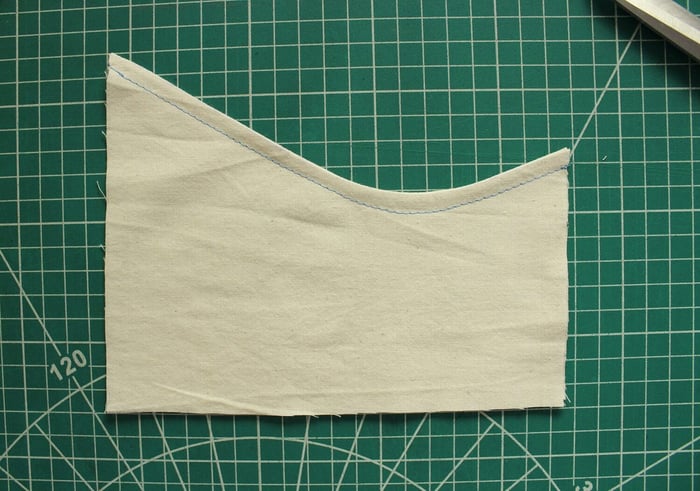
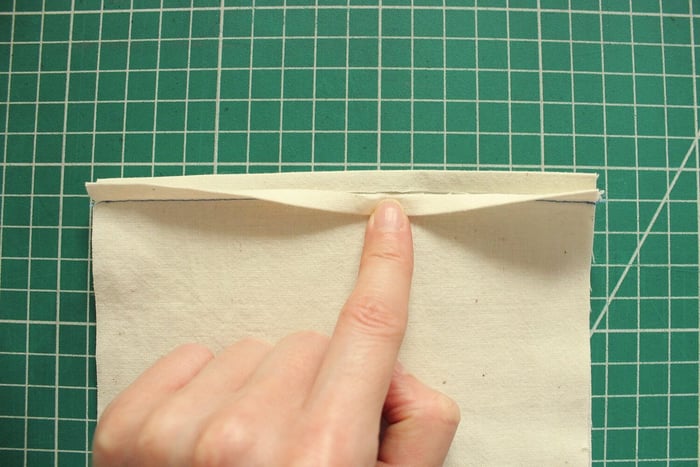
- Sew a second seam 0.6 cm (1/4”) from the folded edge to enclose the fabric raw edges.
- Press the seam allowance flat and press again to one side.
How to sew a French seam on a curved seam
The French seam works best when sewing straight seams, but it can be done in curved seams too, as long as the curve isn't very deep.
Take into consideration that when sewing this type of finish on a curve, it is recommended to work in sections.
For example, press a section and pin, then proceed with the other sections. This will help the seam to fold better later but also avoid any puckering that may happen during the second row of stitching.
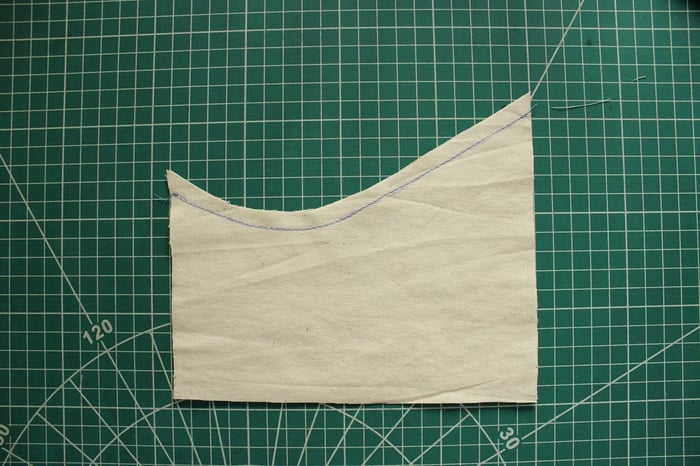

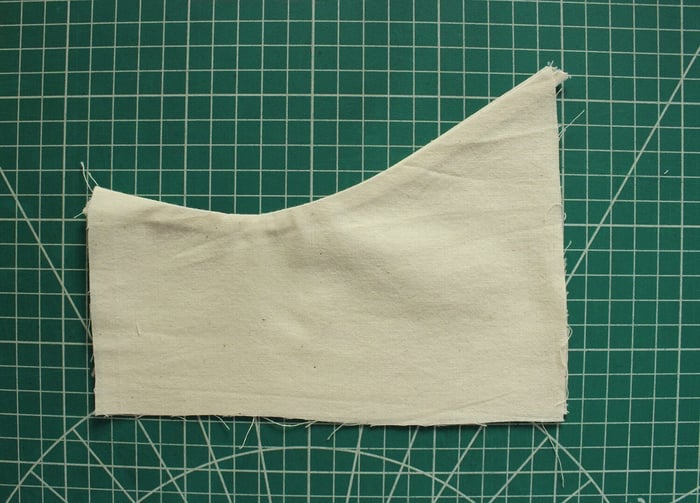
All the steps remain the same as sewing a French seam on a regular seam. Take it slow, trim, press as you go, and if the curve is not laying flat, clip close to the seam allowance but not through it.
MOCK FRENCH SEAM
The faux flat felled seam (known also as mock flat felled seam) is a version of this seam finish that is usually used to create the same look but by removing some fabric bulk and decreasing the ironing time.
How to sew the mock French seam
- Place both fabric layers with right sides together, pin, and stitch 1- 1.5 cm (3/8-5/8”) from the raw edge.
- Pres the seam. Press the seam allowance open.
- Fold the seam allowances so that the raw edges meet at the original seam line. (Fold and press one side, and then do the other side).

- Bring the folded edges together and press. Secure in place with pins or baste. Press the folded seam allowance layers again to flatten the edges.
- Stitch the folded edges together just inside the fold lines or use an edge-stitch foot. This row of stitching will enclose the seam allowance edges and result in a clean finish free of fabric raw edges.
- Give the seam a final press.
French Seam Finish TIPS
- Using the tool of your choice (a ruler or a sewing gauge), always be sure to mark the seam allowance correctly.
- Depending on the fabric choice, keep in mind to choose the right thread and needle size. If all three are in line, then the strength will be impeccable.
- As with any other sewing technique, pressing is a must, and in order to get a neat finish, press your seams after every step.
- If sewing French seams for the first time, practice on different scraps; this way you will get to see the difference it makes depending on the fabric weight.
- Always trim the seam allowance as noted in the sewing instructions or as recommended in the article otherwise you will end up with fabric raw edges showing in the right side of your garment.
- French seams take more time, as pressing, and trimming is involved but depending on the fabric you’re using this seam finish always makes the difference and you end up with beautiful garments inside and out.
- The French seam is not recommended on heavyweight fabrics as it adds to the bulkiness of the seam (for heavier seam finishes it is recommended to a serger or a flat felled seam).
Final thoughts on French seams
Among many other sewing techniques, the French seam finish can be used without the need for a special foot, serger, or overlock. Take the time to go through our guide and practice the French seam so your future projects have a professional finish inside and out.
With experience, it will become easy to define in what parts of the garments to use certain seam finishes, when it is necessary, and when it is not.
But as for now, we recommend that you take a trip to your closest clothing store and browse through different types of garments and take notes on the types of seam finishes used and on what seams they were used.
Thank you for joining us today to learn about the french seam finish! Before you leave, make sure to sign-up for our newsletter below. You can also join our Facebook Group or follow us on Instagram. Happy Sewing!