DIY Window Valance | Free Tutorial
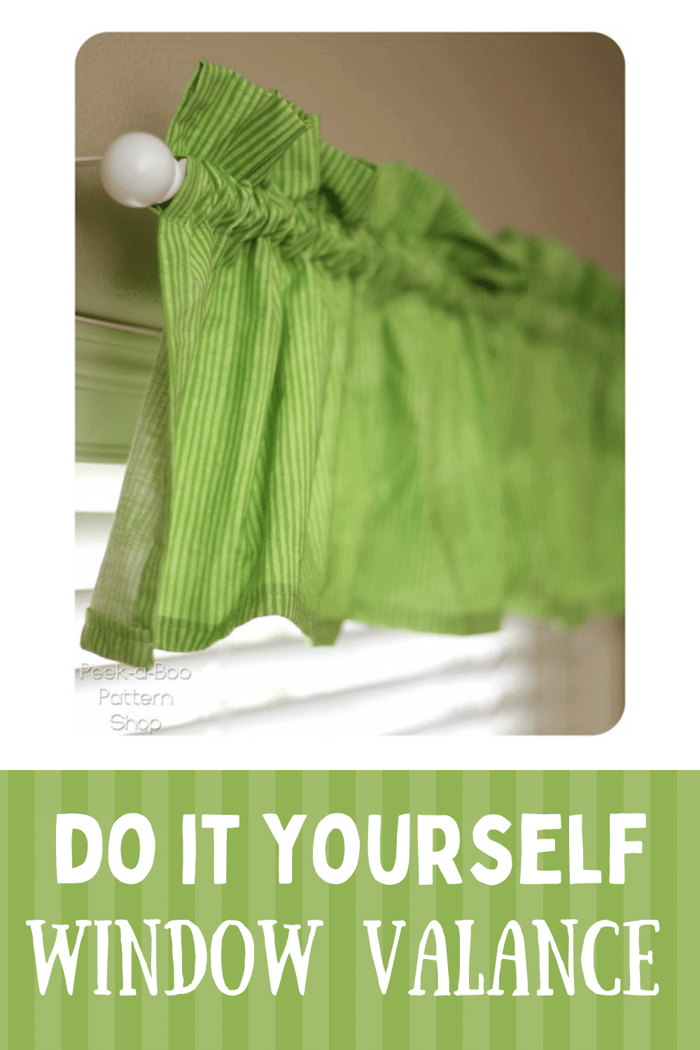
Let's learn how to make a DIY Window Valance! Are you tired of looking at plain, boring windows? Want to add a touch of style and personality to your home without breaking the bank? Look no further than a DIY window valance!
In this blog post, we'll show you step-by-step how to create your own custom window valance using simple materials and basic sewing skills. Whether you're a seasoned DIY-er or just starting out, this project is perfect for adding a pop of color and texture to any room in your home. So grab your fabric, thread, and sewing machine, and let's get started on creating a beautiful window treatment that will make your space truly stand out!
What is a window valance?
A window valance is a decorative fabric treatment that is used to enhance the appearance of a window. It is typically made from a lightweight fabric and is placed across the top of the window, covering the curtain rod or hardware. Valances can be tailored or gathered, and they come in a variety of styles, including straight, scalloped, and swag. They can be used alone for a simple and clean look, or paired with curtains or blinds for added privacy and light control. Window valances are a versatile design element that can add elegance and personality to any room. Whether you're looking for a traditional or modern look, there's a valance style to suit your taste and complement your decor.
How to Make a Homemade Window Valance
I made this DIY window valance to finish up the nursery and it was so quick and easy! Super affordable too 🙂 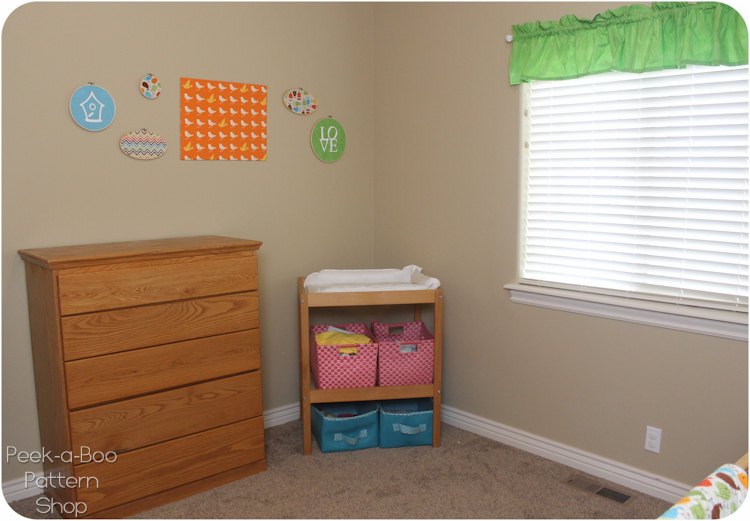
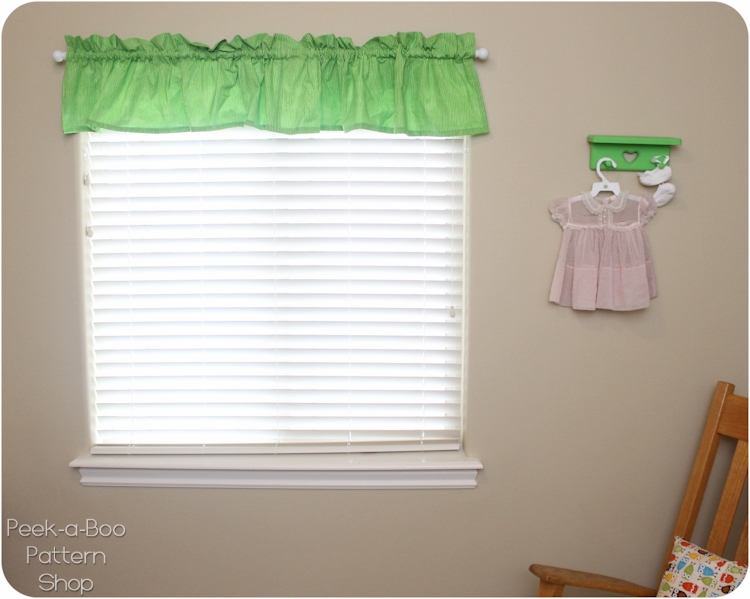
It’s nothing fancy but it does brighten up the space a bit. I went with a very classic style with a little gather across the top to give it some fullness. 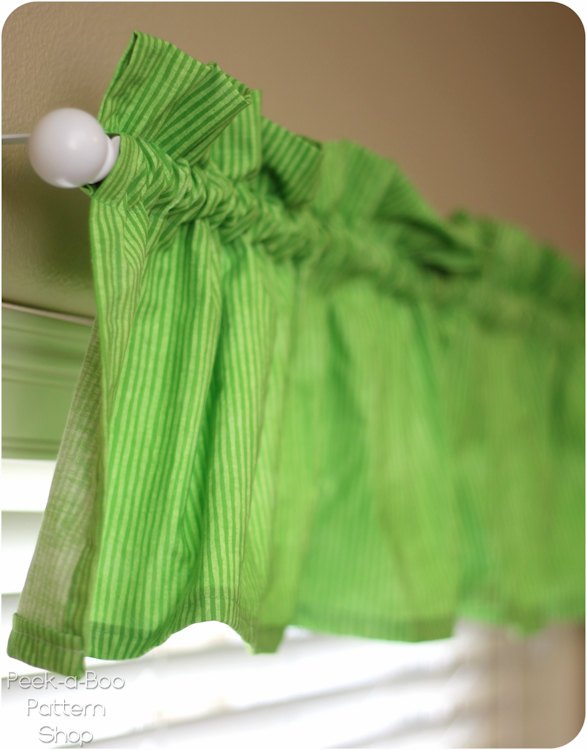
Want to make your own?
Let’s get started!
DIY Window Valance Pattern Pieces
My window was 44″ and my finished valance is 12″ from top to bottom. As a general rule, you want your fabric to be twice as wide as the window you are covering so adjust as needed. If you want it to be longer than 12″ when finished you’ll need a little extra fabric in that direction as well
Due to the direction of my fabric print, I pieced two segments of fabric together and made the entire curtain from 1 yard. With stripes, the seam in the middle is not noticeable at all. If you are using a solid fabric or larger print get enough fabric to just use one long piece
Here are my cuts:
Window Valance Instructions
Step 1: With right sides together I pieced the window valance pattern pieces together along the 2 short edges to create one long strip of fabric that’s 18″ tall by 88″ wide (double my window width)
Step 2:Hem the 2 short edges. I folded over 1/4″ towards the wrong side twice, pressed, and top stitched in place.
Hem the bottom edge
Step 3:To create the gather across the top you need to do a wide hem. I folded over 1/4″ and then another 4″. I top stitched in place right along the bottom fold and then 2″ down. This gave me 2″ of ruffle up top and close to 2″ to slide my curtain rod through.
Step 4: Slide the curtain rod through, hang it up and you’re done!
What are some other design ideas or inspiration for creating a unique DIY window valance?
When it comes to DIY window valance design ideas, the options are endless. You can use patterned fabric, add decorative trim or tassels, incorporate a bold color scheme, or even repurpose unconventional materials like vintage scarves or old picture frames. Let your creativity shine and make it uniquely yours!
There you have the DIY Window Valance. Sewing your own window valance can be a rewarding and cost-effective way to add a touch of style and personality to your home. With just a few materials and some basic sewing skills, you can create a custom window treatment that perfectly complements your decor. Whether you prefer a simple and streamlined design or something more elaborate and decorative, the possibilities are endless when it comes to DIY window valances. So why not give it a try? Grab your sewing machine, pick out some beautiful fabric, and let your creativity shine through as you craft a one-of-a-kind window valance for your home.
Thank you for joining us for this fun DIY project. If you need help with your sewing projects, be sure to join our Peek-a-Boo Pattern Shop Facebook Group.
