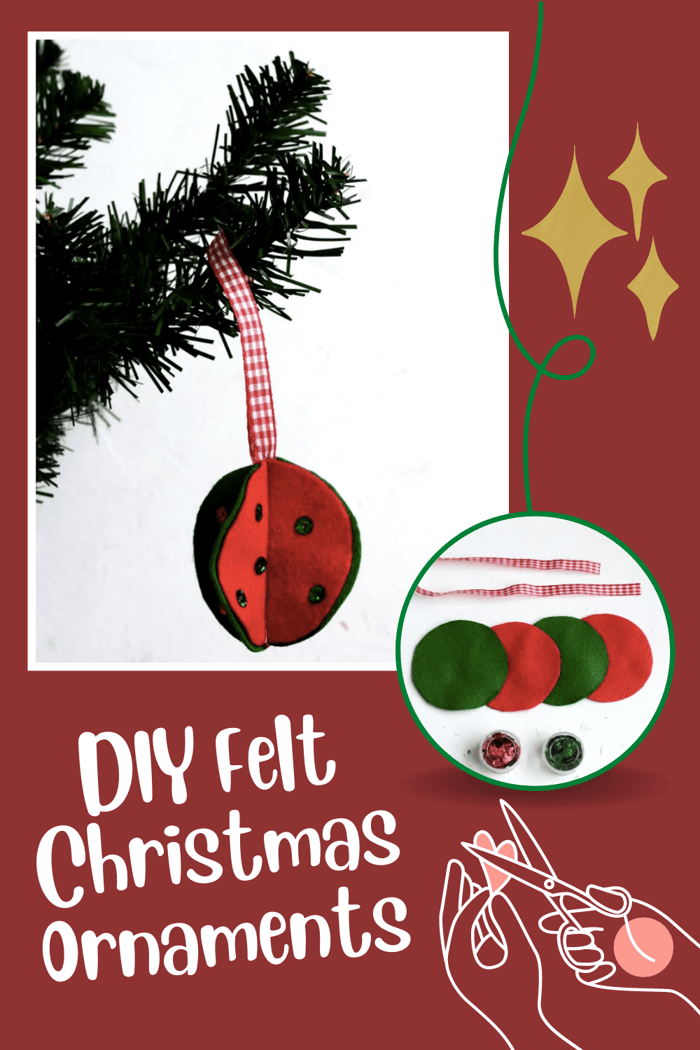
DIY Felt Christmas Ornaments | 3D Ornaments
Hi, glad to be back over here to show you how to make DIY Felt Christmas Ornaments! After my posts for Halloween and Thanksgiving, I’m up for another holiday that’s way more important in America than here in the Netherlands. I guess you already noticed that although I pretend to be a straightforward basic Dutch girl, I secretly love all holiday-related crafts…
Today I wanted to make some felt ornaments for Christmas. My initial idea was to create basic flat shapes. However, to make the project a bit more visually interesting I decided to add another dimension. Literally. This sounds very complex, however, it’s very, very simple. My 6 yo made a few herself and loved it. So please join me in this tutorial to create DIY Felt Christmas Ornaments! If you want more Christmas tutorial, check out our Christmas Sewing Projects Section.
DIY Felt Christmas Ornaments
What materials are needed to make DIY felt Christmas ornaments?
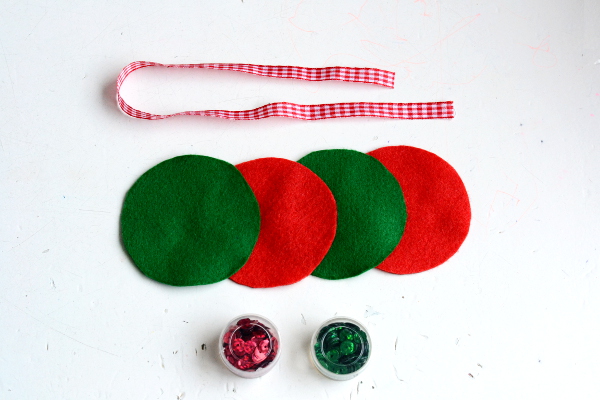
To make DIY felt Christmas ornaments, you will need felt fabric, scissors, a sewing needle and thread, stuffing or cotton balls, and any additional embellishments such as buttons, ribbons, or sequins. These materials will help you create beautiful and personalized 3D ornaments for your Christmas tree.
For these specific ornaments, we'll use:
- Felt. Of course. Not much of it though, just four circles with the desired diameter of the ornament.
- Ribbon, about five inches.
- Sequins. Optional, but the main part of the fun over here.
- Glue to attach the sequins. If you’d like your ornaments to hold up for another year, don’t glue but sew them on…
- Matching thread and a sewing machine.
DIY Felt Ornaments Instructions
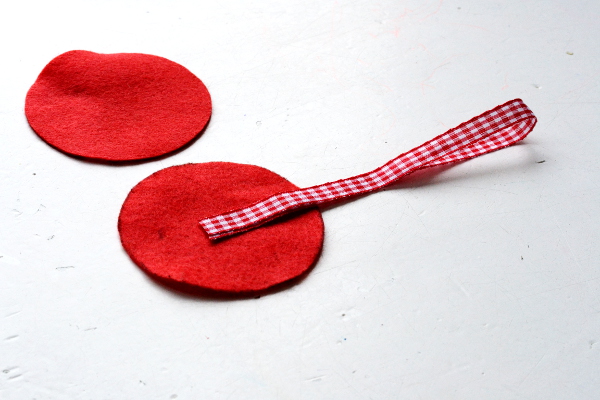
Step 1:Fold the ribbon in half and place it onto one of the felt circles.
Step 2: Place another circle on top of it.
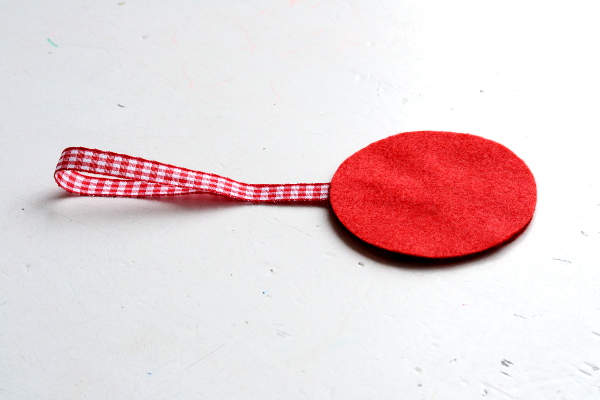
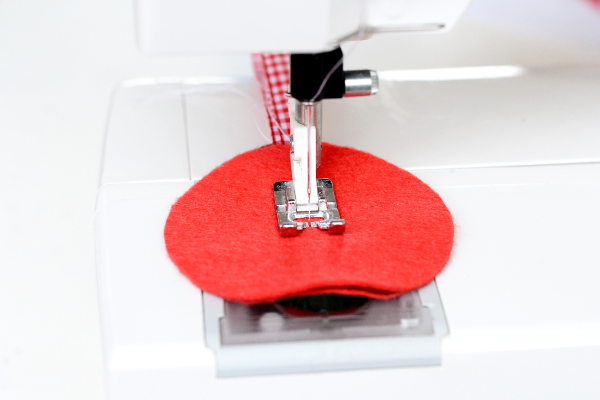
Step 3: Stitch a straight line across the circles, catching the ribbon in your stitching. Don’t forget to secure your stitching on top and bottom by sewing back and forth a few stitches.
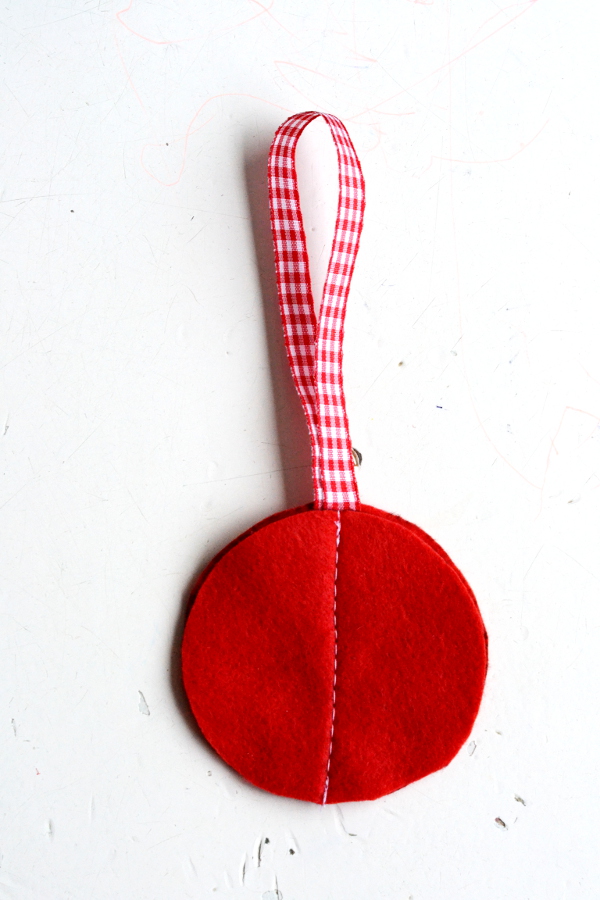
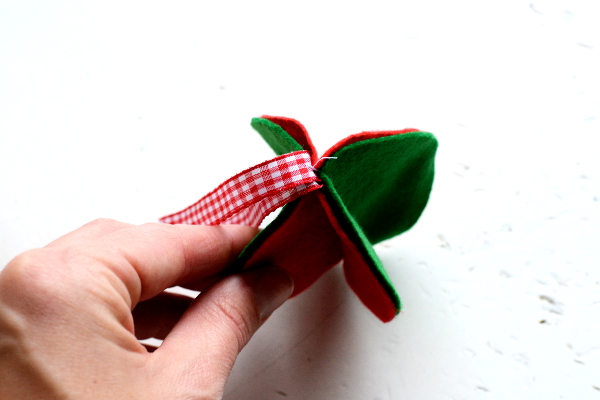
Step 4: Your ornament-to-be should look like this now.
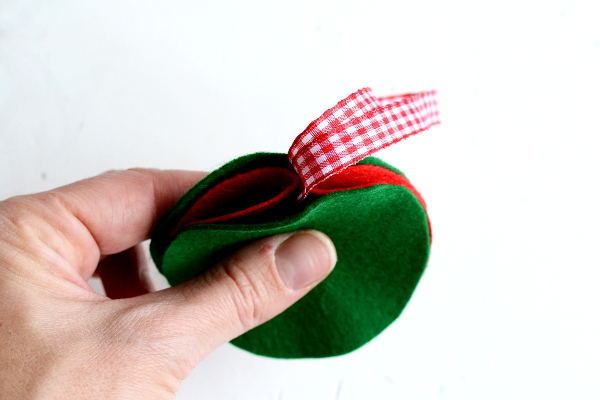
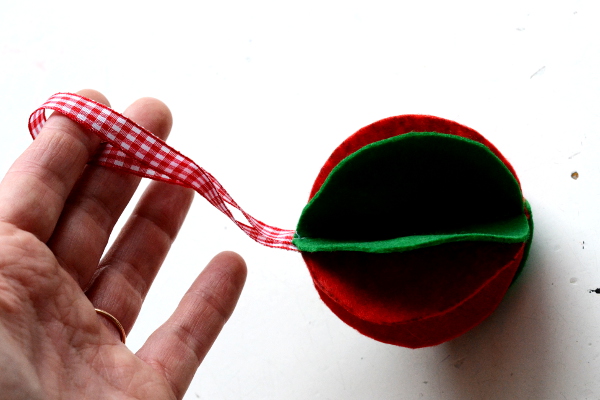
Step 5: Fold the circles to the sides.
Step 6: Place the other two circles on the sides of your ornament. The first circles with the ribbon are sandwiched in between the second circles.
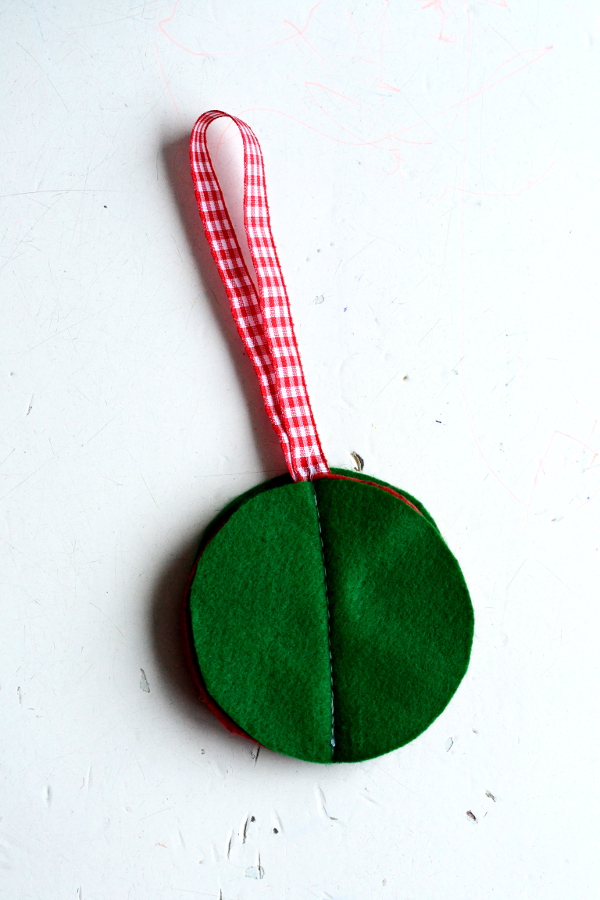
Step 7: Again, sew a straight line across the circles. This stitching should be on top of the seam you first sewed. Don’t forget to secure your stitching!
Step 8: Open up your ornament a bit, to emphasize its dimensions.
Step 9: You could stitch or embroider along the edges of the four “leaves” of the object, thus sewing them together back to back.
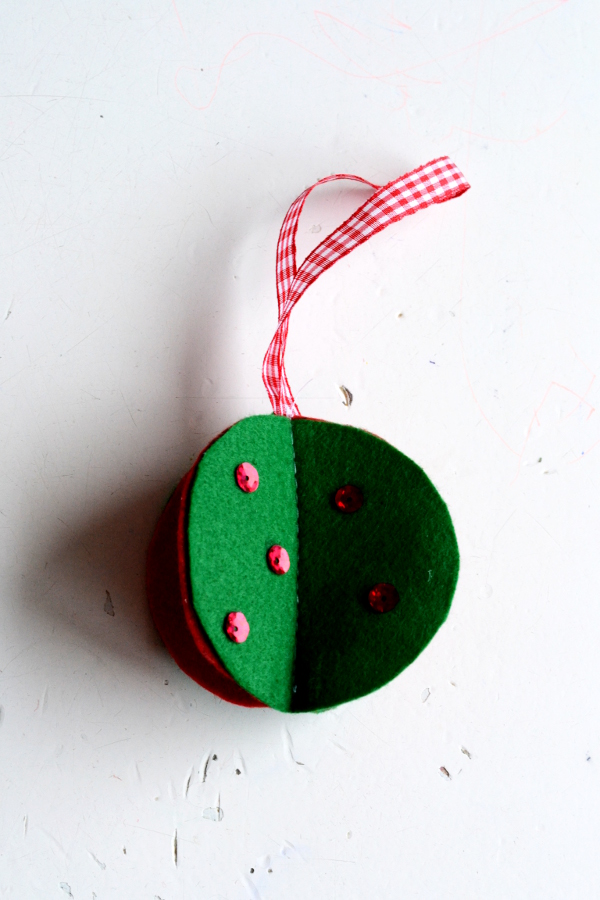
Step 10: Sew or glue your sequins onto the felt.
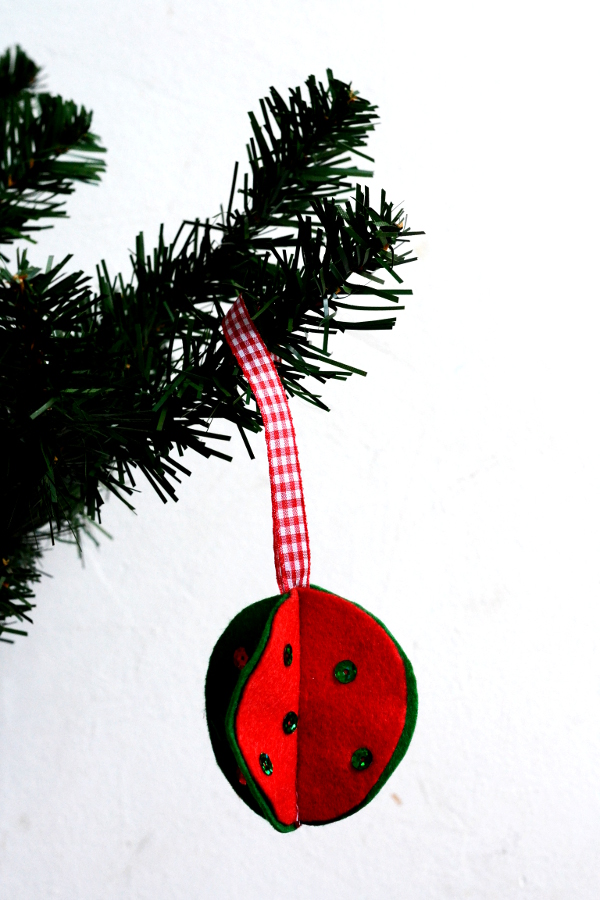
Step 11: Now off to get yourself a Christmas tree!
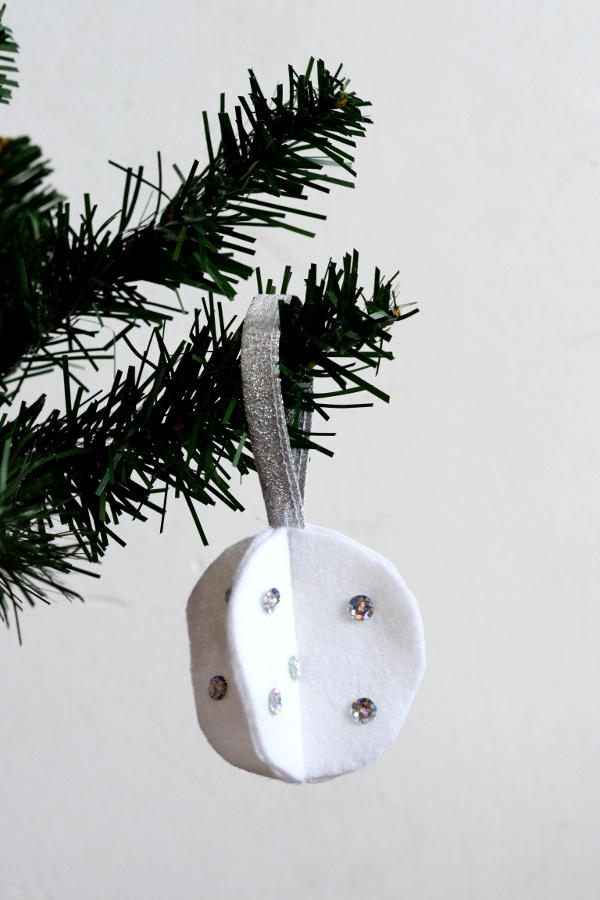
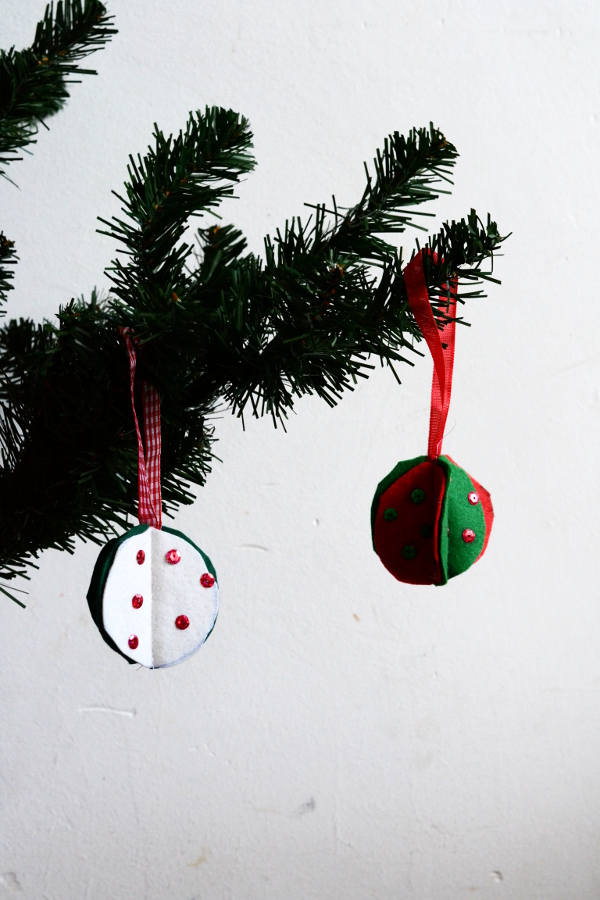
Step 12: I loved the white edition as well…
… and these were made by my 6 yo. She explicitly wanted to use “Christmas colors”.
What’s your favorite color for DIY Felt Christmas Ornaments? These Christmas tree ornaments are a great holiday season tradition for the whole family. Get create and make different colors or even your own templates to make Santa, Snowflake, Reindeer ornaments or more. There are many fun touches you can do - decide what thee best thing would be for your family and get towork.
Before you leave, be sure to come join our Peek-a-Boo Facebook Group or visit us at Peek-a-Boo Pattern Shop or KnitFabric.com.
