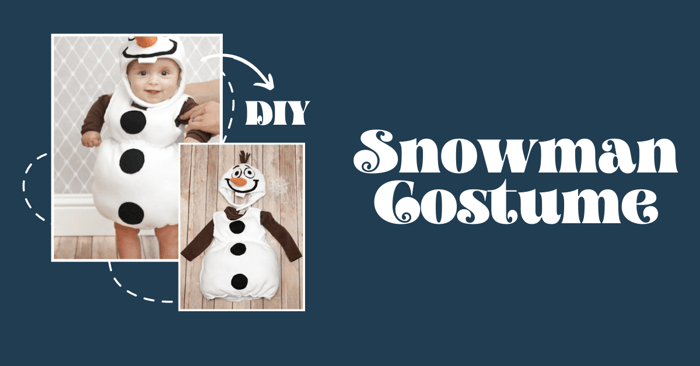
DIY Olaf Costume | Fun Snowman Costume for Kids
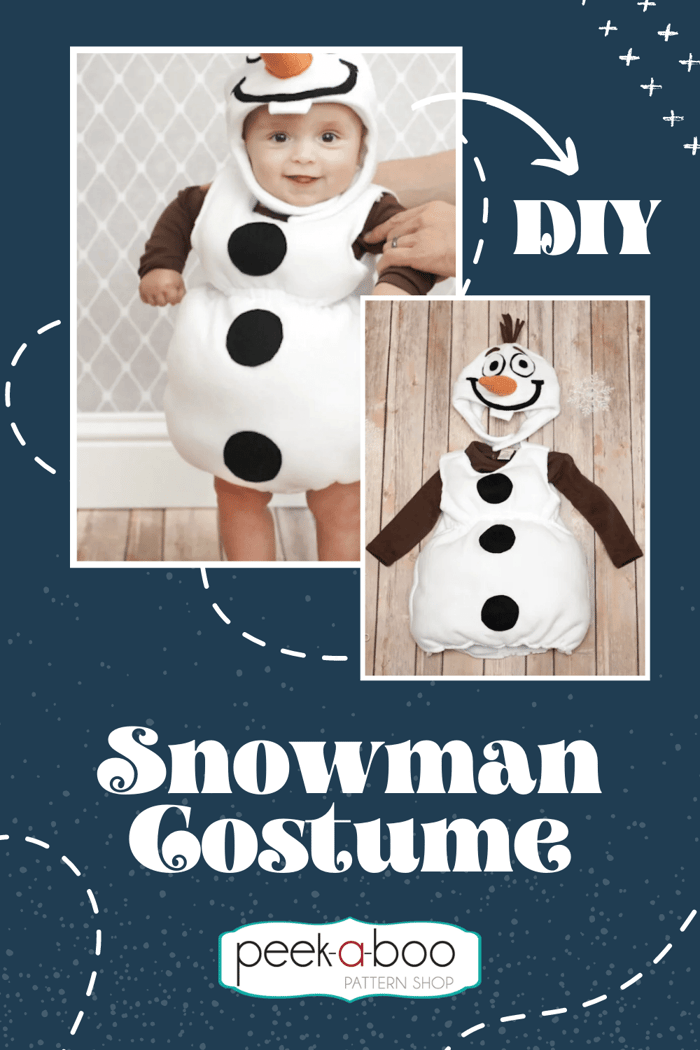
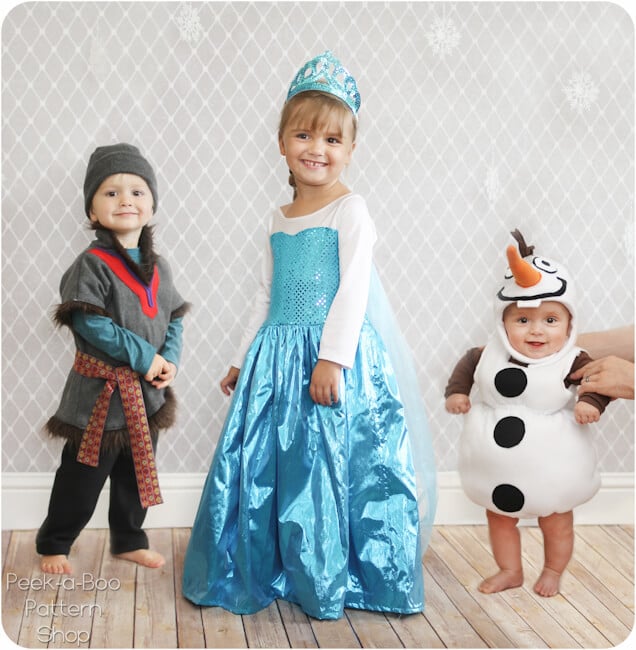
Do you want to build a snowman? Turn your kiddo into a darling snowman with this fun Frozen inspired DIY Olaf costume tutorial and pattern! This Olaf Halloween costume tutorial goes together easily with a few patterns from Peek-a-Boo Pattern Shop as well as a Free Pattern for the DIY Snowman body. Look below and you'll also find a few patterns to go along with your olaf snowman - a Kristoff Pattern and Tutorial and an Elsa Pattern and Tutorial. Now you just need a reindeer....
DIY Olaf Costume Inspired by Frozen | Fun Snowman Costume
You can make your snowman (or Olaf if that's the look you're going for) from fleece. This is a quick and easy costume sew. You just need to make the hat as instructed below, make the snowman body, and then throw on the snowman body over a brown t-shirt (to use for the snowman's tree arms) and you're all set for winter.
And the cuteness factor is over the top :)
Get Ready to Make Your DIY Snowman
I have a FREE pattern for the snowman body available for you in size 6-12 mos. Pattern is free when you Subscribe to our Newsletter or Join our Facebook Group. Coupon Code is found in New Subscriber E-mail and/or the first post in our Facebook Group. Download the pattern here
If you would like to make this costume in other sizes I recommend using a t-shirt as your starting point for the pattern. The snowman body is shaped just like a tee through the shoulders and arm openings and then you want to make a bubble shape that will end near the knee. The fit is very forgiving on this so don't stress about getting it perfect. This same costume fits my 5 month old and my 2 year old :)
DIY Olaf Halloween Costume Materials:
- Snow Day Hat & Mittens pattern (or similar) as the starting point for the hat
- 1 yard white fleece (remember this is for the 6-12 mos. You may need more fabric for other sizes)
- 1/8 yard orange fleece for the nose
- Black and Brown felt for embellishing
- Polyfil
- 1/4" Elastic
- Velcro if your hat has a chin strap
- White Zipper (mine was 9")
Snowman Body Instructions:
Time to sew! Please keep in mind this is a costume and I sewed the entire thing in 2 hours. Some edges are unfinished since fleece doesn't fray and personally I don't mind the look. I'm all about quick and easy for something that won't be worn very many times
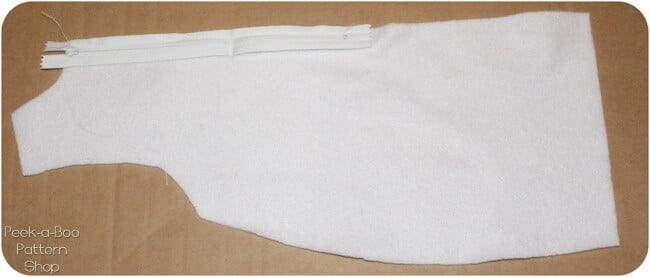
Body Step 1. Lay your zipper face down on one of the back pieces and sew along one side using your zipper foot. Don't sew too close to the teeth or it will be hard to zip up with the bulky fleece.
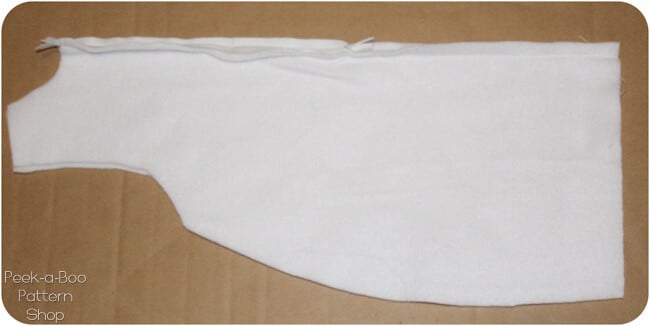
Body Step 2: Sew the other side of the zipper to the other back piece and then sew up the rest of the center back seam. This is not a perfect zipper installation but it's super quick :)
Body Step 3: Fold the top ends of the zipper tape down and tack them down

Body Step 4: Cut out three black felt circles for buttons and topstitch them to one of the front pieces. Lay the embellished front on top of your 2nd front piece. Sew the layers together around the neck, one arm opening, one side seam and the bottom edge. Sew 2 rows of stitching 1/2" apart from each other between the 1st and 2nd buttons to create a channel for your elastic.

Body Step 5: Slide some 1/4" elastic through the casing with a safety pin. Pull to the desired snugness (my elastic was around 3/4 of the width of the costume) and tack down at each end.
Body Step 6: Add some polyfill to the top and bottom portions of the body and then sew the 2 layers together along the other side and arm opening.
Body Step 7: With rights sides together sew the front layers to the back piece at the shoulder and side seams.
Body Step 8: I didn't get a close-up photo of this step but to gather in the bottom edge a bit I added some 1/4" elastic to the bottom edge. Just place your elastic on the bottom edge on the wrong side of the fabric and then sew in place with a zig-zag stitch stretching the elastic as you go and it will gather all on it's own.
How to Make the DIY Olaf Costume Hat
Time for the head! You'll need a basic hat pattern to start with. I used the Snow Day Hat & Mittens
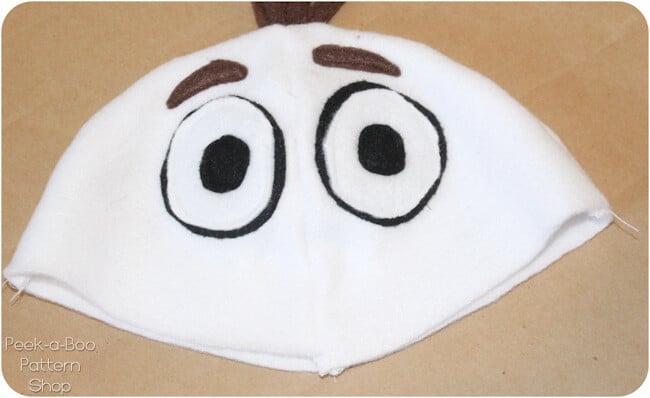
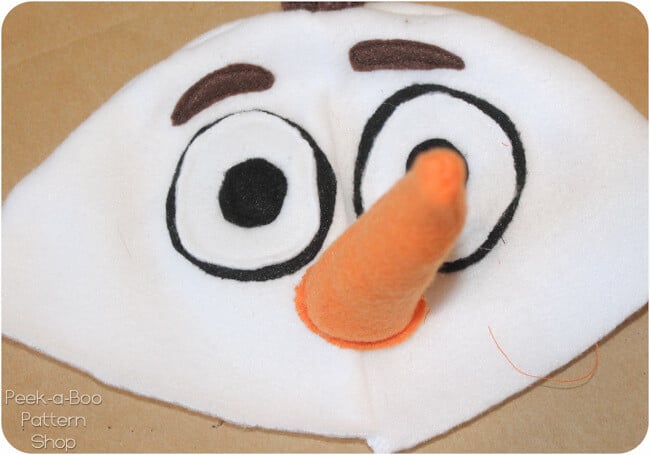
Hat Step 1. Sew 2 of your hat body pieces together (I have all 4 sewn together at this point but ignore that and just do 2). Cut out 2 brown eyebrows and your eyes from black and white felt (or fleece). Topstitch onto the face making sure you leave room for the nose
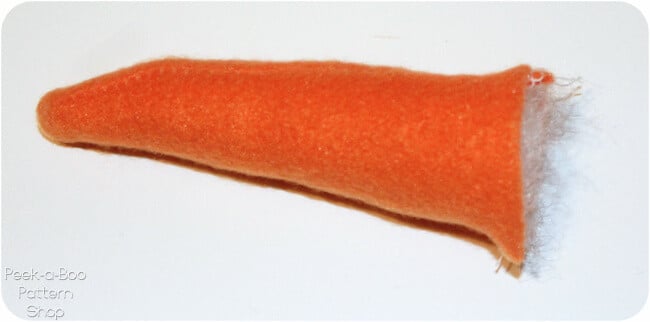
Hat Step 2: Cut out 2 nose pieces and sew together leaving the bottom edge open. Stuff part way with polyfil. This was my trial run nose and I cut a new one later with a wider base which looked much better
Hat Step 3: Position the nose below the eyes and sew to the face. Stop when you have 1/2" or so left to do and finish stuffing with polyfil. I found this easiest to sew using my zipper foot with the needle moved all the way over to the left.
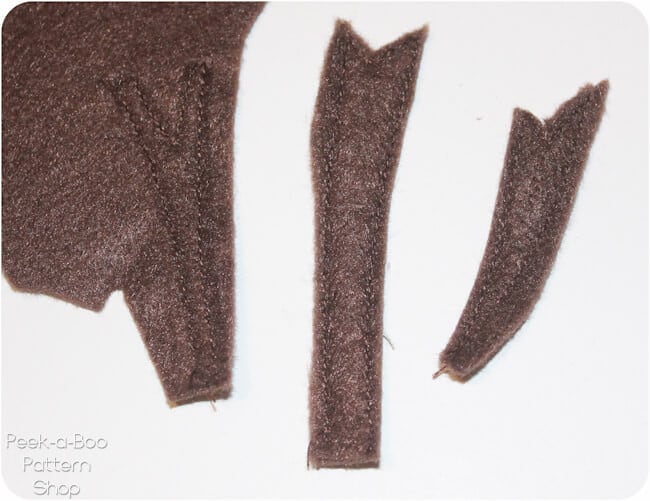
Hat Step 4: Cut 3 twigs from brown felt for the "hair". Lay the twigs out on top of another piece of brown felt, topstitch together and then cut out. This is much easier than trying to sew 2 tiny pieces together.
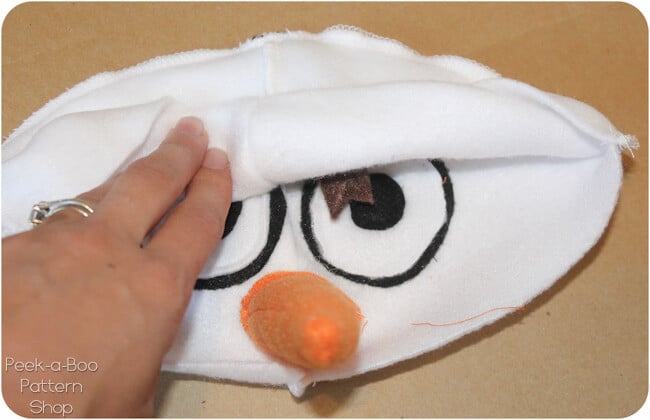
Hat Step 5: Center the base ends of the twigs at the top of the face. With right sides together sew the 2 hat halves together (step 2 in the pattern tutorial if you're using the Snow Day Hat).
Hat Step 6: Before sewing the hat band pieces together in step 8 I added trimmed down the band a bit in front and added a tooth. Once the hat was complete I added a smile and it was done!
There you have it. That was a pretty easy DIY Olaf costume wasn't it? I hope you have fun sewing up Olaf!
Other Costumes
Also make sure to check out Kristoff and Elsa! Also, be sure to join our sewing community at the Peek-a-Boo Pattern Shop Facebook Group.
