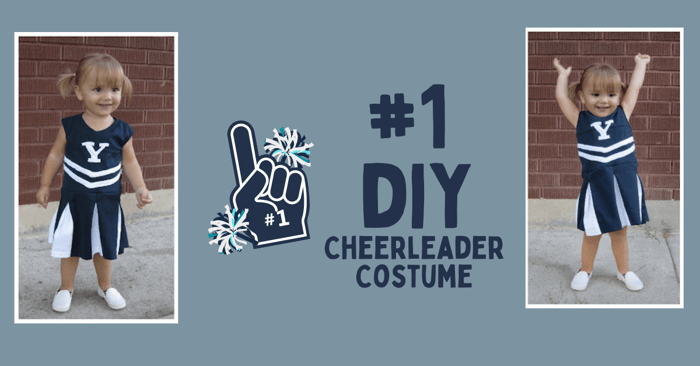
#1 DIY Cheerleader Costume for Girls
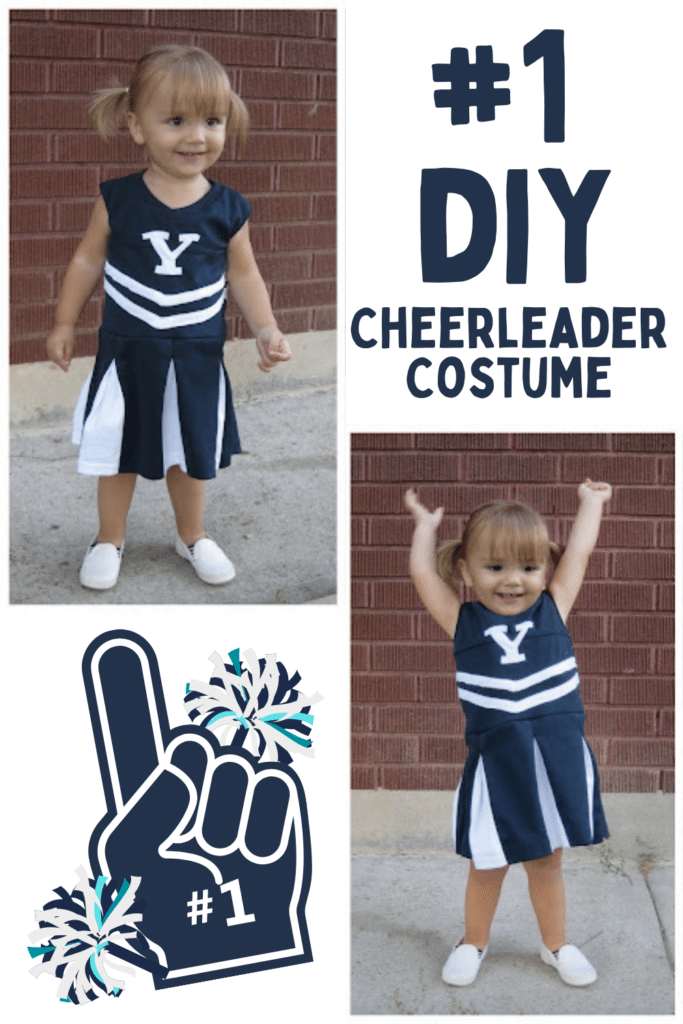
It's football season so it's time for the DIY Cheerleader Costume for Girls! Make sure your little cheerleader is all set with her very own cheer dress! This tutorial is super quick and simple so you'll be able to make a cheerleader costume or cheer dress in no time.
DIY Cheerleader Costume | Make a Cheer Dress
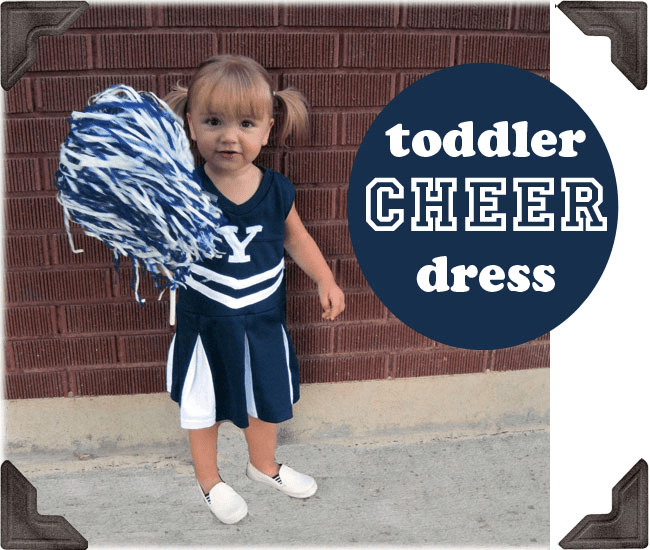
Bring on the Touchdowns!
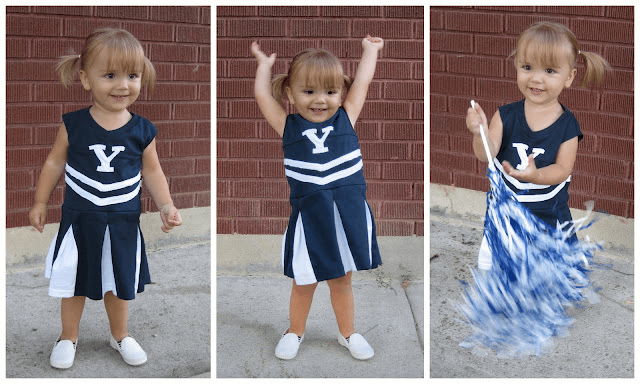
Go Cougs!!
Ready to make an official DIY Cheerleader Outfit for your tot? Read on...
Materials to Make the Cheerleader Costume
- Jersey: pick a size that's the right length for a dress and you won't have to hem.
- Knit in a contrast fabric: an old t-shirt works best
- Team logo
- Iron
Cheerleader Outfit Instructions & Skirt Tutorial
DIY Cheerleader Costume Step 1: Unpick any logos from the jersey. This takes a while so put on a good show:)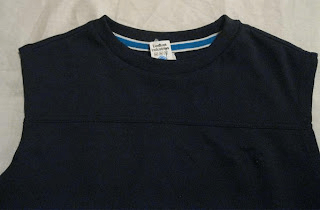

Costume Step 2: If you want a v-neckline instead of a crew neck, unpick the front portion of the ribbing. Find the center and cut it apart and then sew it back together on an angle to form a v-neck. Cut a v-neck in the front of the jersey
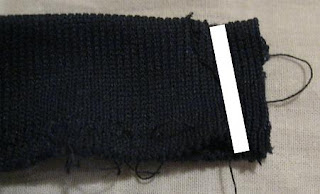
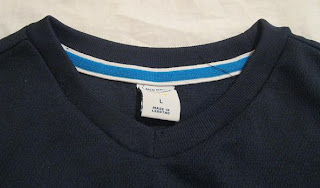
Costume Step 3: Sew the ribbing back to your new v-neckline. If the jersey seems to roomy you might want to take it in at the shoulders to size down the headhole a bit.
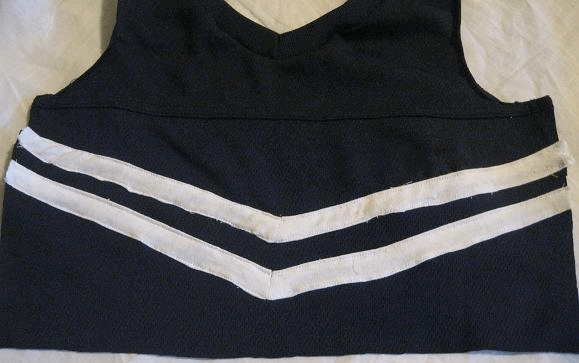
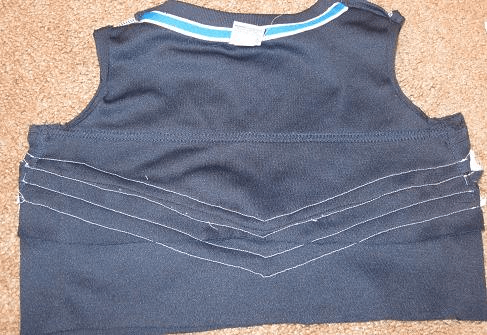
Costume Step 4: Lay a tank top that fits well on top of the jersey and use it as a guide to cut out a front and back bodice. To make the v-detail sew 2 lengths of knit together at an angle and then press the raw edges under and top stitch to the jersey. I did 2 rows on the front and the back- make sure they'll line up right when you sew the front and back together.
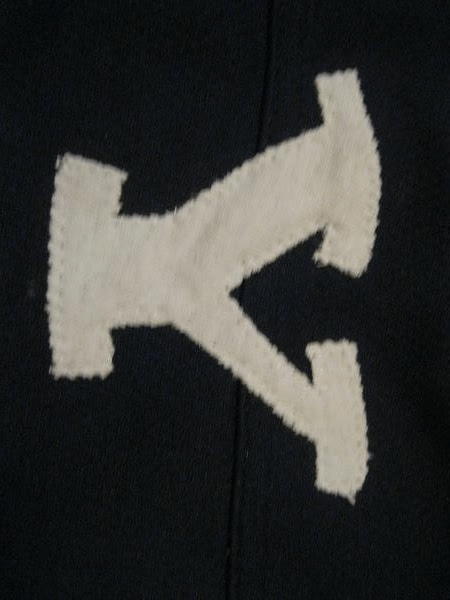
DIY Cheerleader Costume Step 5: Print out a logo (simple is best) and use it as a guide to cut one out of your knit fabric. Stitch it the front bodice using a zig-zag stitch. You might find it helpful to use double sided interfacing to hold it in place- I didn't bother, but it would make it a bit easier.
Costume Step 6: Turn the edges of your new armholes (if you sized them down) towards the back and top stitch in place. Sew up the side seams.
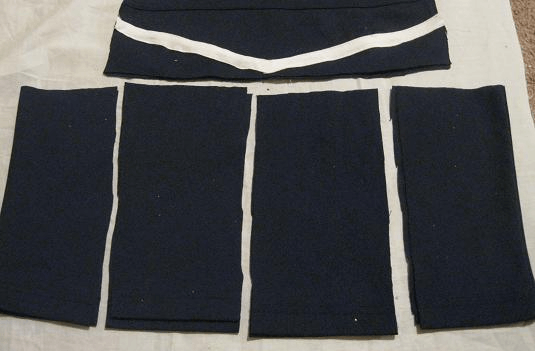
Costume Step 7: Decide on the length you need for the skirt and cut out the skirt piece- use the original hem of the jersey as the bottom of the skirt so you don't have to do any hemming. Cut the skirt into 4 segments and then cut 3 segments of the same size out of your t-shirt (again use the original hem). You may want to do some measuring at this point to figure out how big you need to make all of your segments for it to be the same width as the bodice after you pleat (I just went for it and then adjusted a bit at the end).
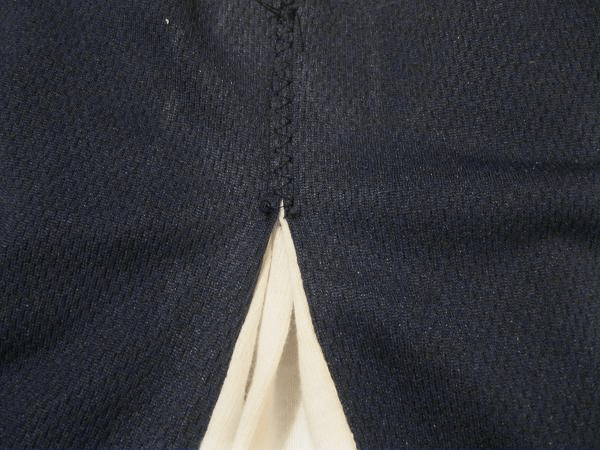
Costume Step 8: With the right sides together sew the contrast segments in between each piece of jersey. Form box pleats with your jersey, so the jersey segments meet in the middle of each t-shirt segment. Stitch the 2 jersey segments together for the first couple inches by using a zig zag stitch.
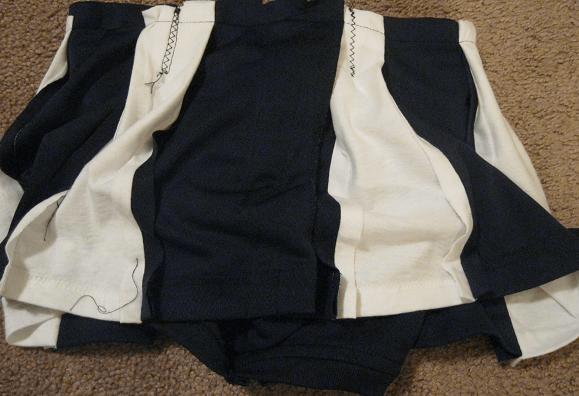
Costume Step 9: With the right sides together sew the skirt to the bodice.
Costume Step 10: Go cheer on your team!!
There you have the DIY Cheerleader Costume. Take a look at all our other DIY Halloween Costumes.
If you need sewing help, be sure to join our Peek-a-Boo Pattern Shop Facebook Group.
