Homemade DIY Witch Costume for Girl
Ready to make a DIY Witch Costume for Girls! I don’t know about your house, but mine is in full “stop changing your mind about your Halloween costume or I can’t make it” mode. Certainly no one else’s child has changed their mind a gazillion times over the last week about their costume?!?
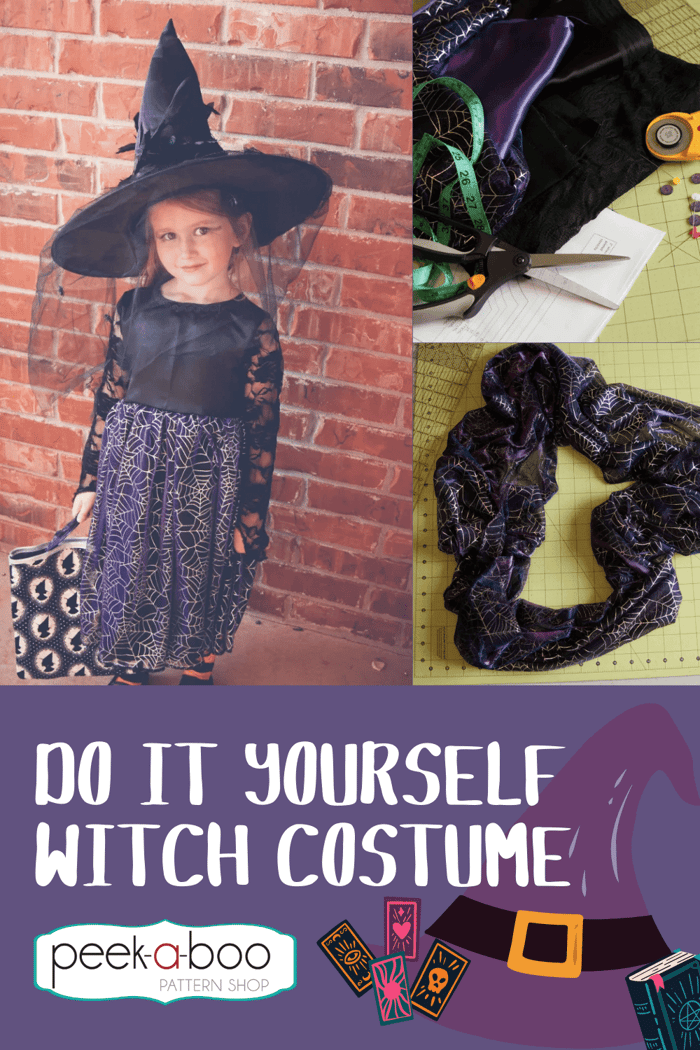
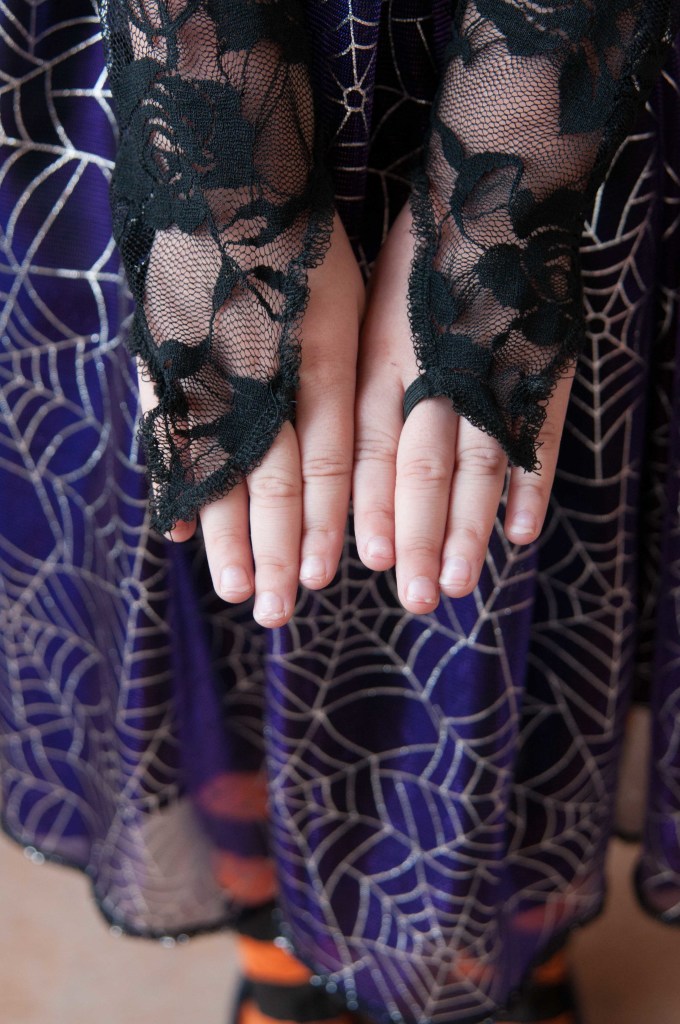
Thankfully, Magnus is too little to tell me what he wants to be (flying monkey) and Stella had her mind set on a witch and it stuck. That’s two outta four, which is pretty good around here! So here it is – the great transition from the Noelle Party Dress to the Spooky DIY Witch Costume complete with fitted point sleeves and an overlay. We added a hat to the dress to make the perfect Halloween witch costume.
One note. To make this witch costume, I used the Noelle pattern from Peek-a-Boo Pattern Shop.....which is currently retired. However, you should be able to get by just fine by using the Jubilee Party Dress Pattern with a few modifications or the Practical Princess Costume Pattern. Of course, you'll want to modify it like I did a bit, and some black tulle, black ribbon, and more to get the perfect look for your witch.
DIY Witch Costumes Fabrics & Materials
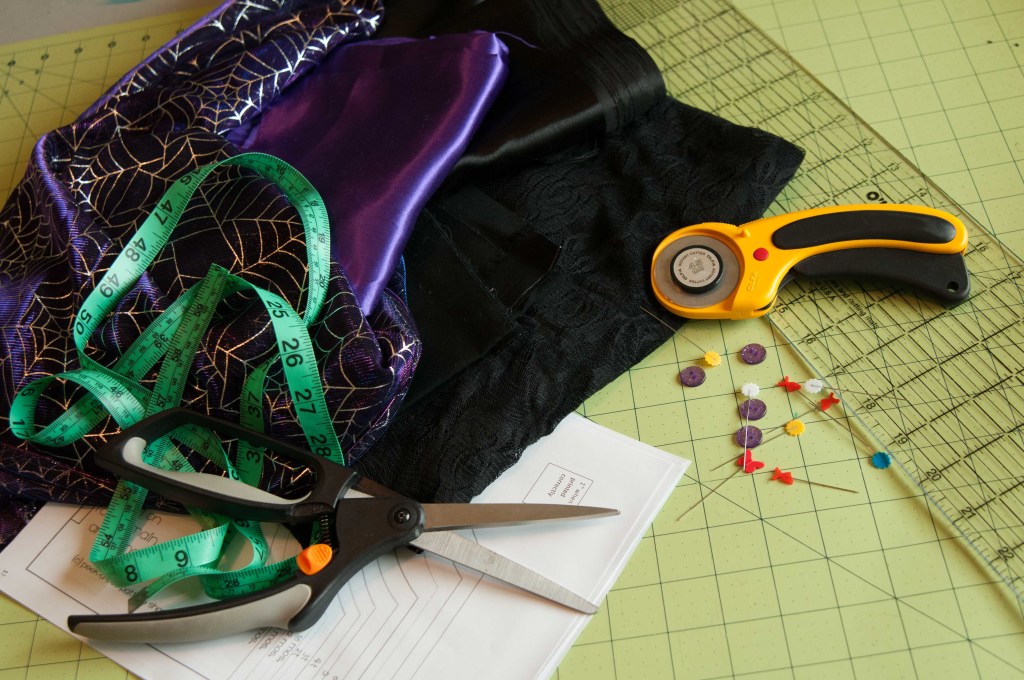
This is a great time of year to get costume quality fabrics. The point is to get the costume made, but go cheap with supplies because your little one is likely to dress up like a witch only a couple of times. No sense in getting real satins and silks if polyester will work and cost a fraction.
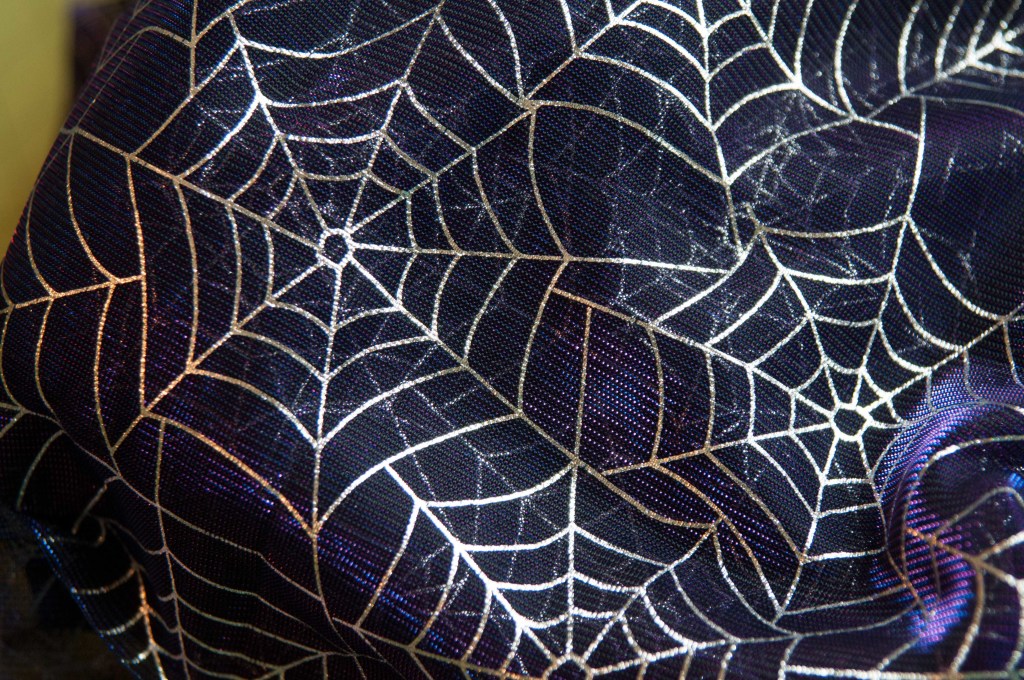
Pro Tip: Shop your local fabric stores for some serious discounts in the costume fabric or remnant section. I found the black spider web overlay at Joanns for 40% off. Isn’t it divine? It glimmers and sparkles and I knew it was just the right addition to Stella’s costume.
Also, shop at KnitFabric.com. They generally stock a good variety of Halloween Fabrics that would be good for witch costumes.
Halloween Witch Costume Instructions
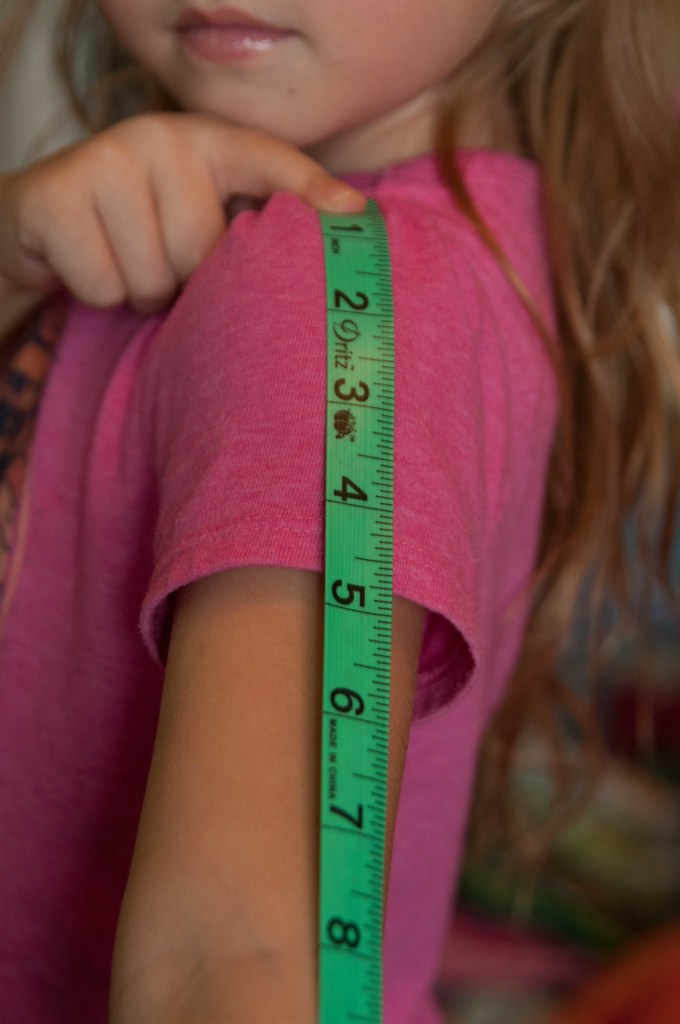
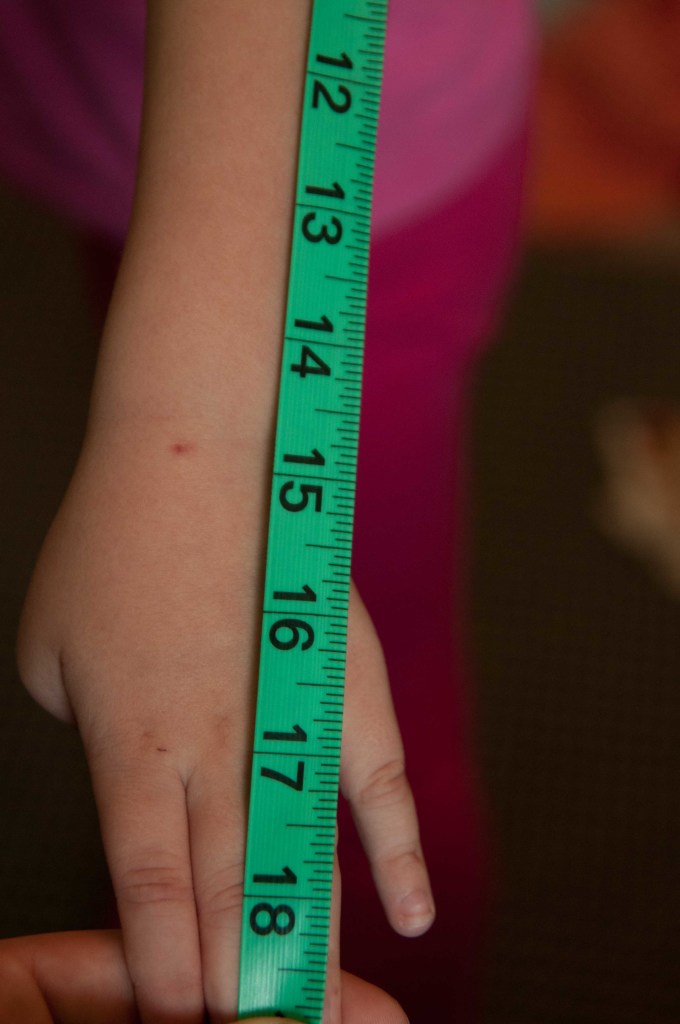
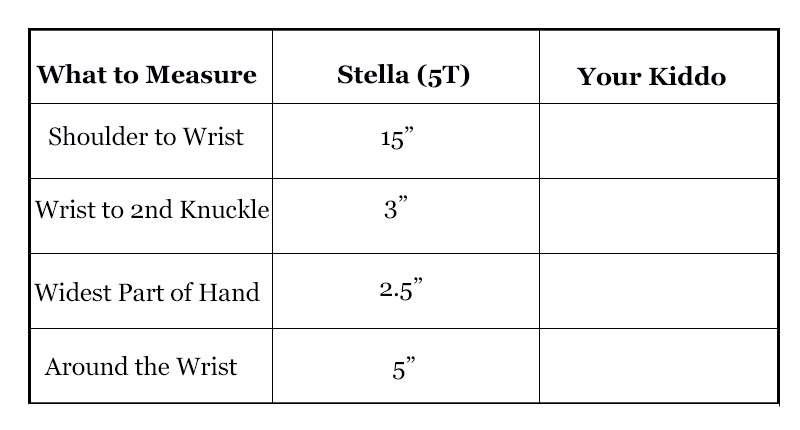
Step 1: Before you get to cutting your fabric for the witch costume, we need to do some alterations to the sleeves first. Be sure to have the kid handy, because you will need more than the basic measurements. First, measure from the shoulder to the wrist; Stella’s was 15 inches. Then, measure from the wrist to the second knuckle on the middle finger; hers was three inches.
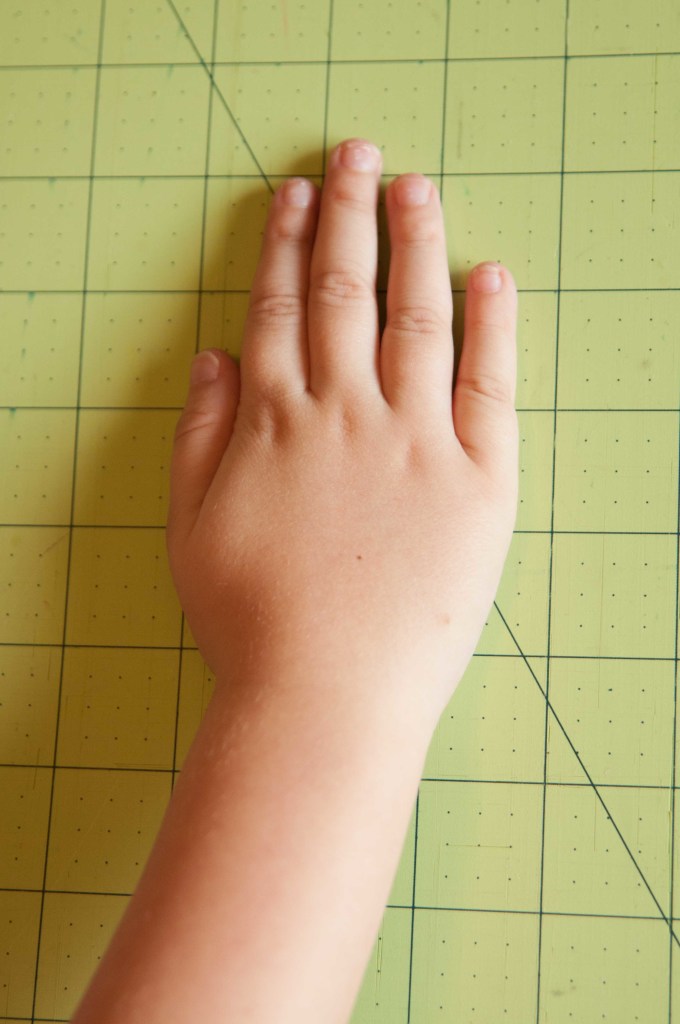
Step 2: Measure across the widest part of the hand; it was 2.5” for Stella. And finally, measure around the wrist. Stella’s was just over 5 inches. Whew! Did you get all that?
Here’s a handy dandy table to help you keep all this stuff organized.
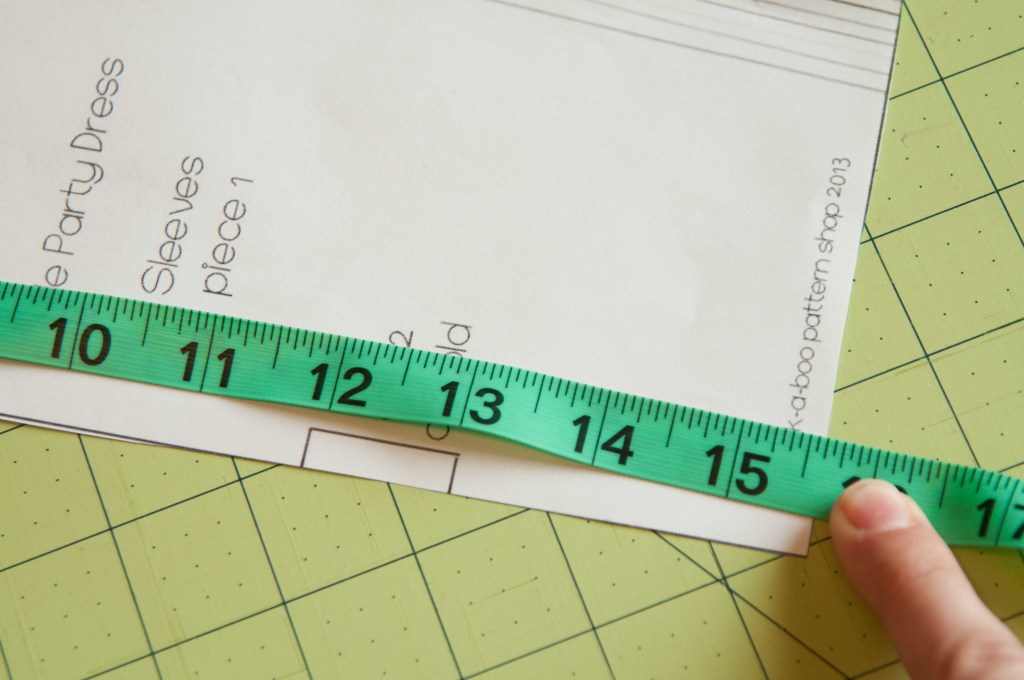
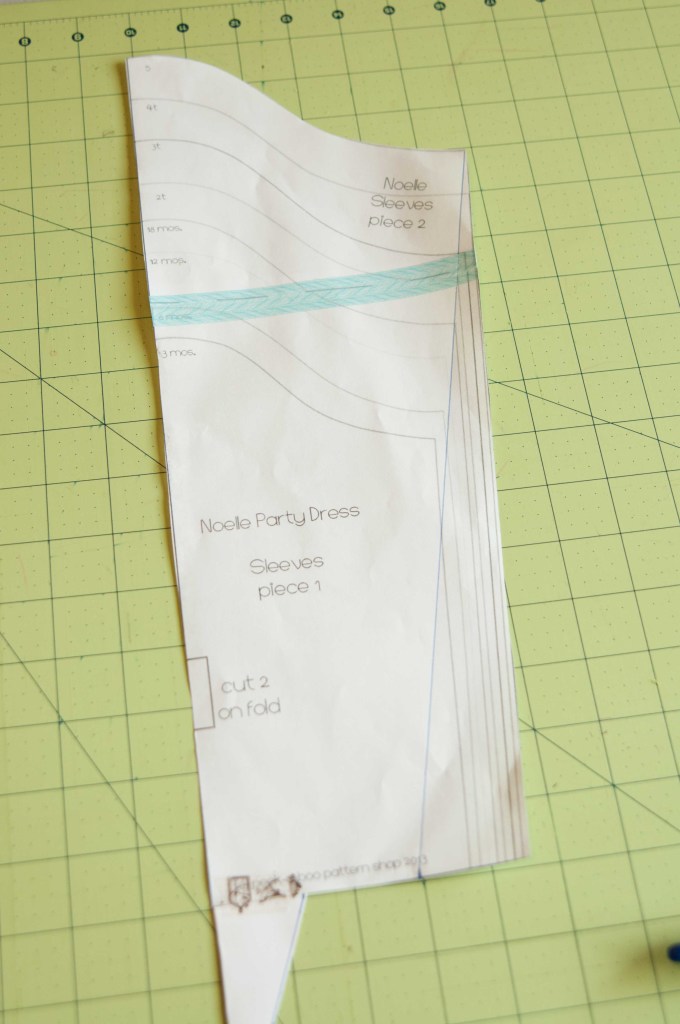
Step 3: Now comes the fun part. Get the sleeve pattern piece and measure it from the shoulder (tallest part) to the hem. The 5T was coming in a little over 15.5” so I needed to add length to make the pointy part of her witch sleeve. Stella’s Shoulder to Wrist measurement was spot on for the 5T pattern piece when I included a half an inch for seam allowance. Your child may need to have some length added or taken away depending on their arm.
Step 4: We are going to make a scalene triangle together. See that? You DO use geometry after high school. 🙂
To make things less complicated, I’ll be using Stella’s measurements from here on out. Be sure to substitute the measurements in your chart to make a proper witch sleeve.
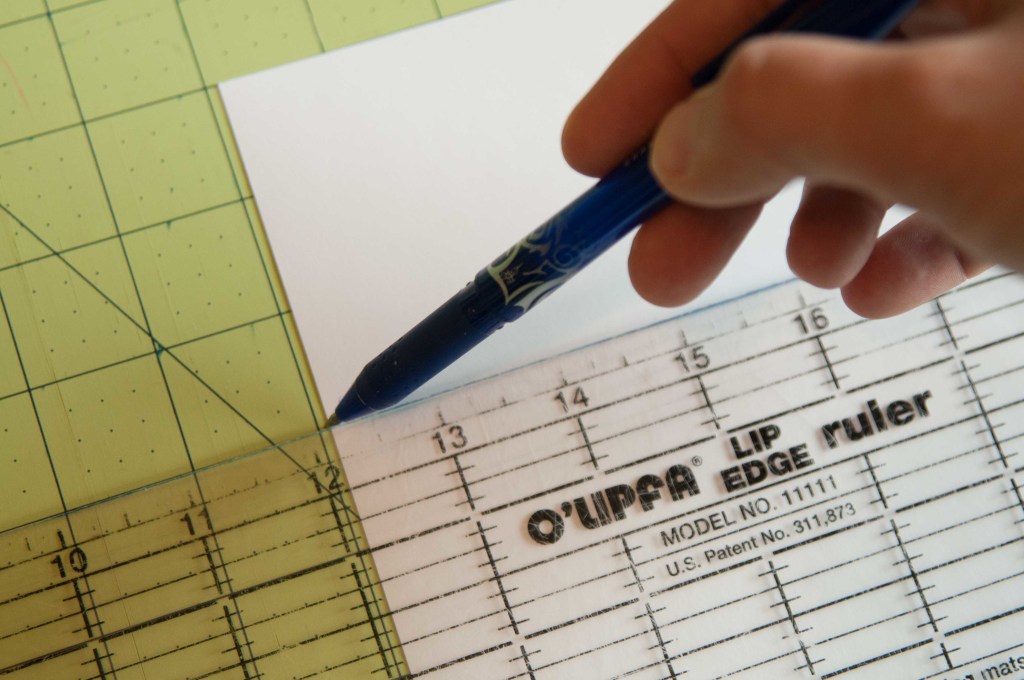
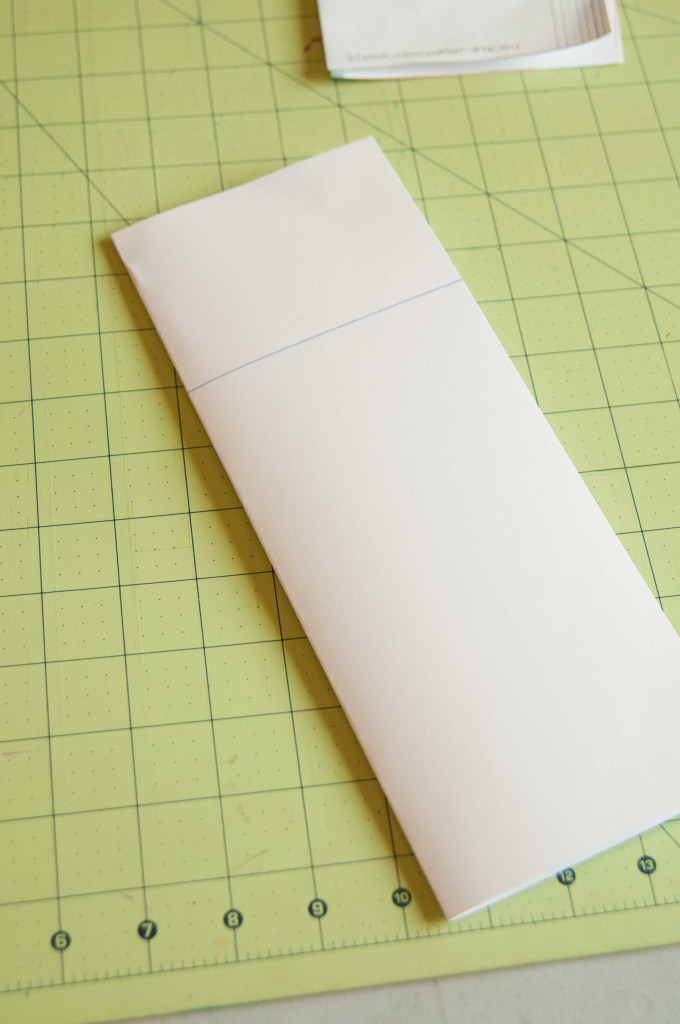
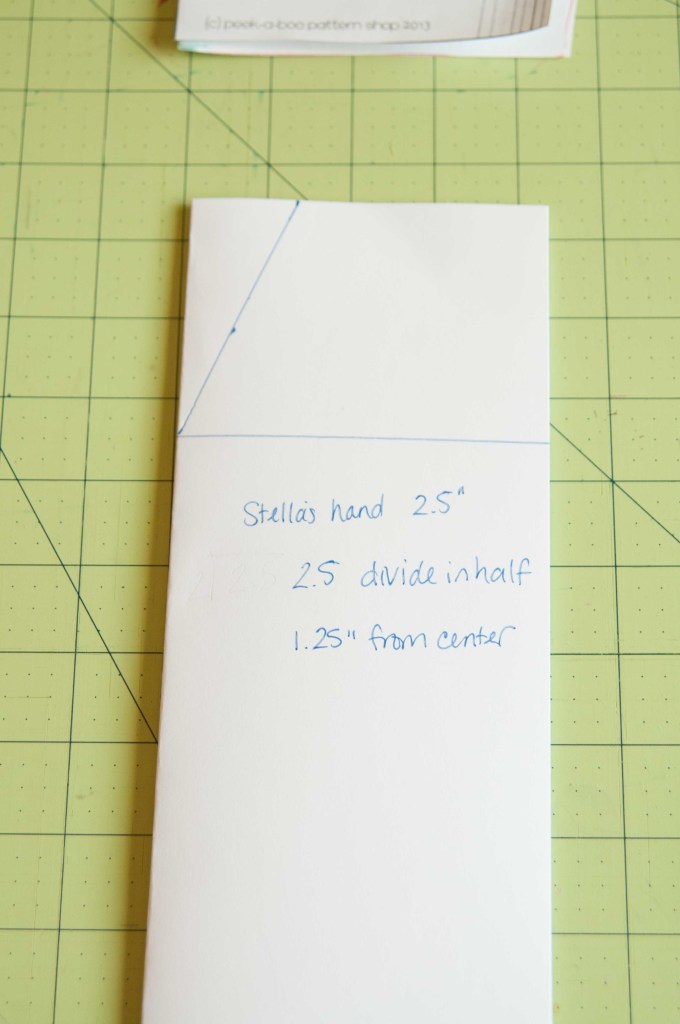
Grab a sheet of paper and mark down from the top your Wrist to Second Knuckle measurement.
Now fold your paper in half vertically.
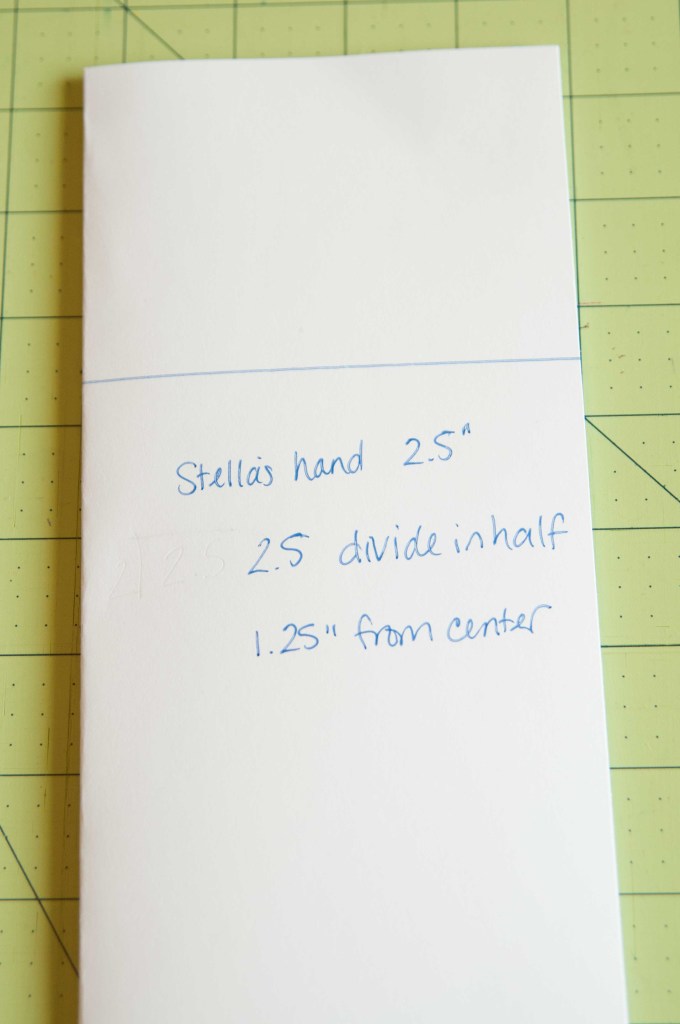
Step 5: Hold on to your hats, math is next! Take the Widest Part of the Hand measurement and divide it in half.
i.e. Stella’s measurement was 2.5.
2.5/2 = 1.25
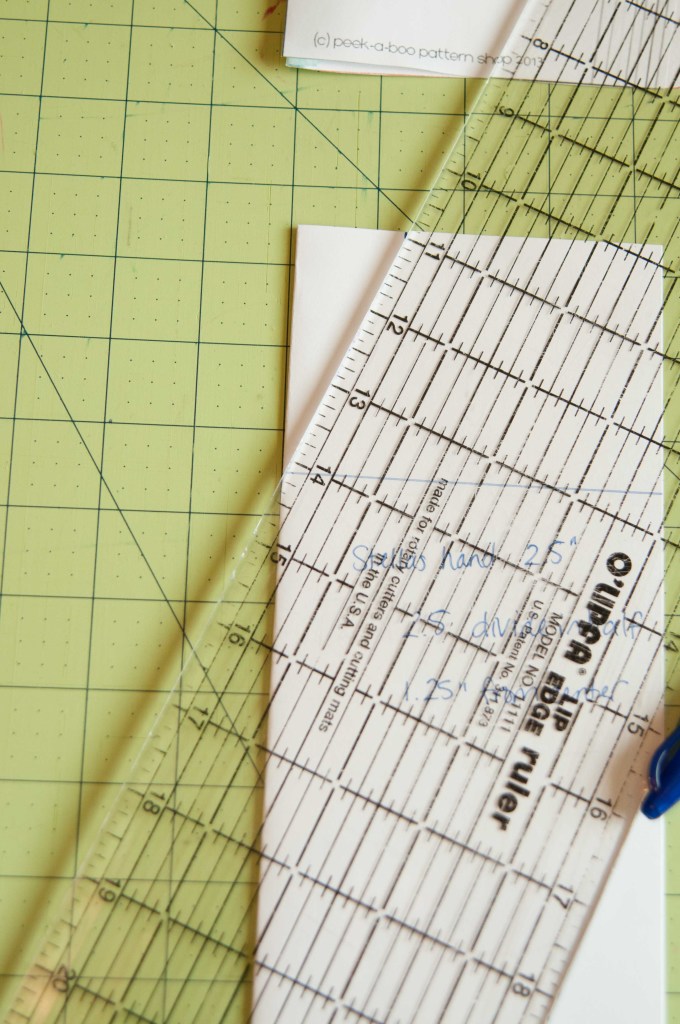
From the fold of your paper measure to 1.5″ and make a mark. Draw a line from the fold at the line to the mark you just made. You now have a triangle!
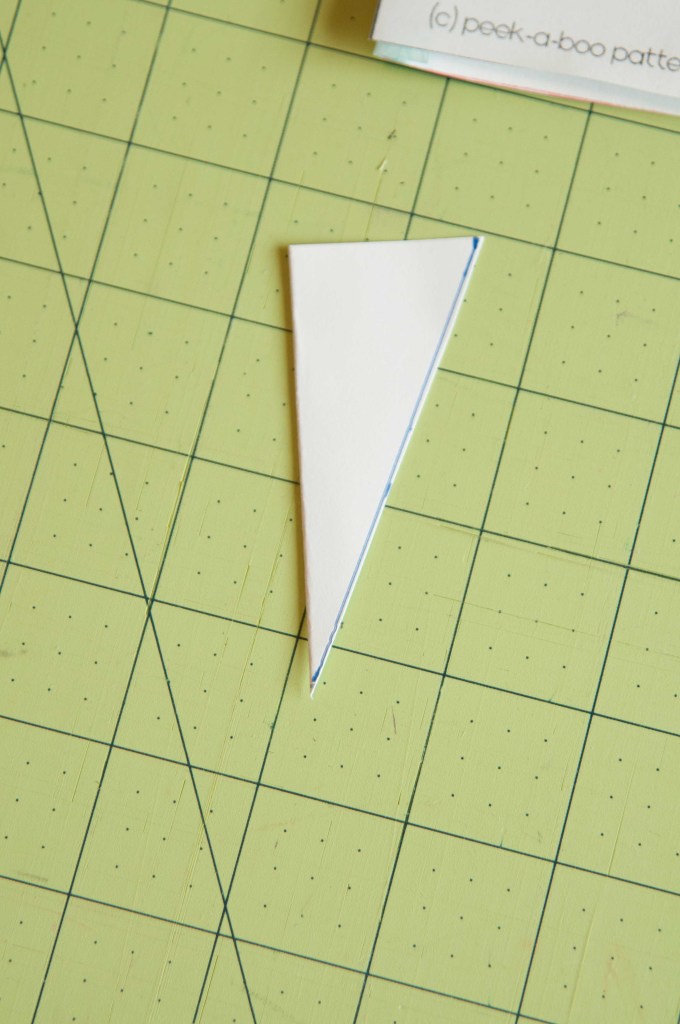
Cut it out making sure that you cut the fold too.
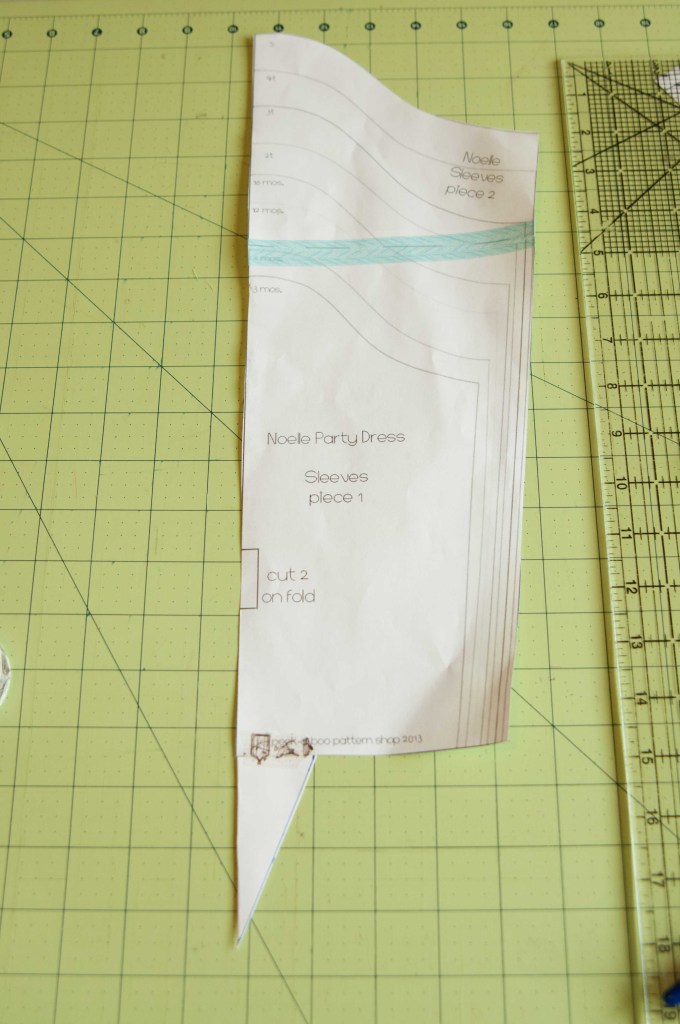
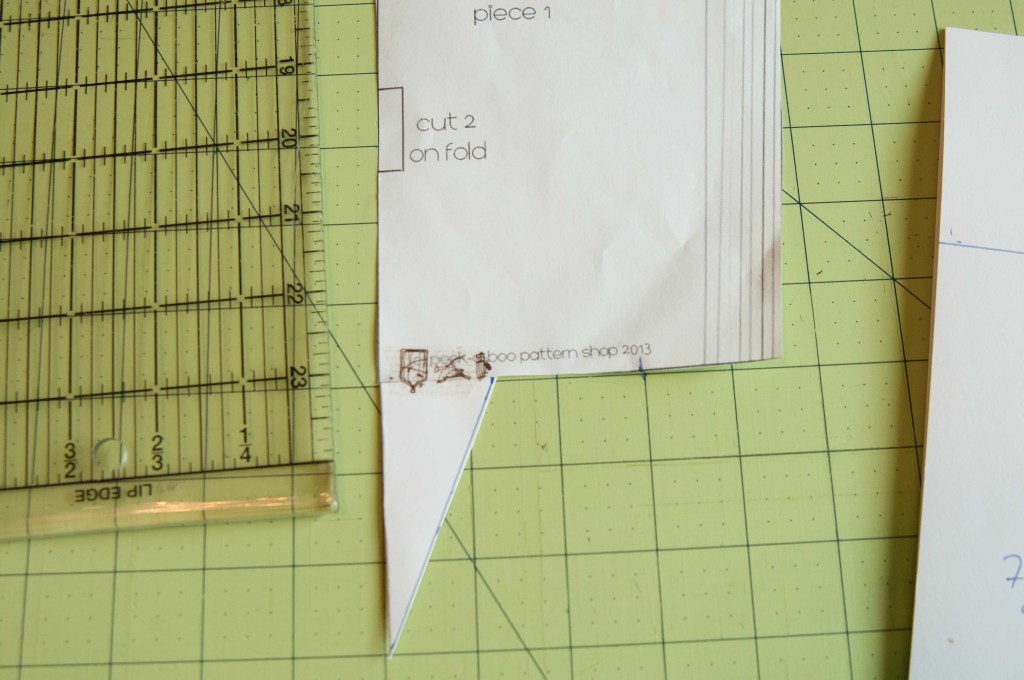
Tape that triangle with the right angle to the left side of the sleeve pattern piece. It should look like this.
Step 6: Now we need to reduce the width of the witch sleeve so that the point is fitted. Your sleeve pattern piece is only half of the sleeve as you cut it on the fold. Keep this in mind. Stella’s wrist measures 5” and the pattern piece was a lot bigger. I am using a stretch lace for the witch sleeves, so I can get away with making the sleeves a little more fitted. If you are using cotton that doesn’t have stretch you may need to add a little room for hands to make it out the sleeves.
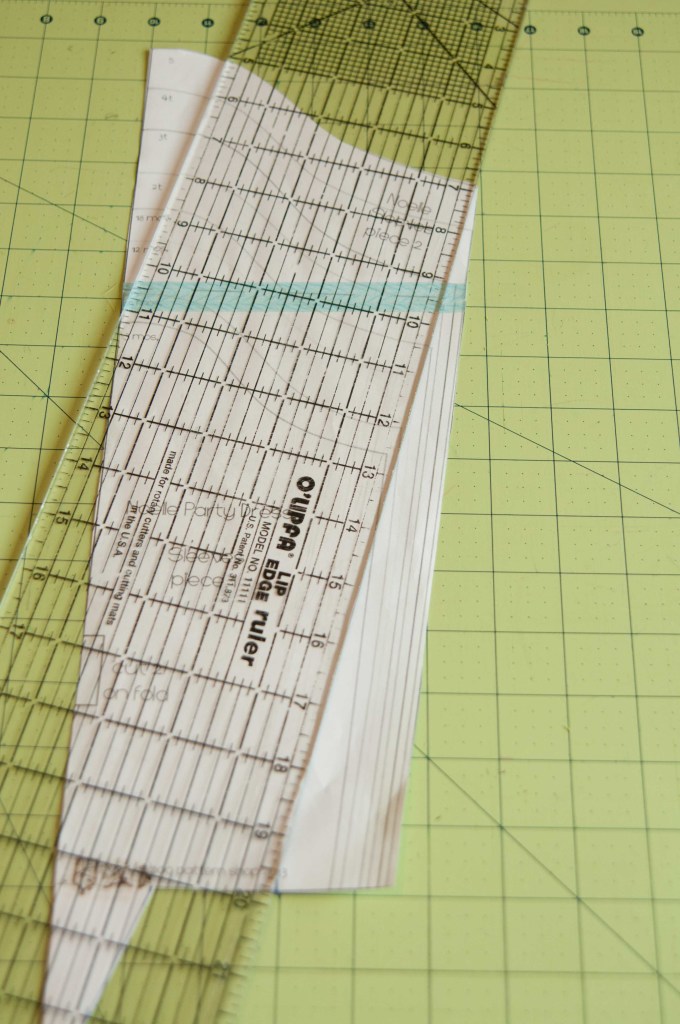
Step 7: We will begin next to the point we just made. Half your wrist measurement plus one inch will give us our first mark. Mark that from the edge with the triangle. I wanted a fuller sleeve at the shoulder so I graded the pattern based on the current point of the shoulder. Draw from the corner of your sleeve to the new mark you made at the wrist like this.
Step 8: chose to serge the edges where we made our point. You can do this with a satin stitch on your serger, but if your fabric is stretchy and has holes (like the lace) just use a regular serge stitch length or your machine will eat the fabric. Now, with right sides together serge your sleeve along the long part to make your witch sleeve. It essentially is like a tube at this point.
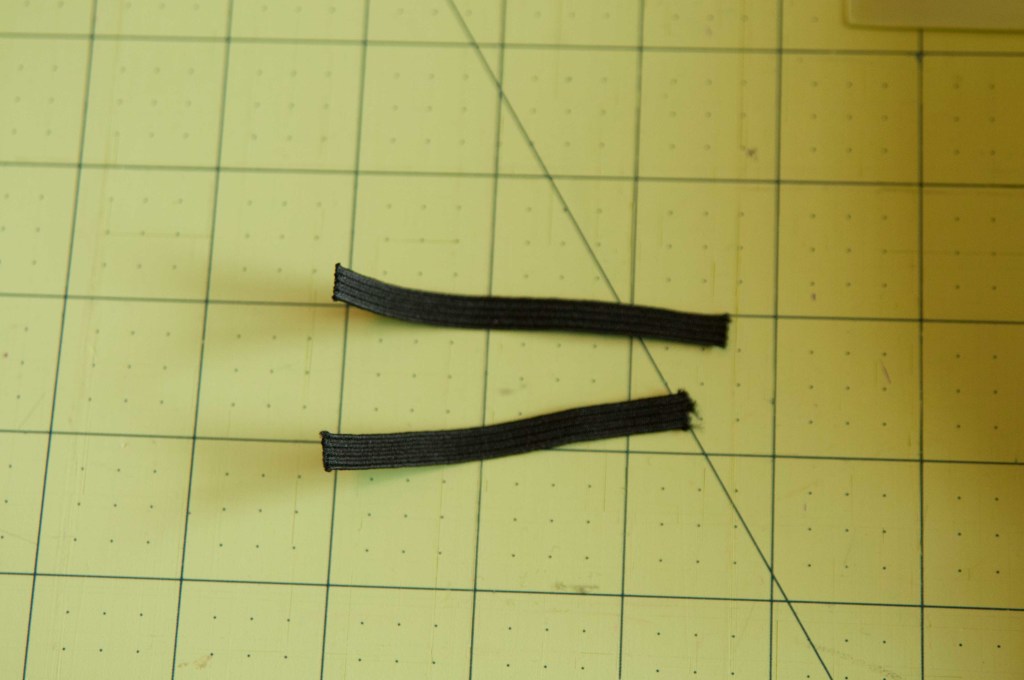
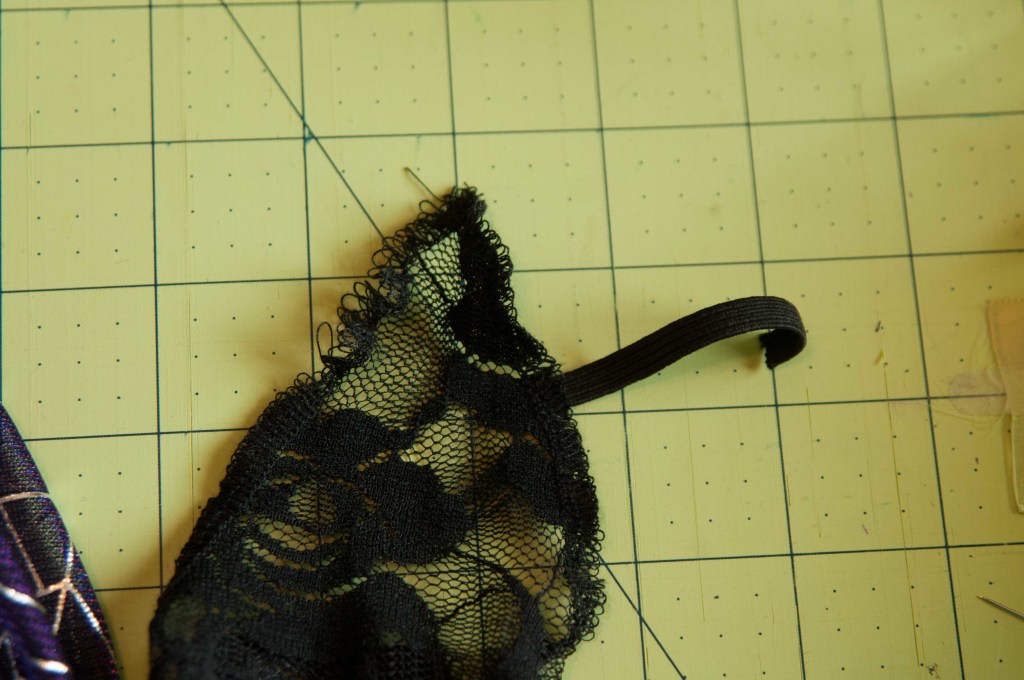
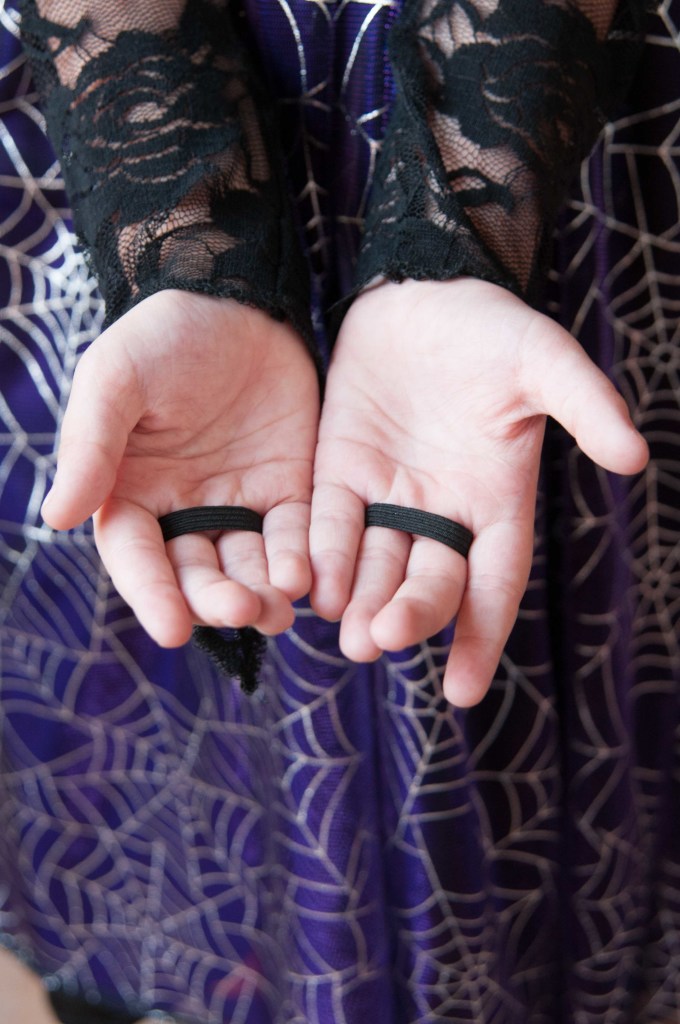
Step 9: Depending on the look you are going for with your witch’s outfit, you may want to add elastic loops to the sleeve like I did. Just cut two pieces of elastic about three inches long and stitch them about halfway down the point making sure they are on the wrong side of the costumes fabric.
They should look like this.
Step 10: Now you will continue to follow the directions in the pattern until you get to the skirt or dress. I scrapped the width measurement for the skirt and just did width of fabric for my witch skirt and overlay. I wanted a big full skirt so that we could eventually put a pinafore under the dress if Stella wanted her witch skirt to be puffy. An overlay is pretty simple. You are essentially adding a second skirt to the costume. I do this all the time with dresses to add a little apron to the dress or a shorter layer to give the appearance of ruffles.
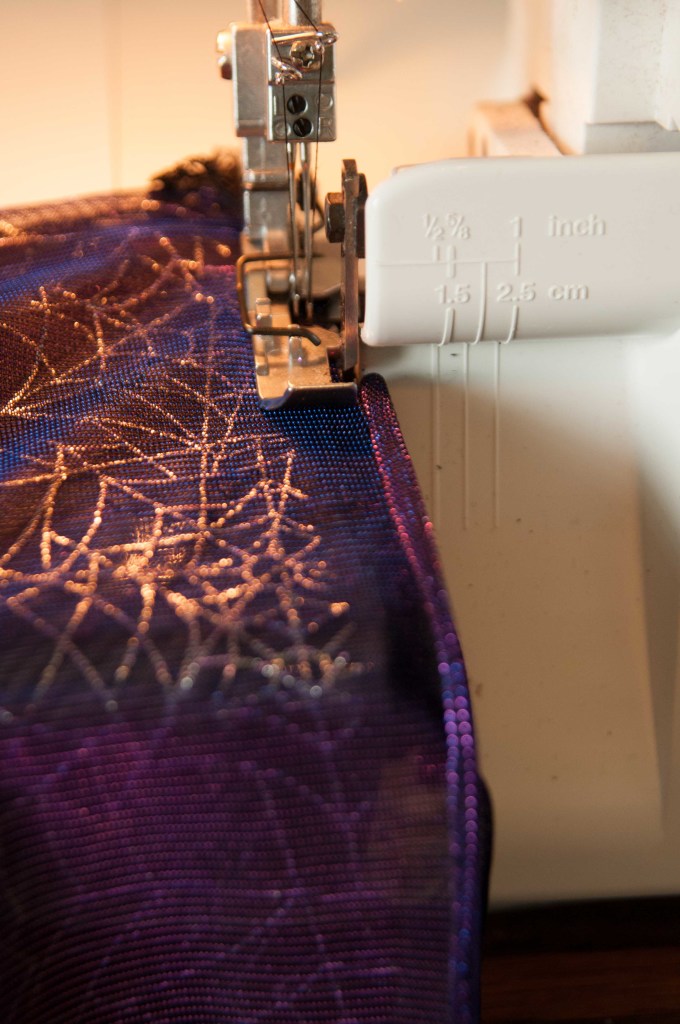
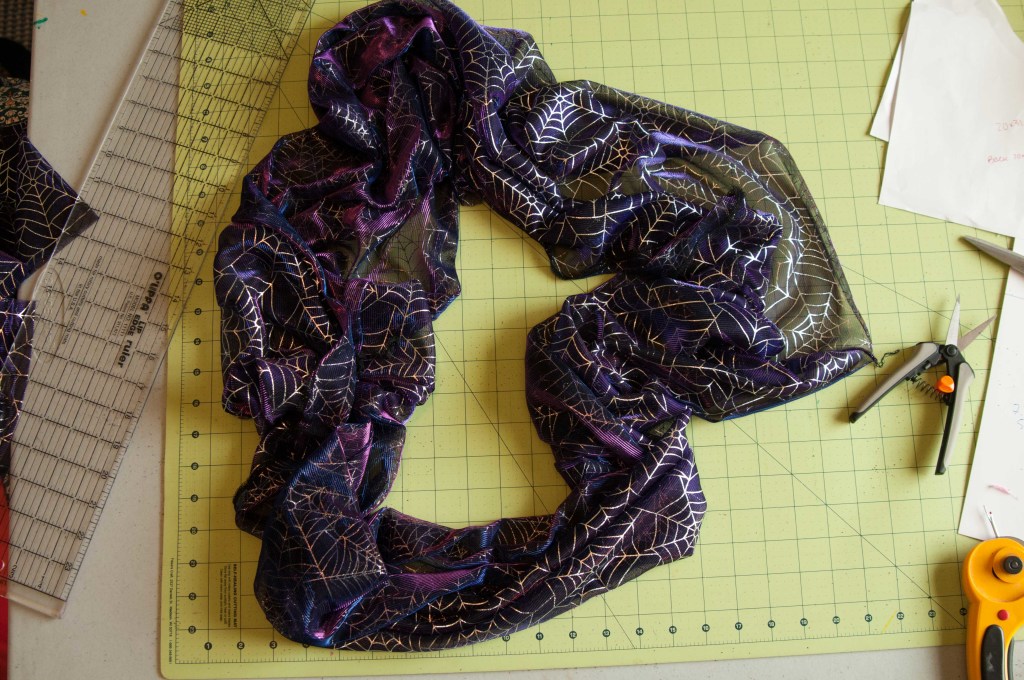
You will hem your overlay – or in my case it was the stretchy shimmery silvery spiderweb Halloween fabric. Say that three times fast! I chose to use the serger and just do a quick run along the bottom of the fabric. This is a costume remember? Now, if you are making a holiday dress or something to be worn a lot, take the time to do a real hem!
Step 11: Now, just like we did last time with the ruffle skirt, you’ll sew the short end together and make a loop.
Then, gather just like the ruffle skirt and pin it to the bodice as indicated in the dress pattern. Be sure to pin the overlay first. You want it to be on the outside of the main skirt fabric. If you want to stop and check your pinning at this point, it is a good idea. I like to give a quick stitch to keep the overlay and bodice together. It can be really difficult to try to keep two gathered layers and a bodice from slipping once you get over to the serger.
Step 12: Now, just follow the rest of the pattern instructions as though the overlay wasn’t there and voila – you have a beautiful witch’s dress! This isn’t quite a traditional witch costume – this dress is way better.
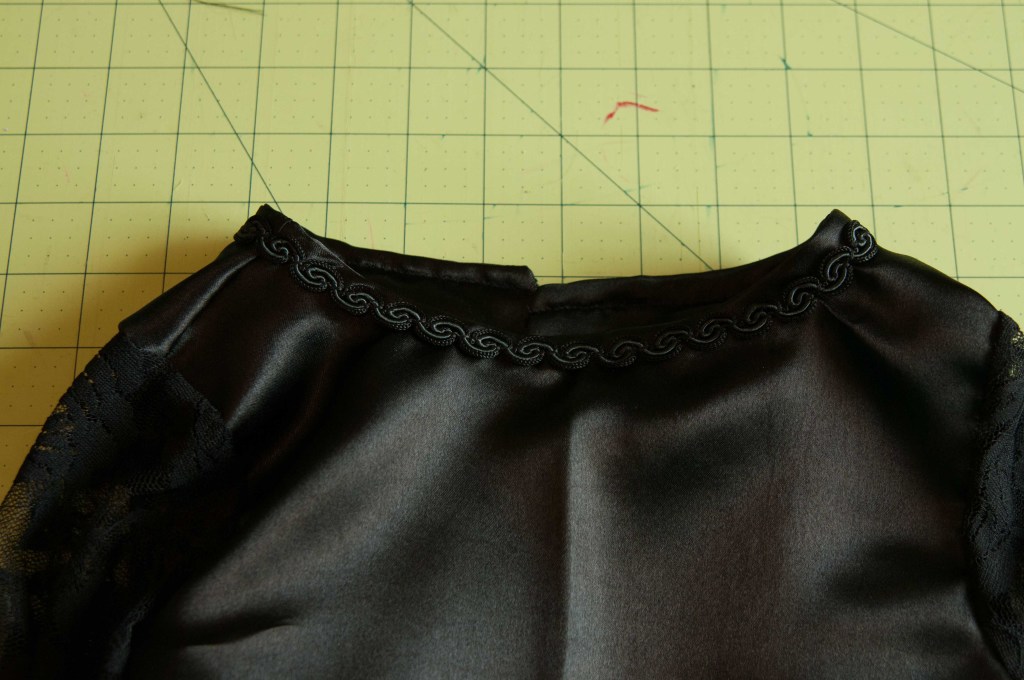
This is a great dress to add embellishments as well. I found some black brocade in the clearance bin and had just enough to line the neckline. I love it when it all just works out and this black witch’s dress certainly did!
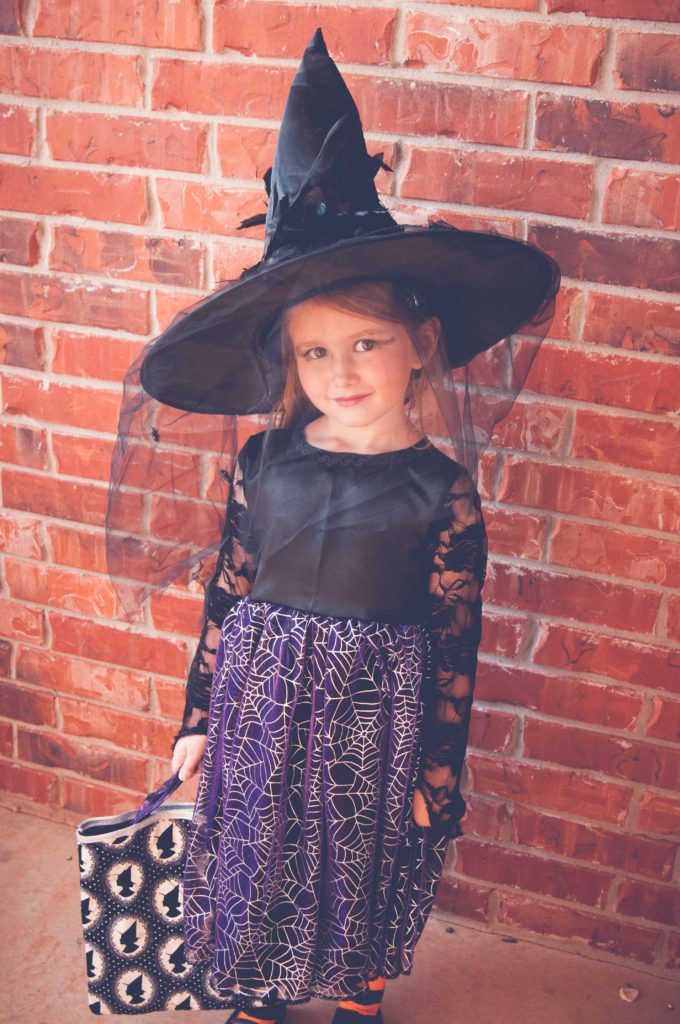
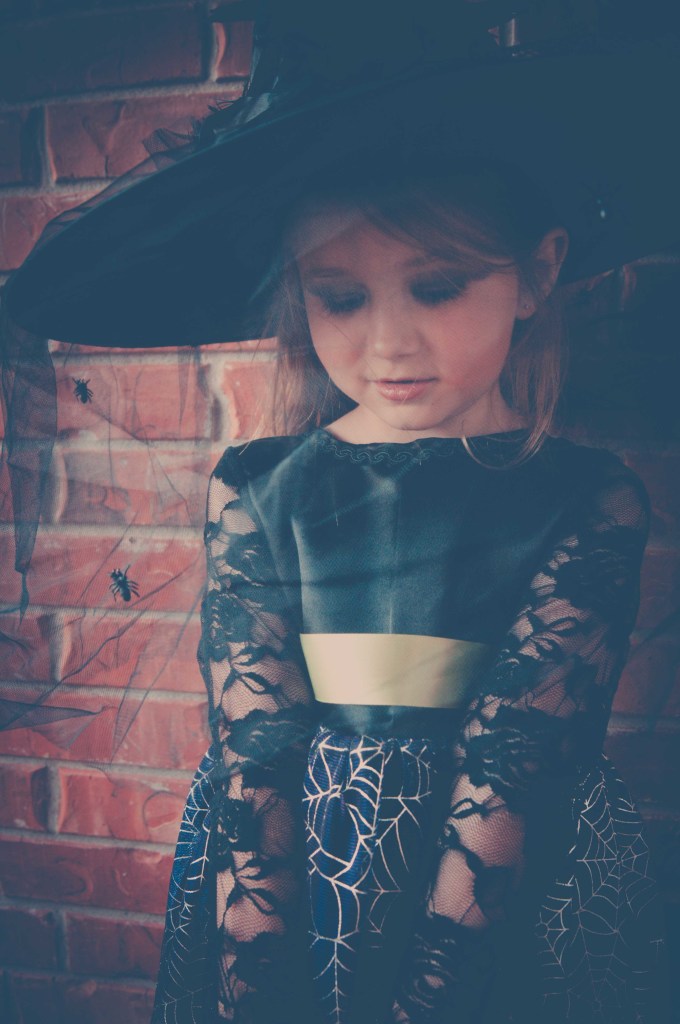
This was my end result for the DIY Witch Costume. As accents to the dress, we picked up striped black and orange stockings at Target. For the witch’s hat, this great black witch hat at the Halloween shop – look closely, the hat has little black spiders!!! Oh and see her matching witch treat bag??? You can make a DIY Halloween treat bag too – a witch bag or something for other Halloween costumes! Here’s the DIY Tutorial!
We added a green satin ribbon as the belt to contrast with the black dress and give a little definition and color. 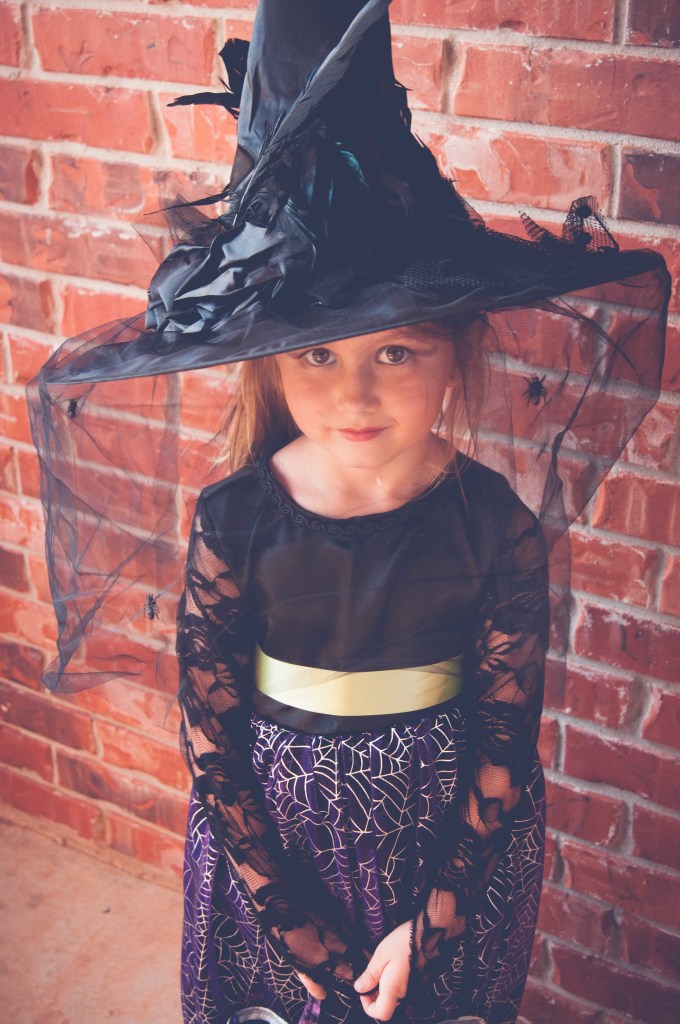
How can I add accessories to complete the look of the costume?
To complete the DIY Witch Costume for Girl, you can add accessories such as a pointy witch hat, broomstick, black boots, spiderweb stockings, and a cauldron-shaped bag for trick-or-treating. These accessories will enhance the overall look and make the costume more authentic and fun for your little witch.
Stella sure knows how to work a witch costume! Thank you for joining us today. I hope you got some good witch costume ideas. It’s certainly not a no-sew witch costume – it’s something far better. Happy Halloween!
xoxo
b.
Thanks to Betty for making this amazing DIY Witch tutorial. We've seen a lot of fun adult witch costume tutorials on Pinterest for the Sanderson Sisters from Hocus Pocus, Sabrina Speelman, or the Scarlet Witch...but nothing is quite as perfect for a DIY Witch Costume for Girls as this tutorial made with our easy to follow patterns. So grab your broom and get ready for a Halloween party. Happy Sewing!
At Peek-a-Boo Pattern Shop we also have an article dedicated to all of the DIY Halloween ideas we have both in the shop and here at Peek-a-Boo Pages. To see all of those patterns and tutorials click HERE. Also be sure to join us on social media by joining our sewing community at the Peek-a-Boo Pattern Shop Facebook Group or following us on Instagram. Happy Sewing!
