Pikachu Costume DIY: Step-by-Step Pokemon Costume Guide
Are you ready to learn how to sew a Pikachu Costume DIY? Last year this time we were just getting to know Pikachu and the rest of the Pokemon crew! But this year, I feel like I have heard nothing but Pikachu and Evie shouted or screamed over and over while they were -battling?. I am still unsure what they do, all I know is that it sounds loud and looks very much like battle scenes. My son requested early on that he wants to be a Pikachu.
Pikachu will be an easy enough DIY Costume with the help of the Ultimate Costume Creator pattern. I can use the pattern as is for the body. I plan to use the Bunny ears from the Wild Thing Hoodie with a little bit of modification to be Pikachu Ears. The contoured tail of the Ultimate Costume Creator pattern can be straightened out to make it into a Pikachu tail. So let us get sewing!Pikachu will be an easy enough DIY Costume with the help of the Ultimate Costume Creator pattern. I can use the pattern as is for the body. I plan to use the Bunny ears from the Wild Thing Hoodie with a little bit of modification to be Pikachu Ears. The contoured tail of the Ultimate Costume Creator pattern can be straightened out to make it into a Pikachu tail. So let us get sewing!
 |  |
Pikachu Costume DIY Supplies Needed
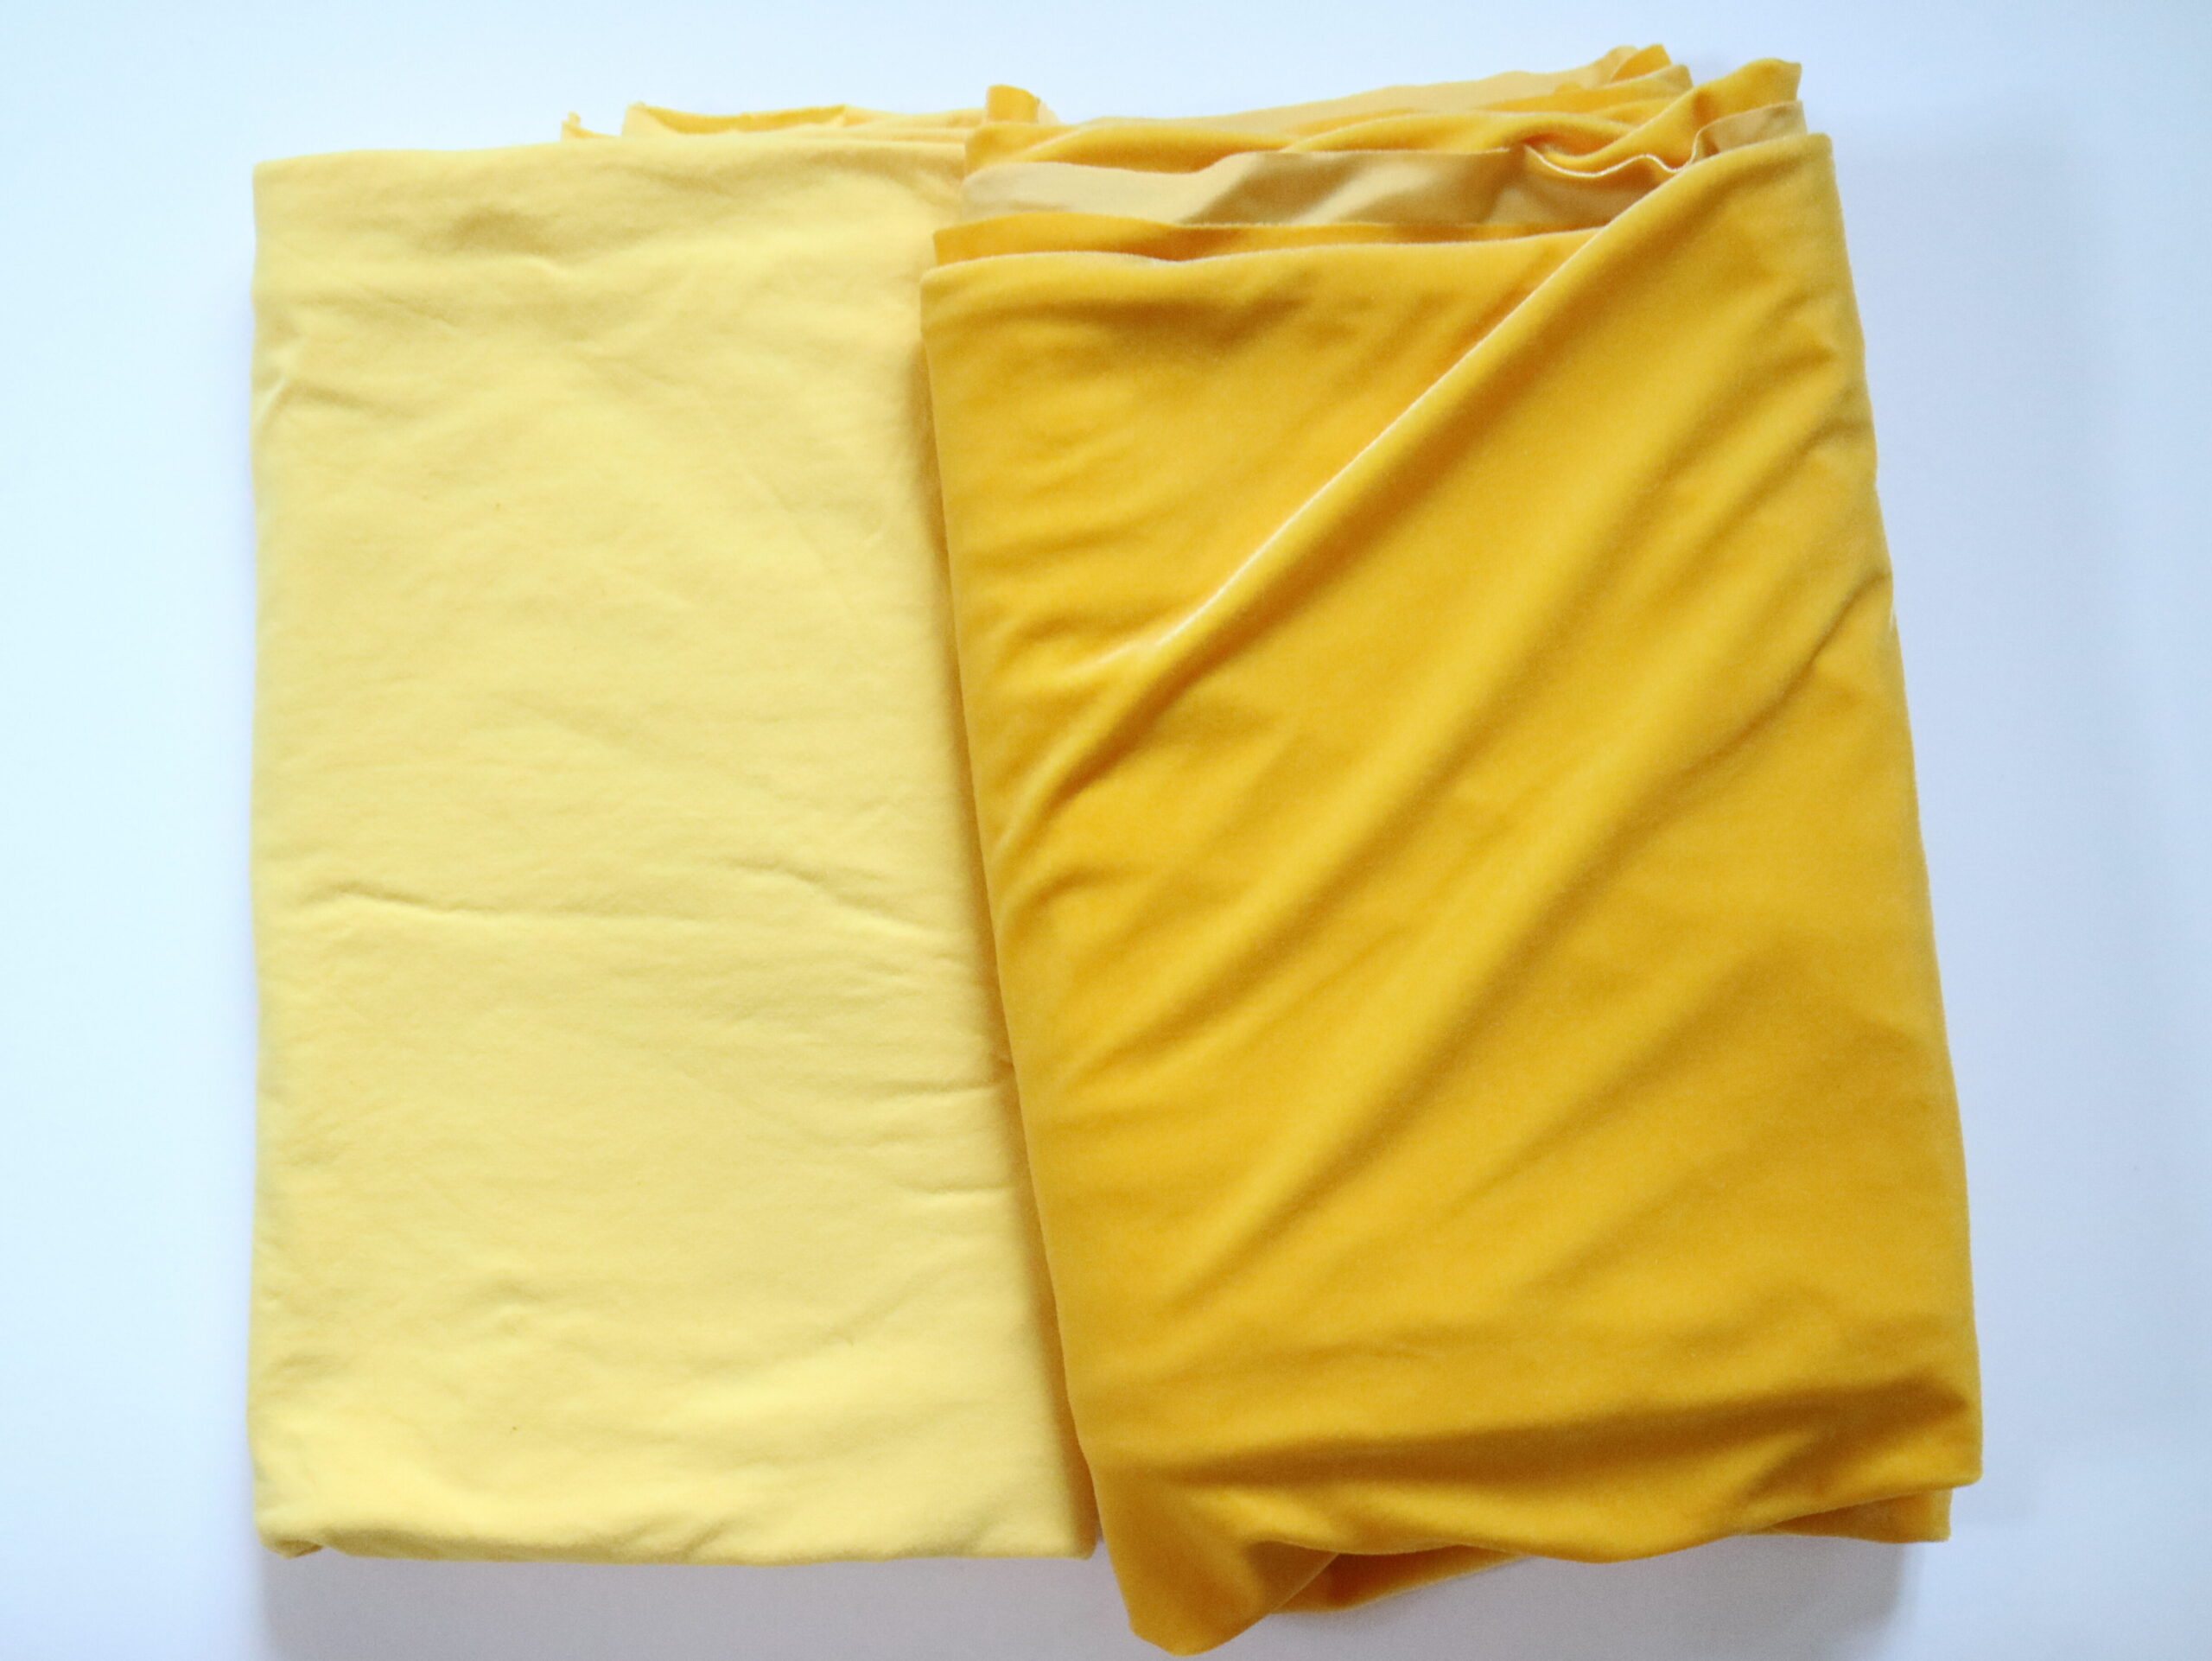
- I have got this light yellow Cotton Lycra and the Yellow Stretch Velvet Fabric for the body of the Pikachu. I also have black and brown Velvet fabric to use at the tip of the ears and details on the tail and stripes. You could use yellow felt , yellow fleece, or other yellow fabric if you have it lying around.
- Yellow Thread
- We also need a zipper for the opening.
- Poly fil and Interfacing for the tail and ears and also for adding the details if we choose to add that.
- Sewing Machine / Sewing Supplies
Pikachu is one of the simpler ones to create a costume out of. But one of the requests that my son had was that it doesn’t look exactly like the store bought ones. He just meant he didn’t want the eyes and mouth details added to the hood of the costume.
Cutting out the Different Pieces
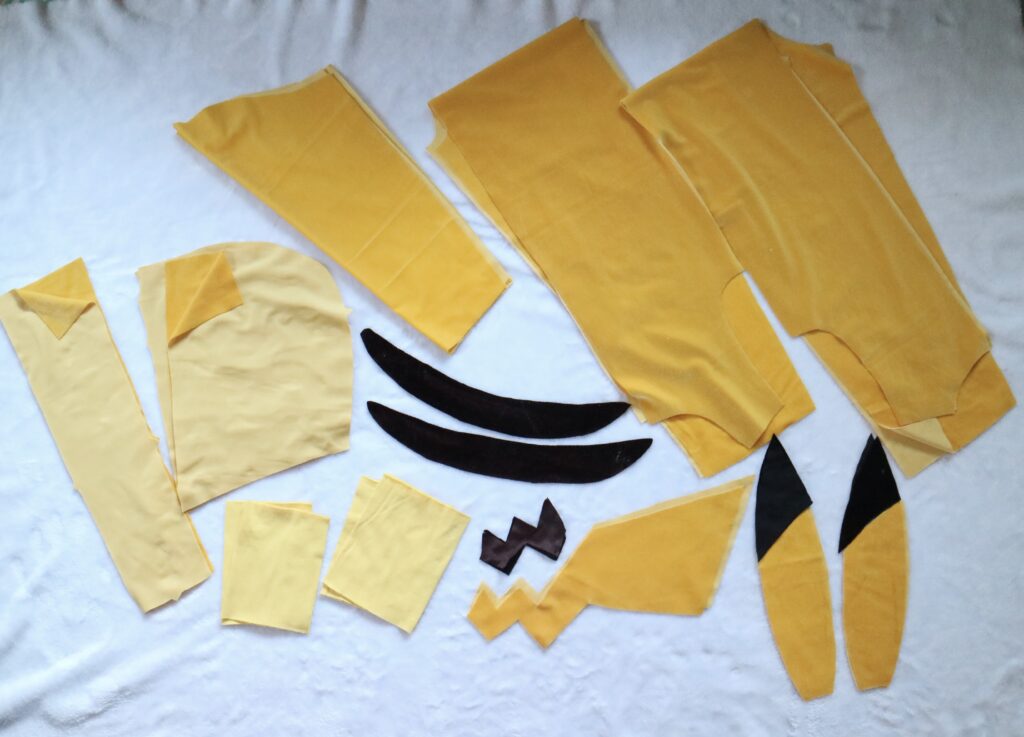
Let us start with the pattern pieces. I used the Ultimate Costume Creator Pattern for the body of the costume. Following the pattern instruction, cut out the front and back bodices in mirror image. Make sure to transfer the tail position notches on the back bodice piece. You will also cut out the long sleeves and the cuffs for the sleeves and legs, if you are doing the cuffed version too.
I used the Hood from the Wild Thing Hoodie pattern. I thought that the Bunny ear template and the center panel hood would be easier, but while I was finishing the ears and looked at the pictures I realised the Front panel hood would be a better choice after all. So my suggestion is to use the Costume Creator Hood itself. But I will be using the other hood that I cut out.
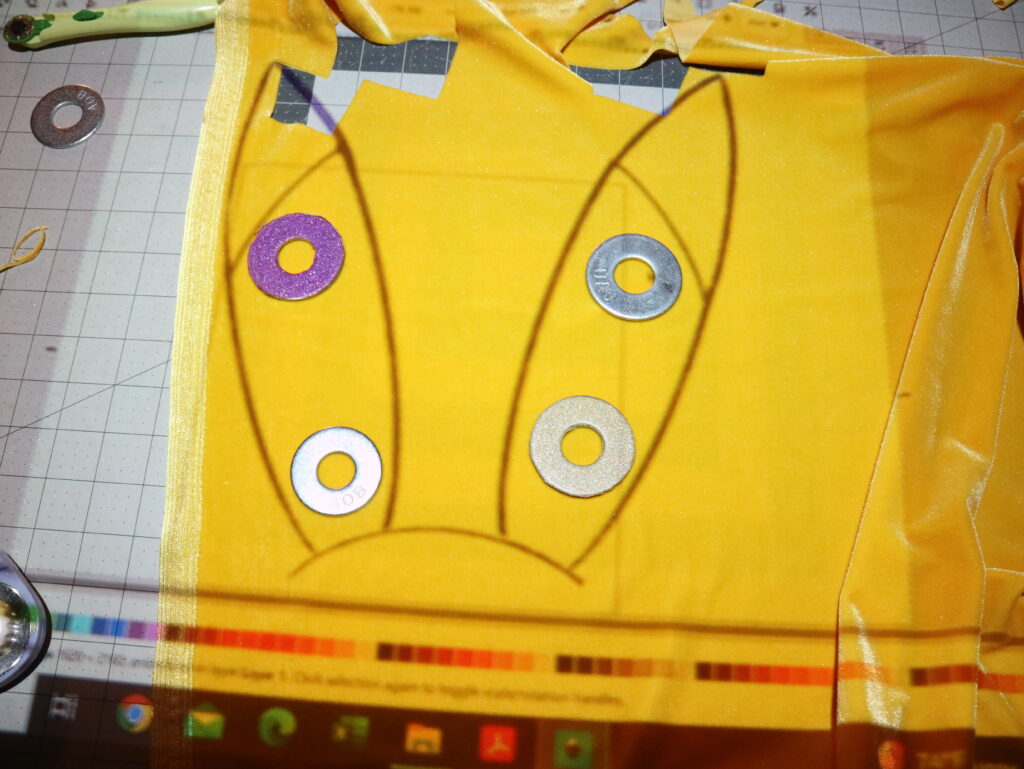
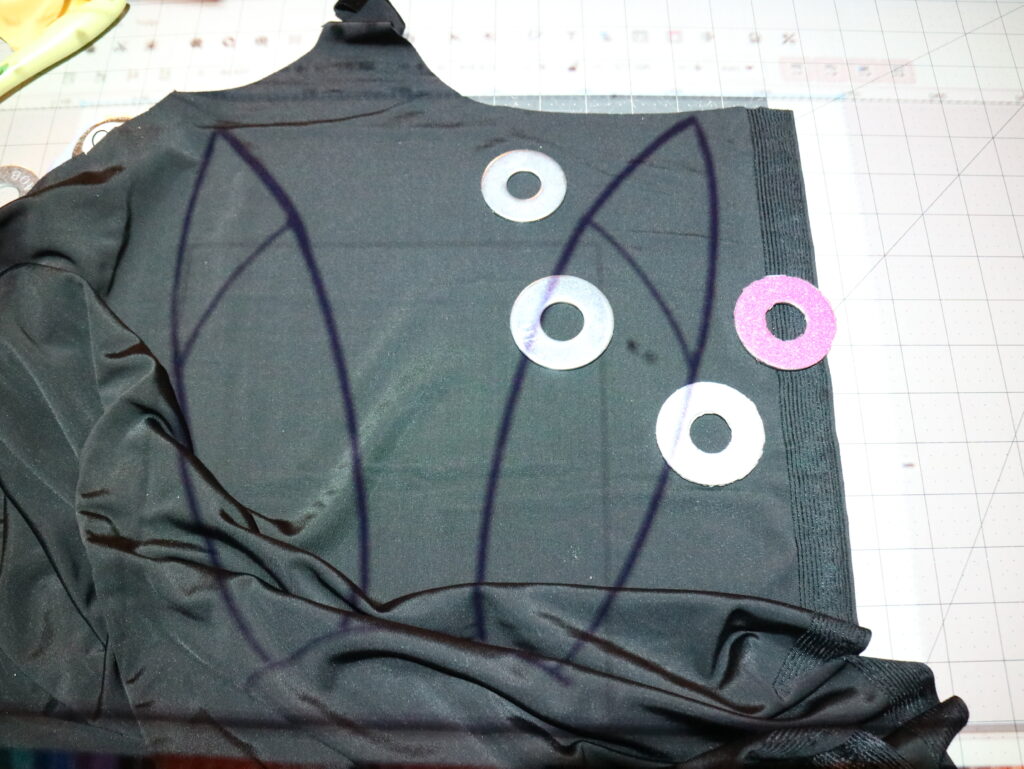
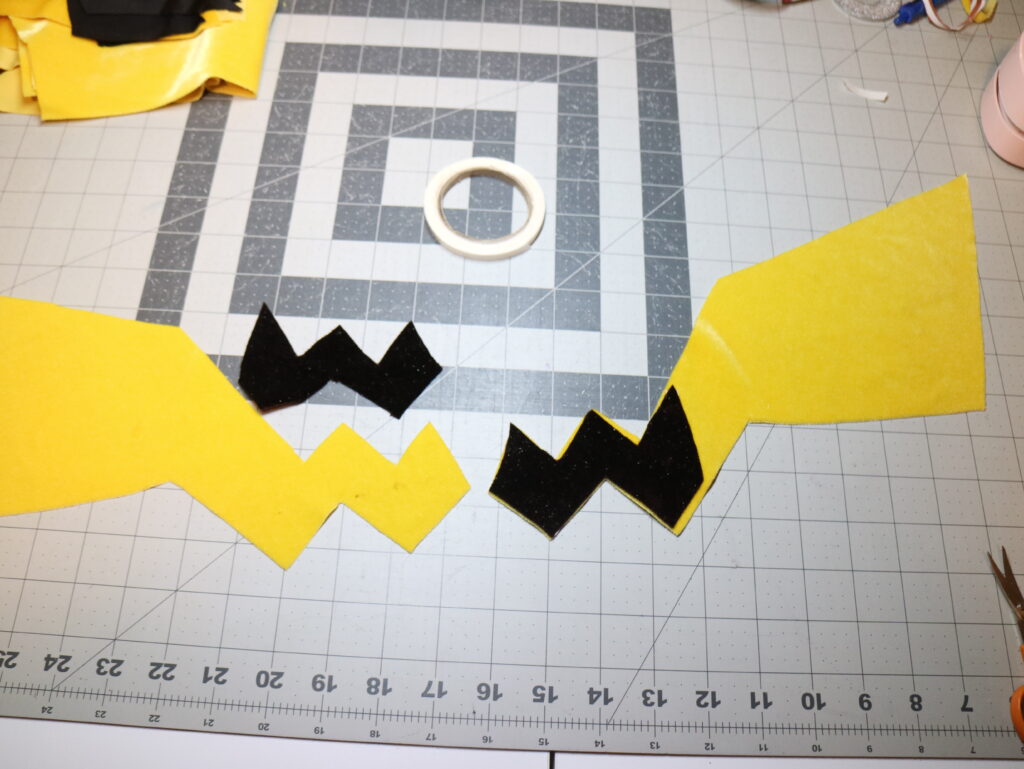
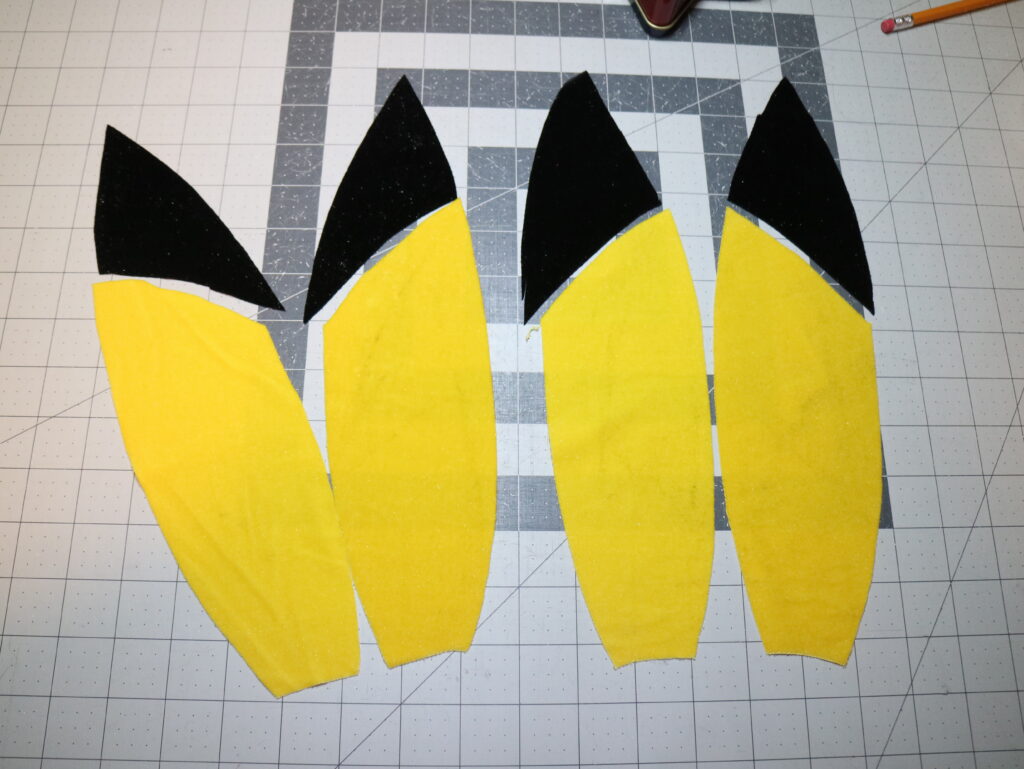
I drew the ear, the tail and the stripes on the back templates using the procreate drawing app and transferred it and used it with my projector to cut out the pieces. For the ears, cut out two sets for each ear as mirror images in the yellow for the bottom halves and black for the top points. make sure to add seam allowance when you cut out the pieces. I didn’t separate the pieces as it easy enough for me to cut out including the seam allowance.
 |  |
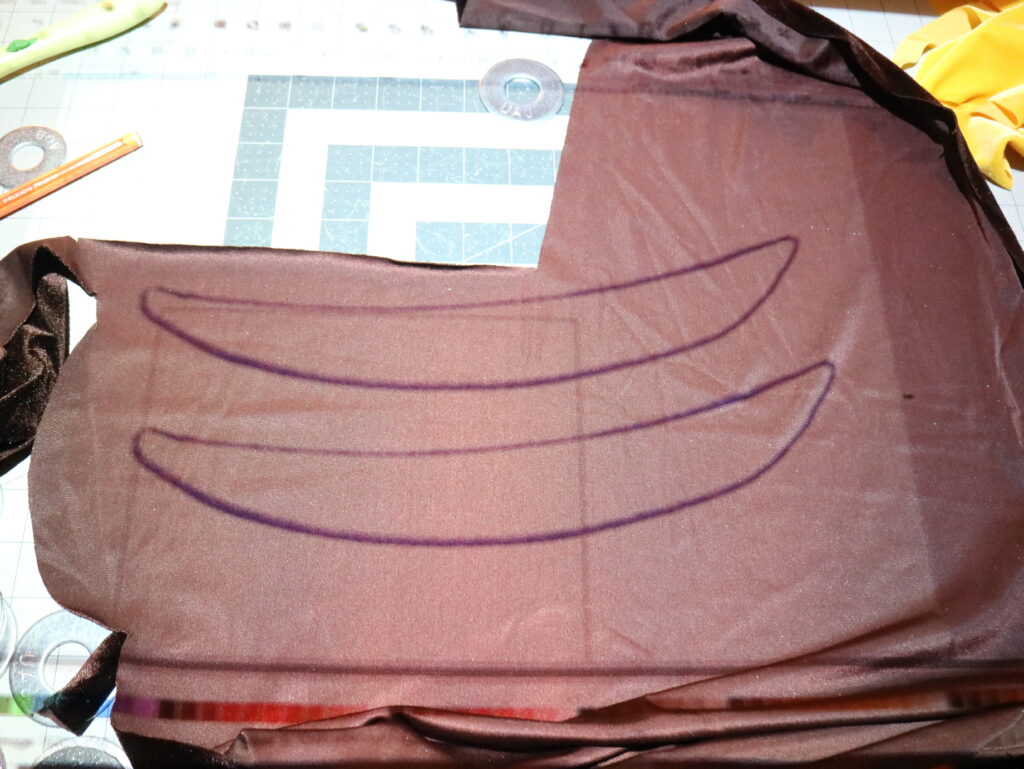
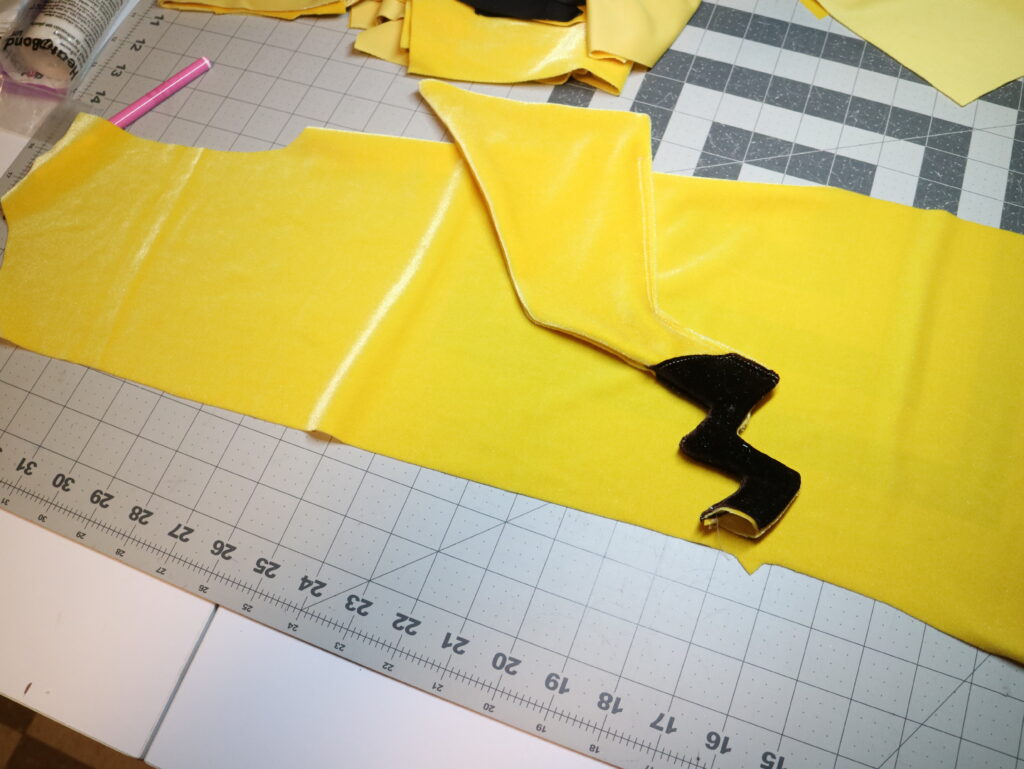
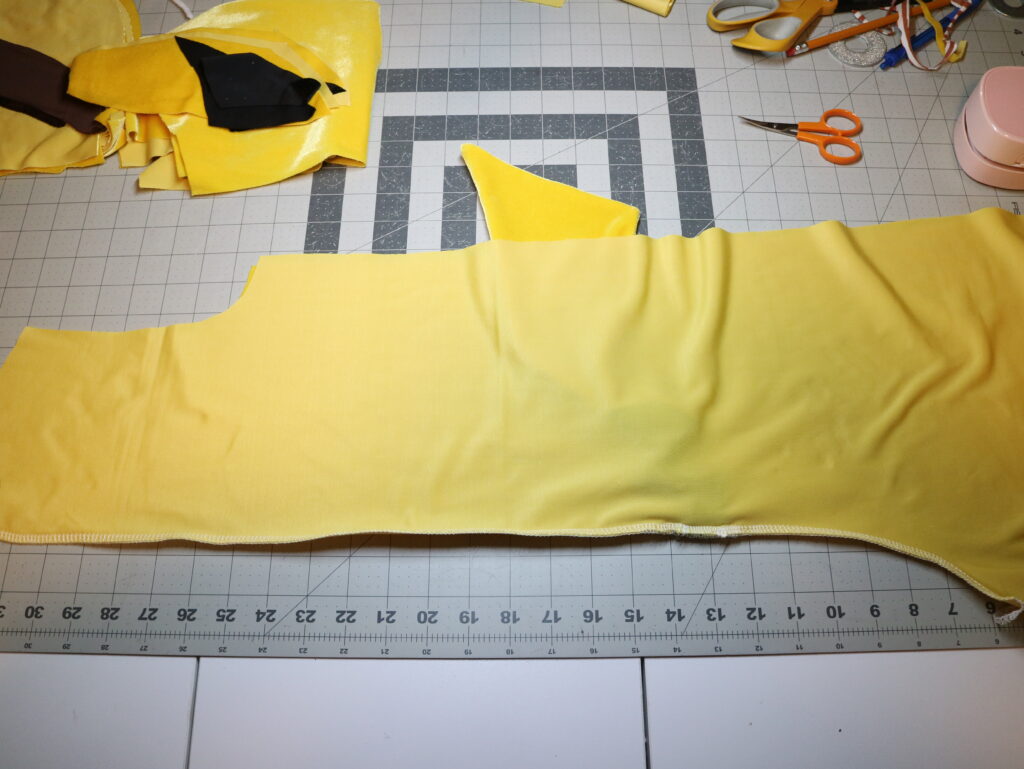
For the tail, I did the same thing, cut out two tails in the yellow fabric as mirror images. This is very important or you won’t be able to match the tail pieces when we are finishing the tail. I also cut out the a brown piece to the bottom W shape of the tail. For the stripes on the back, I only cut out one piece each. I will be appliqueing the piece on to the back.
 |  |
Sewing the Costume
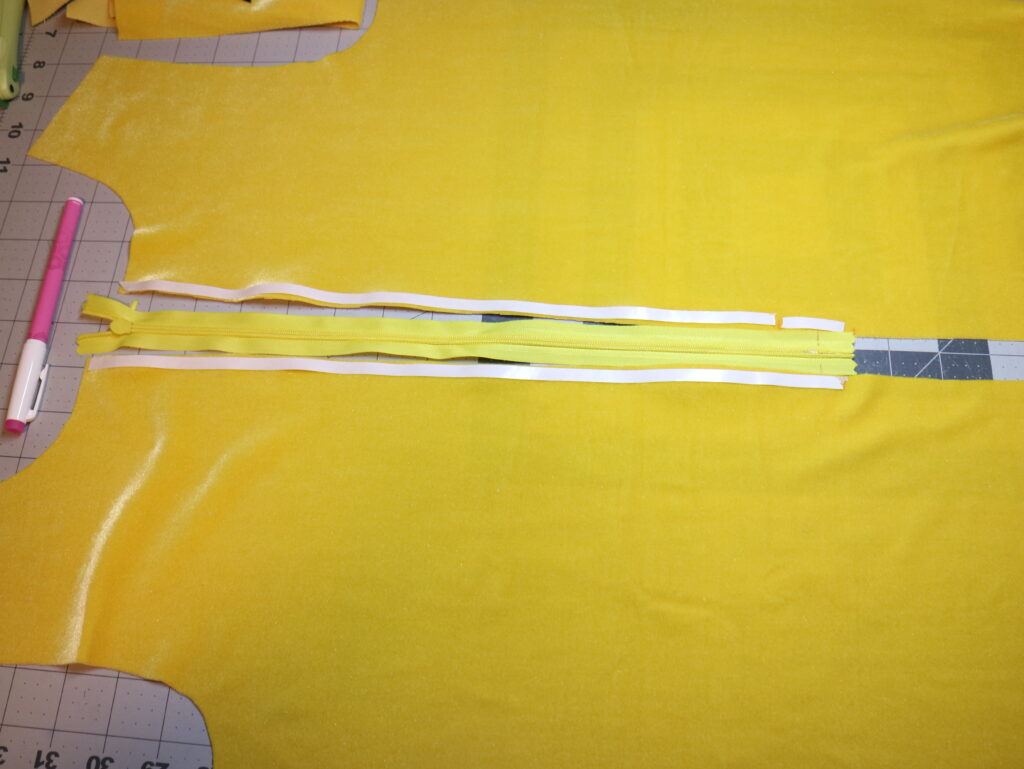
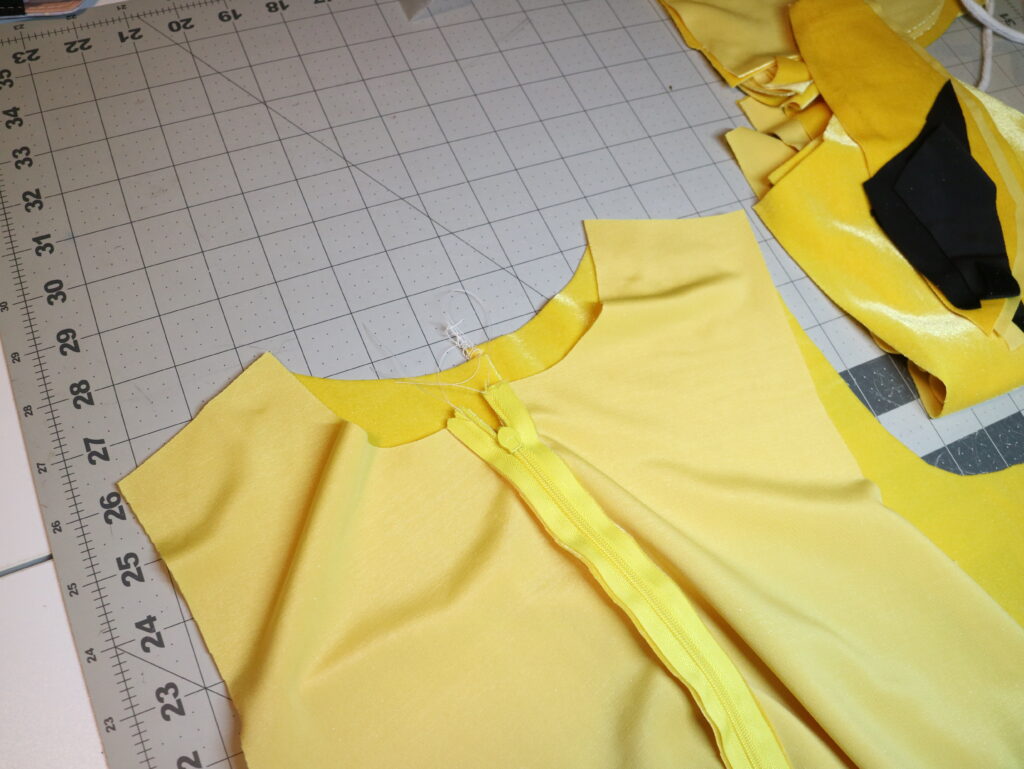
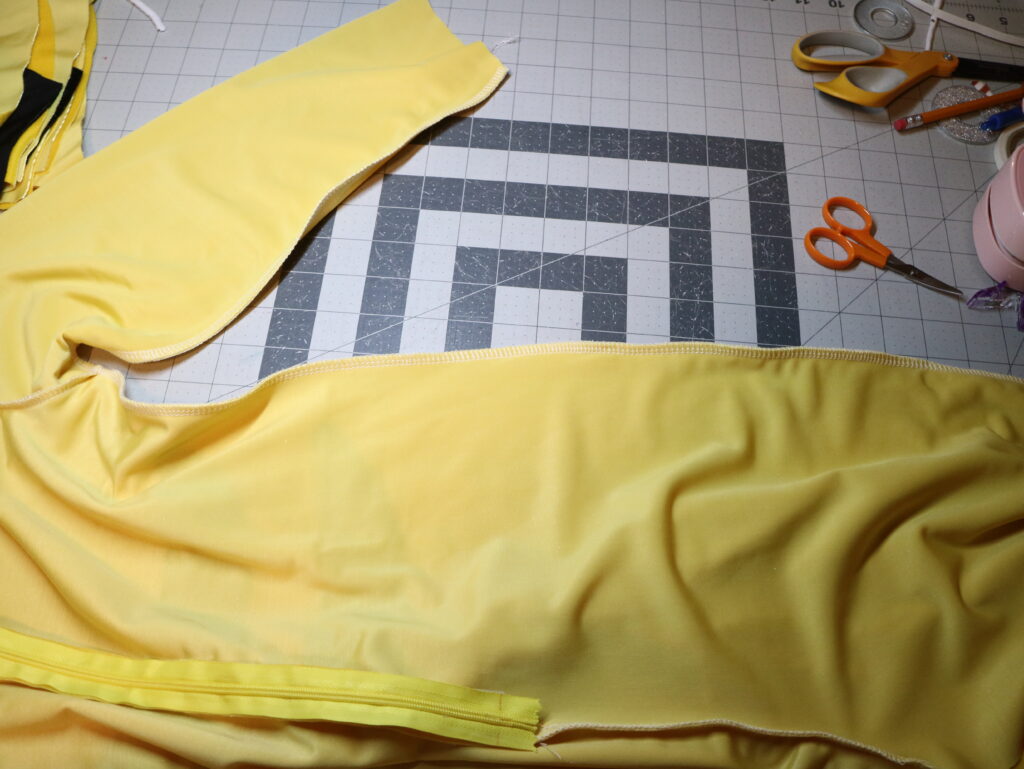
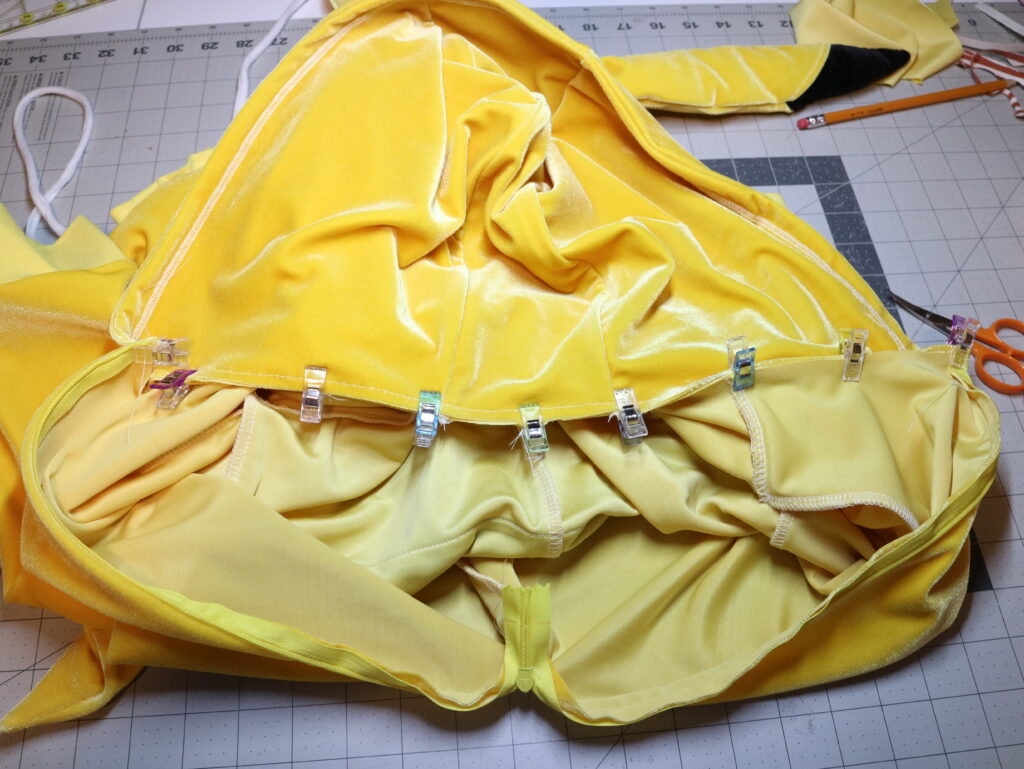
Sew in the zippers on the front bodice opening following the instructions in the pattern. I am using an invisible zipper, so I didn’t follow the centralized installation mentioned in the pattern. As you can see, using hem tape to hold the zipper in position makes sewing with this stretchy slippery stretch velvet easier.
 | 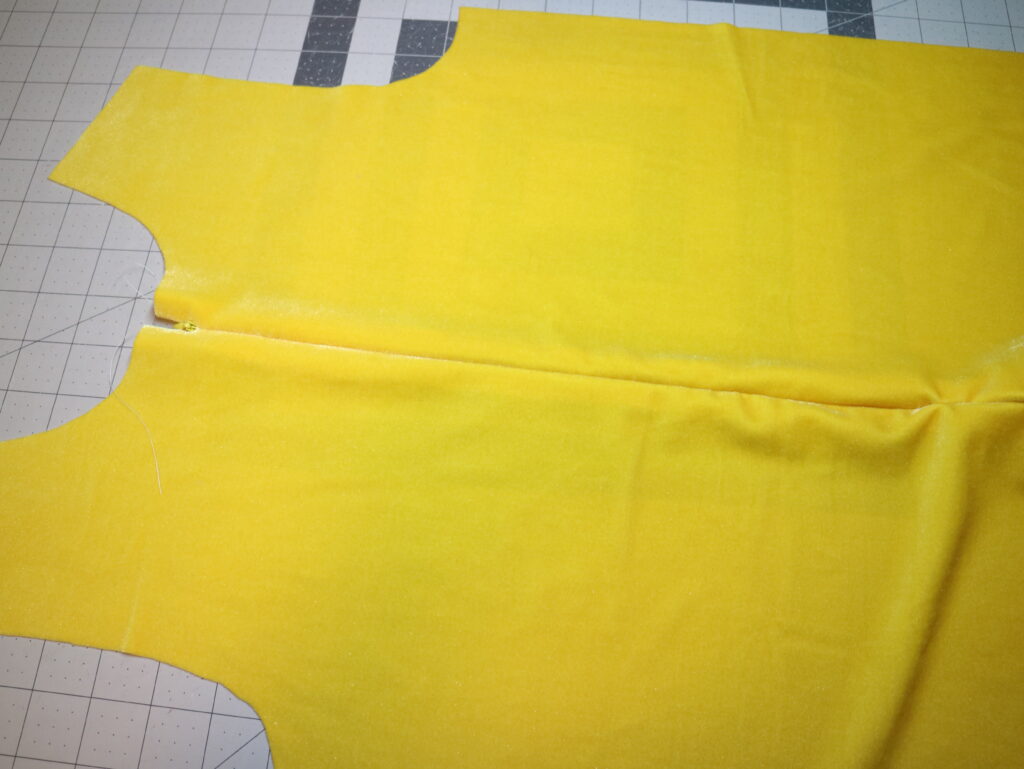 |
Finish the front curve of the bodice once the zipper is installed. And set aside the front bodice while you work on the back bodice and the tail.
Next is preparing the tail piece. Lay out the tail pieces right side up. Lay the brown applique pieces at the bottom of the tail and baste them in place. Now place both the tail pieces on top of each other right sides together and sew around carefully making sure to pivot and turn at each of the corners. Trim down the seam allowance and carefully snip the corners and turn them right side out.
You can top stitch it if you would like, as you can see, I started but decided against it. You can fill the tail with a little bit of poly-fil for texture and a little bit of structure. I skipped on filling with poly-fil as my Son had to wear the costume all day long at school and had to be in car seats. But I think the tail can take some poly-fil without causing any discomfort to the wearer. Align the tail on one side of the back bodice with the tail notch. Baste in place.
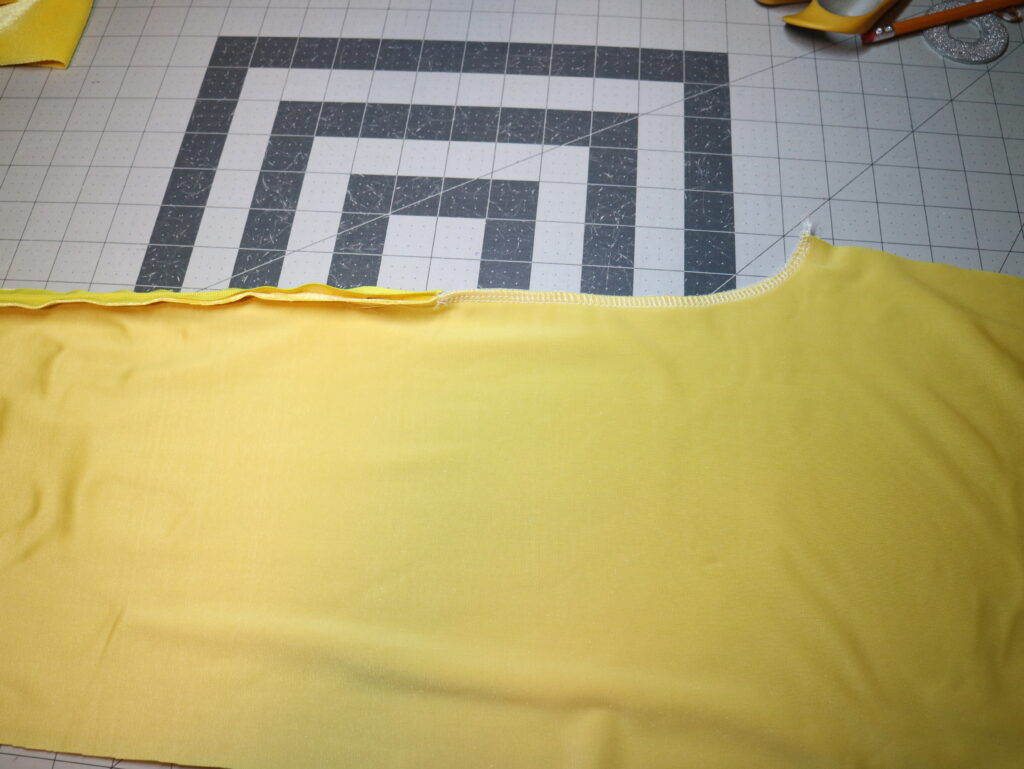
Place both back bodice pieces right sides together sandwiching the tail between the pieces. Sew down the top curve.
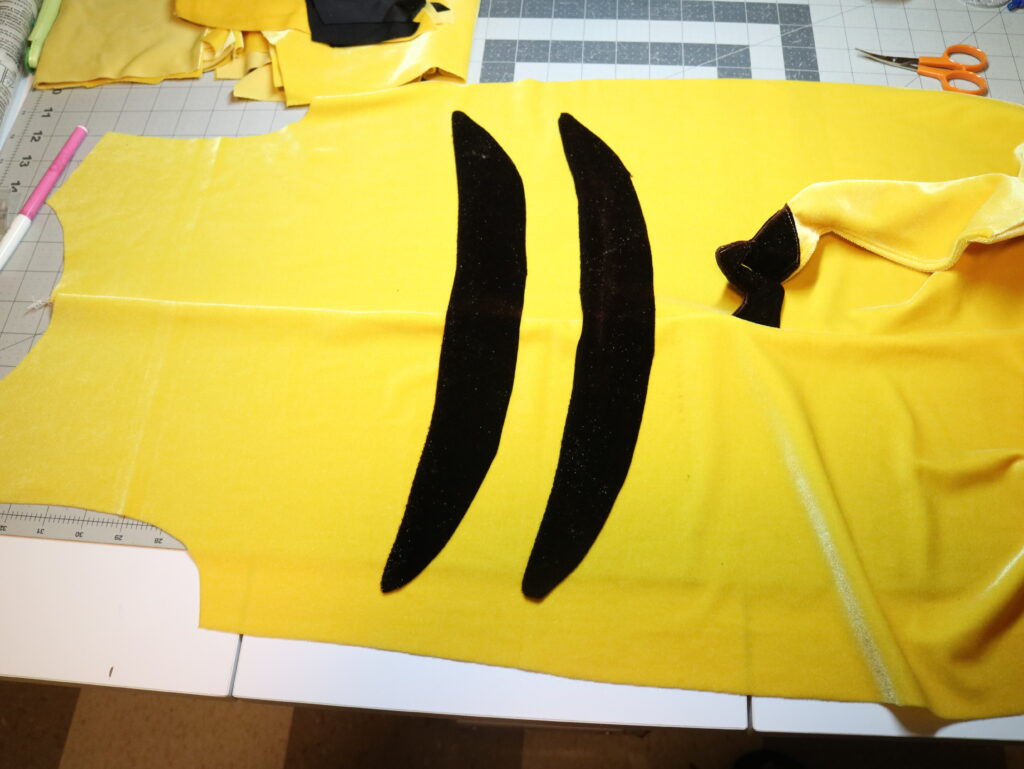
Now open up the back bodice and lay the stripe pieces on top of it and applique in place. I used the double sided hem tape rather liberally to hold the pieces in place while I appliqued the pieces in.
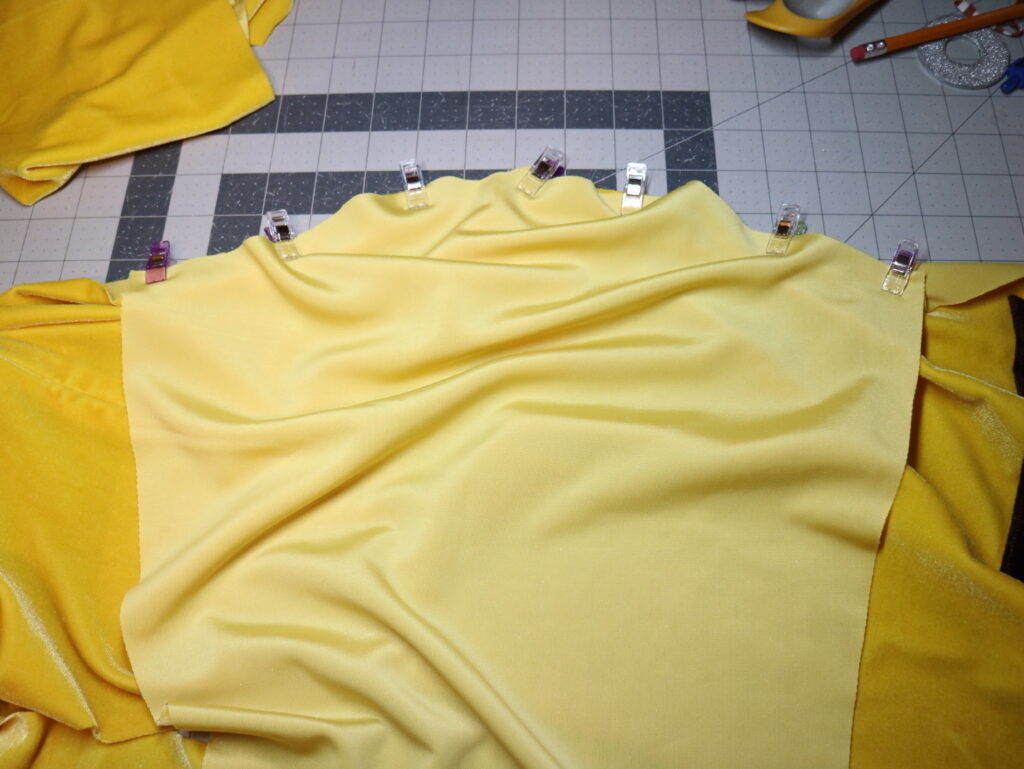
Place the front and back bodice pieces right sides together aligned at the shoulder and sew the shoulder seams.
Open up the bodices and place the sleeve on the sleeve curve aligning the center of the sleeve with the shoulder seam and the sleeve ends to the armscye tips and slowly easy it in. Sew both sleeves on.
With right sides together sew down the side seams from the sleeves till the tip of the leg hem. Since I planned to tack down the tail so that only the tip will be visible from the fr ont and the tail won’t hang limply behind, I opened up the bodice after sewing down one side and tacked the tail down by stitching in the ditch at the top and bottom of the tail only. Finish the other side of the outfit too.
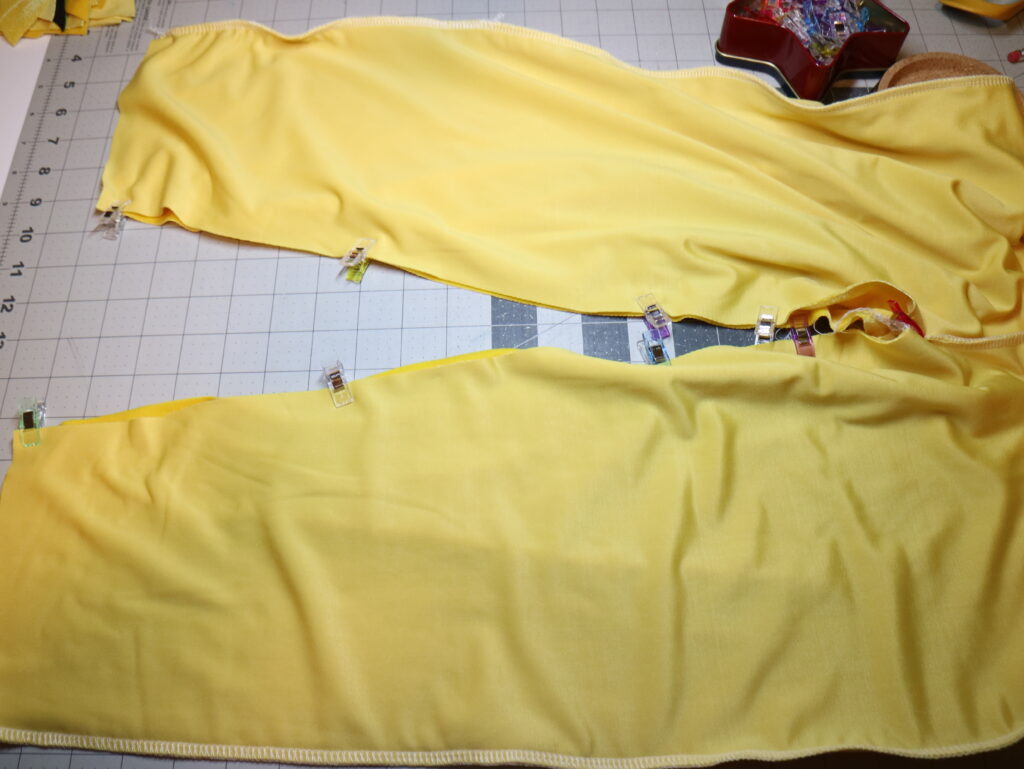
Next we will sew the inseams together. Laying the bodices right sides together and aligning the raw edges together matching the center seams.
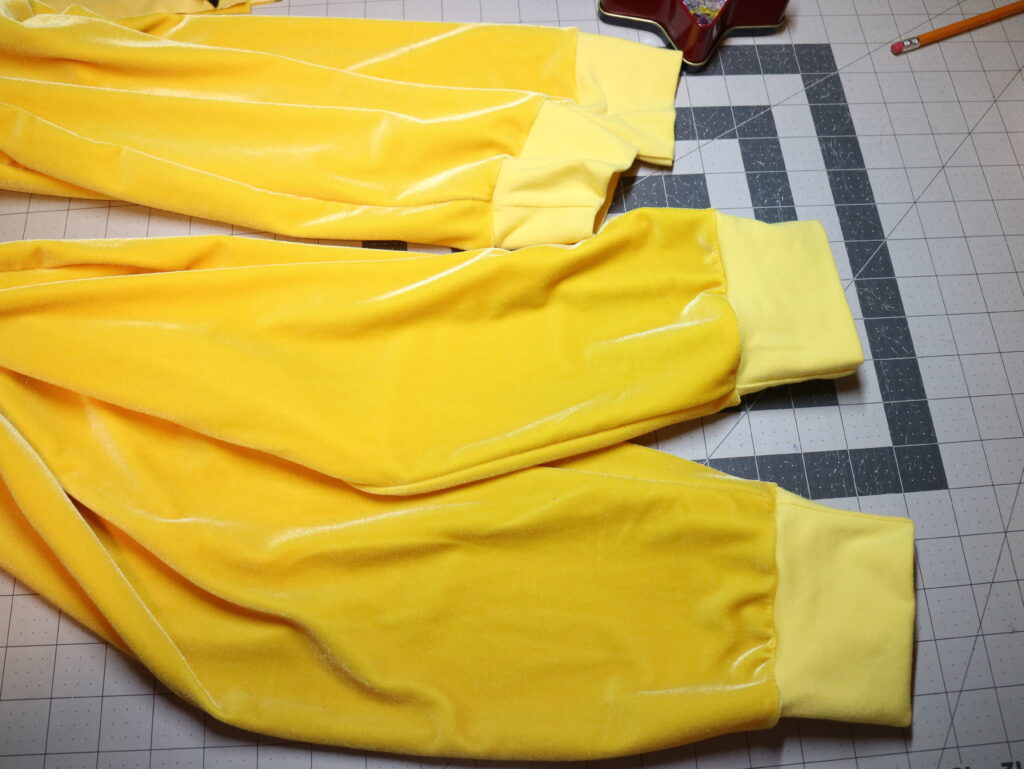
Fold the cuffs right sides together and sew together creating a cylinder and fold them encasing the seams inside, creating our cuffs.
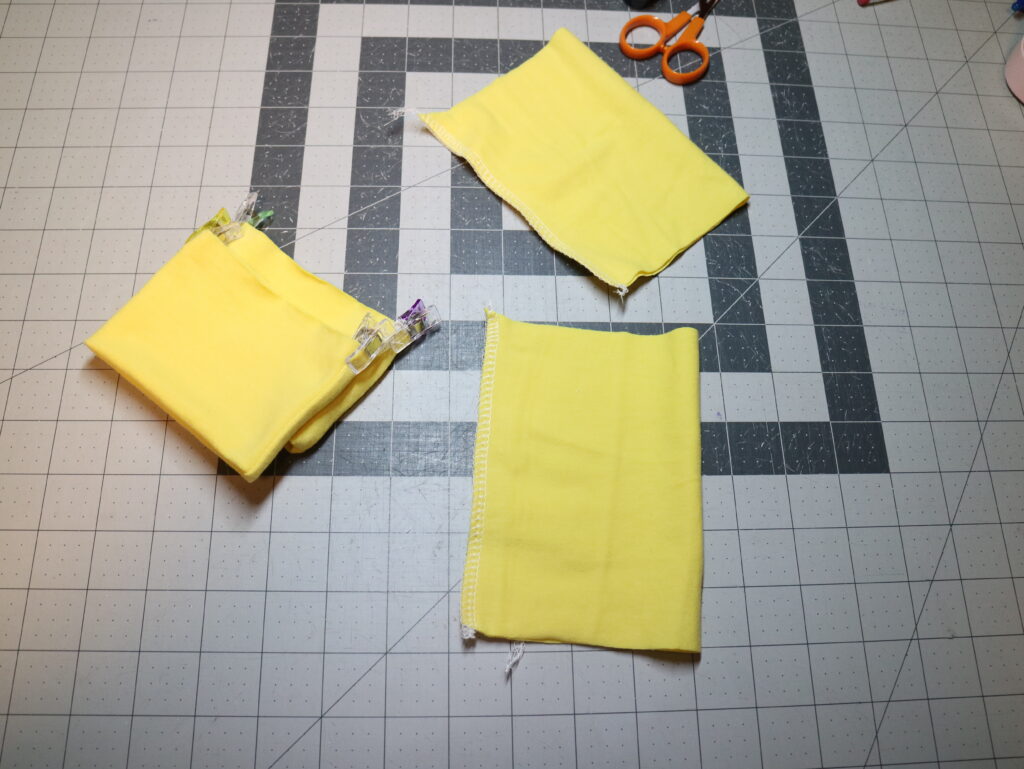
Match the seams and raw edges, sew in the cuffs to the respective sleeve and leg openings.
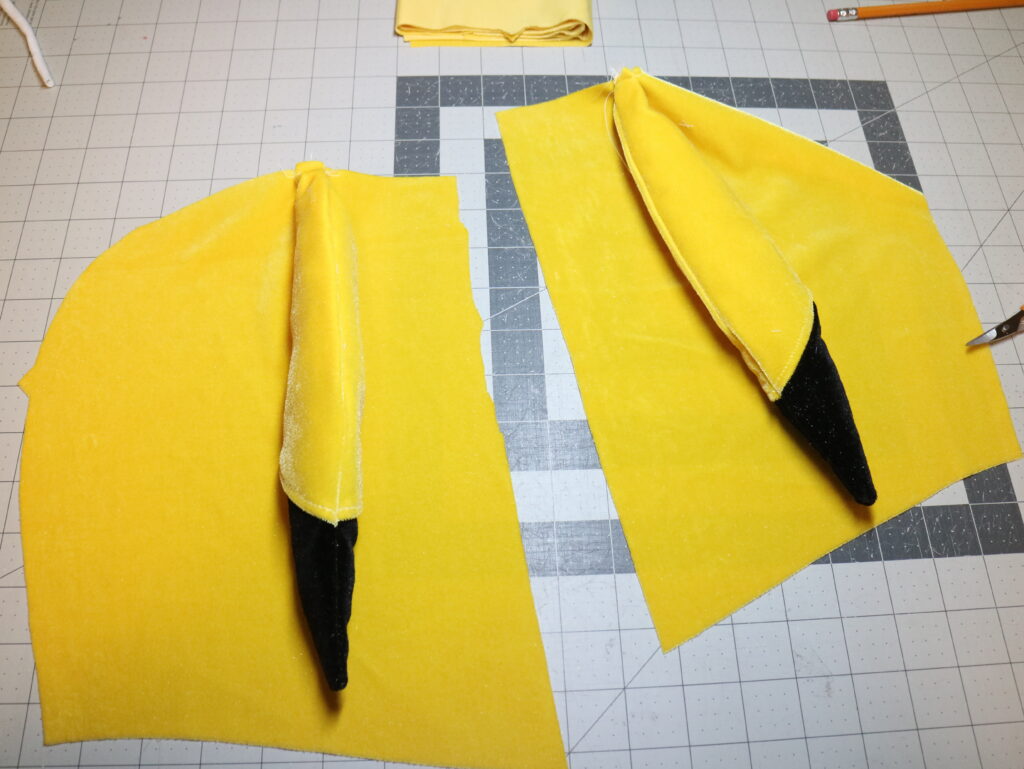
Now that the body is ready, let us work on the hood piece. Starting with the ear pieces. Lay out the ear pieces making sure that there are 4 ears, two sets each.
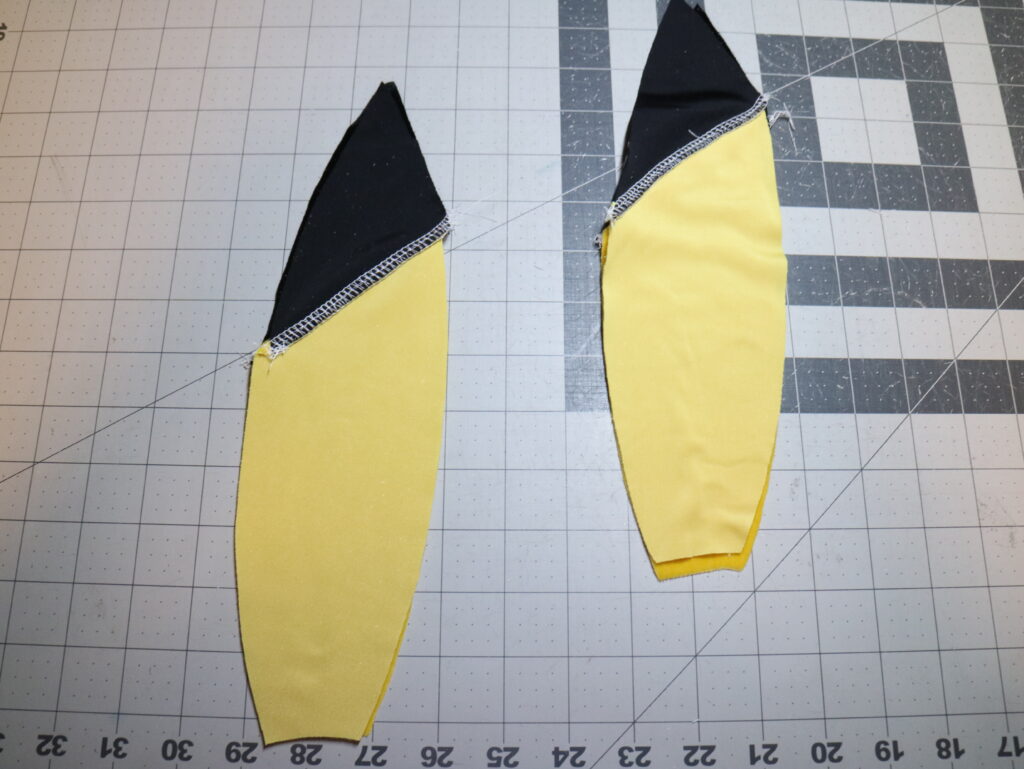
Sew the black tip of the ear to the yellow bottom of the ear on all 4 pieces. Topstitch the seam allowance down if you prefer.
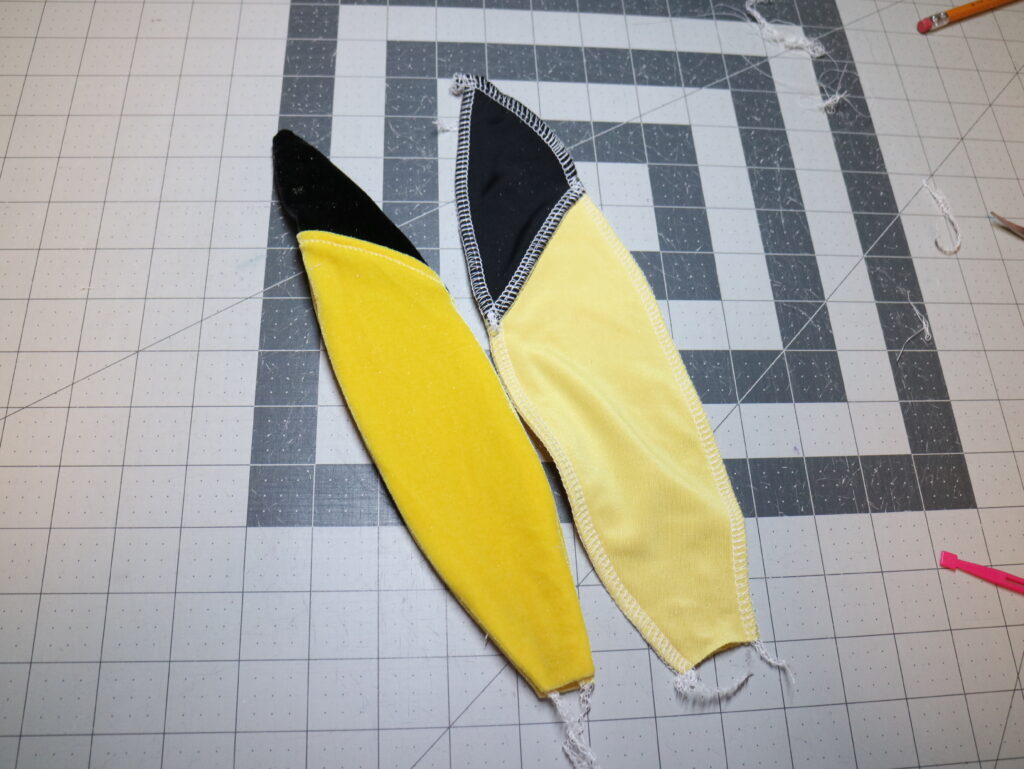
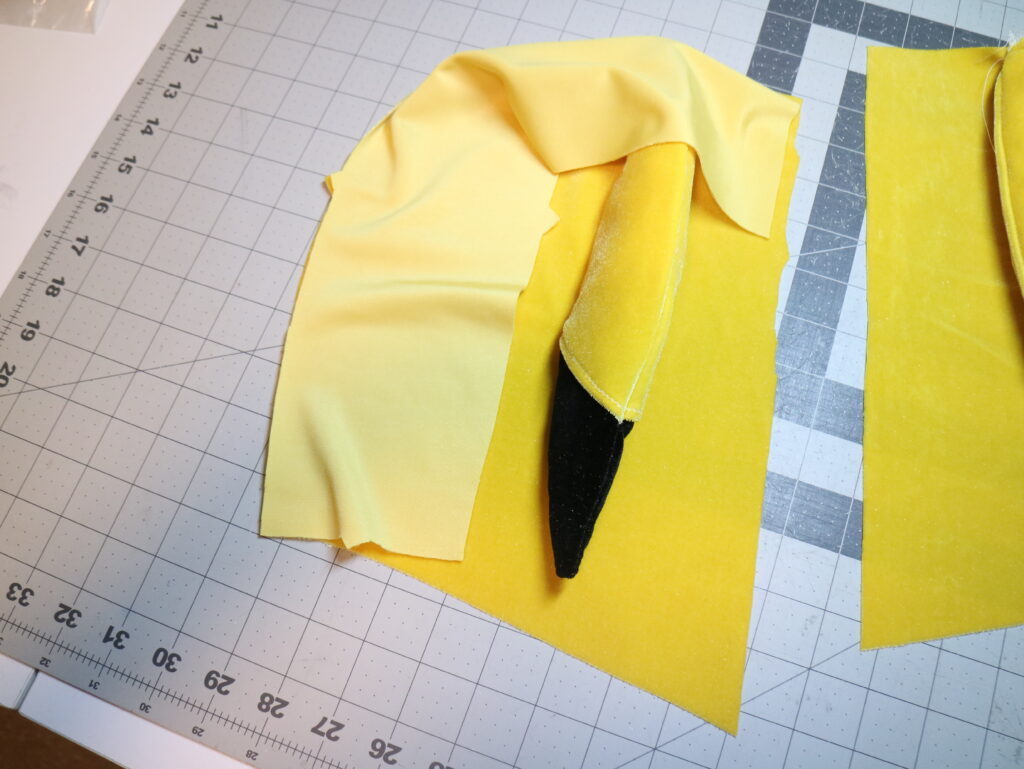
Place the matching mirror image ears right sides together and sew around, making sure that the color blocking seams match up. Clip the corner and turn right sides out.
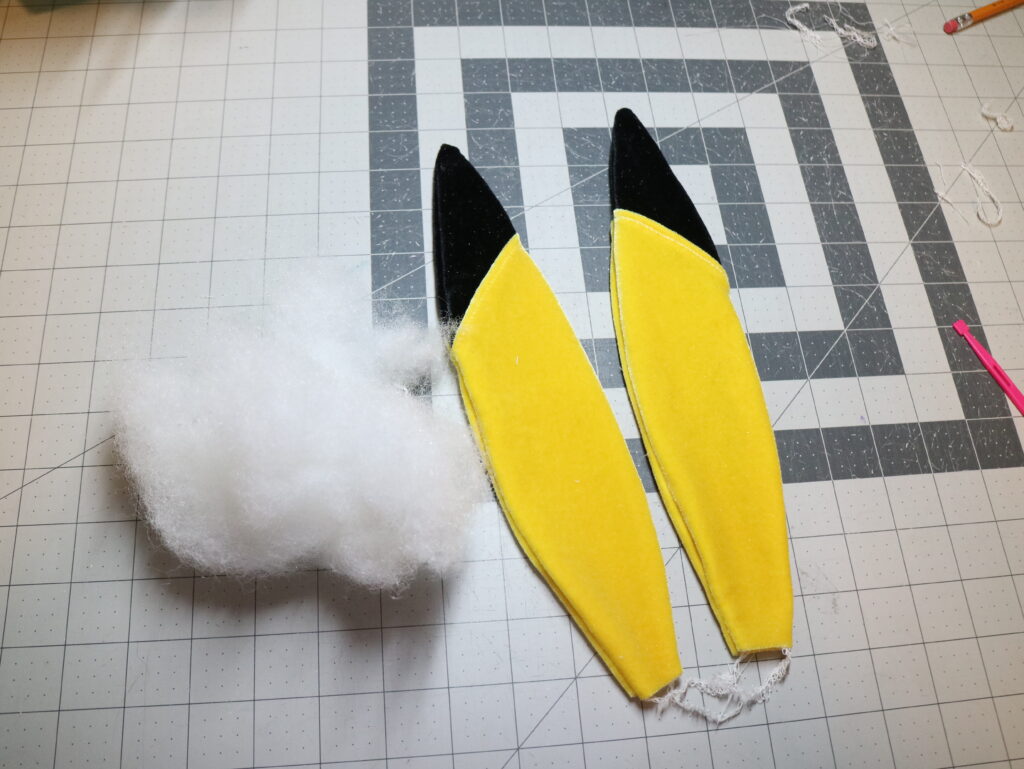
For the ears I lightly stuffed with poly-fil, just enough to give it a texture.
Take the Left and Right main Hood pieces and place the ears at the marked notches. Baste them in place. I lightly folded the bottom of the ear so that the front of the ear will face out. This is where I meant the front panel hood might have been a better choice than the center panel hood.
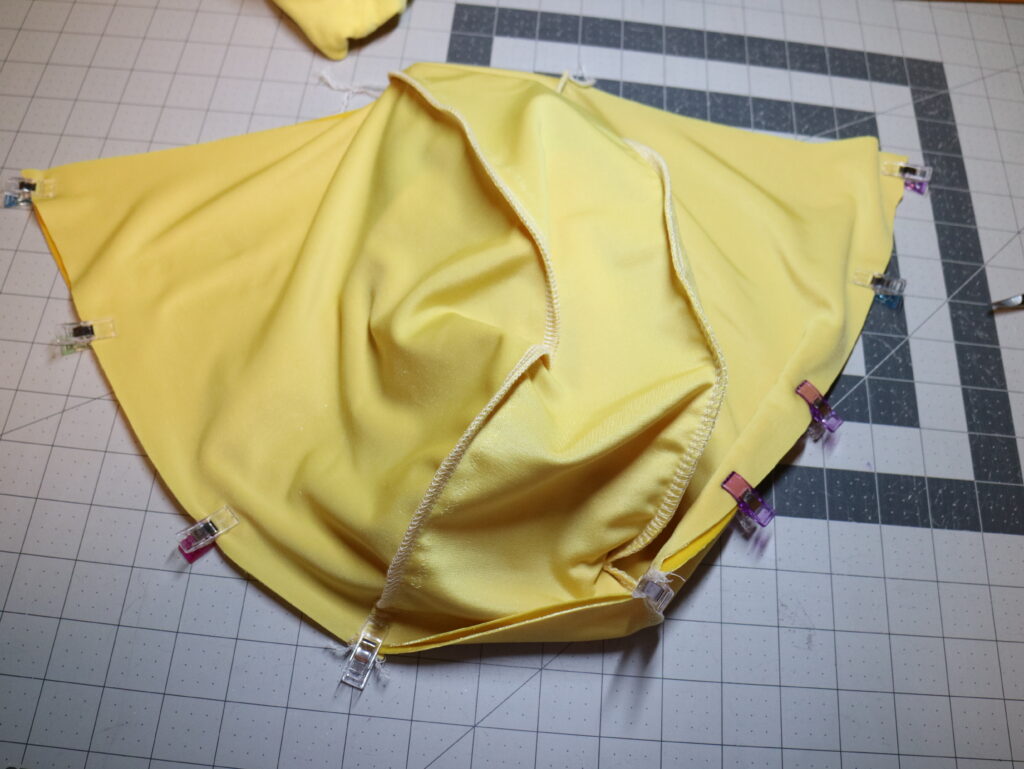
Place the center panel of the hood over one of the Hood main piece matching the raw edges and notches and sew in place.
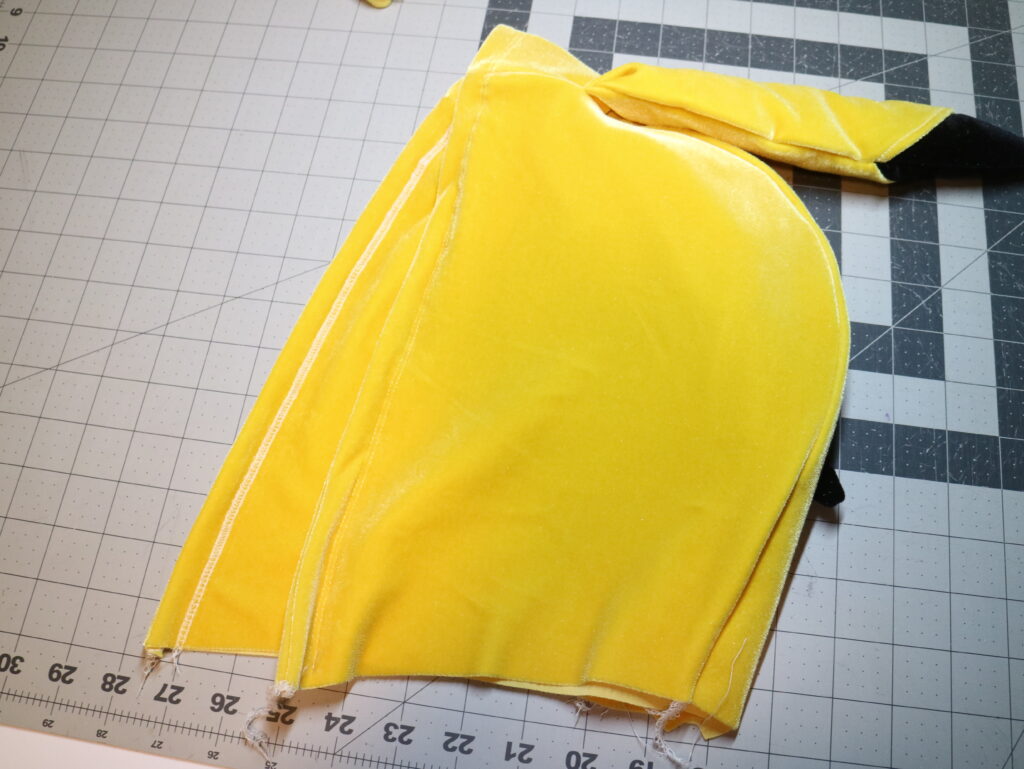
Place the second hood main side piece on to the other side of the center panel we just finished sewing. This will create the main hood piece. Repeat these steps for the lining piece as well. Now place the main and lining hood pieces right sides together and sew along the front raw edges.
Turn the Hood right sides out and top stitch about a half inch from the edges.
You can baste the hood along the raw edges of the bottom at this point if you find it easier. Aligning the raw edges of the hood to the raw edges of the neckline and matching the center of the hood to the center of the back bodice and the ends to the neckline. Sew the hood onto the neckline. Flip and top stitch the neckline.
My son wanted the red cheeks to fall where his cheeks were, so I sew in the red circles on to the side of the hood.
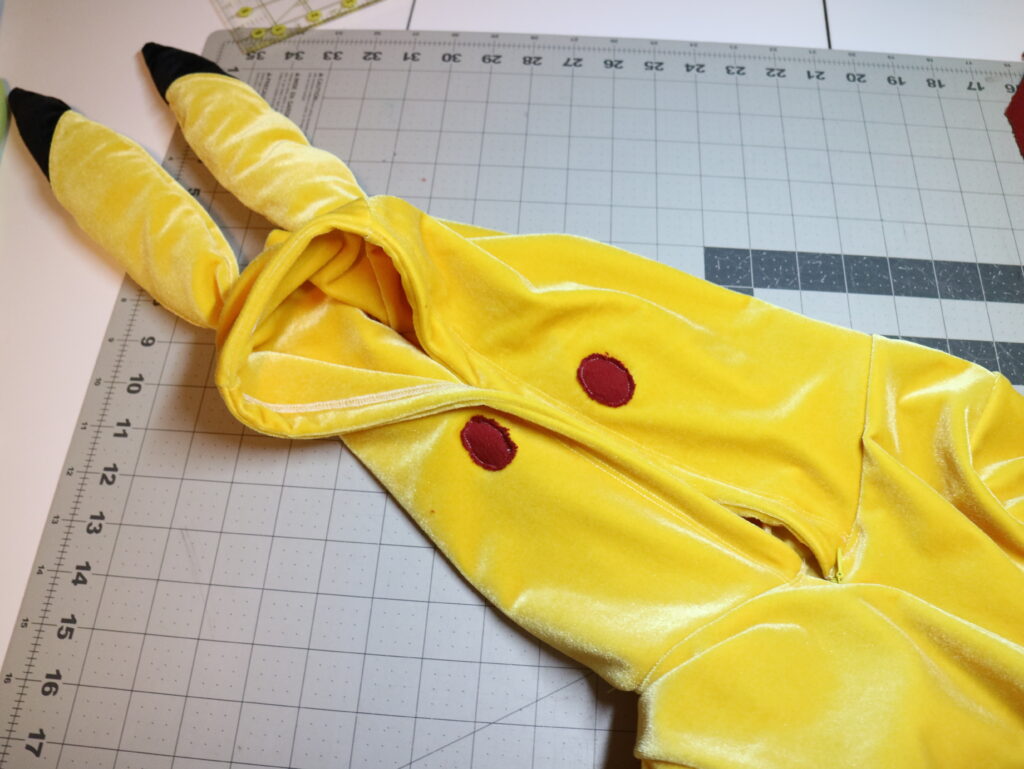
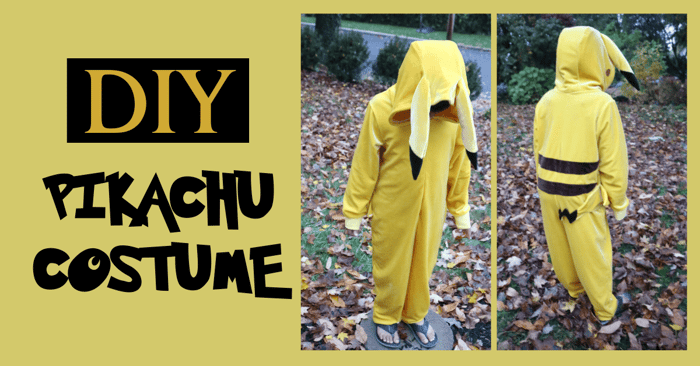
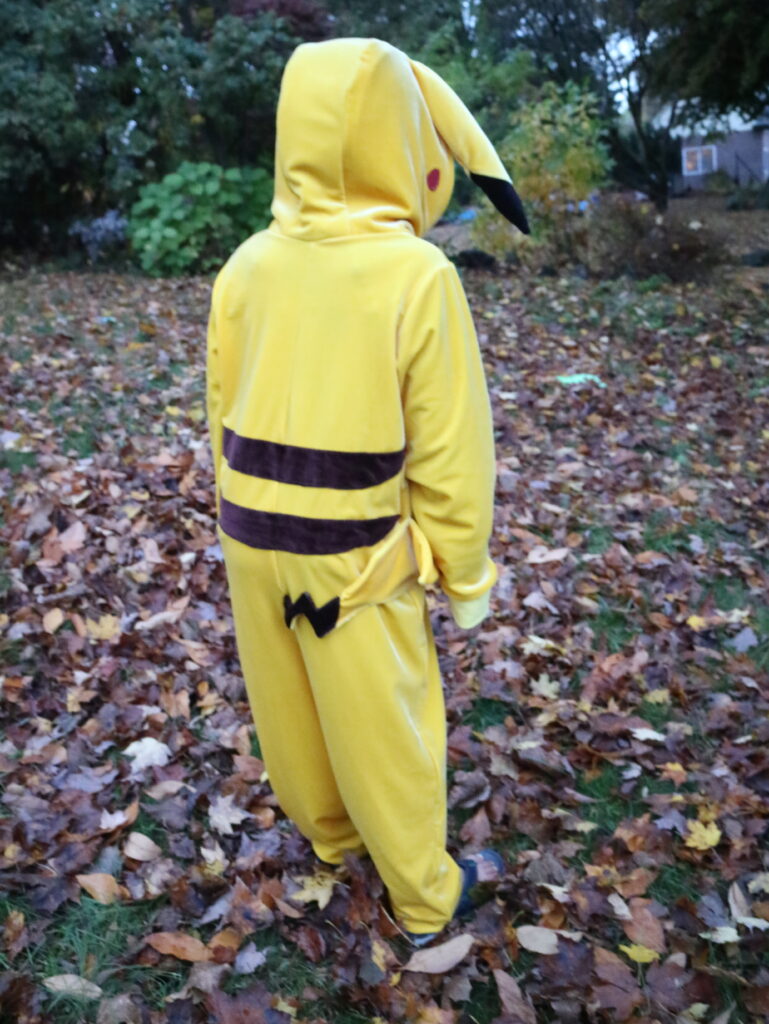
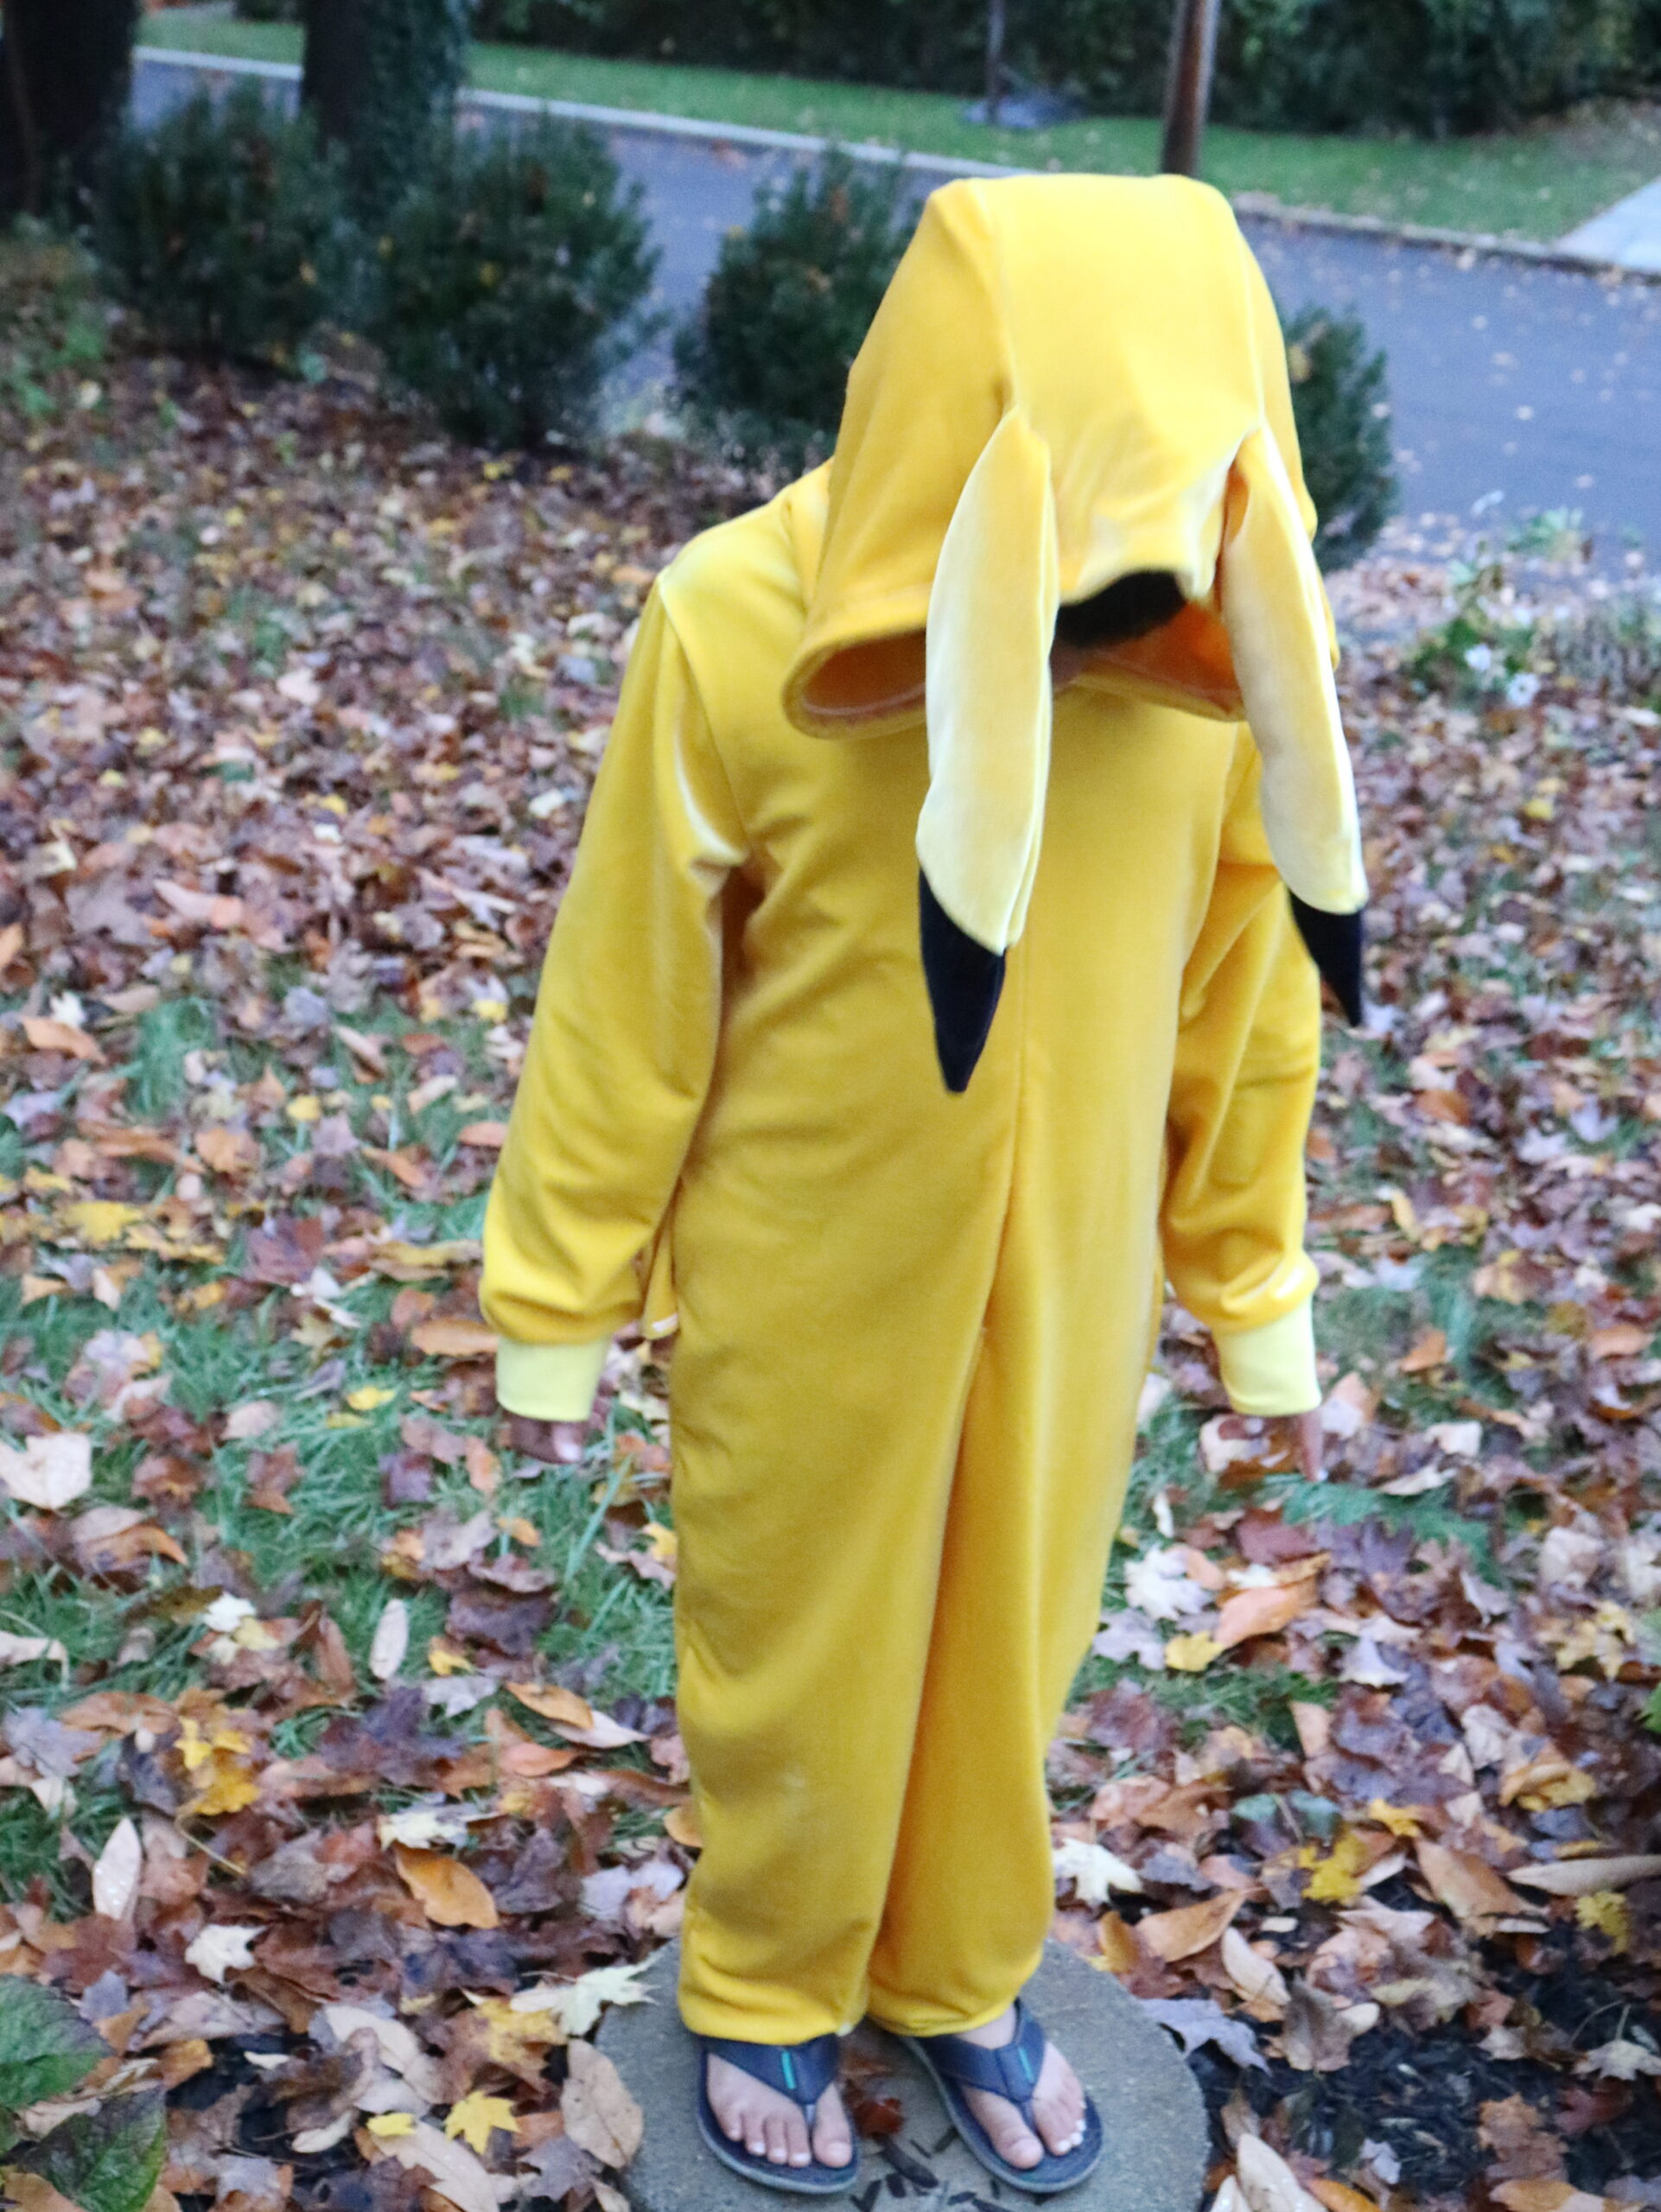
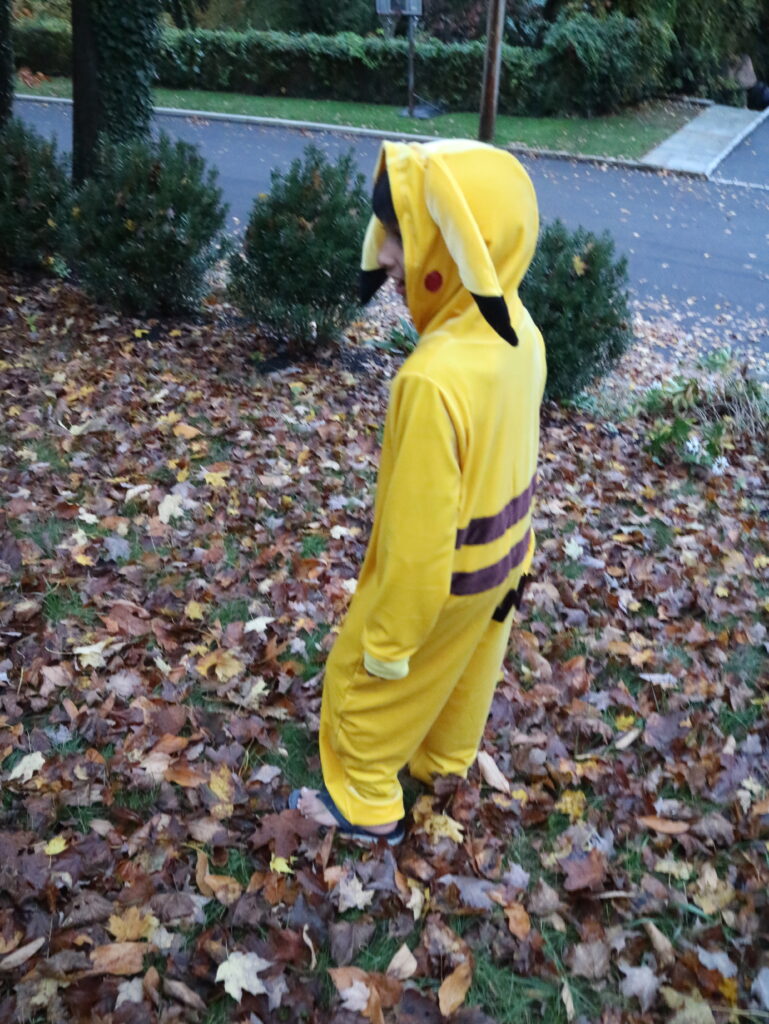
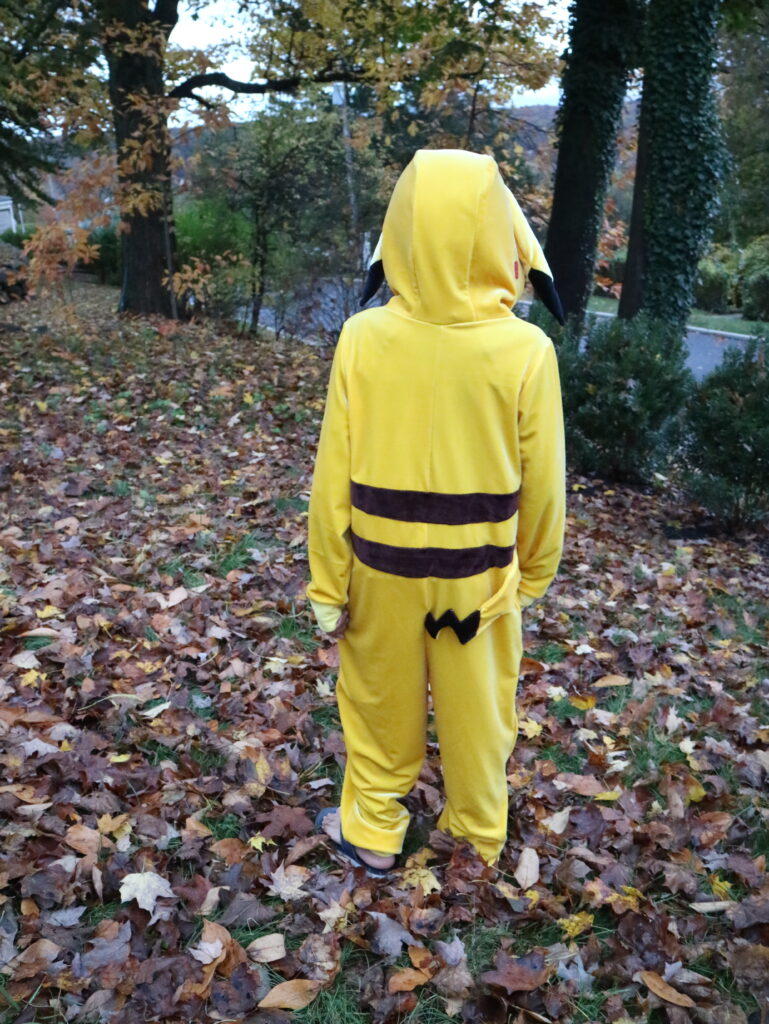
There you have it, we are done creating this Pikachu Costume. The costume turned pretty amazing. Other than the fact that I would used a different hood and stuffed the tail a tiny bit, I wouldn’t change anything about this costume.
 |  |
Hope you this blog will guide you in your artistic endeavor of creating a Pikachu Costume to your little Pokémon fan. The Ultimate Costume Creator and Wild Thing Hoodie used in this tutorial are packed full with options that will make any costume creation a breeze!!
Final Touches for an Pokemon Authentic Look
For authenticity, incorporate Pikachu's lightning bolt-shaped tail tip. Ensure color, features, and proportions align with the character. Style hair or wear a hood to complement Pikachu's yellow head. Coordinate with yellow shoes for an enhanced look. Evaluate costume from different angles for Pikachu's essence.
How Comfortable is the Pikachu Costume DIY to Wear?
The Pikachu costume is incredibly comfortable to wear. Its lightweight design ensures extended comfort, while the breathable fabric allows for airflow during prolonged use. With an adjustable fit and soft material, it provides a secure and irritation-free experience, perfect for all activities.
Conclusion
To wrap up, creating your own Pikachu Halloween costume can be a fun and creative project. By understanding Pikachu's Pokemon look and gathering the necessary materials, you can easily bring this iconic character to life. Remember to pay attention to details such as Pikachu's ears, tail, and face to achieve an authentic look. Once you have assembled all the components, make any final touches to ensure your costume is perfect. And don't forget about comfort! Ensure that your costume is comfortable to wear by selecting the right clothing items and making any necessary adjustments. Now you're ready to show off your DIY Pikachu costume and have a blast at your next Halloween party.
Thank you for joining us today for this Pikachu Costume DIY. Before you leave, make sure to join our Facebook Group and follow us on Instagram. Happy Sewing!