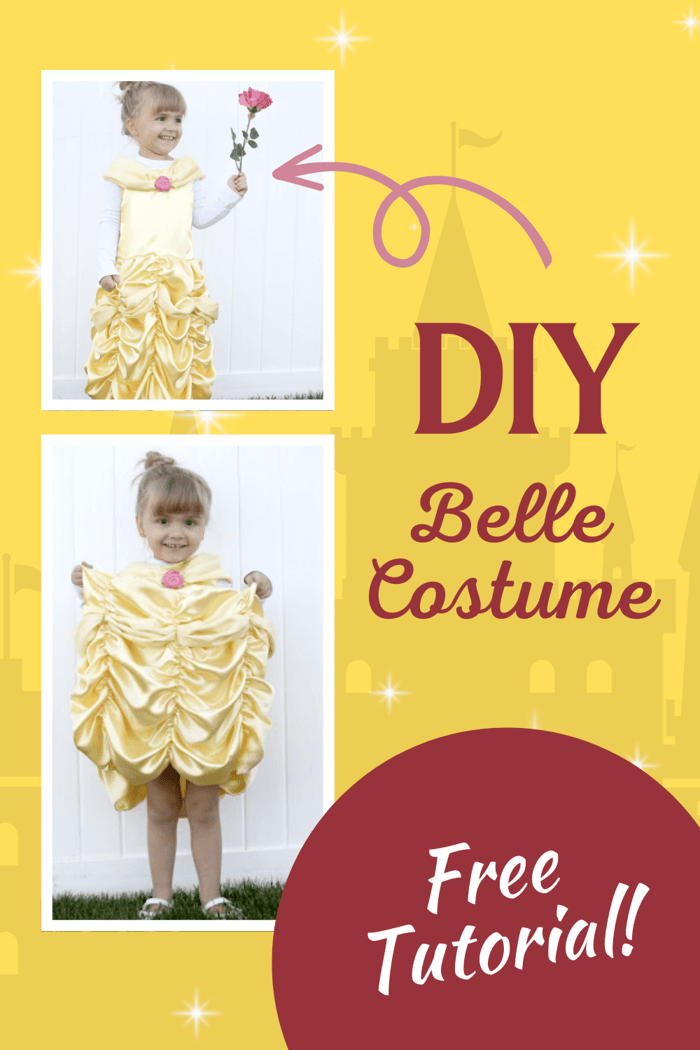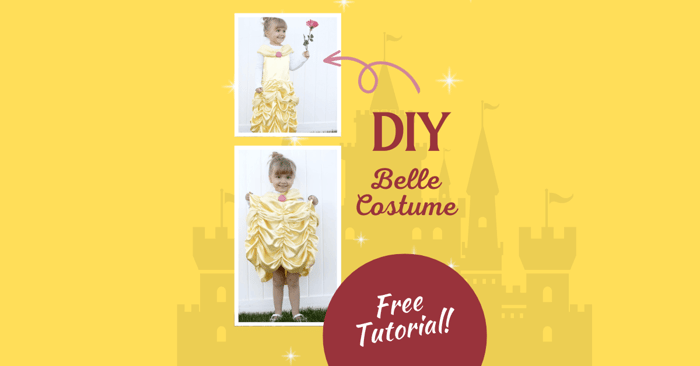
DIY Belle Costume for Girls Inspired by Beauty & The Beast
Welcome to Peek-a-Boo Pages for our DIY Belle Costume for girls! We love Halloween around here and have dozens of different costume tutorials. To see all of our costume tutorials and patterns, click HERE. For more inspiration, visit our pattern shop at Peek-a-Boo Pattern Shop. But today…we’re doing Belle and dressing brother up as the Beast.
If you need inspiration for some DIY Halloween costumes, then check out the Ultimate Costume Creator. It is a base that you can use for hundreds of patterns and the listing includes tons of costume ideas. With all that business out of the way, I hope you’re ready to Sew Belle’s outfit from the Ball – Inspired by Beauty and the Beast.
Belle’s Costume Inspired by Beauty and the Beast
My daughter is a Disney fanatic. So I made many homemade costumes for her over the years – Cinderella, Elsa, Rapunzel,…. They’re perfect for Halloween or dress-up around the house and don’t require any Halloween costume makeup.
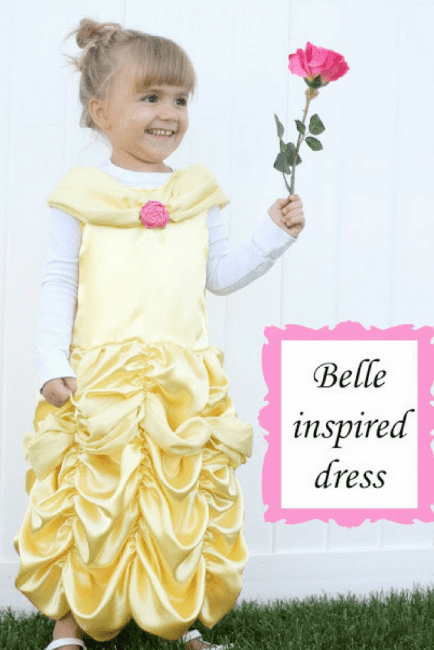
I knew that Belle – a DIY costume inspired by Beaty and the Beast would be just her thing. She loved the frilly yellow dress with this costume for years! So add Princess Belle to your dress-up bin today!
Free Belle Costume Pattern and Tutorial
You’ll be glad to know that I’ve done all the hard work for you with Belle here. I have a FREE DIY Belle Costume Pattern. But, again, to get it for free, you must go to Peek-a-Boo Pattern Shop and sign up for our Newsletter.
I made this Belle pattern for Anne when she was almost 4. The design has only one size but will fit most 3-5-year-olds, and you can make a few tweaks to make it larger or smaller. Anne could wear this pretty easily over other regular clothes with room to spare. If I remember right, she wore a white shirt or sweater under her dress when we went trick-or-treating that Halloween.
Remember – This Pattern is free when you Subscribe to our Newsletter or Join our Facebook Group. The coupon Code is found in the New Subscriber E-mail and the first post in our Facebook Group. Download your Free Belle Inspired Pattern Here!
DIY Belle Costume Materials
I used 2.5 yards of costume satin and 1 yard of swag fabric for my Belle dress. You’ll have some leftovers, but it’s pretty cheap fabric, so I prefer to err on having a bit much. You’ll also need 6 yards of 1/4″ elastic and some velcro for the back closure.
There are some other ideas out there, including making the dress with layers of tulle - I preferred the satin for a closer look to the actual thing.
DIY Belle Top Instructions
The DIY Belle Costume is two pieces, so make sure you tape your pattern template together along the dashed line. You’ll also find a little schematic for cutting your skirt pieces and measurements for the shoulder and skirt swags. I used 1/2″ seam allowances.
Belle Top Step 1:
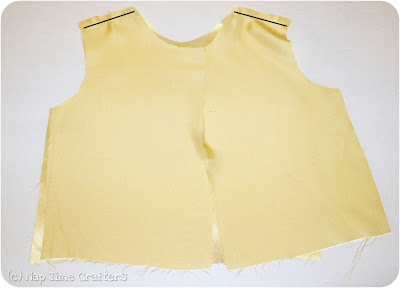
- With right sides together (RST) sew your front and back piece of fabric together at the shoulder seams.
- Repeat with your 2nd set of bodice pieces.
- Press the shoulder seams flat and open.
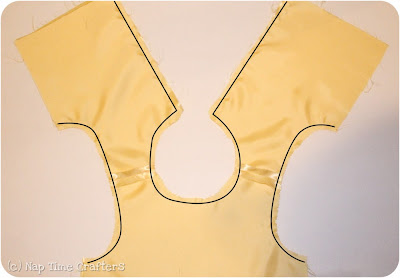
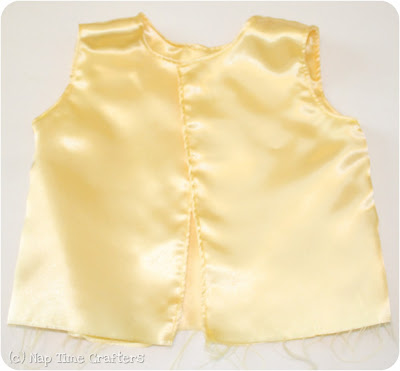
Belle Top Step 2: With RST, lay the two bodices on top of each other with the shoulder seams lined up. Sew together around the back opening, neckline, and arm openings. Leave the side seams open. Trim your seam allowance at each corner and clip it along the neckline to help it lay smoothly when you turn it. Turn the right side out by pulling the back pieces through the shoulder seams.
Belle Top Step 3:
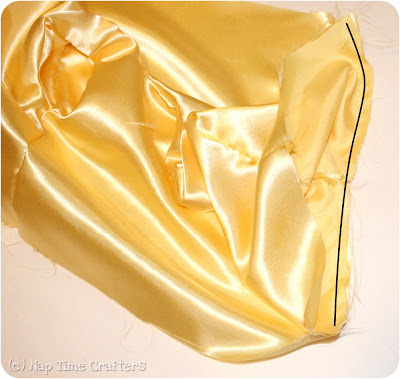
- Now open up your side seams (remember your bodice should be right side out).
- Match up the back side seam with the front.
- Sew together with RST.
You essentially sew the back and front together at the side seam and the back and front lining together at the side seam, all in one step.
DIY Belle Top Step 4: Now you have a complete bodice Topstitch around all edges, so it lays nicely.
Belle Top Step 5: Add velcro to the back. You could also do buttons/snaps, but I find velcro is easiest for dress-ups
Instructions for Disney Belle Princess Dress
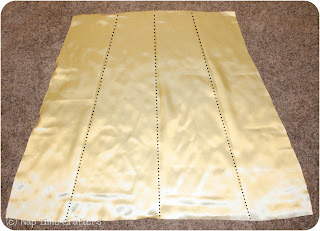
Belle Skirt Step 1: Mark your skirt pieces into four panels. You can use a fabric marker or press the lines with your iron
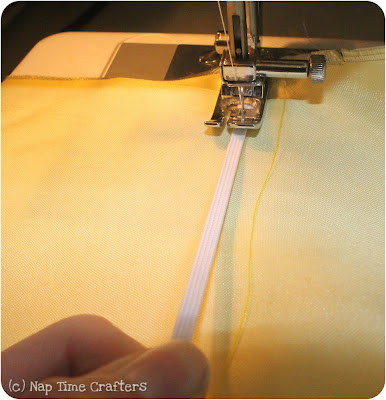
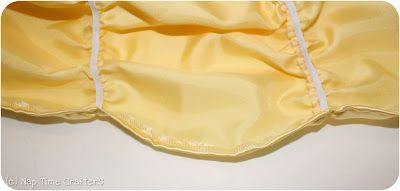
Belle Skirt Step 2: Stretch your 1/4″ elastic as tightly as possible and measure how much you need to cover each marked line. I used 15.5″ for the center line and 16.5″ for the diagonal lines. Tack the elastic down at the top and bottom of each line, ensuring you don’t twist it.
Belle Skirt Step 3: Stretch the elastic as tightly as you can and sew it in place along your marked line using a zig-zag stitch. If your elastic ends up a little short (this happened to me a couple of times), just gather the fabric a bit with your fingers, and it will turn out just fine 🙂
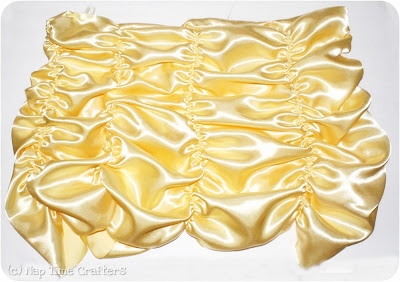
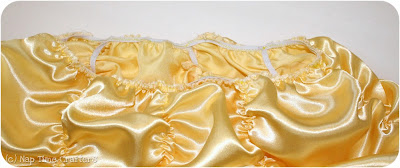
Once you sew the elastic on, you’ll have a lovely gathered skirt piece. Repeat for the back of the skirt
Belle Skirt Step 4: With RST, sew the front and back skirt pieces together along the side seams
Belle Skirt Step 5: Use the same method as steps 2-3 for the skirt side seams.
Belle Skirt Step 6: Serge the bottom edge of your skirt, turn up 1/2″ and topstitch in place. If you don’t have a serger, you can fold over twice to finish the hemline. Costume silk frays a lot, so you’ll want to ensure you get the raw edges wholly enclosed. Finish the top edge of the skirt with a serger or a zig-zag stitch.
Belle Skirt Step 7: First, you must cut a piece of elastic to the same length as your velcroed shut bodice. My elastic was 25″. Sew the elastic ends together and then stretch them to match the skirt. Next, sew to the inside of the dress using a zig-zag stitch. I found it helpful to mark my elastic in 1/8s and pin it at the top of each gathered panel.
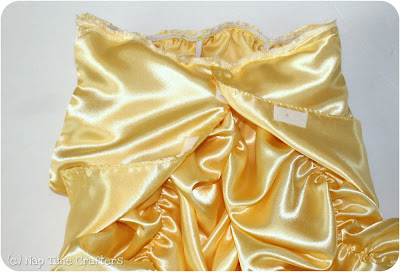
Belle Skirt Step 8: With RST, sew the finished bodice and skirt pieces together. If you have any raw edges left, finish them with a serger, zig-zag stitch, or bias tape to keep the costume silk from fraying.
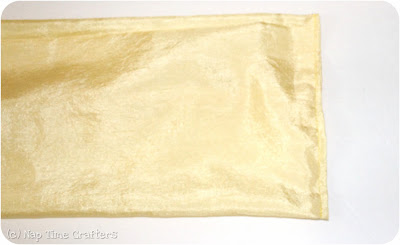
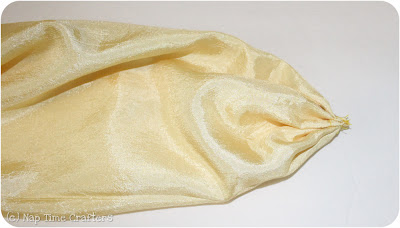
Belle Skirt Step 9: With RST, fold the swag pieces in half so the long edges meet up. Sew together and turn the right side out (I used a safety pin).
Belle Skirt Step 10: Tuck the skirt swag ends inside each other (you’ll need to fold one end under a bit) and then topstitch together, forming a big loop. I positioned my seam from step 9 to be on the underside of the swag.
Belle Skirt Step 11: Pin the swag in place at each panel. Create slight gathers and topstitch down along each panel line. Belle’s swag starts high in the front and drops slightly as it reaches the back.
Belle Skirt Step 12: Tuck the raw ends of the shoulder swag inside and topstitch shut).
Belle Skirt Step 13: Pleat each end.
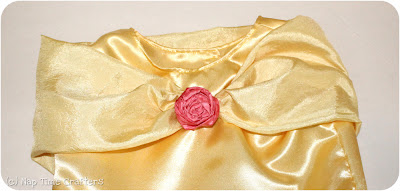
Belle Skirt Step 14: Wrap the swag around the dress and hand-sew the two ends together. We covered ours with a pink rosette. I also tacked the swag down at the shoulder seams, but you could also leave it loose to make it easier to get in and out.
I hope you enjoy dressing up your little princess with the Belle Costume! I know my daughter loved it, and I’m sure yours will too!
Do you have a Pattern for Belle's Blue Village Dress and Apron?
Yes! If you'd rather sew Belle's Blue dress then we have an option for you too. You can easily sew up this dress and apron with our Practical Princess costume. See how Heather did it below:

Sew a Free Beast Halloween Costume
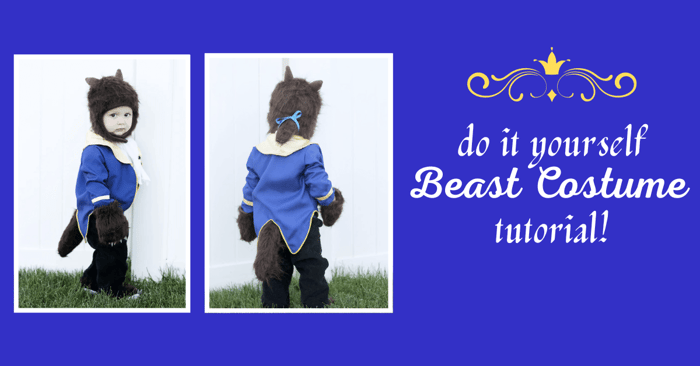
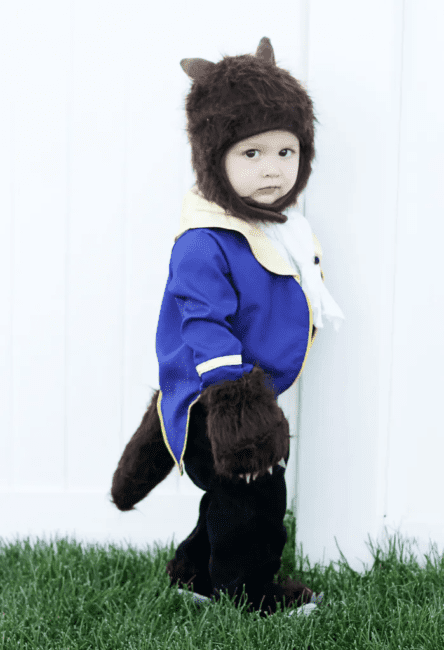
The perfect compliment to Belle’s outfit here for Halloween is to dress their little brother up as the Beast. Luckily for you, we came up with the ideal complimentary Beast Costume pattern inspired by Beauty and the Beast. This Beast is another pattern you can sew up for Halloween to go next to the DIY Belle.
We have another article on the Beast. Make sure you check it out. After you make the costume, be sure to come to share your creation with us in the Peek-a-Boo Pattern Shop Facebook Group.
After you make the costume, be sure to come to share your creation with us in the Peek-a-Boo Pattern Shop Facebook Group.
