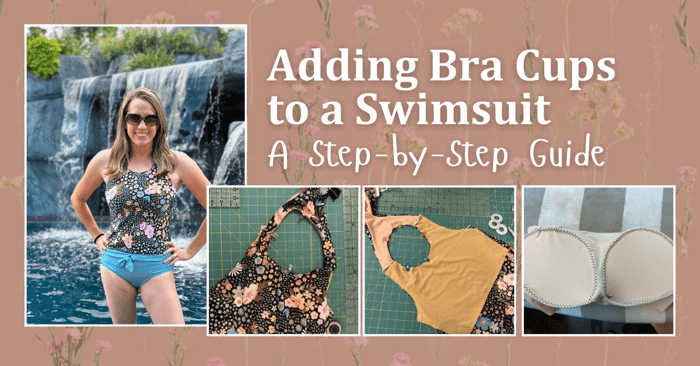
Adding Bra Cups to a Swimsuit: A Step-by-Step Guide
Hello Sewing Friends! Today I’m going to show you all about adding bra cups to a swimsuit using a couple different methods. For this first suit I’ll be using the Hanalei Bay Swim Suit pattern from Peekaboo Pattern shop!
Adding bra cups to a swimsuit can be a game-changer, providing extra support and comfort for those wishing to have more coverage and modesty. Whether you're looking to enhance your bust size, create a seamless look, or achieve a shapely silhouette, adding bra cups to a swimsuit is a relatively simple project that can make a big difference. In this step-by-step guide, we'll explore the basics of bra cups, the different types available, the tools you'll need, and provide helpful tips and tricks to ensure a seamless and successful addition. So, let's dive in and learn how to add bra cups to a swimsuit like a pro!

Swim Lining for Adding Bra Cups to a Swimsuit
Lets chat about swim lining for a minute. There are a couple different types. Standard Swim lining is usually a light weight Poly Spandex Blend. KnitFabric.com carries some quality swim lining in a couple different colors. When I’m sewing suits for women, I typically add a second layer of lining in Power Mesh or Power Net. Typically, power mesh or net are used to give a little more structure to areas of my body that need some extra support. I’ll use them in my swim bottoms to help keep my mommy tummy nice and snug, or in the bra area to give a little more lift, keeping everything in place.
Deciding between the two will be determined by how much structure you want. Power NET is more powerful (less stretchy) and holds you better than the MESH. Power Mesh, is sort of, middle of the road between the net and the regular lining. I like to use the Mesh on the bra area (sandwiched between the fabric and lining) and I use the Net on my tummy area. However, if you are using net or mesh only use it in the front (or the back) but not both, because you won’t be able to squeeze into your suit.
To create the bra portion of your Hanalei cut one back and 2 fronts of lining. I cut one front out of swim lining and the other front out of Power Mesh lining.
Cut the side curves, which create your envelope on the Lining Front. Leave the Power Mesh lining as is.
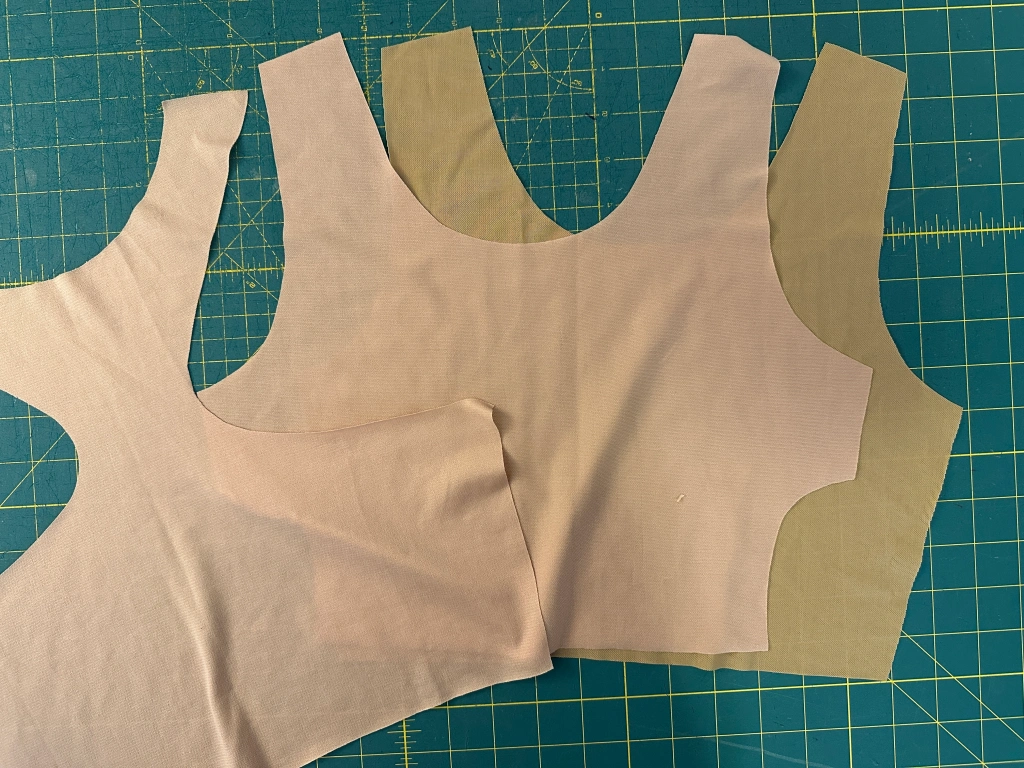
Layer your two front lining pieces on top of each other. Mark a stitching, going from the center of the neckline line down to the center of the bottom edge.
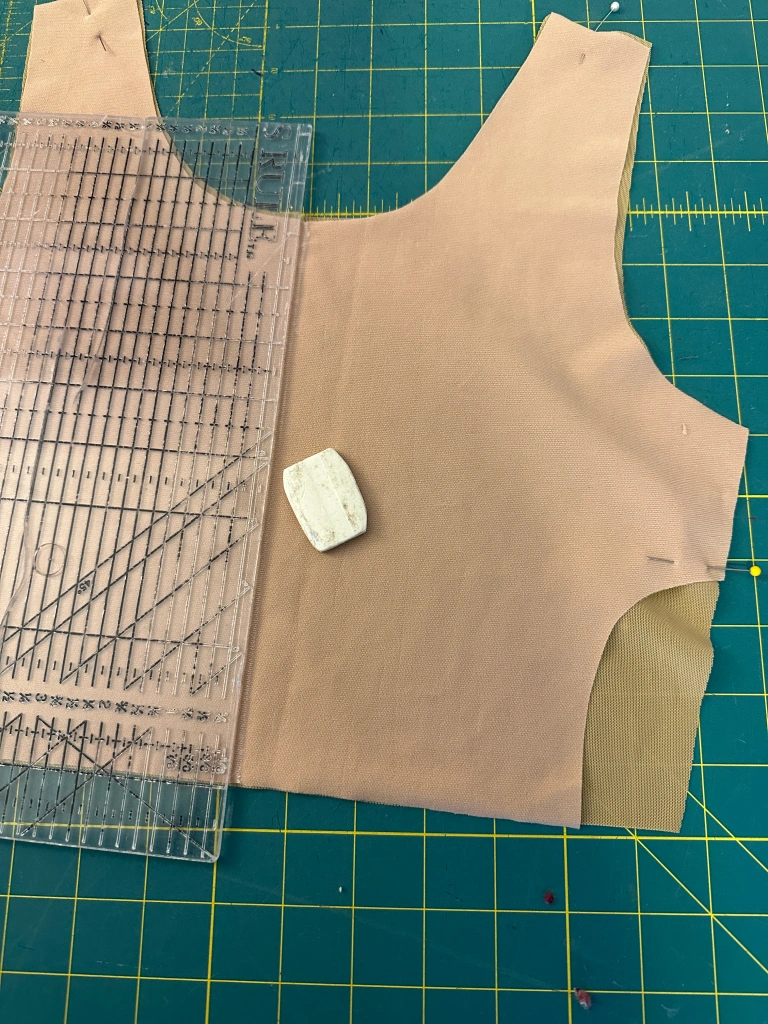
Stitch your two layers of front lining together along the line you just marked.
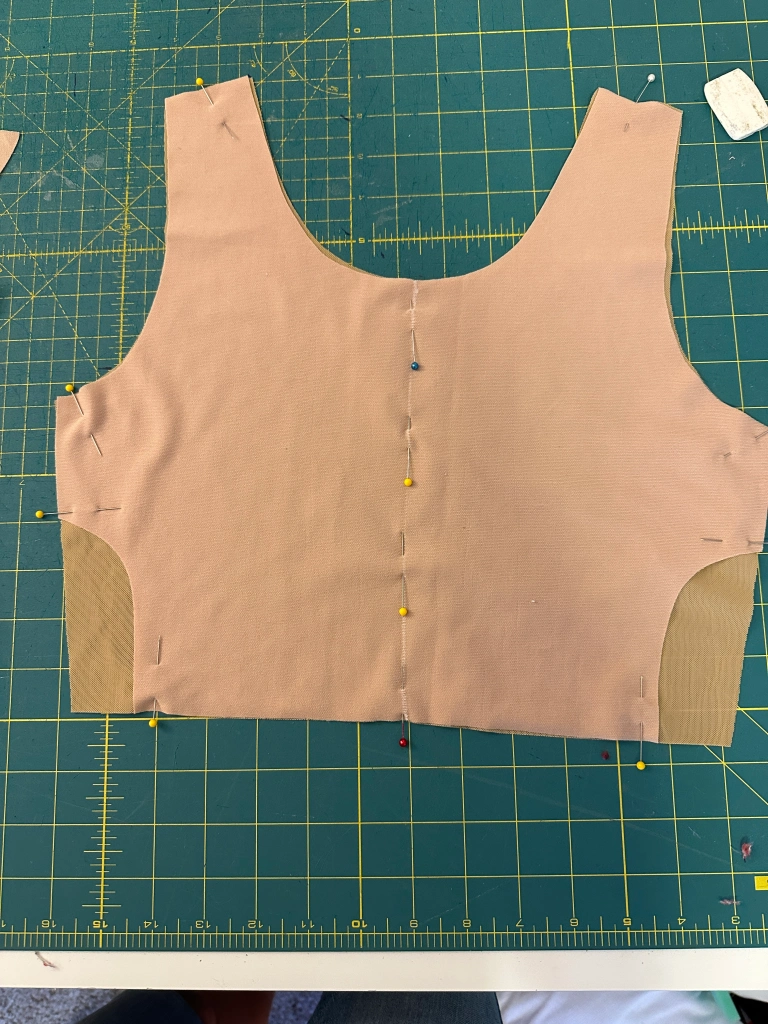
Baste the rest of your front lining pieces together along the neckline, armholes, side seams, and across the bottom. This will help hold everything in place and keep it from shifting.
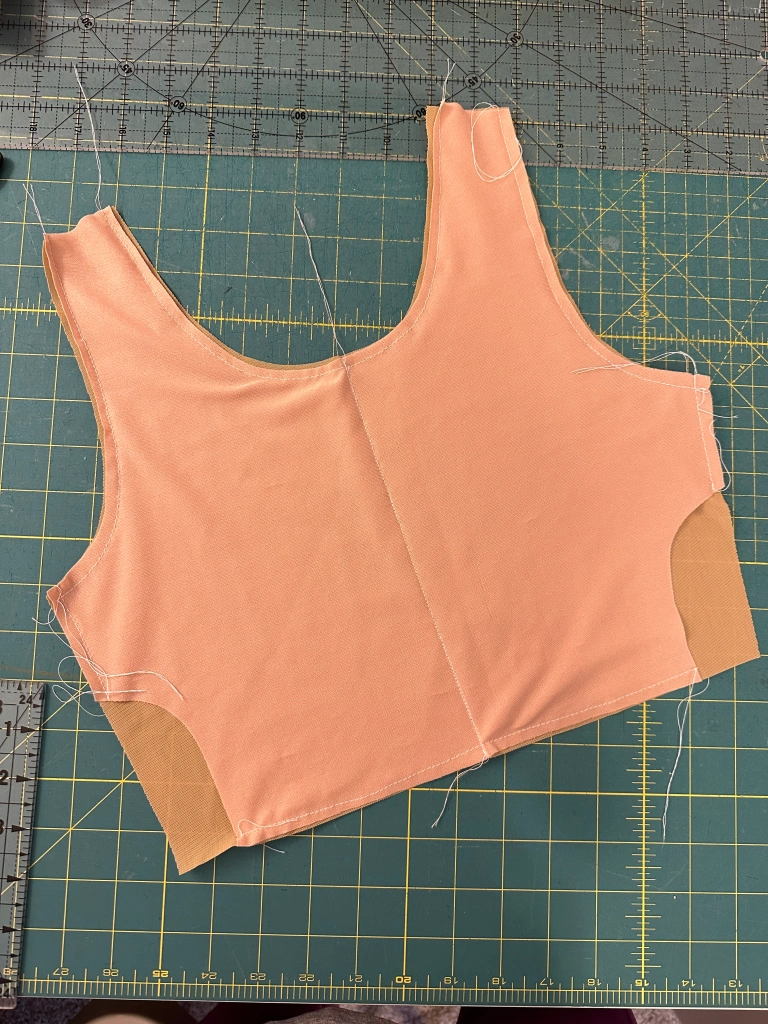
With right sides together sew the front and back bra pieces together at the shoulder seams.
With right sides together sew the front and back swimsuit top pieces together at the shoulder seams.
With right sides together sew the outer swimsuit top and the shelf bra together along the neckline. Include elastic in this seam.
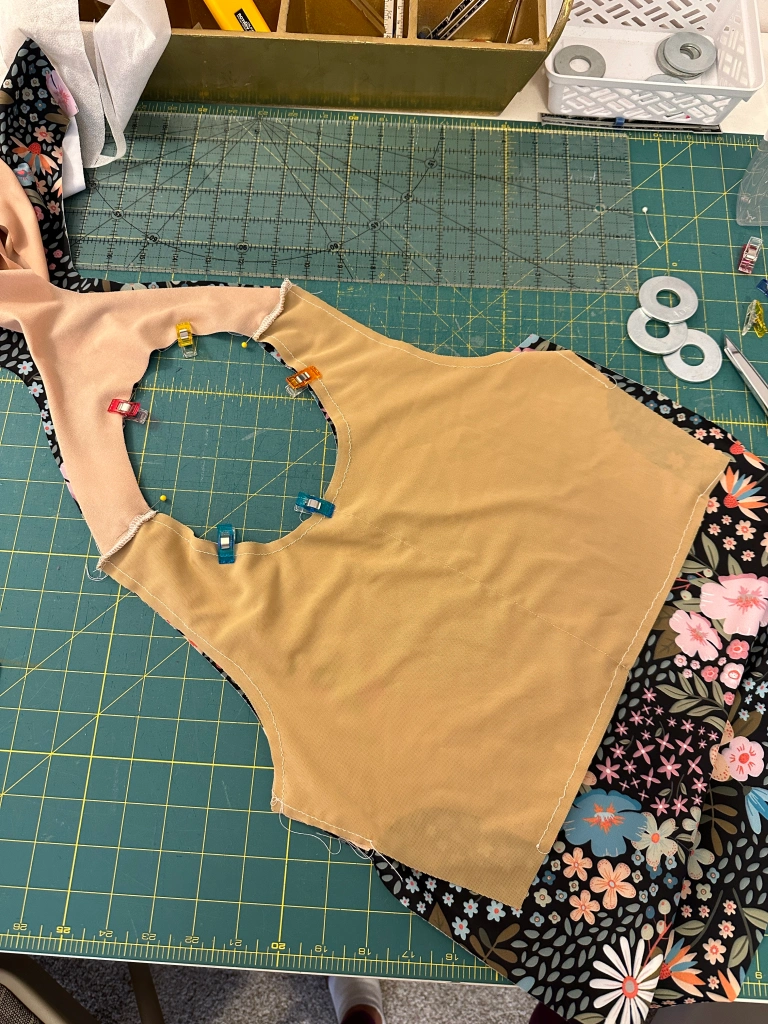
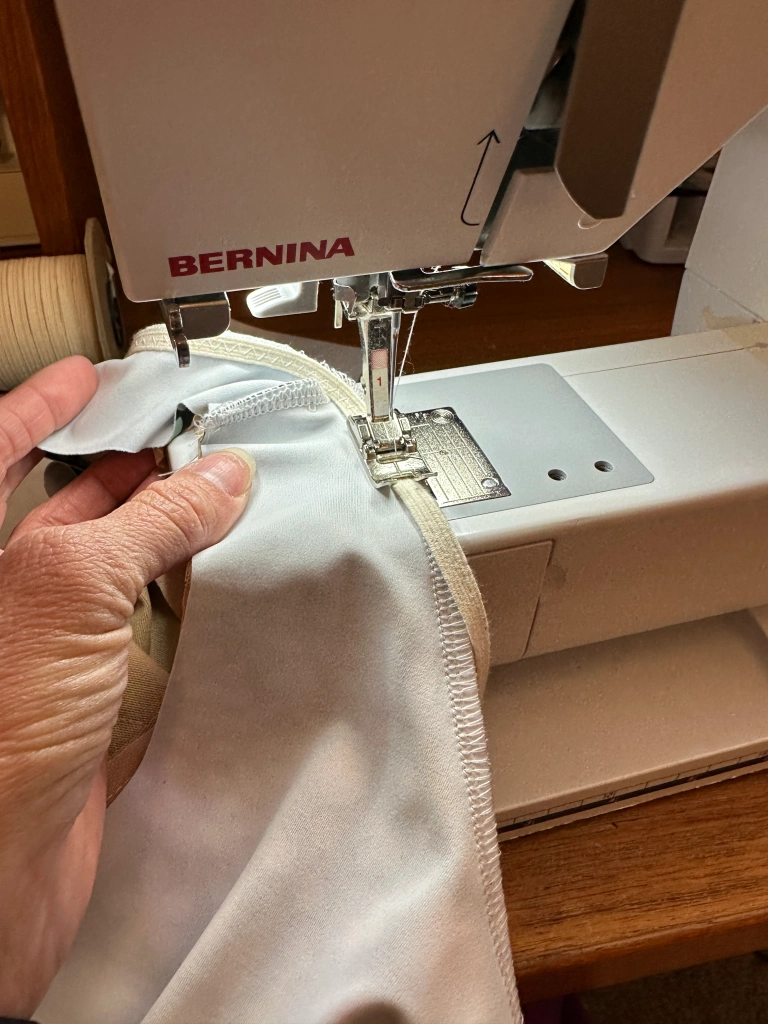
Turn the suit right side out, so your main fabric is face-up. You can at this point top stitch around the neckline.
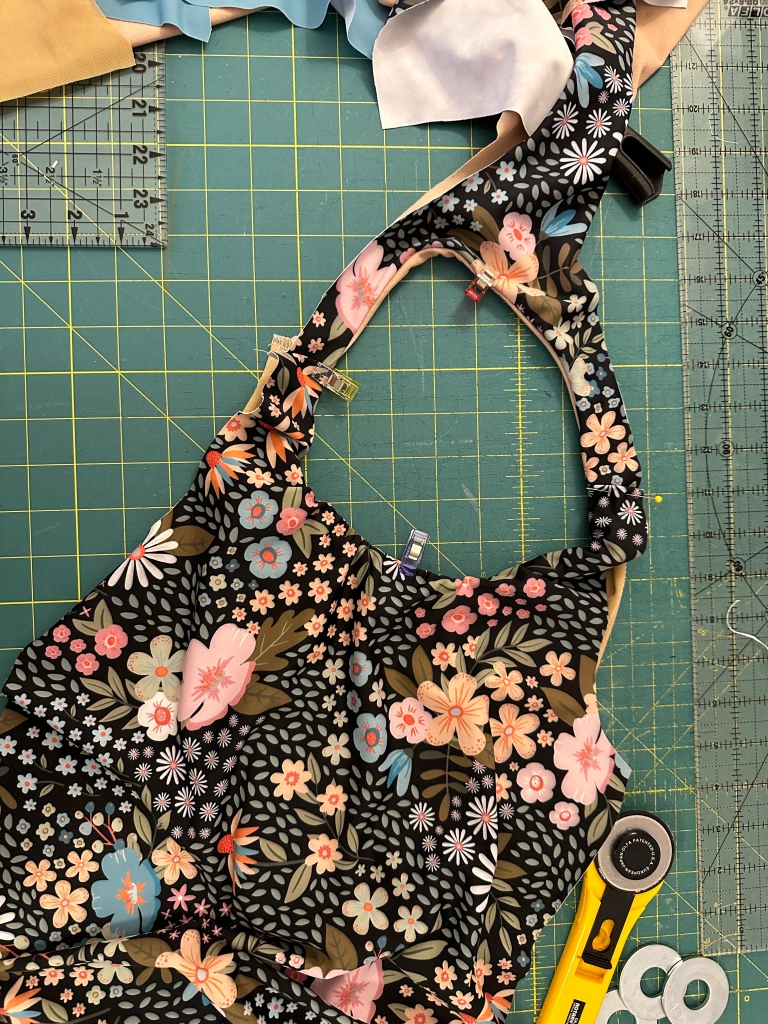
Starting from the left, roll both layers of the suit towards the right shoulder.
Wrap the shelf bra fabric around the rolled suit. With RST sew the shelf bra fabric to the main fabric along the armscye. Include elastic in this seam.
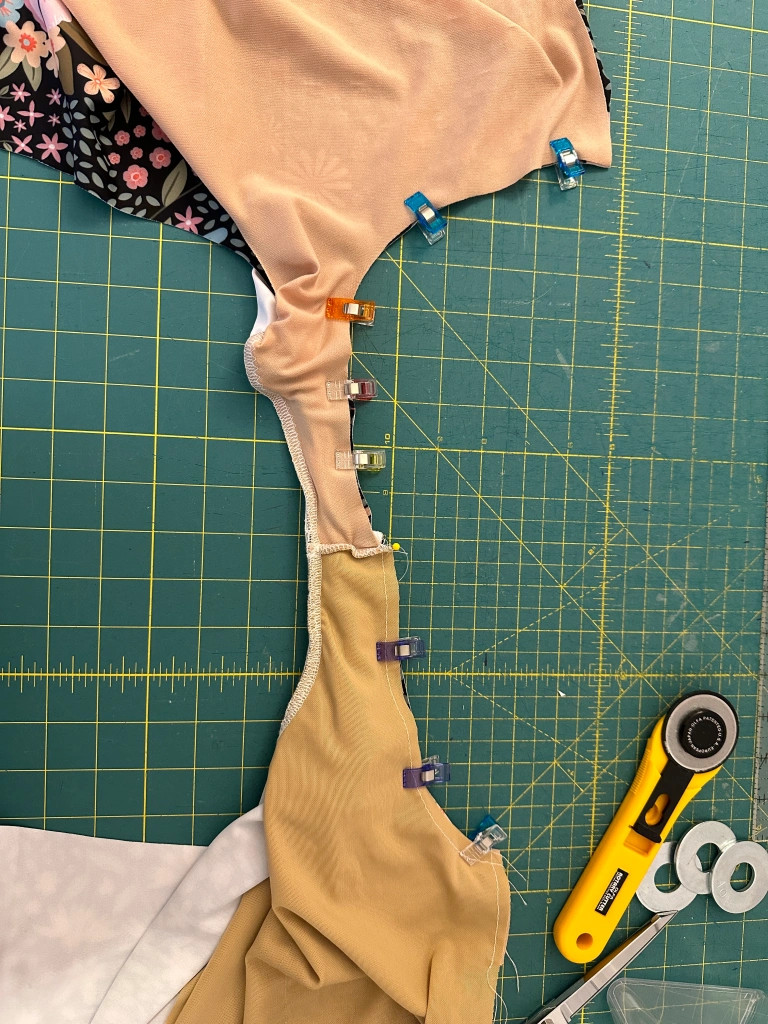
Turn the suit right side out and repeat this step on the other armhole seam.
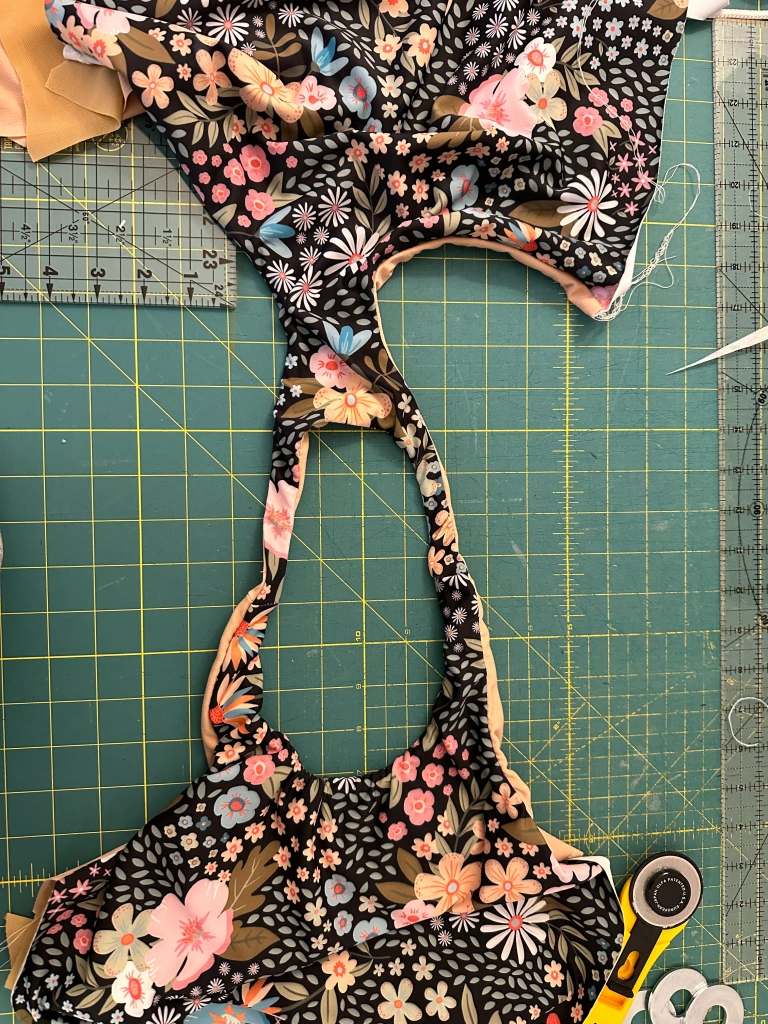
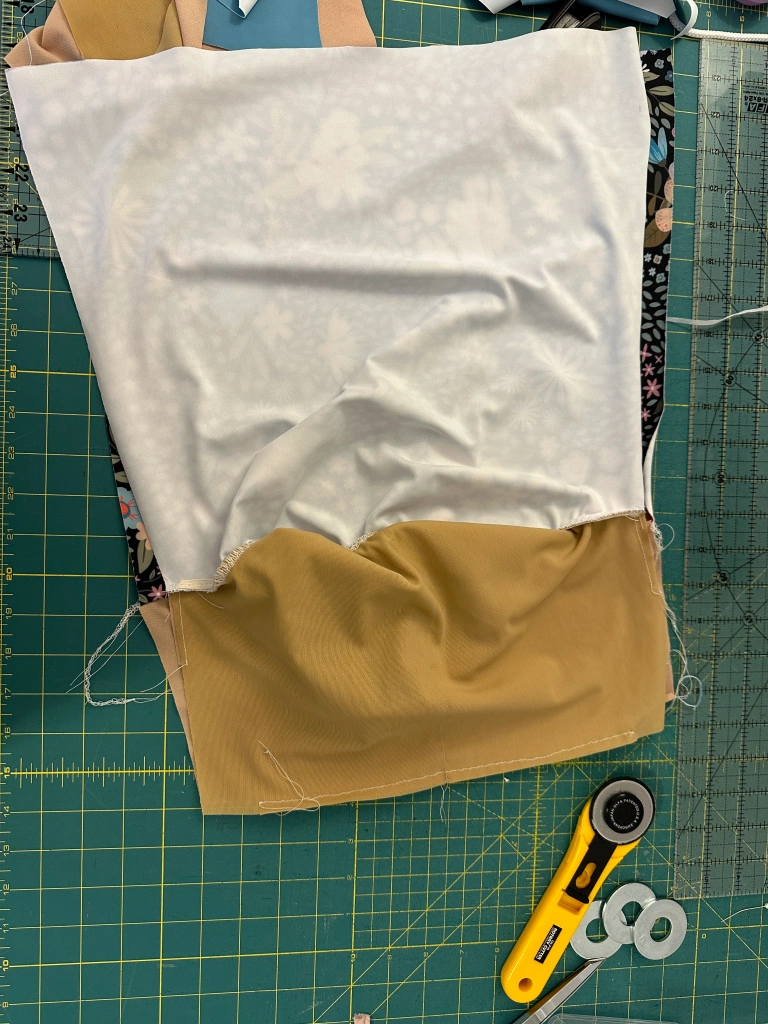
Fold the front of the suit upwards to meet the side seams of the back of the suit. Line up the front and back side seams of the main fabric and the front and back side seams of the shelf bra fabric. Sew the side seams with right sides together.
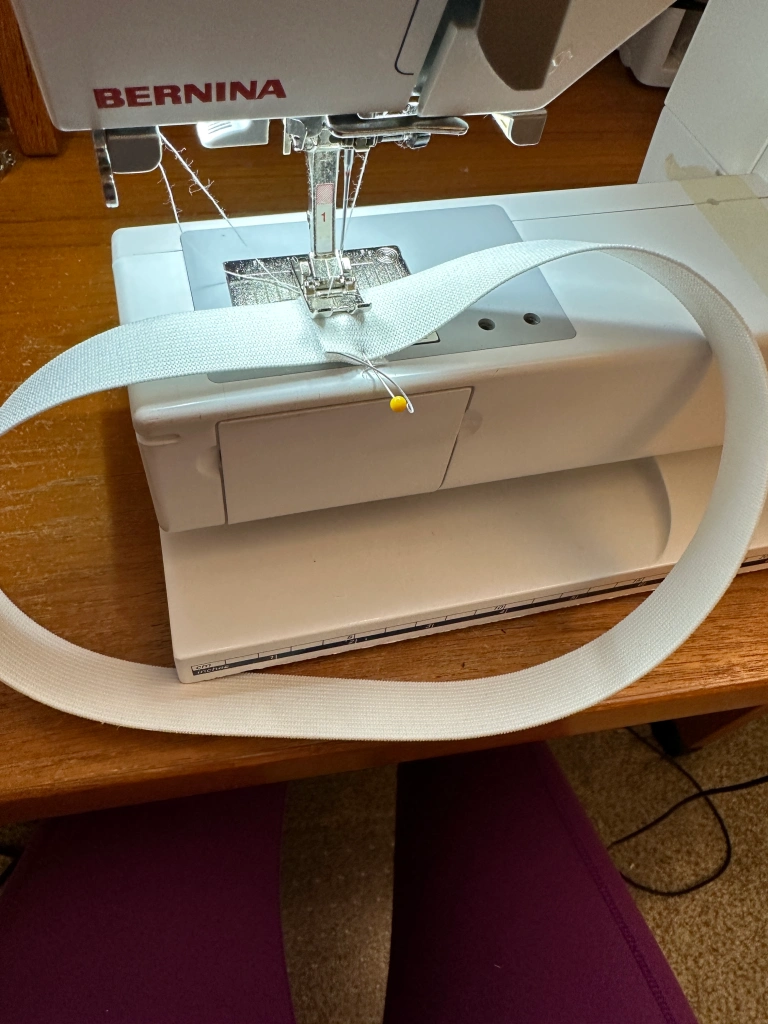
Overlap the ends of the bra elastic 1/2” and sew together.
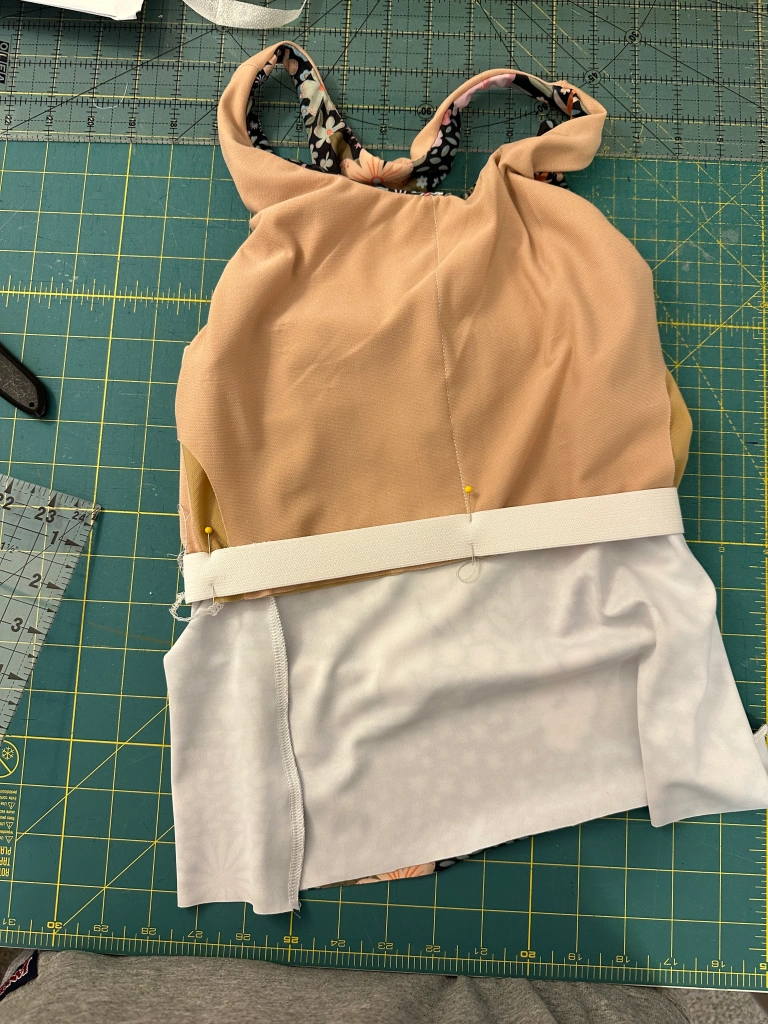
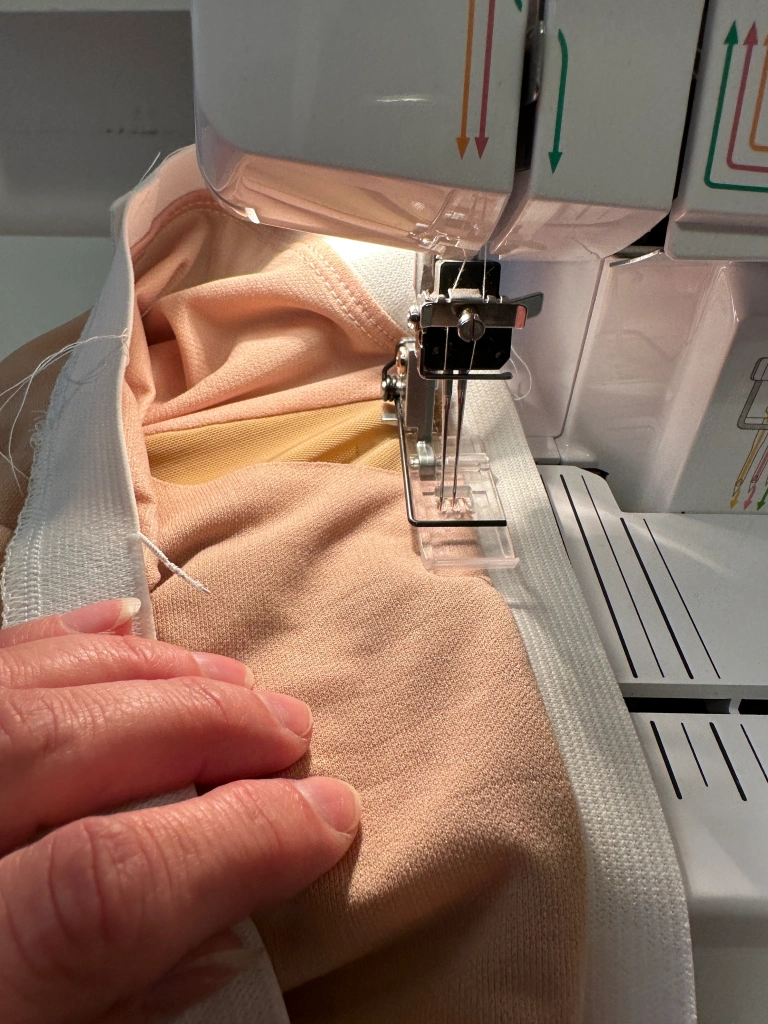
Slide the elastic over the bra. Stretch the elastic to match the width of the bra and sew the elastic to the bottom edge of the bra with a serger or zig-zag stitch.
You will need to move the outer layer of the swimsuit out of the way as you sew.
Roll the elastic over once towards the right side of the shelf bra. Topstitch along the top edge of the elastic using a zig-zag or cover stitch.
Different Bra Cups
Lets talk bra cups for a minute. When you're adding bra cups to a swimsuit, you can buy a number of premade cups online. You can find a variety here and here.
Or, you can also Make your own cups! This is a great option for those who may need a little more coverage than a shelf bra, but who don’t quite fit, or need the support of premade cups. You can insert your own cups the same way you would insert premade bra cups. To make your own you would want to use Poly Laminate Foam. I personally have purchased it from Sew Sassy here. You can also get it here and from a variety of Etsy Shops here. You also don’t need very much! a little bit of foam goes a long way when you’re only using it for bra cups.
For this Hanalei I made my own using Poly Laminate Foam from my stash. I bought a yard of it YEARS ago and its lasted me forever. This stuff is seriously the best!
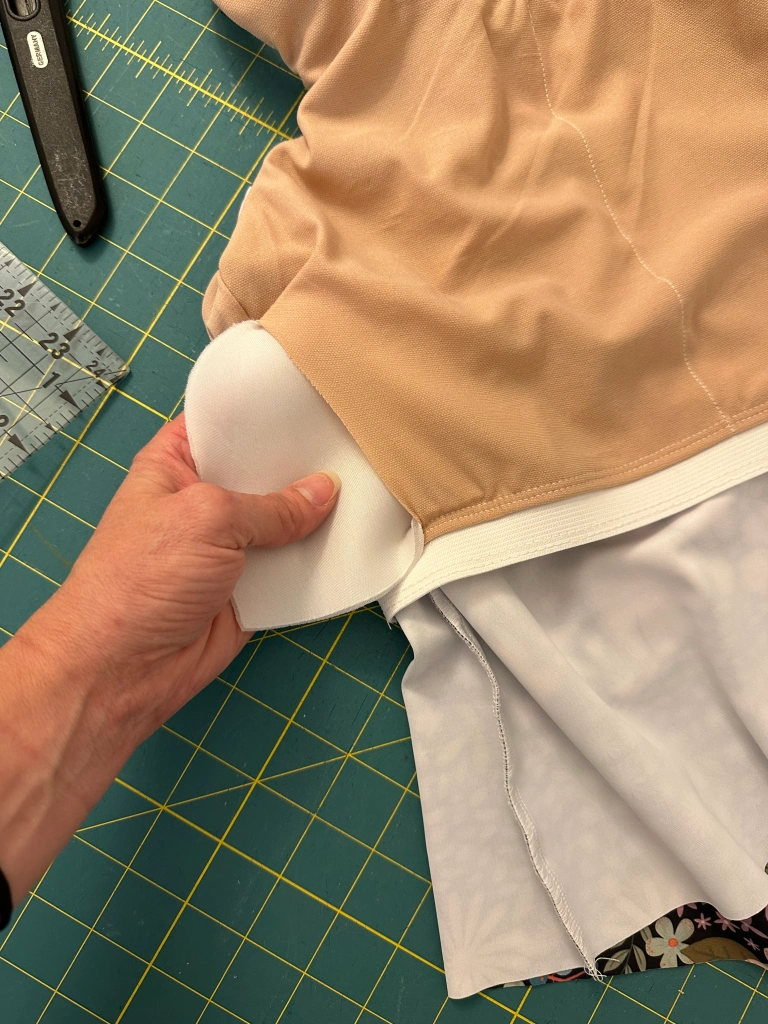
If you are including cups, slide them inside the shelf bra now.
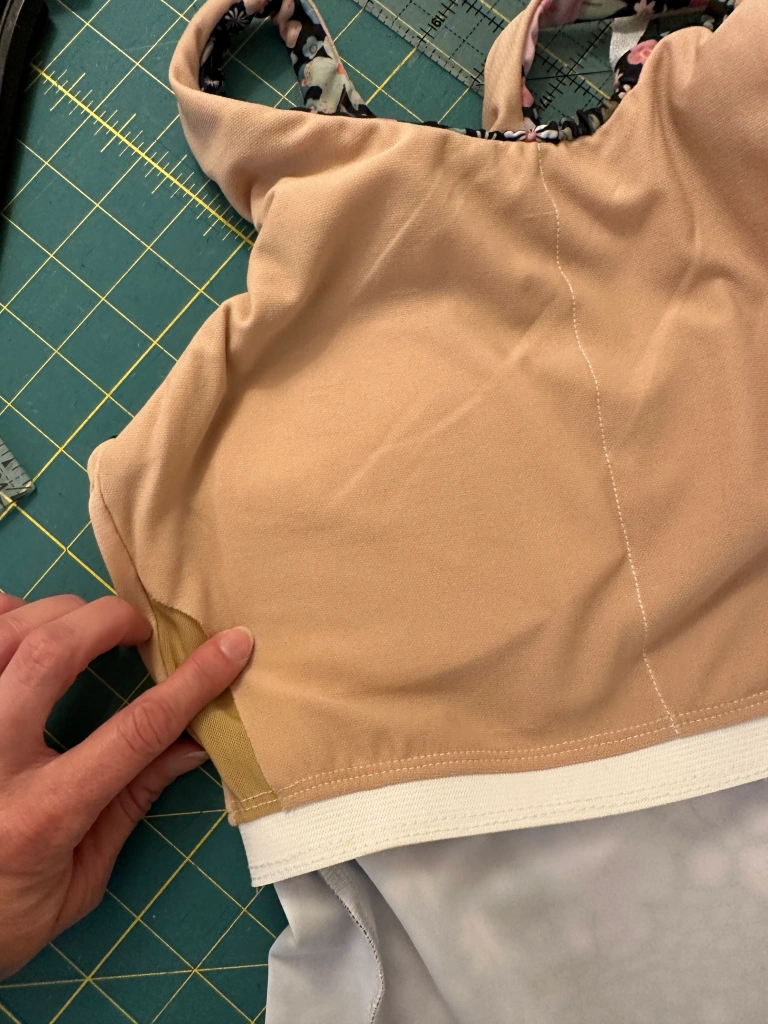
Finish us the rest of your swim top according to the directions.

Permanent Bra Cups: Adding Bra Cups to a Swimsuit
Now I’m going to show you how to add permanent bra cups to your swimsuit. For this suit I’m going to use the Bahama Mama Colorblock Tankini Pattern. I tested this one back when it was released, and it is still one of my favorite swim tops years later!
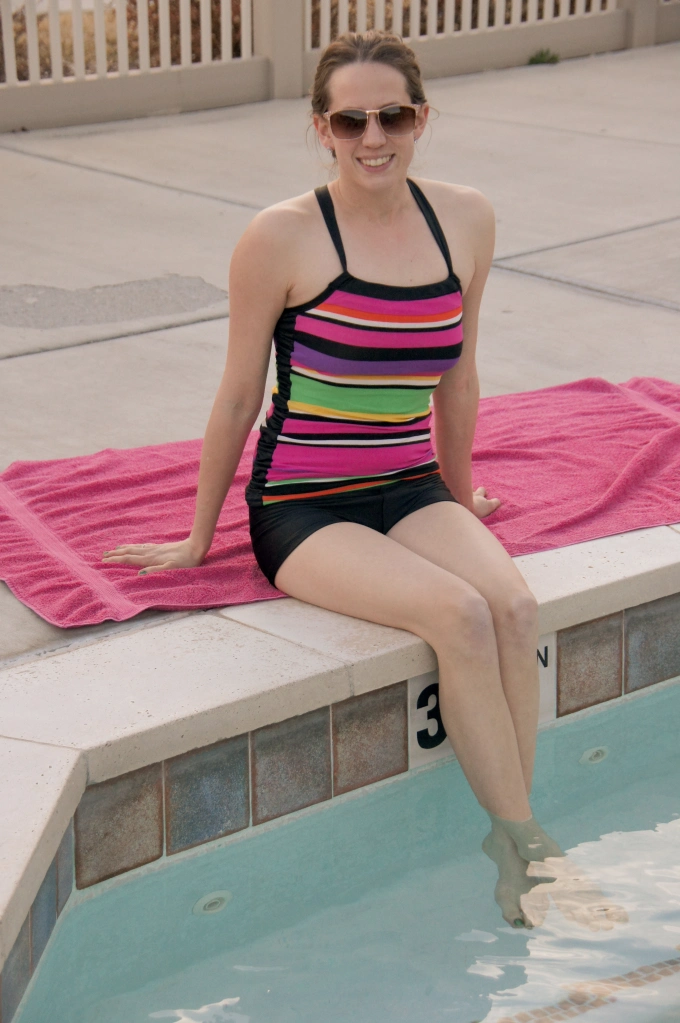
The first thing you are going to want to do is figure out where to place your cups.
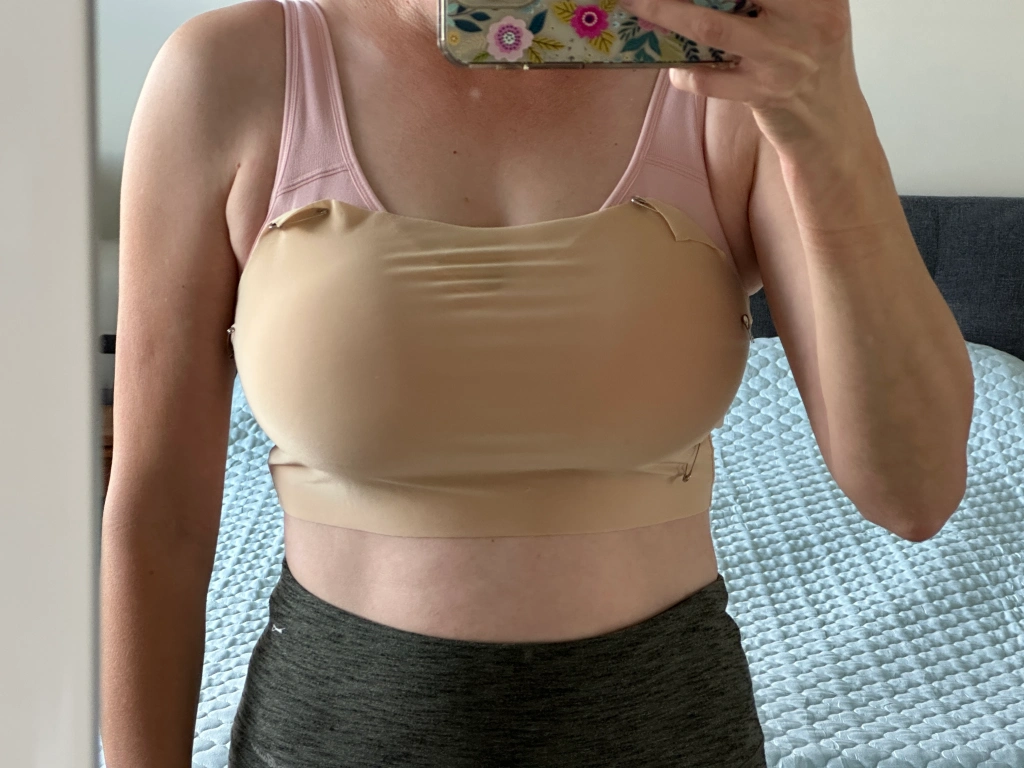
I like to pin my front lining piece to a bra or tank top to get the correct placement.
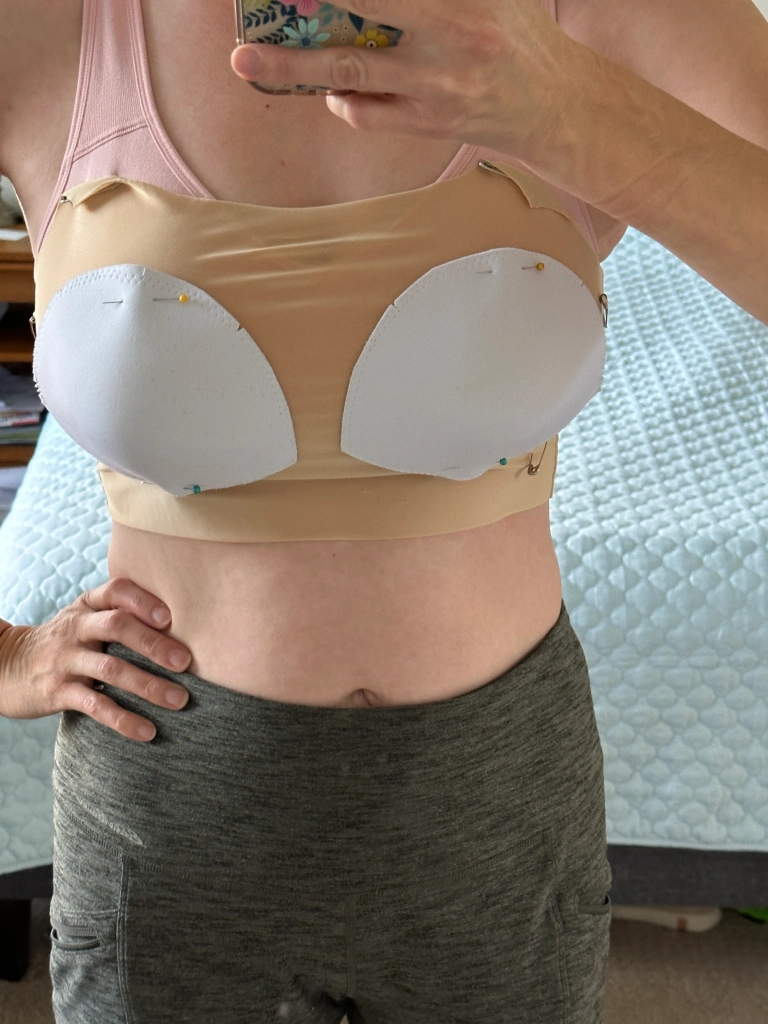
Pin your swim cups in the proper spot at the top and bottom of the cup.
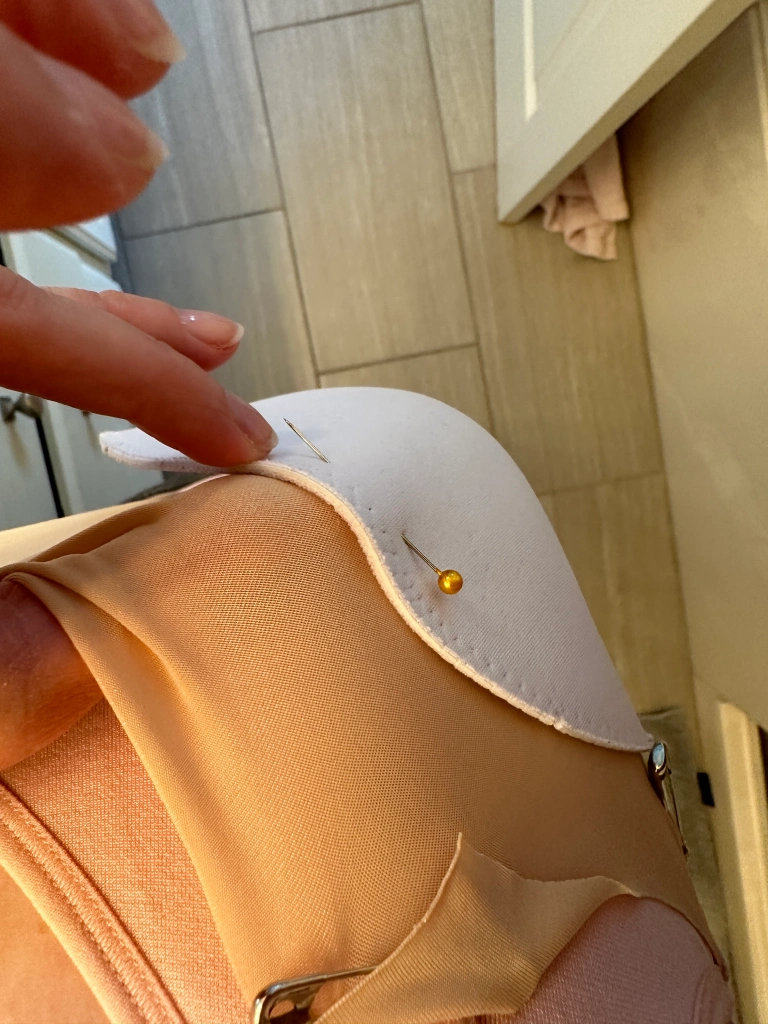
Take care to only pin the cup to the lining and not the bra or tank underneath. Then unpin your lining from your bra or tank.
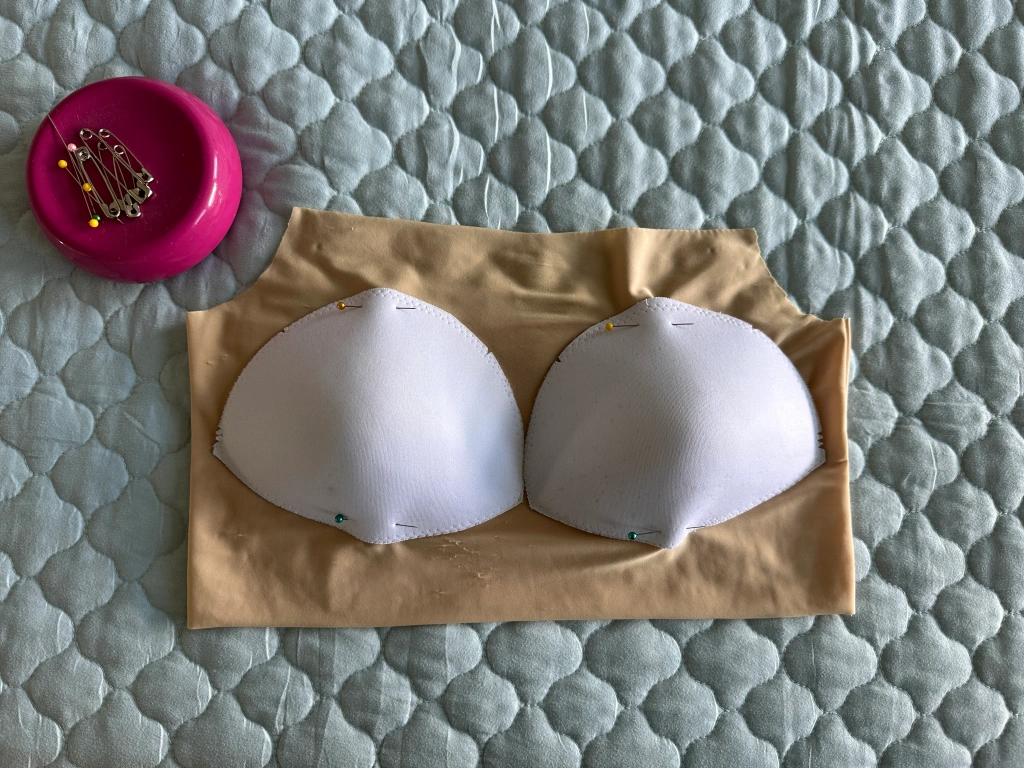
Take your sewing machine, and carefully sew in place along the outside edge of the cup using a zig-zag stitch.
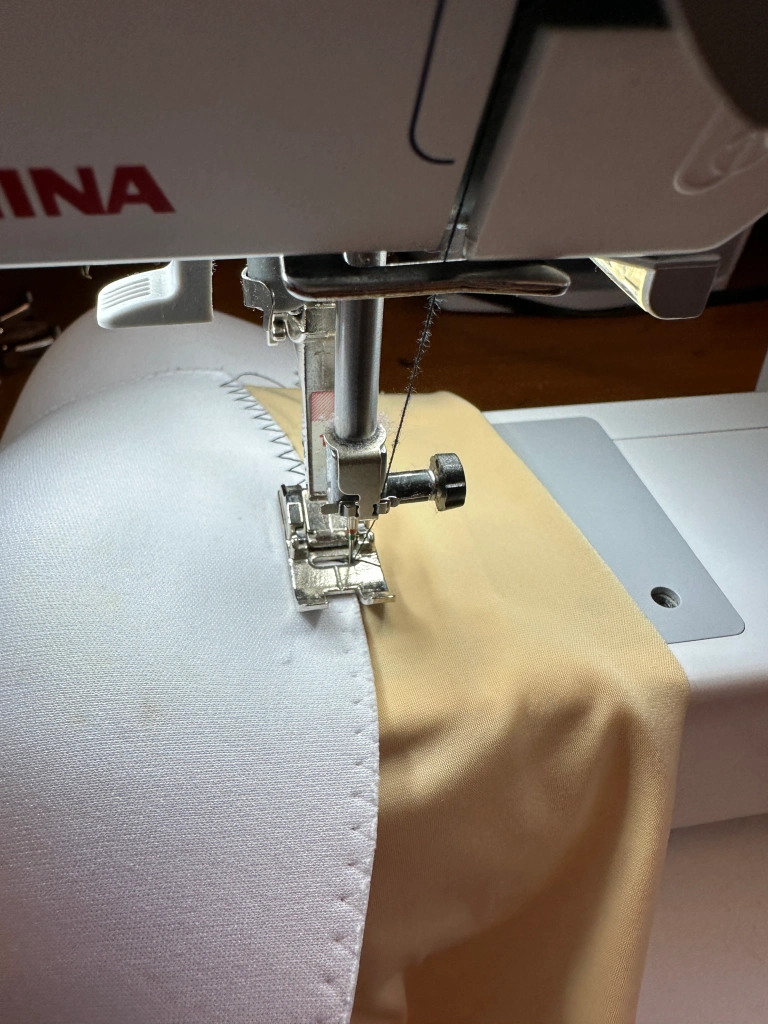
I widen my zig-zag as wide as it will go and lengthen my stitch to a 3-3.5.
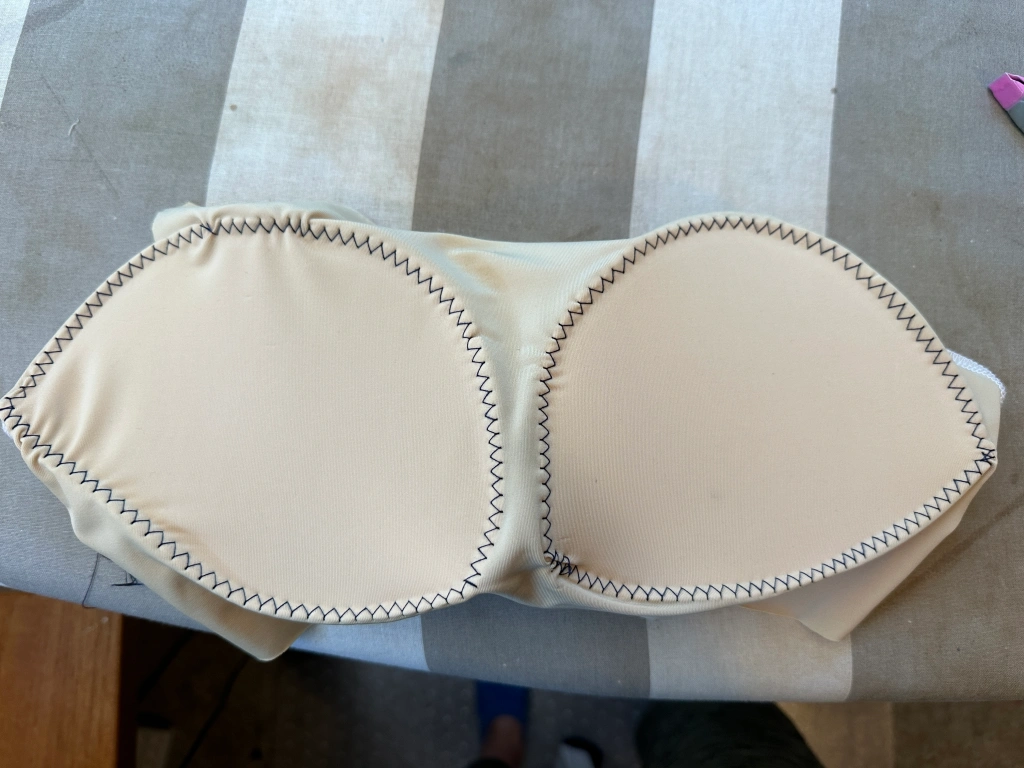
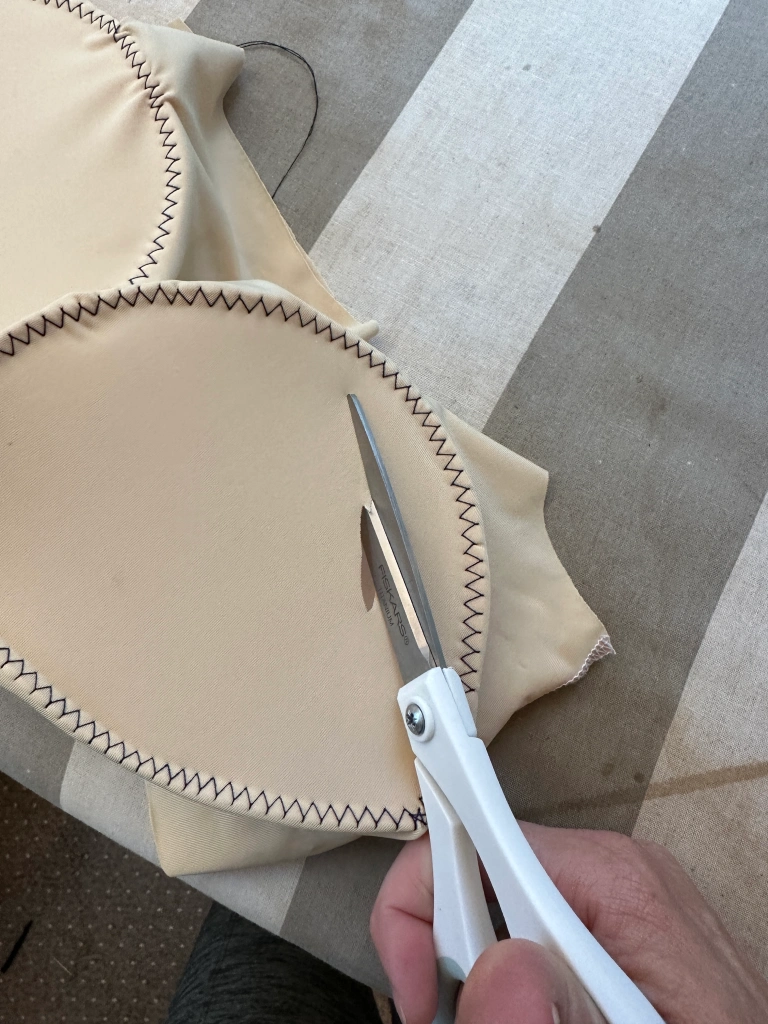
Flip the front bra piece over and trim away the lining fabric from the underside of each cup. Take care to only cut the lining and not the actual cup part.
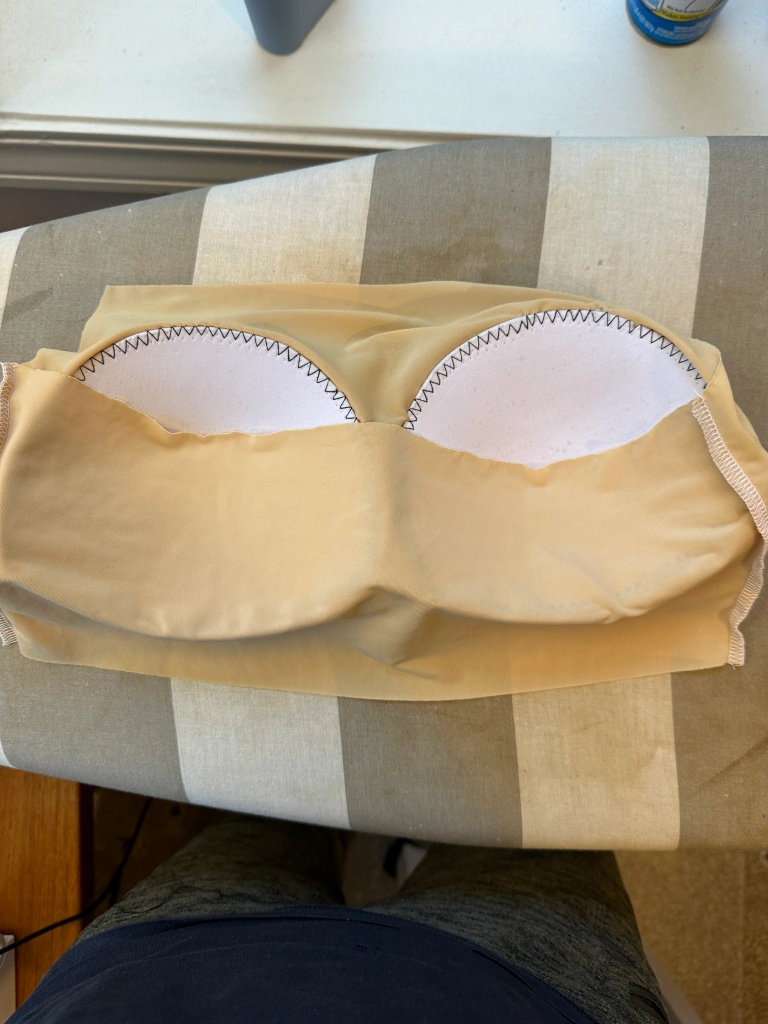
With the cups still face down, as shown in the last step. lay the back bra piece on top and sew together along the side seams. (Your side seam allowance will be out, towards the inside of the swim top. The won’t be worn next to your skin.)
Overlap your chest elastic 1/2″ and sew together.
Mark the bottom of the bra and the elastic off in quarters. Slide the elastic over the wrong side of the bra and match up the marked points. Stretch the elastic to fit and sew the elastic to the bottom edge of the bra with a serger or zig-zag stitch. Sew the top edge in place with a zig-zag stitch.
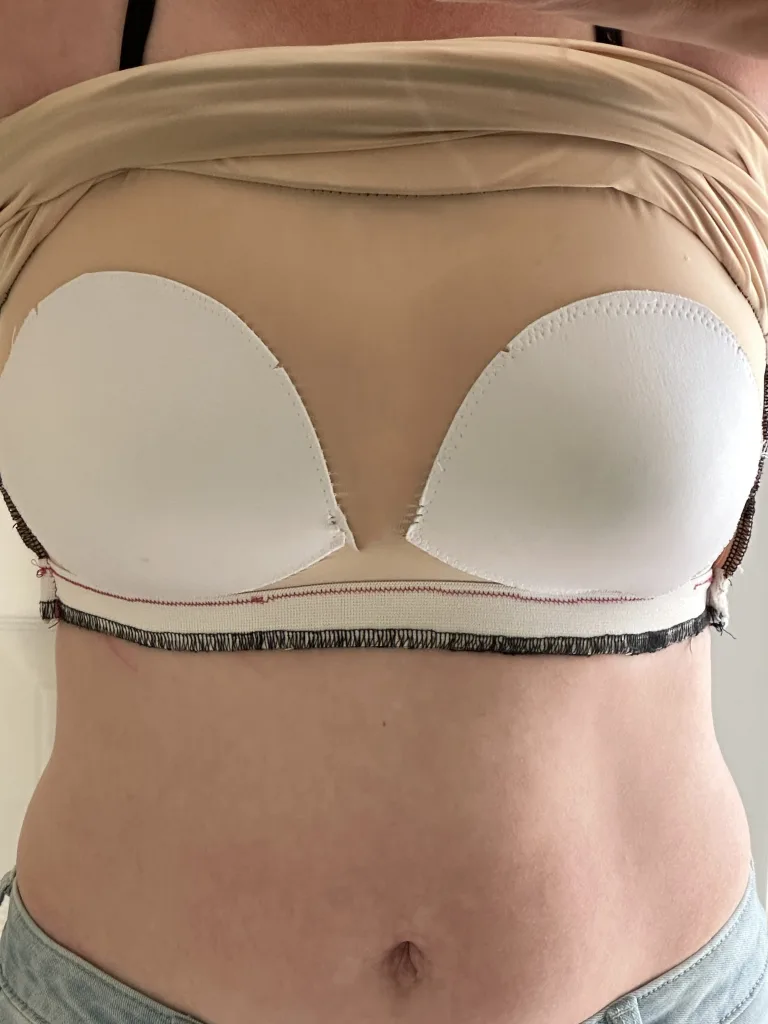
Continue constructing your lining and finish the rest of your suit as directed in the pattern.
Where to Get Your Swim Fabric?
KnitFabric.com has an amazing selection of swim fabric that will pair well with your swimsuit patterns from Peek-a-Boo Patern Shop.
Conclusion
And there you have it. Now you know all about adding bra cups to a swimsuit - whether you choose Removable or Permanent cups for your swimsuit. Use these techniques to get the best fit and bust support for swimsuits, bikini tops, sports bras and more.
Thank you for joining us today to learn how to add bra cups to a swimsuit! Before you leave, make sure to join our Facebook Group and follow us on Instagram. Happy Sewing and Happy Swimming!

