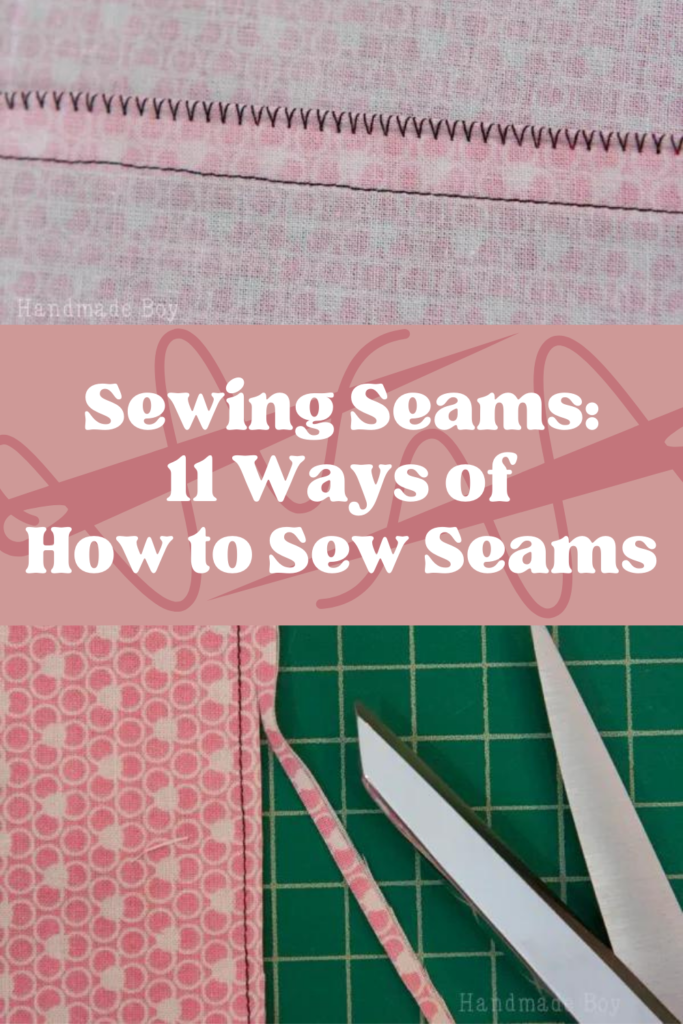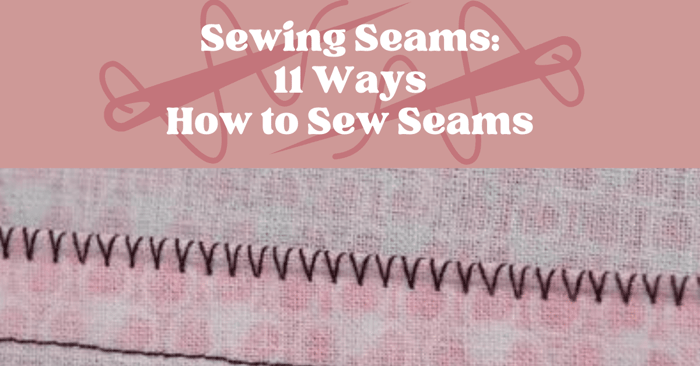
11 Ways of Sewing Seams in Your Projects
Are you ready for the mother load of information on sewing seams or how to finish a seam? I hope so because I have the best tutorial for you!
A seam is a line (or lines) of stitches that joins two pieces of fabric together. There are several different ways to accomplish them depending on how sturdy you need the stitches to be, what type of fabric you’re using, and what type of sewing machines you have.
A regular sewing machine can do many of these stitches. Some people think you have to have a serger to make a beautifully finished edge – but I’ll show you that isn’t necessarily true. The most professional results don’t use a serger at all. No more serger envy folks! Okay, so that may be taking things a little far. But I will show you that you don’t HAVE to have a serger. You may want to pin this post for future reference. 😉
Alright, with all of that out of the way let’s start with the basics of finishing seams and build from there.
How to Sew Seams | 11 Methods
How to Stitch a Seam Method 1: Straight Stitch Seam Finish
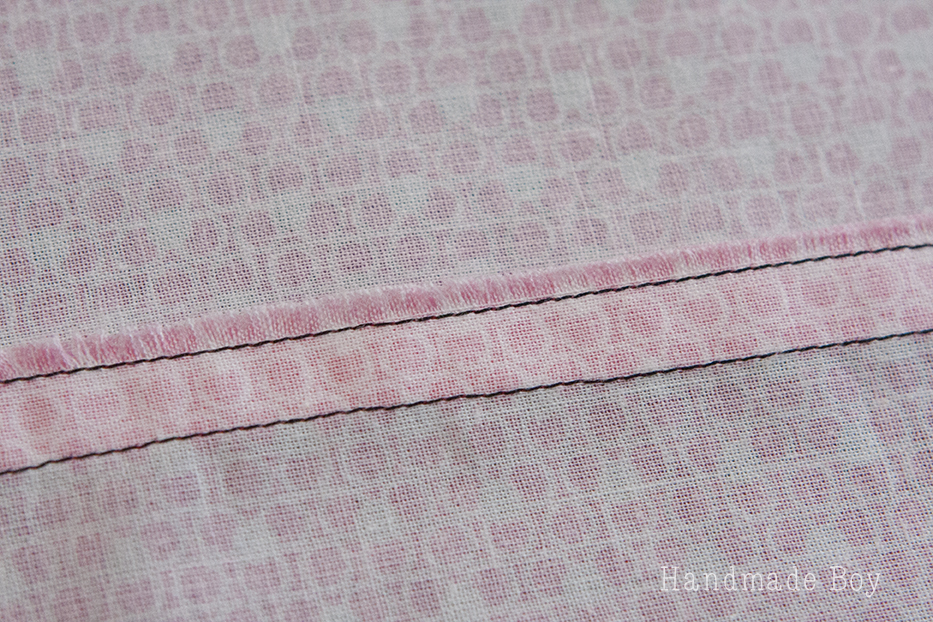
The easiest way to finish it is to sew a parallel line to keep the raw edge from unraveling.
Simply sew using the seam allowance given in your pattern. Then sew a straight stitch 1/8″ from the raw edge. Keep your stitches short to help minimize fraying.
You will still have some fraying with this technique, but it reduces it greatly. I wouldn’t recommend this type of finish on anything that would have an exposed seam. However, it would help strengthen it. It would be good when a seam is hidden if you have a fabric that frays a lot, like flannel lining a jacket.
Sewing Seams Method 2: Pinking Shears
You can also use pinking shears with this technique to help minimize fraying even more. If you do this, sew your second straight stitch 1/8″ from the first and then clip the seam allowance with your pinking shears.
Using pinking shears (or “pinking”) is a quick and easy way to add structure and stability to the seam to prevent it from fraying in the future. Some also choose to use the pinking shears on the raw edges of fabric before sewing the seam. Whatever you do, make sure your pining shears are sharp!
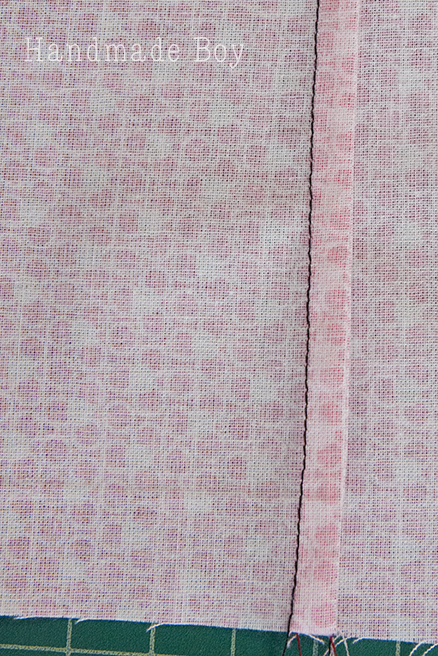
Method 3: Clean Finish Edge
Sew a straight stitch using the seam allowance given in the pattern. Press the seam open. Now, press the edges of the fabric under 1/8″-1/4″ to the wrong side and stitch into place.
The back side of the seam allowance is shown above.
This finished edge will produce a little more bulk. It also requires a bit more work at the iron. But it does keep fraying at bay providing a nice clean finish.
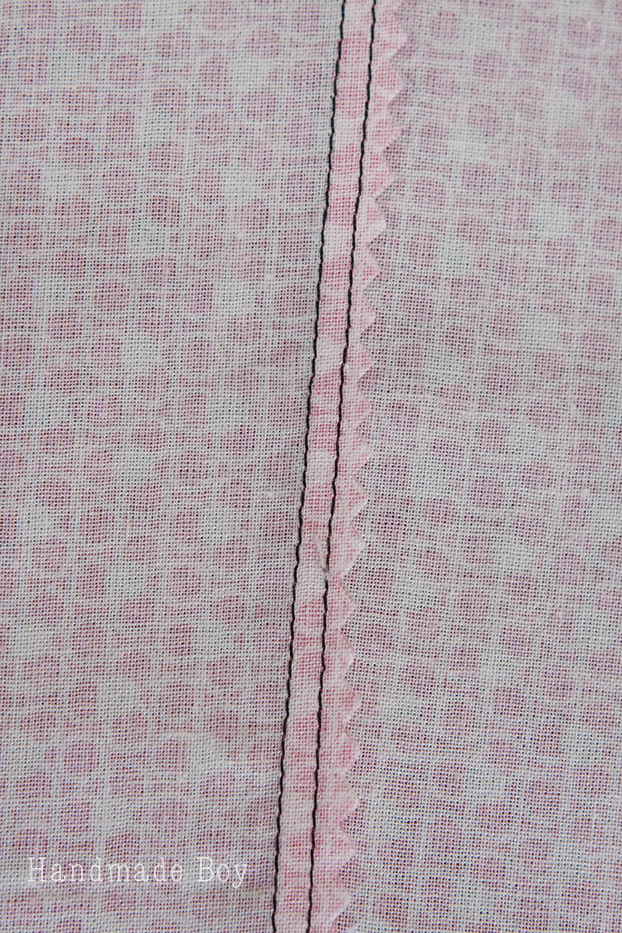
Method 4: Zig Zag Stitch

For this finish, you are simply going to run a short, wide zig zag stitch right at the edge of your fabric to encase the raw edge to prevent fraying. If you don’t have a serger (or overlock machine) this is a widely used stitch for knit or woven fabrics.
This technique will get the job done if you don’t have any other technique available to you. It’s also fast and doesn’t require extra time at the iron or special feet for your machine. Be sure to use a short stitch length. It will help reduce the amount of fraying you get.
Method 5: French Seam Finish
This will completely encase the raw edge. It is great for light weight and sheer fabrics that would be too delicate for an overlock stitch or a zig zag stitch. It isn’t great for heavier weight fabrics because it can cause extra bulk. It is also only suitable for straight seams.
To create a French seam using a 1/2″ seam allowance, first sew your two fabrics WRONG sides together using a 1/4″ allowance.
Then, trim the allowance down to 1/8″ and press open.
Now fold the fabrics RIGHT sides together, encasing the raw edge from the previous one, press and stitch again using a 1/4″ allowance. Voila! A completely encased seam.
Method 6: Mock French Seam
The mock French seam encloses the raw edges completely giving a nice finished look. It’s good for curves, clip the seam allowance after pressing the edges into the middle to allow the fabric to make the curve without bunching. Again, it can produce a bit of bulk, so it is best for mid to light weight fabrics.
Sew your fabrics right sides together using the pattern allowance. Press it open.
Fold the raw edges in, meeting in the middle of the seam and press.
Now fold the folded edges together and stitch.
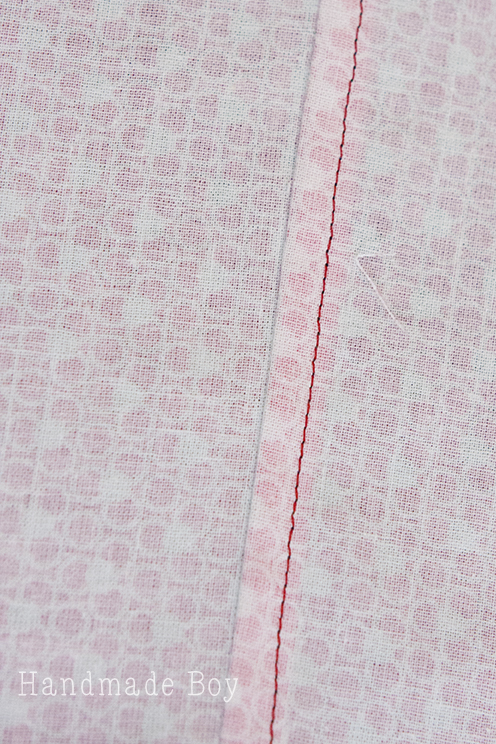
Method 7: Flat Felled Finish

This is a style that you will most often find on jeans. It’s super sturdy, has a very clean, professional finish and lays nice and flat, as the name suggests. This is a great finish for people with sensory issues or for kids who are super rough on their clothes. (ripped inseam problems, anybody??)
To sew a flat felled seam, sew your fabrics WRONG sides together using the pattern allowance. (I am going to use 1/2″ for this example.)
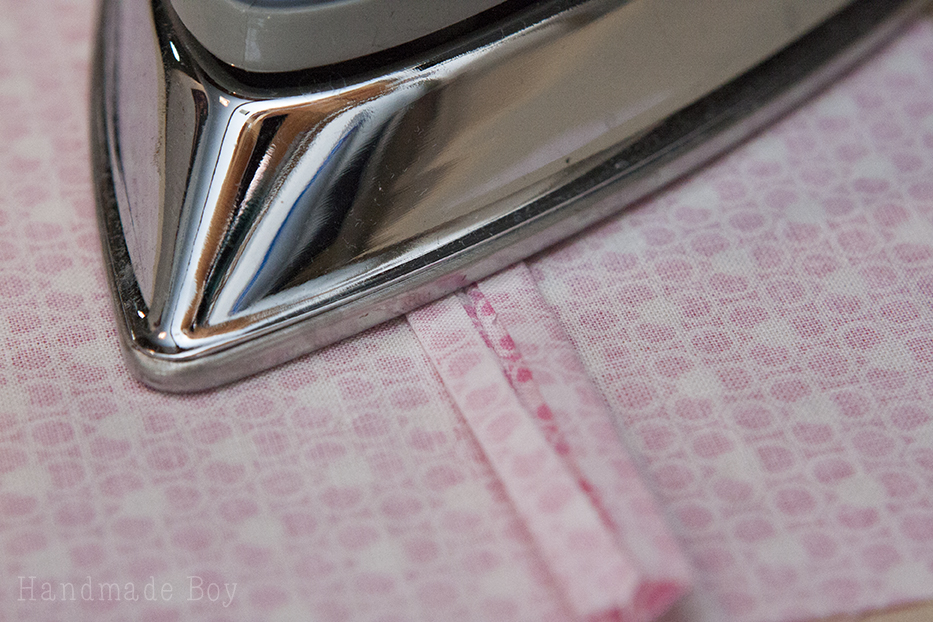
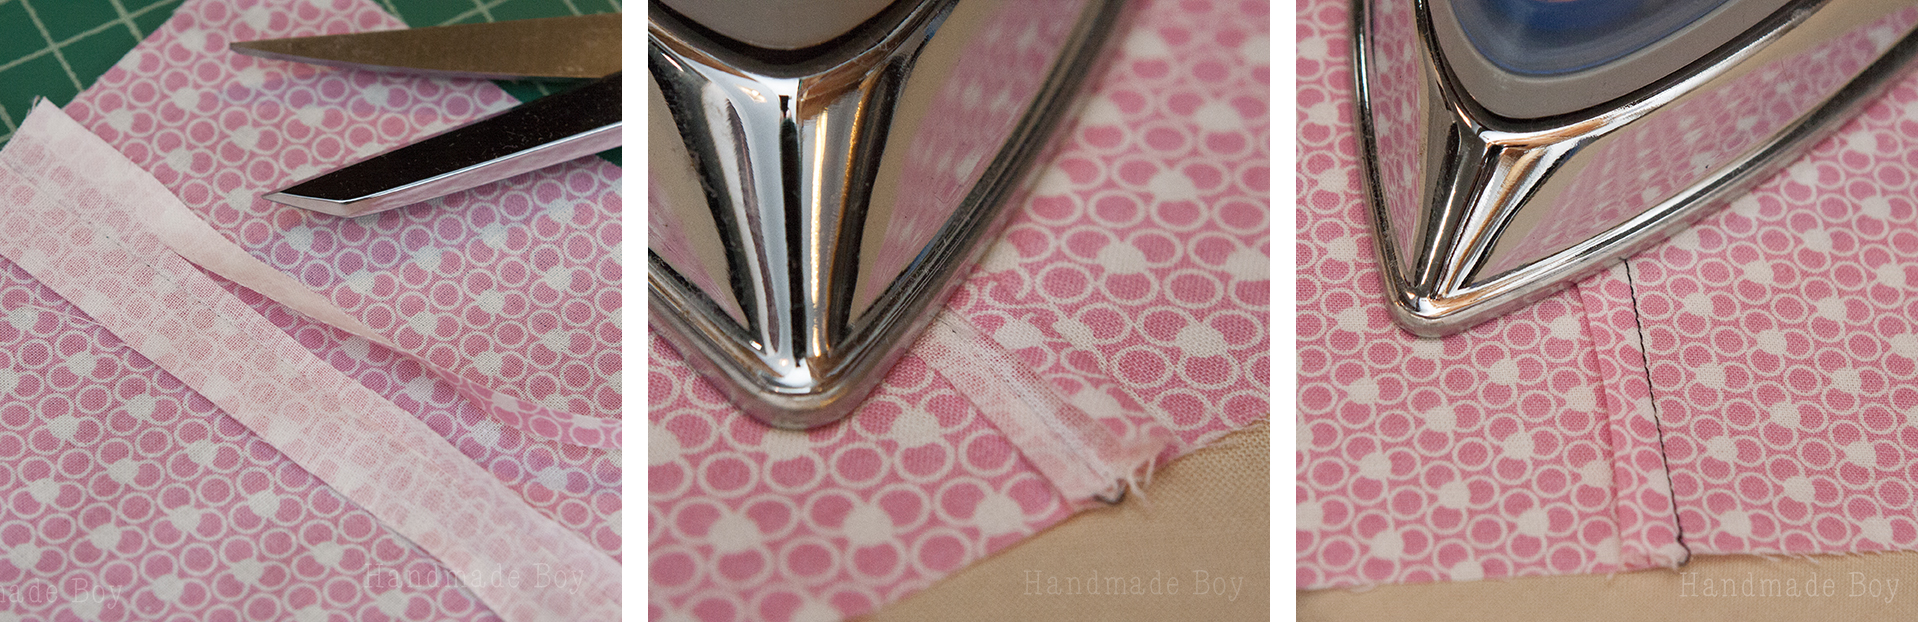
Trim ONE side of the allowance in half. Press it open. (left picture below)
Fold over the longer allowance so that the raw edge meets up the the stitch line and press. (center picture below)
Now, fold over the seam allowance once more. You are folding the longer allowance over the shorter side. All the raw edges are tucked nicely away. Press. (right picture below)
Stitch the seam allowance into place.
Here is what your back will look like. The red stitches are my bobbin thread from topstitching the folded seam allowance down.
Beautiful! Don’t you feel like a rock star after that one!
Method 8: Overlock Stitch Seam Finish
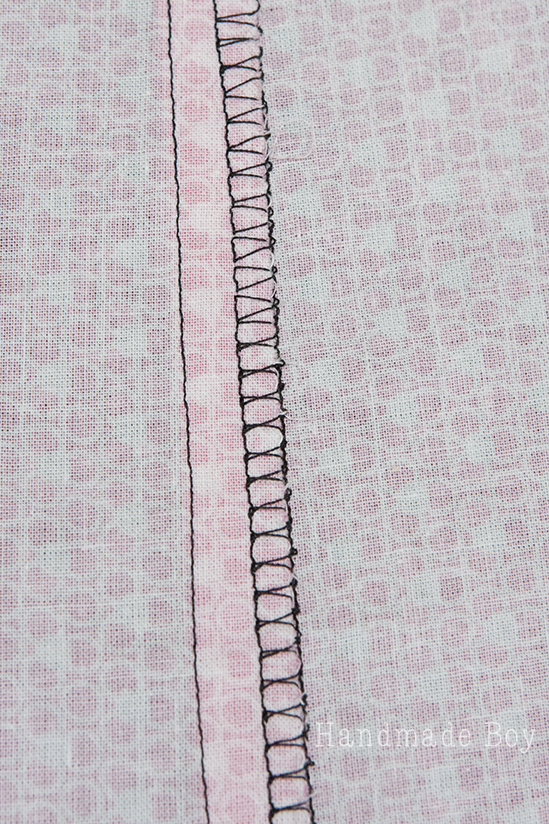
Some machines have a special overlock stitch that will mimic the look of a serged seam. Look for this symbol in your stitch catalog. It’s stitch 12 on my machine.
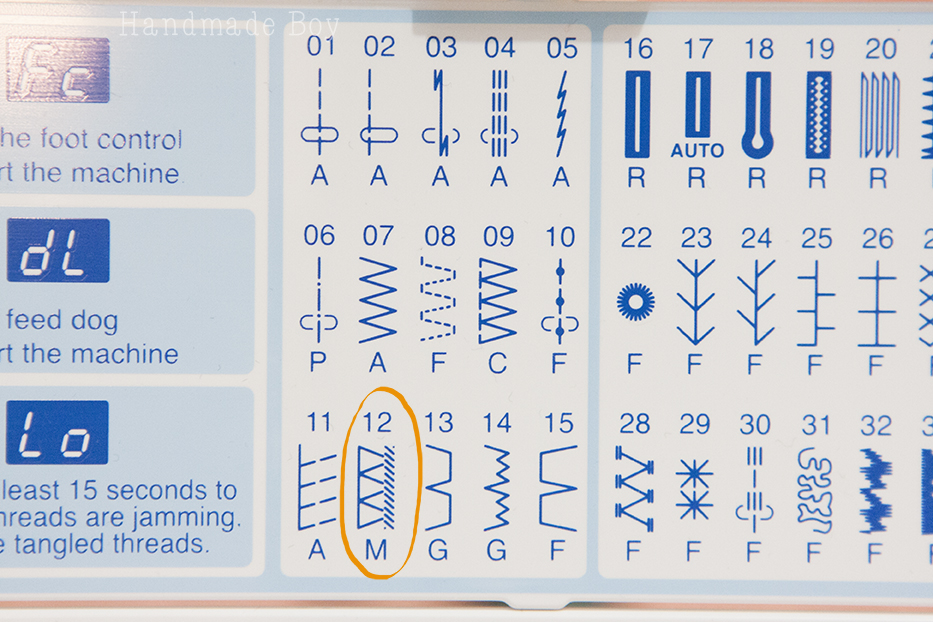
You will also have a special foot.

You will still need to use a straight stitch to join your seam. Then, go over the raw edge with the overlock stitch. See the little black flared edge at the front of the foot? That is your fabric guide. Just line the raw edge of your fabric up with the left side of that little piece and sew. Trim off any excess fabric from the edge, if needed.
This stitch is great for any exposed seams because it will really keep fraying at bay and it isn’t bulky. Some people may find it irritating, but pressing the seam down and topstitching the seam in place will help protect against irritation. If you have a large allowance, you can trim it down to 1/4″ before overlocking to reduce it.
We talked seams, now let’s go over the different techiniques for how to finish a seam.
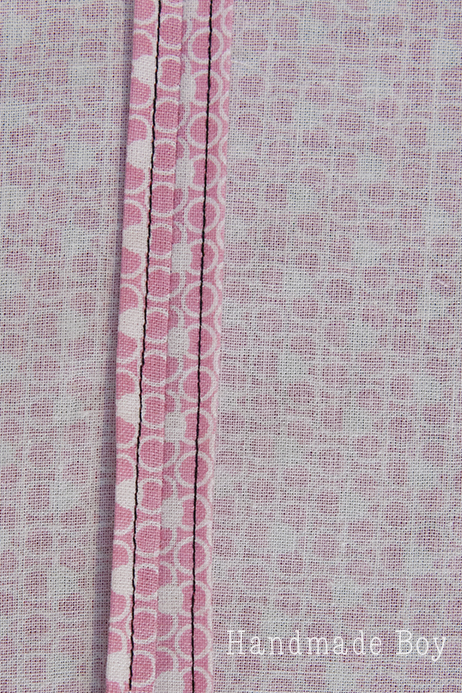
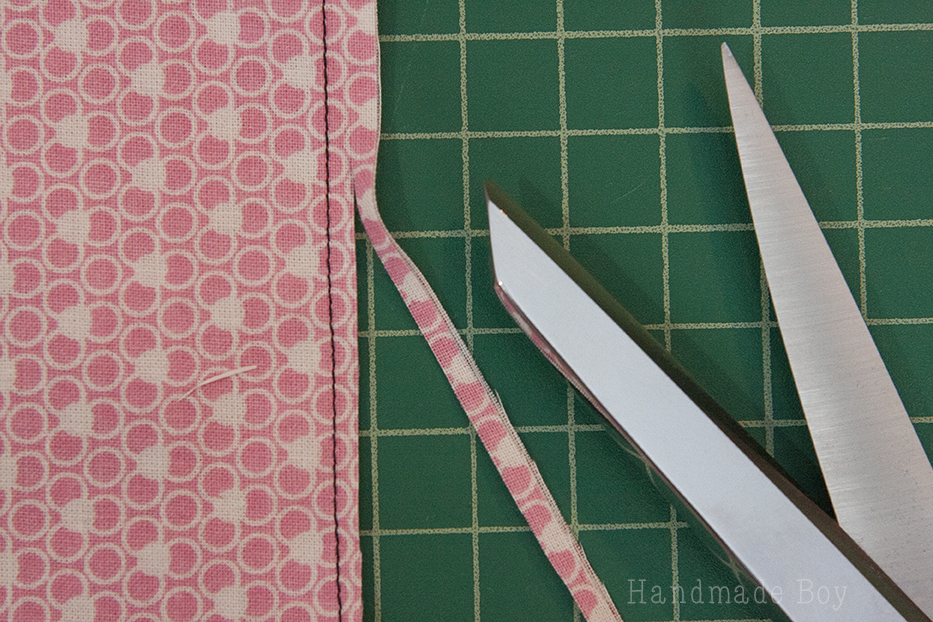
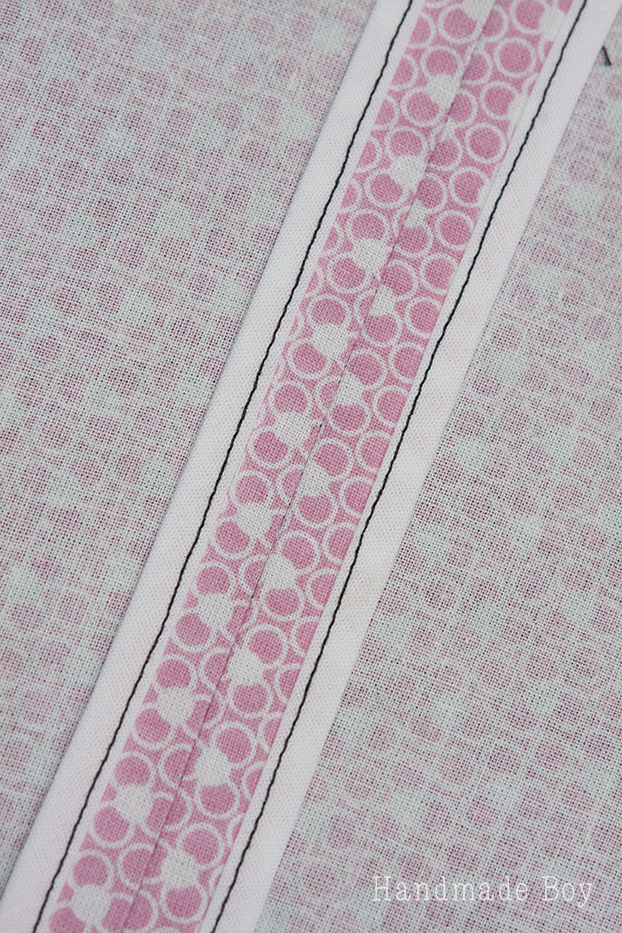
Method 9: Bias Tape Bound
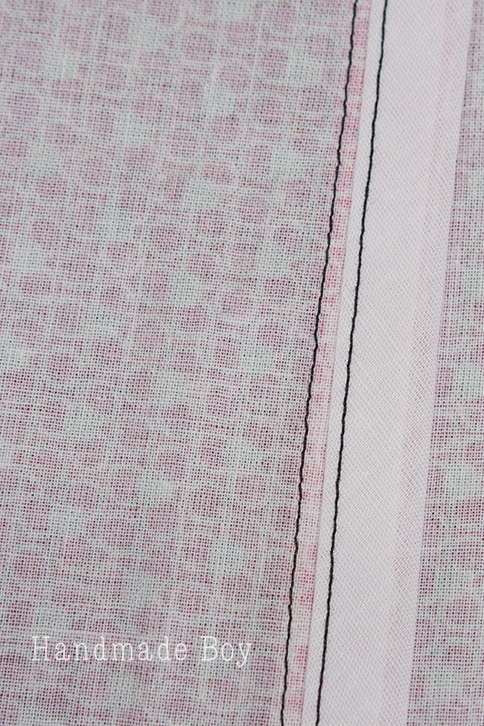
Just like the name suggests, this method uses double fold bias tape to encase the raw edges.
Sew the seam as usual with right sides together. Insert the raw edges into the center of the double fold bias tape.

Stitch binding into place.
The binding will add some bulk to your seam, but it gives a very nice, clean finish. You can find this in unlined jackets. The bias may be topstitched into place from the right side of the fabric to keep it laying flat.
Method 10: Hong Kong Seam
This method is usually only found in high-end clothing because it is time-consuming. It works well for woven fabrics and nicer garments.
Similar to the bias-bound, each seam is encased in its own bias strip. You know the packs of thin bias tape, this is one use of that. Of course, you can make your own bias strips as well. Sew your fabric’s right sides together. Press it open and insert each raw edge into the bias strip. Stitch strip in place.
Method 11: How to Finish a Seam with a Serger/Overlock Machine

A special machine is needed for this finish, a serger, or overlocker, depending on your region. A serger is a multi-thread machine that sews a durable seam, trims the allowance and encases the raw edge simultaneously. This makes sewing super fast. Sergers are also commonly used to construct knit garments because they allow the seams to stretch with the fabric.
And there you have it with sewing seams! You know how to finish a seam eleven different ways!
Can you sew seams without a sewing machine?
Yes, you can sew seams without a machine. Hand sewing is a traditional and versatile method that allows you to create strong and secure seams. It may take longer than using a sewing machine, but it gives you more control over the stitching and is a great skill to have.
Other Methods of How to Sew a Seam
Kelly did an amazing job of covering many different ways of sewing seams. Just as a matter of reference, I’d like to just mention some more ways to finish seams just to make sure you’re sewing vocabulary is up to par:
- Plain: A plain seam would be similar to the straight stitch above except you use only one row of stitching.
- Hemmed Fell: We went over the flat felled seam above. The hemmed fell is similar. You make it like you would make a flat felled one. The difference is that on the second set of stitches near the fabric edge you make hemming or overhand stitches by hand.
- Overhand Fell: The overhand fell seam is like the hemmed fell. The difference is that both seams in the fabric are done with overhand or hemming stitches rather than just the one on the side of the unfinished fabric.
- Lapped: A lapped seam is somewhat of a decorative finish and not terribly common. It’s how it sounds – one where the edges overlap and the finished side of the garment is left with a loop or portion of fabric protruding out that is not stitched down. Here’s a good tutorial: https://www.youtube.com/watch?v=PkLdfHjttcs
- English Stitch:
- Welt: The welt seam is decorative. It’s often used on thicker fabric. It’s similar to a flat felled seam but you finish the top seam allowance with a serger, zigzag stitch or pinking shears.
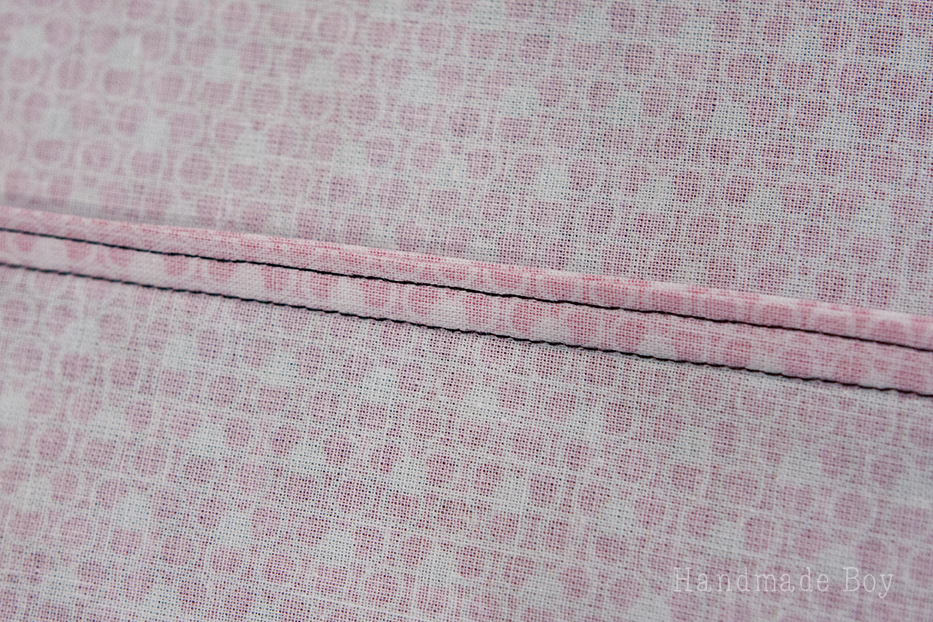
- Piped: This is simply a seam where you attach two pieces of fabric using a piece of piping that will be visible on the right side of the garment.
If you need help with your seams, or other projects, be sure to join our Peek-a-Boo Pattern Shop Facebook Group.