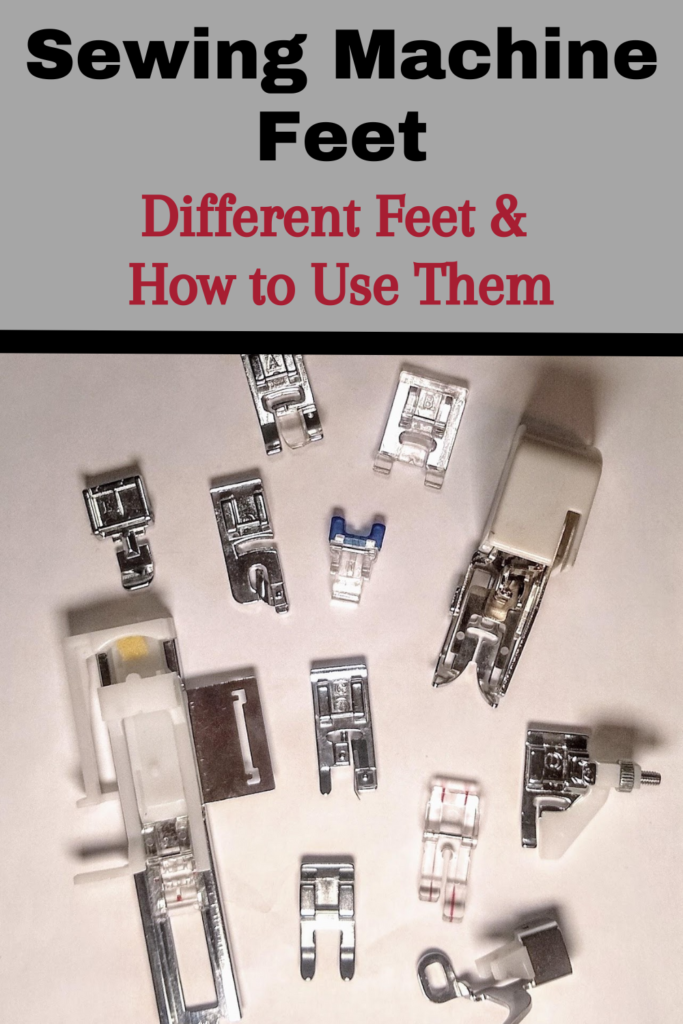
Guide to Sewing Machine Feet | Different Feet and How to Use Them
Specialty sewing machine feet are certainly some of these tools that can be super helpful for specific sewing tasks. Many tools in the sewing world can be utilized to make our lives, as sewers, easier! While the basic sewing machine foot is a standard part of every machine, loads of auxiliary machine feet can be exchanged with the normal foot. Today’s article is all about helping you become more familiar with the most common machine presser feet to help you get great results in your sewing projects whether your sewing clothes, making a quilt, or more.
This article will go over the most popular 12 sewing machine feet.
Sewing Machine Feet

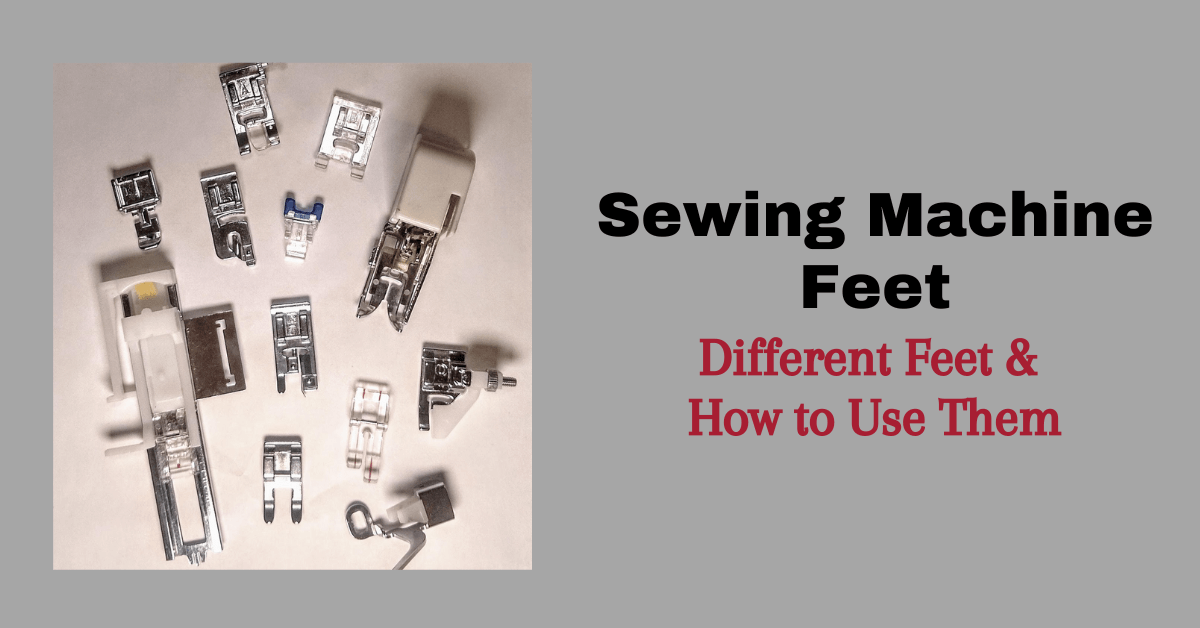
#1 All-Purpose Foot
The all-purpose foot, also called general-purpose, or standard foot, is the one-presser foot that always comes standard with every sewing machine. Like the name implies, it can be used for a wide variety of stitches from straight to decorative. It has a wide needle slot which allows for stitches with a wide stitch width, as well as a surface area that aids the feed dogs in moving the fabric through the machine. This is the foot that is used most often as it is compatible with most fabrics and is great for basic sewing.
This presser foot is essentially going to be the foot that all sewers learn to sew with. Therefore, there are not really any special directions to using an all-purpose foot so hopefully you don't have to get out your manual too much with this one!
#2 Zipper Foot
In my opinion, a zipper foot is crucial for anybody who wants to sew with zippers. Though you may be able to finesse your way into sewing a zipper with a general-purpose foot, it will most likely never look as clean and well-finished as it would using a zipper foot. This is because the shape of the zipper foot allows for the stitch to get closer to the teeth. Luckily, many machines today come with a zipper foot!
Because the zipper foot is designed to allow the needle to sew right alongside the zipper teeth, many sewers also similarly use this foot for other bulky notions such as piping and cording. A zipper foot should be attached to the machine on the right or left, depending on which side of the zipper is being sewn. Attach the foot on the left side when sewing the right side and vice versa.

Keep in mind that this zipper foot is meant for zippers with exposed teeth, there is an invisible zipper foot which is meant for invisible/concealed zippers. The invisible zipper foot has two canals down the center which fold the coils away from the zipper tape while sewing. Like the regular zipper foot, it is designed to get the needle as close to the teeth as possible for the neatest zipper application.
#3 Walking Foot / Even Feed Foot
If you’ve ever experienced your layers of fabric being pulled through the machine at different rates while sewing, the walking foot is the solution to this problem. Also called the even feed foot because it does just that: it feeds the various layers of fabric through the machine evenly. This foot is great when working with multiple layers, heavy weight fabrics, or fabrics that like to stick to the needle plate. Because quilting requires sewing with many layers, many quilters will find this foot helpful in keeping all of their layers perfectly aligned. From a garment sewers perspective, I absolutely love this foot to ensure that my lines always match perfectly when sewing with stripes.

The even feed foot is not a snap on foot, therefore the presser foot holder needs to be removed to attach the foot. The foot will attach to the machine via the presser foot screw. When attaching the foot, make sure the arm on the foot is lifted above the needle clamp screw.

#4 Rolled Hem Foot
A rolled hem foot can be used to create a very narrow hem all in one pass. It does this by folding the fabric under as the hem is being sewn. It is most suitable for lighter weight fabrics.

How to Use a Rolled Hem Foot
To create a narrow hem using a rolled hem foot, you will fold the hem over approximately an ⅛” twice as it feets into the tunnel on the foot. When starting a rolled hem it’s easiest to first sew a few stitches on the twice folded hem to anchor the fabric before feeding it through the foot. Once a few stitches have been established, with the presser foot up and the needle down, use an object such as a tweezers or seam ripper to help guide the folded fabric into the tunnel of the foot. As you sew, fold the fabric as needed a few inches at a time while it’s being fed into the foot.

If you look straight into the presser foot you can see a sort of “ridge” on the bottom; to ensure your hem is laying correctly inside the foot, keep the raw edge of the fabric aligned with this ridge.

#5 Blind Hem Foot
The blind hem foot is compatible with machines that have a blind hem stitch. The purpose of this stitch is to create a nearly invisible hem on the right side of the garment.

How to Use a Blind Hem Foot
A blind hem requires a specific folding technique which will ensure your stitch comes out nearly invisible. If you are unfamiliar with how the fabric should be folded, below is a visual that I hope will be of help.

The blind hem stitch works by sewing straight stitches onto the hem allowance with a zig-zag stitch about every 3-4 stitches that barely catches the folded edge. When stitching, align the guide of the blind hem foot just past the fold. (Some guides on blind hem feet adjust, so you may position the guide to be situated where you find it most helpful.)


After stitching, unfold and press to find a nearly invisible hem.
#6 Button Sewing Foot
When sewing buttons on by machine, the button sewing foot can be used to hold the button firmly in place while also allowing for a full view of the button holes. Additionally, this foot has a small slit in its center where you can place a pin if you are wanting to sew a button with a shank.
 How to Use a Button Sewing Foot
 How to Use a Button Sewing Foot
Place the button under the foot so that it is secured in place while also having all of the holes exposed. You can use a zig-zag stitch that has the width equal to that of the buttonhole spacing, with a length of zero. I always check my settings and alignment by slowly turning the hand wheel manually a few times before using the foot pedal to sew the button on.


#7 Automatic Buttonhole Foot
The automatic buttonhole foot is for machines that have a 1-step buttonhole feature. This is one of the greatest features on a sewing machine in my opinion, and luckily, many modern machines are equipped for a 1-step buttonhole!

To set up an automatic buttonhole foot, you must place the button into the base of the foot. This is how your machine will know what size to make the buttonhole. After the foot is attached, but before sewing begins, the buttonhole lever on the machine needs to be completely lowered.


Additionally, for proper placement of the fabric while sewing, align the horizontal hashes on either side of the foot to the top horizontal line of the buttonhole marking, and the vertical hash on the center of the foot with the vertical line of the buttonhole marking. 
#8 Satin Foot
The satin foot is meant for sewing decorative stitches as well as any stitching done with heavier weight threads. The satin foot looks fairly similar to a general purpose foot, the difference being the way the satin foot is indented on its underside. Also, the foot is often clear so that the stitches can be easily monitored while being sewn. Because of this groove on the underside of the satin foot, it is able to glide smoothly over thick stitches that a general purpose foot may get caught up on.

When using a satin stitch foot on decorative stitches, it is a good idea to sew slowly for even stitches. You can use decorative stitch presets that may come on your machine, or create your own. You can draw out a pattern or design line with a marking tool on your fabric and use a zig-zag stitch with a short stitch length and wide stitch width to create your own design.

#9 Open Toe Foot
The open toe foot is designed to allow for greater visibility when sewing and, like the satin foot, has a groove on its underside. Therefore, it is well suited for decorative stitching, doing surface embellishments, as well as sewing appliques.

An open toe foot is best for very thick stitches as it has the most open viewing area. Though it may not be suitable for a fabric that has difficulty feeding through the machine as it has a low surface area to apply pressure to the fabric. You can follow the guidelines for using the satin stitch foot for also using the open toe foot.

#10 Straight Stitch Foot
For a straight stitch void of skipped stitches or wobbles, you may want to try the straight stitch foot. This foot has a small, circular needle slot which gives the foot more surface area to hold onto and guide the fabric as it moves under the foot. The small needle slot also aids the thread in locking uniformly to create that perfectly straight, straight stitch. I love to use it for the perfect topstitch!

The straight stitch foot has a needle slot only large enough for a straight stitch. Therefore, when using this foot it is important no other stitch be used as that will result in a broken needle and a potentially damaged foot. It does not matter the stitch length, but the width must always be set to zero.

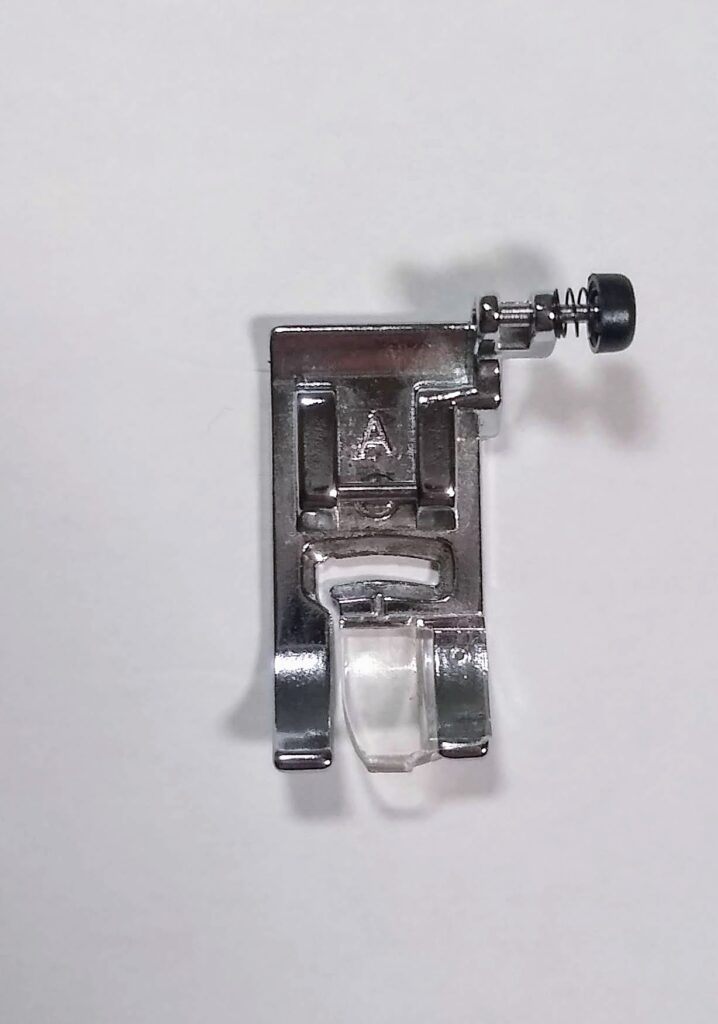
#11 Darning Foot/Free-Hand Embroidery Foot
The darning foot, or free-hand embroidery foot, removes the limitation of only being able to stitch forward and backwards, while also protecting your fingers from the needle. With the feed dogs lowered, fabric can be moved freely under the needle at the guidance of the sewer. As its name suggests, it is most frequently used for darning and free hand embroidery.

A darning foot will need to be secured to the machine with the presser foot screw in place of the presser foot holder as it is not a snap on foot. The arm of the foot should rest on top of the needle clamp screw once attached. For full mobility in any direction, lower the feed dogs when using this foot. You will use your hands to gently guide the fabric under the needle in any direction desired.

#12 Overcasting Foot
If you don’t have a serger, using a regular sewing machine with an overcasting foot can be a great option. The anatomy of the foot allows for the stitches to wrap around the edge of the fabric creating a very similar finish to that of a serger. The biggest difference between using the overcasting foot on a regular sewing machine vs. a serger is that there is not a blade to cut the seam allowance while sewing.

When using the overcasting foot, sew with the raw edge of fabric right against the guide plate of the presser foot with an overcasting stitch.

And that’s a wrap on twelve of the most common sewing machine feet! There’s a decent chance some of these feet come with your brother, janome, juki or other machine, but if not, auxiliary presser feet are typically readily available for purchase to add to your sewing room. Remember when purchasing auxiliary presser feet, to check whether your machine is low or high shank, and double check that you are purchasing a foot that is compatible with your specific machine.
Some feet may advertise as universal but that isn’t always the case as different machine models and makes may vary slightly in size and ways of attachment for presser feet. Buying straight from the manufacturer for your specific machine is always a safe way to go.
If you have never used some of these feet I encourage you to try them out! Becoming familiar with using specialized machine feet can really take your sewing game to the next level. Which new presser foot will you be trying next?
Thank you for joining us today. Before you leave, make sure to stay in touch by joining our Facebook Group or following us on Instagram.