Romper Snap Placket Tutorial
Hey there, Peekaboo Pages fans! I've been seeing this romper show up ALL over the Peekaboo Facebook group so I know you're loving it...and now I know why! It's such a quick sew and it's SO CUTE. Since there have been a few requests for a romper snap placket tutorial, here you go :)
Romper Snap Placket Tutorial
So the supplies you're going to need are pretty basic:
- The Lil' Rascal Romper pattern
- Kam snaps or open-ring snaps, whatever your preference is for no-sew snaps
- some knit fabric to match the romper
- some small scraps of lightweight fusible interfacing
Cut out your pattern pieces for the romper as directed in the pattern. There's a slight change in construction for adding the placket. You'll want to sew the shoulders, side seams, neck and arm bindings, but leave the whole bottom open for now, like this:
Now using the pattern piece, making a snap facing pattern by tracing around the fold line and curve/inseam to bottom leg opening. Then you want to make the facing piece about 1 1/4" wide. You can eyeball this (it's not an exact science!) or use a tape measure to measure out 1 1/4" from your inseam curve and line. Now I'm working with the shorts version of the romper, so if you're doing the pants, then your facing piece will be longer than this little one! You can see my tracing here in the first photo and then the addition of the line 1 1/4" away. Cut out your new facing pattern piece.
Sorry for the terrible photos guys...I was sewing at night (I can't even remember the last time I sewed during the day!) and these photos are less than stellar!
Cut two of your facing pieces out of the matching knit fabric, being sure to place them on the fold just like your original pattern piece was! Cut one out of fusible interfacing and fuse that to the wrong side of one facing piece.
Now with the right sides together serge or sew at 1/4" seam allowance around the outside curve. Turn right side out and press.
Ok, now we'll head back to the romper. Place the finished facing piece on the right side of the romper (front or back doesn't matter for this romper since it's the same on both sides. If you're adding this to a different pattern with a distinct front and back, this would go on the front piece.). Match it up and pin. Sew (I serged) around the inner curve with 1/2" seam allowance and then flip it to the wrong side and press.
![]()
Next we'll attach the leg bands. Cut out some pieces of interfacing 1/2" x 3" and fuse them on the wrong side 1/2" in from one side of the band:
Fold your band pieces in half lengthwise (hotdog bun style) and sew the end with the interfacing closed using 1/2" seam allowance. Turn it right side out and poke out the corner. Now one end of the band will be sewn and the other end open. That's perfect! Match up the closed end with the edge of the facing piece, wrong sides together and sew stretching band to fit around the side and to the other inseam. Repeat with the other leg. This is how the facing side will look:
This is how the other side will look:
Now take a tape measure and carefully measure the whole inseam of your unfinished edge:
Mine was 4 inches. Add 1/2" to that measurement. Cut a piece of matching knit to be your inseam measurement by 2" wide. So for mine, I cut a piece 4 1/2" x 2". Have your stretch running the long way. Also cut a piece of fusible interfacing 4" x 1" (or the original inseam measurement x 1"). Fold the placket piece in half lengthwise (hotdog bun style) right sides together, and sew the short ends closed using 1/4" seam allowance. Fuse your interfacing to one side. Turn right side out and press.
Pin to your unfinished inseam, matching the closed short ends of the placket piece to the bottom fold of the cuff, right sides together and sew using a 1/2" seam allowance.
This is how everything should look now:
I did some optional topstitching on the front and back plackets, but that's not necessary since you'll be putting some snaps there which will hold everything in place. I chose to use 5 #2o kam snaps (#20), but this amount will change depending on what size you make and whether it's the shorts or pants.
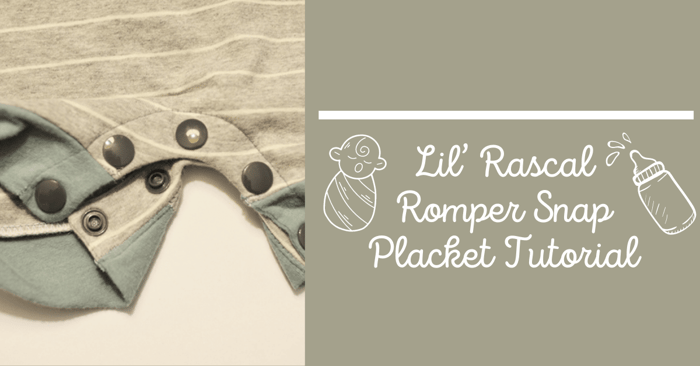
Study this photo to be sure you put your snap pieces on correctly! And that's it!
This is my chunky monkey 6 month old modeling a 9 month size....but I think it's time to work on some 12 mos clothes!!!
Happy Sewing!
Other Sewing Tutorials
We'd like to thank Sarah for this great tutorial. Make sure to also come visit us in our Peek-a-Boo Pattern Shop Facebook Group. Happy Sewing!


