How to Sew a Button-Up Shirt | Step-by-Step Guide
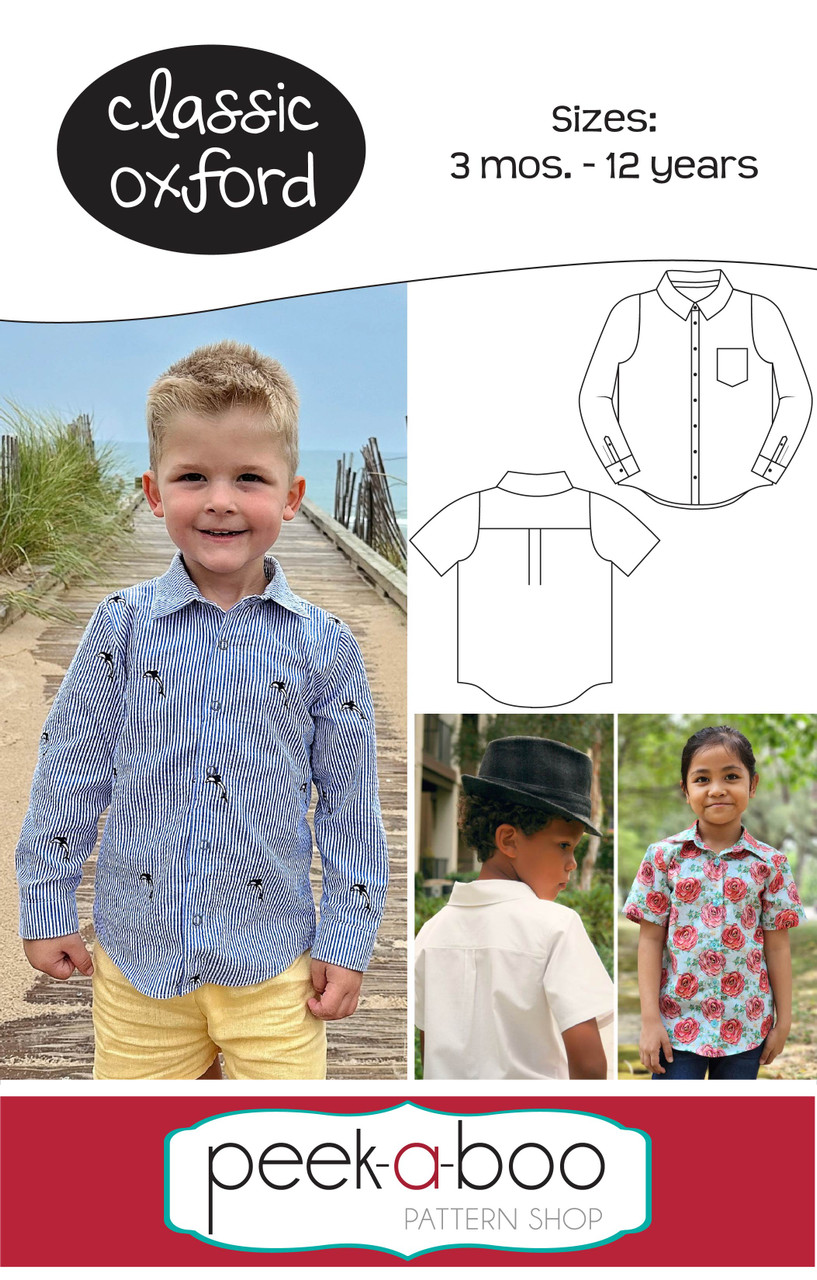
Learning how to sew a button-up shirt isn't as hard as you might think...it's especially easy with the Classic Oxford Kid's Button-Up Shirt pattern from Peek-a-Boo Pattern Shop. The design of this pattern includes a button-up front, a yoke at the back, a collar with a collar stand, and a curved hem. It also provides options for both short and long sleeves. You can dress it up by wearing a tie or with a playful print or comfortable flannel fabric. There are limitless possibilities for styling this pattern!
 Button-up shirts (or are they button-down shirts....) are a classic for any wardrobe. Sewing one may seem a bit daunting...but with the right tips and tricks it can be a rewarding experience. You'll be shocked at what you can create. In today's post I'll point out our detailed video tutorial for the Oxford Button-Up shirt, go through fabric selection, and give you a few other tips and tricks to keep in mind. Let's get started:
How to Sew a Button-Up Shirt Video Tutorial
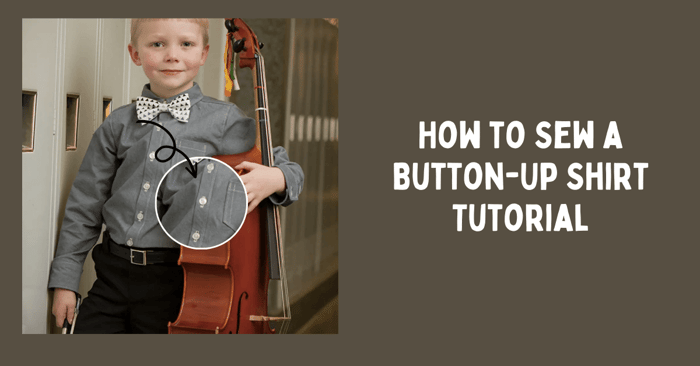
First, you need to know that we have a detailed video tutorial for the button-up shirt. This is a detailed 43 minute tutorial that will go through any and all issues you might face. Make sure to keep it as a reference as you go through the pattern.
What materials do I need to sew a button-up shirt?
To sew a button-up shirt, you will need fabric, matching thread, buttons, interfacing, a sewing machine or needle and thread, scissors, pins or clips for holding the fabric together, and a measuring tape or ruler to ensure accurate sizing and placement.
Other Tips and Tricks for How to Sew a Dress Shirt
Tip 1: Choosing the Proper Size shirts
Be sure to measure your child to choose what size to sew. Measure your child’s chest, how long their arm is from shoulder to wrist, and their torso from shoulder to wear you like the hem of the shirt to hit. When measuring the chest, you want your child relaxed with their arms at their side. Don’t pull the tape really snugly. You want it comfortable around the chest.
After you have the chest size determined, look at the finished length of the shirt body and sleeve and compare those to your child’s torso and arm measurements. Blend sizes to get the proper fit for you child.
Tip 2: Picking Your Shirts Fabric
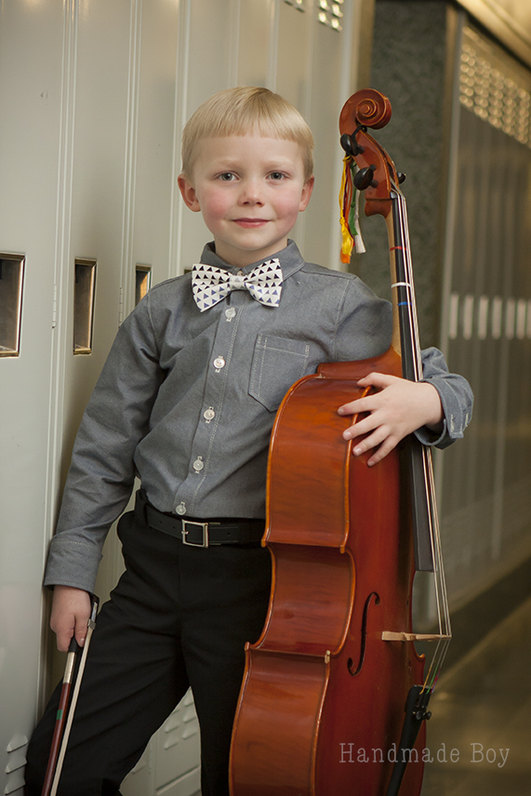
The Classic Oxford is a great pattern for that woven collection you may have sitting on your shelf. Woven cotton fabric, chambray, shirting, flannel, and what is commonly known as “quilter’s cotton” are all great fabrics. A solid fabric gives a gorgeous traditional button-up look perfect for dressier occasions. A Classic Oxford from solid fabric is my go-to for my son’s concert attire. Robert Kaufman chambray makes a gorgeous classic shirt.
Take a look at the Woven Fabric section at KnitFabric.com for inspiration.
Of course, you can always do a fun print for a more casual style. Who doesn’t love a classic flannel shirt? Flannel is great for the classic oxford. It’s wonderful for layering in the chillier months.
Tip 3: Don't Skip the Interfacing
Interfacing is a necessity when creating a professional-looking oxford button-up shirt. There are many types of interfacing available. Go with something lighter weight. You want a comfortable shirt! I prefer to use SF101. It gives a nice amount of stability, but doesn’t make the fabric stiff. Once you have your size determined and have your fabric picked out, cut out your pattern pieces.
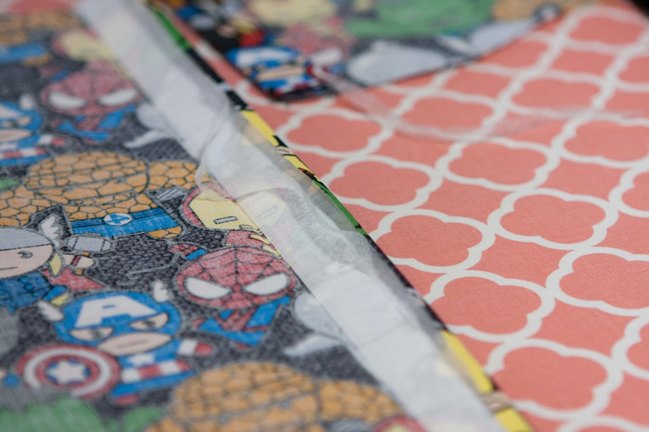
Don’t skip the interfacing! Apply your interfacing to your shirt where indicated in the pattern. After your interfacing is applied, create the button placket as instructed. I like to use some 1/4″ hem tape to keep the first 1/4″ fold in place.
Tip 4: Sewing Buttonholes
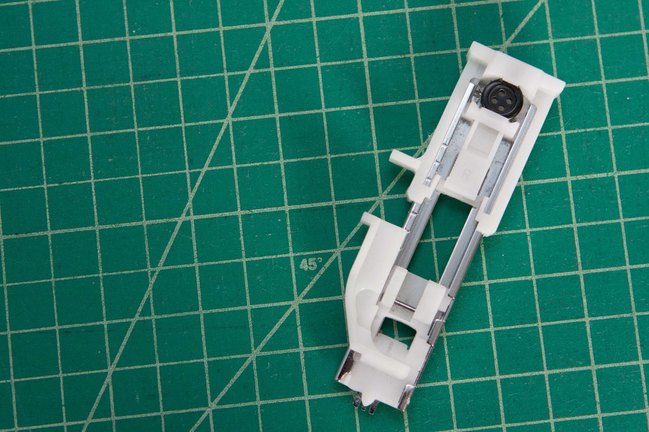
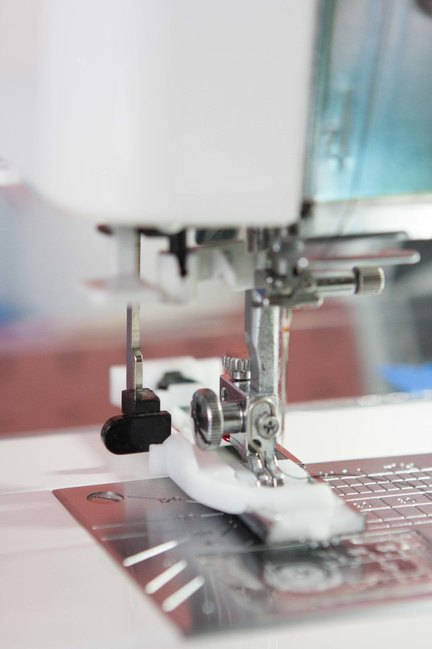
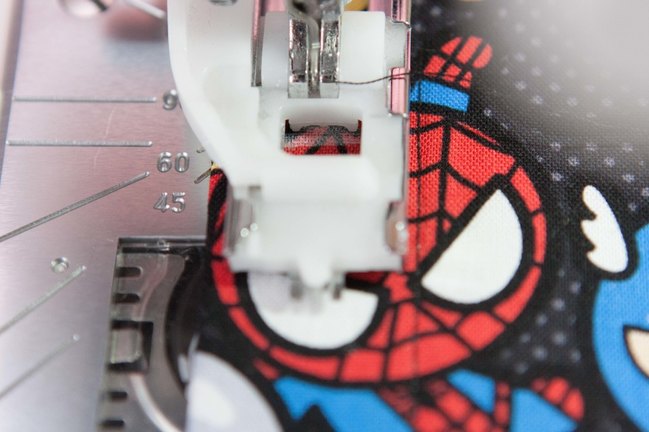
Most machines come with a buttonhole foot. Read your machine’s manual to find out how to use one with your machine. Most work the same. Put the button you will be using into the back end of the buttonhole foot. This tells your machine what size buttonhole you need.
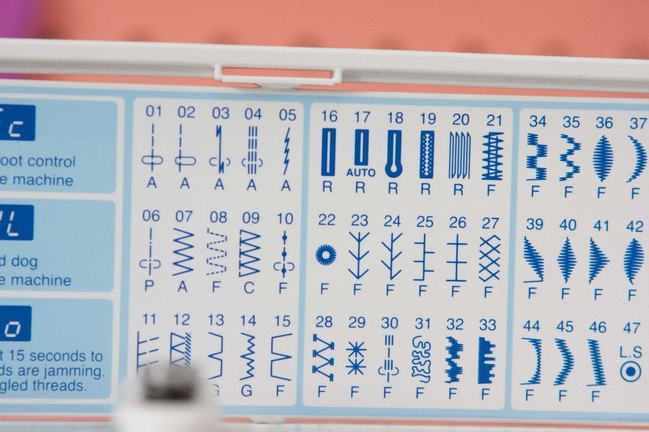
Select your buttonhole stitch. My machine happens to have several options. Number 16 is the stitch style most machines use.
There is usually a lever to pull down. This lever tells your machine how far to stitch before changing directions. It MUST be fully engaged to get the proper size buttonhole. PRACTICE making a few buttonholes on some scraps of fabric. It’s best to use the same fabric and interfacing you are using for your project.
Place the button placket under the buttonhole foot. Line up the mark you made with the tooth of the foot and make sure the foot is centered on the placket. My machine makes the BOTTOM of the buttonhole first. Your machine may do the stitch differently.
Now, stitch your buttonhole. And repeat. 🙂
To open up my buttonholes, I like to press my rotary cutter into the center of each buttonhole to open it. Then I take my scissors and clip them closer to the end if needed. You can also use a seam ripper. Placing a needle across the opposite end will keep you from ripping open the end of your buttonhole.
Tip 5: Easy Method to Attach Shirt Buttons
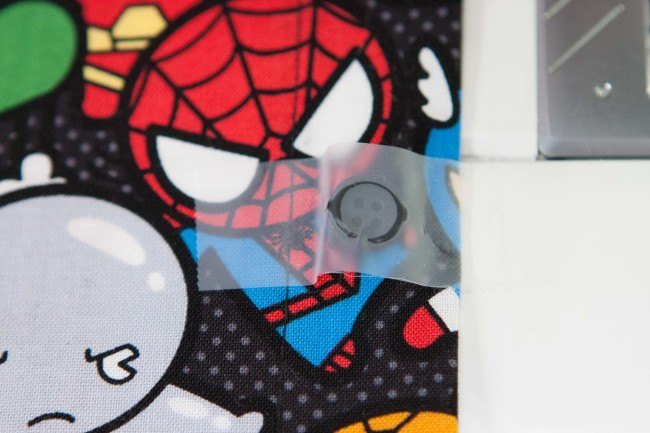
Did you know you can use your sewing machine for this step? You can!! Using a zig-zag stitch width that matches the thread holes of the button, set your machine to either a 0 stitch length, or drop the feed dogs if your machine allows. Tape the button into place if needed and position it under the presser foot. Lower it carefully to not disrupt the button’s position. Crank your machine by hand for the first few stitches to ensure the needle is positioned correctly. Then sew your button in place! Easy!
Step 6: Step-by-Step Tutorial on How to Sew a Sleeve Placket on a Button-Up
Amy goes over the sleeve placket in the video above...we also have this video from Kelly showing it too if you need any extra assistance.
That's just a few tips and tricks to sewing the Classic Oxford. Amy goes through much more in the Video Tutorial, including sewing the sleeves, side seams, pleats, body, and collar of the shirt.
That about sums it up - you're on the pathway to making a well-tailored button-up shirt. To master the art of sewing button-up shirts, you need to pay attention to every detail, from choosing the right size and fabric to understanding the importance of interfacing. Preparing the fabric correctly and marking the positions for buttons and buttonholes are crucial steps before you start sewing. Take your time to sew buttonholes and attach buttons properly. Make sure to follow along with our step-by-step Video Tutorial.
Before you leave, make sure to join our Facebook Group and follow us on Instagram. Happy sewing!

