How to Sew Patch Pockets on Any Pattern
Hi, it’s Nienke again, with another tutorial on how to sew patch pockets! If you're a DIY enthusiast or someone who loves to personalize your clothes, learning how to sew patch pockets is a must. Patch pockets not only add functionality to your garments but also give them a unique and stylish touch. In this blog post, we'll guide you through the step-by-step process of sewing patch pockets onto your favorite clothing pieces. From choosing the right fabric and design to stitching them seamlessly onto your garments, we've got you covered. So grab your sewing machine and let's get started on creating the perfect patch pockets!
What Are Patch Pockets?
Patch pockets are a type of pocket that is sewn onto the outside of a garment, typically on the front. They are called "patch" pockets because they are made from a separate piece of fabric that is attached to the garment like a patch. These pockets can be found on various types of clothing, including jackets, shirts, and pants. Patch pockets are known for their functional and casual look, as they add both storage space and visual interest to a garment. They are often used to create a more relaxed or utilitarian style, and can be embellished with buttons or stitching for added design detail. Whether you need a place to keep your phone, keys, or small essentials, patch pockets offer convenience and style in one.
How to Sew Patch Pockets on Any Pattern
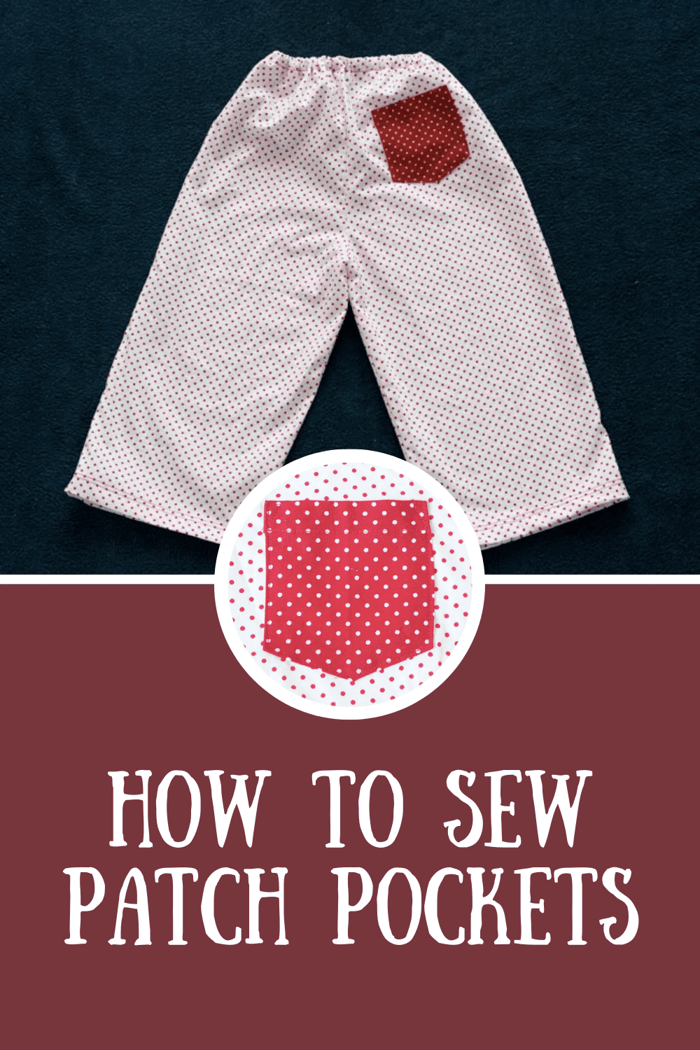
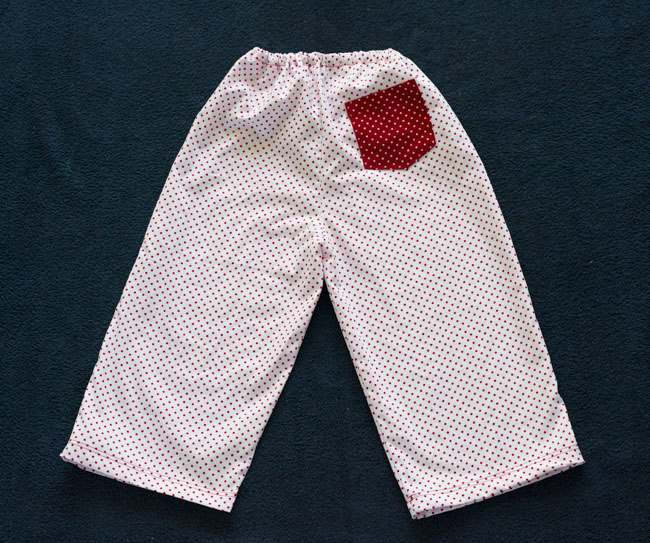
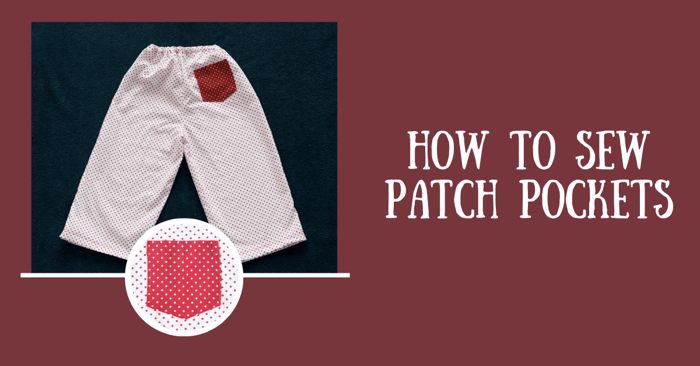
To show you how to add simple patch pockets to a piece of clothing, I used Amy’s new and FREE Pajama Party Pants pattern. I was a tester on this one and it’s such a quick and easy sew, with a cute result. So I decided to make one for my toddler in Christmas colors, red and white.
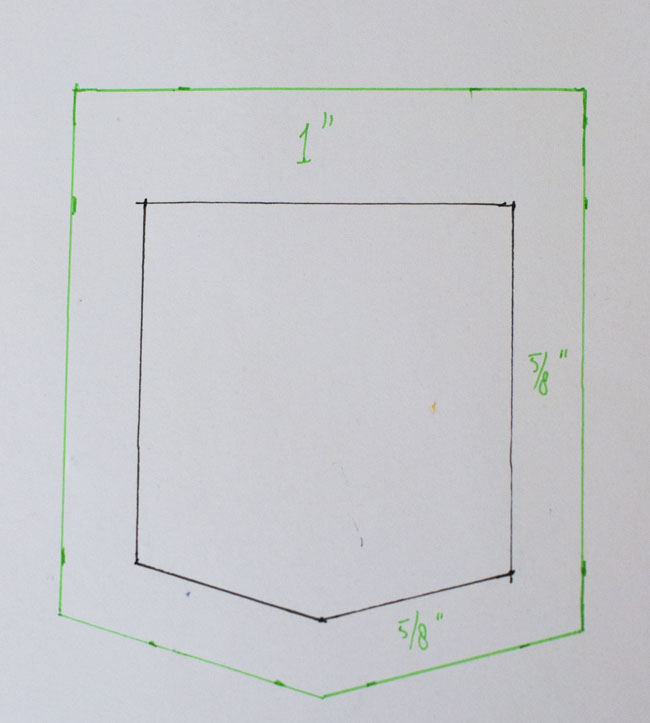
Step 1: First of all, you need a pattern piece for the pocket. Draw the shape you want on a piece of paper. Then, add seam allowances. 1″ to the top edge, 5/8″ to all other edges. I drew the desired shape in black and the seam allowances in green on the picture above. Cut the pattern piece (with seam allowance) from your fabric and finish the side and lower edges with zigzag or serger.
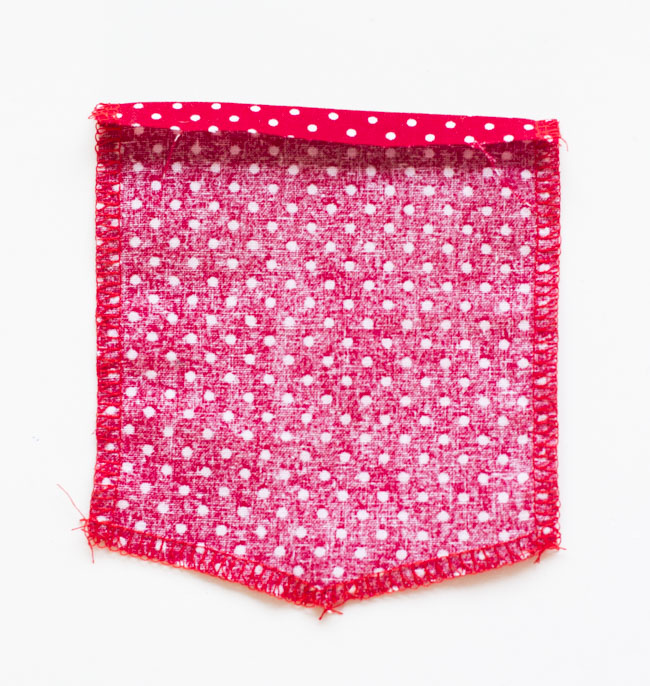
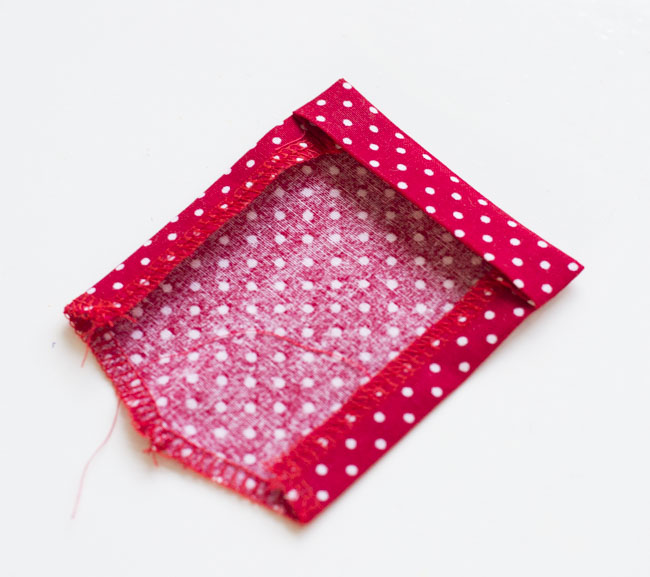
Step 2: At the back of the patch, fold the top raw edge of the pocket 3/8″ towards the wrong side of the fabric. Press.
Step 3: Then, fold the folded top edge another 5/8″ towards the RIGHT side of the fabric. Press again. Make sure to keep straight edges.
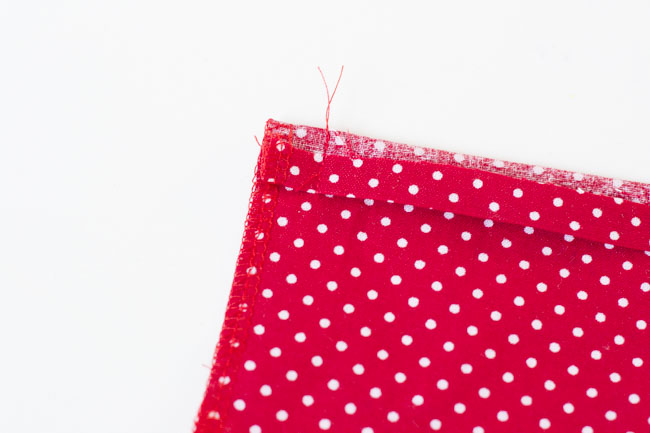
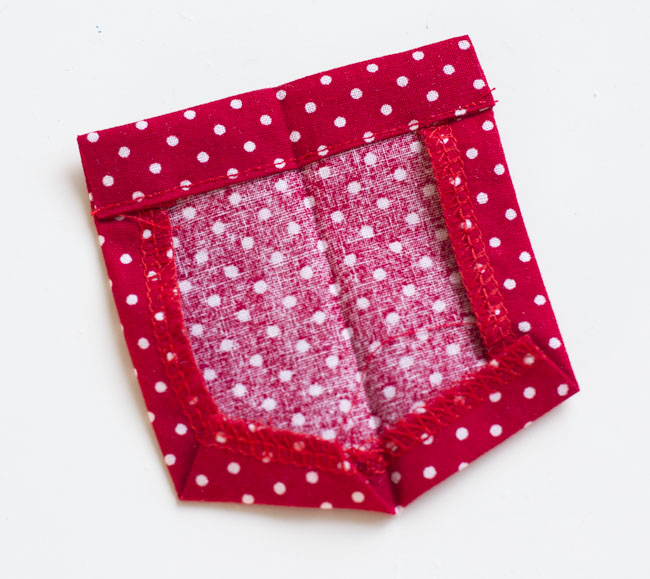
Step 4: Straight stitch the folded piece along the side seam, so two seams of 5/8″ long each, with a 5/8″ seam allowance.
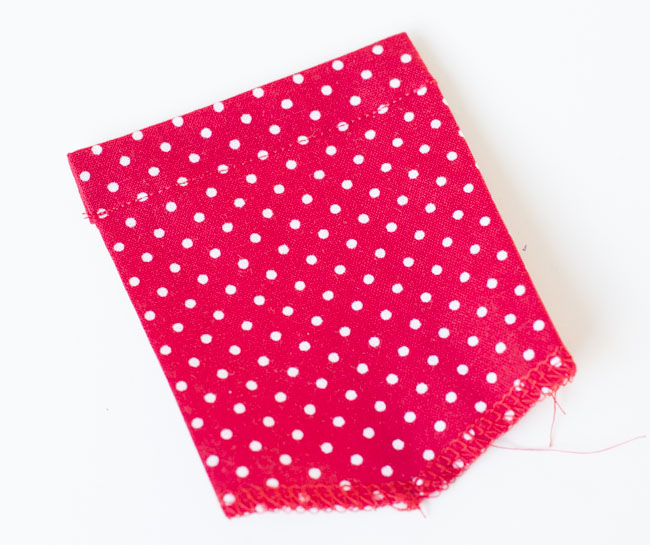
Step 5: Turn your hem to the right side, pushing the corner out neatly. Press.
Step 6: Topstitch along the edge of the hem you just created.
Step 7: Press the other seam allowances towards the wrong side of the fabric.
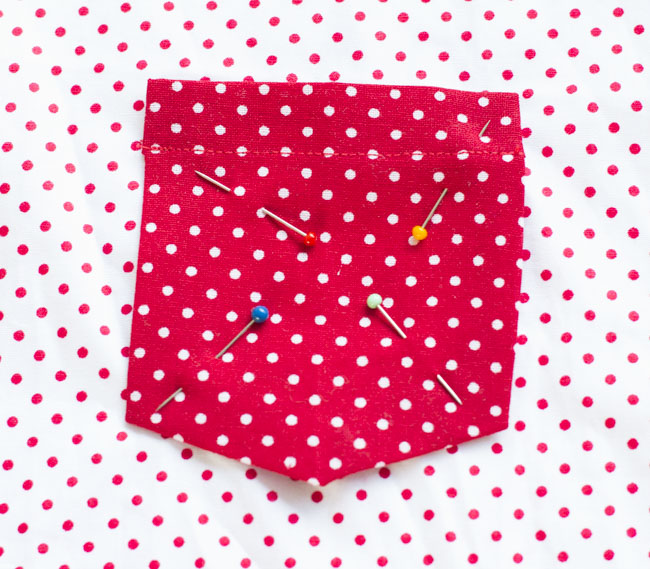
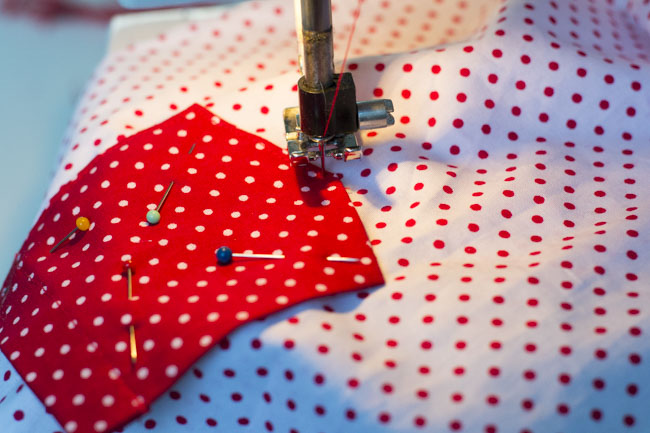
Step 8: Pin the pocket on the desired place.
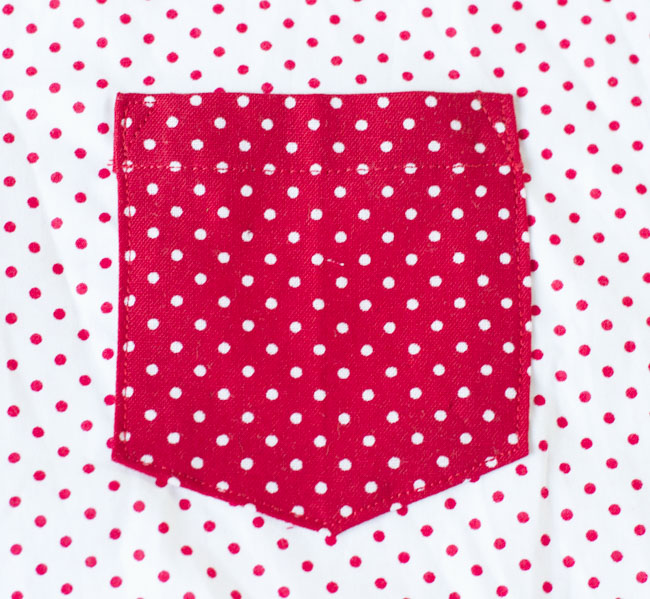
Step 9: Topstitch the pocket along the sides and bottom of the pocket, 1/8 inch from the edge.
Step 10: Make sure you pivot neatly at the corners. This means you put the needle down into the fabric where you want to make a corner. Then, you lift your presser foot, turn the fabric in the right direction and lower your presser foot again. This makes for nice and sharp corners.
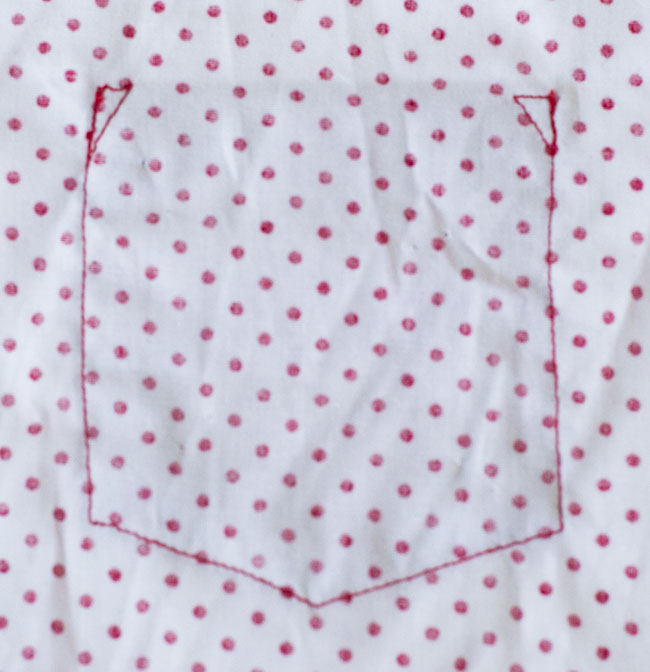
Step 11: To ensure the pocket doesn’t tear when used, I like to reinforce the topstitching at the top corners by sewing a triangle and heavily backstitching. You can also use fusible interfacing for stronger pocket pieces.
Give a last press and continue sewing your garment as usual. There you have it - know you know how to sew patch pockets!
What are the different types of patch pockets that can be sewn?
There are several types of patch pockets that can be sewn, including patch pockets with flaps, patch pockets with a curved or straight top edge, patch pockets with pleats or gathers, and patch pockets with decorative stitching or trim. Choose the style that best suits your garment and design aesthetic.
Adding patch pockets to your clothes is a great way to add functionality and style. Whether you're a sewing enthusiast or a beginner, this guide has provided you with all the necessary steps and tips to successfully sew patch pockets onto your garments. By following these instructions, you can easily customize your clothing and create unique and practical pieces that suit your personal style. So grab your fabric, thread, and sewing machine, and start adding those patch pockets to elevate your wardrobe!
Thank you for joining us today to learn a little more about how to sew patch pockets. Before you leave make sure to join us on social media by joining our Facebook Group or following us on Instagram or Pinterest. Happy sewing!
