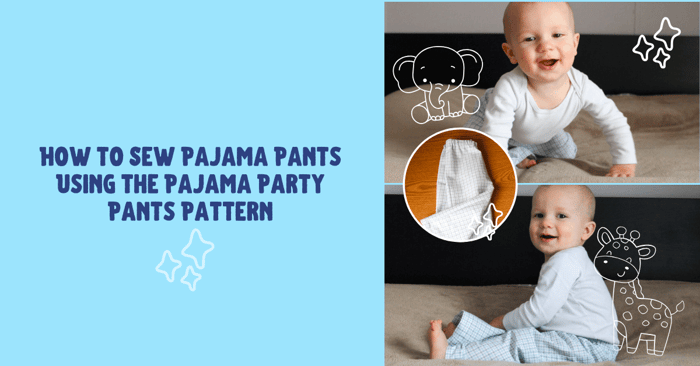
How to Sew Pajama Pants Using the Pajama Party Pants Pattern
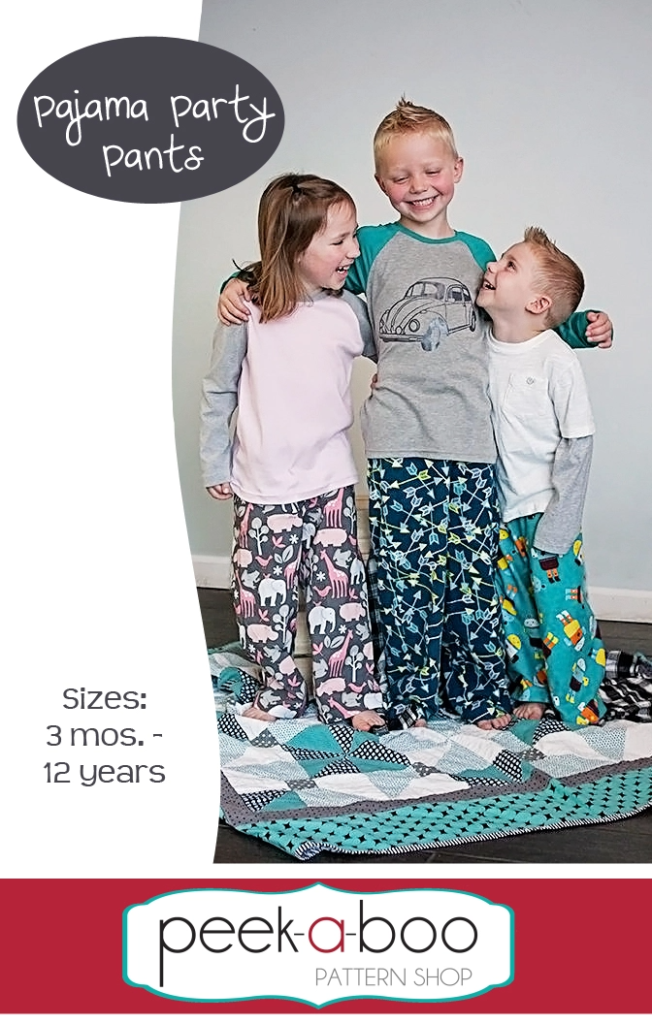
For today’s project, we’ll learn how to sew pajama pants using the free Pajama Party Pants Pattern from Peek-a-Boo Pattern Shop. You can get the pattern for free when you sign up for our Newsletter HERE. Are you tired of paying big bucks for a pair of pjs that just aren't quite right? Why not try making your own? Sewing your own clothes allows you to customize the fit and style to your exact preferences. In this blog post, we'll guide you through the step-by-step process of sewing your own pajama pants, from selecting the perfect fabric to mastering essential sewing techniques. So grab your sewing machine and let's get started on creating the comfiest and most stylish sleepwear you've ever owned!
How to Sew Pajama Pants | Free Pajama Pants Pattern
The Pajama Party Pants Pattern is an easy sew that requires very little in the way of supplies. It allows you the choice of knit or woven fabric and 3/4″ elastic. This would be great to sew up at Christmas time for your children or grandchildren. Perhaps your child is having a slumber party for their birthday?!
What a great way to tie in the theme! Or maybe you need to add a few pairs to your child’s wardrobe like I did for mine; whatever the occasion, this pattern will help you meet the need in no time!
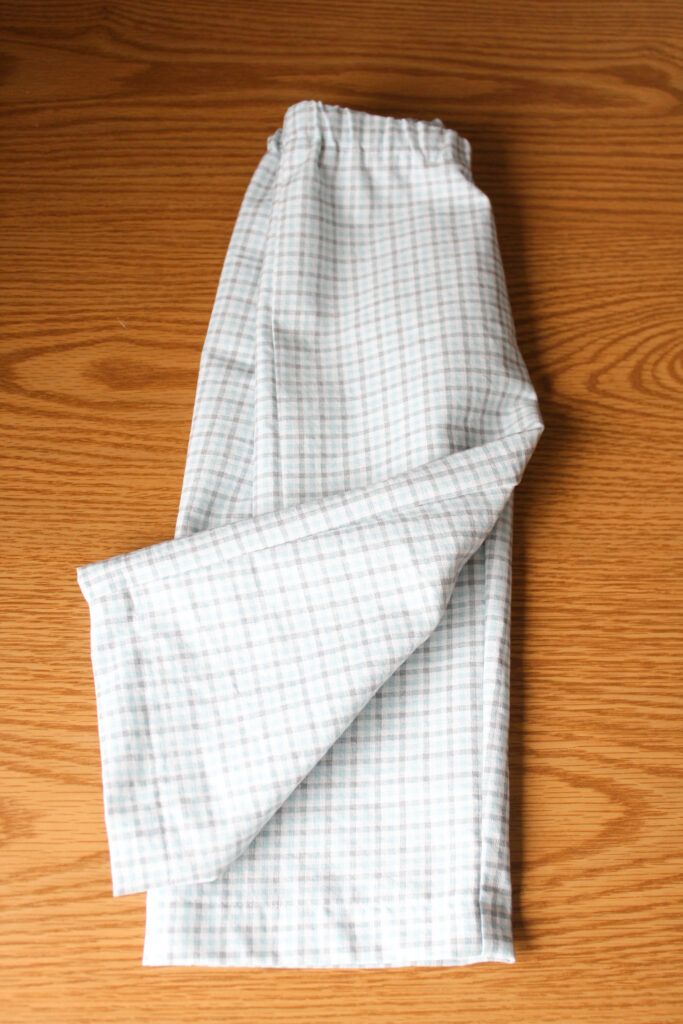
Supplies:
- Peek-A-Boo’s PJ Pants Pattern
- Medium-weight wovens or knits such as: cotton, flannel, interlock, jersey etc.
- 3/4″ elastic for waistband. See chart in pattern for cut length.
- Sewing machine, coordinating thread, needle, pins or clips, large safety pin and an iron.
After washing, drying, and ironing my fabric, I cut out my pattern pieces with scissors or a rotary cutter. I chose cotton woven for this tutorial. I thought this would be a good choice as we move into the warmer months here, where we live, as it doesn’t get overly hot. Since I’m sewing this up for my almost one-year-old, I chose to omit the pockets.
If you would like to include pockets on the front of the pants, please see the pattern directions for that process. Pockets are pretty simple to add in, and I know some children really love the pocket feature. My middle child always requests pockets for his makes! Ok, we are ready to get started with our tutorial!
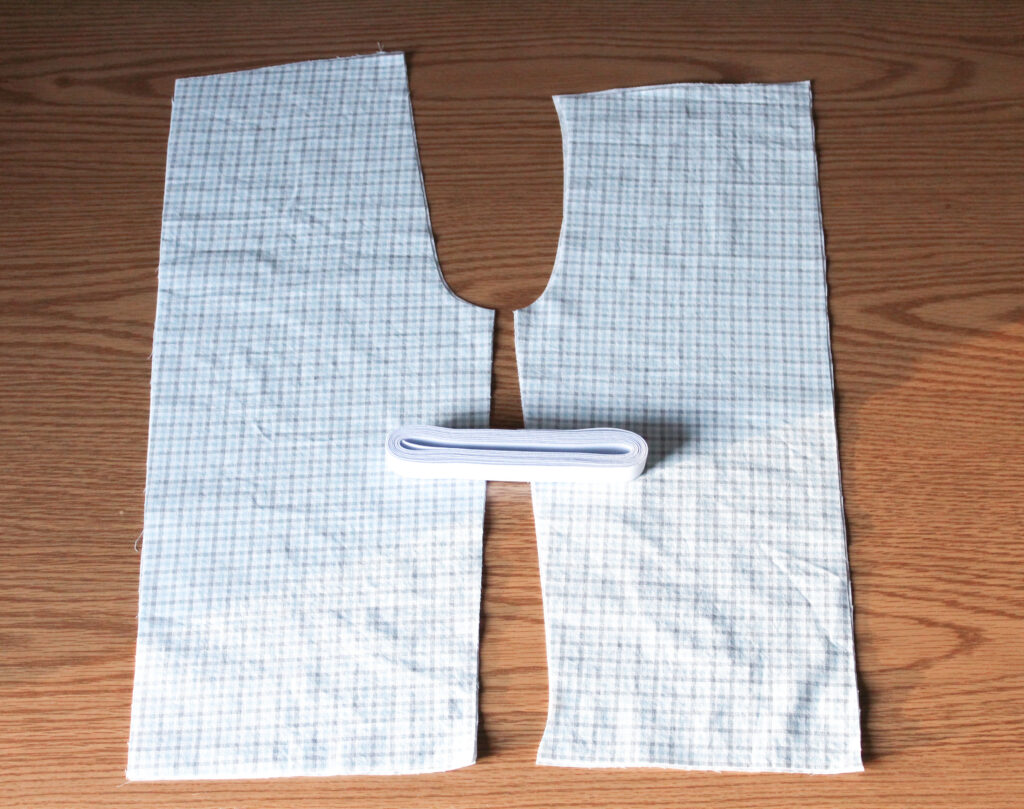 Step One: Leg Seam Construction
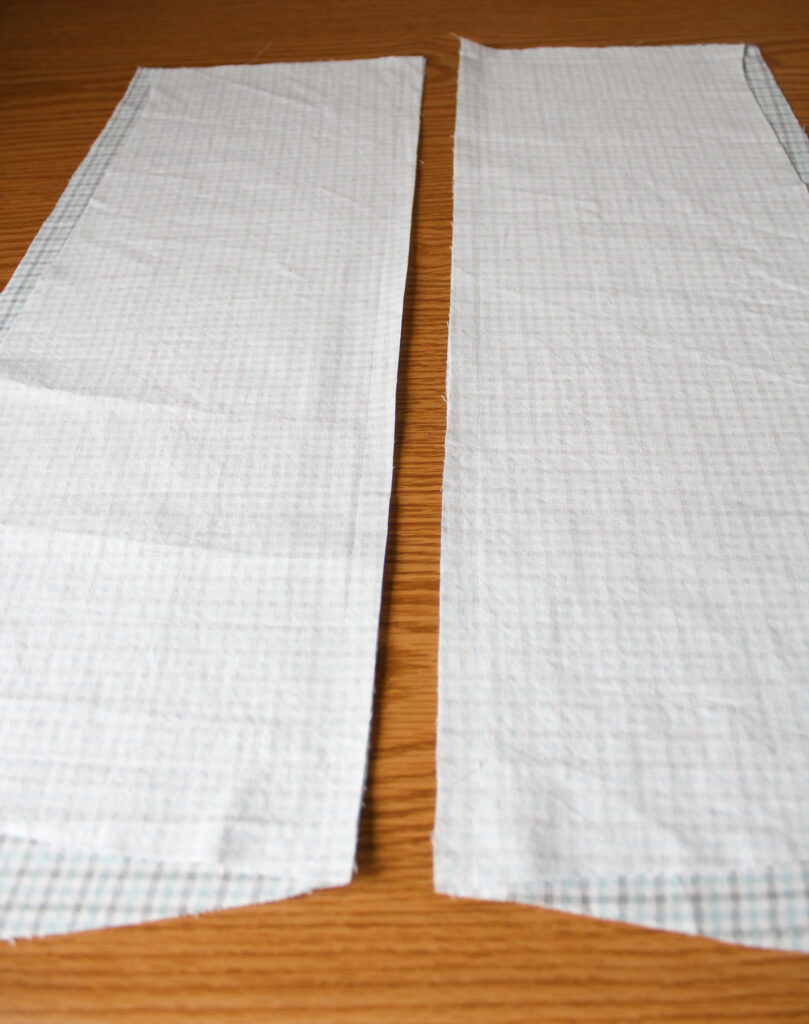
You should have two opposites for each front and back leg piece for the pajama bottoms. We will take one front and one back leg and sew those together to create the outside leg seam using a half-inch seam allowance. Clip or pin in place and sew. Repeat for the other front and back leg pieces as shown.
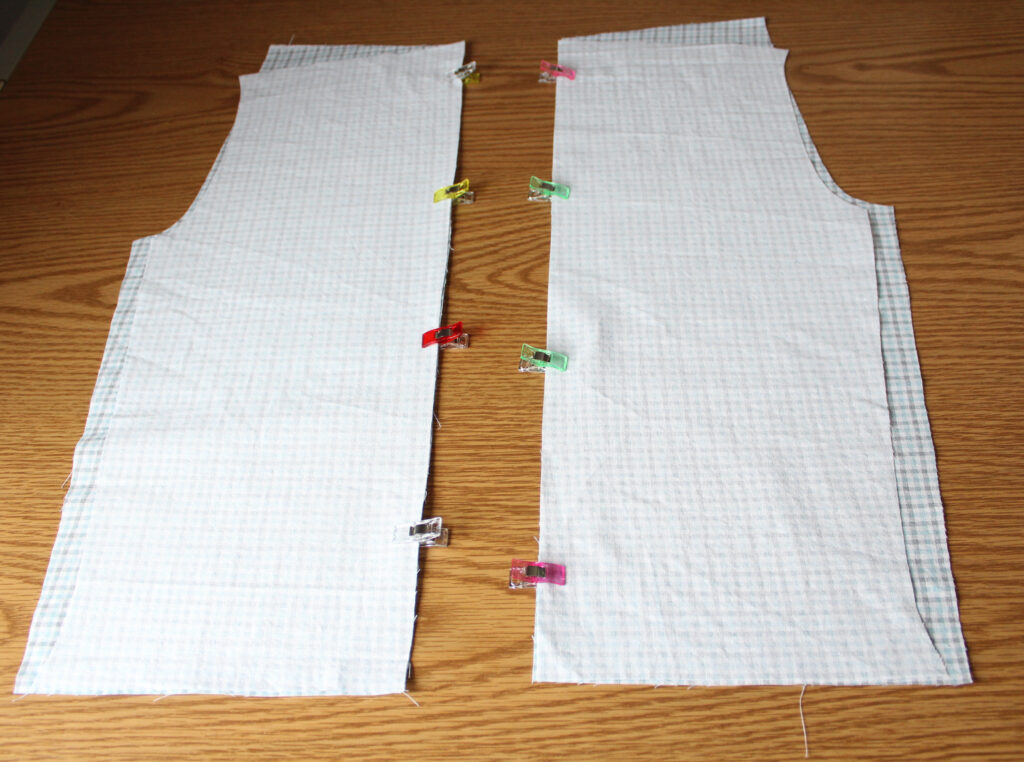 Our outer leg seam allowance is complete.
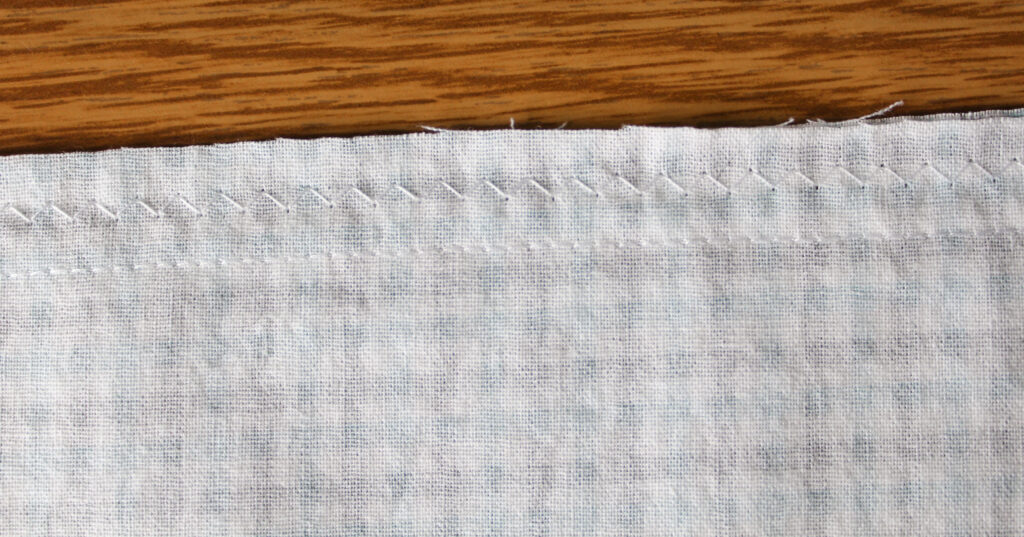
 *Since I used woven fabric, I went back through and sewed a zig-zag stitch along the outside edge to help minimize fraying. Serging or pinking shears are two other options you could apply as well. This step is not necessary if you are sewing with knit fabric.
I also pressed both leg seams for a neater-looking finish.
 Step Two: Pressing the Waistband and Hemline
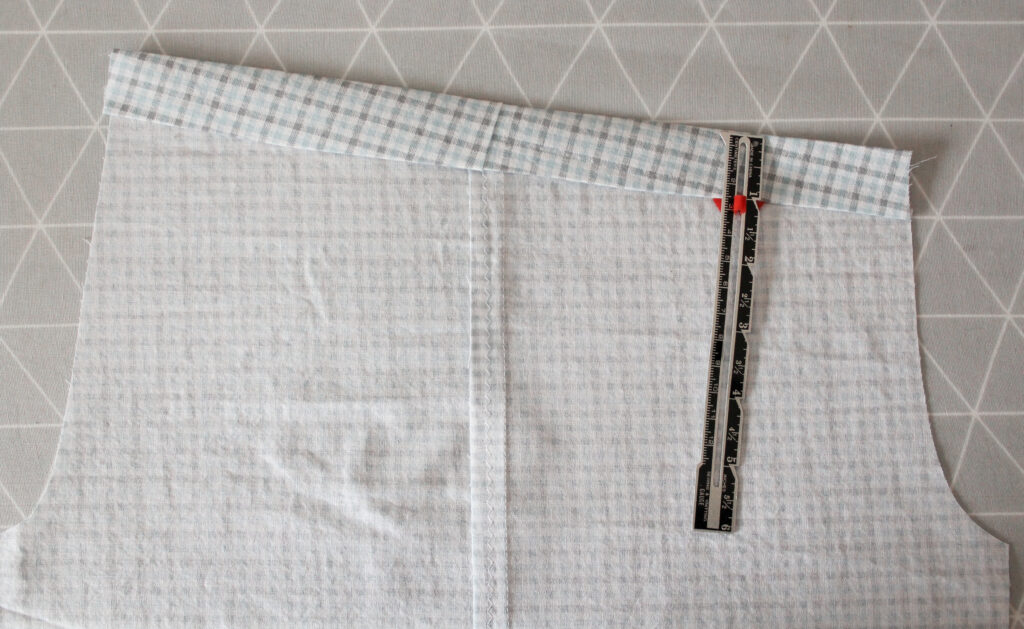
Press the waist over a quarter inch towards the wrong side of the fabric and then fold over one more time so that it measures one inch. Repeat for the other leg piece too.
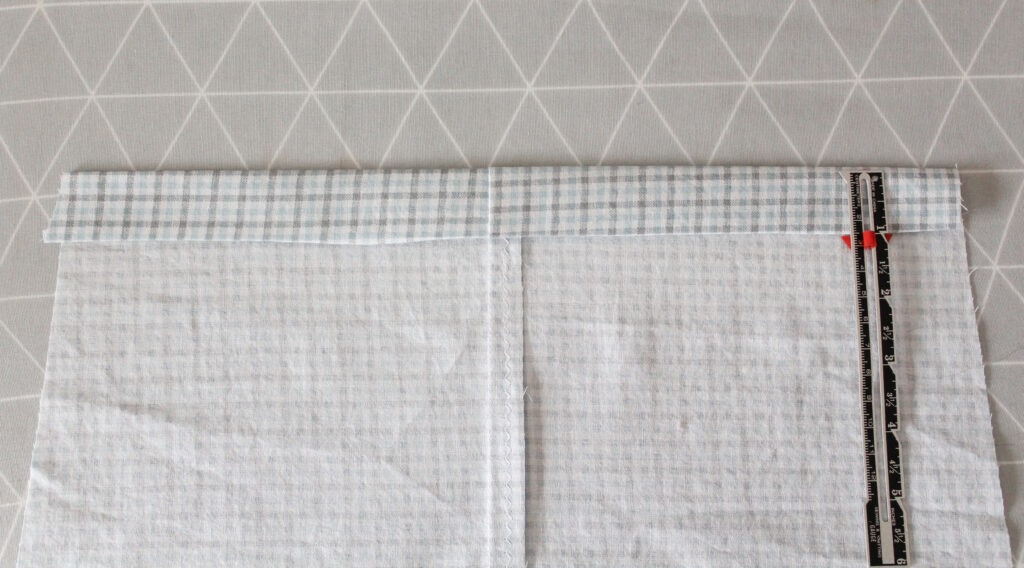
 Repeat the same steps for the bottom hem. Fold over a quarter inch and then one inch and press in place. Repeat for the other leg hem as well.
 Step Three: Pants Inseam
Unfold the creases we just made for the waist and hem. This will be important for the next few steps that nothing is folded over at this point.
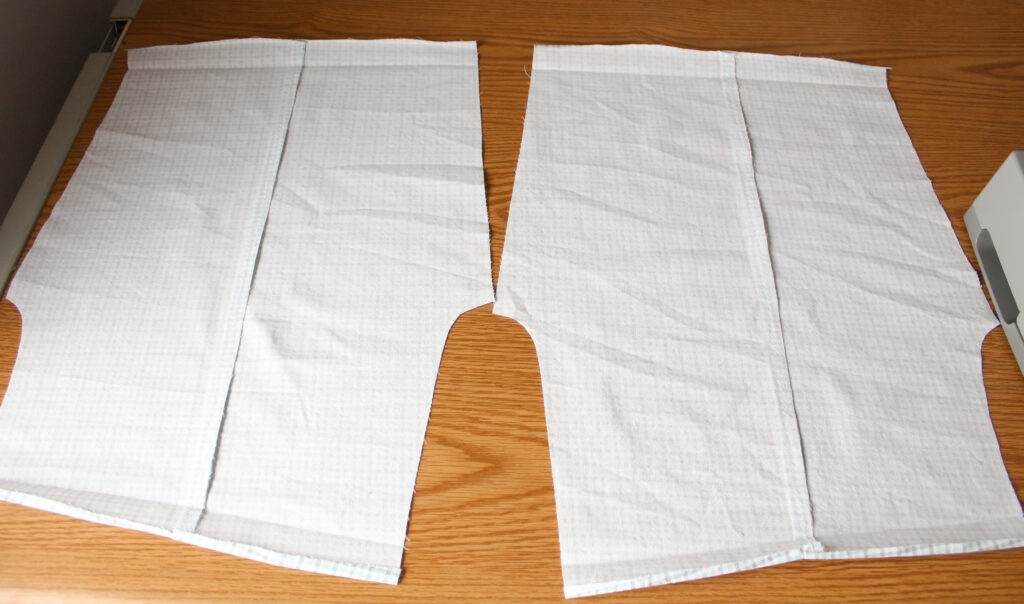 With right sides together, fold each leg piece onto itself and clip or pin in place. Sew the pants inseam using a half an inch seam allowance. Make sure the creases we created are smooth and not trying to fold back over.
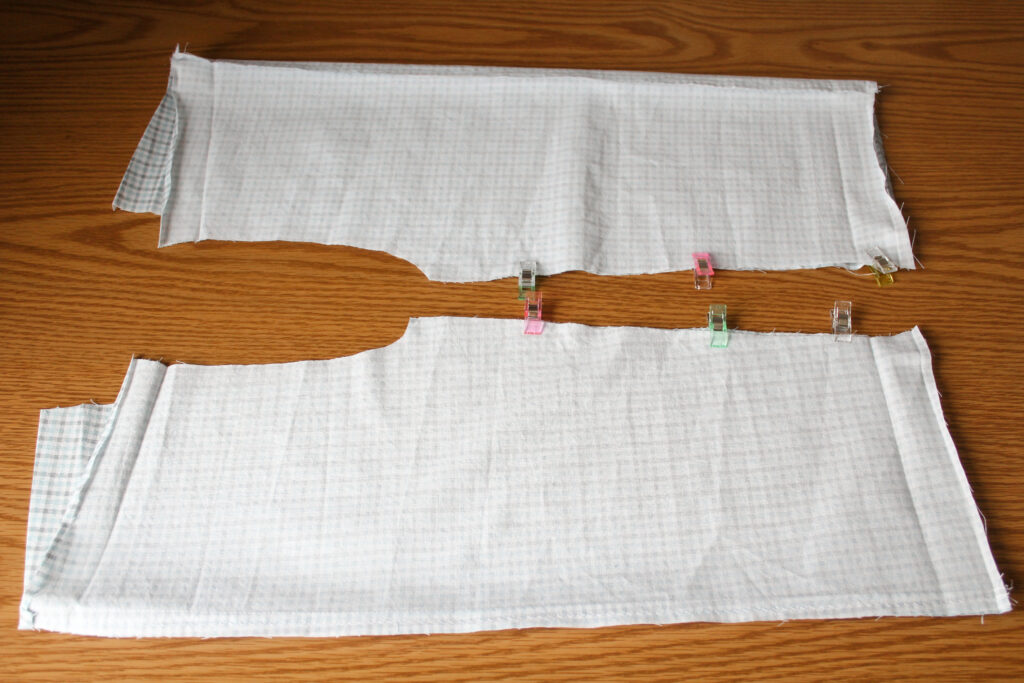 The inseam completed and again, I went back through and finished the edges to prevent fraying. Don’t forget to finish your edges if you are using woven fabric.
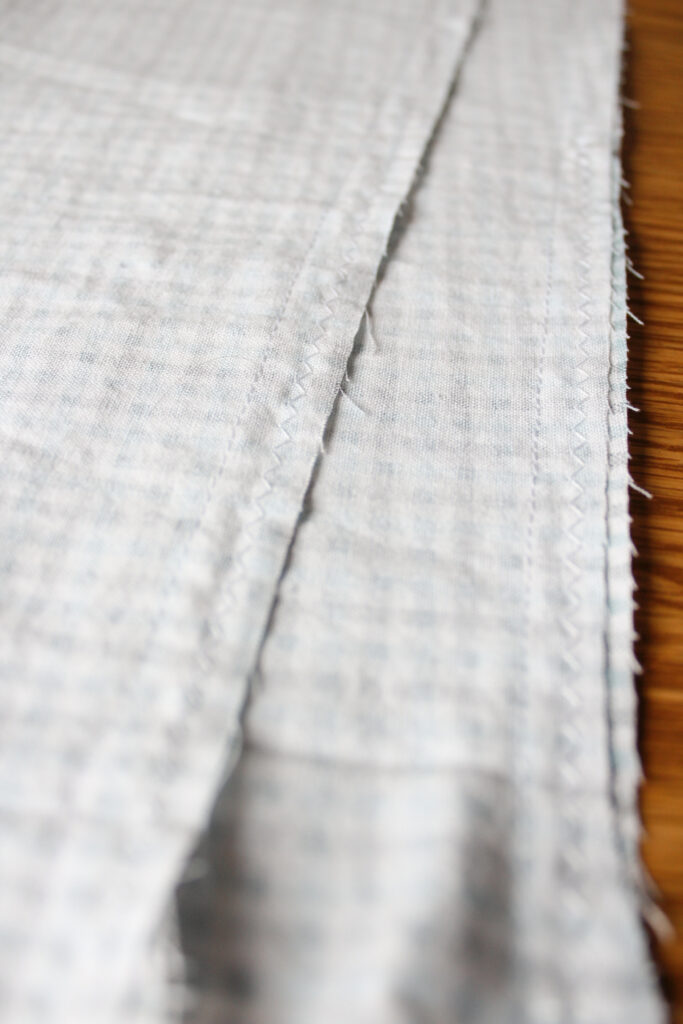 Step Four: Hemming
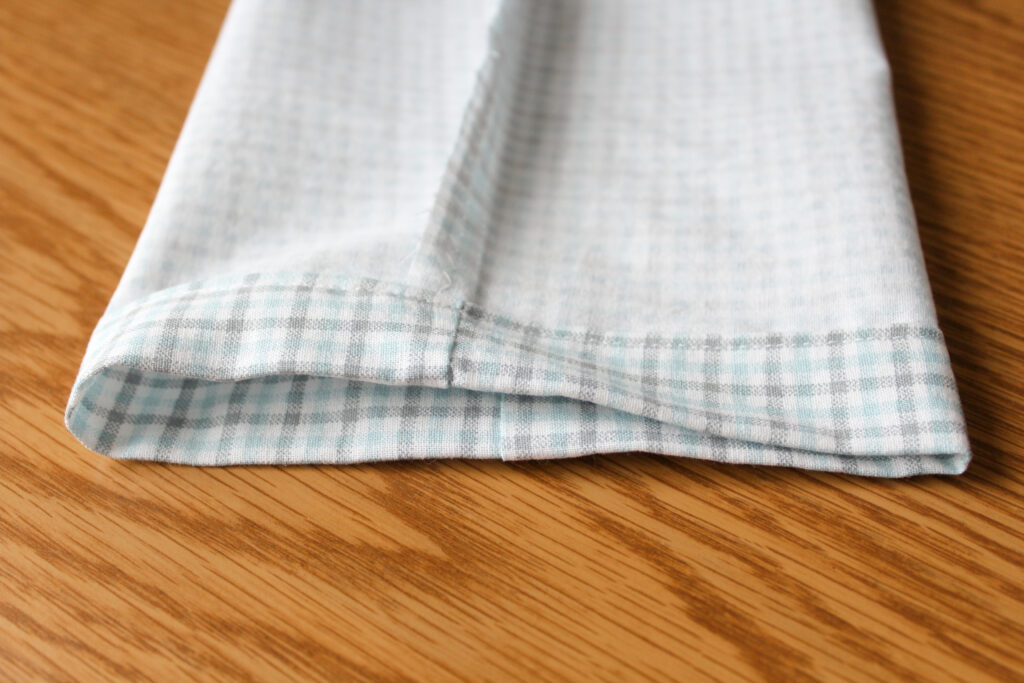
Refold the bottom of each pant leg using the previously pressed creases as your guide. I clipped mine down with a couple of clips just to secure in place, but the creases did their job well.
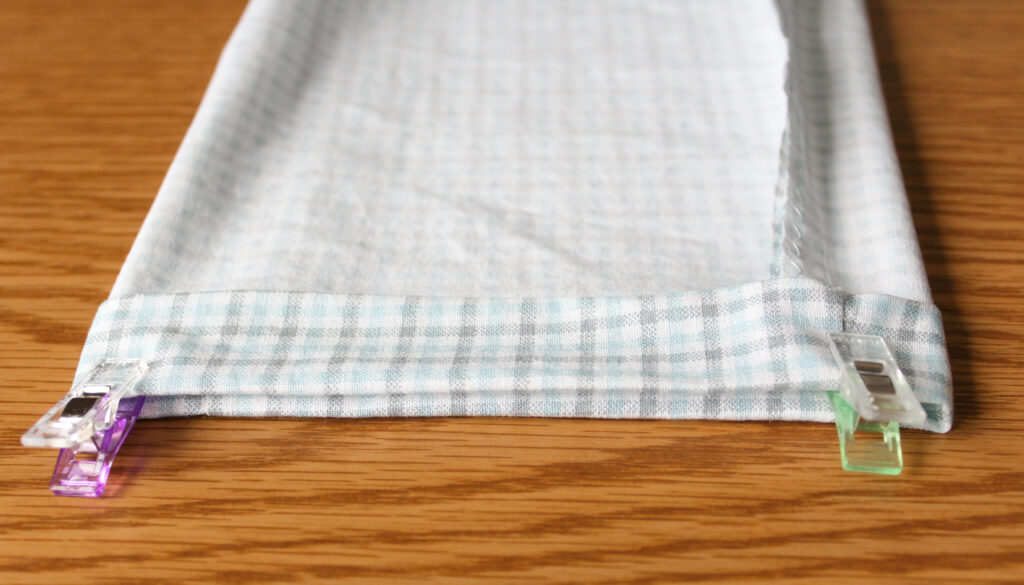 Topstitch each pant leg in place along the folded edge.
 Step Five: Crotch Seam
Take one leg piece and turn it right side out. You should have one pant leg inside out and one pant leg right side out.
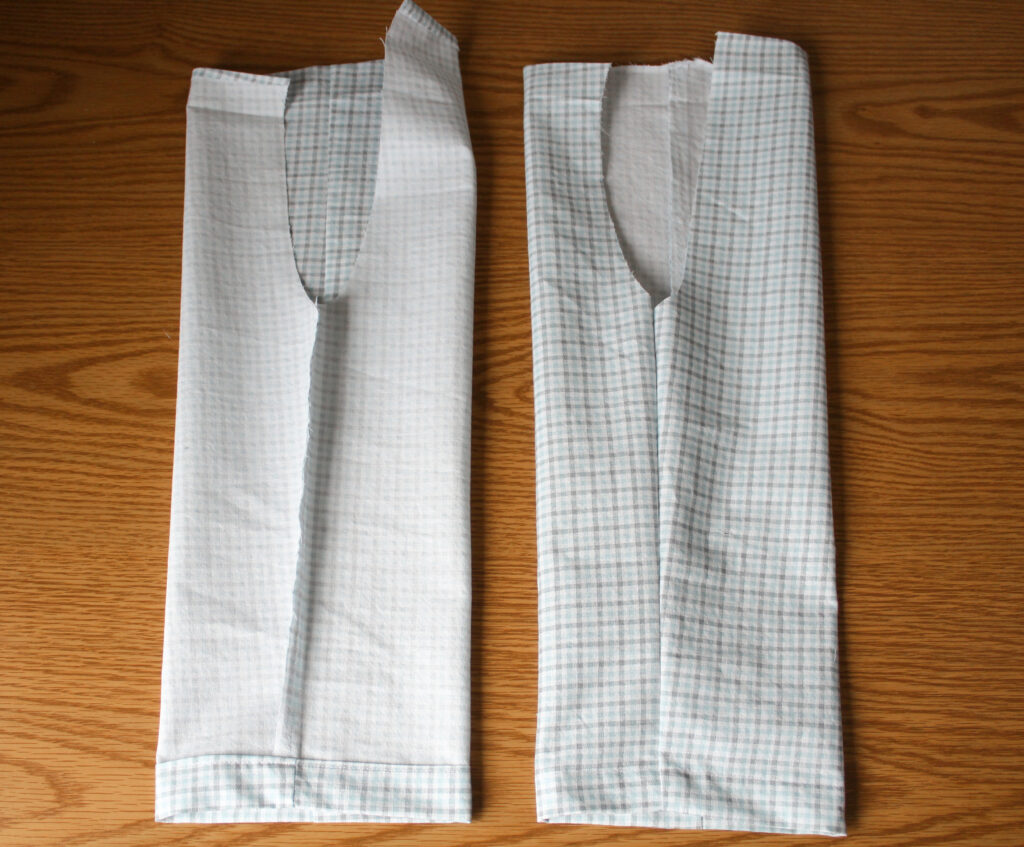 Slide one leg inside the other leg so that the right sides are together. Make sure your waistline creases we created are unfolded and the inseams are aligned.
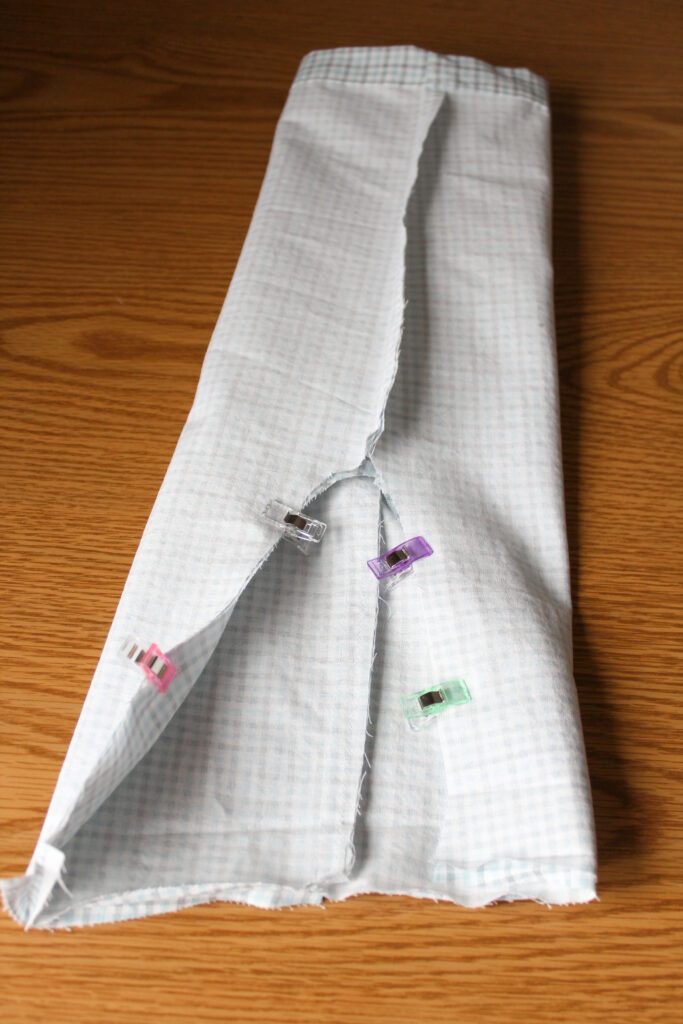
Sew along the rise using a shorter stitch length or by sewing the seam twice to keep the seam strong.
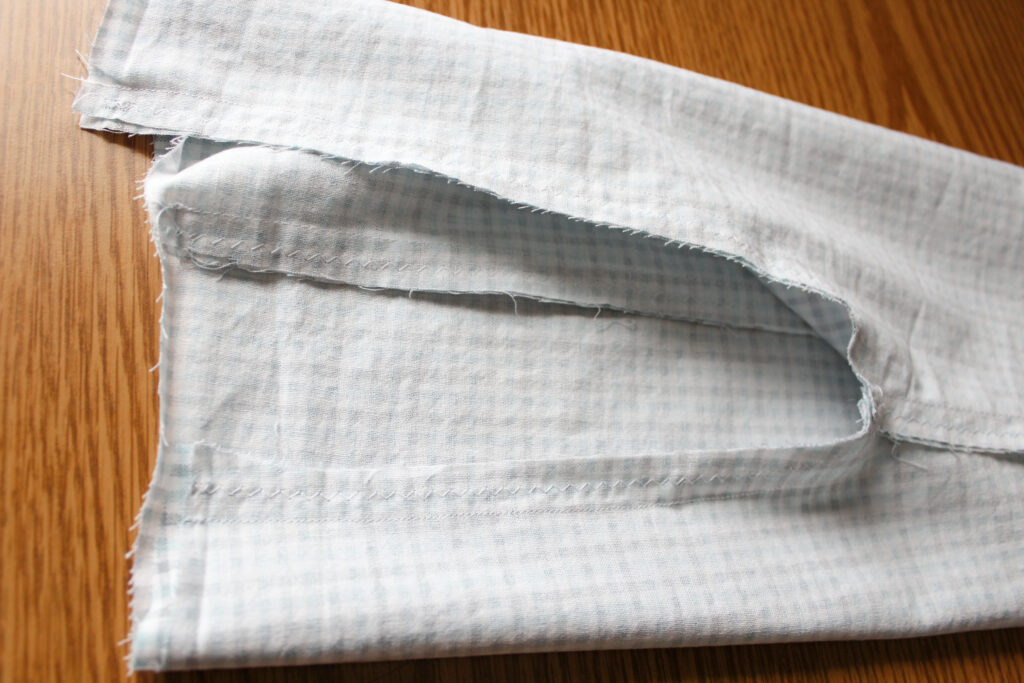
 Again, after completing the seam, I went back through and did a zigzag stitch along the edges.
 Step Six: Elastic Waistband Construction
Refold the waistband crease that we previously made. Topstitch the waistband to the pants along the bottom folded edge, leaving a one-inch gap in the back to thread the elastic through.
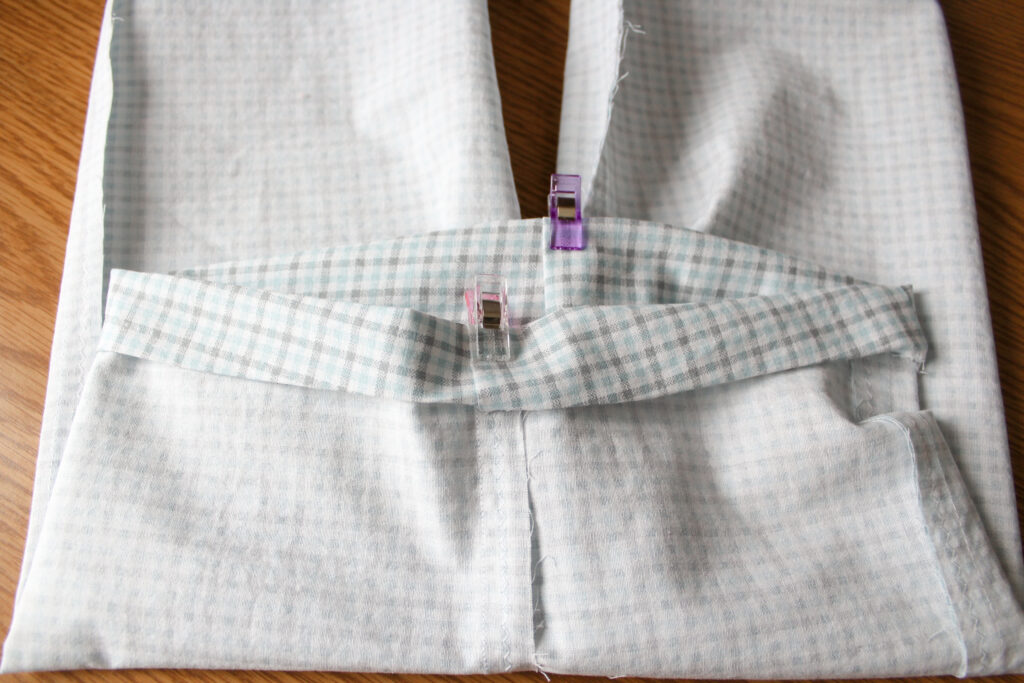 Our waistband has been topstitched in place. Now we will thread our elastic through the one-inch opening we left in the back. See the suggested elastic cut chart at the beginning of the pattern instructions for your size. Getting a rough measurement before you cut the elastic is a good idea to see if the suggested length will work for you.
Once the elastic has been cut to size, we will thread the elastic through the elastic casing with a safety pin and then overlap the elastic ends by half an inch and sew them together to secure. Tuck the elastic inside the waistband. If you would like to add a tag to the back, go ahead and do that now and topstitch the opening of the gap closed.
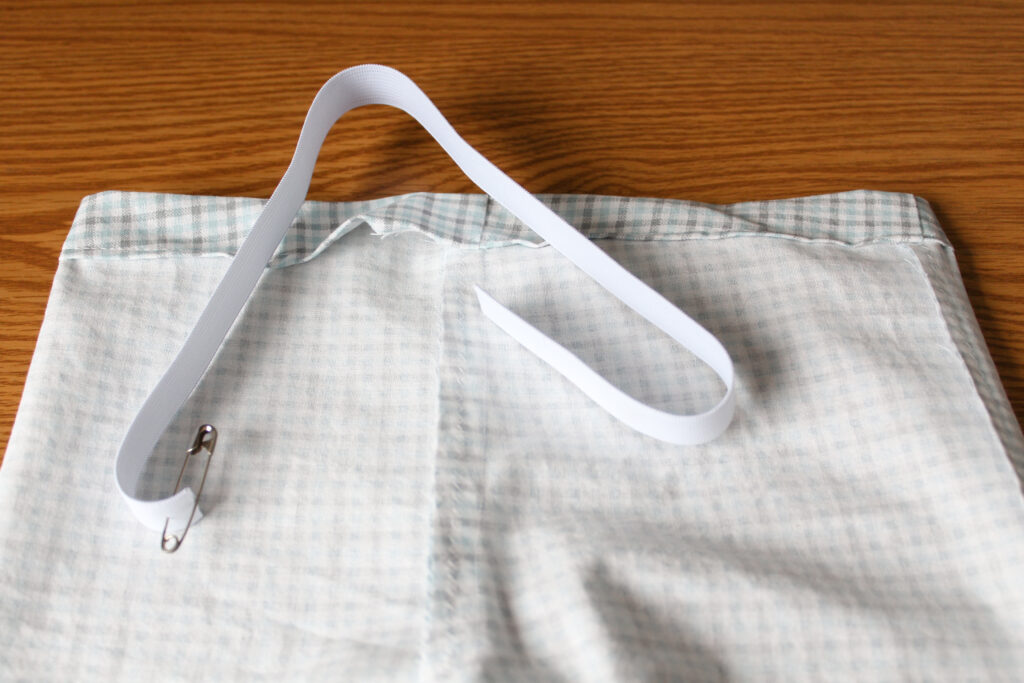
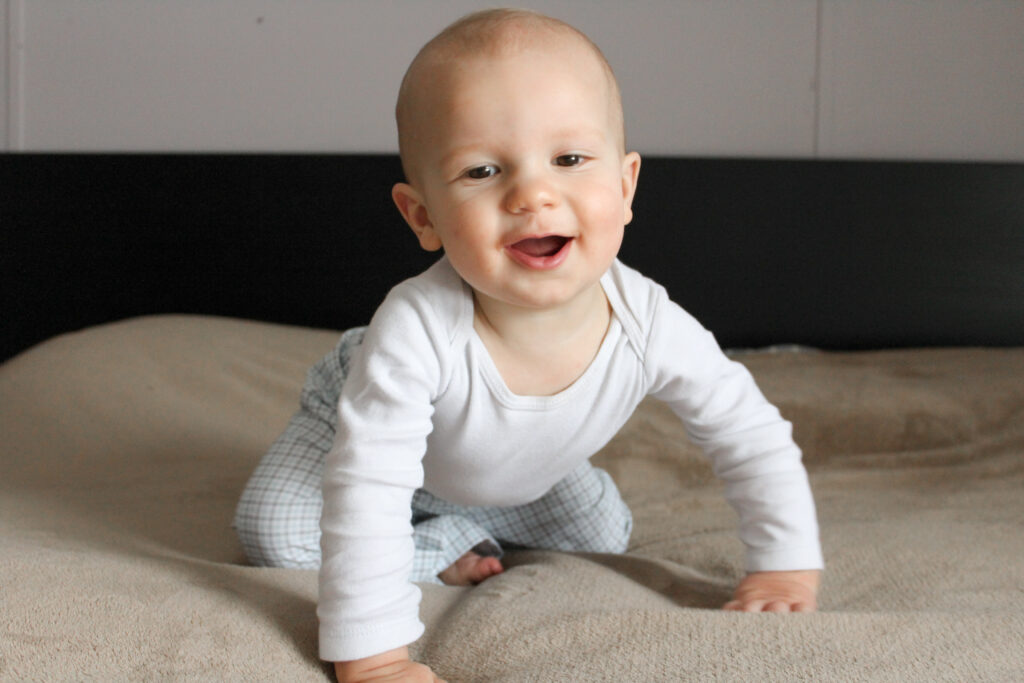
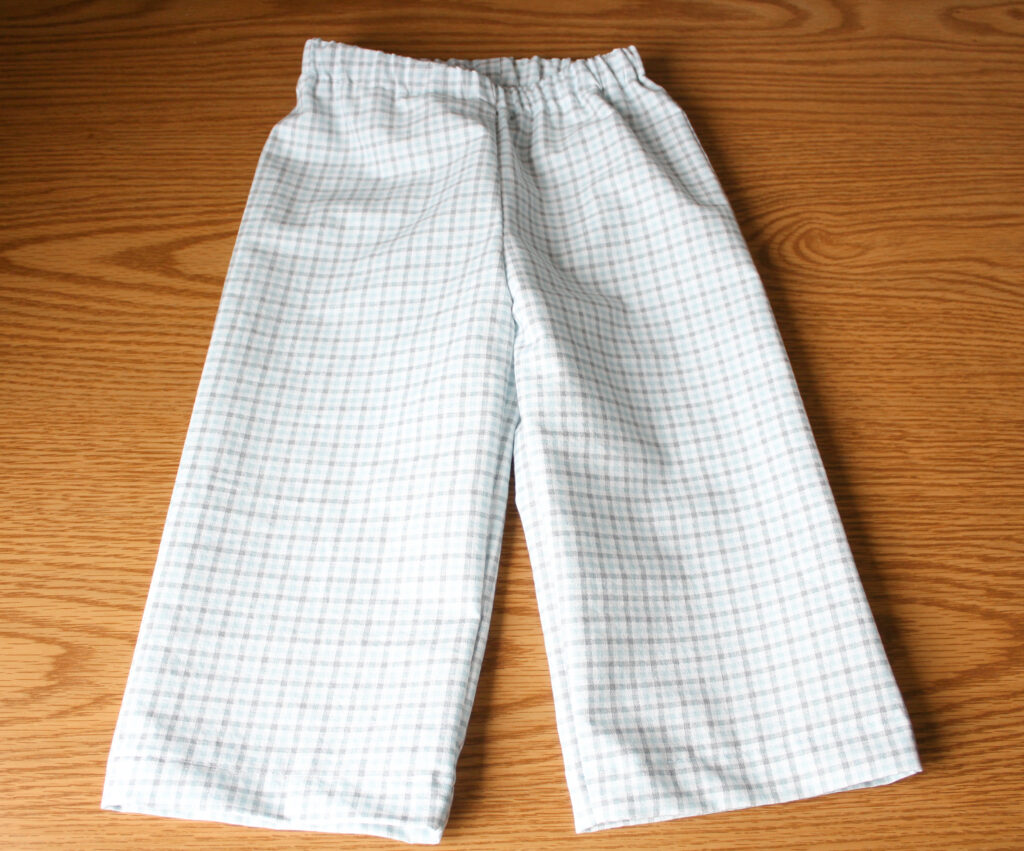 They are complete! Time to try them on!
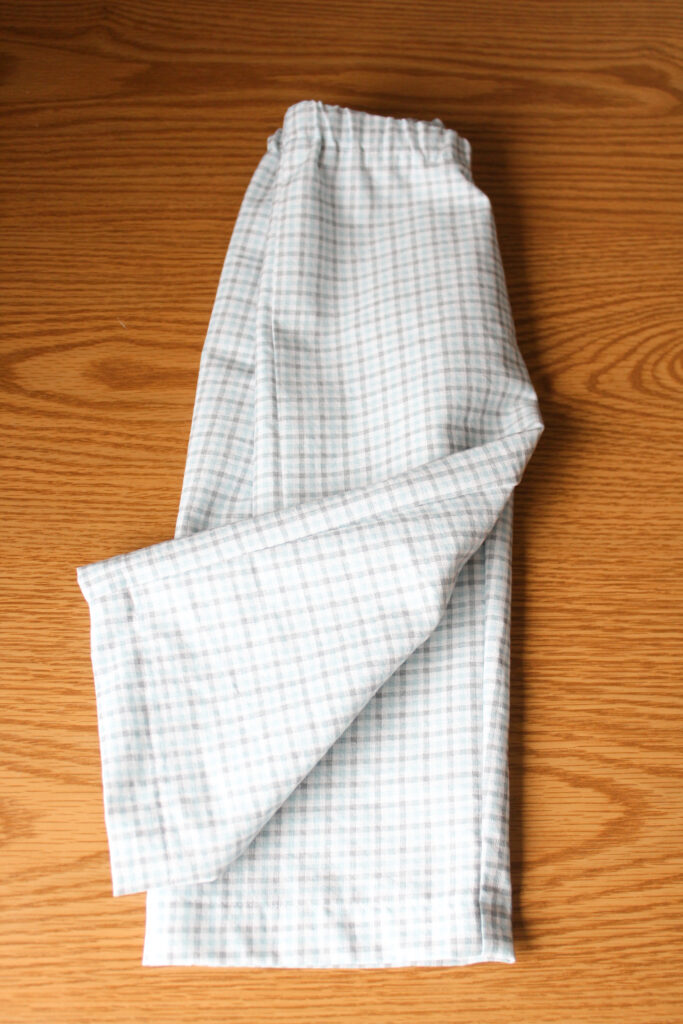 My little guy is becoming quite the wiggle worm as he approaches his first birthday this month.
 How to Sew Pajama Pants Using the Pajama Party Pants Pattern 44
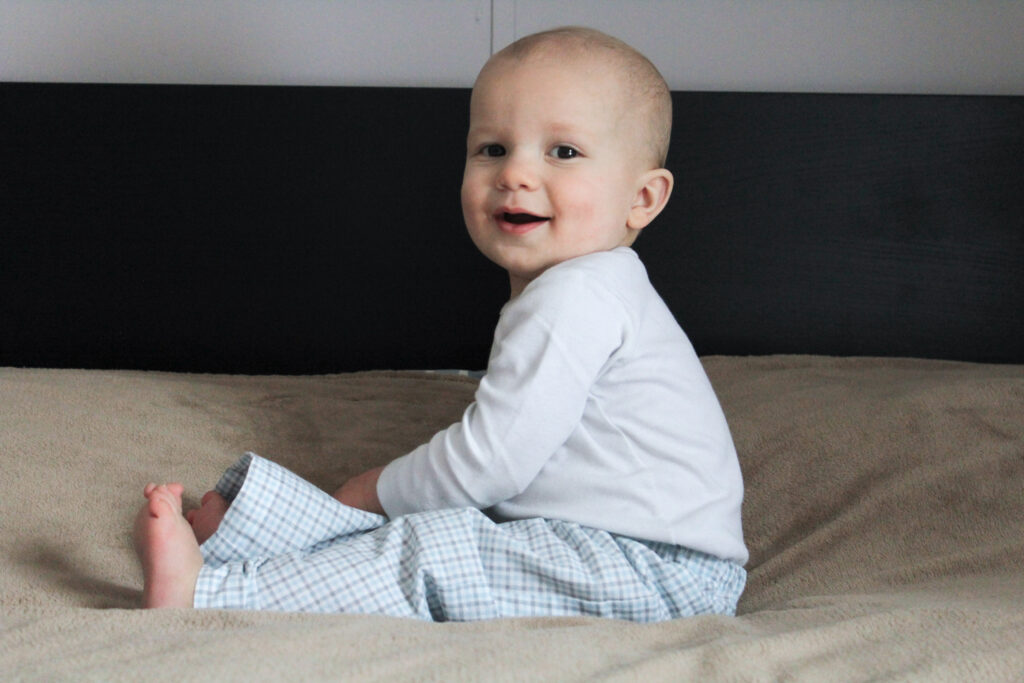
This is the best we could do for styled photos on this day, but he was happy either way. I’m sure these will get him through the coming months as I added length to his size to accommodate all the growing he’s going to do.
 This brings us to the end of our sewing tutorial with another great pattern from Peek-a-Boo Pattern Shop. Now you know how to sew pajama pants. Sometimes I just appreciate a quick sew that gets the job done by providing the clothing items that my children need. I also love patterns that allow you to switch between knit or woven fabrics for so many reasons. Here are answers to a few questions you might have:
What About the Adults?
No need to worry - we also have options for adults so you can make pajamas for the whole family. Create comfortable pjs for your loved ones with the Hit the Hay Pajama Pants sewing pattern! This pattern is suitable for both men and women, and it comes in a wide range of sizes that can also fit tweens. You can use your favorite woven or knit fabric such as quilting cottons, flannel, fleece, or knit. The pattern offers choices for side seam pockets or skipping the side seams altogether - a great option when using busy prints and looking for a quick sew. The waistband is elastic with an optional drawstring and has a contrasting lining on the inside that can be rolled once for a lower rise.
What Fabric is Best?
Pajama pants are meant to be comfortable and cozy, so their best fabric would be something soft and breathable. Both of our patterns are designed for knit or woven fabric. One good woven option is flannel, a warm and fuzzy fabric perfect for colder nights. Flannel pants provide insulation and keep you cozy during chilly winter months. Ultimately, the best fabric depends on personal preference and the desired level of comfort for a good night's sleep.
Can I use a regular sewing machine or do I need a specific type of machine?
You can use a regular sewing machine to sew pajama pants. No specific type of machine is required. Just make sure you have the appropriate needle and thread for the fabric you're using, and follow the instructions in the pattern carefully.
Tips for Troubleshooting
Troubleshooting sewing issues with pj pants can be a frustrating experience, but with a few helpful tips, you'll be able to overcome any obstacles and create the perfect pair of cozy loungewear. One common issue is uneven hems, which can be solved by measuring and marking the desired length before cutting. Adjusting the elastic can make a big difference if the waistband feels too tight or too loose. Try adjusting your tension settings or using a walking foot to fix puckering or bunching in the seams. And if you're having trouble with your stitches coming undone, reinforcing them with backstitching or using a stronger thread can help. Remember, practice makes perfect, so don't be discouraged if you encounter some bumps. With these troubleshooting tips in mind, you'll soon be sewing up comfortable and stylish pajama pants like a pro!
Learning how to sew pajama pants is a fun and rewarding project that allows you to create personalized and cozy sleepwear. By following the steps outlined in this guide, you can make your own pjs that are comfortable and stylish. Whether you're a beginner or an experienced seamstress, sewing pajama pants is a great way to showcase your creativity and create something practical. So grab your sewing machine, choose your favorite fabric, and start stitching! With just a little time and effort, you'll have a pair of pj pants that you'll love wearing to bed.
Thank you again for joining us today to learn how to sew pajama pants. Before you leave, make sure to join our Facebook Group and follow us on Instagram. Happy Sewing!


