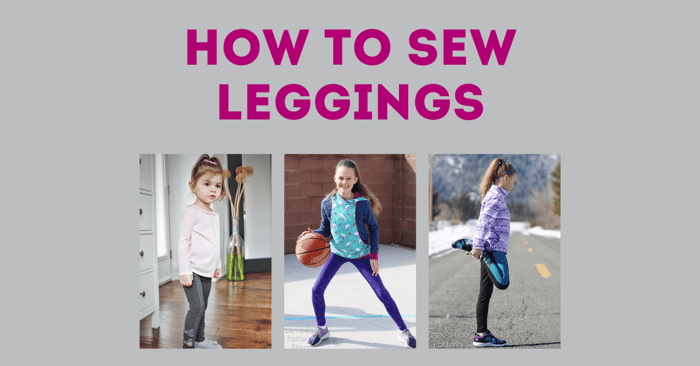
How to Sew Leggings | Using the Agility Leggings
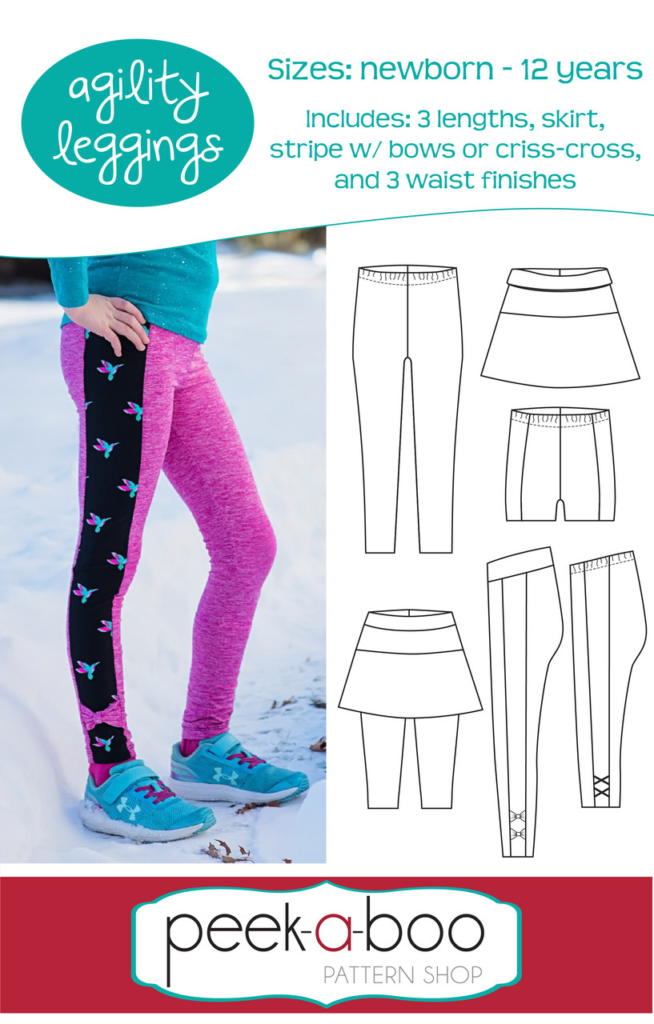
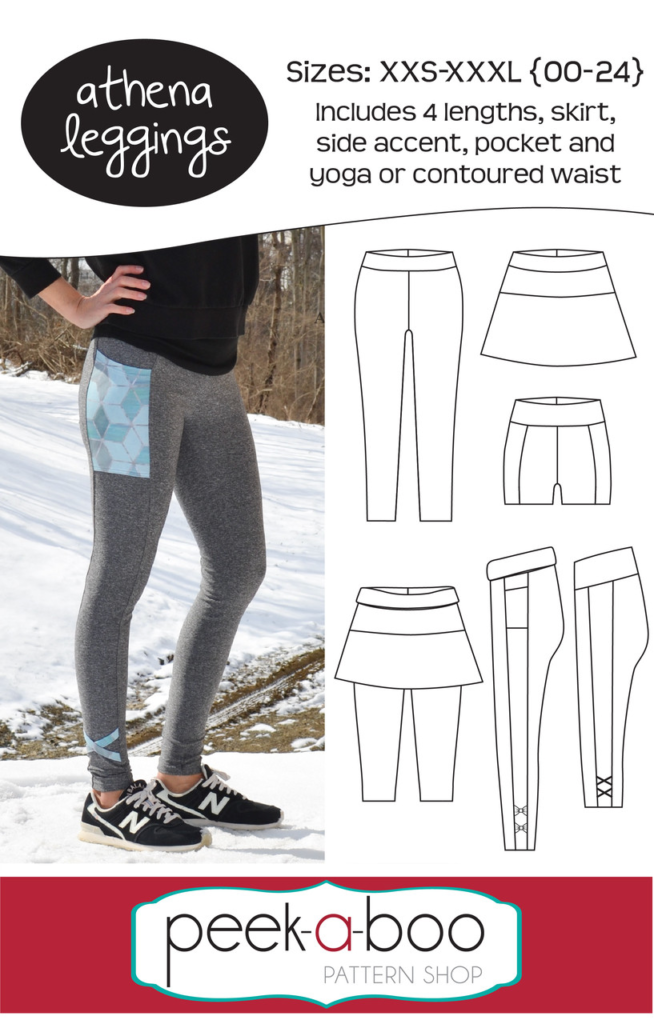
If you're looking to learn how to sew leggings, the Agility Leggings for Girls from Peek-a-Boo Pattern Shop is a great option to consider. In this tutorial, we will walk you through the steps needed to create your own pair of leggings with an attached skirt. This pattern is versatile and can also be used for the Athena Leggings Pattern for Women. Whether you're a beginner or an experienced sewer, this tutorial is suitable for all skill levels. So grab your fabric and let's get started on creating stylish and comfortable leggings!
Does anyone else have a little girl who loves the twirl effect in her dresses and skirts?! Or the colors: Purple, pink & blue? I had bought this purple sparkle elastic on sale at the end of last year and had been saving it for the perfect project. Purple is my daughter’s favorite color so when I happened across this purple sparkle athletic knit, I just knew what it had to be.
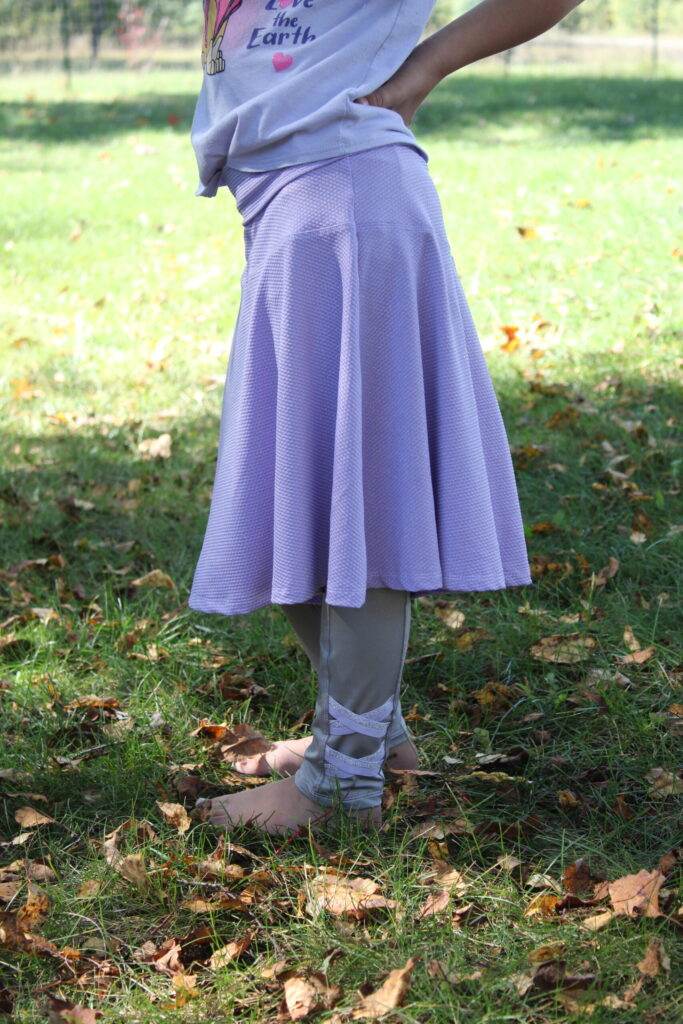
With the temperatures cooling down where we live and the arrival of fall, I put the two together to create a very special, one-of-a-kind, agility leggings skirt combo. Best of all-it passed the twirl test!!
How to Sew Leggings | Make Leggings with an Attached Skirt
Leggings Materials:
- Agility Leggings Pattern from Peek-a-Boo Pattern Shop
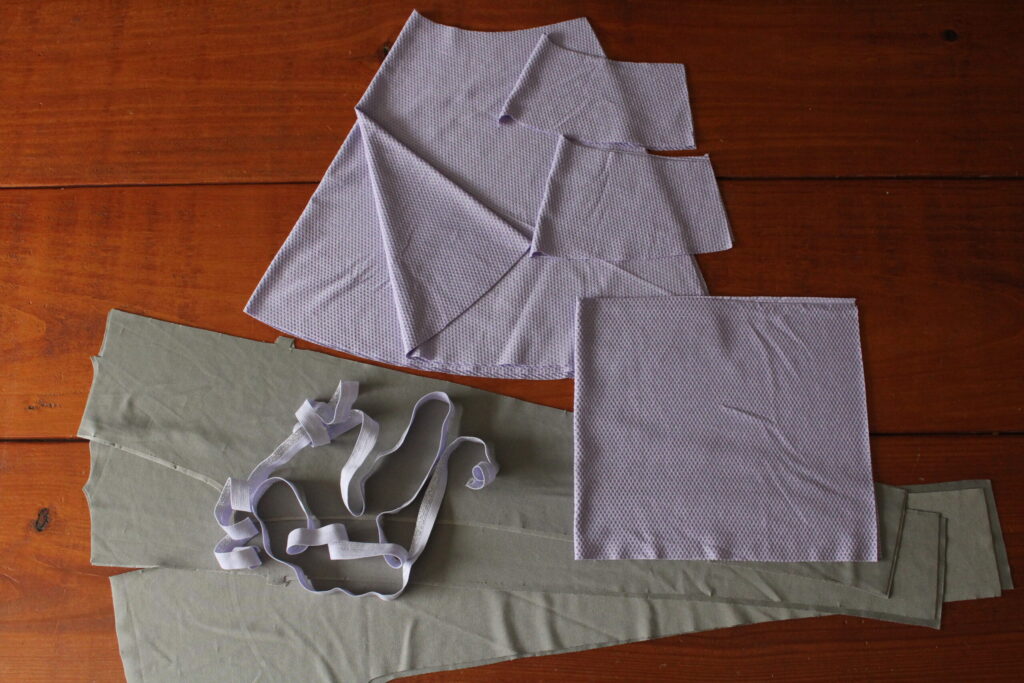
- I chose a novelty athletic knit fabric for the skirt and a regular athletic knit fabric for the leggings. Check out the Athletic Knit section over at KnitFabric.com. You could use another stretch fabric too - medium weight knits like cotton spandex work well.
- 5/8″ fold-over elastic for her size.
- Iron, thread, sewing machine, ruler, clips or pins & shears.
I will be focusing on option B of the legging pattern with the attached skirt and yoga waistband for this tutorial. I also added a little extra length to the skirt piece as well. I used my ruler to extend past the bottom edge of the skirt pattern piece to my preferred length. I will also briefly touch on finishing your leggings without the skirt if you should choose. Make sure to measure so you can get your actual size for your own leggings.
Ok, leggings materials are cut and gathered up. We’re ready to start sewing!
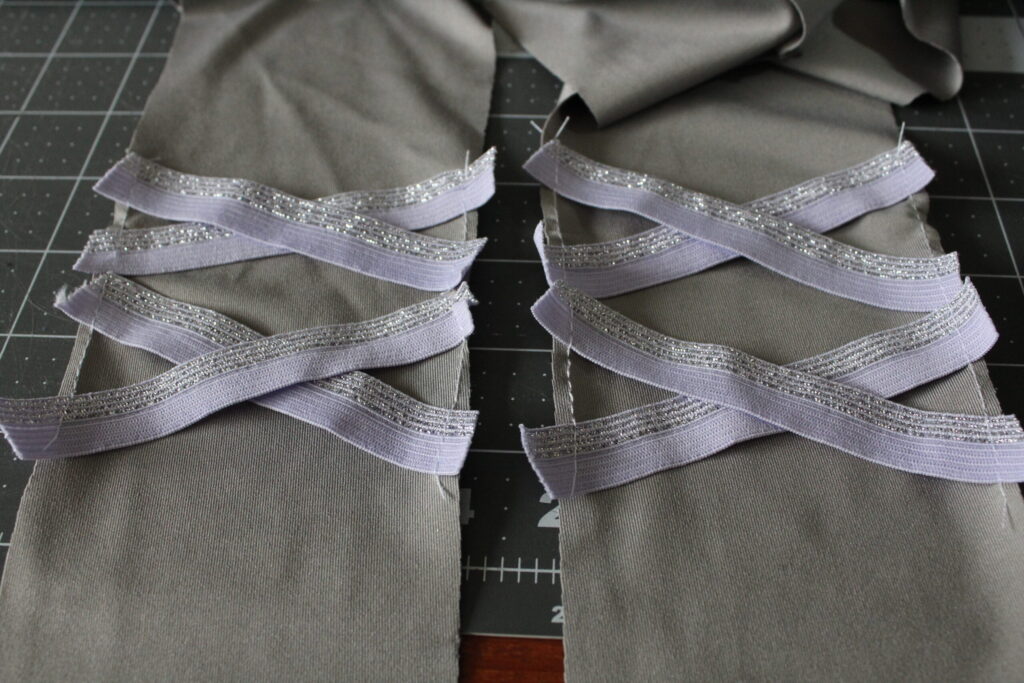
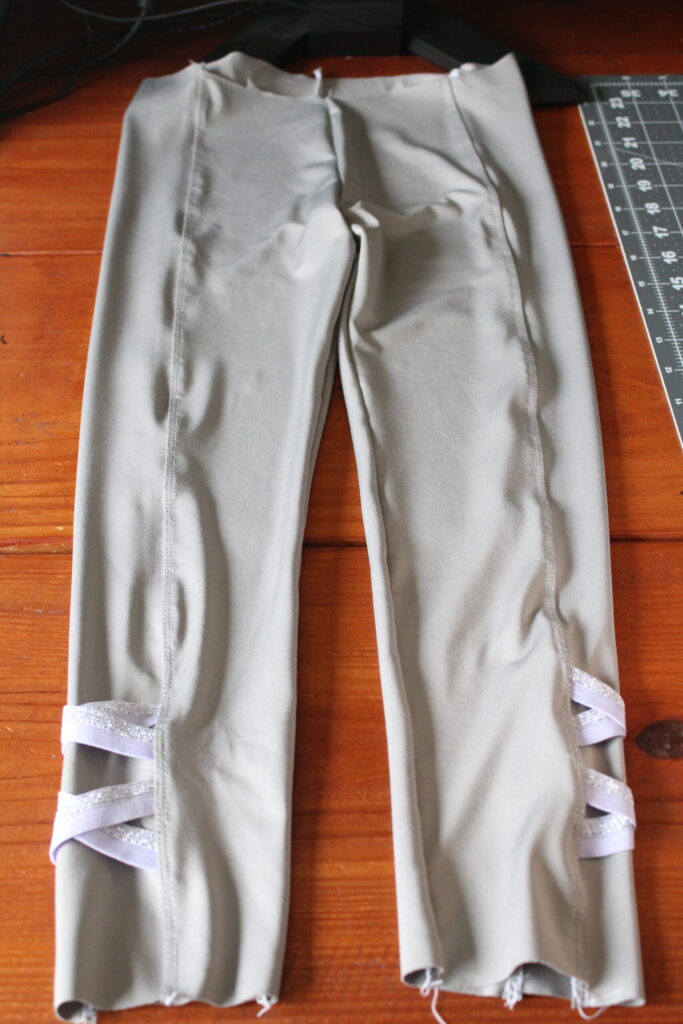
Leggings Step 1: Sewing Elastic criss-cross embellishment
Make sure your inseam length falls where you want it to. You won’t be able to cut off any excess length once the legging embellishments are in place so measure twice if needed!
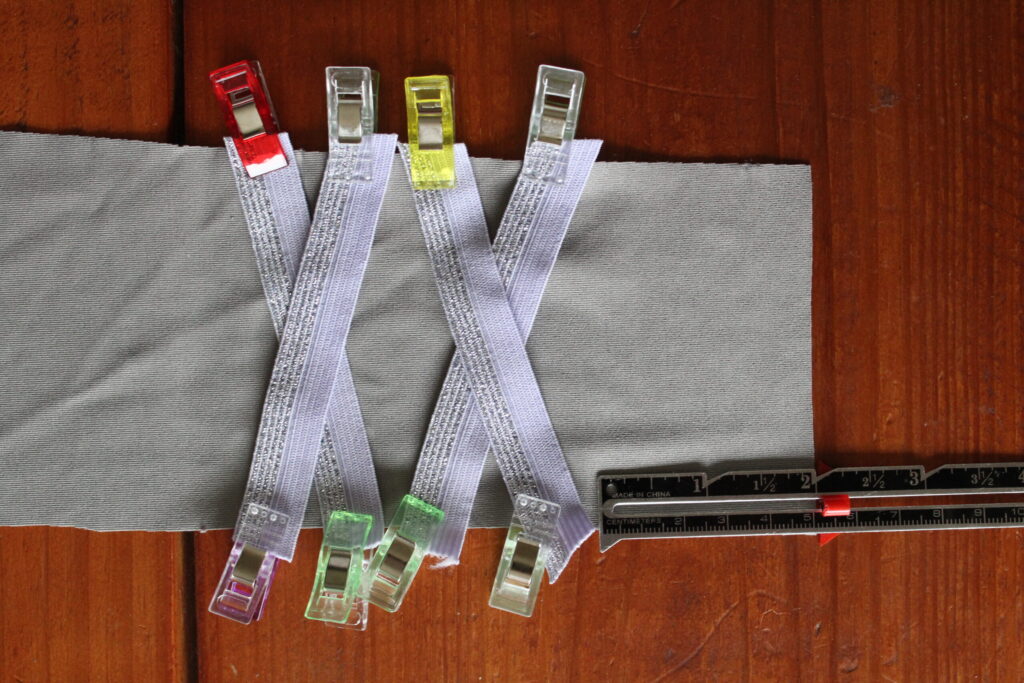
We will measure 2-3 inches above the bottom of each legging for our elastic placement and lay them out in an “X” design. I measured, clipped/pinned & trimmed as I went along. I also left a little bit of excess elastic on the sides in preparation for basting. This will get surged or cut off in a later step!
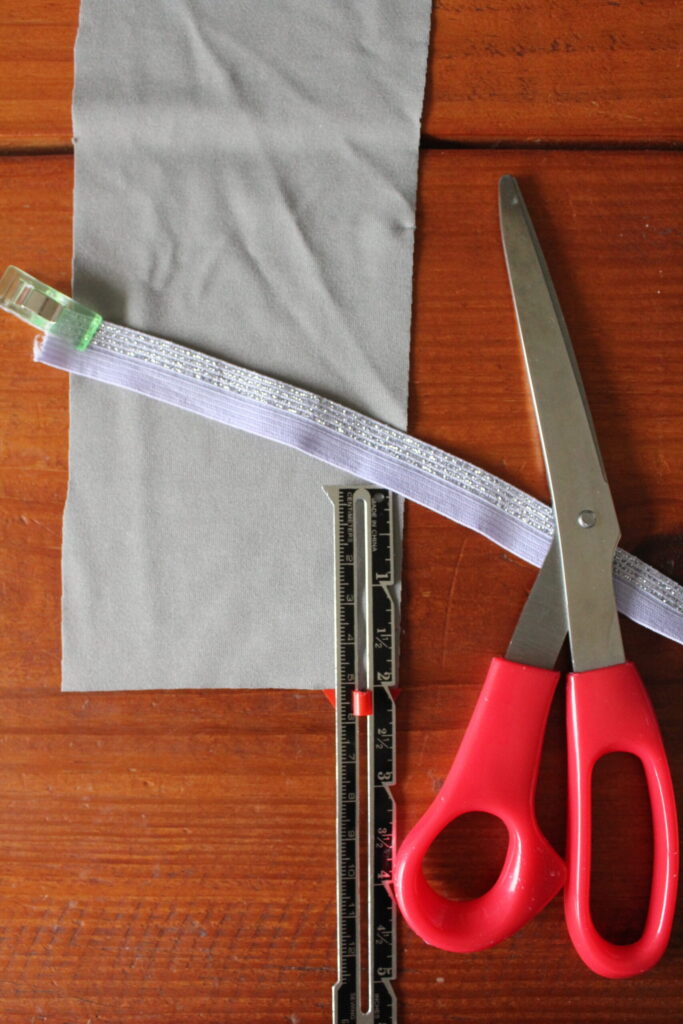
You have the option of doing 1 or 2 criss-cross patterns on the bottom of the leggings. My daughter specified 2 so that is what I did here. Just make sure the bottom “X” is at least 2″ from the bottom of the leggings as this will be hemmed towards the end.
Baste the edges of the elastic to the leggings making sure they aren’t too loose as you go.
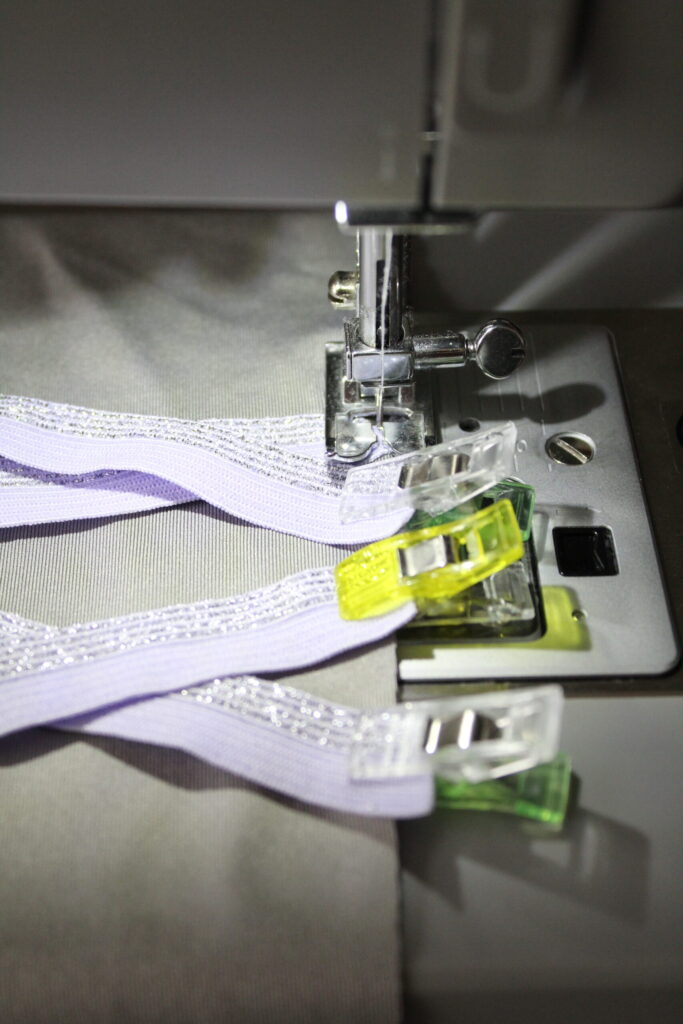
Our basted leg embellishments.
Leggings Step 2: Leg piece construction
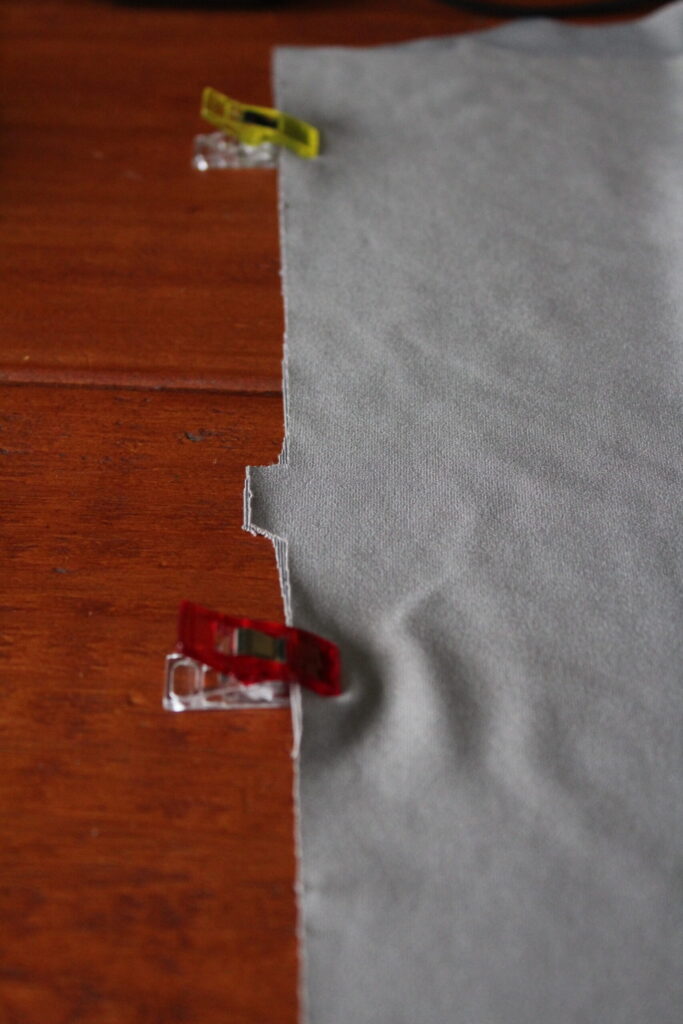
Now we will grab one of our leg pieces to begin constructing the leggings together. Grab the piece with the triangle notch and match it to the side of the leggings with the corresponding shape, right sides together. You’ll do this for both leg pieces.
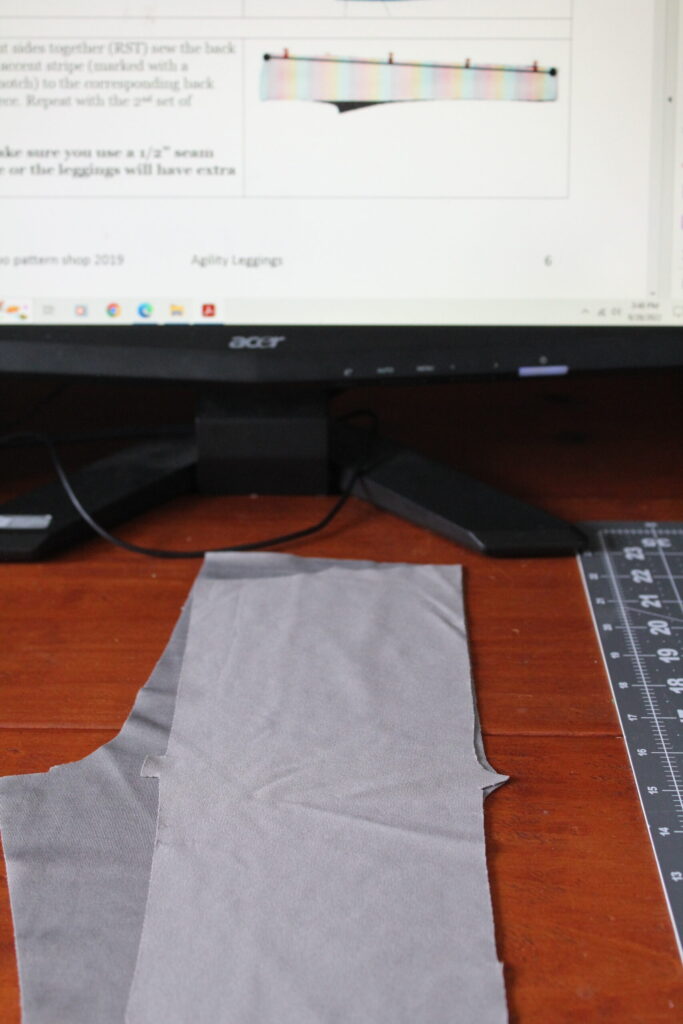
Clip/pin those legging pieces together.
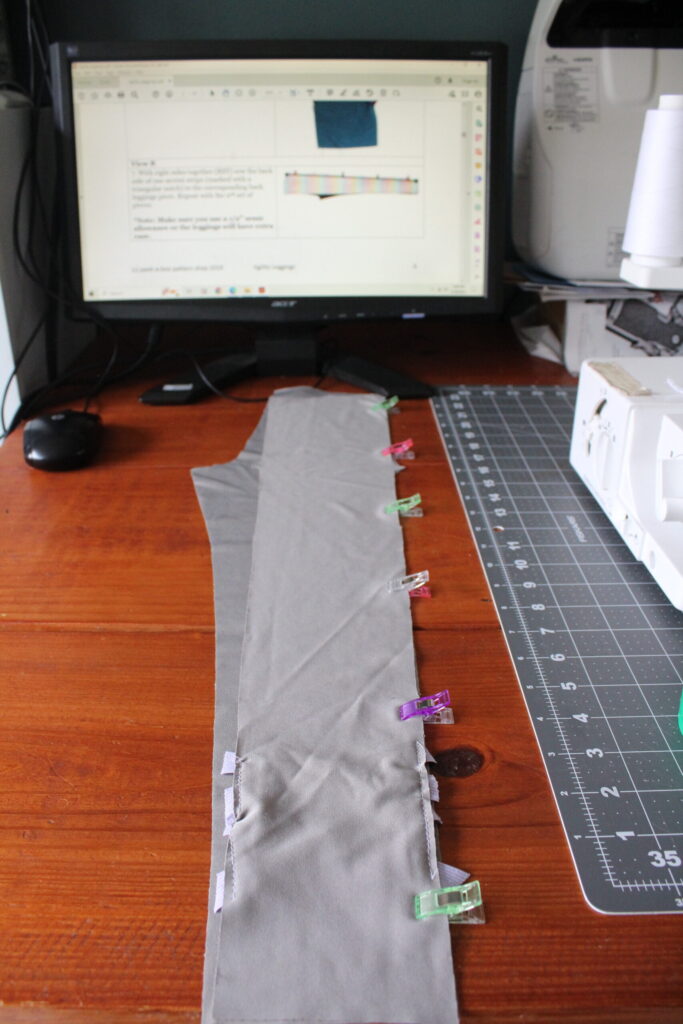
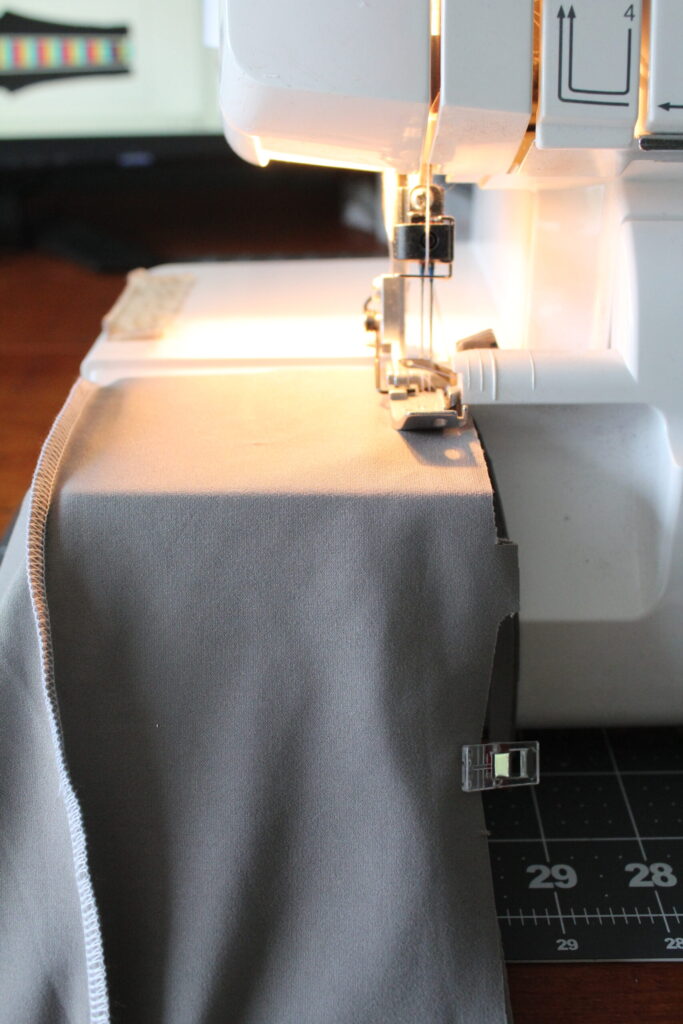
Sew together using a 1/2″ seam allowance.
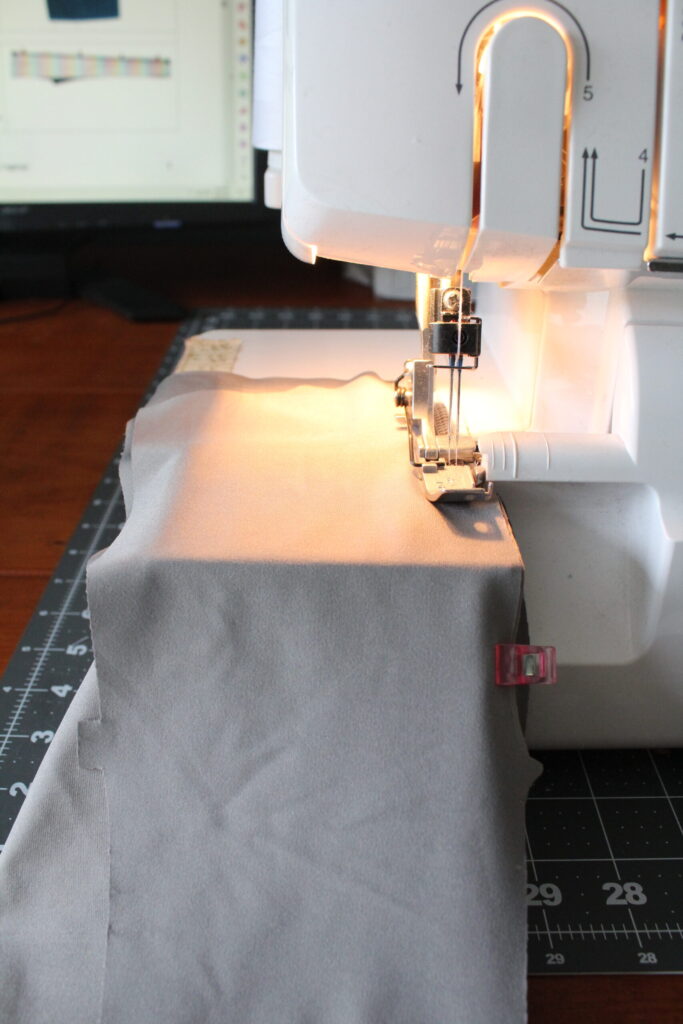
One side sewn.
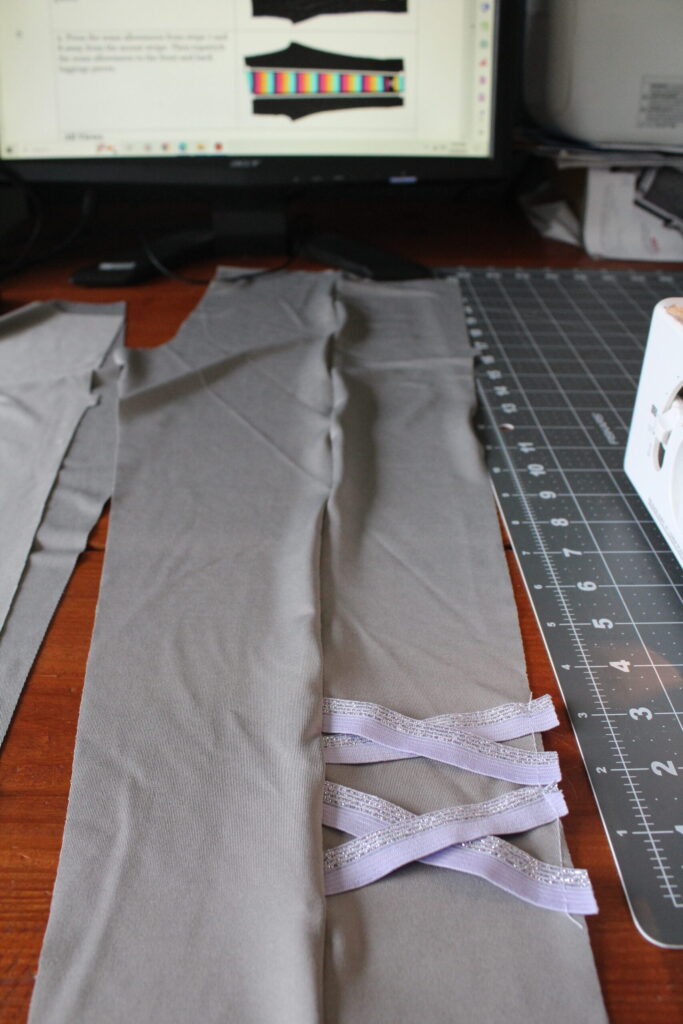
Now we will grab the other leg piece with the square notch and clip/pin together on the opposite side.
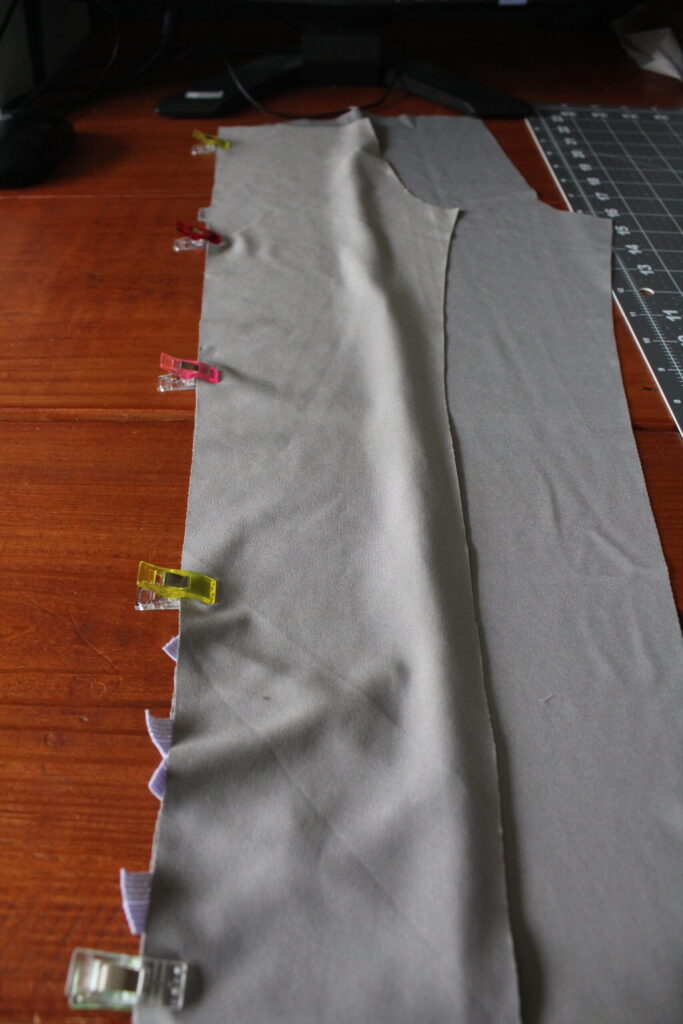
Sew both leg pieces together like before.
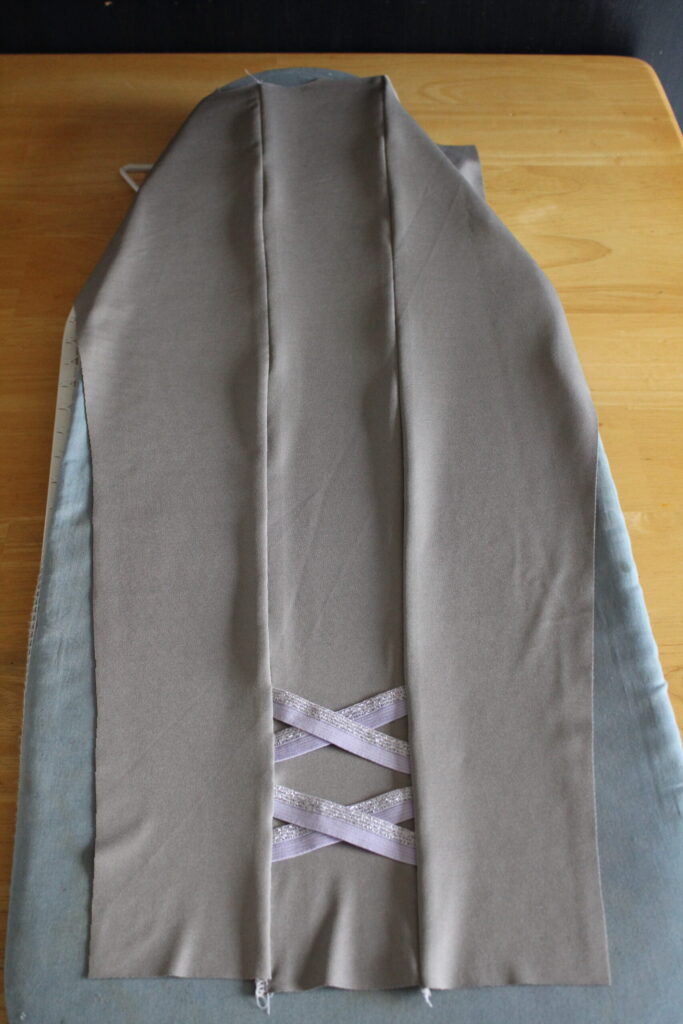
Leggings Step 3: Press the leg seams
Iron the seams pressing them flat towards the outside pieces.
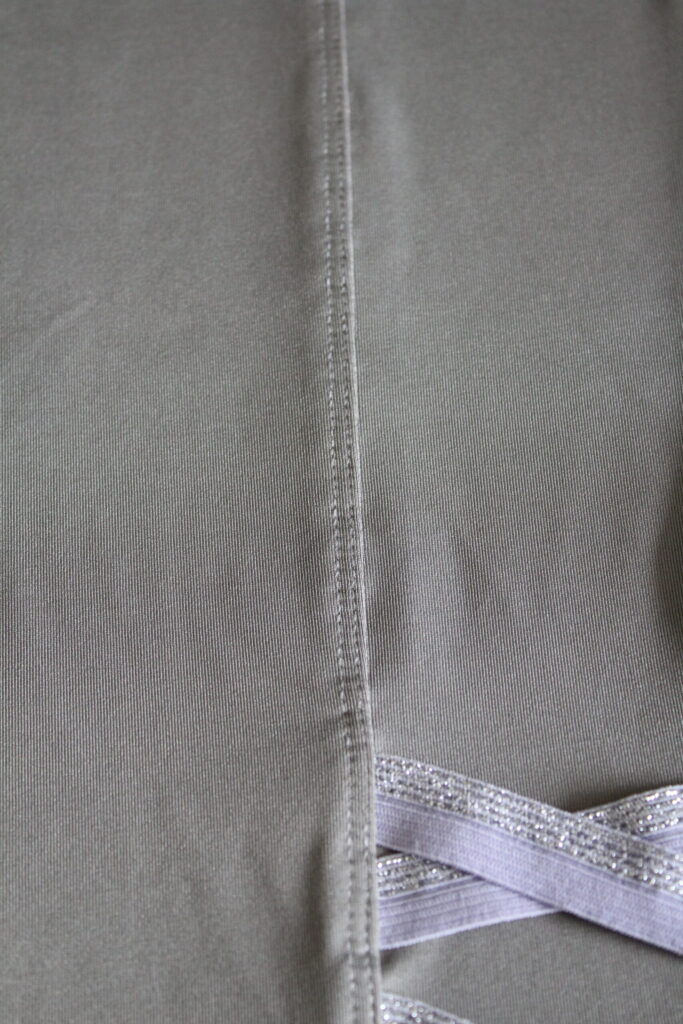
Leggings Step 4: Topstitching the Leggings
Topstitch each seam away from the accent piece on your leggings.
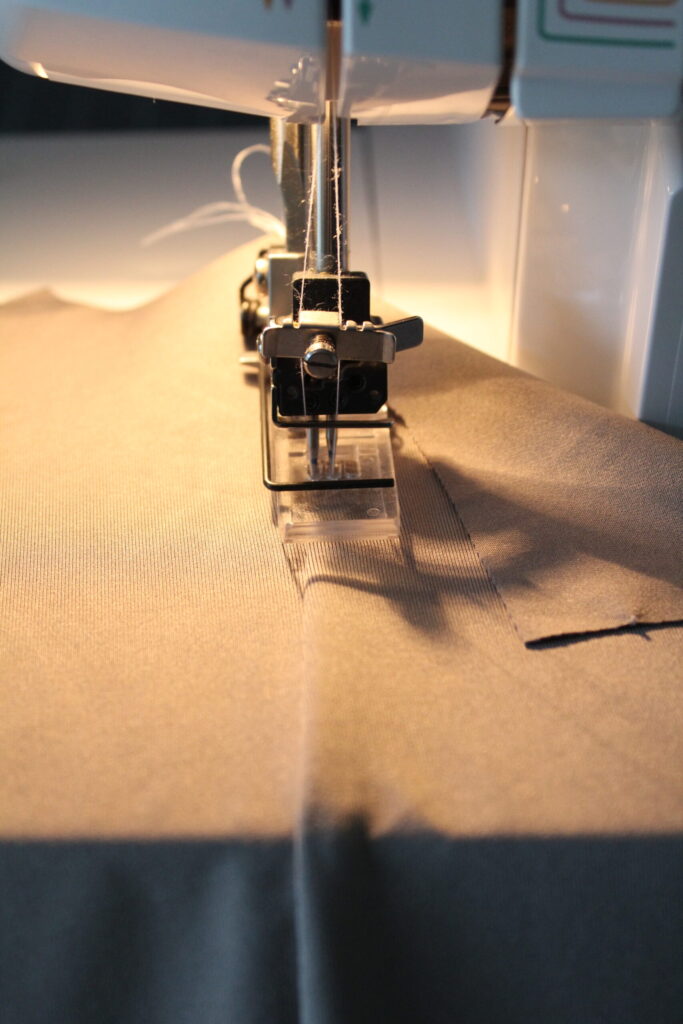
Topstitching finished.
Leggings Step 5: Sewing the side leg seams
Fold each leg piece right sides together and pin/clip.
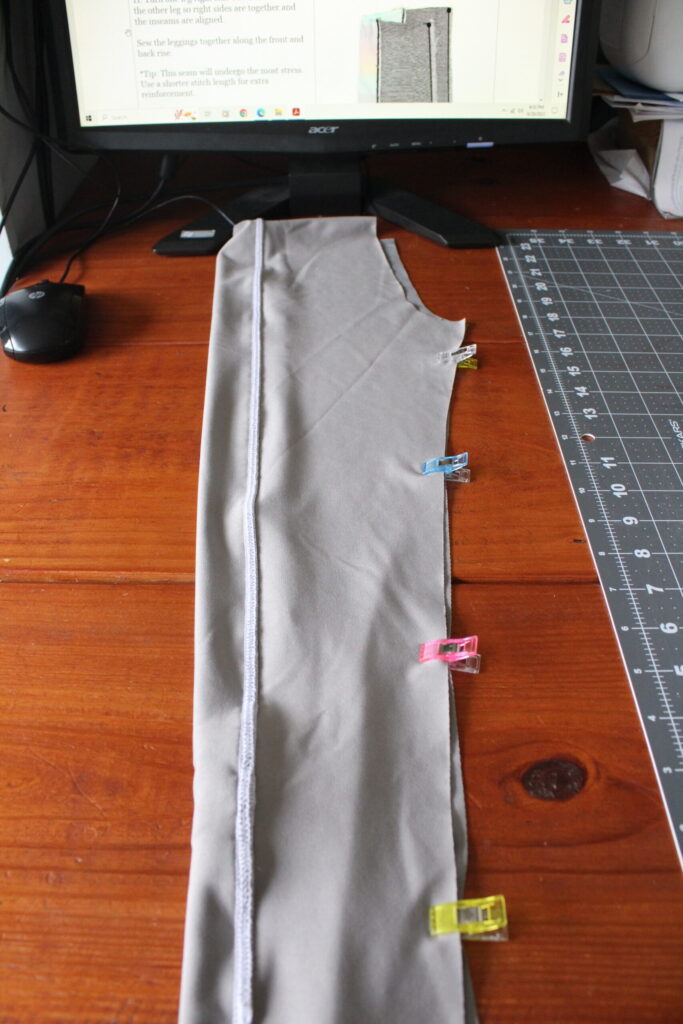
Sew both leg pieces together. Now is a good time to try the leggings on to see if you like the fit. You can always go back and take a little more off if they’re too loose.
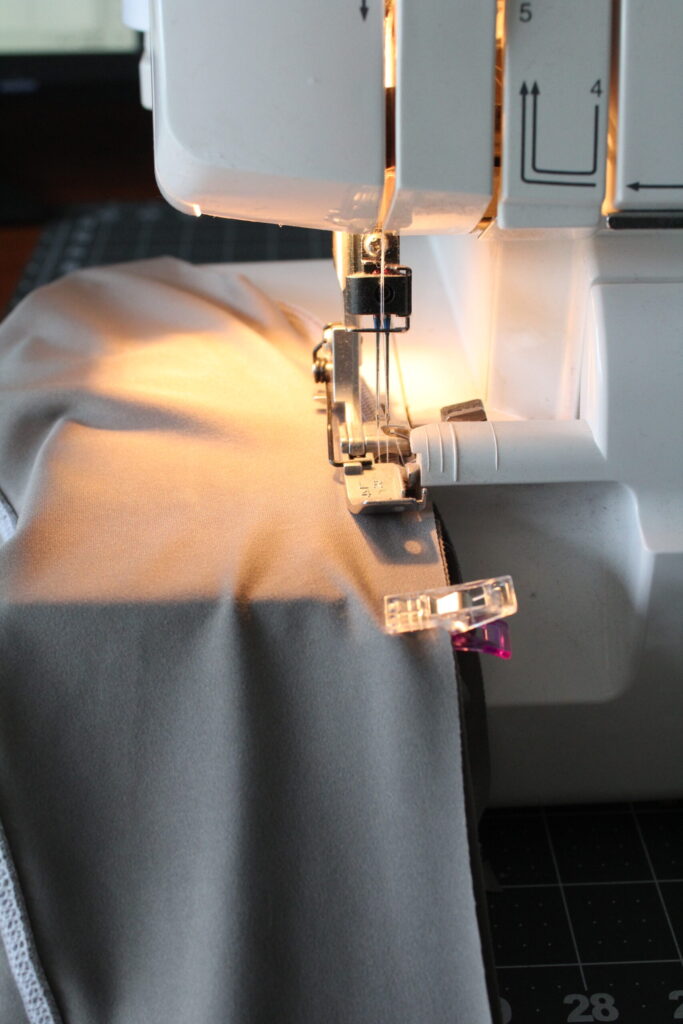
After you’ve decided on the fit, we’re going to turn one leg right side out and slide it inside the other leg with the right sides together.
Leggings Step 6: Sew the Front & back inseam
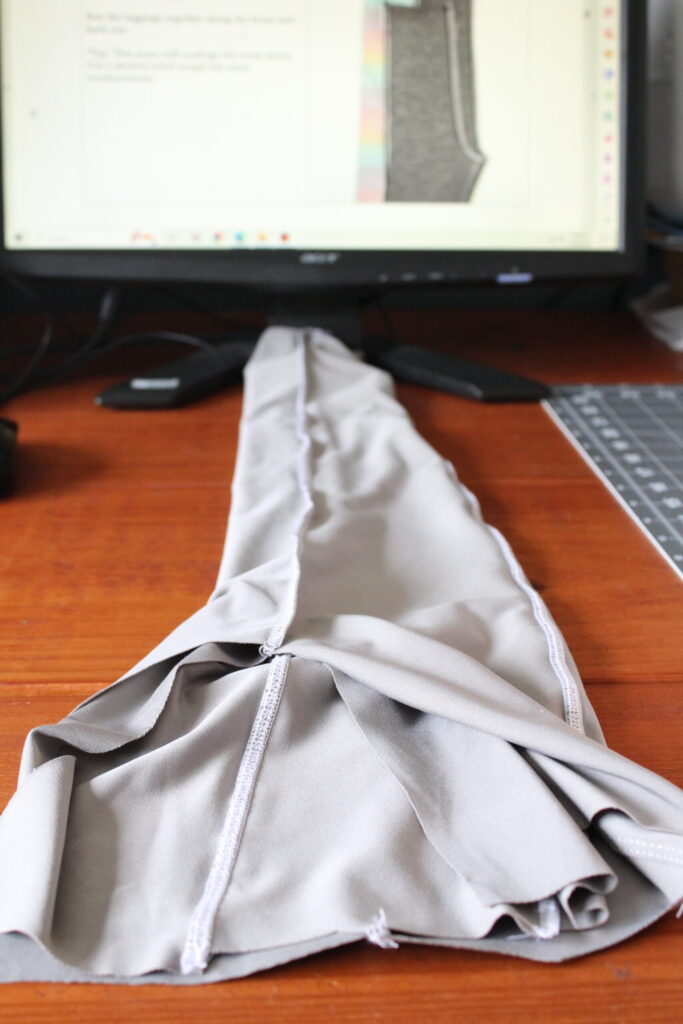
Pin/clip the inseams together and sew.
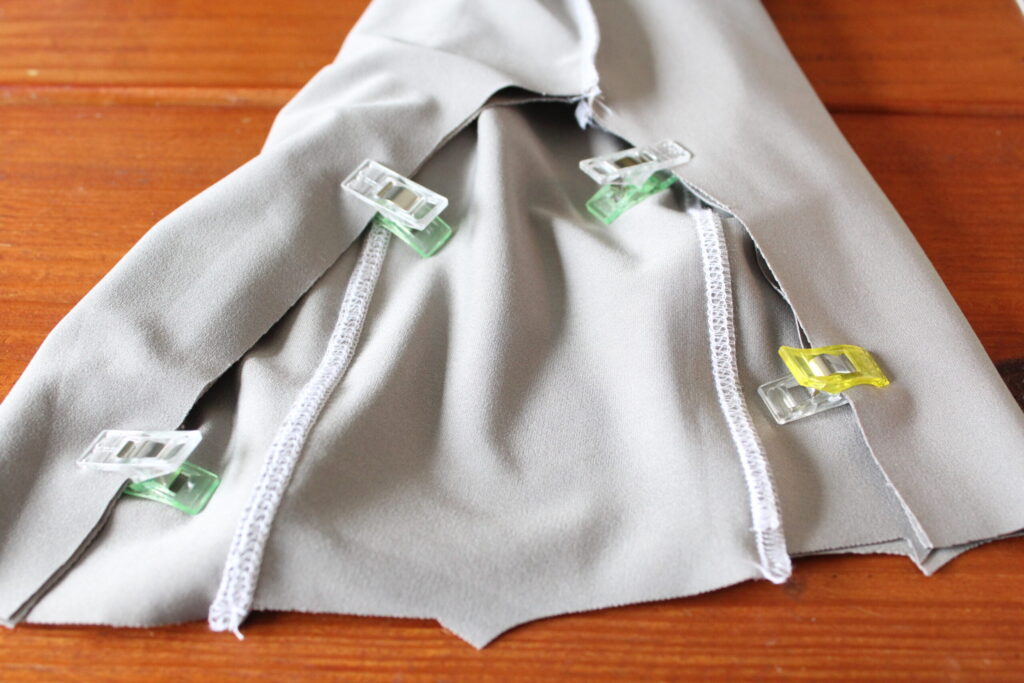
The leggings are complete for now. Set those aside and we’ll begin with the skirt assembly next.
Leggings With Skirt Option
If you’d like to finish with just the leggings; follow the pattern instructions for completing the elastic waistband & hemming. You’ll have a few different waistband options to choose from depending on your needs and or preferences 🙂
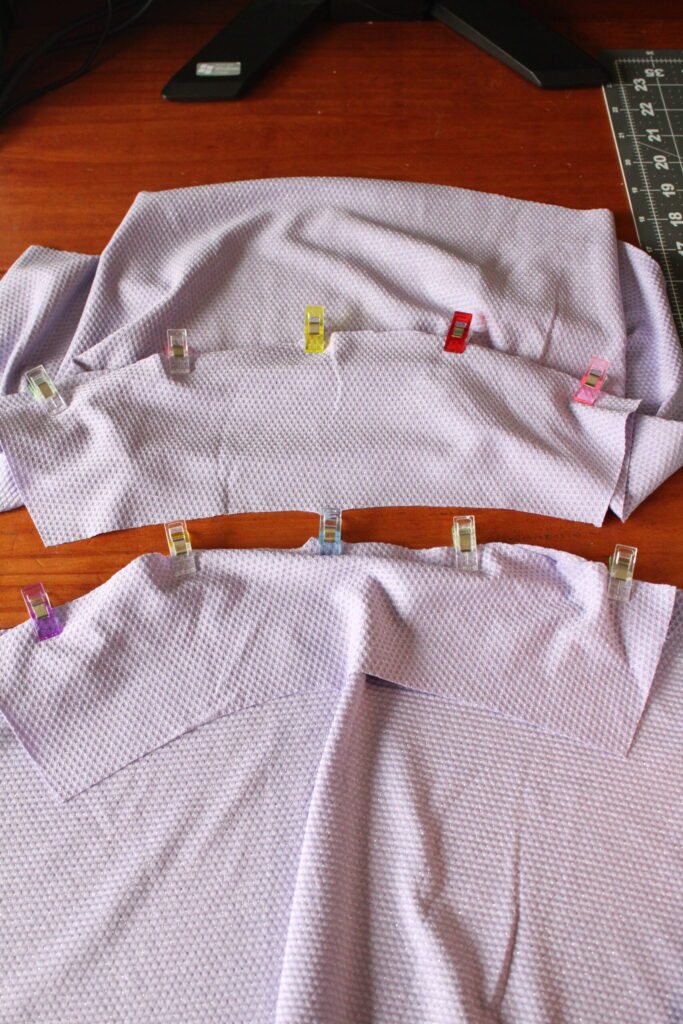
Leggings Step 7: Skirt yoke pieces
Pin/clip the front and back yokes to the skirt pieces and sew them together.
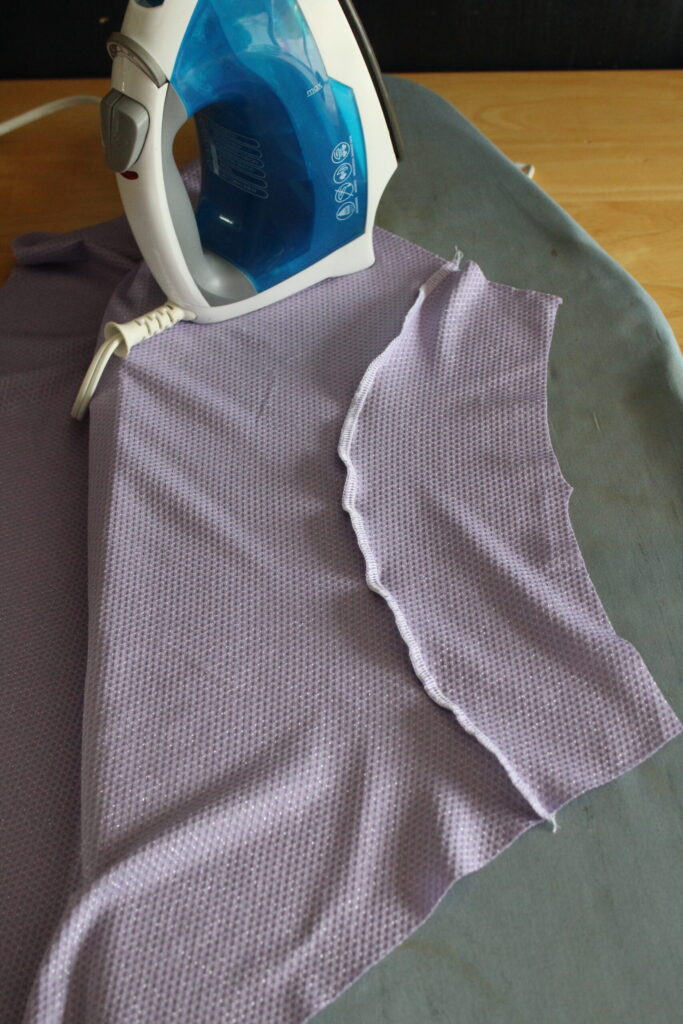
Leggings Step 8: Pressing
Press both of the seams towards the skirt pieces.
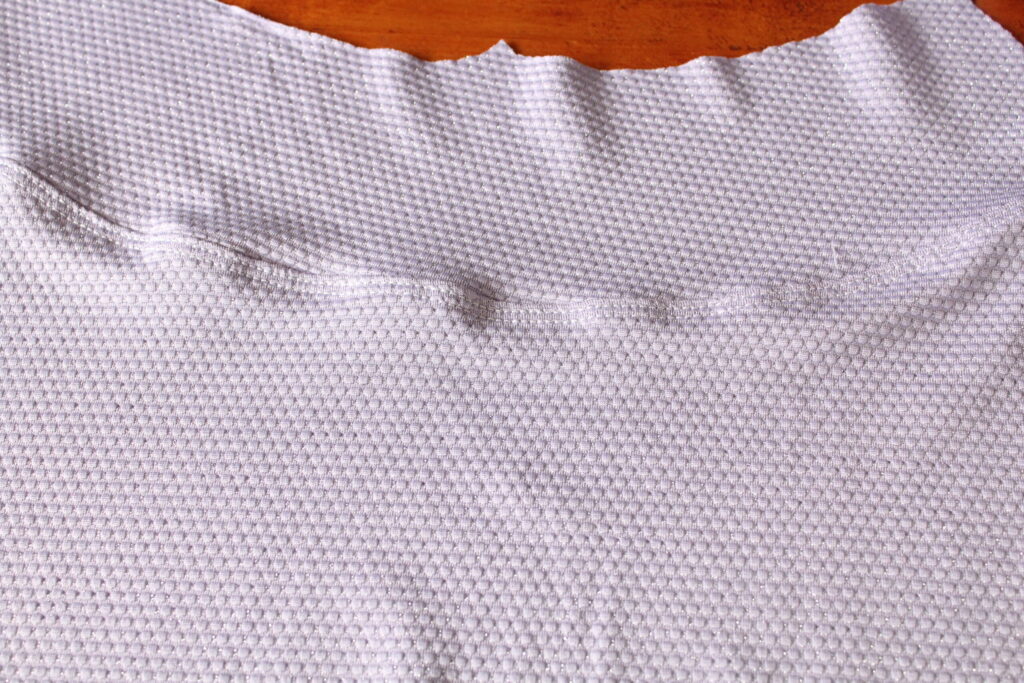
Leggings Step 9: Topstitching the yoke seams
Topstitch the seams to the skirt.
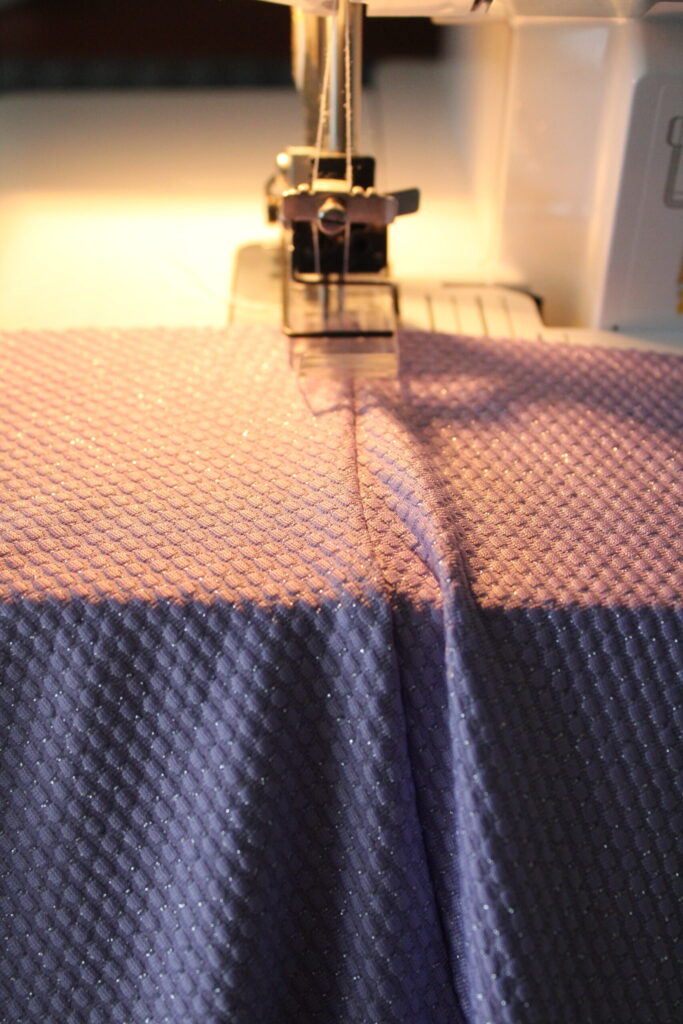
Topstitching complete. I like to go back over my seams and press them again. Optional but helps with the overall look!
Leggings Step 10: Sewing the front & back skirt pieces
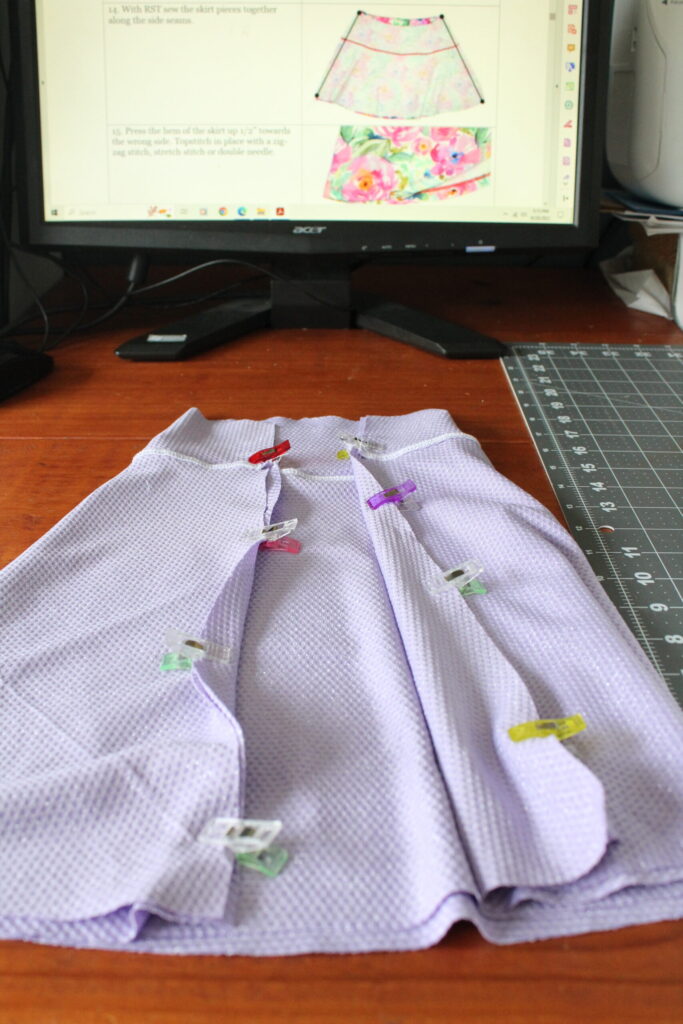
Now we will place our skirt pieces right sides together. Pin/clip in place and sew along the outside edges.
Leggings Step 11: Hemming the skirt
Press the hemline up towards the wrong side 1/2″ and pin/clip in place.
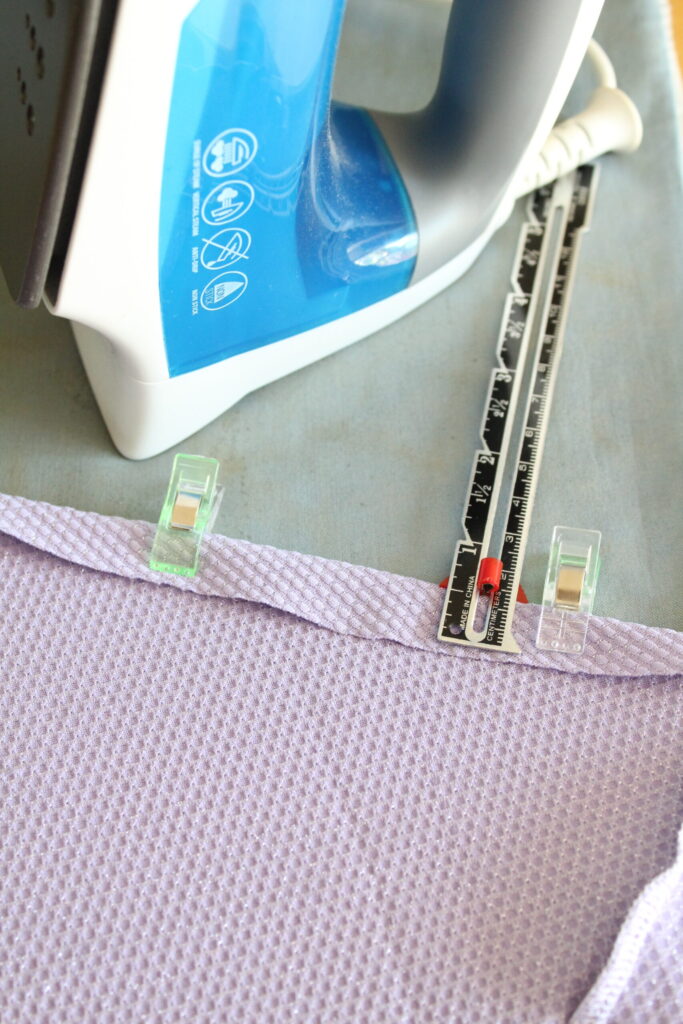
Topstitch the pressed hem of your skirt. Again, I like to go back and press afterward.
Leggings Step 12: Attaching the leggings & skirt together
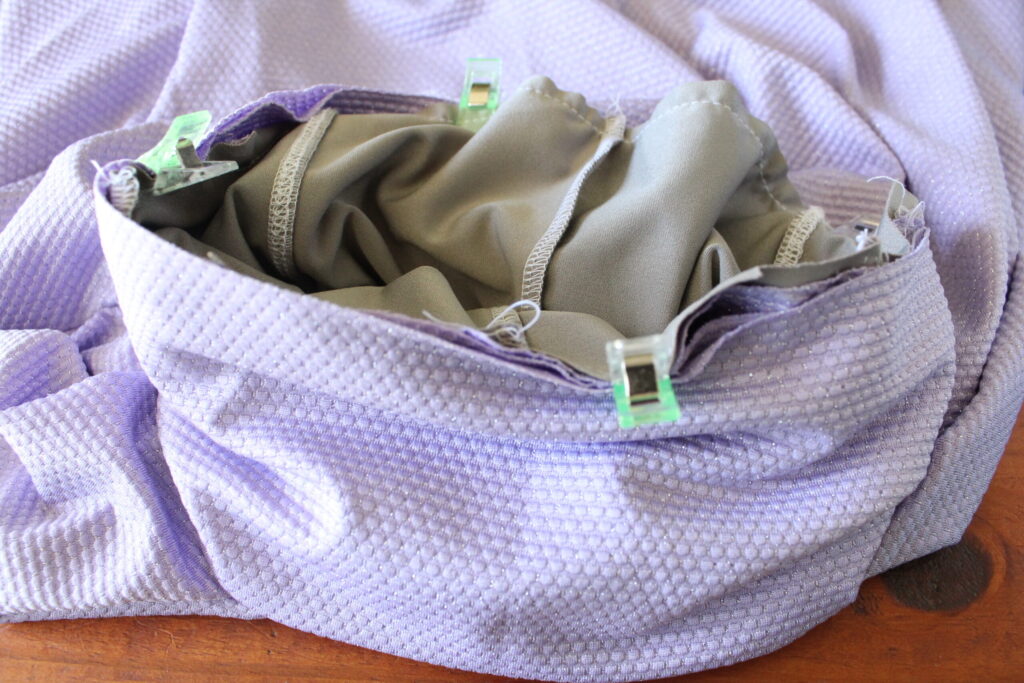
Our skirt is put together and now we’re going to grab our leggings and insert them into the skirt. the leggings should be right side out as well as the skirt. Clip them together at the waistline.
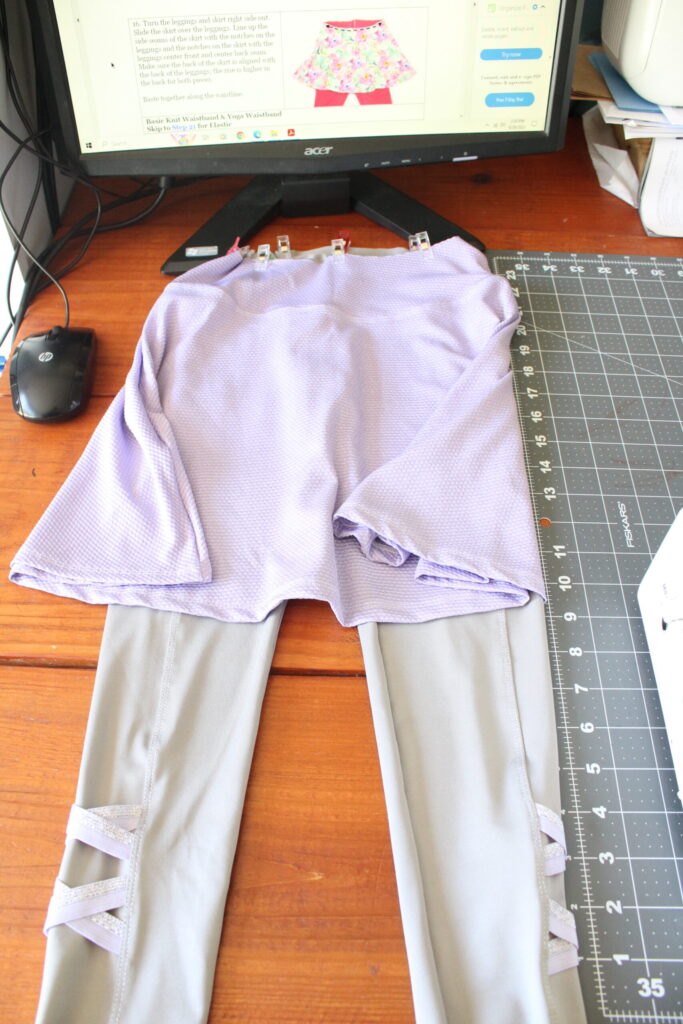
I like to use a lot of clips sometimes just to keep everything in place.
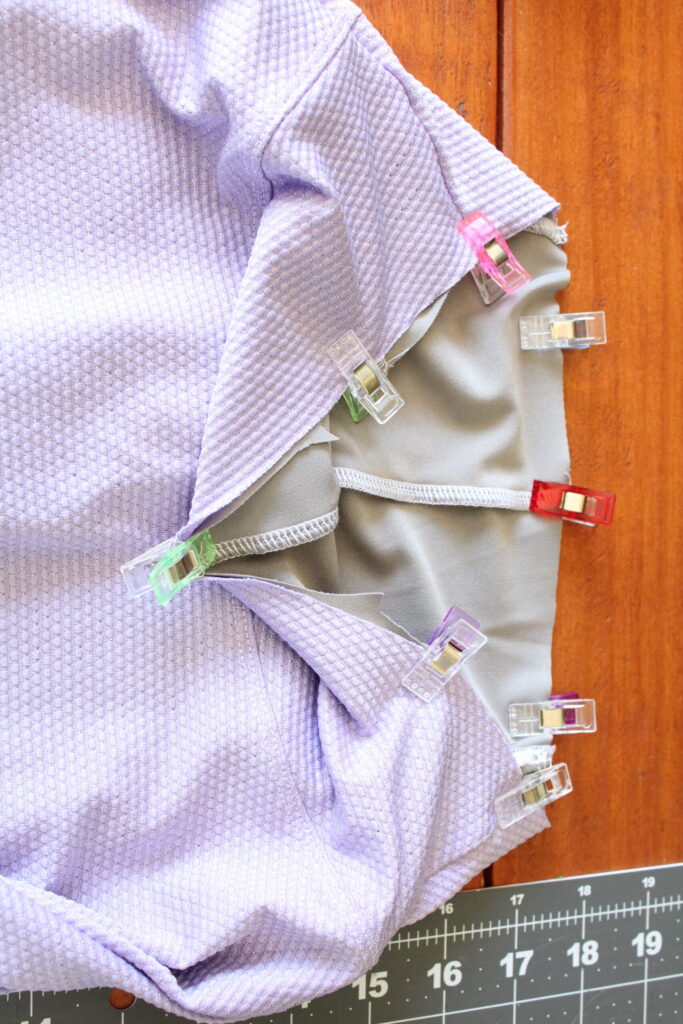
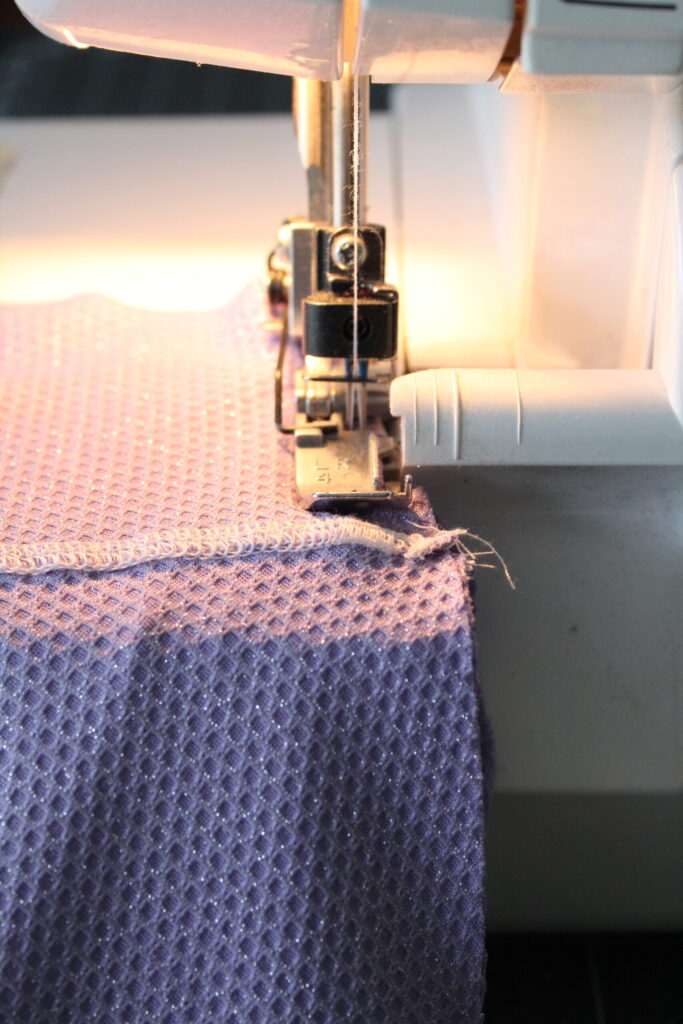
Baste the two pieces together along the top edge.
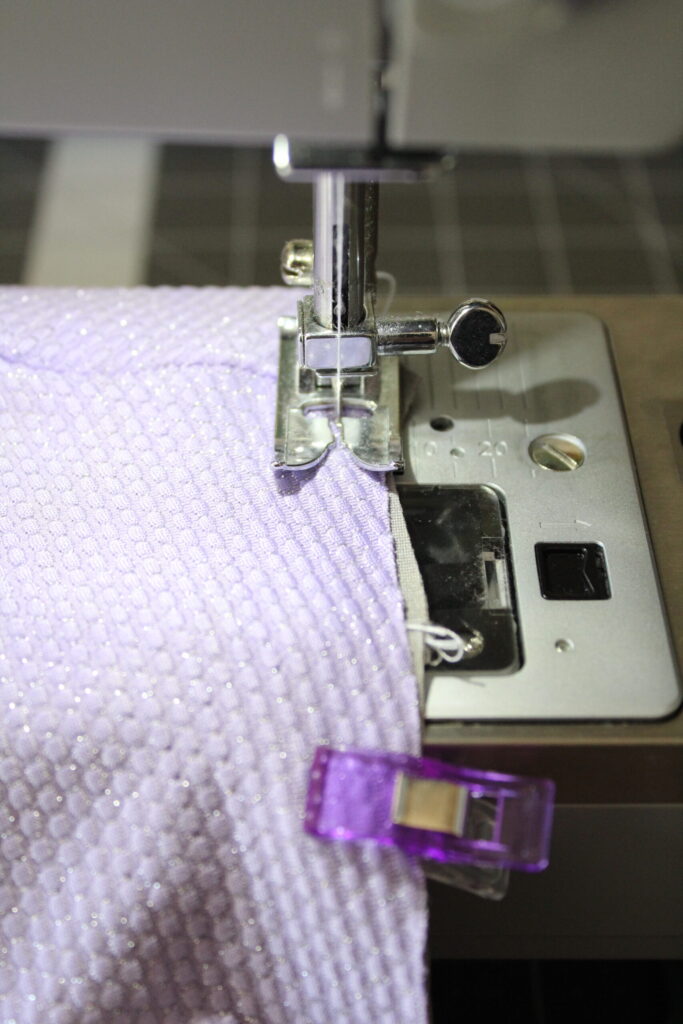
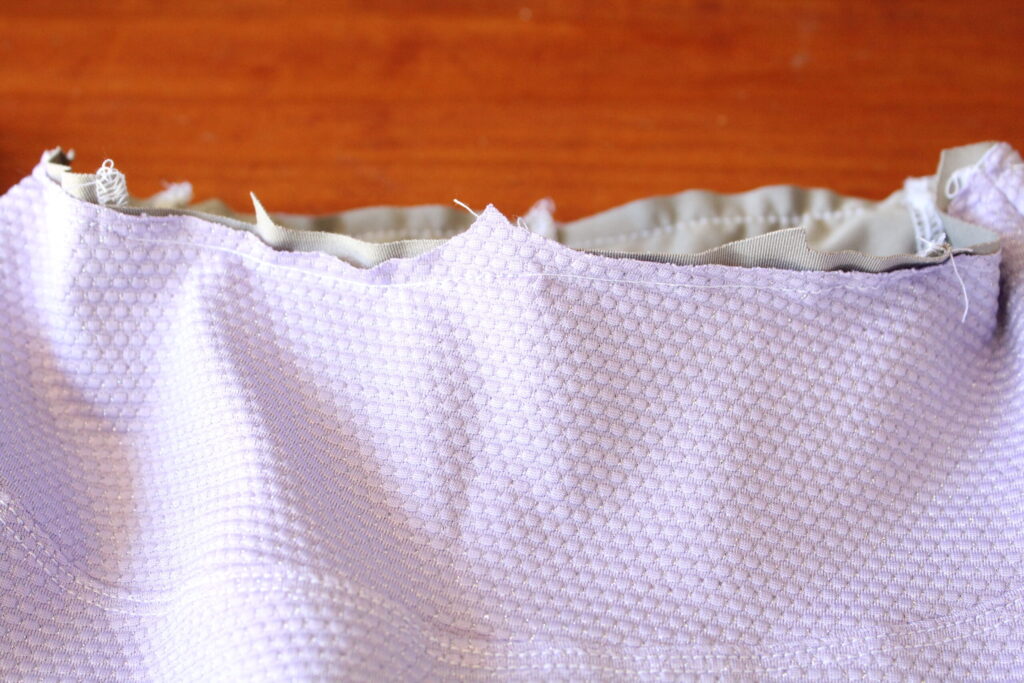
We have our pieces basted and we’re ready to attach the waistband.
Leggings Step 13: Waistband
Fold the waistband over with right sides together and clip/pin.
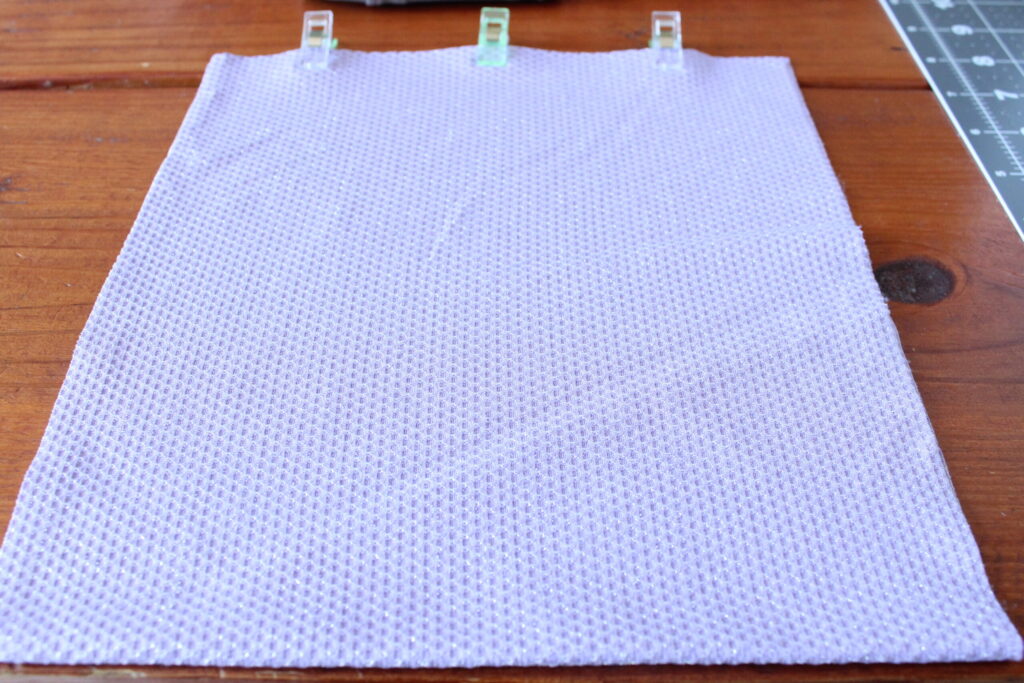
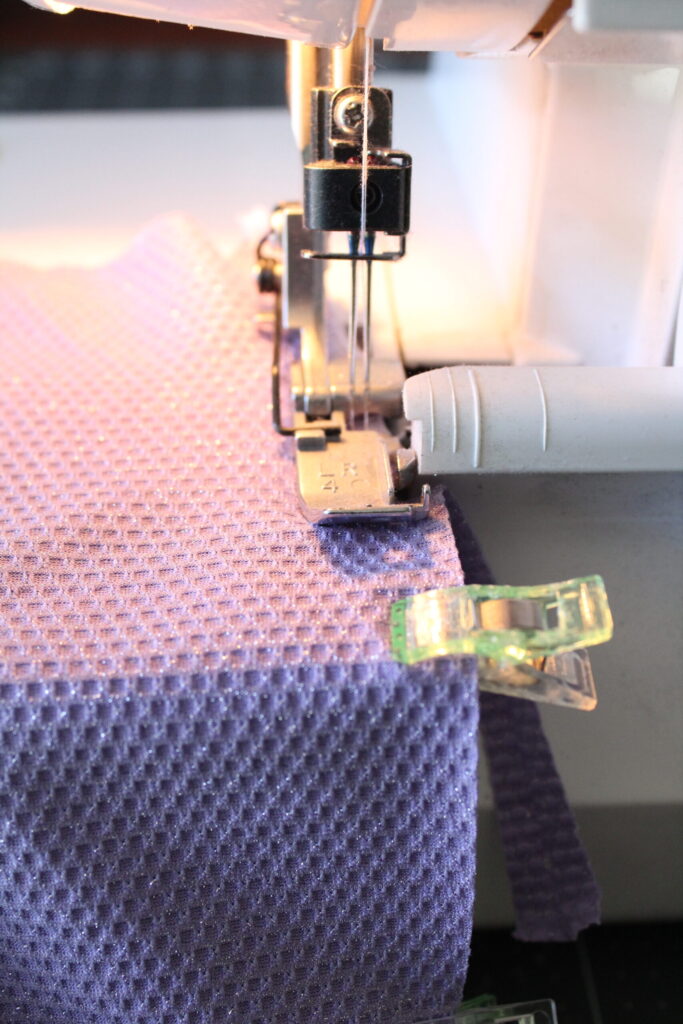
Sew along the pinned edge of the waistband.
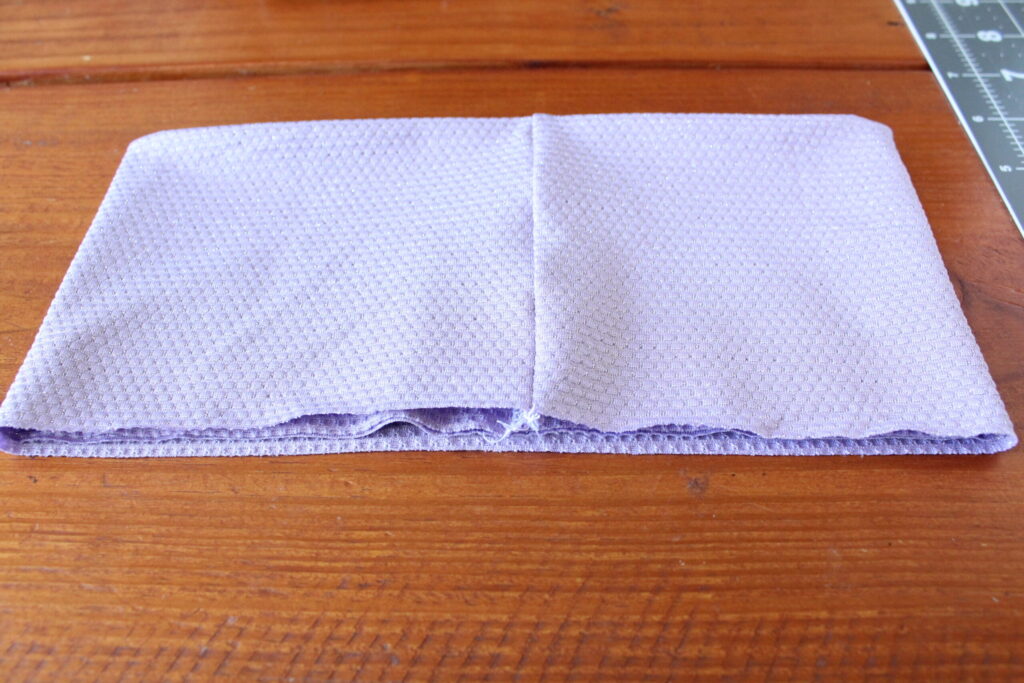
Fold the waistband in half with the long/wrong sides together. The seam will be enclosed when folded.
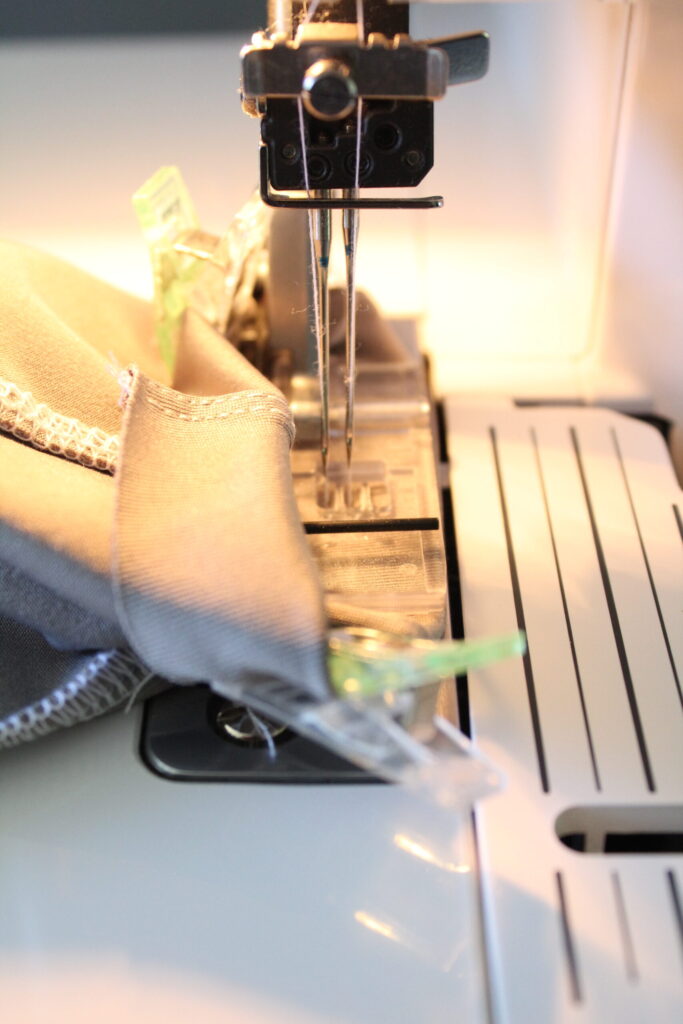
With the right sides together, slide the waistband over the outside of the leggings. Pin/clip the band to the outside of the leggings. Sew, gently stretching the band as you go to fit in place. Flip the band up and press the band seams. The yoga band will be folded over once when worn.
Leggings Step 14: Hemming the leggings
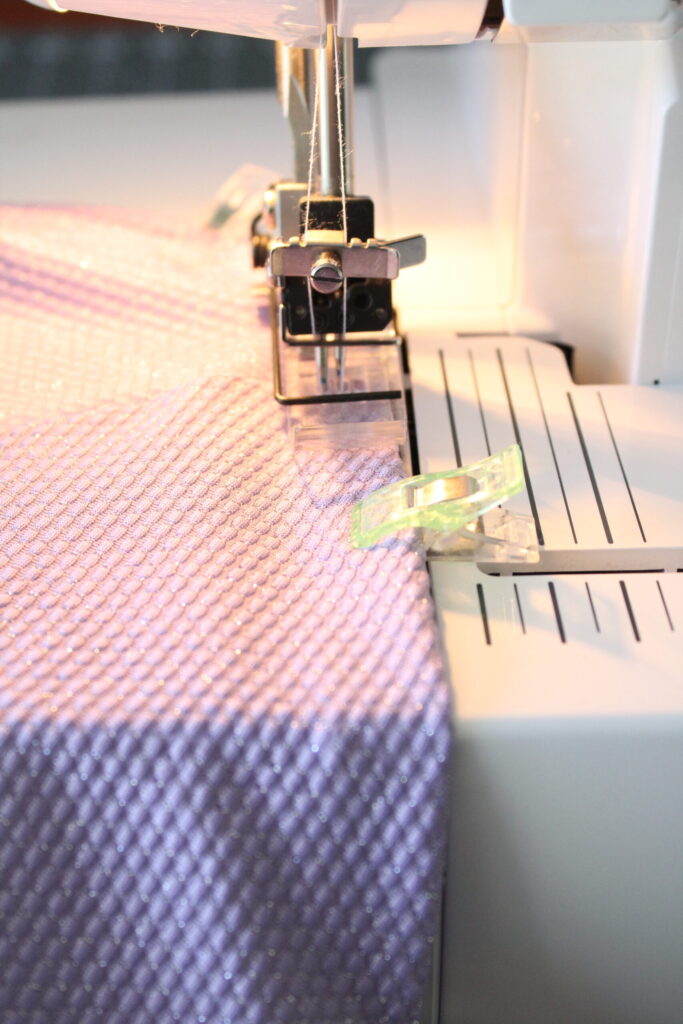
Fold the bottom of each legging up 3/4″ and topstitch.
Your agility leggings skirt is complete. Fold the yoga waistband over once. Time to try it on!

Side view.
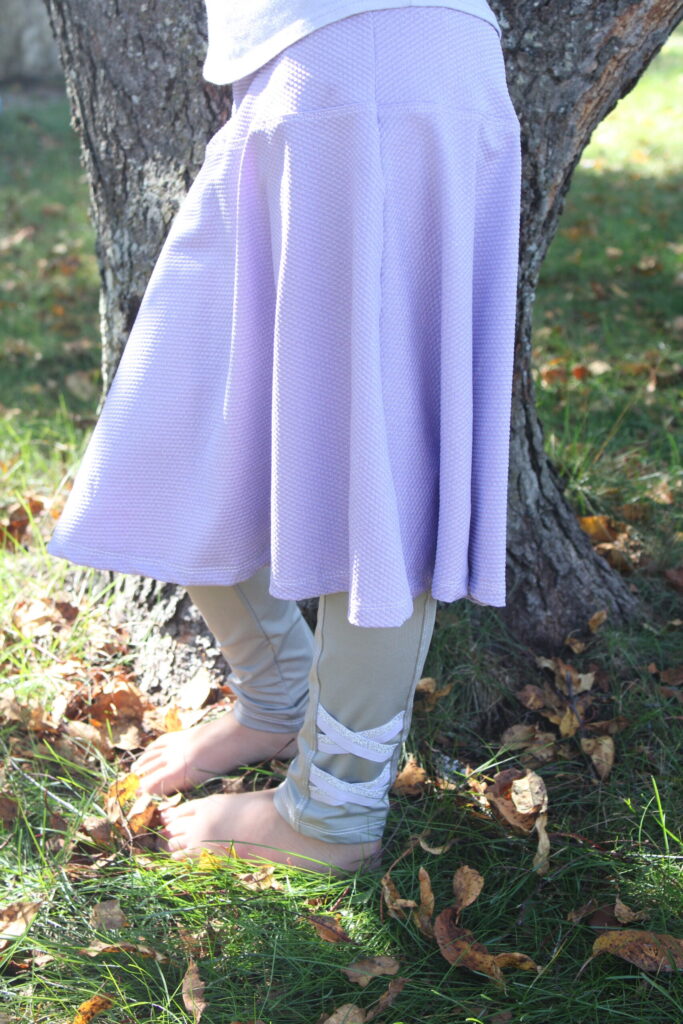
Twirl test in action!
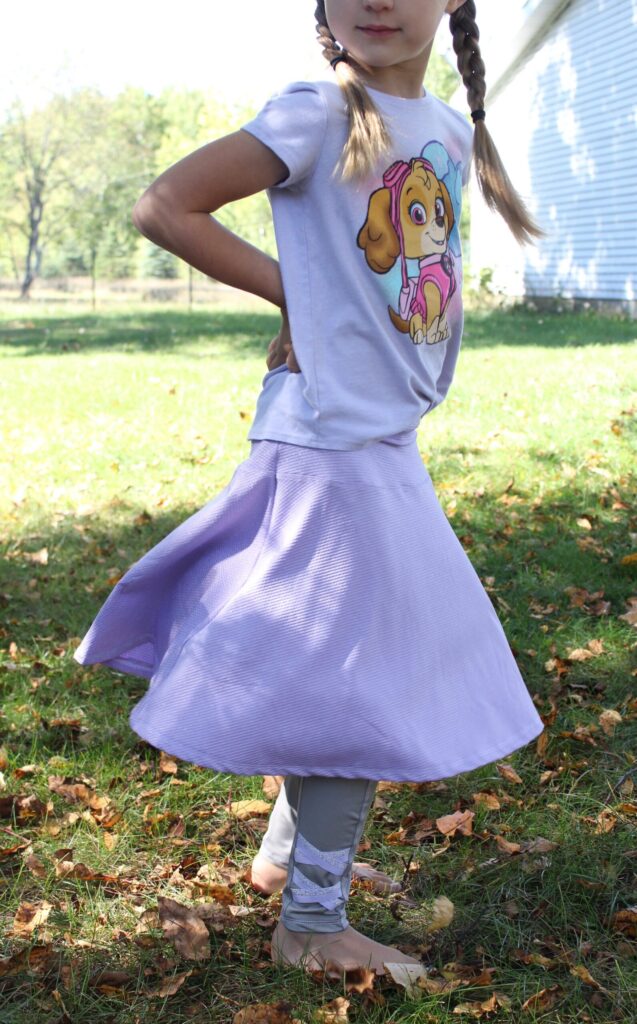
Strike a pose.
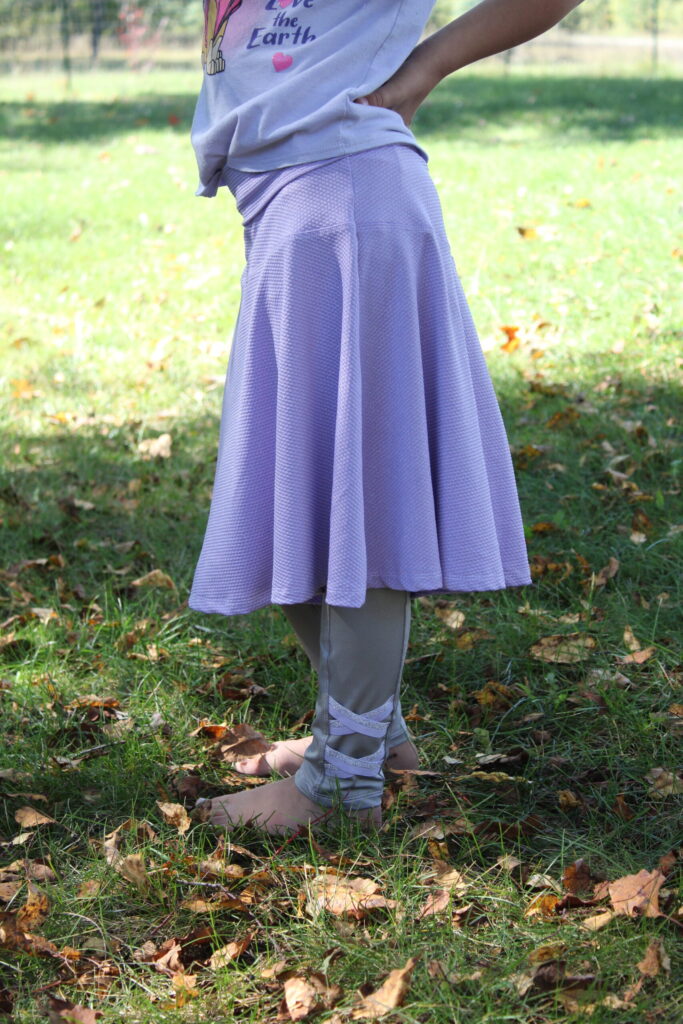
Front view.
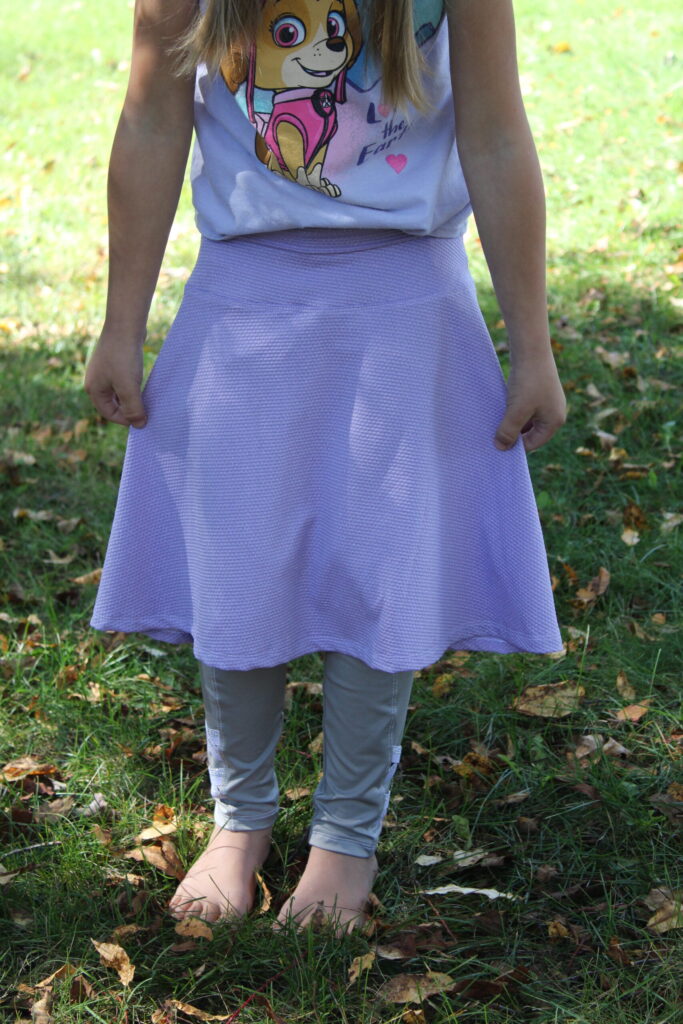 She loves her new piece of clothing and I hope you love yours as well! Pair these leggins with a t-shirt for the perfect outfit. Thank you for following along with Peek-a-boo’s agility legging tutorial. Now you know how to sew leggings!
Can I make modifications to a leggings pattern to fit my body type better?
Yes, you can make modifications to a leggings pattern to fit your body type better. You can adjust the waistband, leg length, and rise to accommodate your specific measurements. It's important to take accurate measurements and make small adjustments at a time to achieve the desired fit.
As always, come visit us a the Peek-a-Boo Pattern Shop Facebook Group to share what you make and ask your sewing questions. You can also follow us on Instagram or Pinterest. Happy sewing!


