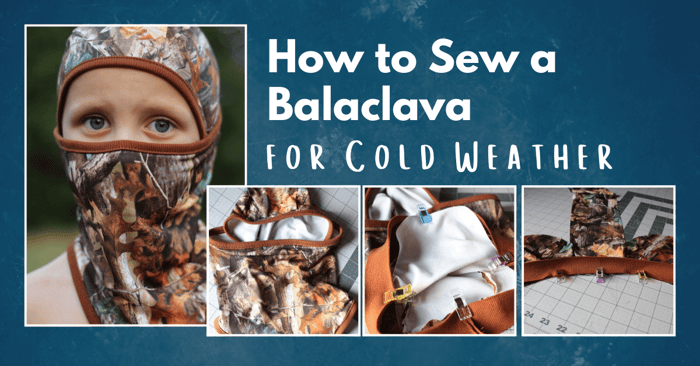
How to Sew a Balaclava for Cold Weather
Today I’m going to walk you through the steps on how to sew a balaclava. To put it simply, a Balaclava is a hat and facemask combo all in one that can be used for many different occasions making it a versatile piece of head covering for kids and adults alike. It's also known as a ski mask or face mask and is a must-have accessory for anyone facing cold weather conditions. Whether you're hitting the slopes, going for a winter hike, or simply trying to brave the chilly winter winds, a balaclava provides necessary protection and warmth for your head, face, and neck with a face opening. While you can easily purchase a balaclava from stores, sewing your own allows you to customize the fit, fabric, and style to suit your preferences.
This balaclava pattern can be worn with the mask up or under the chin, it takes less than a yard of fabric to make (Yay fabric scraps) and it doesn’t require any fancy machines to complete one. In this blog, we will guide you through the process of sewing a balaclava, from understanding balaclava fabrics to finalizing your creation. Let’s jump in and see what it’s all about!
Supplies
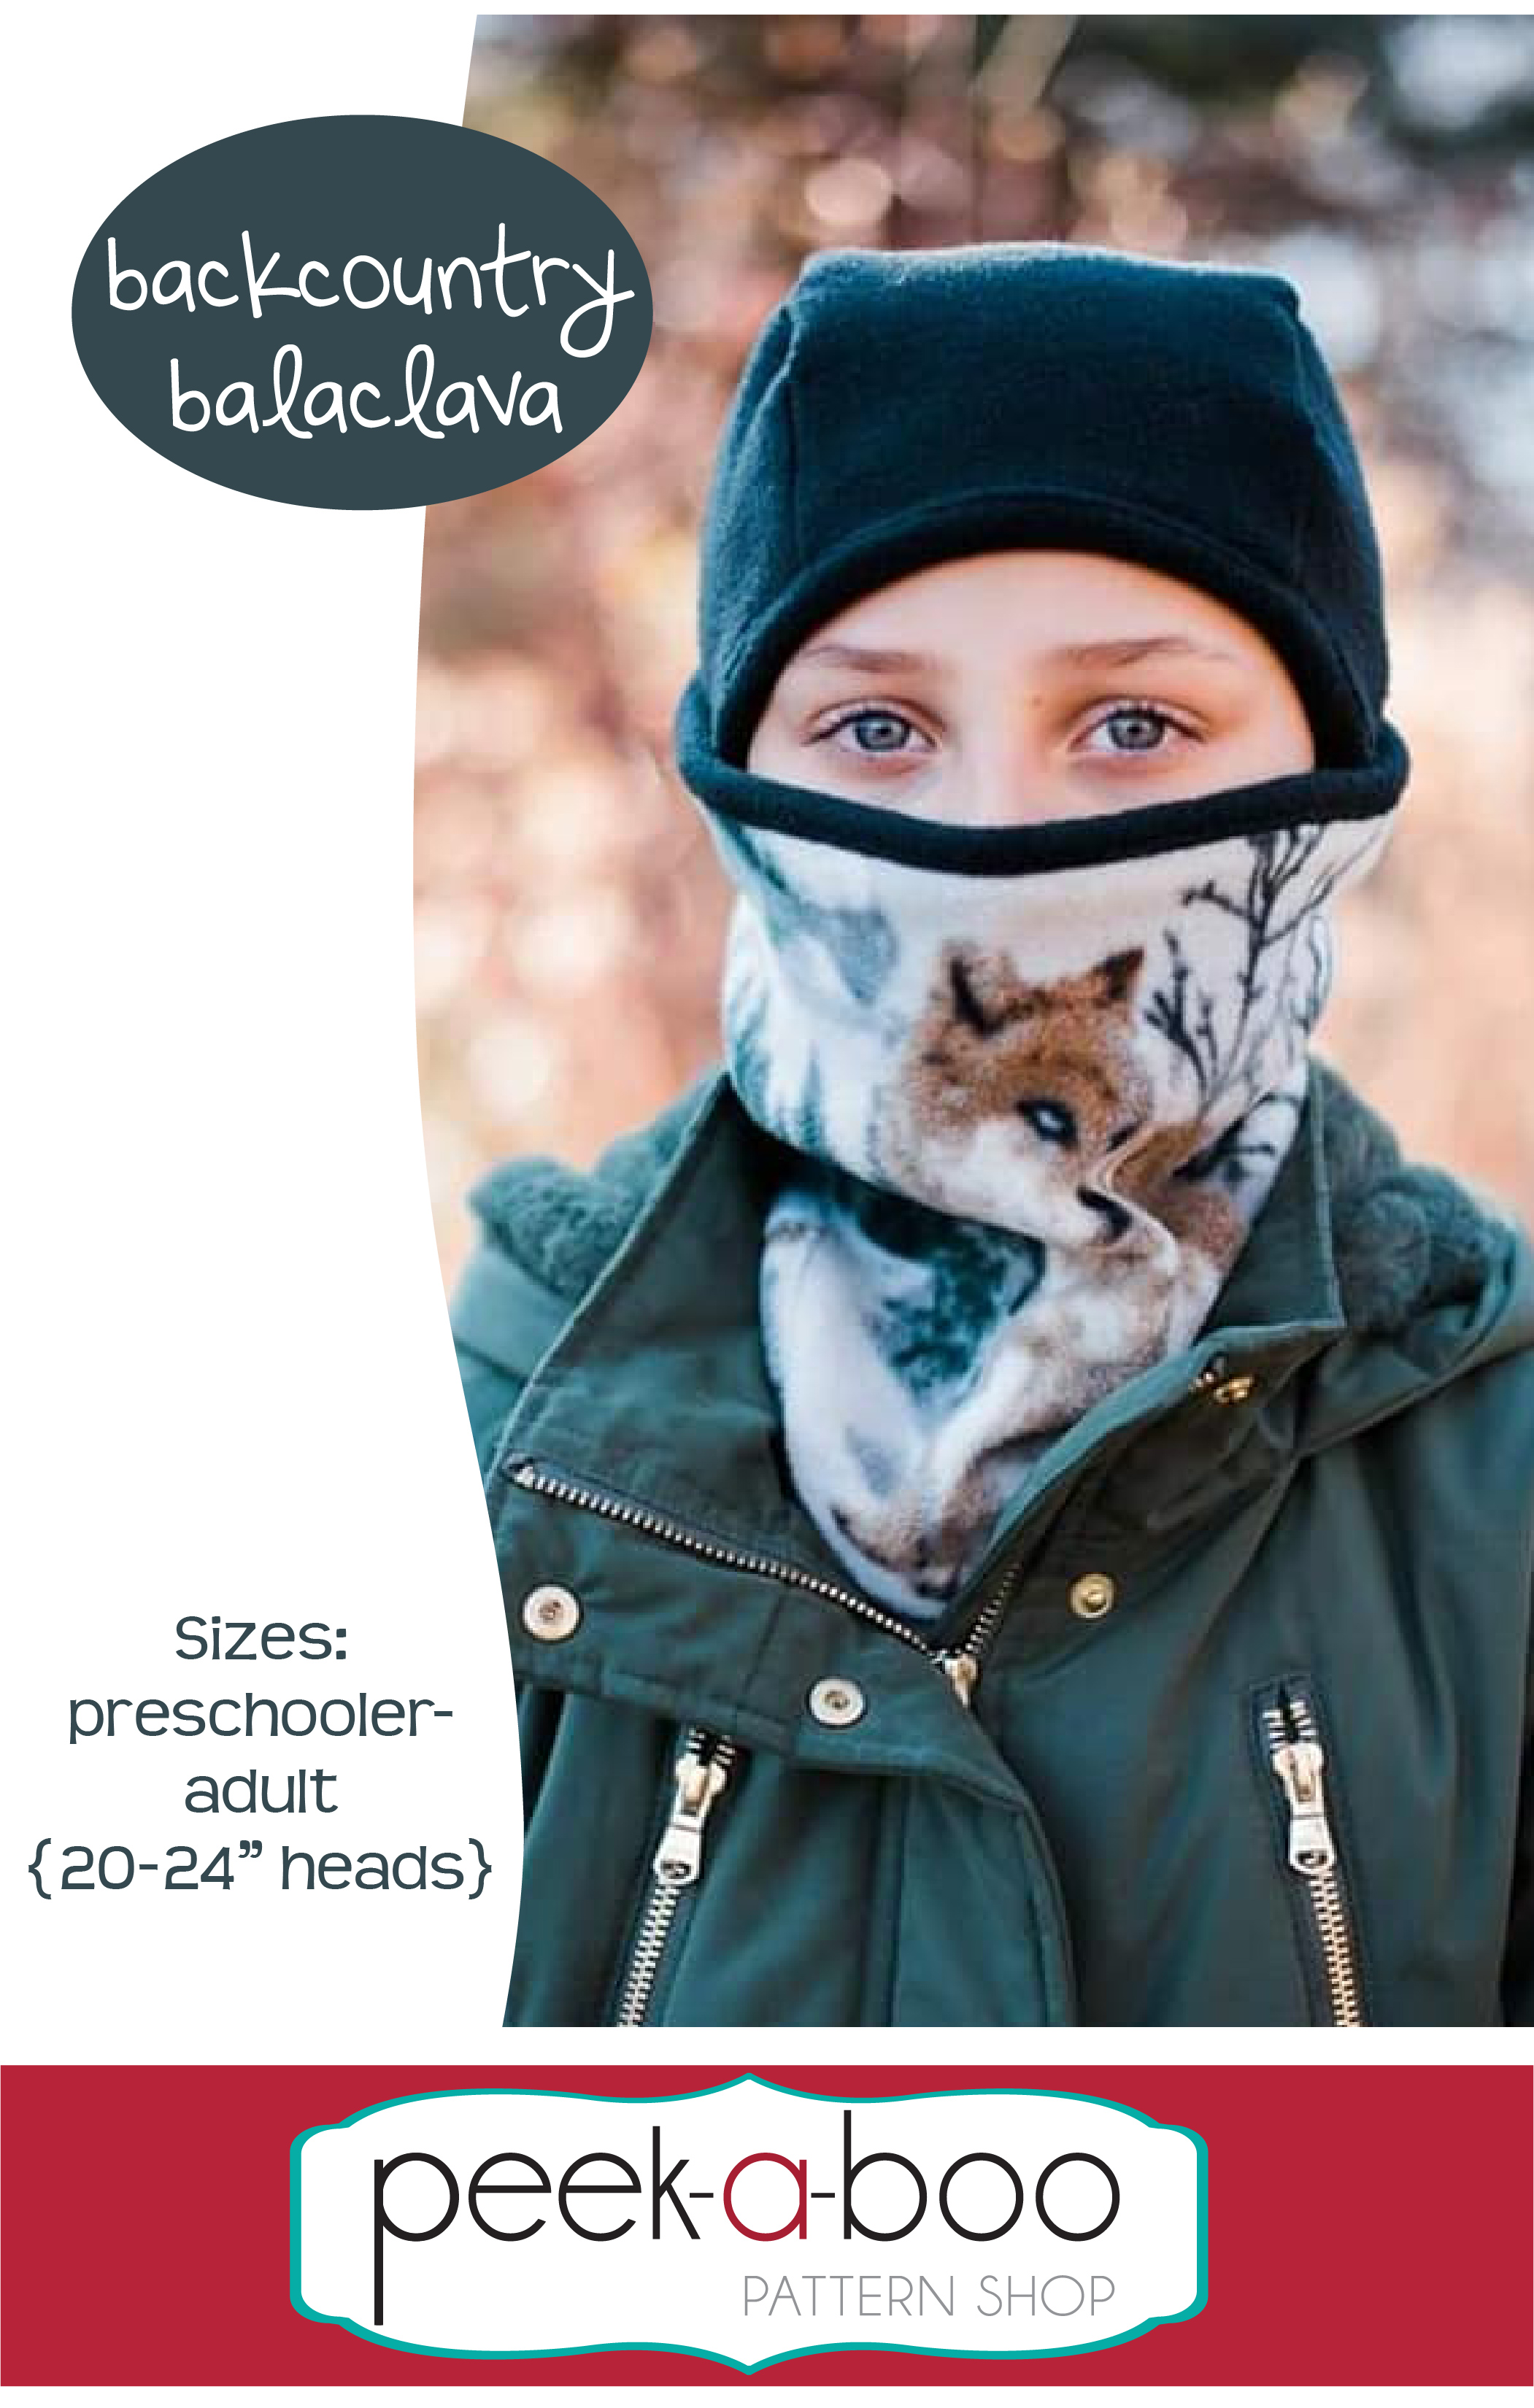
- Backcountry Balaclava pdf pattern from Peek-A-Boo pattern shop.
- Polyester based knits with 40% stretch for the main and 40% 4-way stretch for the binding pieces.
- There are a lot of good options at KnitFabric.com.
- Sewing machine with an appropriate needle.
- Matching thread, clips or pins, scissors, an iron, and a measuring tape.
Fabric Tips
Ok, so let’s discuss fabric options for this pattern. If you are looking for something to wear under a helmet or as an extra layer for cold weather, athletic knit is a really great option as it wicks moisture away from the body, offers great stretch yet is also thin enough to use as a second layering base next to the skin.
Another option to consider is fleece. This would work great as a hat/facemask all on its own for non-layering purposes. Using fleece for just the facemask part and a different knit for the hat is also permissible. More details can be found in the beginning of the pattern for other tips such as when to size up and when to size down. This pattern is only recommended for anyone who can safely pull the face mask down over their face/chin on their own so young children shouldn’t use this for safety precautions.
Getting Started
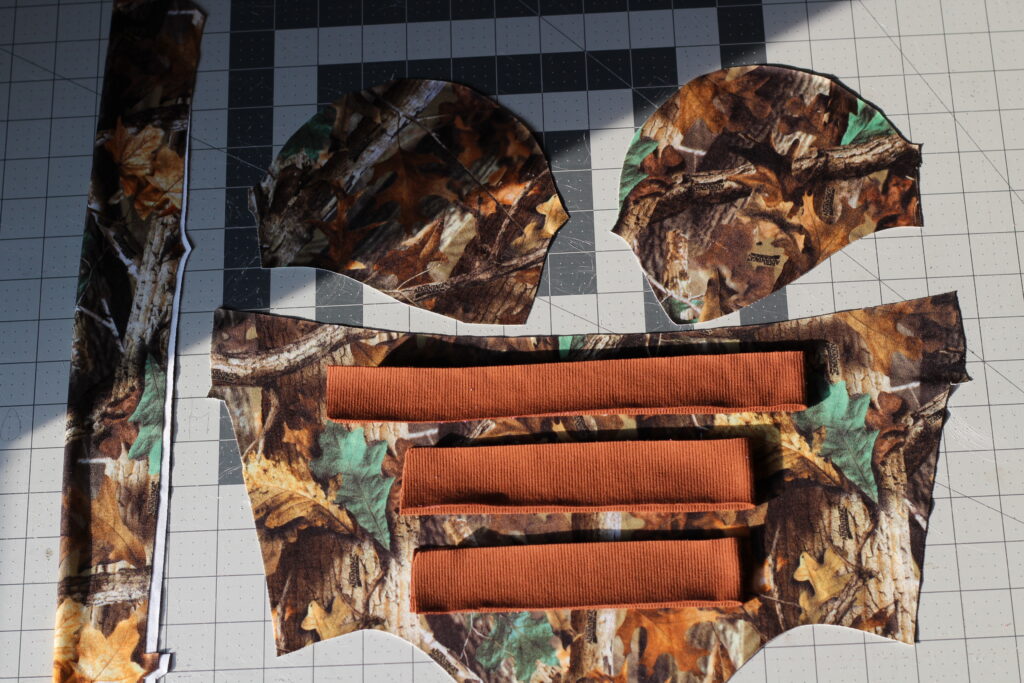
After gathering the necessary materials we’ll need to measure the head circumference of the individual you’re sewing for (or yourself) and then cut the appropriate size according to the pattern chart. I love that this pattern requires less than a yard of fabric all in so scraps would be put to good use here and if you only have a basic sewing machine, this pattern is for you!
We’ll be using a 1/4 inch seam allowance.
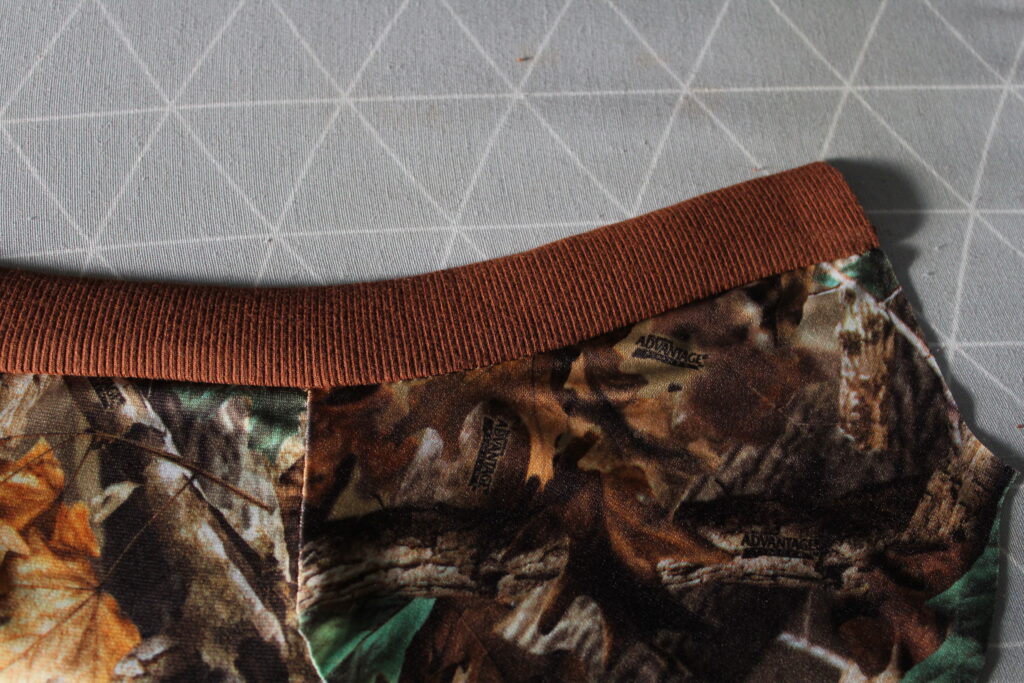
Step One: Mask Binding
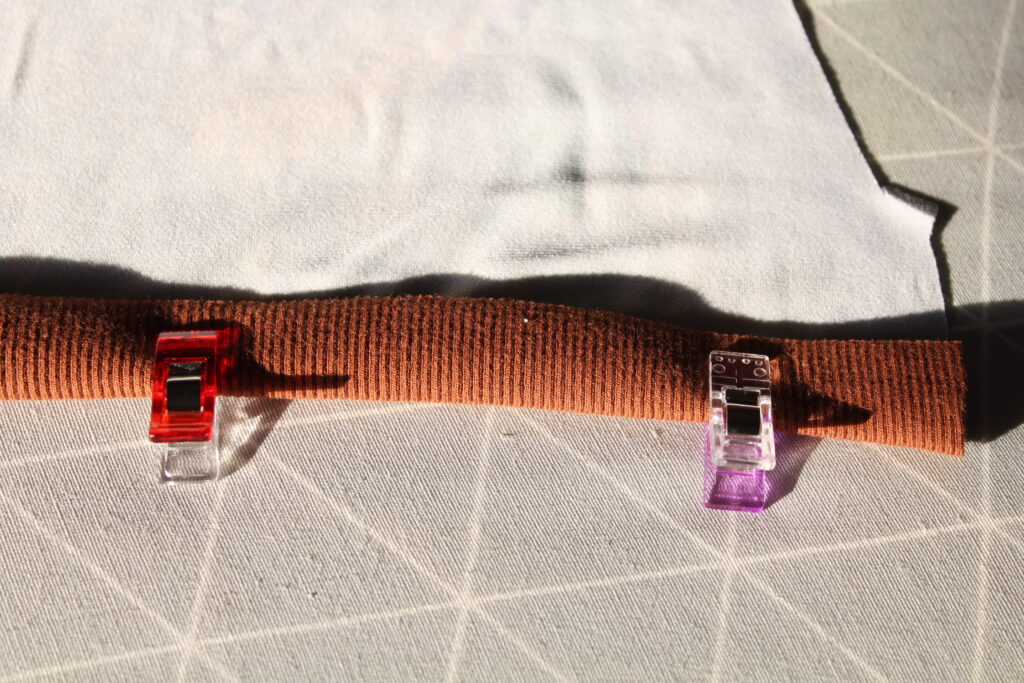
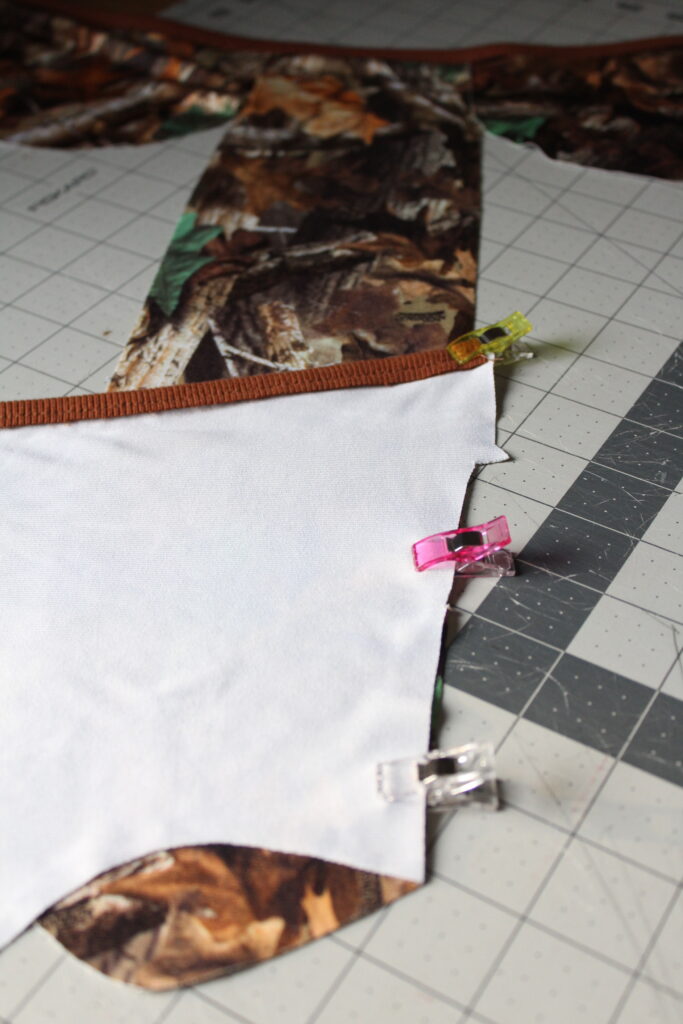
Take the mask and binding pieces and lay them right sides together along the top straight raw edge. Clip or pin in place and sew.

Binding piece sewn onto the facemask.
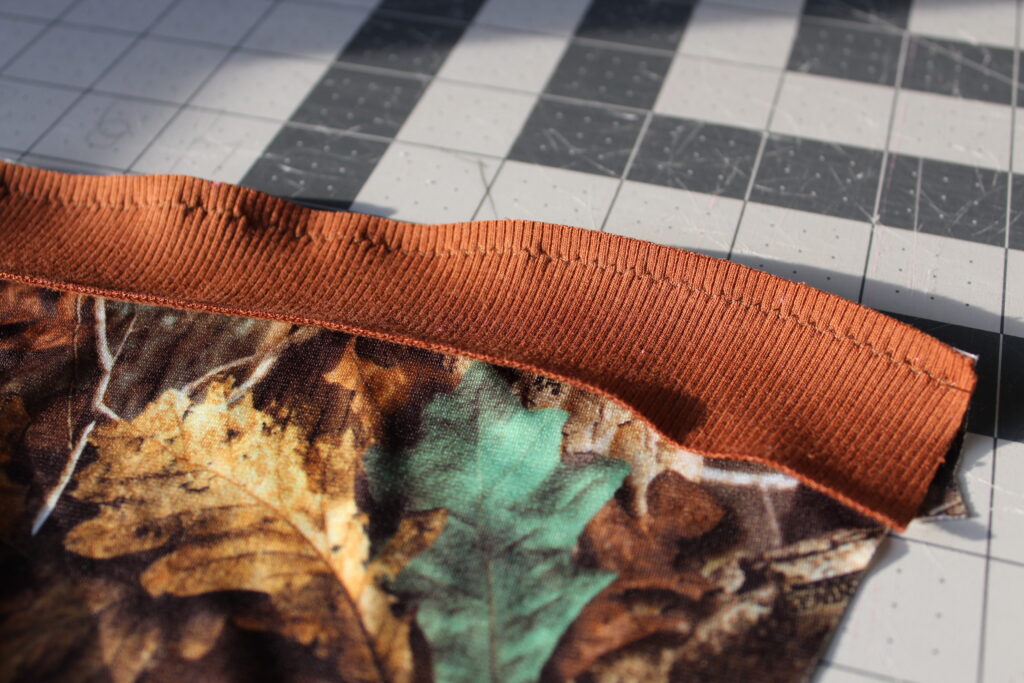
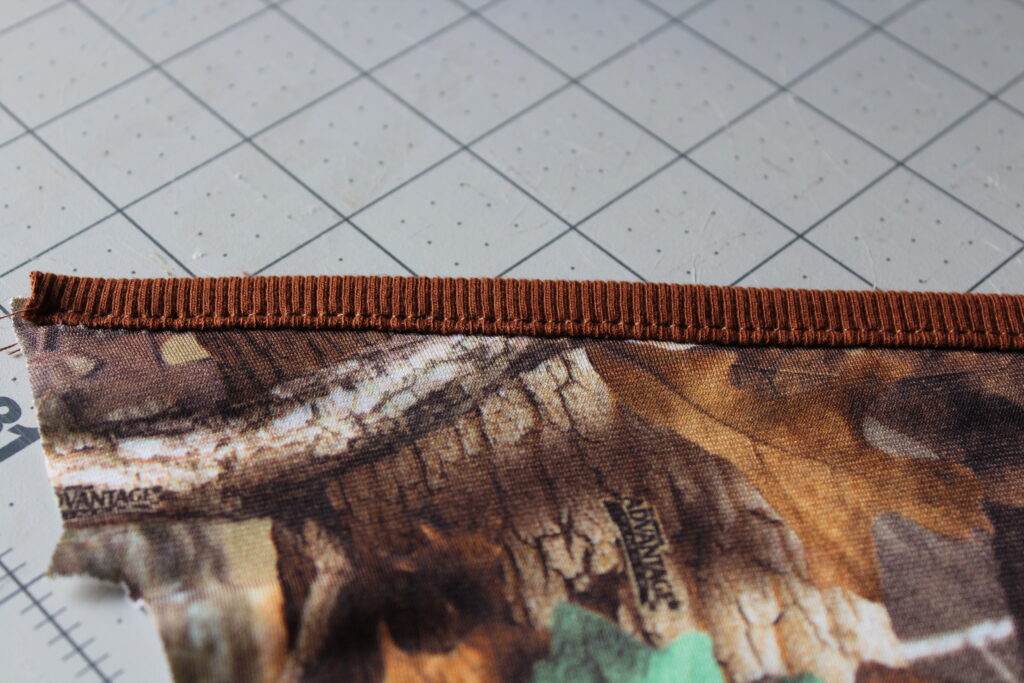
Next, we will press the seam allowance up towards the binding.
Seam allowance pressed upwards.
Fold the binding over the seam allowance and pin or clip into place.
*Tip– I like to press this again after folding it over and clip/pin as I go along. I feel it makes the binding look more kempt and this is something I do regularly when binding is involved.
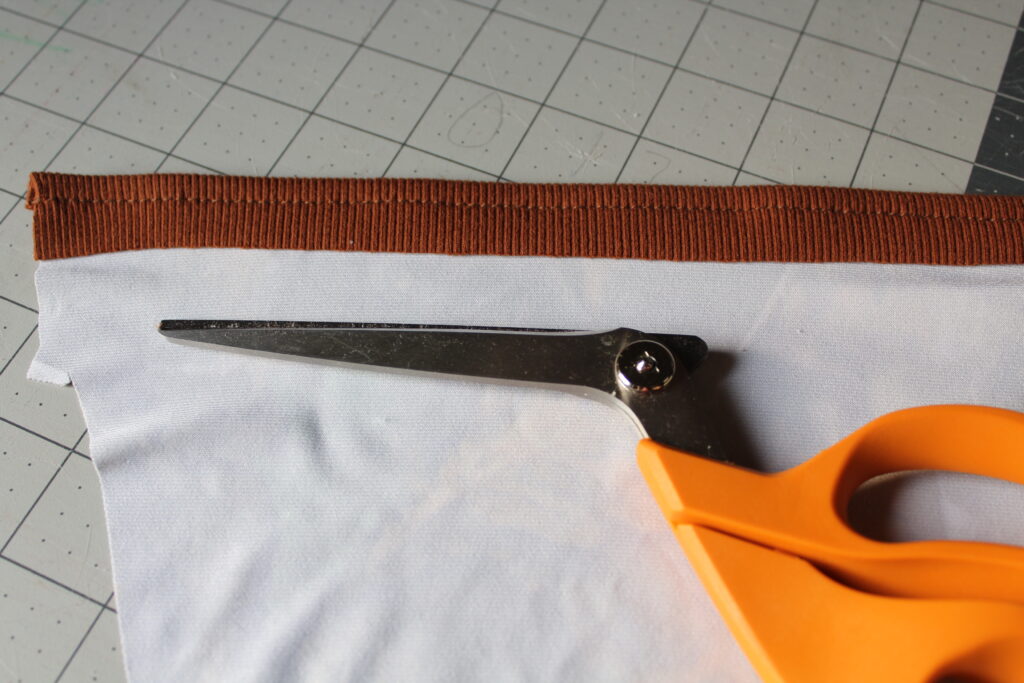
Topstitch the binding above the seam allowance.
Trim off any excess binding you may have.
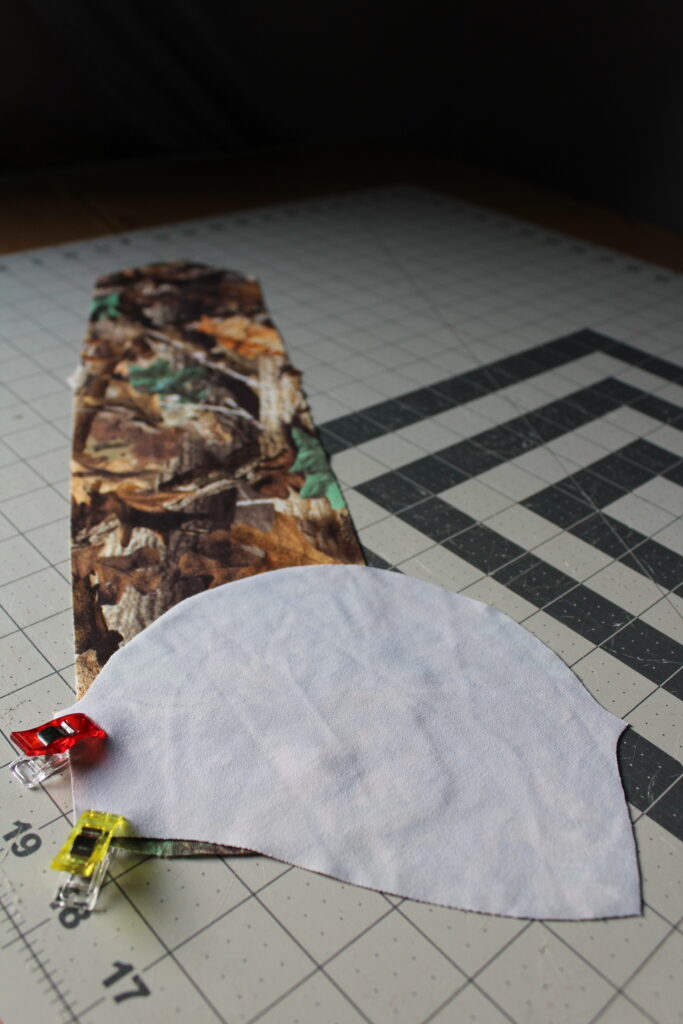
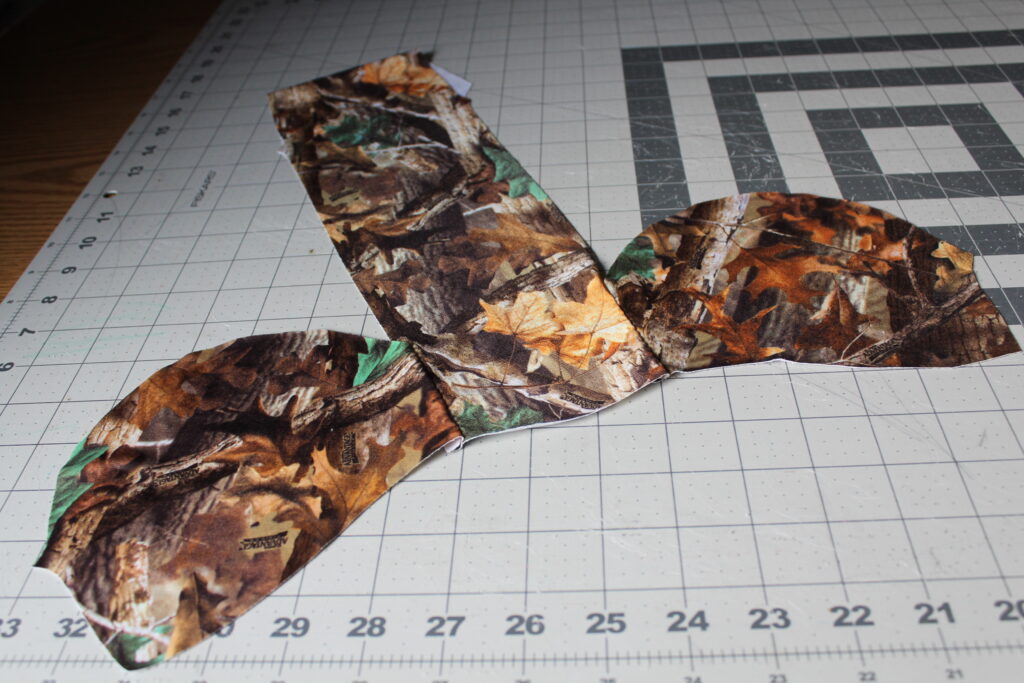
Step Two: Center Panel and Hat Pieces
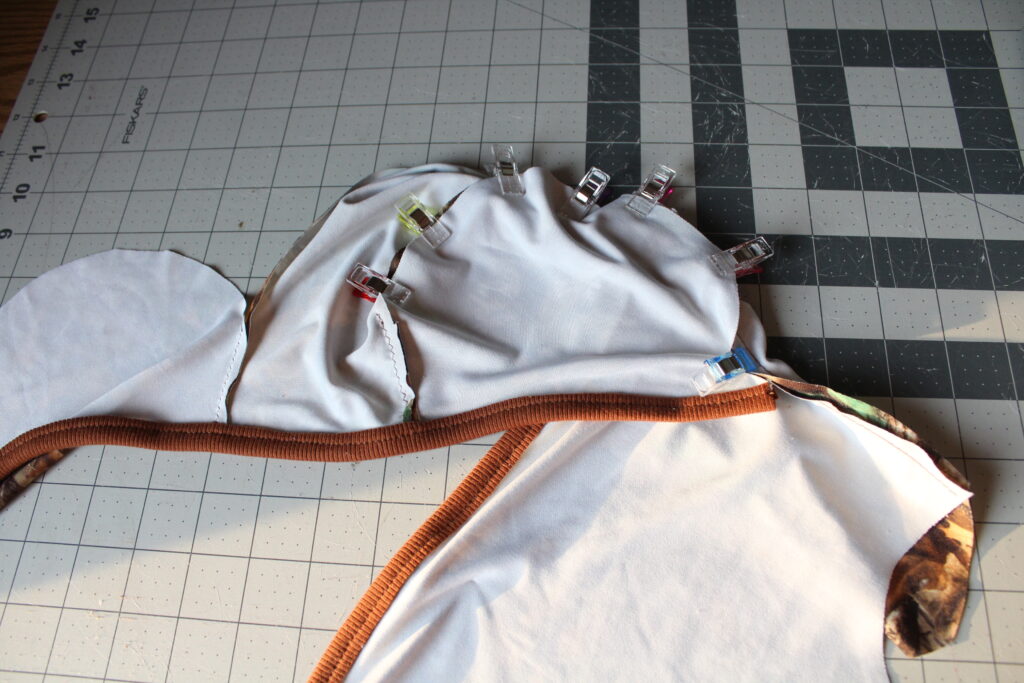
Next, we need to grab our center panel and two hat pieces. Take one hat piece and line up the square notches as shown. Make sure you grab the right piece! Place them right sides together and sew from the bottom up to just above the notch. It will be about 2″ in measurement.
Repeat the above step for the other hat piece. It will look like this after.
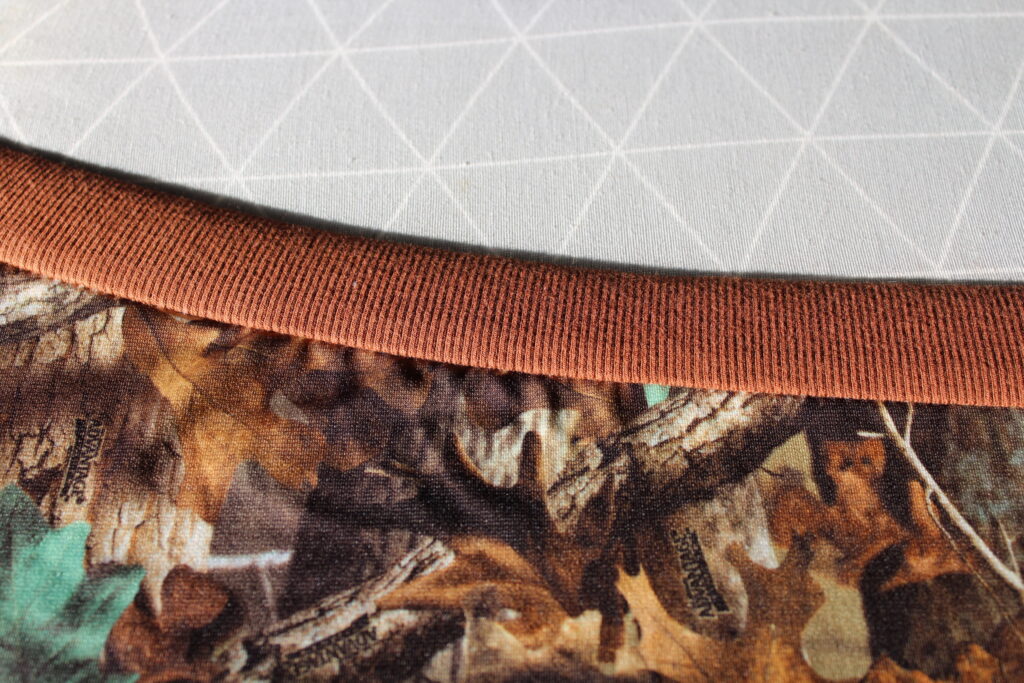
Now we will grab our hat binding and place it right sides and raw edges together with the hat as shown. Sew the hat binding to the hat.

Press the seam allowance up to prepare for topstitching.
Again, I like to press as I go along and then pin/clip in place.

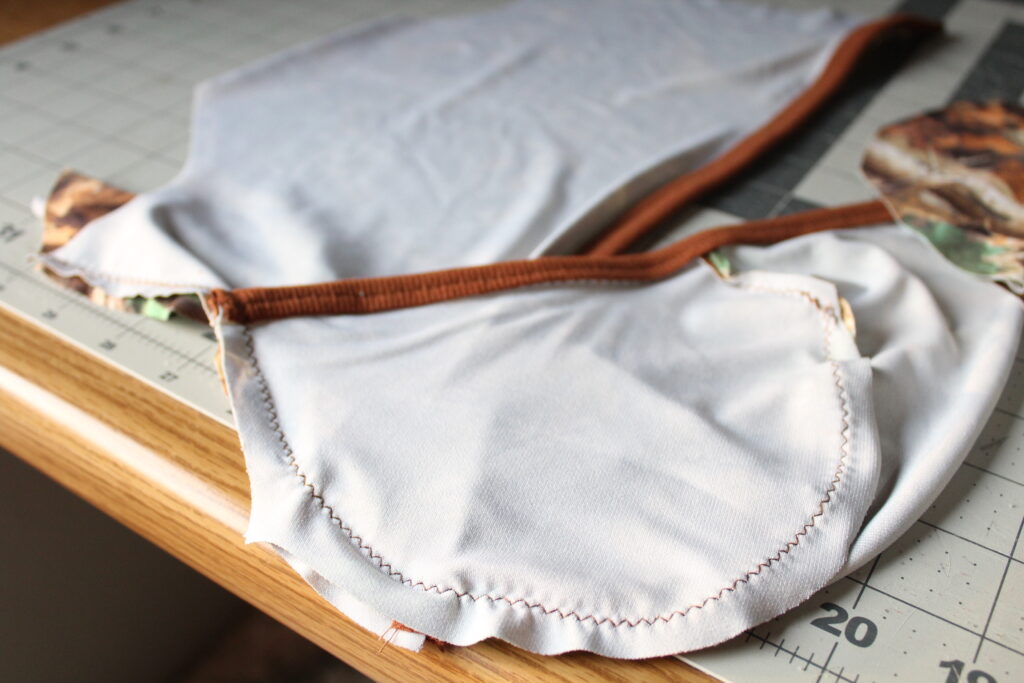
Topstitching is complete.
After topstitching we will trim the seam allowance.
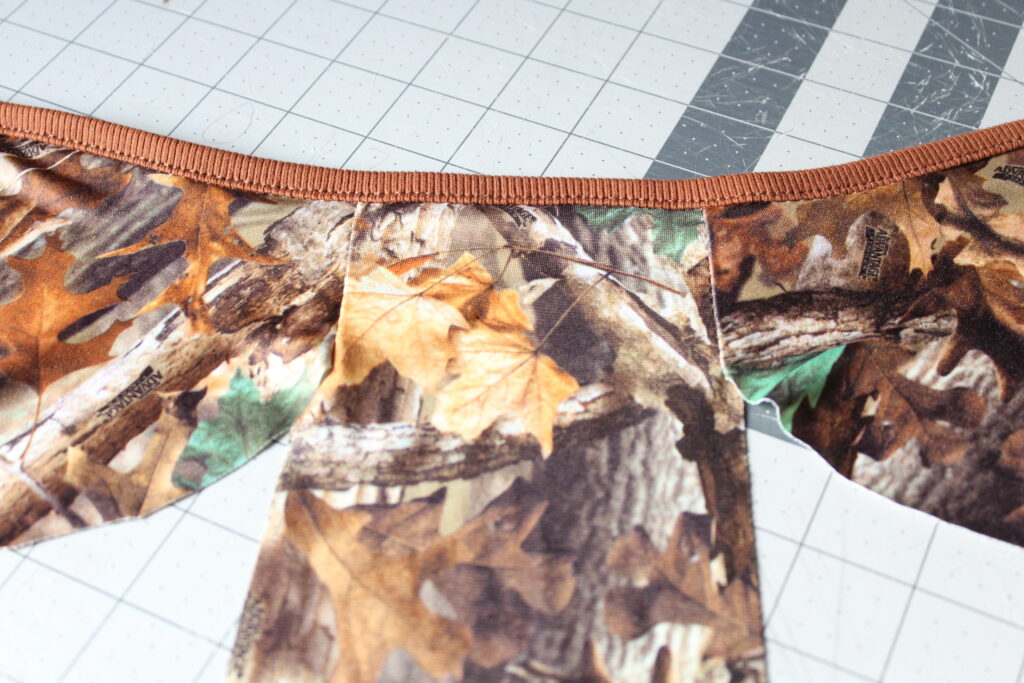
Step Three: Attaching the Mask and Hat Together
Now we are ready to assemble it all together. Take the mask and place it right sides together with the center panel, lining up the triangle notches. Baste the two edges together starting at the top of the binding on down.
With right sides together pin the raw edges of the hat piece to the center panel and sew beginning at the bottom on up towards the top stopping where our stitching ended where we sewed the hat pieces to the panel. The hat should overlap the mask piece as shown.
This is how it will look after the one side has been sewn. I did trim my seam allowance slightly after this.
Repeat the previous step of basting the mask to the center panel for the opposite side of the hat.

Pin or clip the raw edges together like before and sew starting at the bottom of the mask where we basted and ending up at the top where our previous stitching stopped.
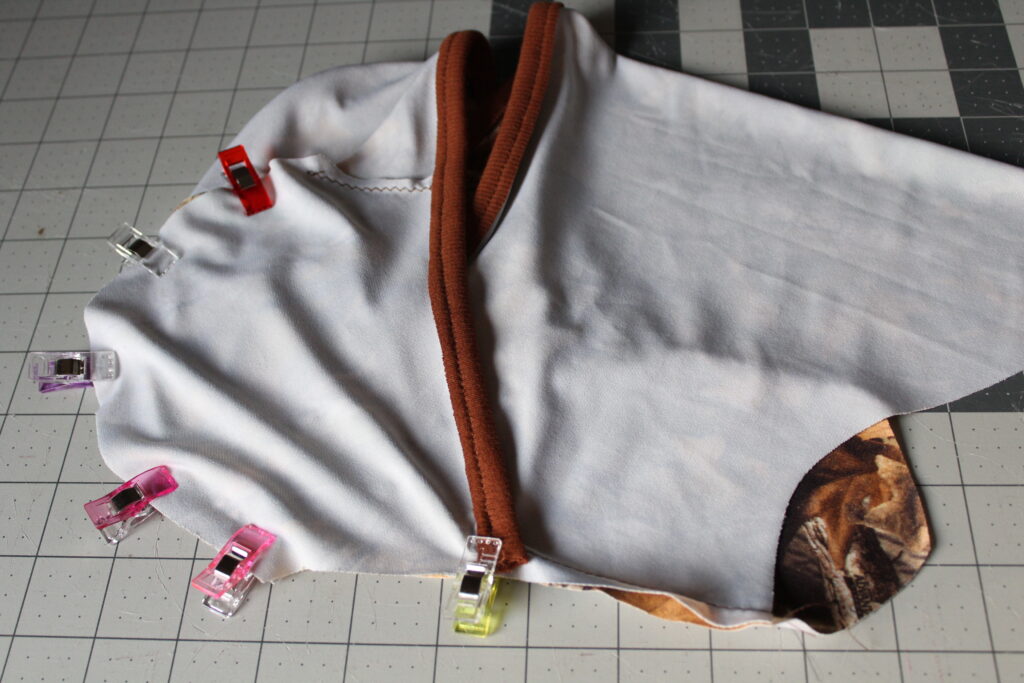
Our hat is almost complete, and it should like this!
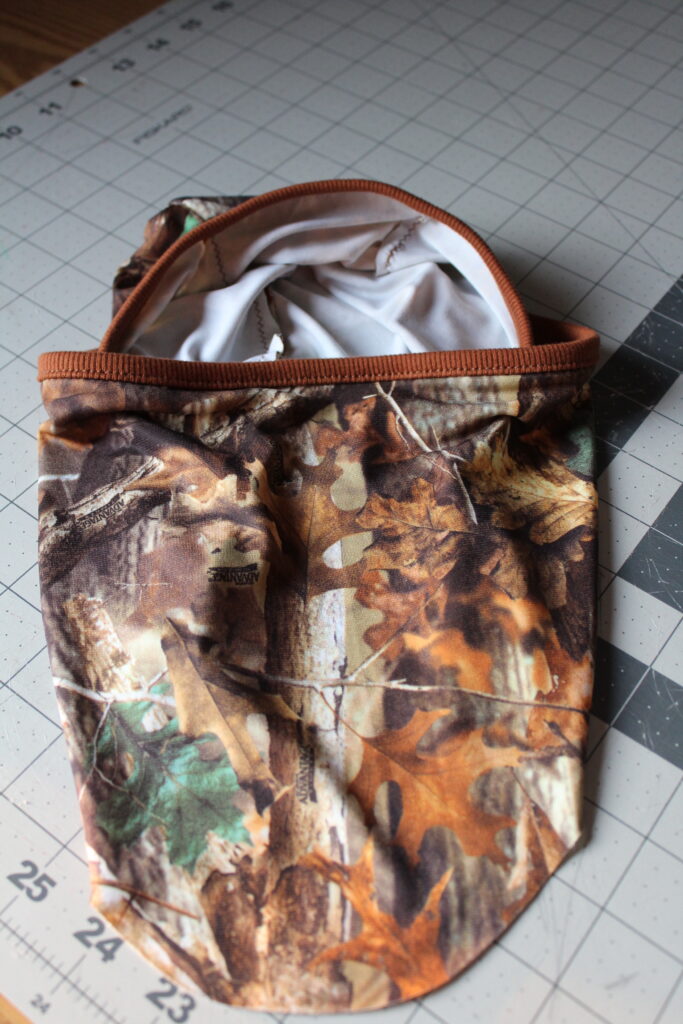
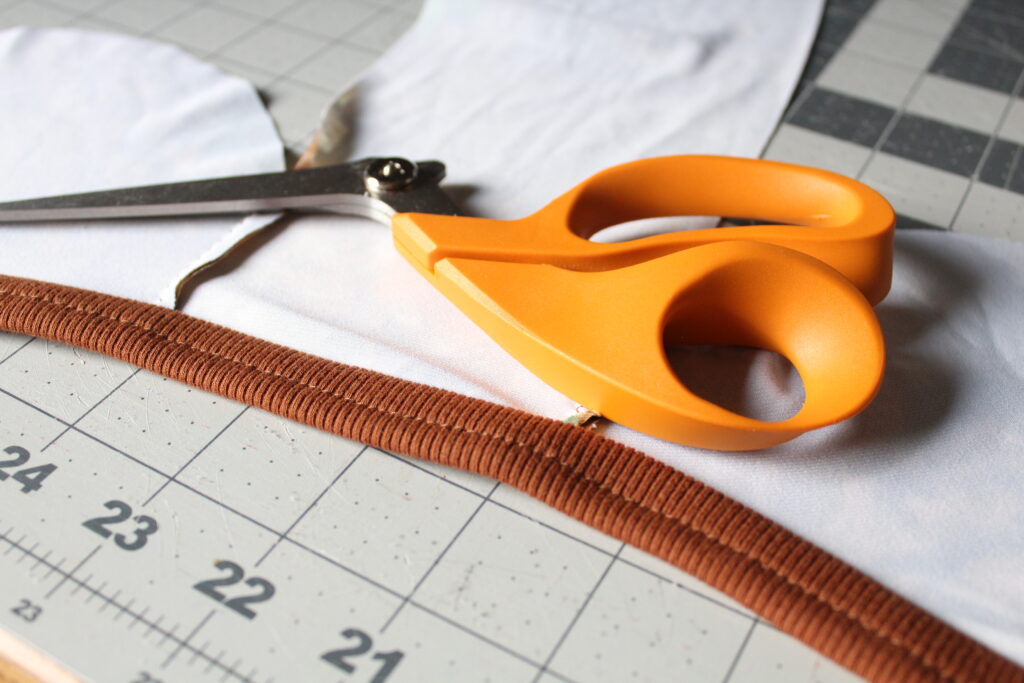
Step Four: Hem Binding
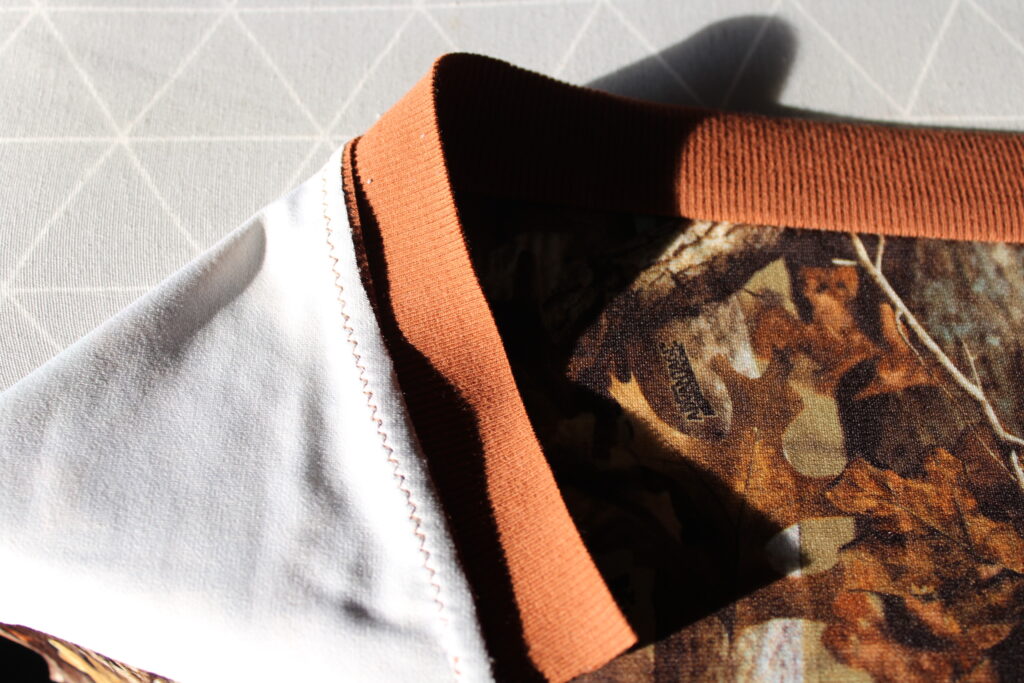
Grab the hem binding piece and sew the short ends with right sides together.
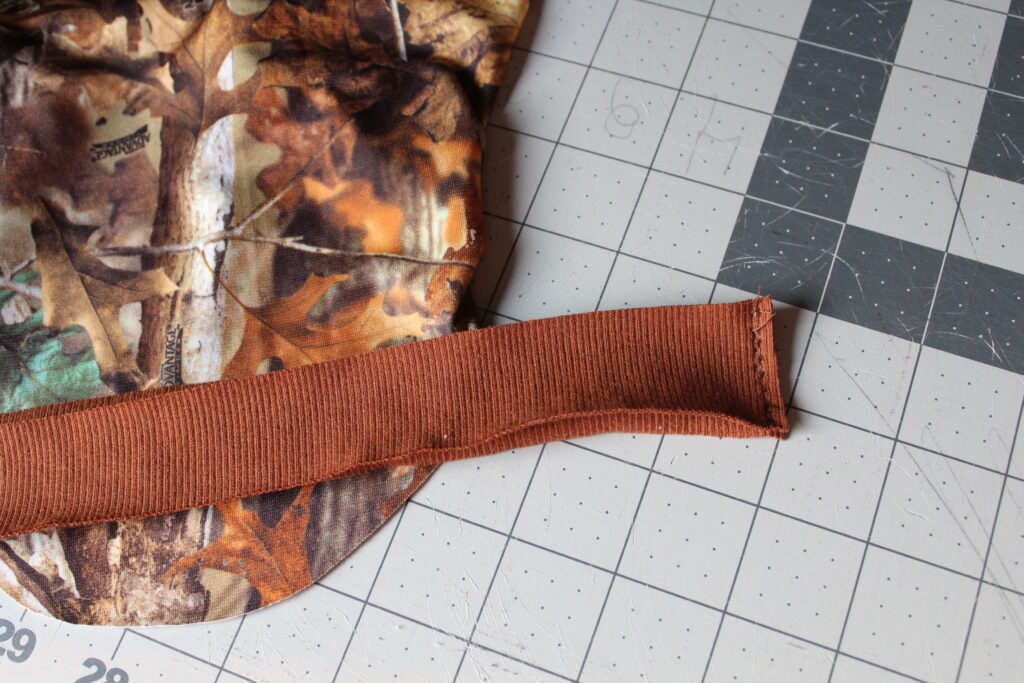
Begin by placing the binding seam in the back of the hat and clip or pin the raw edges with right sides together.
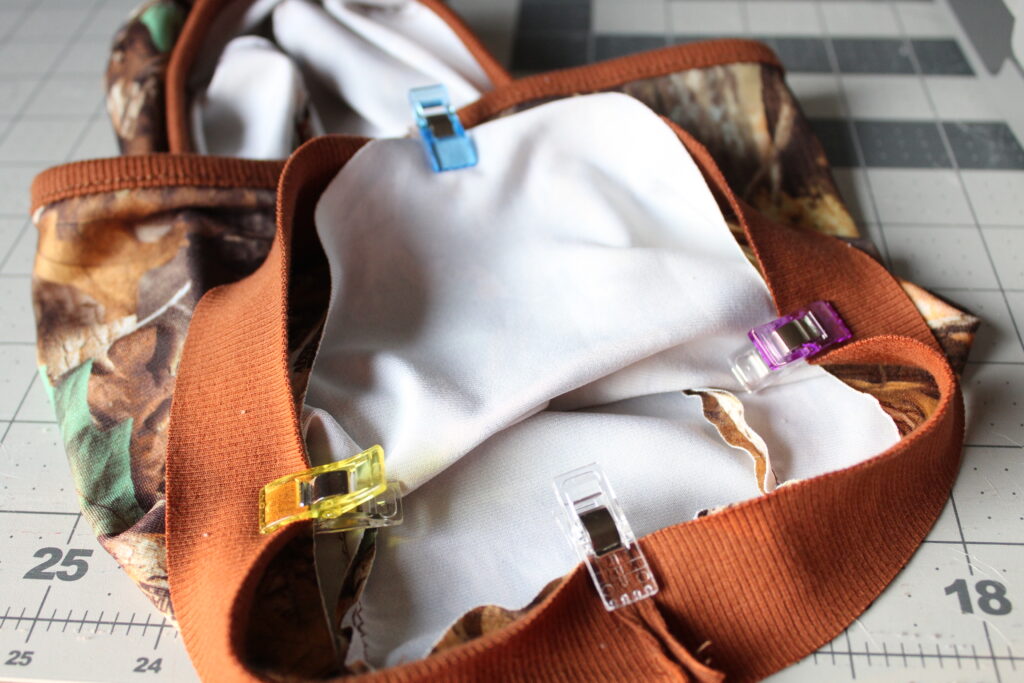
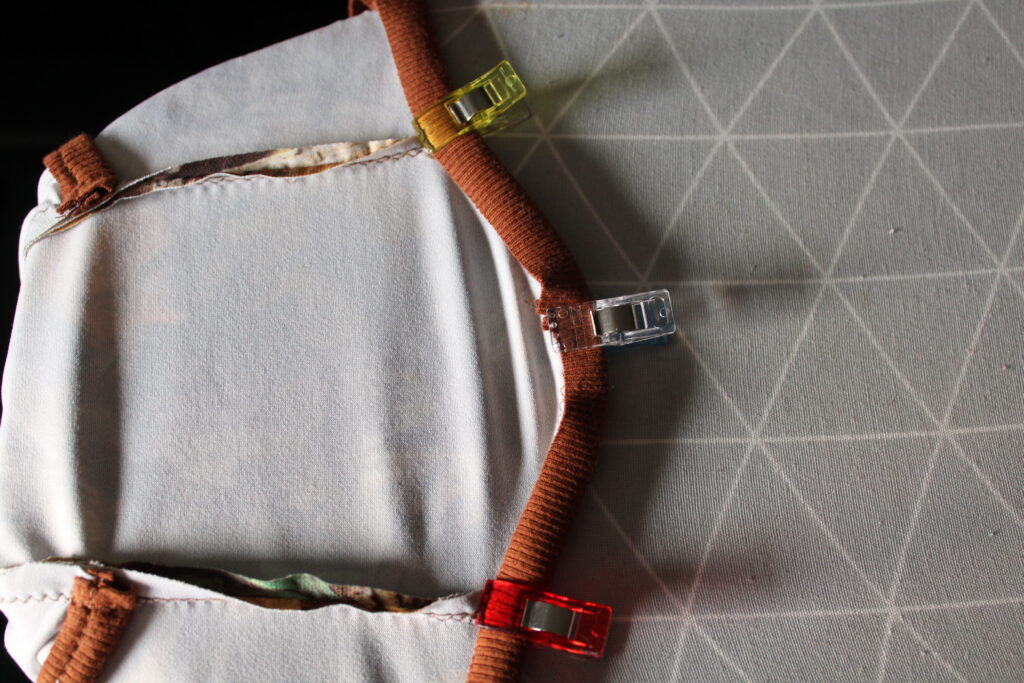
And just like we did with our other binding pieces, we will press the seam allowance and fold the binding over the seam allowance pinning/clipping as you go along.
Topstitch the hem binding in place.
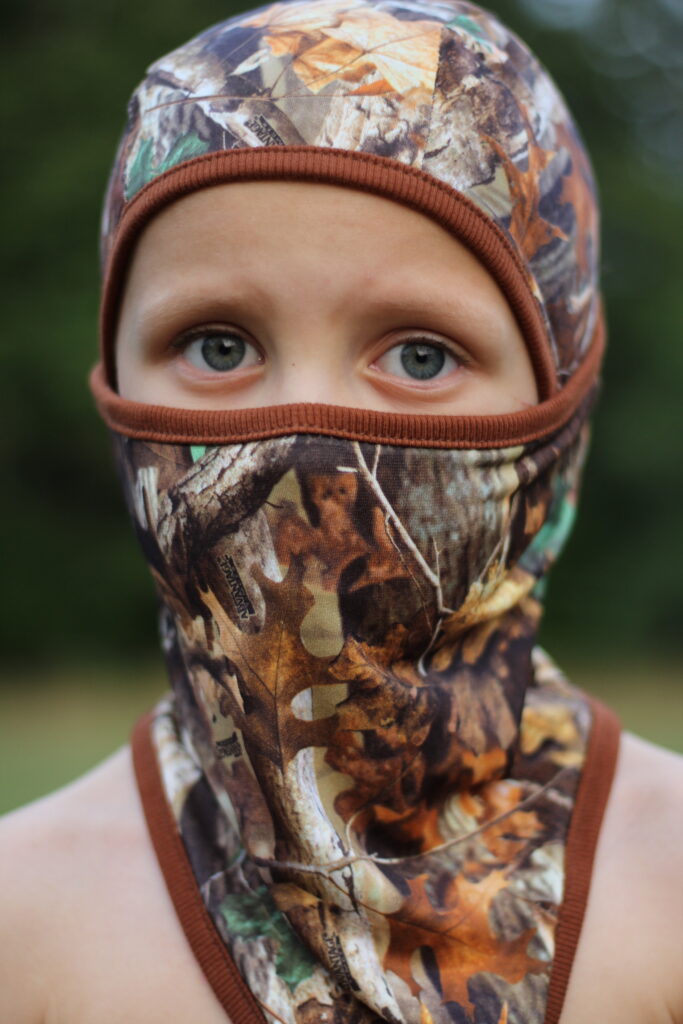
The Backcountry Balaclava mask is now complete! Time to try it out.

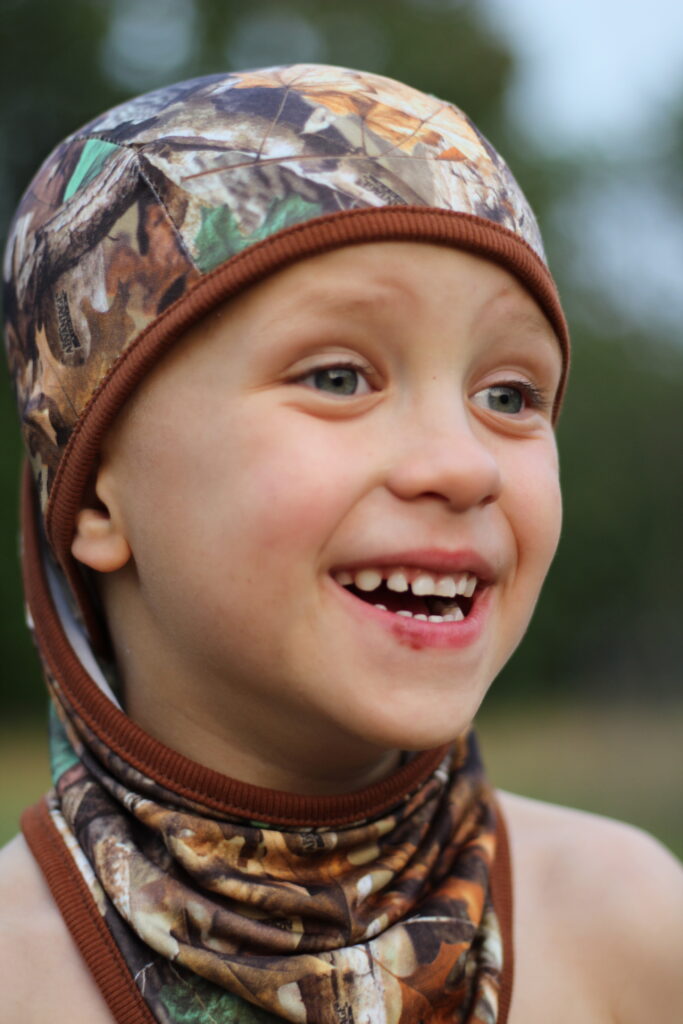
This fits him really well!
He is pretty impressed with his new hat! He calls it his “ninja mask” and likes to use this pattern for role play when he doesn’t need it for weather purposes. He specifically picked out these fabrics so he could play in the woods like little boys do.
Well, now that you’ve seen how to sew a balaclava, will you try and make one too? If a sewing machine is all you have, you can make this! I intentionally sewed this hat up using only a sewing machine in case a reader didn’t have a serger, I wanted you to see that it can be done. I have also made a few with my serger and cover stitch machines as well with no problems. Many like using a zigzag stitch over a straight stitch when using a serger for extra strength.
Whether you’re looking for an extra layer to wear underneath a helmet while working or snowmobiling etc. or you want a one-of-a-kind hat to play outdoors in, this pattern can be made to suit your needs!
What's the Most Challenging Part of Learning How to Sew a Balaclava?
Sewing a balaclava can be challenging, especially when it comes to getting the measurements right and sewing the seams around the curve of the face and head. Beginners may find it tricky to sew the eye and mouth openings. Take your time and choose a sturdy fabric for optimal comfort in cold weather.
Do you Have Other Balaclava Patterns?
Yes! Just this last year we also came out with the new Hygge Hoodie Balaclava Pattern. This pattern includes fun bear and bunny ears and is perfect for kids.
Conclusion
Thank you for joining us to learn how to sew a balaclava! Sewing a balaclava for cold weather can be a fun and rewarding project. By understanding the different fabrics and evaluating their suitability, you can ensure that your balaclava provides the necessary warmth and comfort. Choosing the right pattern size and adjusting it for a custom fit is crucial for a well-fitting balaclava. Utilizing PDF sewing patterns offers convenience and flexibility in your sewing process. Preparing your workspace and understanding the pattern layout are important pre-sewing considerations. Following step-by-step sewing instructions, including techniques like hemming and topstitching, will help you create a high-quality balaclava. Finally, completing the balaclava by sewing inside the neck and adding cord stops will give it a professional finish. Remember, the most challenging part of sewing a balaclava is often getting the fit just right, but with practice and patience, you can master this skill. So grab your supplies and start sewing your own cozy balaclava for those chilly winter days!
Thank you for joining us today to learn how to sew a balaclava! Before you leave, make sure to join our Facebook Group and follow us on Instagram. Happy Sewing!