
Whistler Blanket Hoodie Zipper Tutorial
The Whistler Blanket Hoodie sewing pattern is one of our top-selling pattern this year and is available for Kids & Adults! Today we're going to learn how to add a zipper to the front of the hoodie. This easy modification is perfect for easy on/off, nursing mothers and more.
To complete this project you'll need the Whistler Blanket Hoodie and a separating zipper.
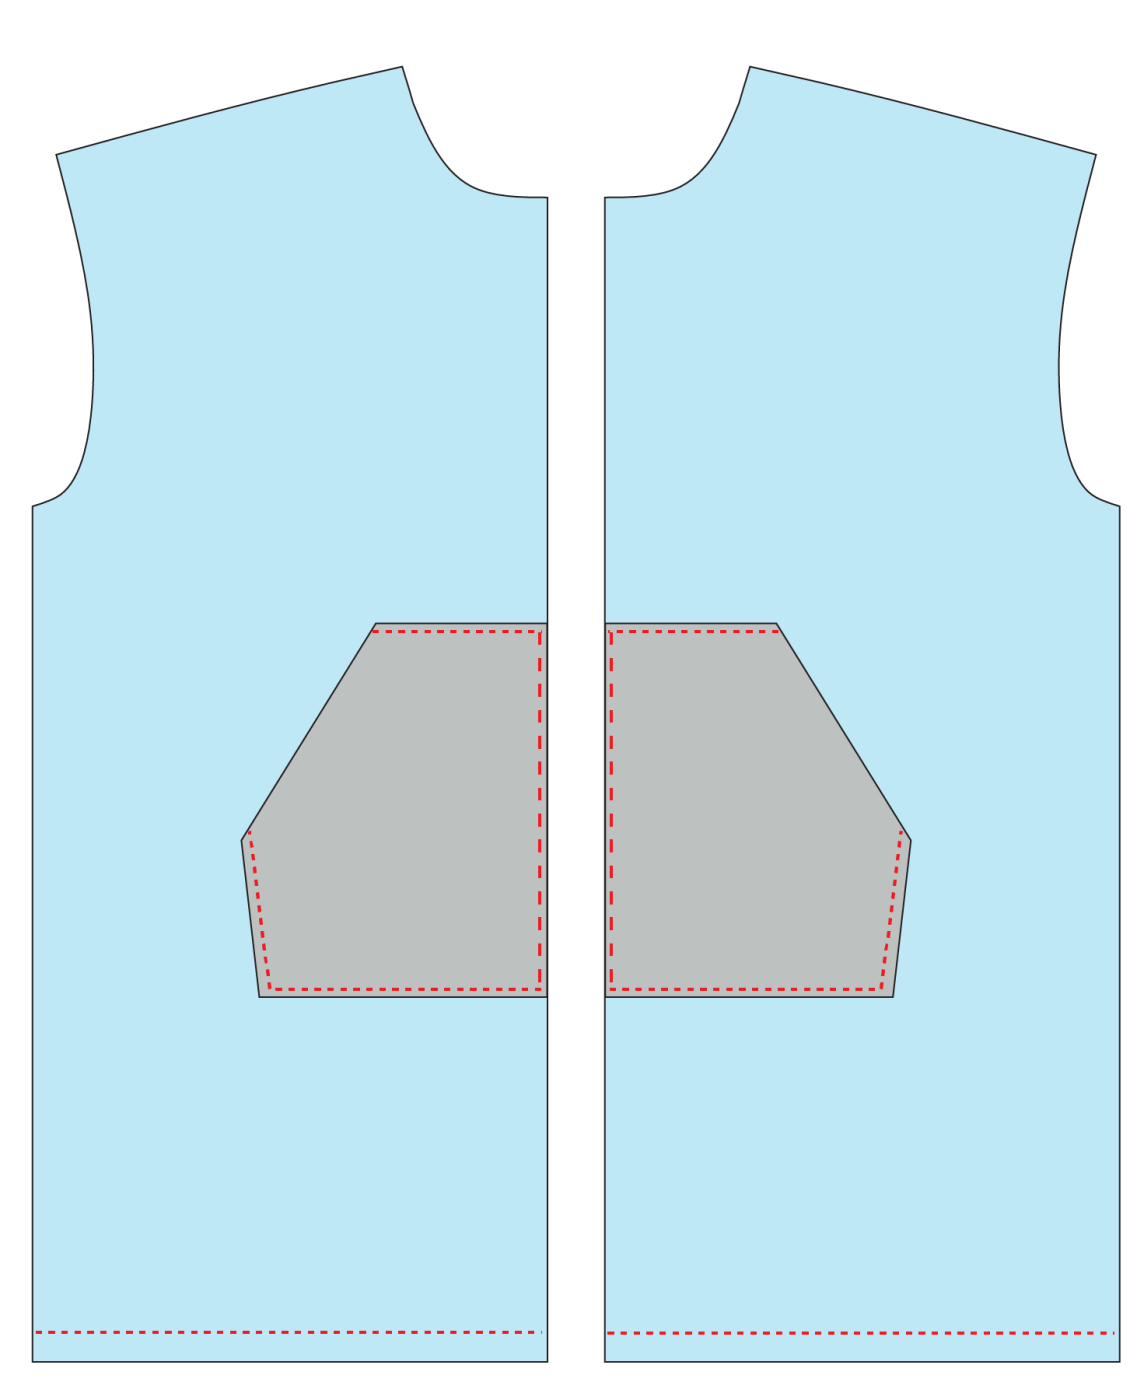
1. Before we can start, we need to figure out what length of zipper is needed. Measure your pattern piece from the front neckline (the dashed line) to the bottom edge of the front piece. Subtract 1.5" (1/2" for the neck and 1" for the hem) and this will give you the required zipper length. 
In many sizes, you may not be able to find a zipper in this length. You can buy a longer zipper and shorten it or you can modify the pattern. I recommend modifying the pattern as it's much faster.
For example, the center front of the Kid's Size 6 measures 24.5". After we subtract 1.5" for the neckline seam allowance and hem allowance that gives us a measurement of 23" for the zipper, which is a size we'd need to special order. Instead, I would add 1" to the bottom of the pattern. Our new center front length is now 25.5" and we can use a 24" zipper.
The largest length of separating zipper widely available is 36". For adult sizes you may need to shorten the pattern or you can just have the zipper stop short of the bottom if you don't want to sacrifice any length or special order a zipper.
*Note: If you plan to use the existing hem of the blanket for your hoodie hem you only need to subtract 1/2" from the center measurement to get your zipper length since the front hem is already finished.
2. Instead of cutting the front and pocket pieces on the fold, cut mirror images of each. Attach the pockets using the pattern instructions and then baste the center front of the pocket to the center front edge of the hoodie.
*Note: Make sure you have your pocket pieces turned the correct direction. Once it's cut in half, it can be a bit tricky to tell apart the center front and bottom edges.
If you aren't using the existing blanket hem, finish the bottom edge of the hoodie with a 1" hem. For a cleaner hem, you can sew on the back piece and sleeves first, sew your side seams and then hem. For this project, I opted to do the front hems first, so I didn't have so much fabric to work with while installing the zipper.
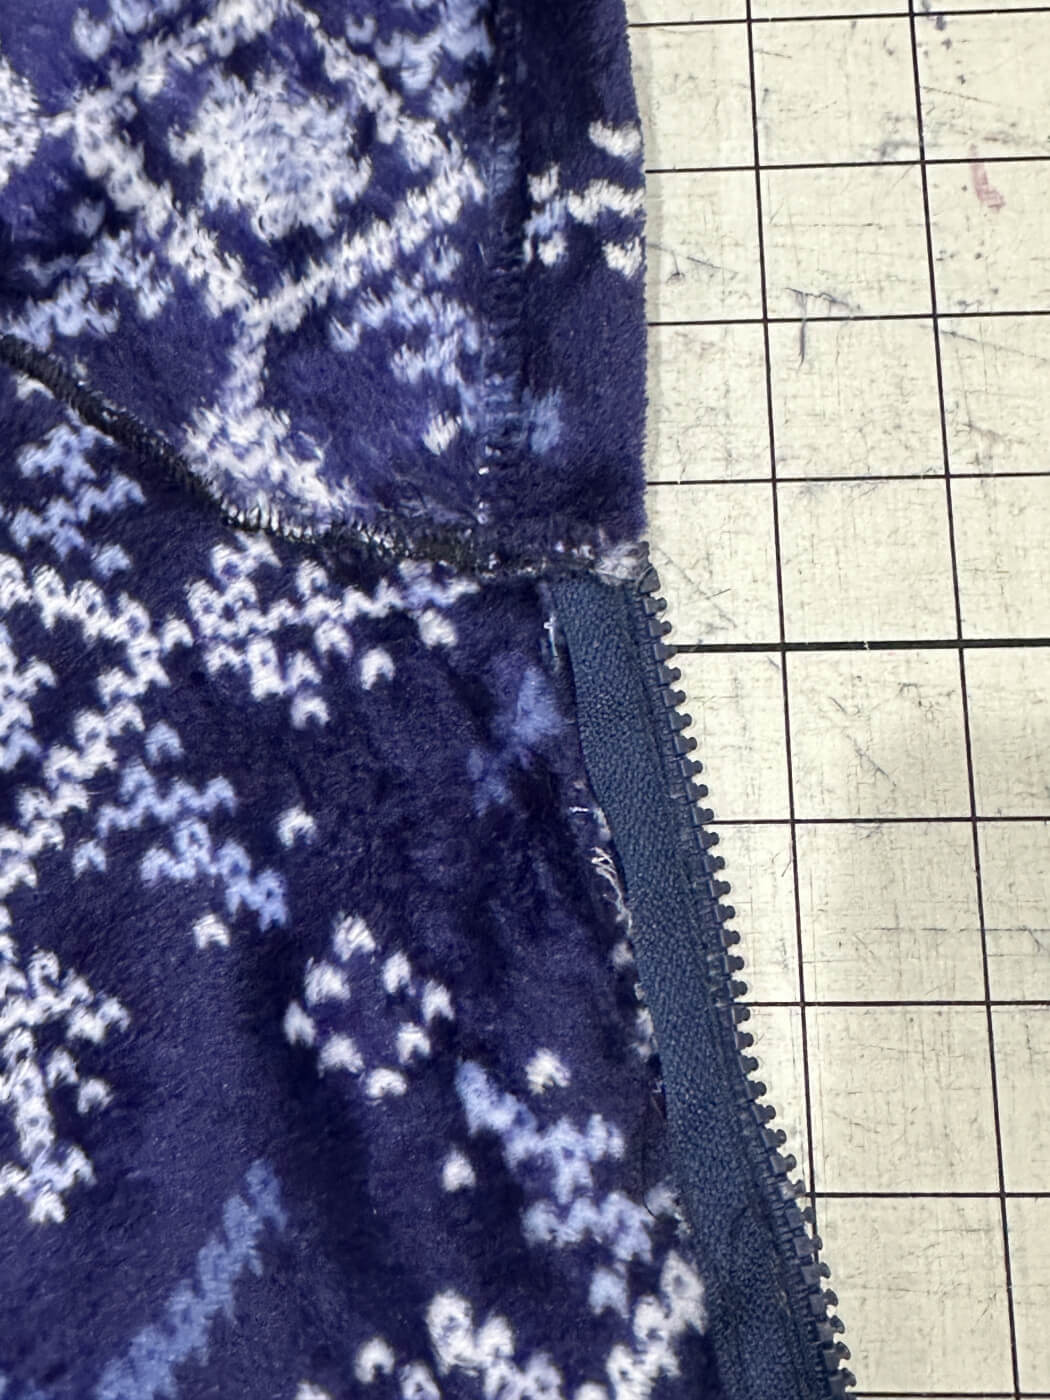
3. Lay the zipper face down on the center front of the hoodie with the top of the zipper 1/2" below the neckline and the bottom of the zipper matched up with the hem. Mark the top and bottom of your pocket on both sides of the zipper tape.
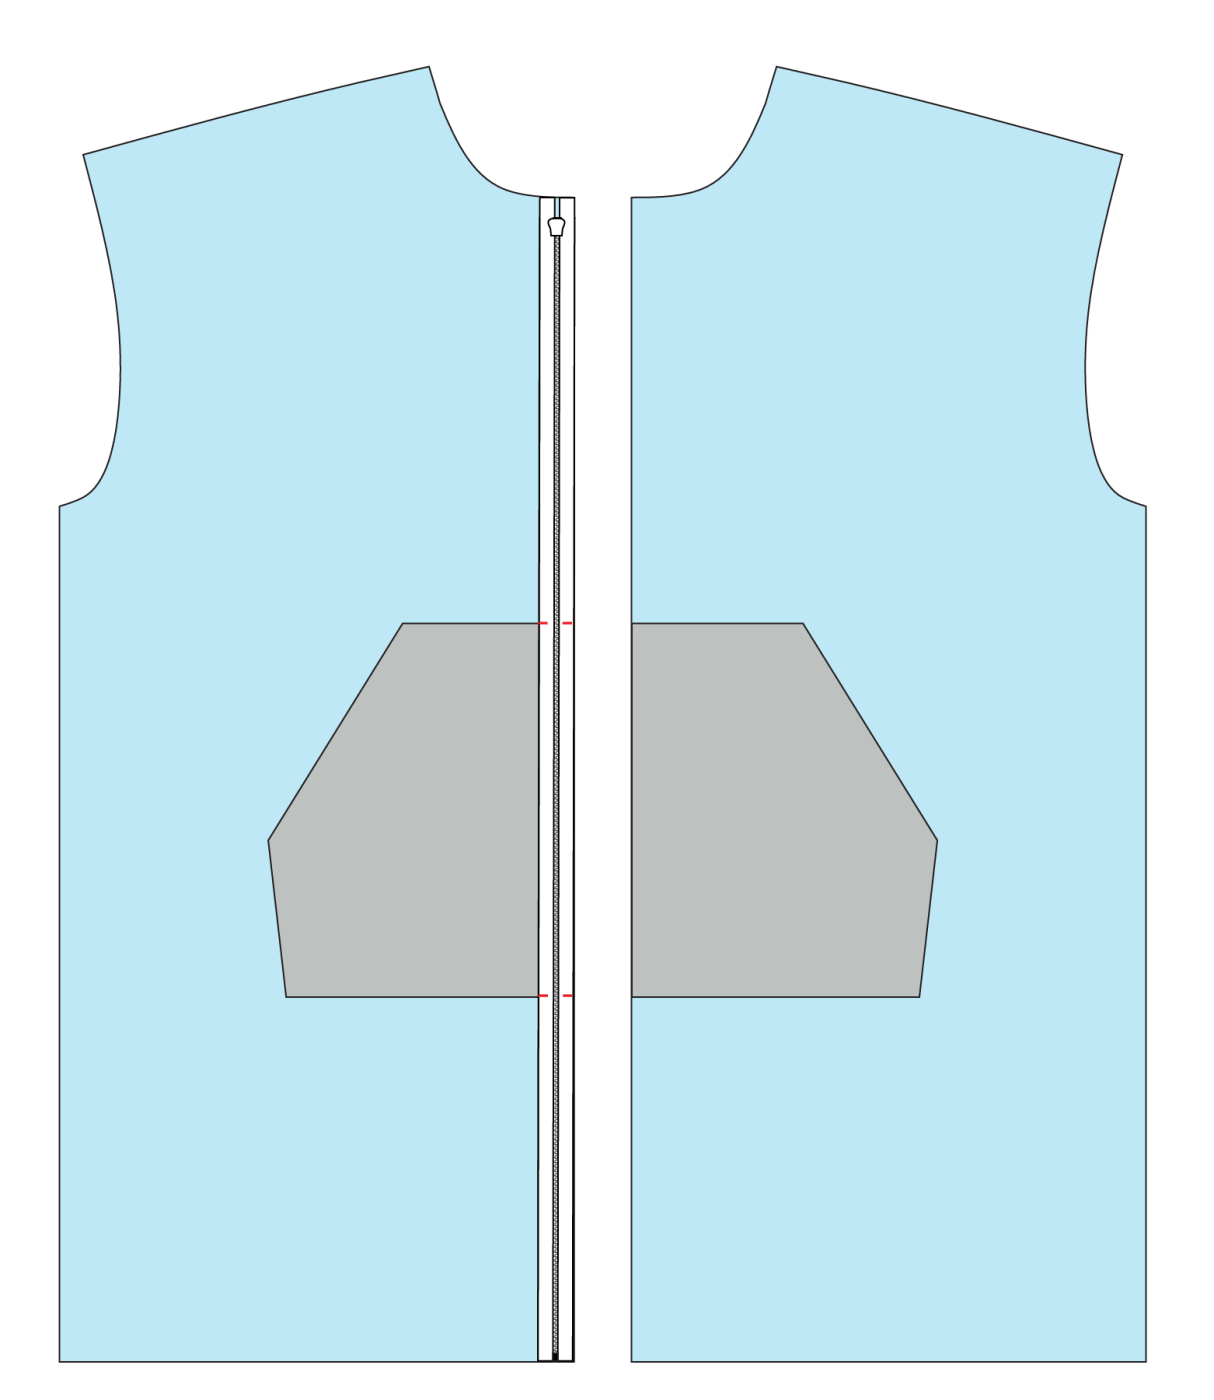
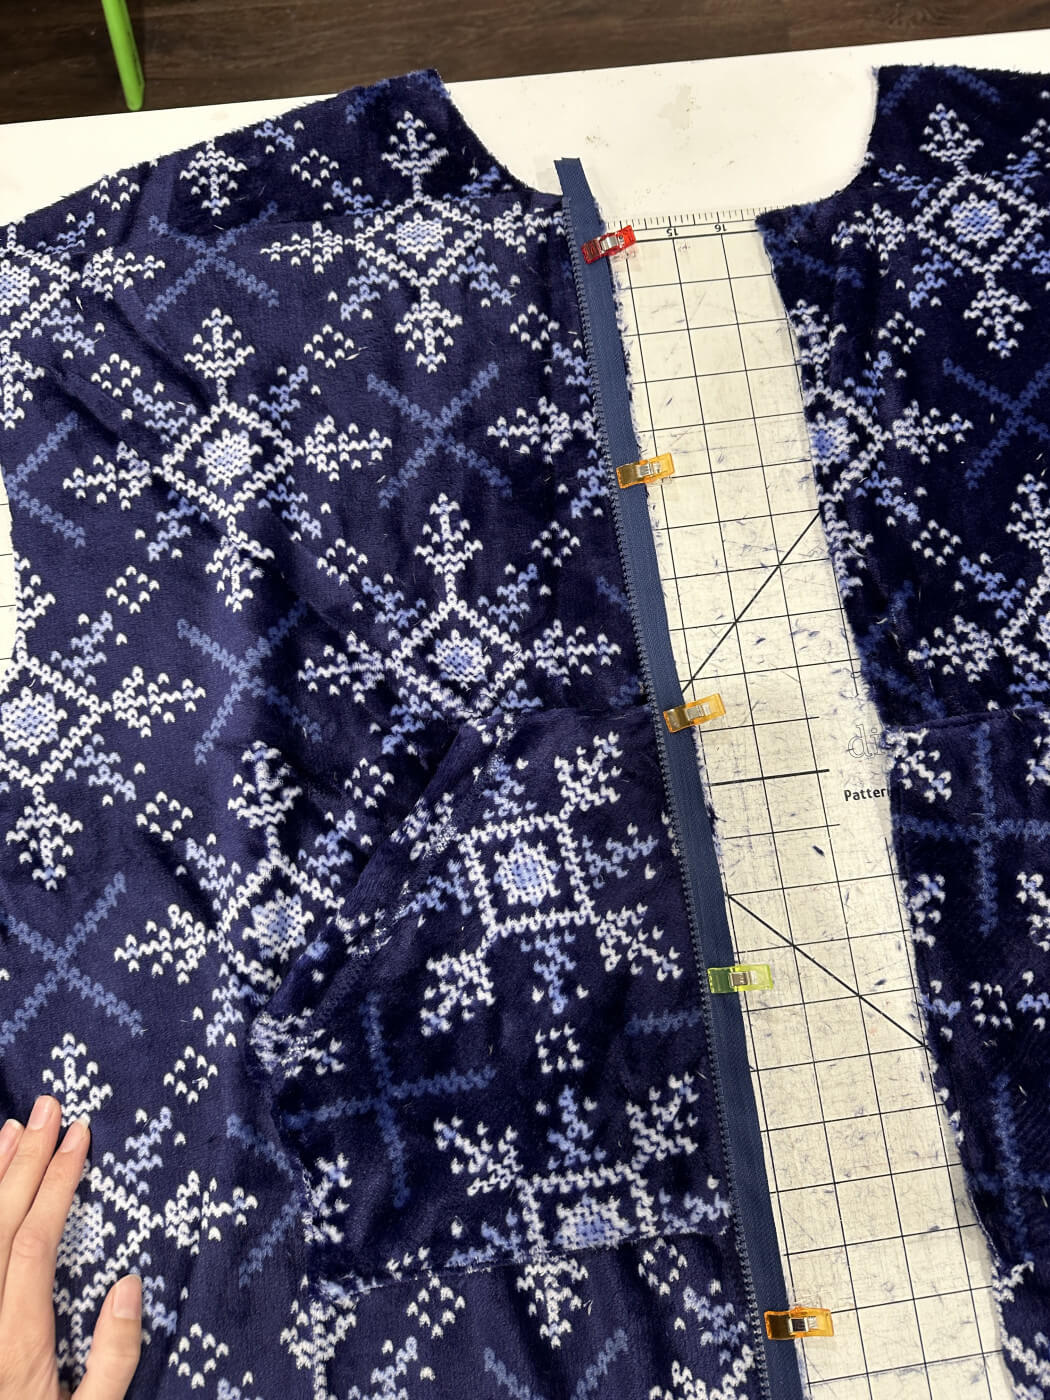
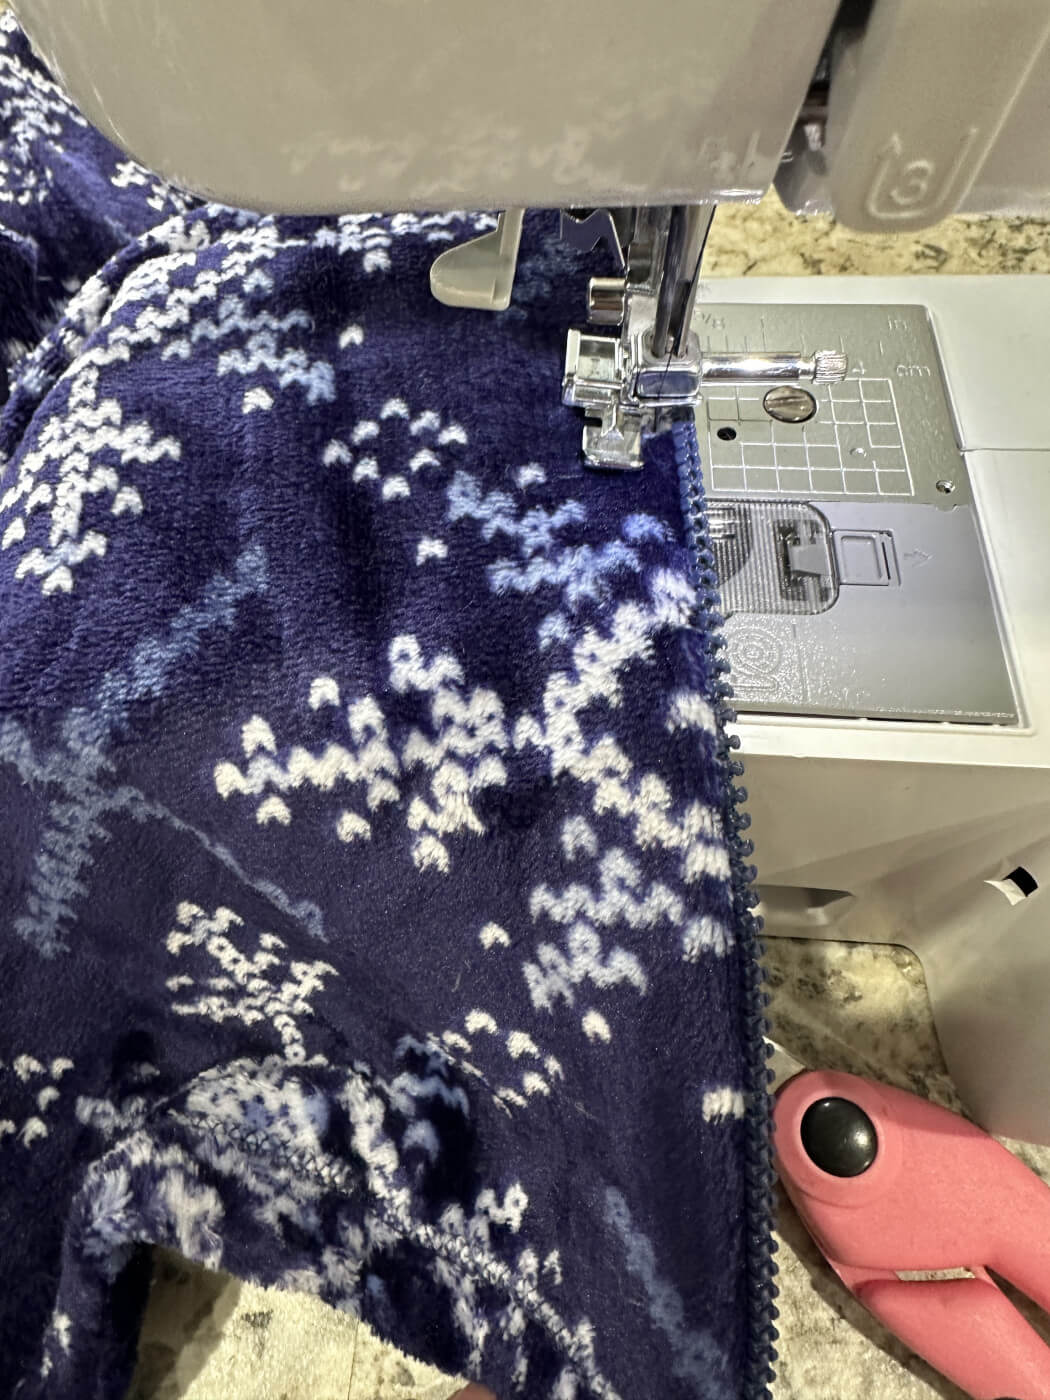
4. Unzip the zipper. Lay the zipper face down on the center front of the hoodie and match up the marked points with the top and bottom edges of your pocket. Sew the zipper to the hoodie on the right side of the fabric.

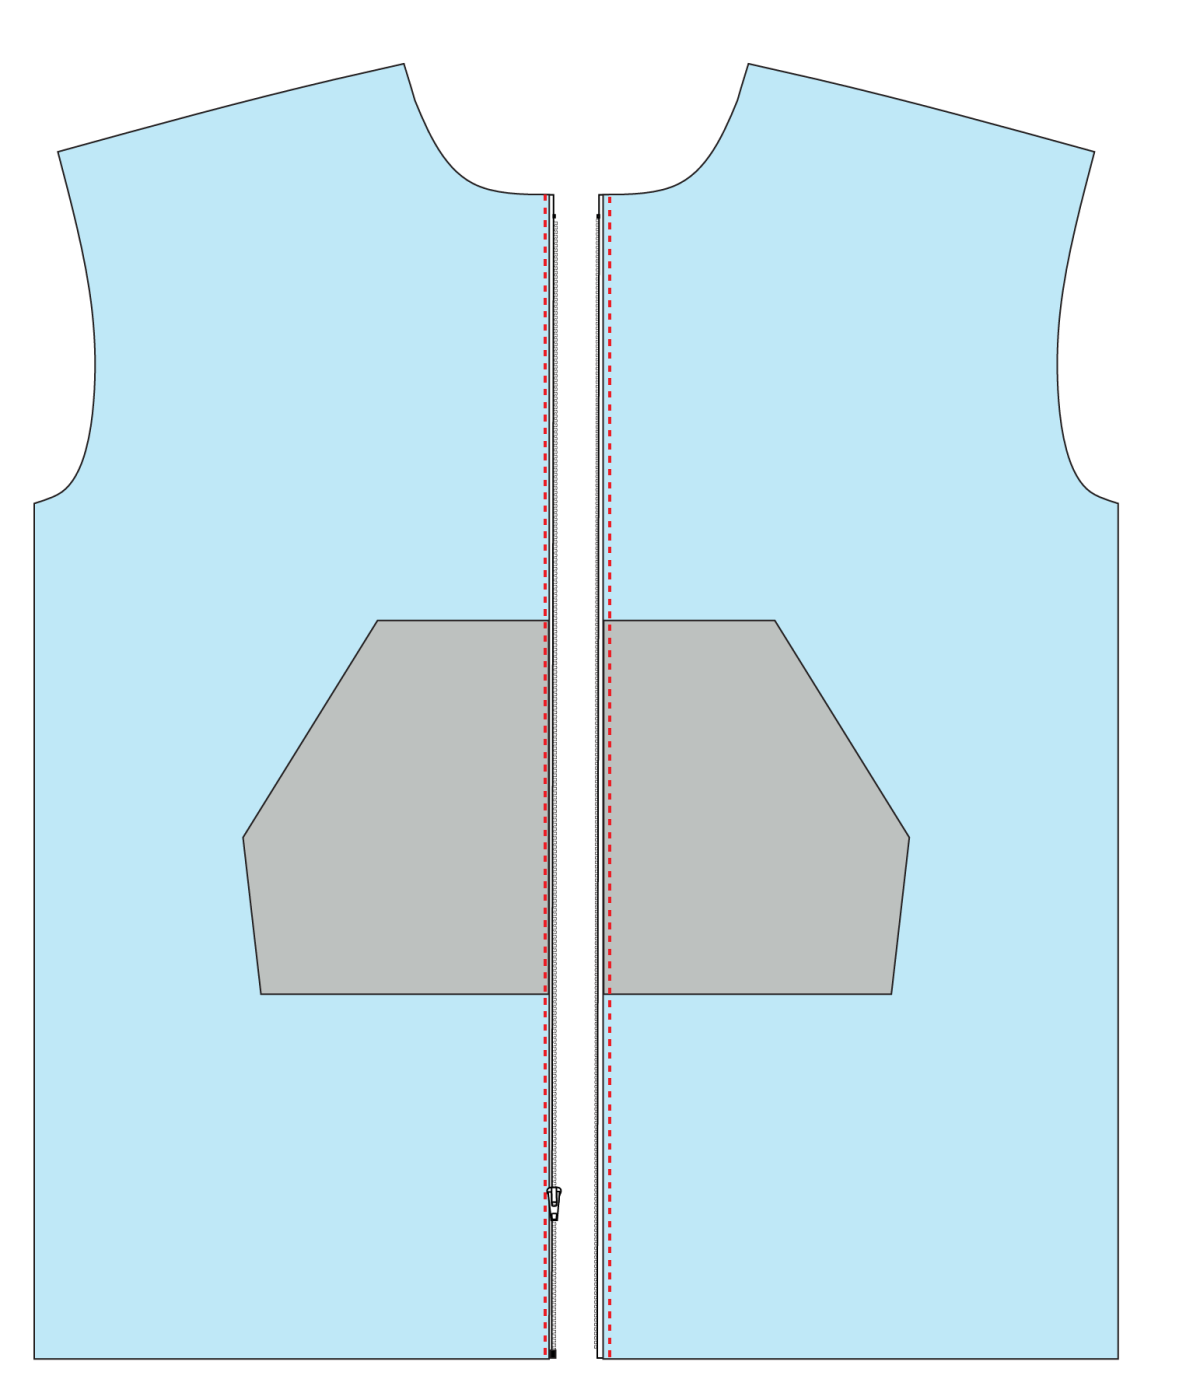
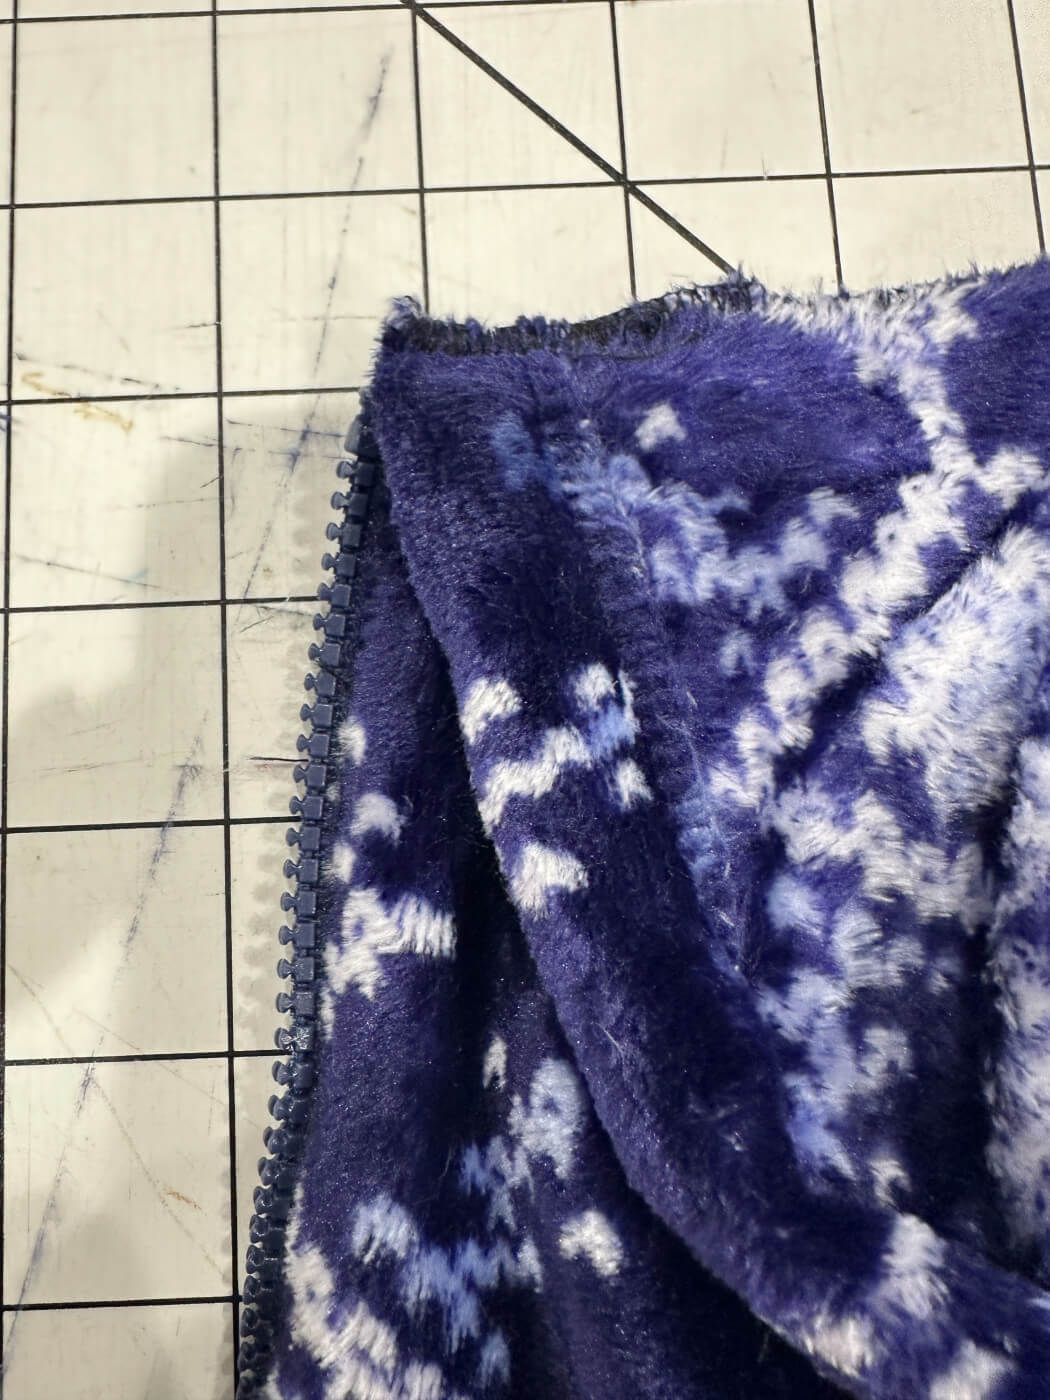
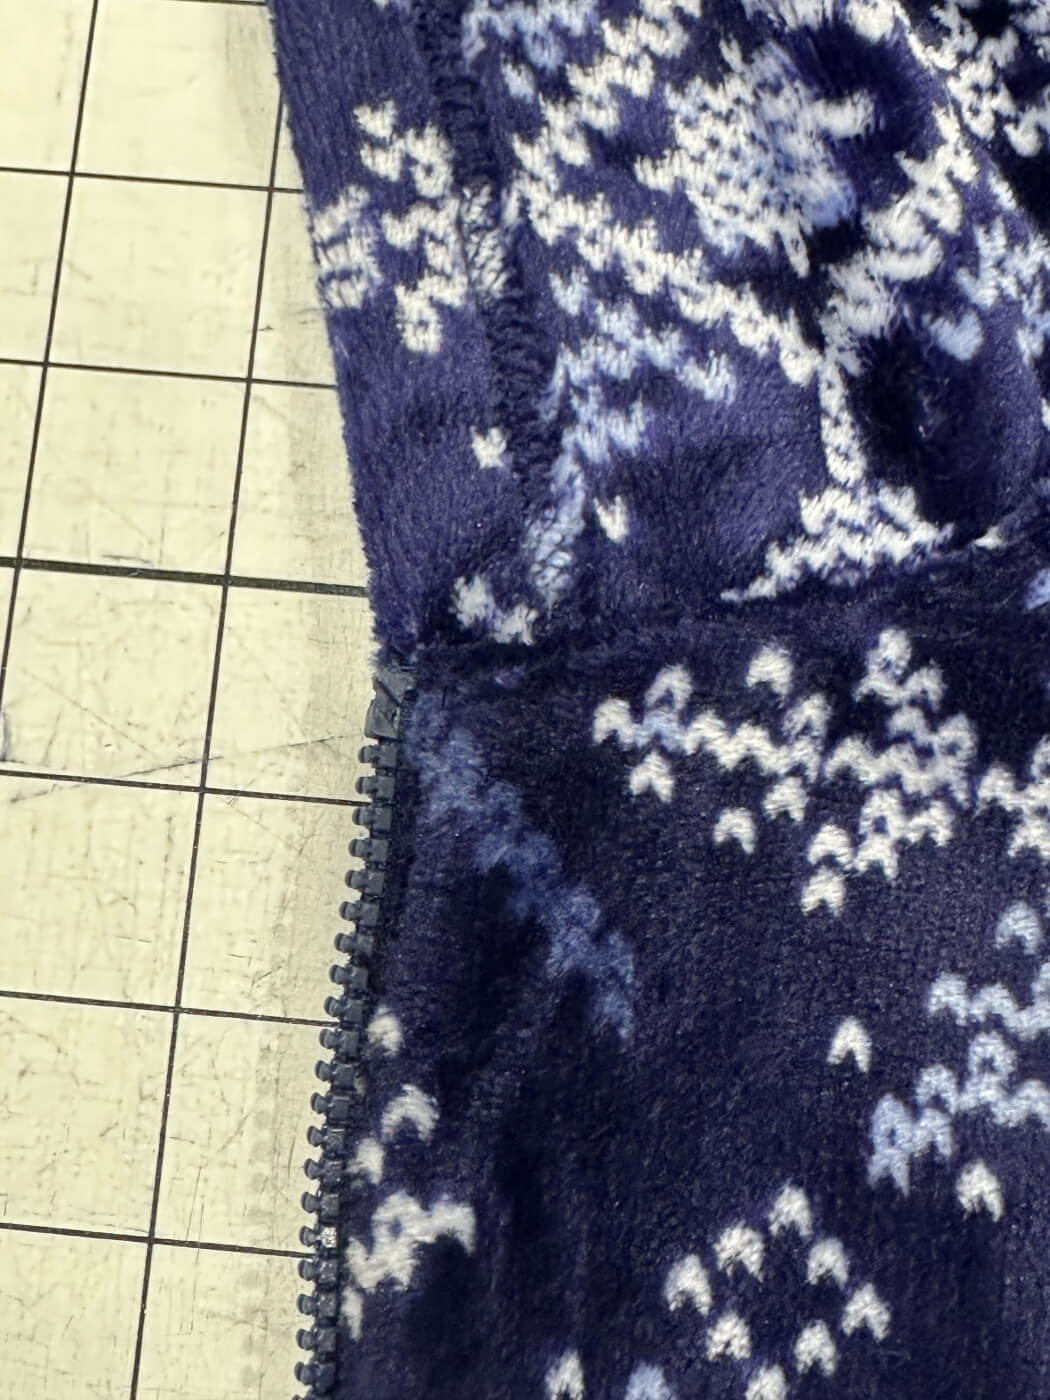
5. Fold the zipper to the inside of the hoodie. Topstitch along both center front edges.
6. Attach the back piece and sleeves following the pattern instructions. Sew up the side seams. Assemble the hood following the pattern instructions.
With right sides together, sew the neckline of the hood to the hoodie neckline. Make sure the finished edge of the hood is aligned with the center front edge of the hoodie.
7. Flip the hood up and topstitch the seam allowance to the neckline.
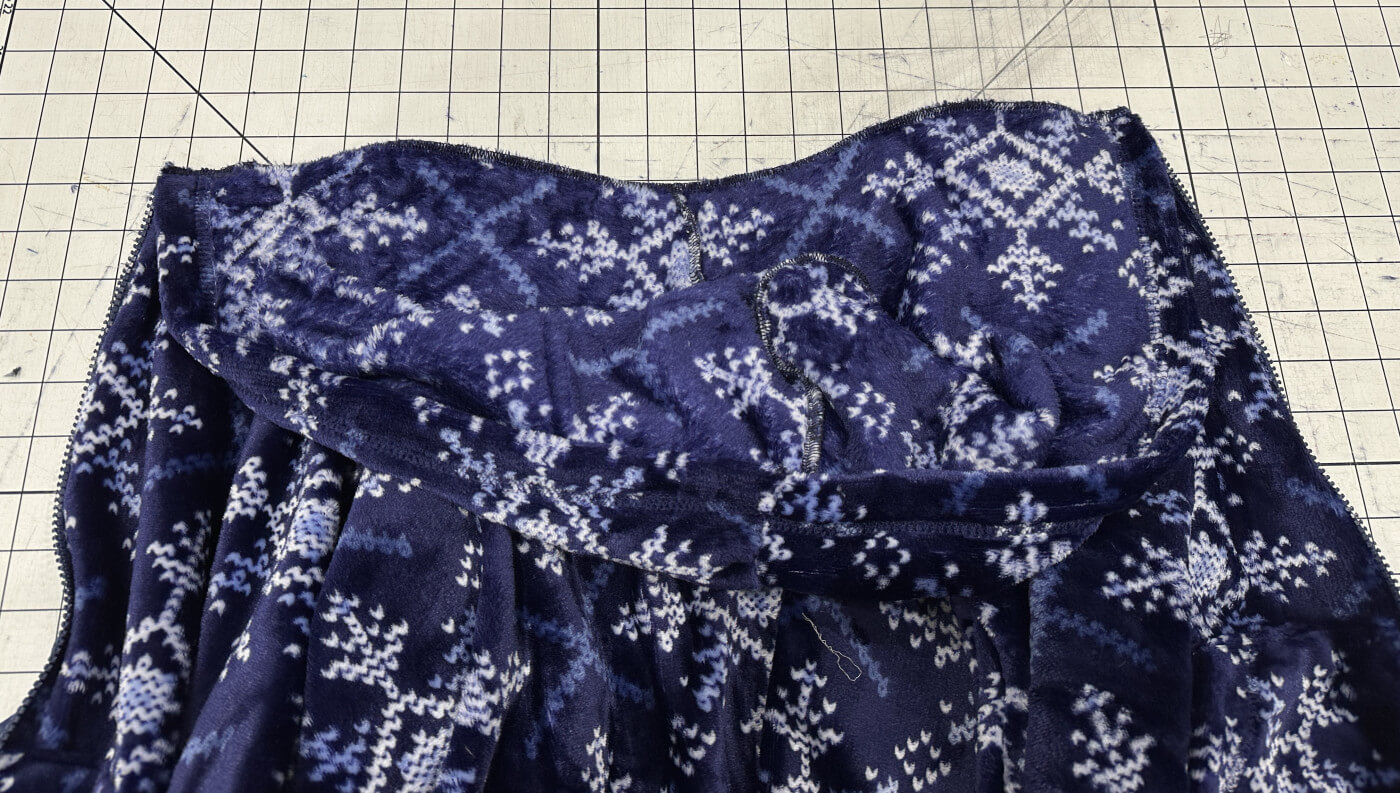
Finished view on the inside:
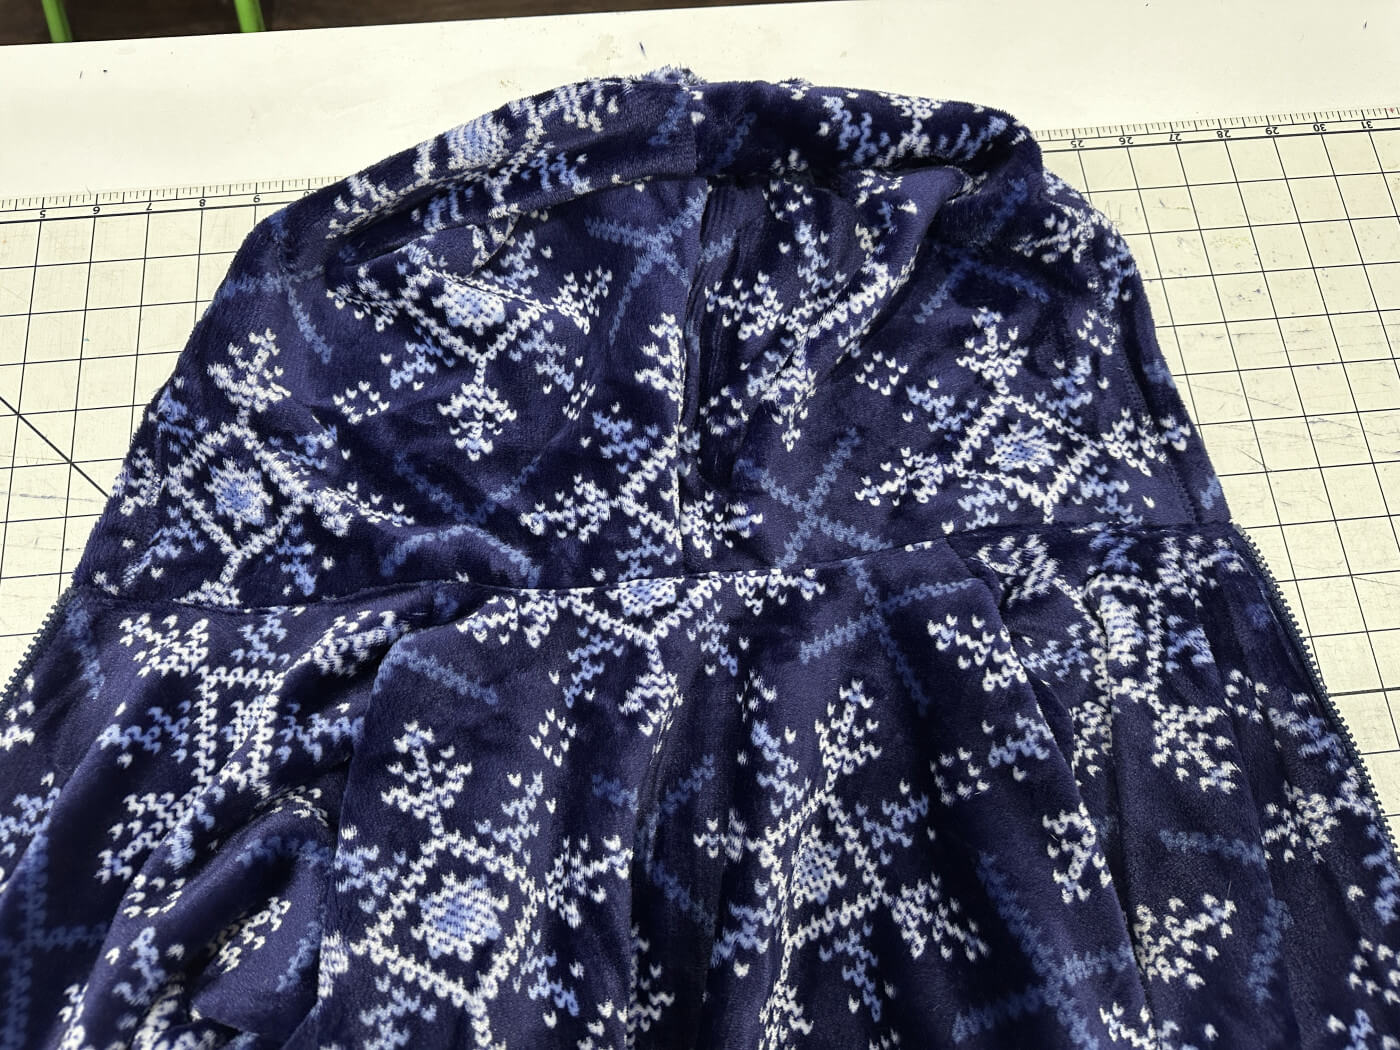
Finished view on the outside:
Your Blanket Hoodie is now complete!