How to Recover a High Chair
Do you have a high chair in need of a revamp??? Come learn how to recover a high chair.
How to Recover a High Chair
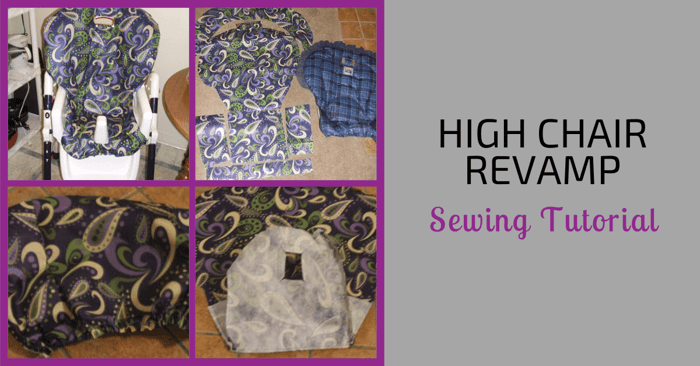
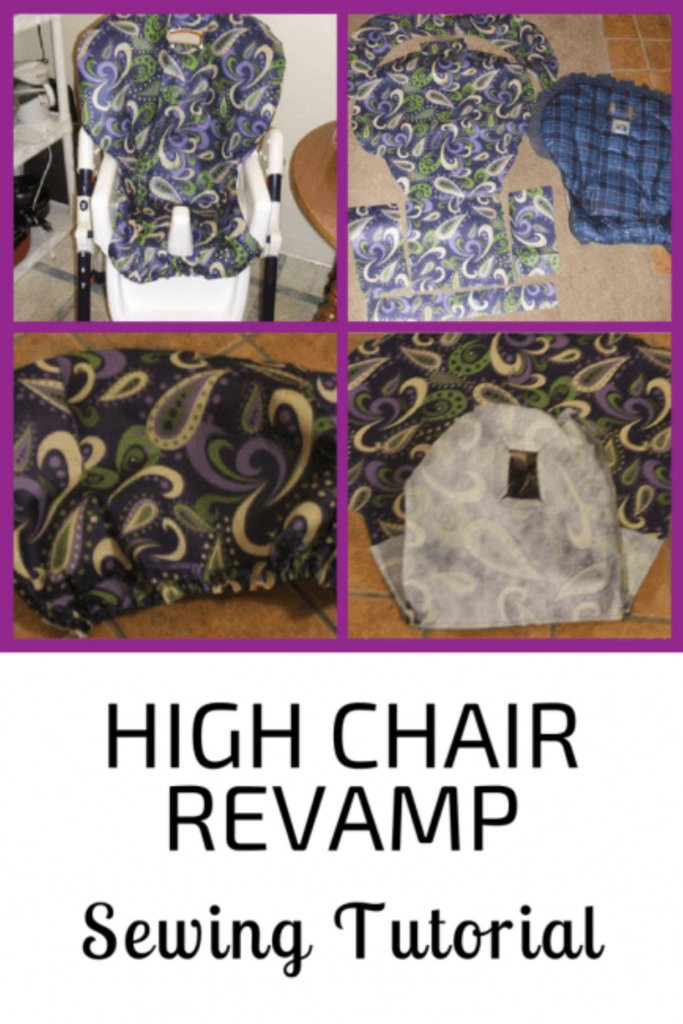
Some baby gear takes a definite beating and high chairs rank pretty high up there. My mom got us a great high chair at a garage sale, and it cleaned up pretty well, though I got tired of starting at the blue plaid and the bits of food caught in the ruffle. When I found some adorable and wipeable fabric on sale for $2/yard, I knew just what to do with it!
Step 1: Take your cover off and use it as a template to cut out your pieces. If you don't want to save the original cover you can cut it apart so it's easier to trace around. I sewed my new cover right on top of the old one so it was nice and cushy.
Step 2: Sew the 2 sides to the seat piece
Step 3: My chair has a small piece of elastic running down the bottom to keep it fitting snug, so I made a little casing for that
Step 4: And then fed some elastic through and attached it to the seat piece
Step 5: Sew the back piece onto the seat
Step 6: Sew a big arc piece to the top- it will fold over to hold the cover to the top of the chair
Step 7: Cut out an opening for the crotch portion of the high chair to fit through. Cut it about 1/2" smaller then needed and then make slits in towards each corner. That way you'll be able to fold the raw edges over towards the back. I did this at the top of the chair too b/c my chair has a little gap to get to the recline lever.
Step 8: Fit the new cover on top of your old one and make sure everything lines up where it should. Fold the raw edges over towards the back and sew down.
At the little openings, I made I folded my tabs back over towards the wrong side and then stitched down. Enjoy your beautiful new chair!
And since all high chairs are different here are a few tips I learned that will help with any design:
- Make sure you take a good look at the high chair cover and how it's put together before you get started
- Don't be afraid to dive right in! It actually is easier than it looks, and by the time you have it on the chair, no one will notice any imperfections- remember no one will be able to see the underside ever:)
- Use a wipeable fabric: an oil cloth would look fantastic. I was cheap so I bought fabric used to make reusable bags out of- it's in the back by the tablecloth fabric. If you score a clearance vinyl table cloth that would work perfectly!
- Sewing the new cover on top of the old one saves you from buying new cushioning- it gets a bit awkward fitting it all under your machine, but it's not too bad
Thank you for joining us today! Before you leave, I hope you'll join our Facebook Group to stay in touch and get help with your sewing projects. Happy Sewing!


