DIY Twist Headband | How to Make a Twist Headband
Hello Sewers! This is Heather from the PAB team. Today we have an easy tutorial for you on how to make a twist headband! This is the first tutorial I’ve written out, so hopefully, it’s easy to follow 😉
DIY Twist Headband Tutorial | How to Make Twist Headbands
DIY Twisted Headband Materials
This DIY twist headband is great for scrap busters! Start by selecting a knit fabric with good stretch and recovery. I like to use stiffer knits with good recovery (bullet, interlock, thicker cotton/lycra). For this tutorial I used the last scrap of some Birch organic cotton I had. To make a twist headband, you'll need the right fabric and elastic for a comfortable fit. Make sure you have a sewing machine and basic sewing tools like scissors, pins, and measuring tape. An iron is essential for pressing fabric pieces. Prepare your work area with a cutting mat and rotary cutter for precise cuts. With these materials and tools, you'll be ready to start your tutorial.
How to Make a Twist Headband Sewing Instructions
Step 1: To ensure a proper fit, start by measuring your head circumference. Consider the width of the headband as well, as this will impact the comfort. Measure your child’s (or your!) head exactly where you want the headband to sit. Take that measurement -2 inches for your length. The width can be anywhere from 5-8 inches, depending on the size of the head. Eloise likes her chunky, so I cut hers 5.5 inches wide (we will fold it in half!) Be sure the length is going with the stretch of the fabric. Lastly, remember to factor in seam allowances when calculating the size.
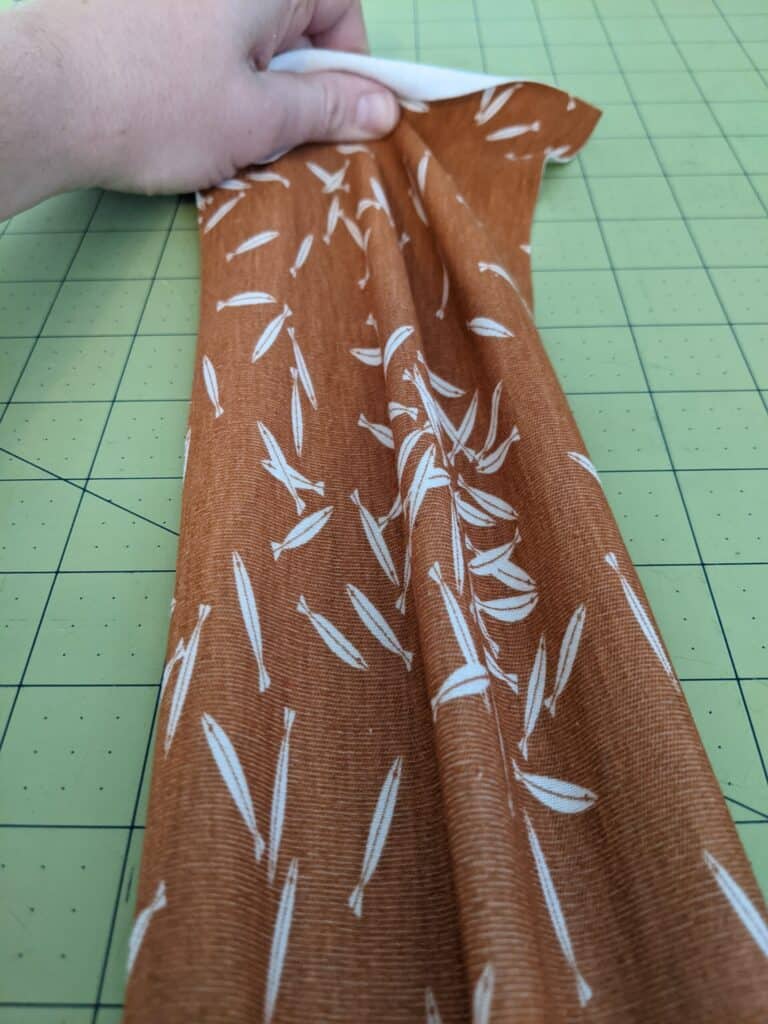 Step 2: Fold in half, right sides together (RST), and stitch up the long edge. I used my serger, but a stretch stitch on a regular sewing machine would work great!
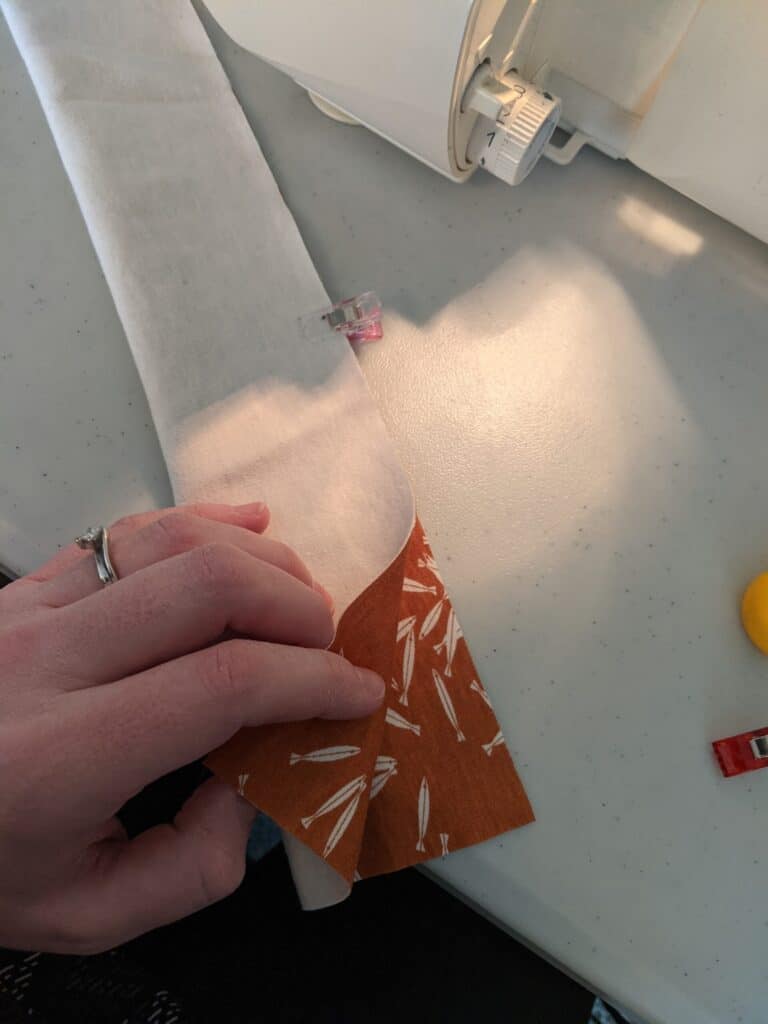 Step 3: Turn your tube right side out and center that seam in the middle.
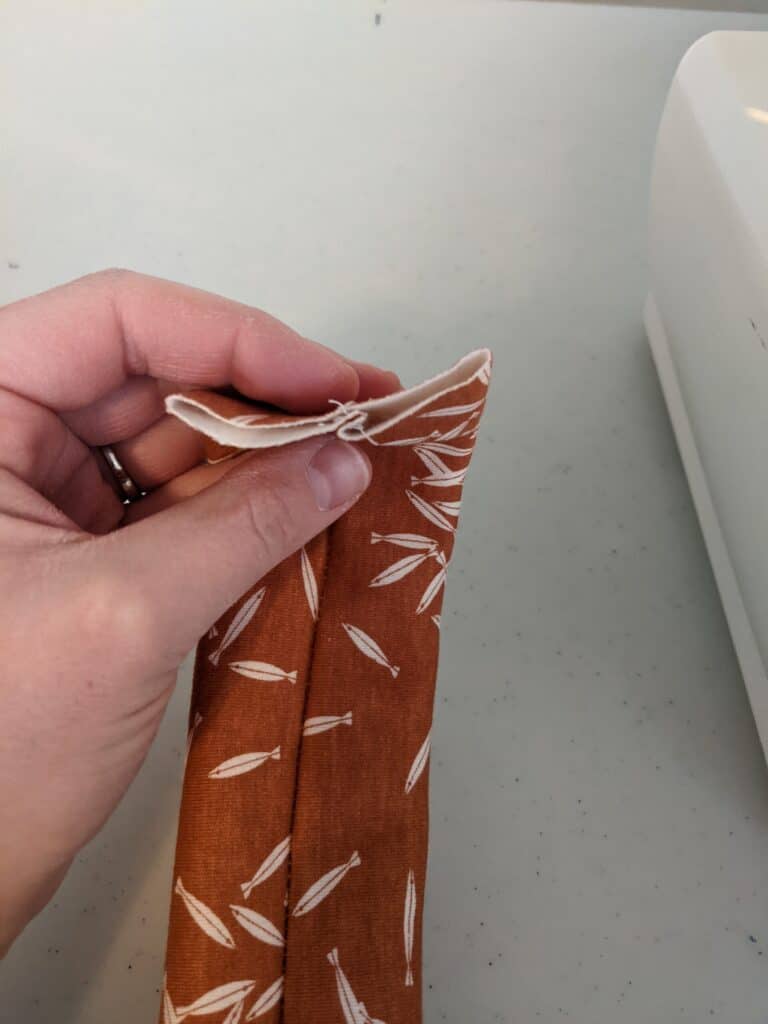 Step 4: Fold your tube in half, so your seam is now running up the left side. Make sure the seam is now on the outside, not the inside, or it will show on the finished product!
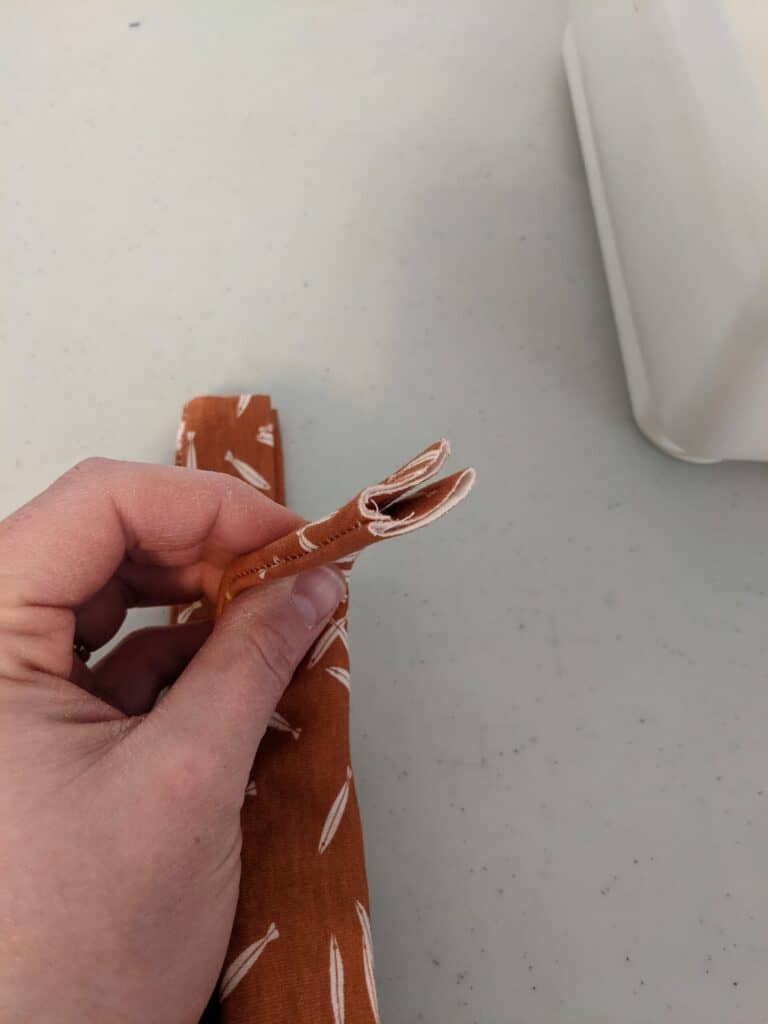 Step 5: Bring your two raw ends together and slide them inside each other, like you were shuffling cards. It should look like a forward and a backward “c” nestled inside each other.
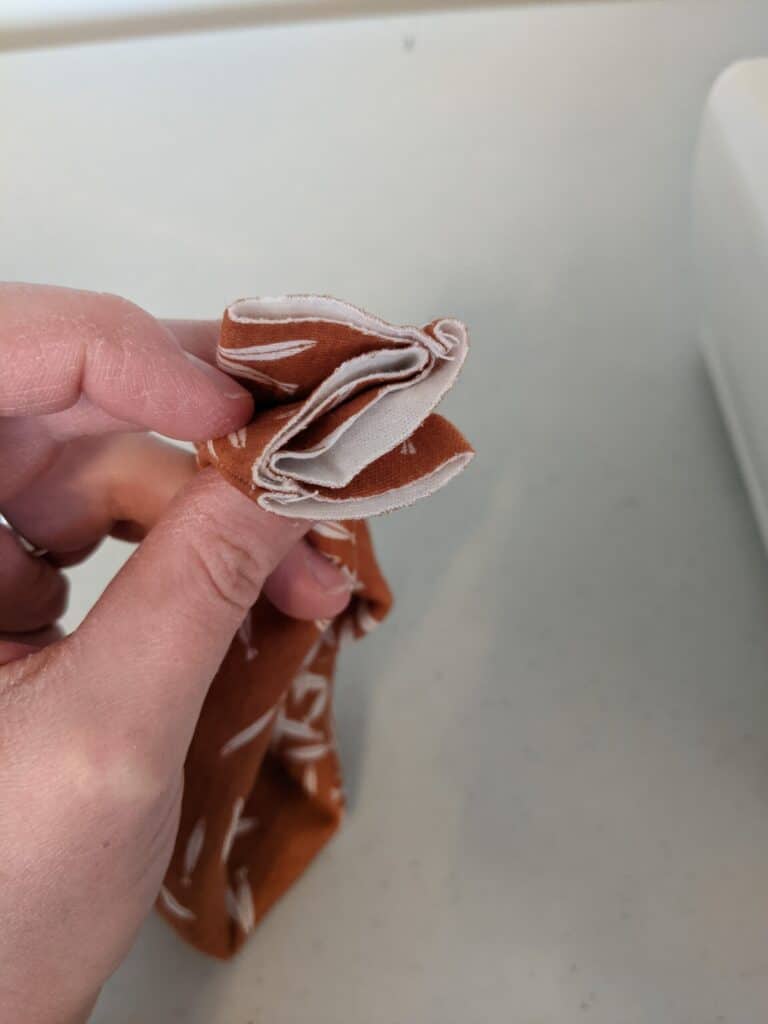
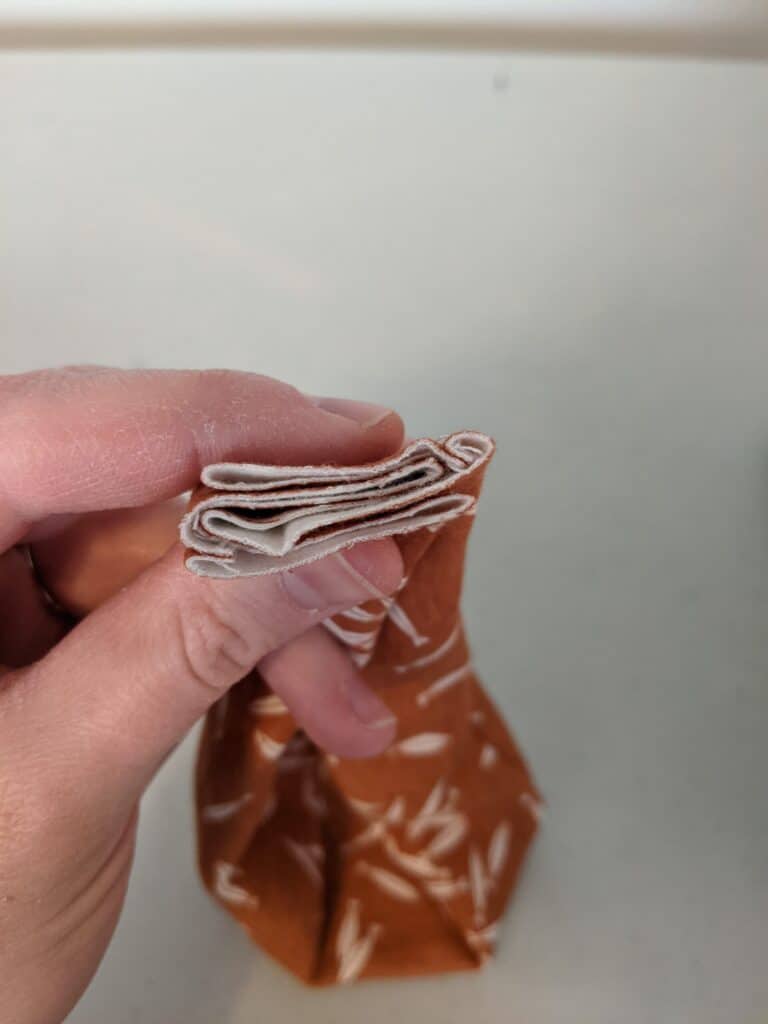 Step 6: Sew across that raw edge. To finish off my serger tails I like to thread them through a darning needle and weave them back through the stitches.
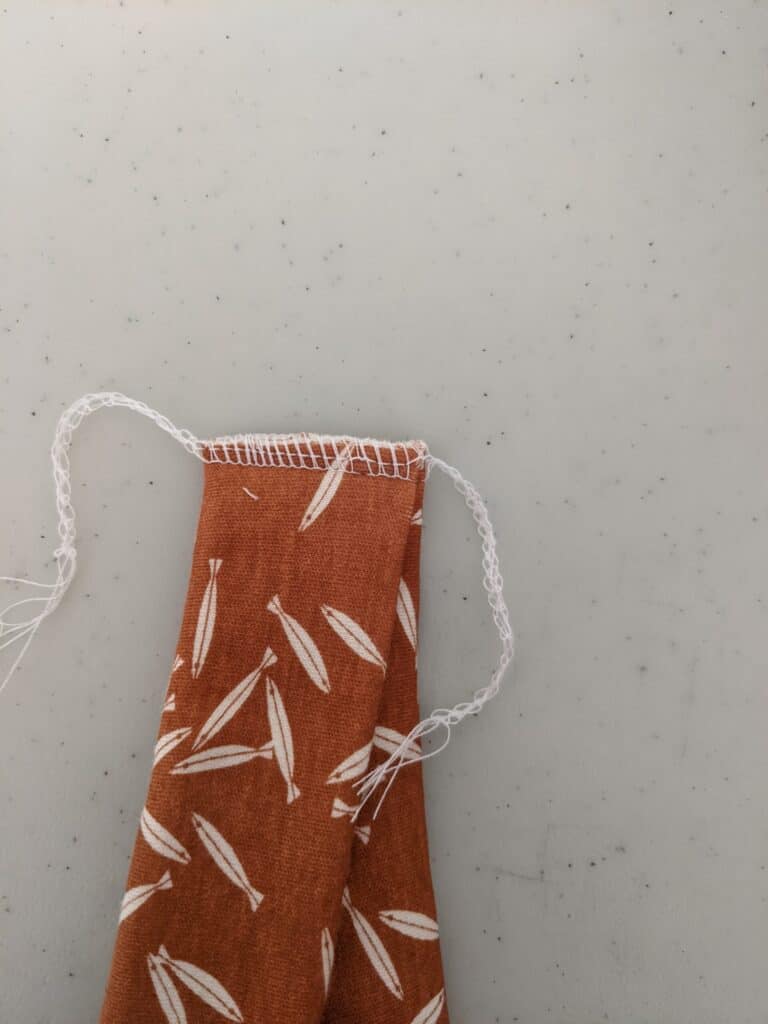
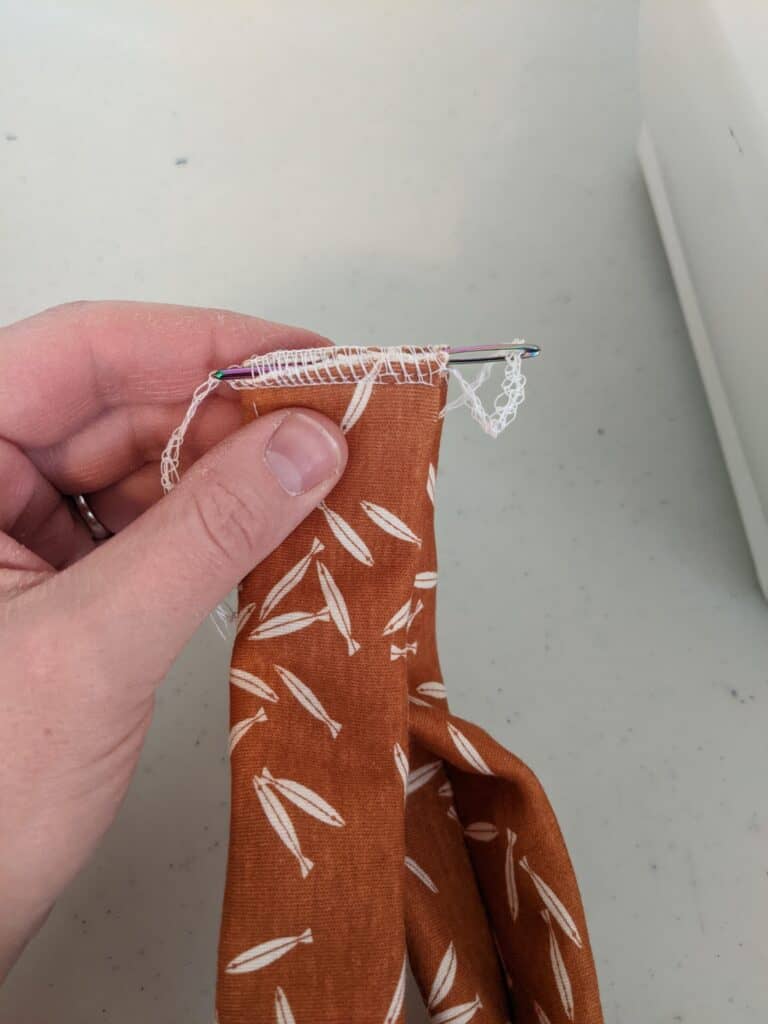 Step 7: Now just open up the headband and tuck that seam you just made in the back so everything opens up! (I had some thread get caught and had to re-sew the final seam on mine, I ended up losing about an inch, so this one is a little snug on Eloise, but hopefully you get the idea!)
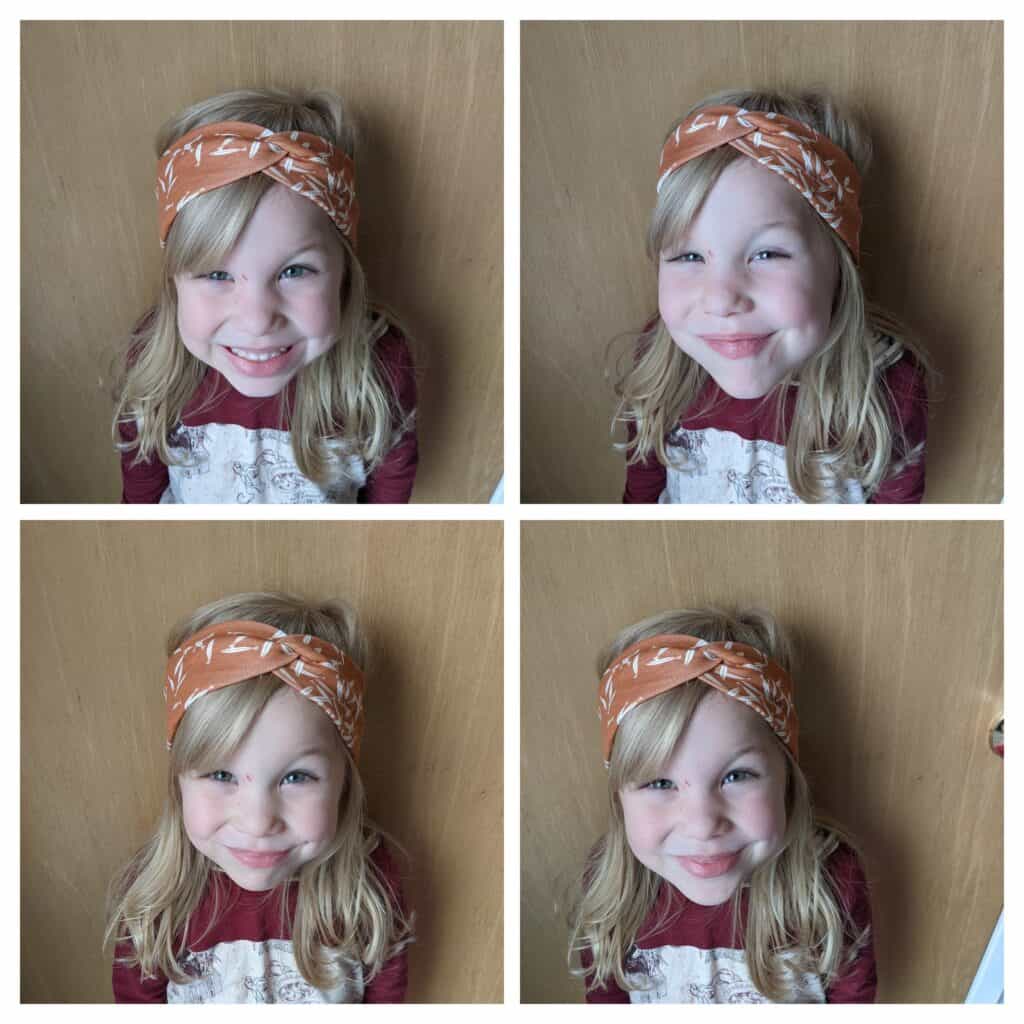 And there you have it! Scrap buster, outfit matcher, present creator, this is great for so many things!
Tips to Ensure a Perfect Fit
To ensure your twist headband fits perfectly, there are a few tips you can follow. First, test the stretchiness of your fabric before cutting it to make sure it has the right amount of give. Next, stitch the elastic securely at both ends to prevent it from slipping. You can use a zigzag stitch or serger for added durability on knit fabrics. For some variety, experiment with different fabric colors and patterns. Lastly, personalize it by adding embellishments or accessories.
What if your DIY Headband is too Loose?
If your DIY headband ends up too loose, don't worry! There are several ways to fix it. Adjusting the width, adding elastic, sewing a smaller seam allowance, using a stretch stitch, or twisting it can all help achieve a better fit.
How do the Pros Make Headbands?
The pros achieve professional-looking headbands by using high-quality fabrics and carefully measuring and cutting pattern pieces. They often utilize sewing machines or sergers for stronger seams and reinforce it with techniques like backstitching or zigzag stitching. Attention to detail, such as topstitching, ensures a polished finish.
Thank you for joining us to learn how to make a twist headband. This is a fun and creative project that allows you to customize your accessories to match your style. By gathering the necessary materials and tools, understanding the size you need, and following the step-by-step process, you can easily make your own twist headband. Remember to fine-tune and make final adjustments to ensure a perfect fit. If you encounter any issues, such as a headband being too loose, don't worry! There are tips and tricks to fix it. And if you're looking to take your headband-making skills to the next level, consider learning from the pros. With a little practice and creativity, you'll have a collection of beautiful twist headbands in no time!
Before you leave, make sure to join our Facebook Group and sign up for our newsletter below. You can also follow us on Instagram. Happy Sewing!


