How to Turn a Long Sleeve into a Short Sleeve
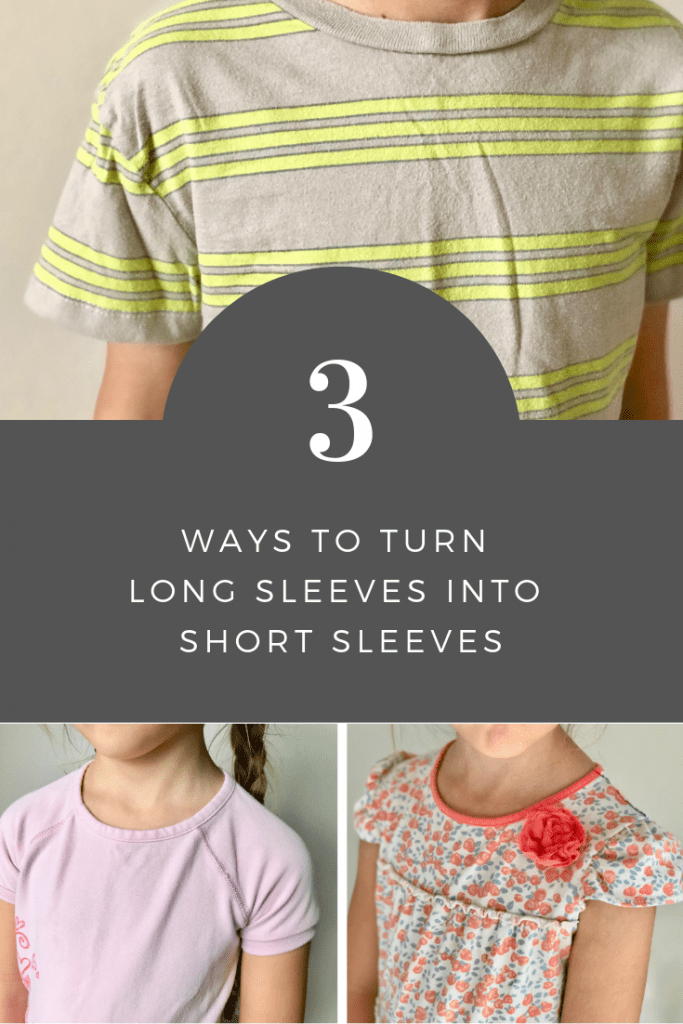
Today let's learn how to turn a long sleeve into a short sleeve. Warm weather is here, or at least around the corner! And that means you need to convert those drawers full of long sleeves into clothes made for playing in the sun. Today we’ve got a couple ideas of how to make long sleeves into short sleeves-no extra fabric required.
We mostly wear knits around here so honestly, we could just cut off the sleeves and call it good. But with a few tricks on the sewing machine no one will ever know the sleeves got cut off!
Understanding the Basics of Sleeve Alteration
Transforming long sleeves into short sleeves is a simple and effective way to give your wardrobe a fresh look. By understanding the basics of sleeve alteration, you can update your long-sleeved shirts into stylish short-sleeved ones. Altering sleeves is important in creating a more suitable fit for your needs and enhancing your overall style. There are various techniques you can explore, whether you prefer a DIY approach or following a tutorial on Pinterest. From adjusting the length to hemming the raw edge, sleeve alteration can be done easily.
How to Make Long Sleeves into Short Sleeves Method 1: The Hem
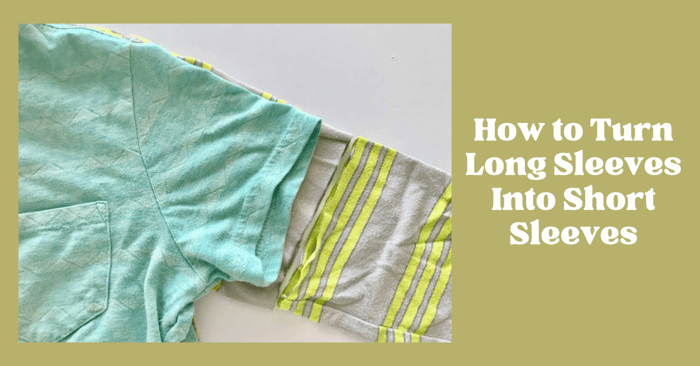
Grab a short sleeve shirt in a size similar to the long sleeve one you are altering. Compare the short sleeve length to the long sleeve and cut off the long sleeve 3/4 inch longer than the short sleeve.
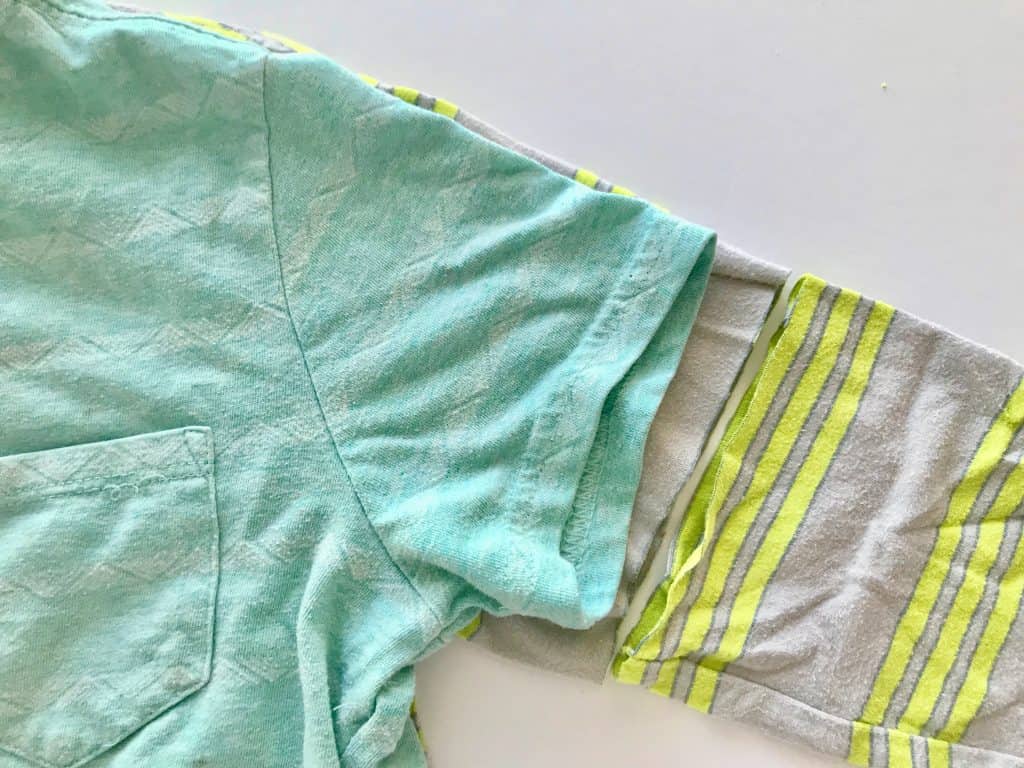
Iron the new edge under 3/4 inch.
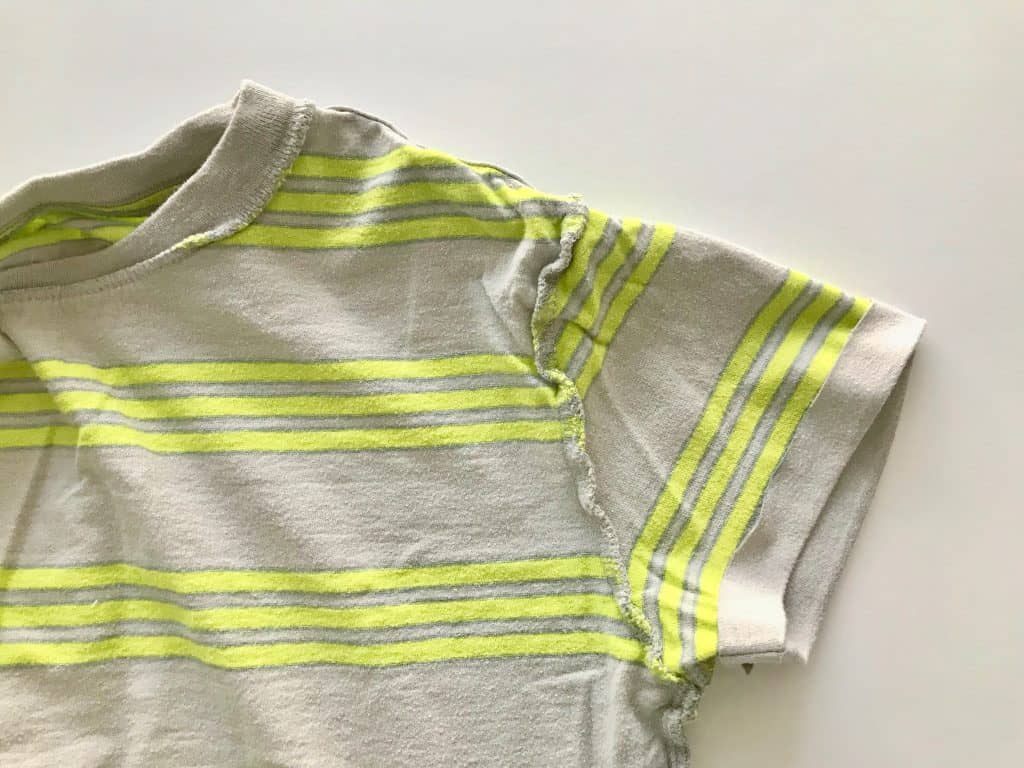
Use a double needle to sew a 5/8 inch hem. (Need any tips on using a double needle? Check out this post.) Repeat for the other sleeve.
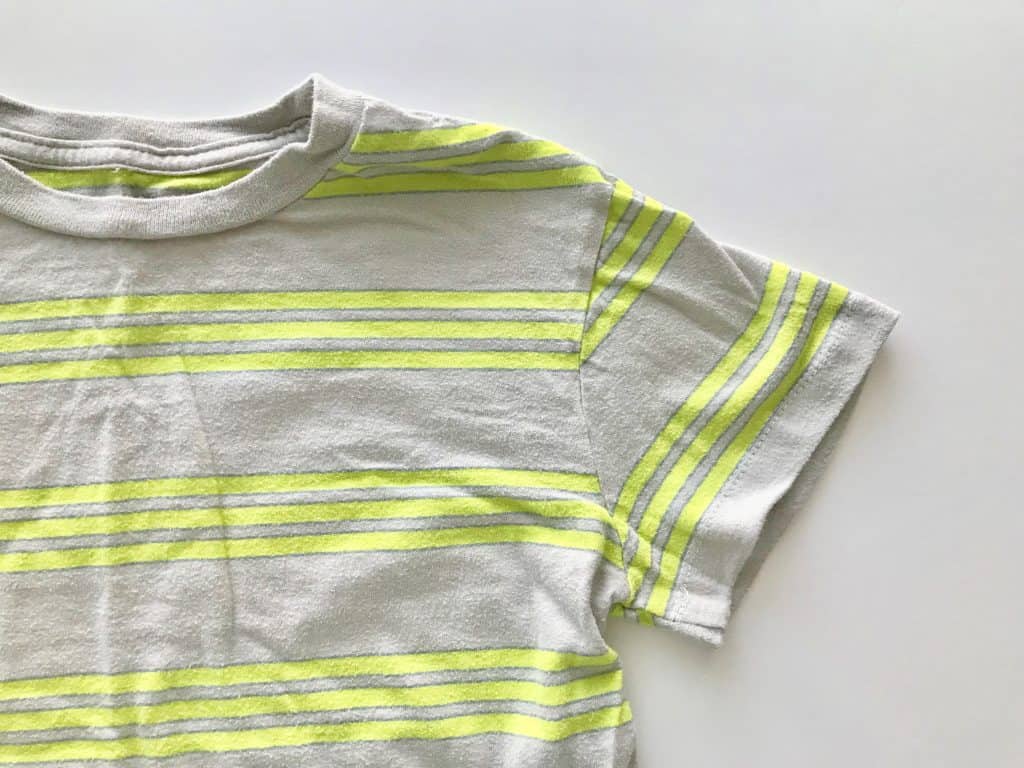
This hem is classic and works great for just about every sleeve, boy or or girl.

How to Turn Long Sleeves into Short Sleeves Method 2: The Band
Grab a short sleeve shirt in a similar size to the long sleeve one you are altering. Compare the short sleeve length to the long sleeve and cut off the long sleeve 1/4 inch shorter than the short sleeve. Save the part of the sleeve you cut off.
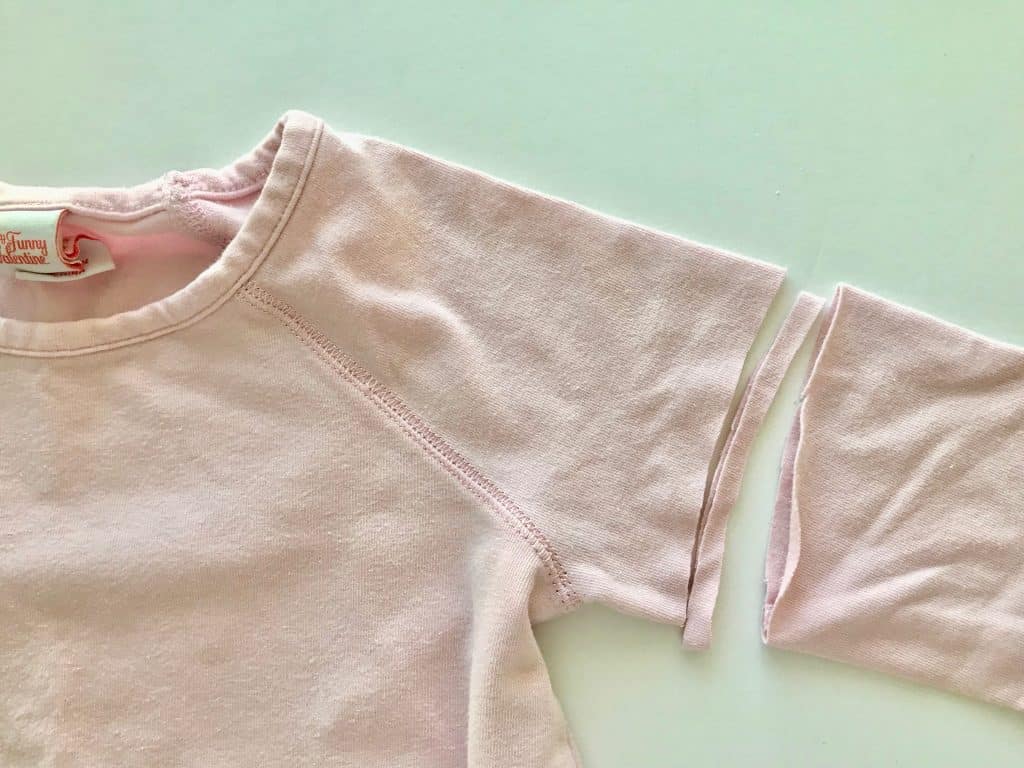
Measure the opening of the short sleeve. Multiply that by .85. This is the length you will cut your band.
Decided how wide you want your band. Multiply that by two and add 3/4 inch. This is how wide you will cut your band. For narrow bands, I like 1/2 inch bands. So I cut my bands 1 3/4 inch wide.
Grab the sleeves you cut off and use them for the fabric for your bands. Cut 1 3/4 inches (or however wide you determined to want) from the raw edge.
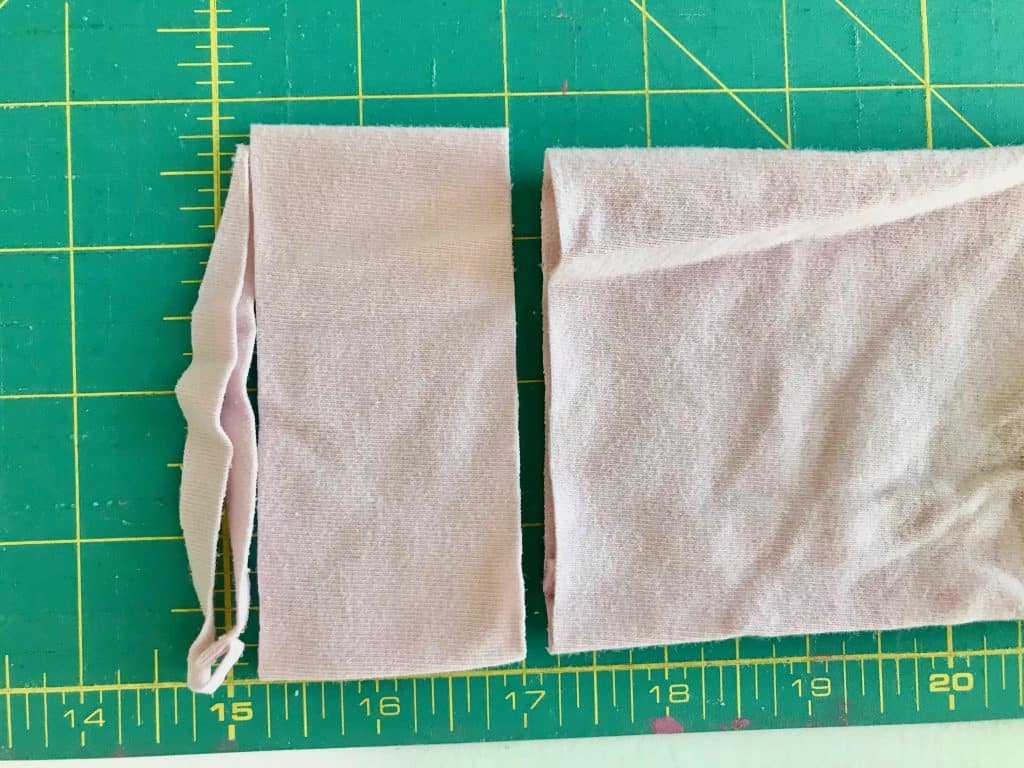
Then cut off the sleeve seam to open the fabric up into a rectangle. Cut the rectangle to the length you calculated. Make sure the greatest amount of stretch is going the length of the band. Repeat with the other sleeve. Fast, easy, and a guaranteed match!
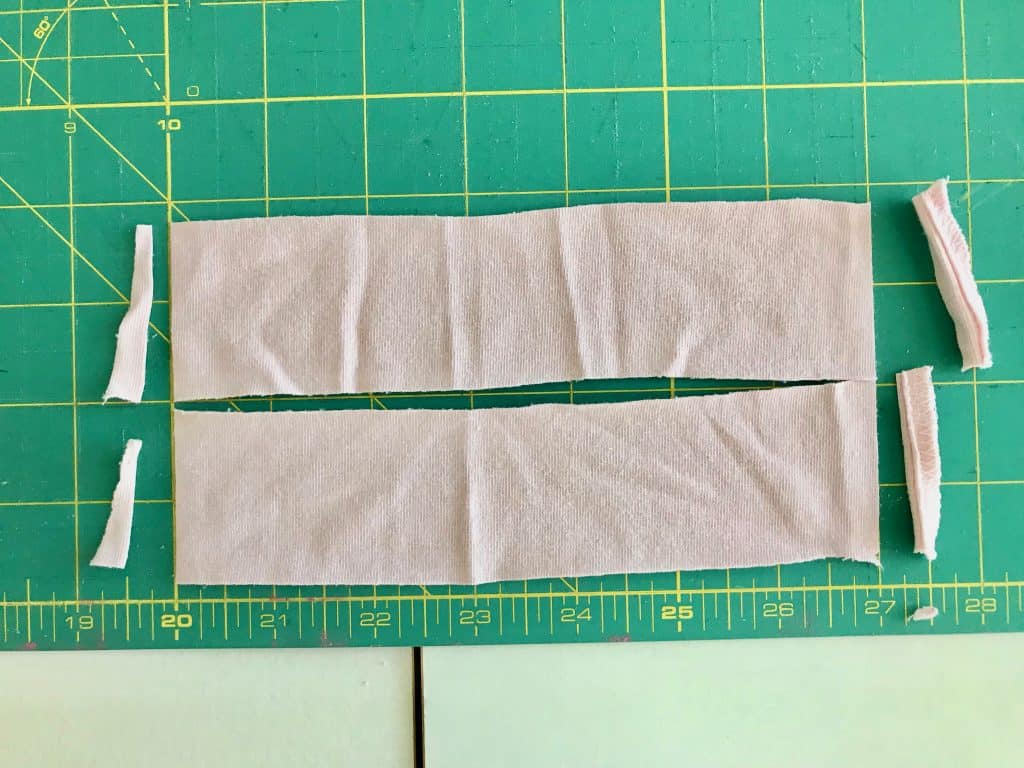
Sew the short ends of each band together, right sides together.
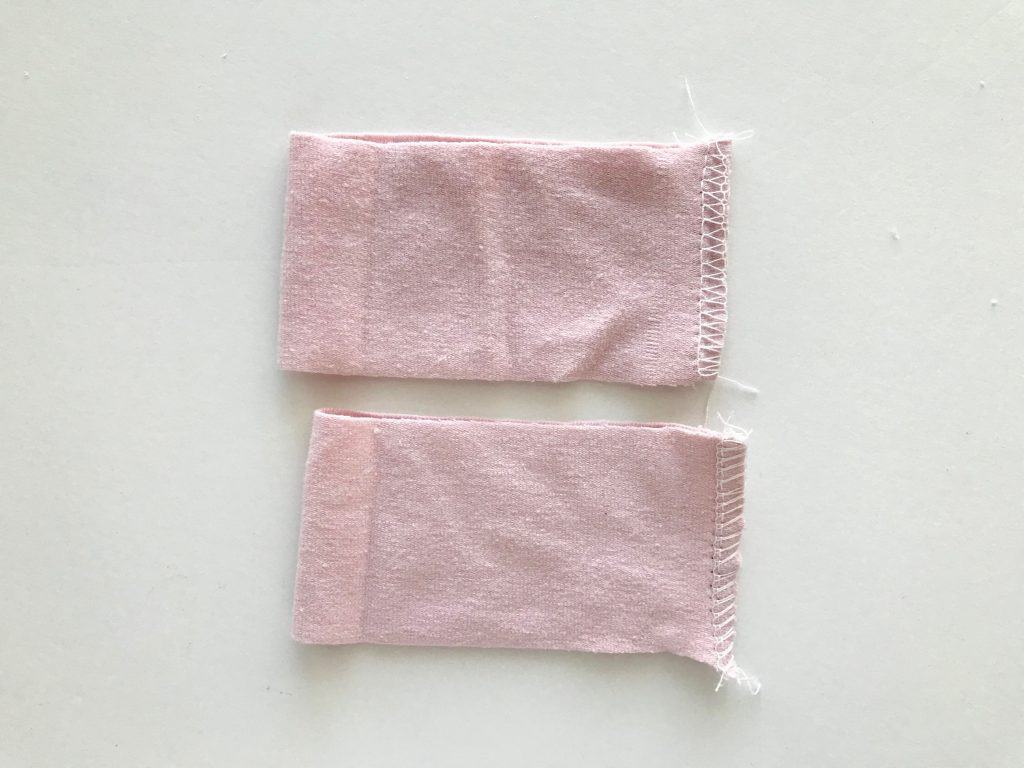
Then fold the band up on itself with the wrong sides together. Fold the folded band in half and mark the ends with pins. Then fold the folded band in half so the pins are together and mark the new ends with pins. The band is now divided into quarters.
Turn the shirt inside out. Mark one of the sleeve openings in quarters the same way you did the sleeve band.
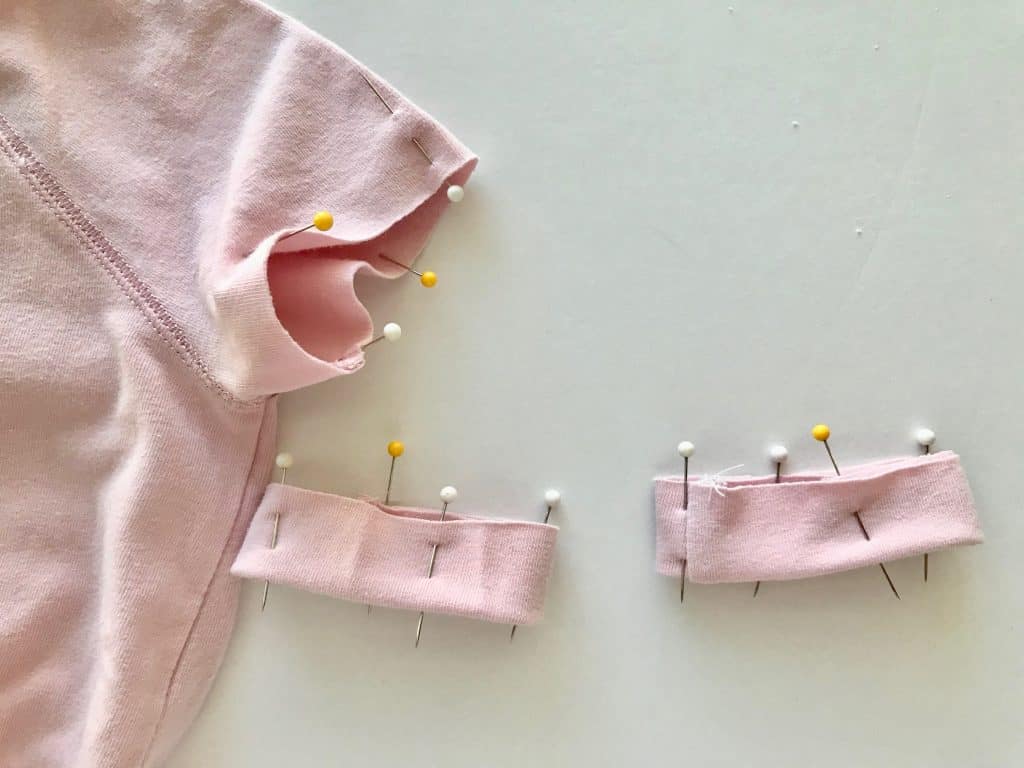
Place the band inside the sleeve with the raw edges of the band even with the raw edges of the sleeve. Match the pins from the band with the pins on the sleeve and pin the band to the sleeve at those places.
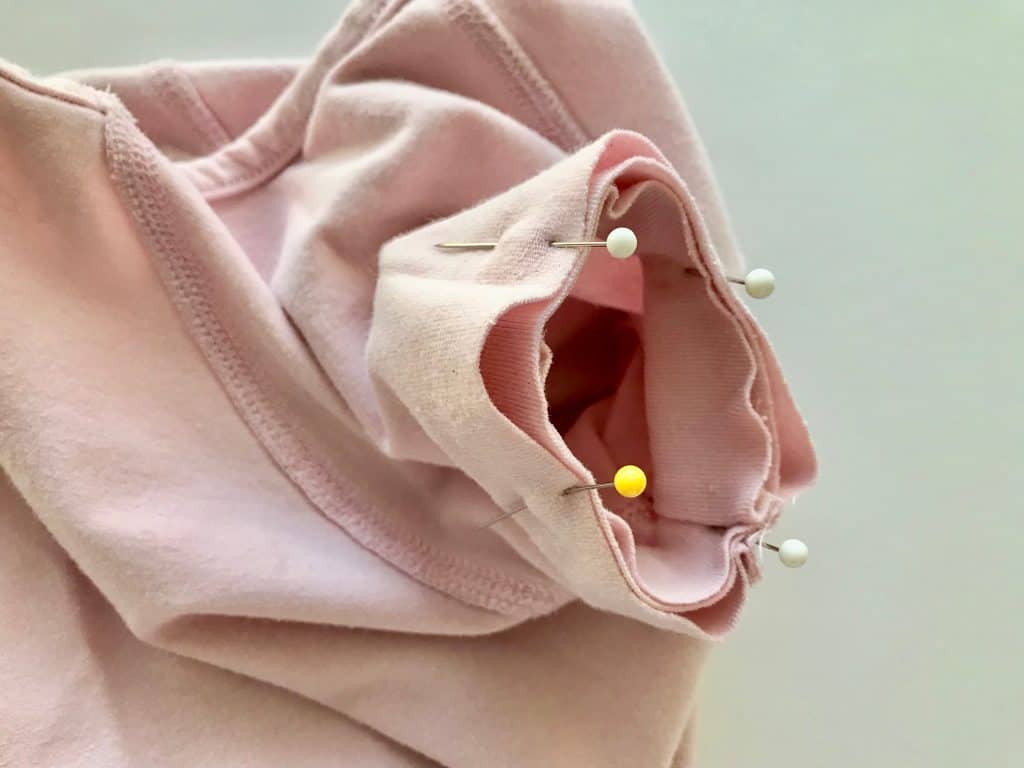
Serge the raw edges together. Gently stretch the band to fit the sleeve as you go, but be careful not to stretch the sleeve. If you don’t have a serger you can use a stretch stitch on a regular machine or a good ‘ol zig zag works too! Options for everyone!
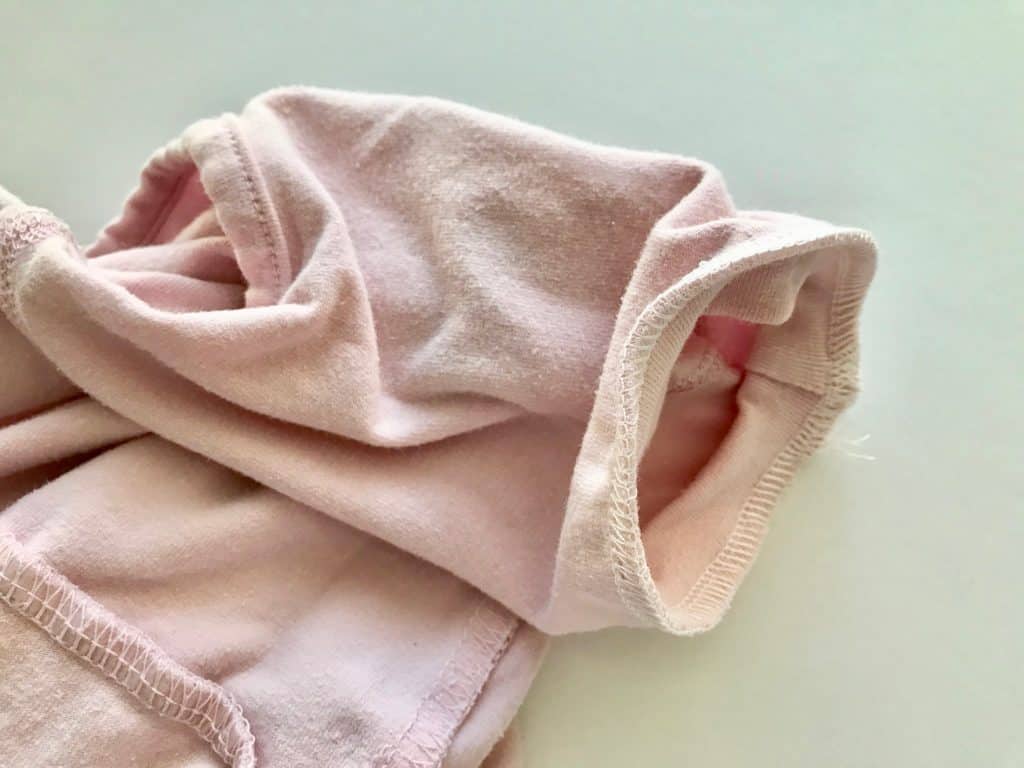
Repeat with the second band and sleeve.
**Tip** Want sleeveless? Cut the sleeves off completely along the armscye seam. Use this same method (except you’ll probably need to grab different fabric for the band because the sleeve won’t have enough length for the band) to create a band around the sleeve opening. Viola—Long sleeve to sleeveless!
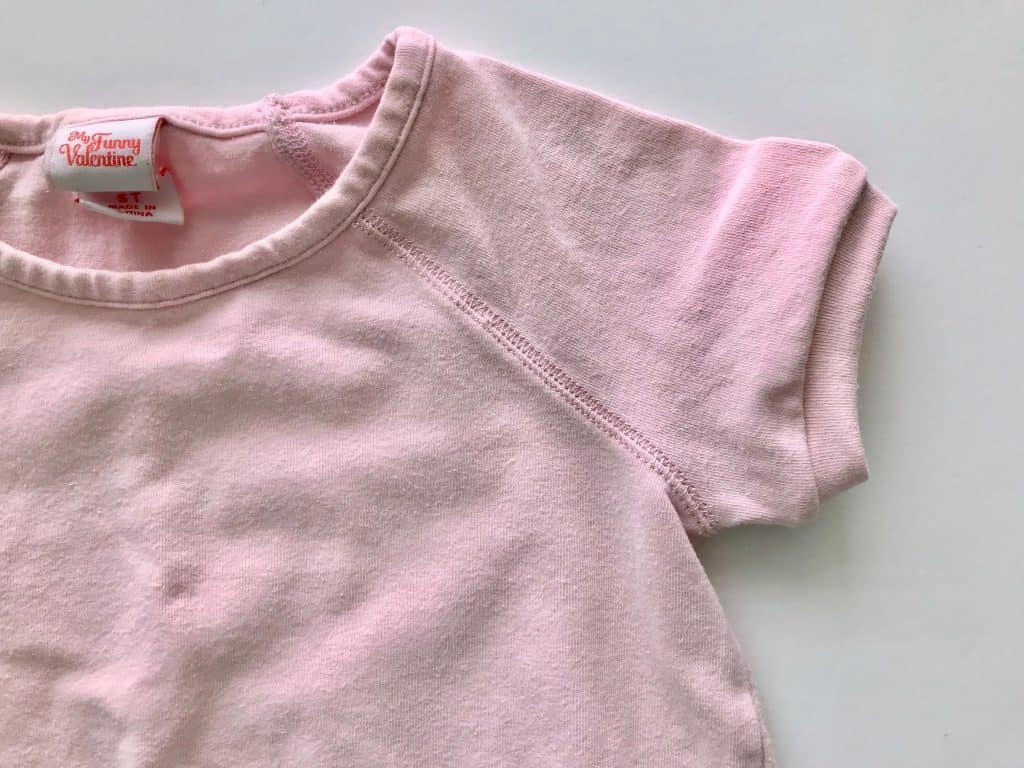
If you don’t like double needles, this is the route for you!

How to Turn Long Sleeves into Short Sleeves Method 3: Gathered Cap Sleeve
This last method works great for girly shirts! Cut the sleeves off completely along the armscye seams.
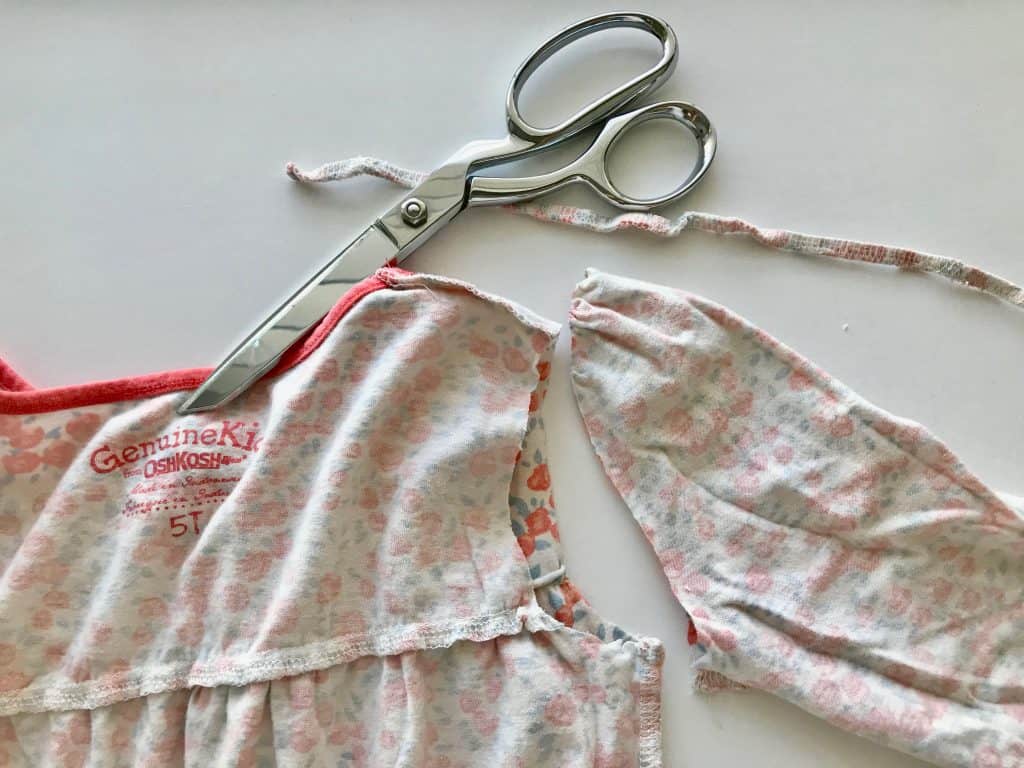
Then cut the long sleeves short. Cut off the previous underarm seam.
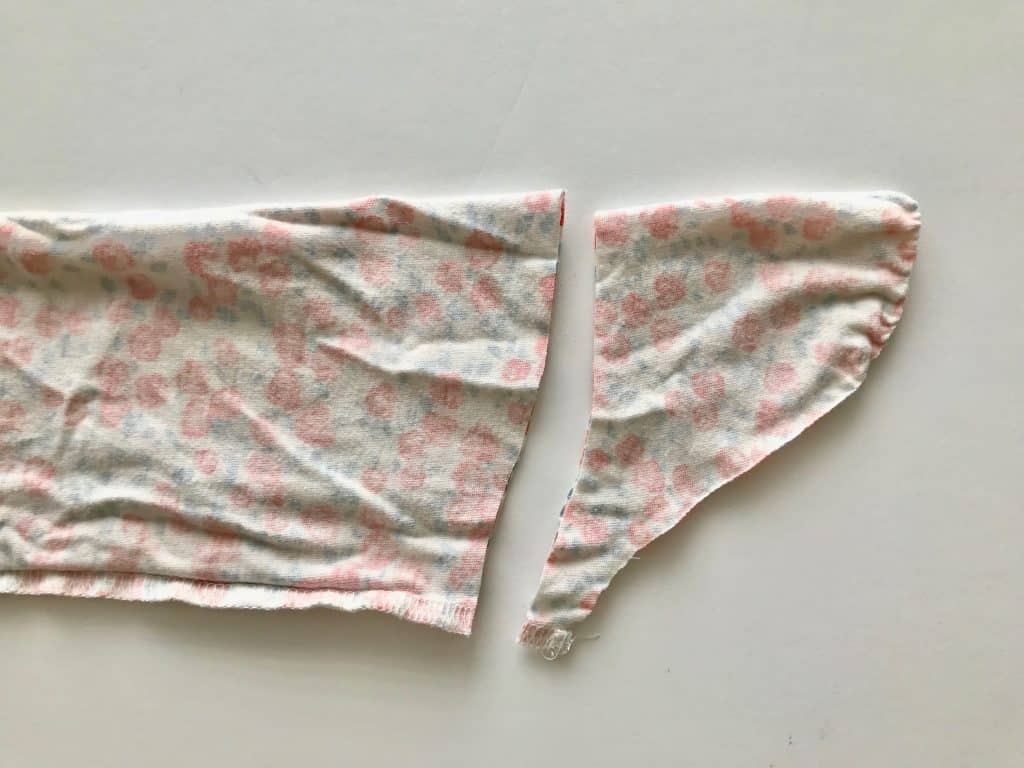
Iron under the straight edge of the sleeve and hem. I like to serge the edge, then use my serging as a guide for ironing under.
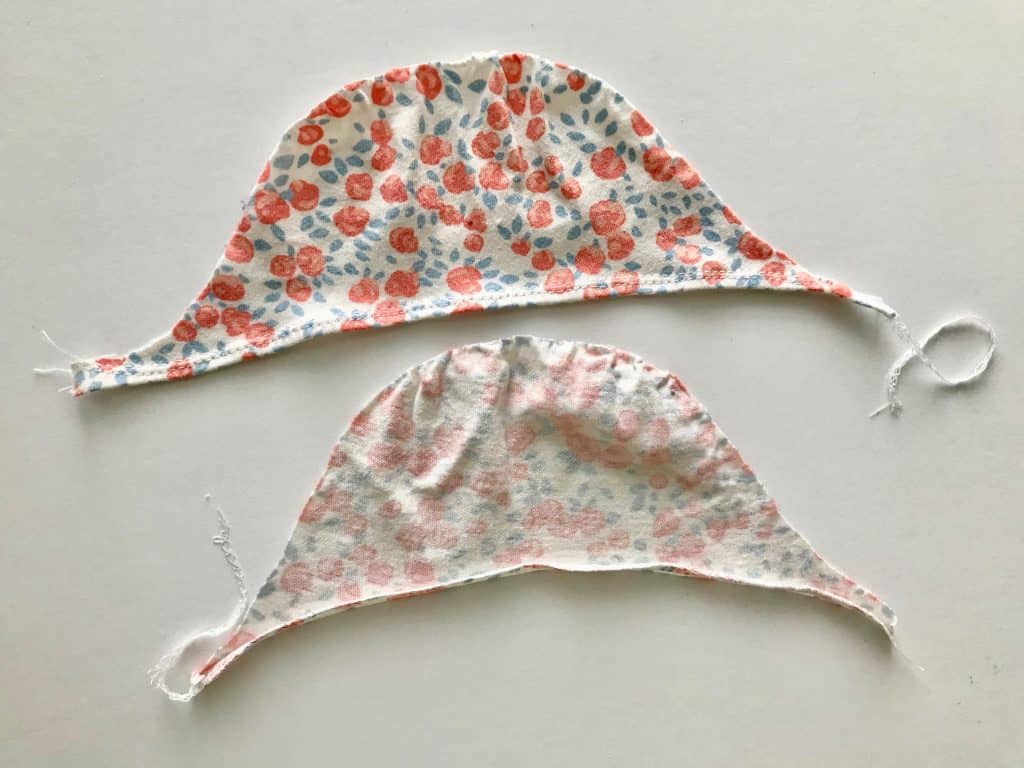
Baste along the edge of the sleeve cap and gather the entire cap.
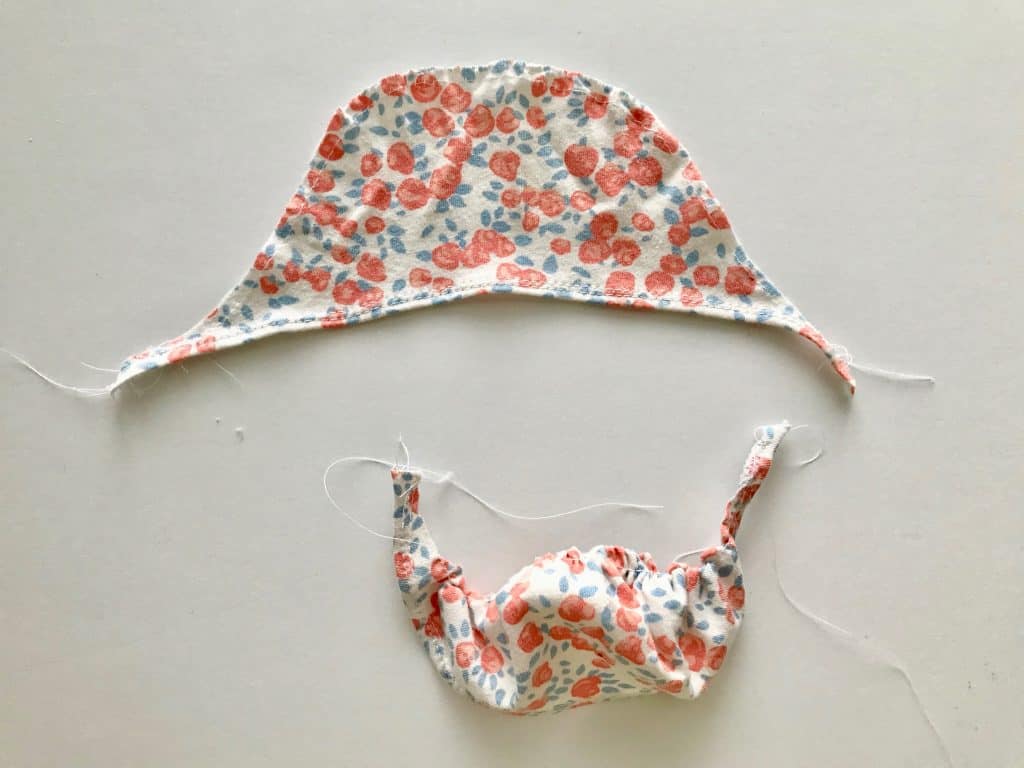
Match the middle of the sleeve cap with the shoulder seam of your shirt, right sides together. Pin the gathered sleeve cap about halfway down both the front and back side. Adjust the gathers to make them as even as possible.
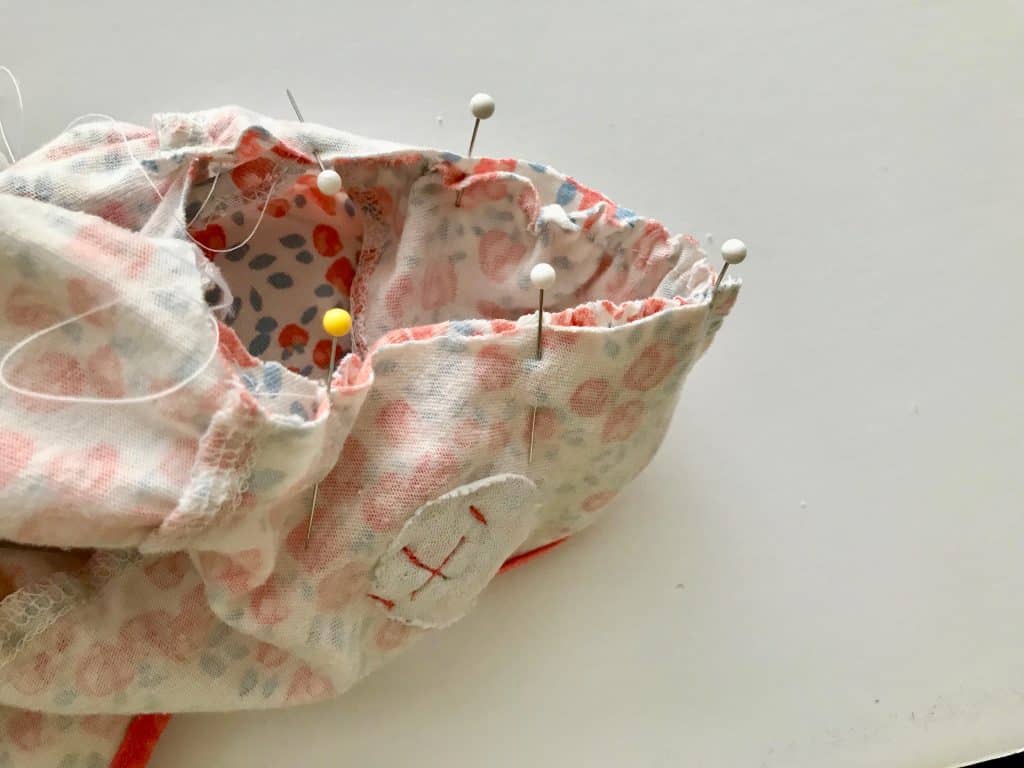
Sew 3/8 inch from the edge all the way around the armscye.
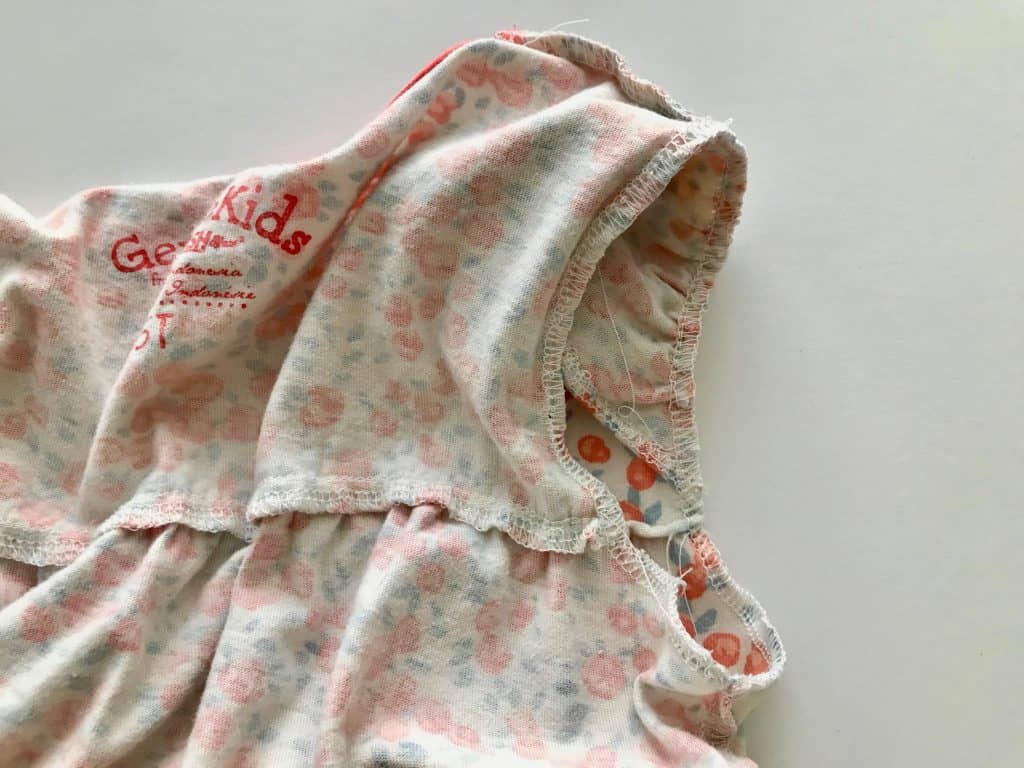
Iron under the part of the armscye where the sleeve is not.
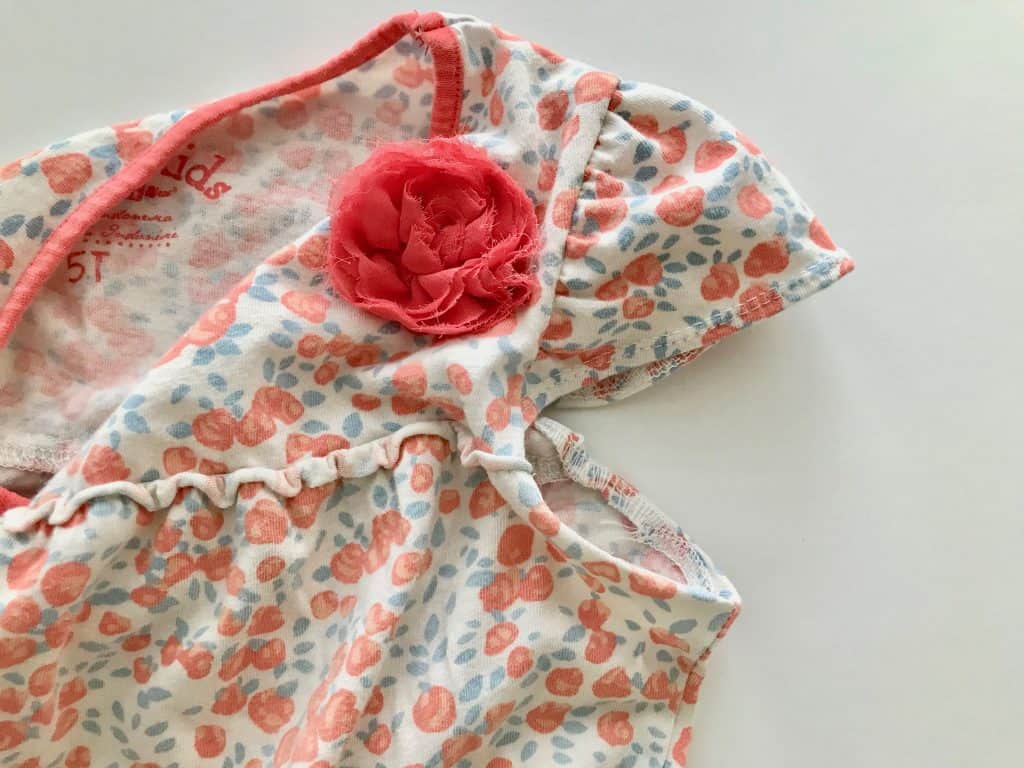
Topstitch around the armscye. I opted to only topstitch where I ironed the armscye under, but you can topstitch along the sleeve as well.

Repeat for the other sleeve.

And there you have it! Three easy ways of how to turn long sleeves into short sleeves! If you enjoyed this tutorial, you might also enjoy our Sewing Knits with a Sewing Machine tutorial.
Final Touches for a Professional Look
To achieve a polished and professional appearance for your altered sleeves, it's important to focus on the final touches. Start by pressing and steaming the sleeves to remove any wrinkles or creases, ensuring a smooth and neat finish. Pay attention to finishing the edges of the sleeves to prevent fraying or unraveling, using techniques like folding and backstitching. If you want to add a touch of personalization or style, consider incorporating decorative elements or embellishments to make your short-sleeved shirt truly unique. By following these steps, you can ensure that your sleeve alteration results in a professionally altered short-sleeve shirt.
Can Any Long Sleeve Shirt Be Converted Into a Short Sleeve?
Factors like construction, design elements, fabric type, and pattern determine if a long sleeve shirt can be turned into a short sleeve. Assess feasibility before altering sleeves. Sometimes it's more practical or cost-effective to buy a new short-sleeved shirt. Consider limitations and make informed decisions.
Conclusion
In conclusion, turning learning how to turn a long sleeve into a short sleeve is a simple and cost-effective way to update your wardrobe. Whether you choose a sewing or no-sew method, make sure to gather the necessary materials and follow the step-by-step guide carefully. Avoid common mistakes such as cutting too much fabric or not hemming the sleeves properly. Keep in mind that not all long sleeve shirts can be easily converted into short sleeves, so choose the right shirt for this alteration. With a little time and effort, you can transform your long sleeve shirts into stylish and comfortable short sleeve options for any occasion.
Thanks again for joining us today. Before you leave, make sure to join our Facebook Group and sign up for our newsletter below. Happy sewing!
