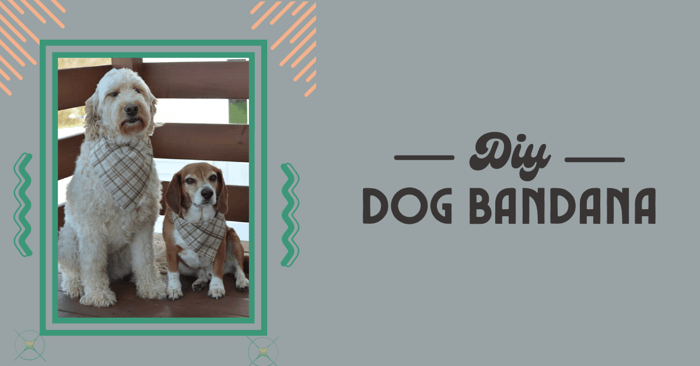
How to Make a Dog Bandana 2 Ways | Easy DIY Dog Bandanas
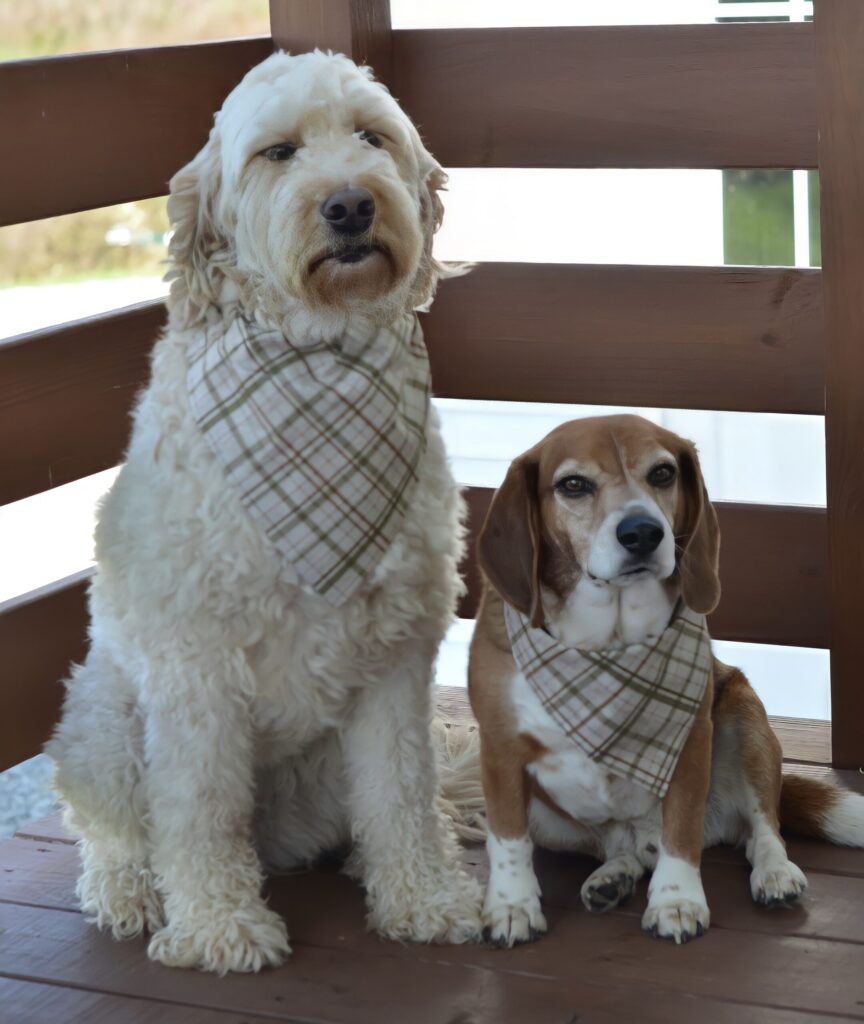
I’m going to show you how to make a dog bandana two ways, using the same self-drafted pattern piece for both! I love making bandanas for my dogs for all of the holidays, family photos, and birthdays. This pattern can be adapted to fit any size pet, which has always been a problem for my dogs. With a little bit of math, you can create a bandana size and look that perfectly fits your beloved pup.
How to Make a Dog Bandana in Two Styles
There are two different styles included, so no matter what kind of collar your dog normally wears, they can still show off their gorgeous homemade bandanas!
Method one will show you how to make a classic snap bandana, which is great for the dogs that wear non-traditional or training collars. Method two shows how to make a slip-on collar cover for the classic buckle-type collars.
Both methods produce a reversible bandana so you can also use two different fabrics for two different looks. I often like to pair neighboring holiday fabrics together (i.e. Halloween and Thanksgiving, Christmas and New Years). I have also practiced hand-embroidery on their bandanas or used my vinyl cutter to make them even more customized. This project can truly be as simple or fancy as you’d like!
DIY Dog Bandanas Supplies
- A large piece of paper (i.e. wrapping paper, moving paper, smaller sheets taped together)
- Writing tool
- Disappearing pen/marker
- Scissors
- Ruler/tape measure
- Calculator
- 1 or 2 fat quarters of fabric, ideally quilting cotton (approximately 18”x18”–you may need more with a very large breed dog)
- Snaps (for method one only)
- Basic Sewing Supplies: Sewing machine, thread, needle, clips or pins
Note: The best fabric to use for the dog bandana is quilting cotton, but you could really use any type of fabric. If using a lighter-weight knit, I suggest using a stabilizer to keep it from stretching too much. Prewash and iron your fabric the same as you would your completed project prior to beginning.
Making Your Bandana Pattern Piece
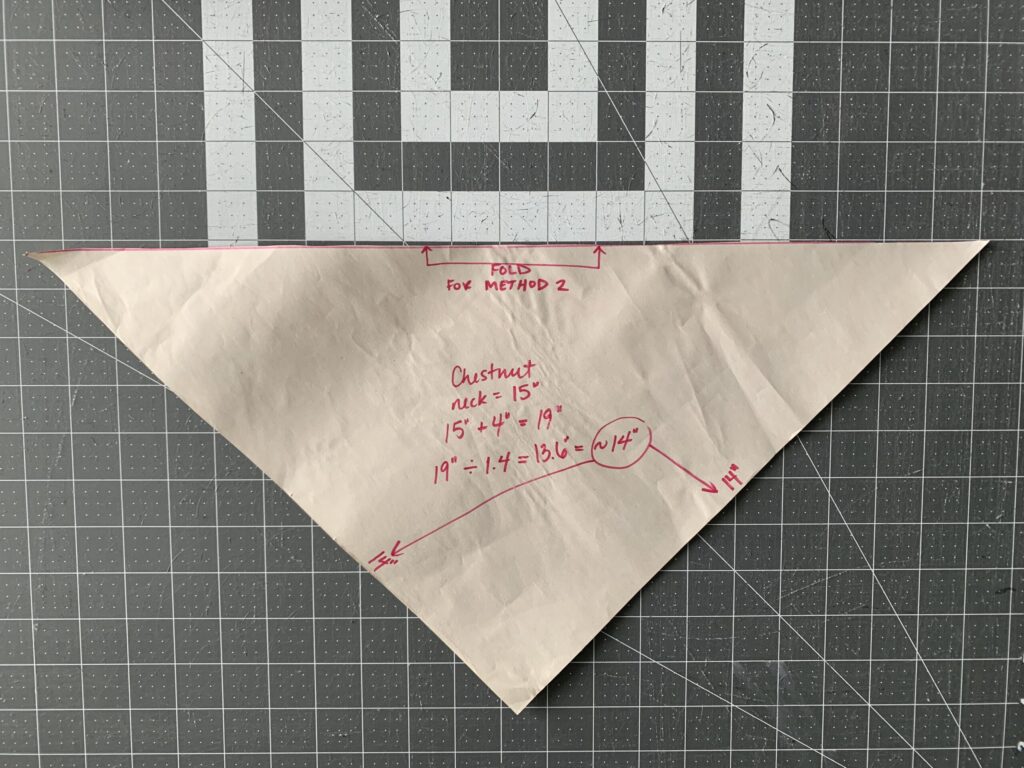 Bandana Pattern Step 1: Measure around the circumference of your dog’s neck where they naturally wear their collar. For this tutorial, my Doodle Chestnut will model. She’s about 45lbs and her neck comfortably measured a circumference of 15”
Bandana Pattern Step 2: Add 4 to the neck measurement. This is how long the top of the bandana that will wrap around the neck. The overlap is needed for both methods.
Example: 15” + 4” = 19”
Bandana Pattern Step 3: Now, divide your new neck number from Step 2 (19) by 1.4. I’ll spare you the full math lesson, but essentially since we know the hypotenuse, we can divide it by the square root of 2 to find the sides of our right triangle.
Example: 19/1.4= 13.6 (round up to 14 to keep it simple)
Bandana Pattern Step 4: Draw your pattern piece. Measure and make a mark 14” horizontally from the corner point of the paper. Measure and make a mark 14” vertically up the other edge. Using a straight edge tool like a ruler, draw a line connecting the two marks. This line will be the fold line for Method Two.
DOG BANDANA METHOD ONE: SEWING A SNAP BANDANA
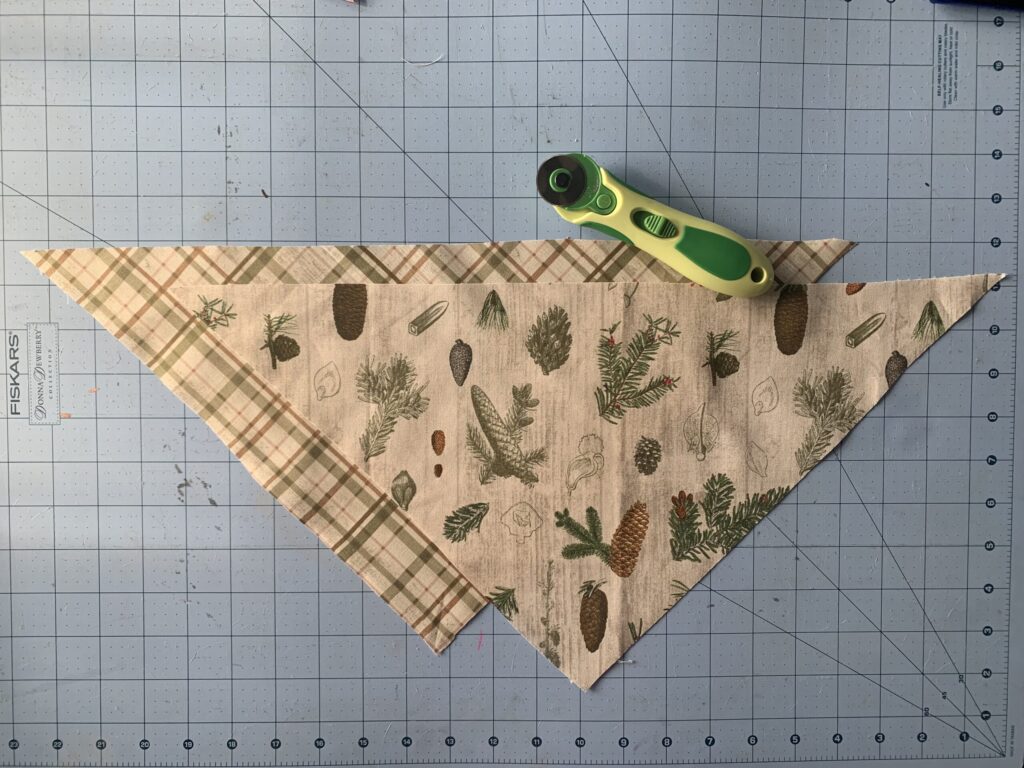
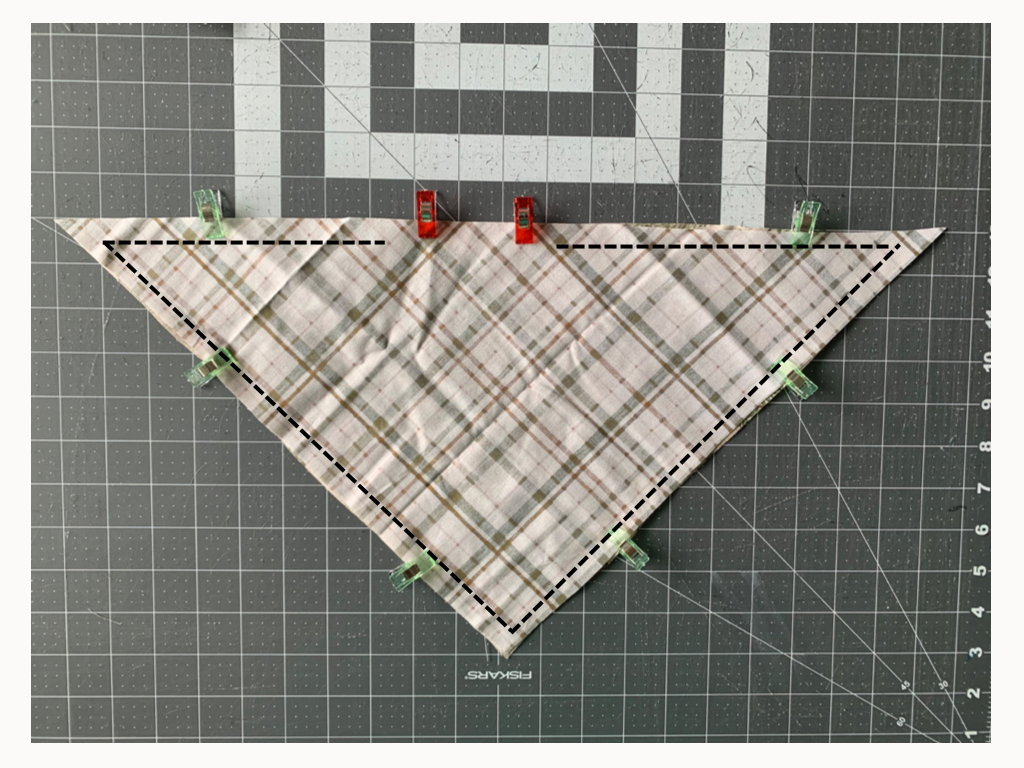 Bandana Step 2: Place fabrics right sides together. Pin or clip in place. Sew around the perimeter of the bandana using a ¼ inch seam allowance. Leave a 2 inch opening in the middle of the top (between the red clips in the photo) for turning. Snip the seam allowance near the corners to reduce bulk.
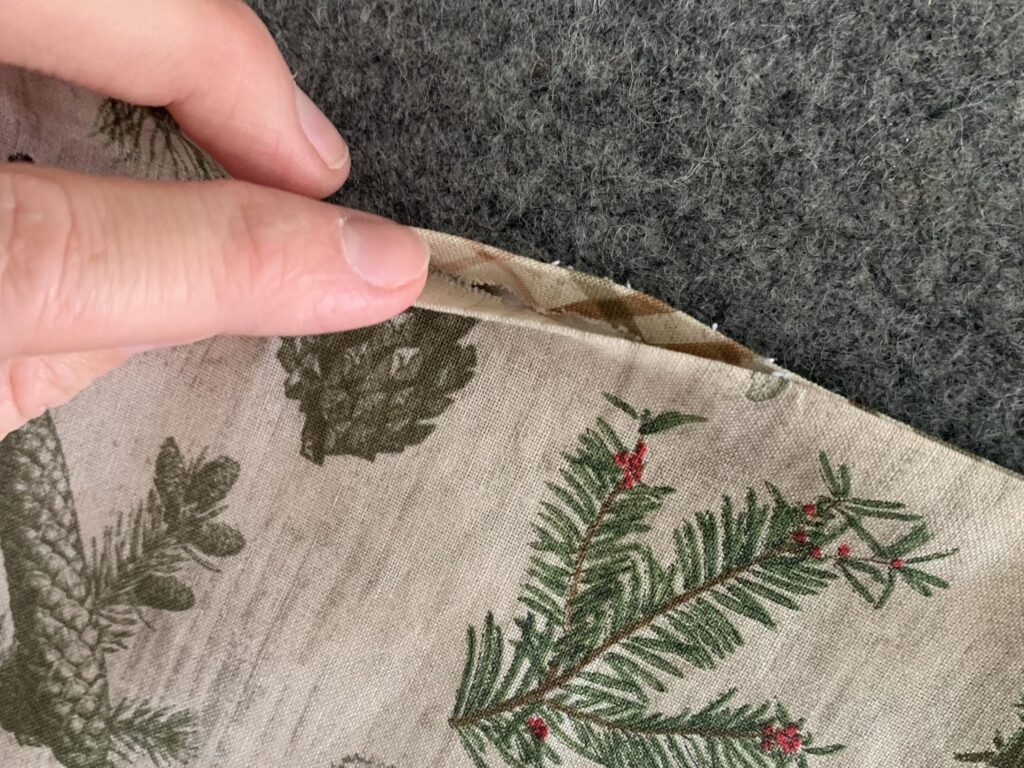 Bandana Step 3: Turn the bandana through the hole so the right sides are facing out. Use a chopstick to push out the corners. Press being sure that the seam allowance of the opening is folded in nicely. Topstitch around the perimeter of the bandana using a ⅛ seam allowance.
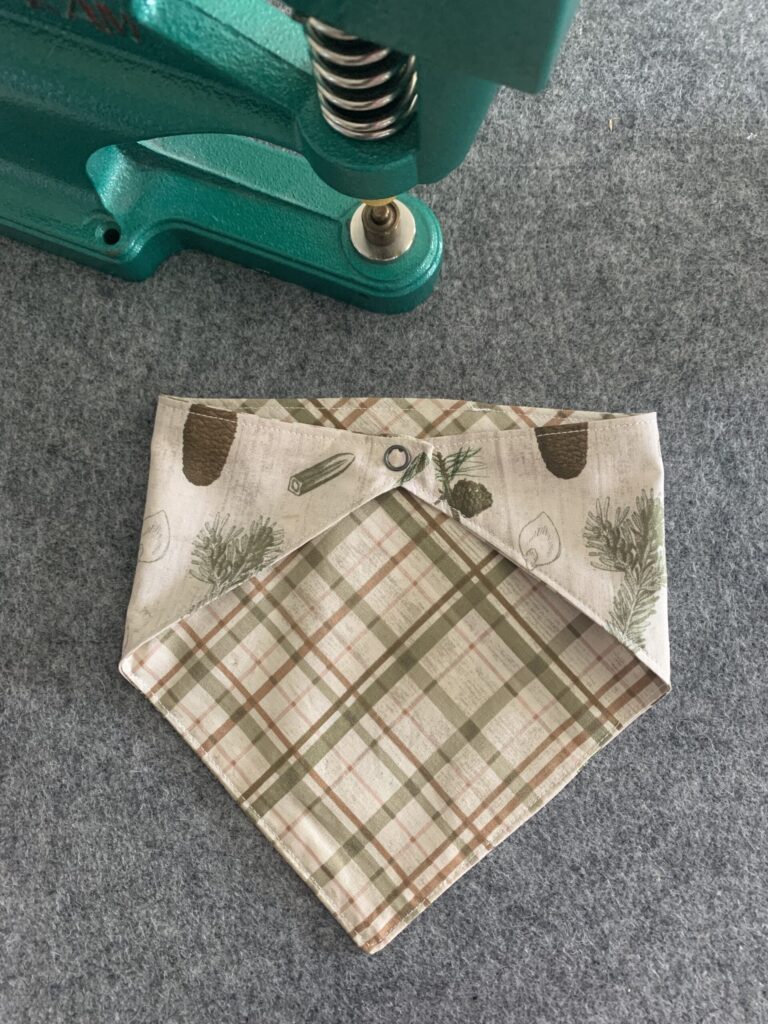 Bandana Step 4: Check that the sizing is accurate by wrapping it around your dog. Mark the overlap of where you would like to place the snaps. Add snaps to the two opposite corners. For reference, I have used size 16 open ring snaps.
DOG BANDANA METHOD TWO: SLIP-ON-COLLAR TRIANGLE BANDANA
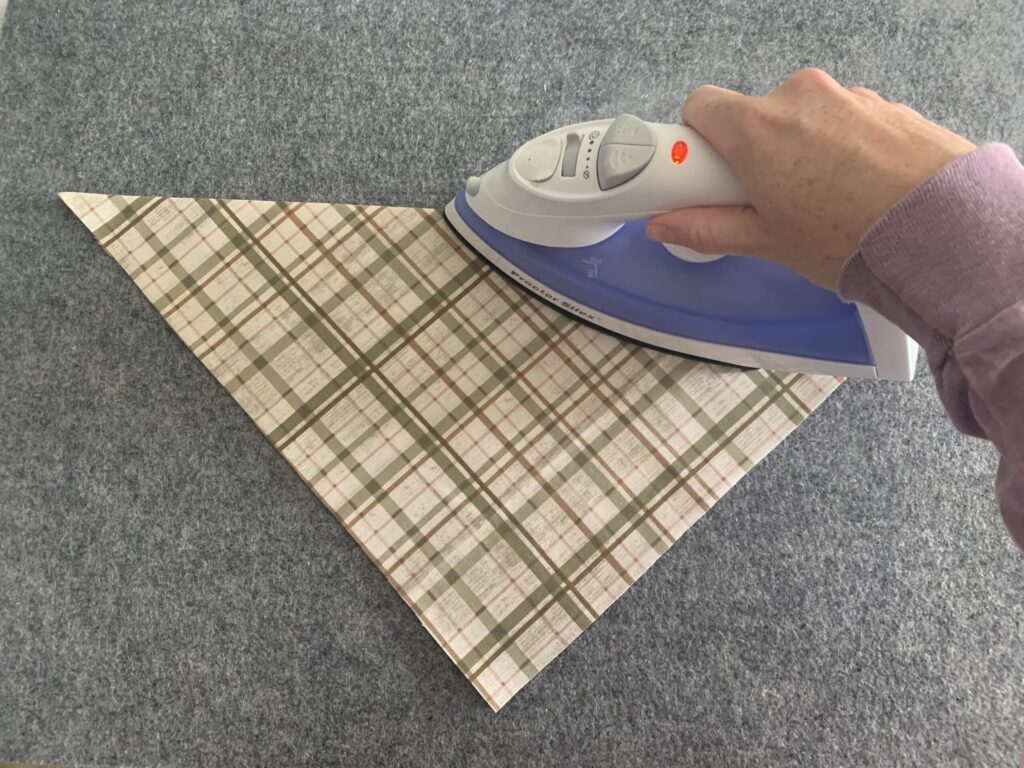 Bandana Step 1: Cut one pattern piece on the fold, wrong sides together. Press well.
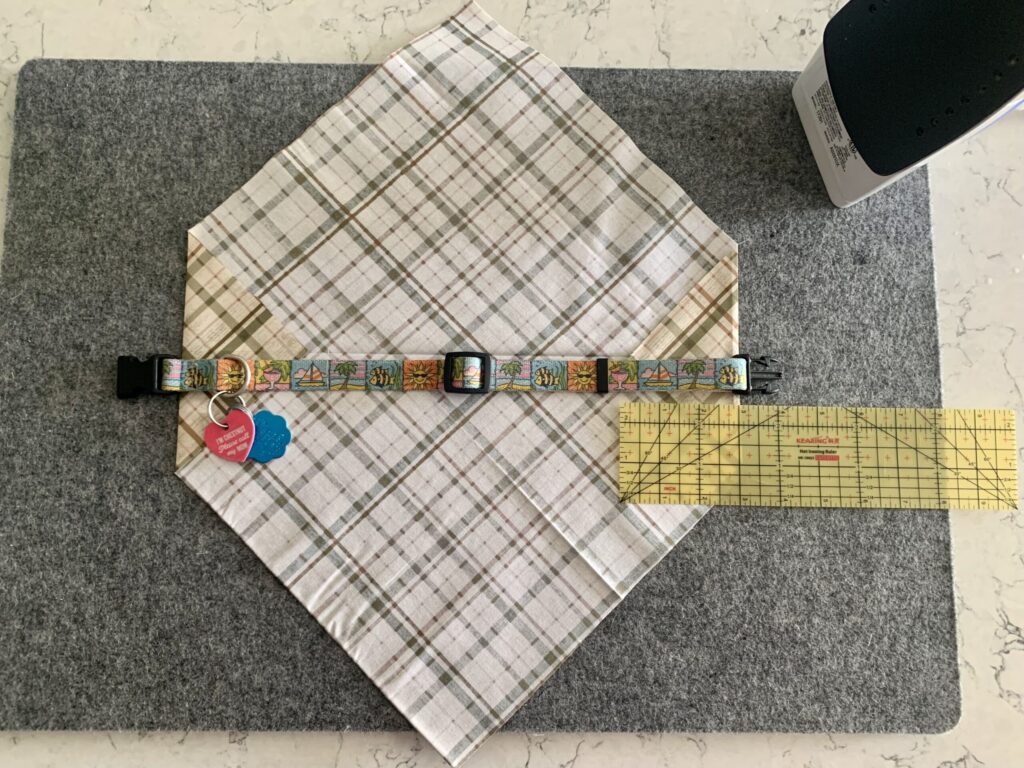 Bandana Step 2: Open the piece and lay flat. The wrong side facing up. Fold in the two side corners approximately 3 inches. You can also use your dog’s collar as a guide. You don’t want it to cover the buckles, and keep in mind that the deeper you fold in, the wider the channel will be. For example, folding in about 3” gave a 2” collar channel. My dog’s collar is only ¾” wide, so it will easily slip through. Press.
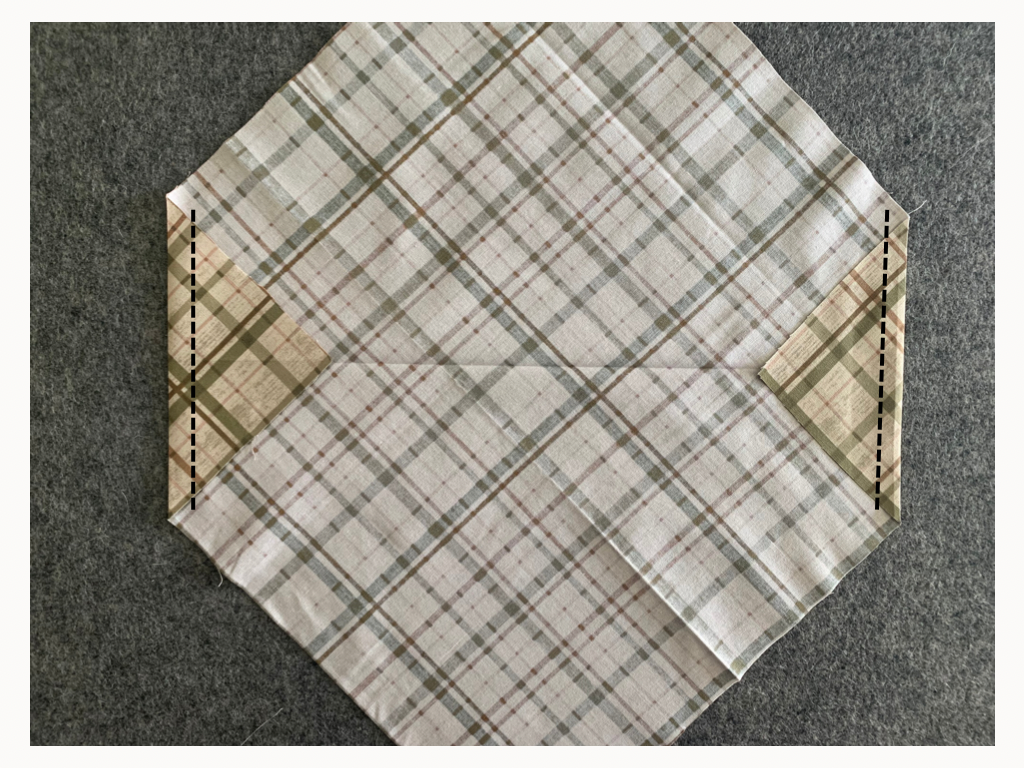 Bandana Step 3: Sew a straight line ⅜ inch in from the fold you just made on each side. Trim the excess.
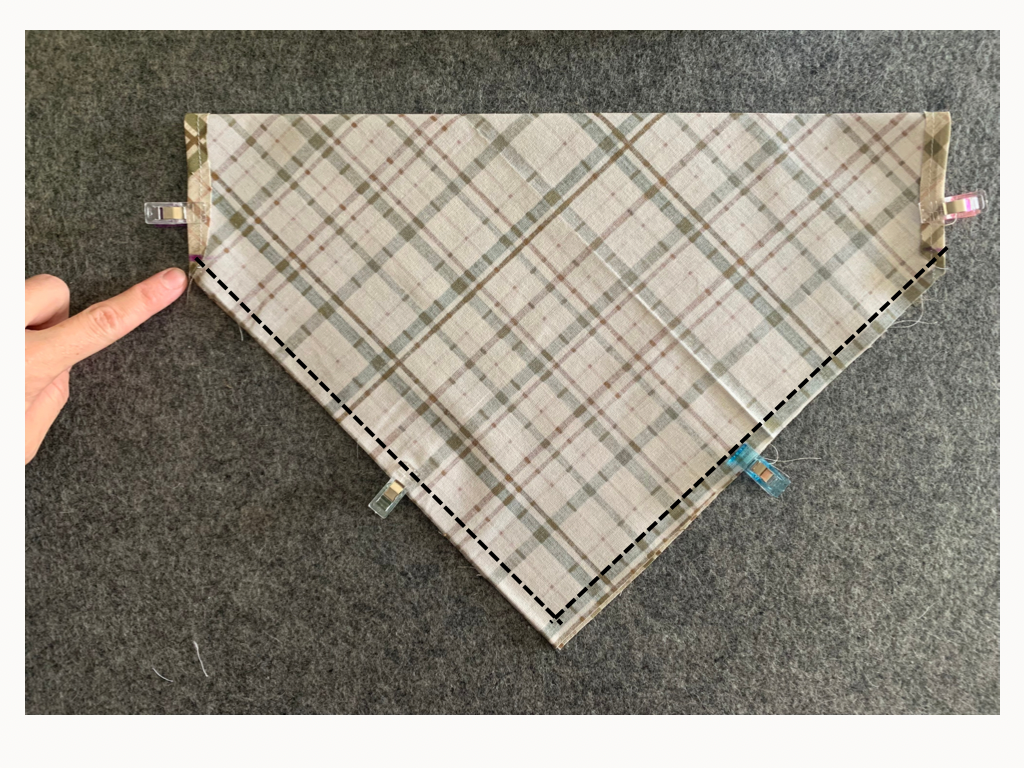 Bandana Step 4: Fold in half, right sides together. Press. Using a ⅜” inch seam allowance, stitch from the corner, to the point, and back up to the other corner. Be sure to keep your needle down, lift your presser foot, and turn your fabric when you get to the point. Cut off the extra seam allowance (especially near the point), being sure not to snip through any stitches.
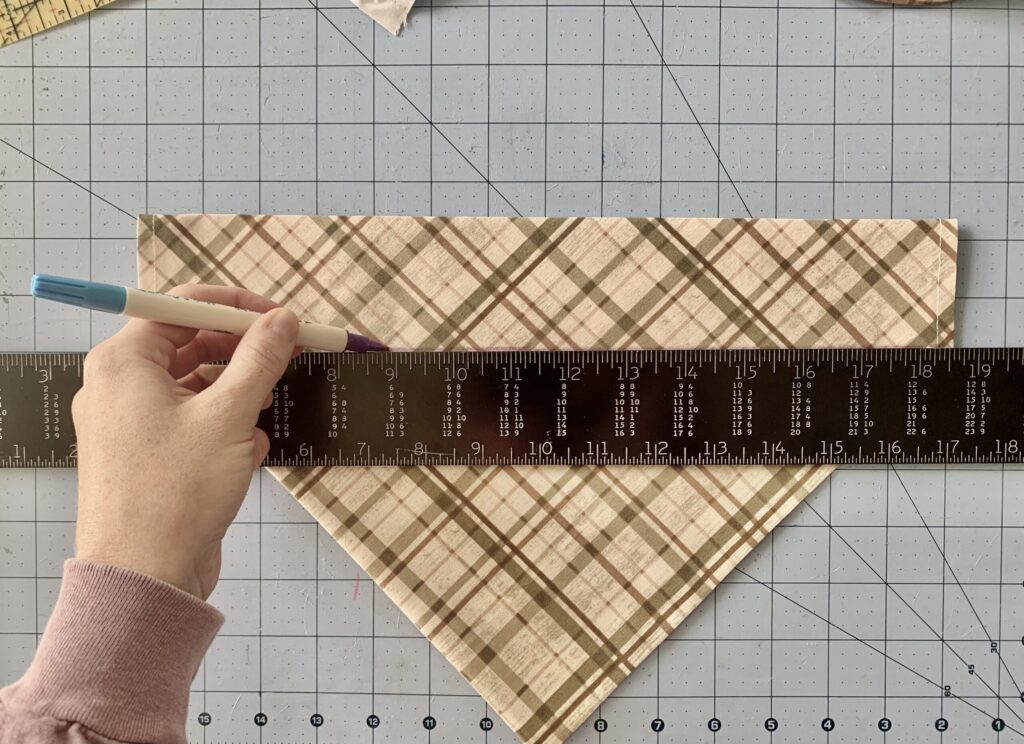 Bandana Step 5: Turn the bandana right side out through the opening. Draw a straight line from the bottom corner of the collar slip to the other side using a disappearing marker. Snip any hanging threads.
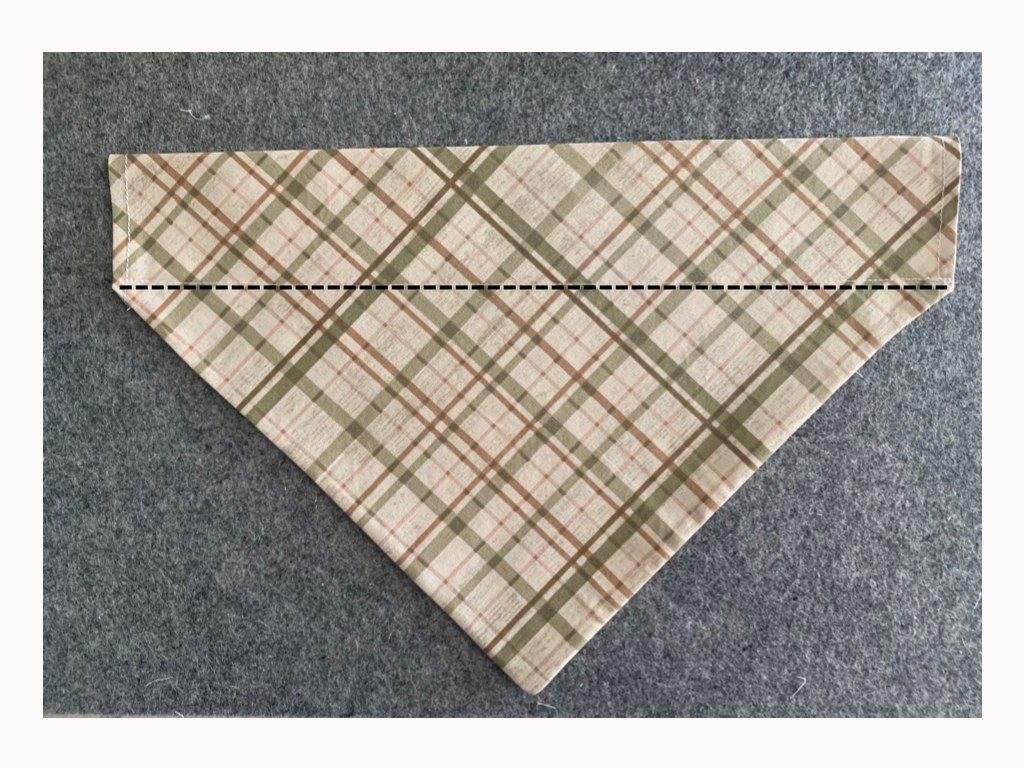 Bandana Step 6: Sew Straight across on the line you just drew. Be sure to backstitch to lock your stitches at start and finish of your line.
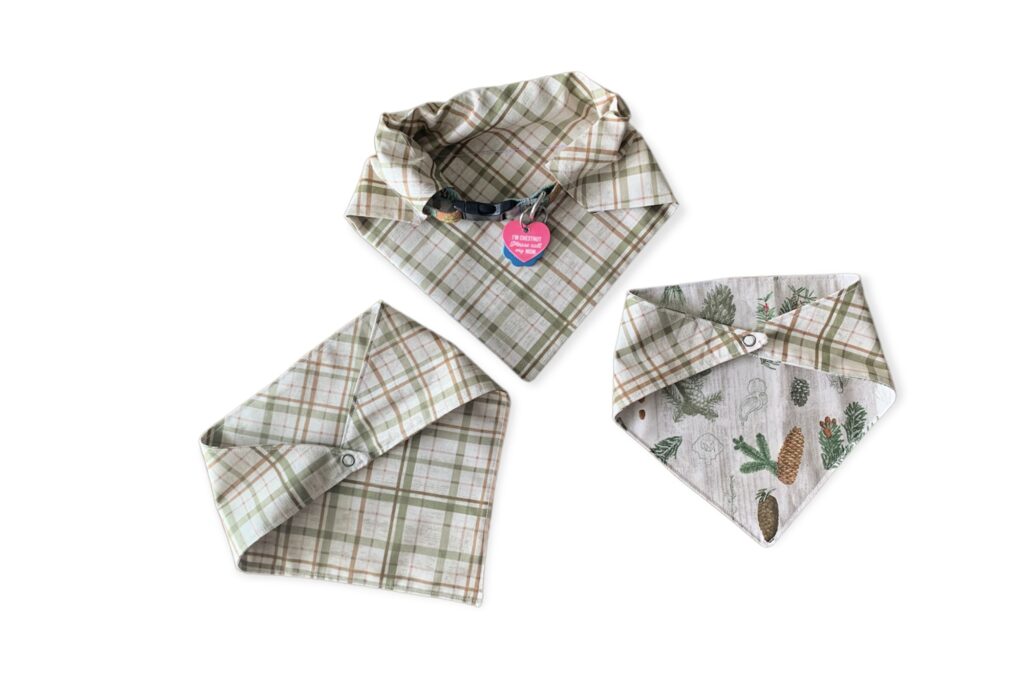 And, you’re FINISHED!
Can I personalize my dog's bandana? If so, how?
Yes, you can personalize your dog's bandana! You can add their name using fabric markers or sew on a patch with their initials. Additionally, you can customize the bandana by adding decorative elements like buttons, bows, or iron-on patches to make it unique and reflect your dog's personality.
Make a Human Bandana to Match
Thank you, Kristen! We sure appreciate Kristen’s amazing post on how to make a dog bandana. We spend most of the time around here sewing for humans but it’s fun to sew something up for your dog once in a while. The DIY Dog Bandana was the perfect accessory. If you want to make a few more bandanas then check out the following:
As always, come share what you make in our Peek-a-Boo Pattern Shop Facebook Group.
