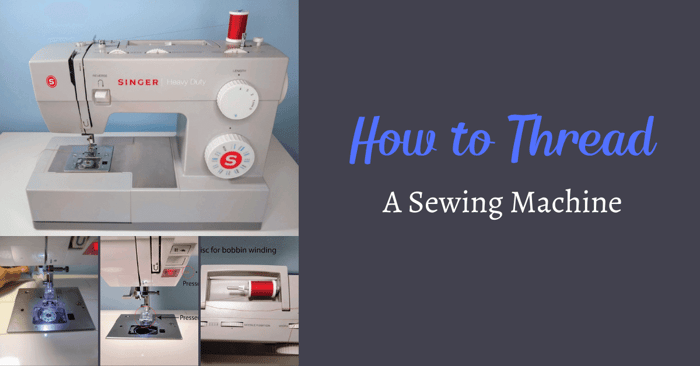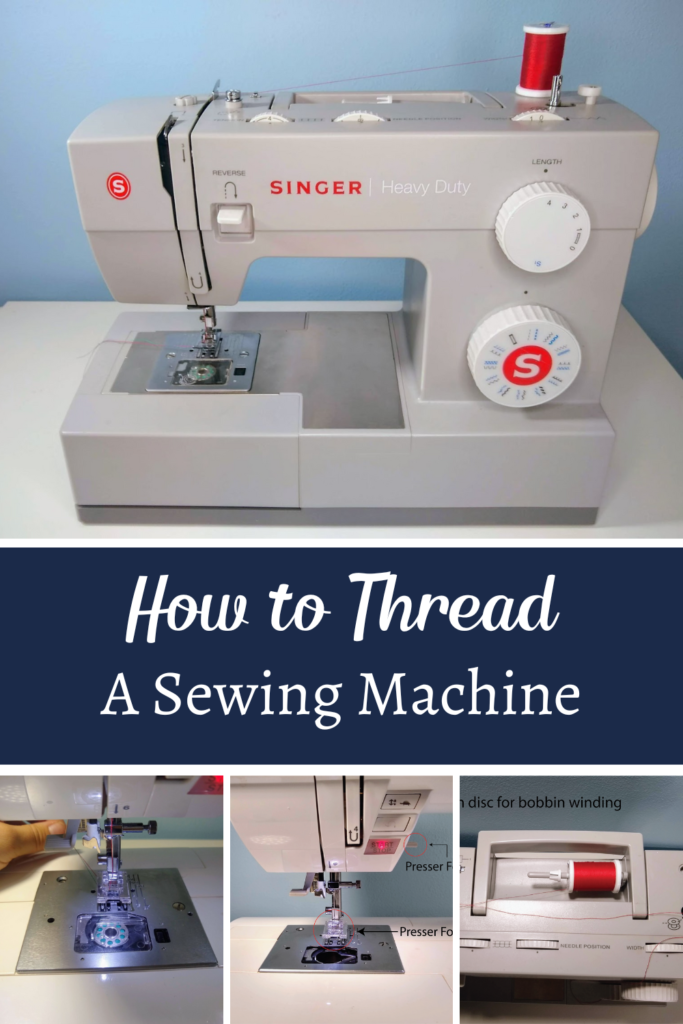
How to Thread a Sewing Machine
Learning how to thread a sewing machine is one of the first steps to learning how to sew. Fortunately, it is a fairly simple process and can quickly become second nature. Today I will share with you a detailed step-by-step tutorial to threading a sewing machine that will include the function of each part involved in addition to the actual steps of the process. The information provided can be applied to all different makes and models of sewing machines although you should check your manual if you have any issues.
Looking for a sewing machine? Peek-a-Boo Pages has an article on Top Beginner Sewing Machines.
When threading a sewing machine with difficult threads or needles, it's helpful to use a needle threader to guide the thread through the eye of the needle. Additionally, lubricating the needle with a little bit of hand lotion or beeswax can make it easier for the thread to slide through.
Are there any special tips or tricks for threading a sewing machine with difficult threads or needles?
When threading a sewing machine with difficult threads or needles, there are a few tips that can help. Use a needle threader to guide the thread through the needle's eye. Moisten the thread slightly to make it more pliable and easier to work with.
Step-by-Step Guide to Threading a Sewing Machine
Step 1: Make Sure Your Presser Foot is in the Lifted Position
The presser foot is the part of the sewing machine that holds the fabric down while it is being fed through the machine. It is located near the needle, and the lever to raise or lower the part is typically on the machine's back side.
There are tension discs located inside the machine that are also controlled by the presser foot. When the presser foot is raised, the tension discs are open, and when it is lowered, the tension discs are closed. It is this connection to the tension discs that makes having your presser foot in the raised position crucial to properly threading your machine. Threading your machine with a lowered presser foot, and thereby closed tension discs, can cause the stitch tension to become funky once you start sewing.
Step 2: Put the Needle in its Highest Position
To raise the sewing machine needle, slowly turn the handwheel (located on the right side of the machine) towards you until it is in its highest position. To make this easier, many machines will have a marking on each handwheel and the machine that aligns when the sewing needle is all the way up.
Whenever you are manually turning the handwheel with your right hand, make sure to always turn it counterclockwise (towards you) as a failure to do so can mess up the timing of the machine.
Step 3: Wind Your Bobbin
If you do not already have a bobbin wound with the desired thread, now is the time to do so.
The bobbin is a small spool for the thread. The top thread and bottom thread (otherwise called bobbin thread) will loop together in the process of sewing to create locked stitches. Make sure you have the right size bobbin for your machine as they can vary in size for each specific make and model.
To wind your bobbin, place the spool of thread on the machine’s spool pin. Wrap the thread counterclockwise around the small tension disc that sits on top of the machine.
Slide the thread through a hole on the top of the bobbin, moving inside out, so the thread tail comes out the top of the bobbin.
Place the bobbin onto the bobbin winder and slide it to the right. This will engage the bobbin winder, allowing it to spin when the foot controller is pressed while also disengaging the needle.
Holding the thread tail, run the machine until the bobbin is about ¾ full with thread.
Many machines will automatically stop when the bobbin has reached this amount. Go ahead and snip the thread, slide the winder back to the left, and remove the bobbin.
Step 4: Load the Bobbin into the Sewing Machine
For machines with a drop in bobbin: place the bobbin into the stationary bobbin holder, which sits inside the sewing machine. Make sure the bobbin is rotating counterclockwise and then guide the thread through the hook on the bobbin case.
For front-loading bobbins: place the bobbin into the removable bobbin case, making sure the bobbin is rotating clockwise. Guide the thread through the slit in the case and then replace the case to the machine, ensuring that it clicks when reinstalling.
 Step 5: Placing the Spool
We have finally reached threading the top of the machine! Start by placing your thread onto the spool pin. Your machine may either have an upright facing spool pin or a horizontal one, many machines have both options.
If you are using a horizontal spool pin, make sure to use a spool cap so your thread does not fly off the spool pin while in use.
I tend to prefer using the upright or vertical spool pin as the thread seems to flow more smoothly off the spool. You will want your thread to rotate off the back of the spool for either position.
Step 6: Hook through Thread Guide
Most sewing machines have numbers and arrows that show the designated thread path for threading the machine.
The first step of the thread path will be a hook on the top of the machine. This is a thread guide, it simply keeps the thread in place.
 Step 7: U-Shaped Guide
Next the thread will need to be pulled through the machine’s u-shaped guide.
During this step the thread is guided through the machine’s tension discs which are hidden inside of the machine. These are the tension discs mentioned earlier, which are opened and closed with the raising and lowering of the presser foot.
Step 8: Take Up Lever
The u-shape guide will lead the thread to the take up lever which is a little metal arm at the top left of the machine, straight above the needle. The take up lever moves the thread up and down with the motion of the needle while sewing.
Since we positioned the needle correctly in step 2, the take up lever will be accessible to thread. Pull the thread through a hook or hole on the end of this lever, going right to left.
Some machines may have an enclosed take up lever. If that is the case you will simply continue to pull the thread through its path, around and back down again.
 Step 9: Threading the Needle
First, hook your thread on the thread guide that sits just above the needle.
Now thread the eye of the needle by inserting the thread through the small hole near the needle’s tip. Make sure to thread the eye front to back.
For machines with an automatic needle threader: Hook the thread on the larger hook and push the needle threading lever down, ensuring that the small hook has come through the eye of the needle from the back. Loop the thread around the small hook and release the lever, this will automatically pull the thread through the eye of the needle.
 Step 10: Pull Up The Bobbin Thread
While holding the thread tail of the upper thread, slowly turn the handwheel towards you so it goes down into the thread plate and back up again. When it comes back up, out of the machine, the thread from the bobbin should be looped around the thread from the needle.
Go ahead and pull them both towards the back of the machine. Put the bobbin case cover back into place if you have not done so already.
You have successfully learned how to thread a sewing machine!
Step 11: Practicing Threading Your Machine Makes Perfect
You now know the basics and are now ready to start your sewing journey! Threading a machine can at first appear intimidating, but I do promise that after a few go-arounds it truly will become second nature. The fastest way to make this happen is to practice threading your machine and soon you will be a natural!
Troubleshooting Common Threading Issues / Additional Resources
There are certainly a few issues you might run into when threading your machine. One of the most common issues is when the thread keeps breaking or tangling. This is often caused by using the wrong type or weight of thread, or by not properly threading the machine according to the manufacturer's instructions. To avoid this problem, use the correct thread and needle for your fabric, and follow the threading diagram carefully.
Another common issue is when the thread gets stuck in the tension discs or bobbin case. This can be resolved by checking for any lint or debris that may be blocking the thread path and cleaning it out if necessary. Additionally, make sure that the tension settings are properly adjusted for your specific project. By addressing these common threading issues, you can ensure smooth and hassle-free sewing with your machine.
Finally, a common issue people have trouble with is winding the bobbin. If so, we have an entire blog post just on that issue right HERE.
Tips for Proper Maintenace and Care of Your Sewing Machine
Additional Resources for Learning About Sewing Machine Threading
Threading a sewing machine may seem daunting, but with the right knowledge and practice, it can become second nature. By following the step-by-step instructions in this blog, you can learn how to thread your sewing machine correctly and efficiently.
Remember to take your time and refer back to this guide whenever you need a refresher. With practice, you'll be able to thread your sewing machine with ease, allowing you to focus on your passion for sewing and creating beautiful projects. If you want more helpful tips and tricks like this, sign up for our Newsletter to stay updated on everything sewing-related. If you want further help, make sure to join our Facebook Group.


