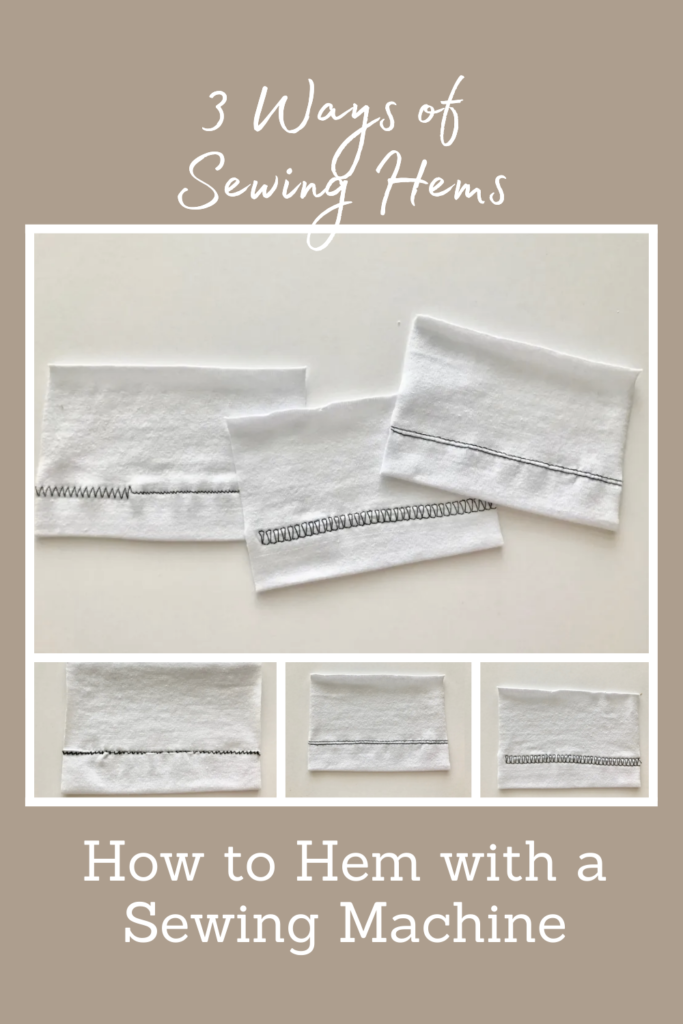
How to Hem with a Sewing Machine: A Step-by-Step Guide
Hey there! It’s Jillayne from Hazelnut Handmade here. Today I want to show you how to hem with a sewing machine!
Do you have a pair of pants that are just too long for your liking? Hemming can be a simple and quick solution to this problem. Not only does hemming make your pants look neater, but it also ensures that you won't trip over them or wear out the bottoms. In this blog post, we will provide you with a step-by-step guide on how to hem your pants using a sewing machine - not a serger. We'll cover everything from understanding the basics of hemming with a sewing machine to identifying different types of hems that can be created. By the end of this post, you'll be ready to tackle any hemming project and achieve professional results with ease!
How to Hem with a Sewing Machine
Regular Sewing Machine v. Coverstitch Machine
When you buy a shirt from the store, the hems have this nice stretchy double line of stitching to finish off the hems. You can make hems like that with a coverstitch machine. But if you don’t have a coverstitch machine, don’t let that keep you from making all the cute knit clothes out there! Today I’ve got three different ways to hem with a sewing machine while sewing knit fabric.
Tips for Hemming With a Regular Sewing Machine While Sewing Knit Fabric
Before we get into the actual sewing of a hem with a regular sewing machine, here are a couple of general tips about hemming knits.
Hem Tip #1: Since the edge of the knits won’t fray, you don’t need to serge the edge of the knit or fold your hem twice. Fold your hem under once so the raw edge is on the inside of your garment, press it for a nice crisp edge, and pin/wonderclip it so it stays in place.
Hem Tip #2: Use a thick, stable knit such as Cotton Lycra for your first projects with hems. For a great selection of Cotton Lycra check out KnitFabric.com. Lightweight and slippery knits are more challenging to work with. You may need to use tissue paper underneath your hem to help stabilize lightweight knits (you can then tear it away) or hem tape to help keep your hem in place as you sew. Sometimes I serge the edge of my knits (even though they don’t fray) to give the lightweight fabric a little more thickness and stability which makes it easier to hem.
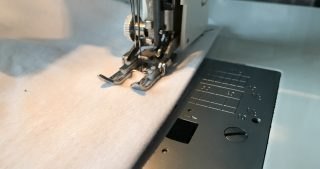
Hem Tip #3: Avoid pulling on the fabric and stretching it while hemming. A walking foot is really helpful here. Not only does a walking foot help knit go through the machine without stretching, but it’s really helpful in getting two layers of slippery or stretch fabric (like in a hem) to go through evenly. Without a walking foot, your machine’s feed dogs may have a hard time pulling both layers of knits evenly without stretching the bottom layer and hardly moving the top layer.
Hem Tip #4: I always stitch on the top side of my hems so I can make sure the visible side of the hem looks as nice as possible. But then I can’t see if my stitches are catching the raw edge of the hem on the underside. So I always sew my hems 1/8″ to 1/4″ narrower than I folded them under. If my hem is folded under 1″, I sew the hem on the top side at my 7/8″ or 3/4″ mark. If I end up with extra fabric that bugs me on the inside of my garment, I carefully trim off the extra. Very carefully so I don’t accidentally cut through to the right side of my garment.
Hem Tip #5: Try using wooly nylon thread in the bobbin. It will change your life! The thread feels and looks a little like thin yarn and it gives just a little in a seam. Which makes your hems just a bit more stretchy.
Hem Tip #6: Steam all your hems afterward. All knit hems end up a little stretched or wavy even with a walking foot. But give them a little steam and they should shrink right up and look beautiful!
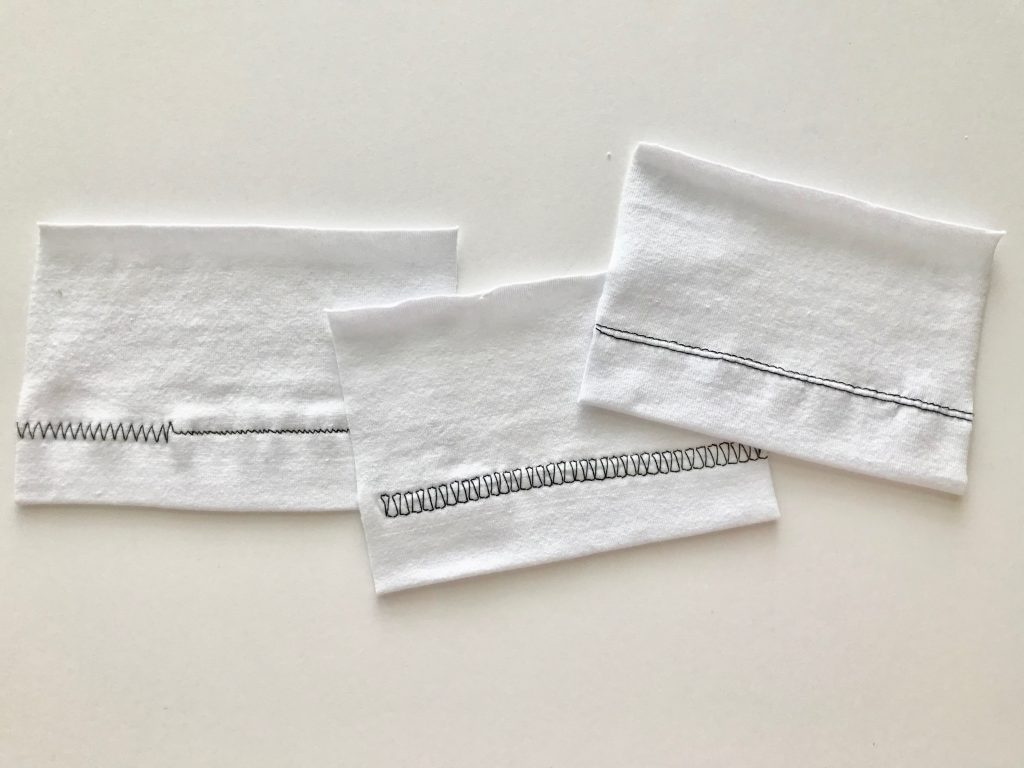
Method #1 for Hemming With a Sewing Machine: Zig-Zag or Lightening Bolt Stitch
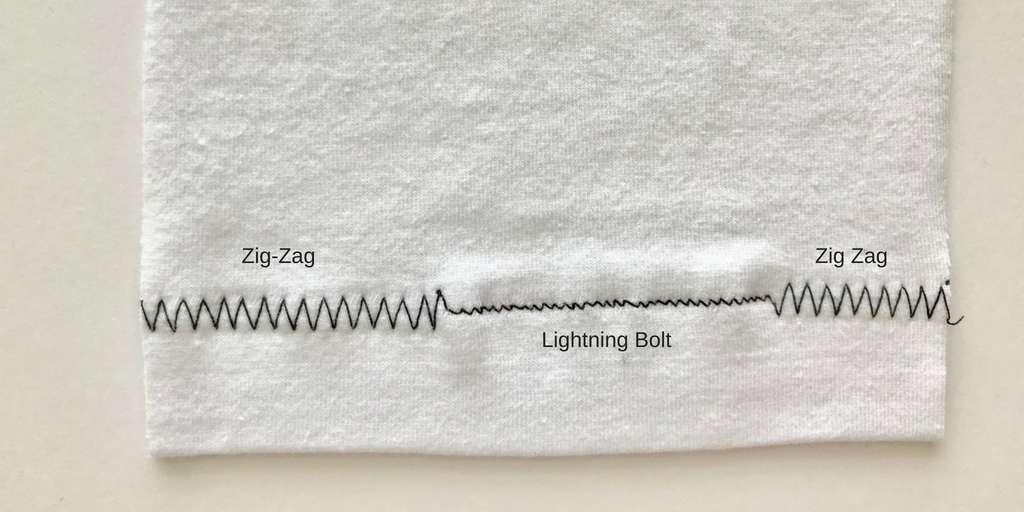
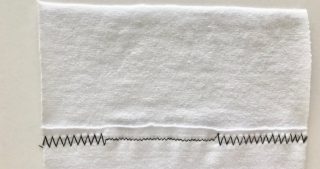
Because knits are stretchy, you need to use a stretch stitch to hem your knits. The most basic stretch stitch is a zig-zag stitch. You can set the zig-zag width to either very narrow all the way to very wide. How wide it will go depends on your machine. For regular hems that aren’t going to have a whole lot of stretching done on them, you can get away with a narrower to the width that will look pretty much like a straight stitch. For areas or garments that need lots of stretch (like swimwear and dancewear) use a very wide stitch. Keep in mind, the wider your stitch, the more visible it will be.
Some machines also have a “lightning bolt” stitch. It’s a specialized zig-zag that goes slightly backward on the ‘zag’ part, like a lightning bolt. This stitch is very stretchy and very strong even though it is a narrow stitch that almost looks like a straight stitch. It’s also very annoying to unpick, so avoid messing up!
Method #2 for Hemming with a Sewing Machine: Overlock Stitch
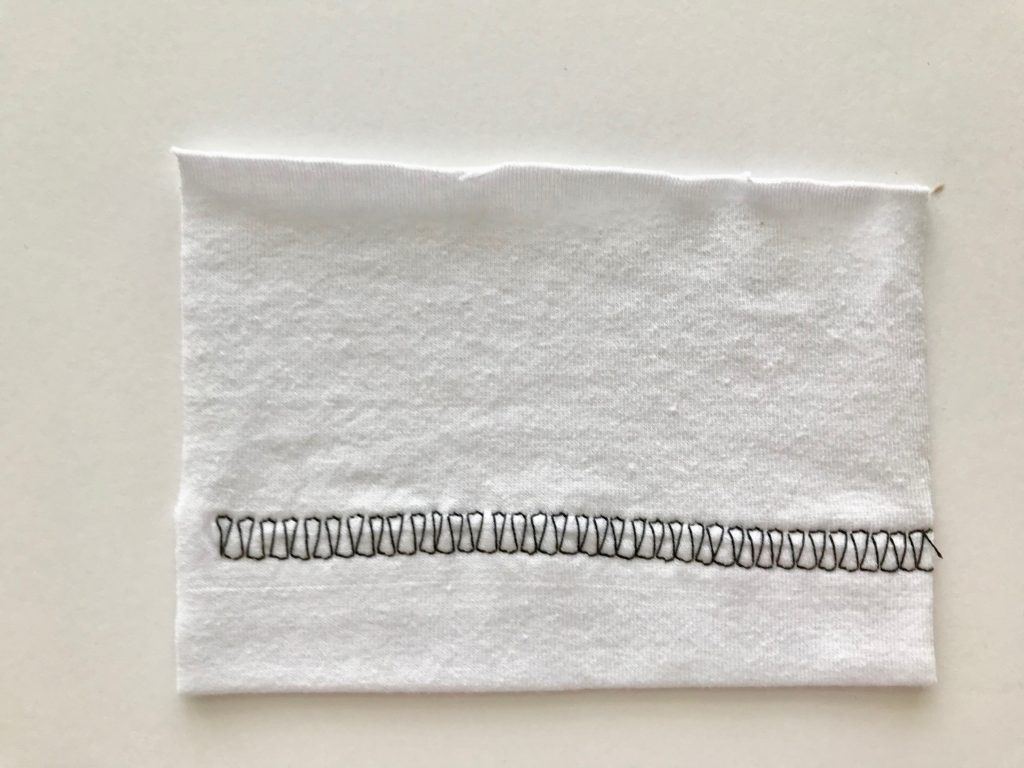
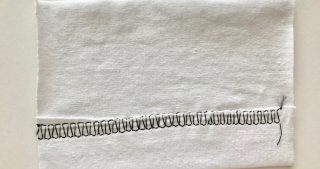
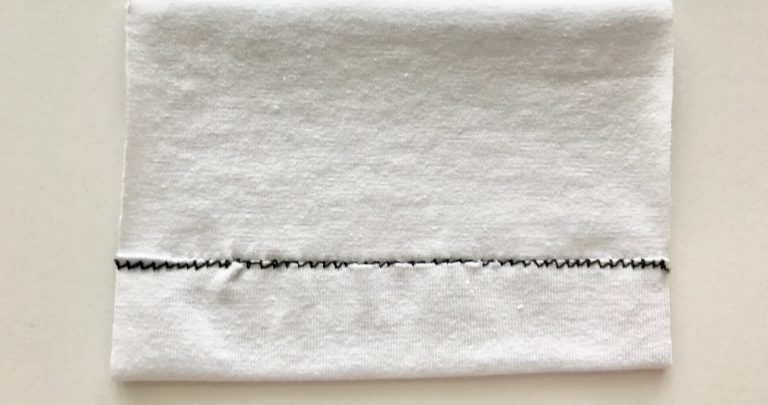
Some machines have an imitation ‘overlock’ stitch which mimics a serger stitch without cutting off your fabric. It is stretchy so you can use it for assembling and hemming your creations. It looks like two parallel stitches with a zig-zag stitch in between. When I first started sewing with knits this was my go-to method for hemming because I felt it looked slightly more professional than a wide zig-zag stitch and my machine didn’t have a lightning bolt stitch.
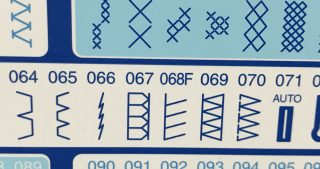
Here you can see the Lightning Bolt Stitch is 066 and the Overlock stitch is 069. I used this machine for all of the stitch examples in this post.
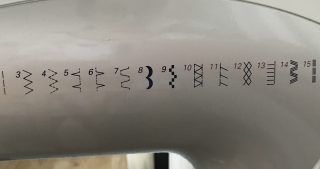
And here on my basic machine is the Overlock stitch. It is number 10.
Method #3 for Hemming with a Sewing Machine: Double Needle
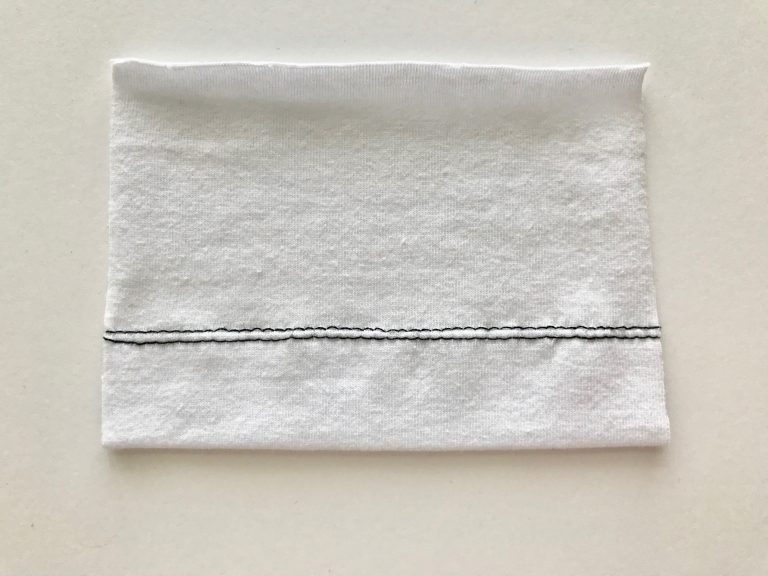
My favorite method for hemming knits is with a double needle. The double needle looks the closest to a coverstich finish, and so in my mind, it looks the most professional. On the top of the fabric, you end up with two straight stitches just like a coverstitch. On the bottom, the bobbin thread makes a zig-zag between the two top threads. The zig-zag on the bottom makes the hem stretchy while the two stitches on top stay perfectly parallel and are very nice looking! Using wooly nylon thread here is really nice because it gives it just a little extra stretch.
See how my stitches are starting to not catch the raw edge on the underside of this double-needle hem? That’s why I like to stitch my hem narrower than what I ironed it under. It gives me a little room to be human. 🙂
There you go! Three ways to hem knits without a special machine. Now tackle those cute summer tees and tanks and share them in the Peek-a-Boo Pattern Shop Group so we can all admire your awesome creations!