How to Apply Heat Transfer Vinyl (HTV)
Hi!! Stephanie from Stephie B’s Designs here again today for – you guessed it – another tutorial that will hopefully inspire you to make something wonderful. I’ll be walking you step-by-step through how to apply heat transfer vinyl, more commonly referred to as HTV, to a t-shirt.
How to Apply Heat Heat Transfer Vinyl (HTV)
The steps I’m showing you below will of course work for applying HTV on bodysuits, pants, hats, dresses… whatever you’d like. The options are limitless! This project is sewing machine free, so if you don’t know how to sew – you’re in luck! You can go buy a shirt or use one that you already have on hand. Easy day. 🙂
In celebration of my son’s second birthday, I made him a “I make two look cool” shirt with my newly purchased Cricut Air 2. I had been eyeing it for a while, and finally pulled the trigger when a bundle deal was on sale on Amazon. I had fun designing the image and ironing it on, but looking back, it was a very simple design.

I’ve progressed since then, but rather than making my own designs (yeah, I’m not that talented) I rely on Etsy for the perfect design. The design I’m using for this tutorial and son’s third birthday shirt comes from Ell Jay Designs on Etsy.
Supplies Needed to Apply Heat Transfer Vinyl (HTV)
- A vinyl cutting machine (such as a Cricut, Silhouette, or Brother ScanNCut)
- HTV of your choice (I’m using Siser Easyweed)
- T-shirt or whichever pattern you’re using (prewashed!) (I’m using Peek-a-Boo Pattern Shop’s Grand Slam pattern)
- Iron or heat press
- Towel, white cotton fabric, parchment paper, or Teflon sheet
- Hard surface
- Weeding tool, X-Acto knife, or other tool for weeding
The Process of How to Apply Heat Transfer Vinyl or HTV
Part 1 | Prepare Your Shirt for the Vinyl
Step 1: If you’re making your own T-shirt, cut out the pattern pieces now.
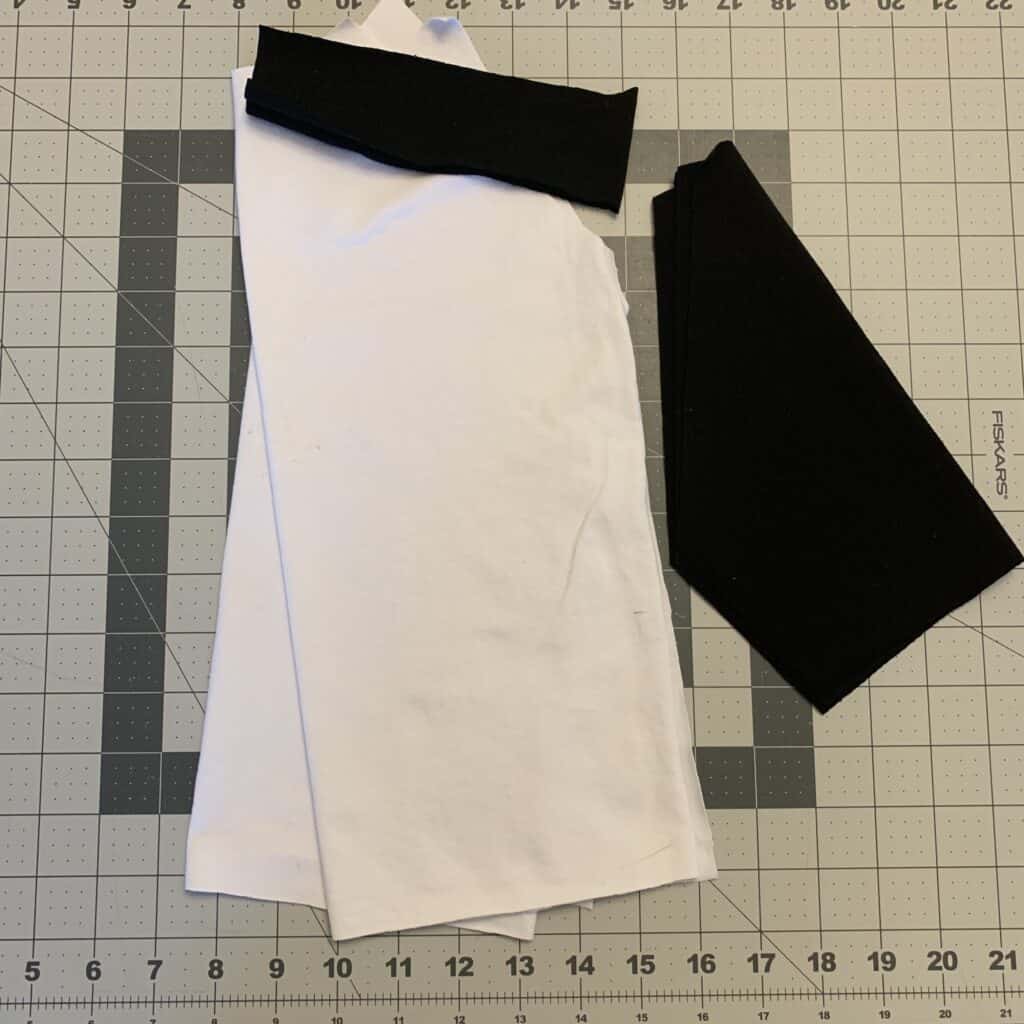
Grab the front piece, and set the others aside.
If you’ve purchased a T-shirt – you’re already ready to go!
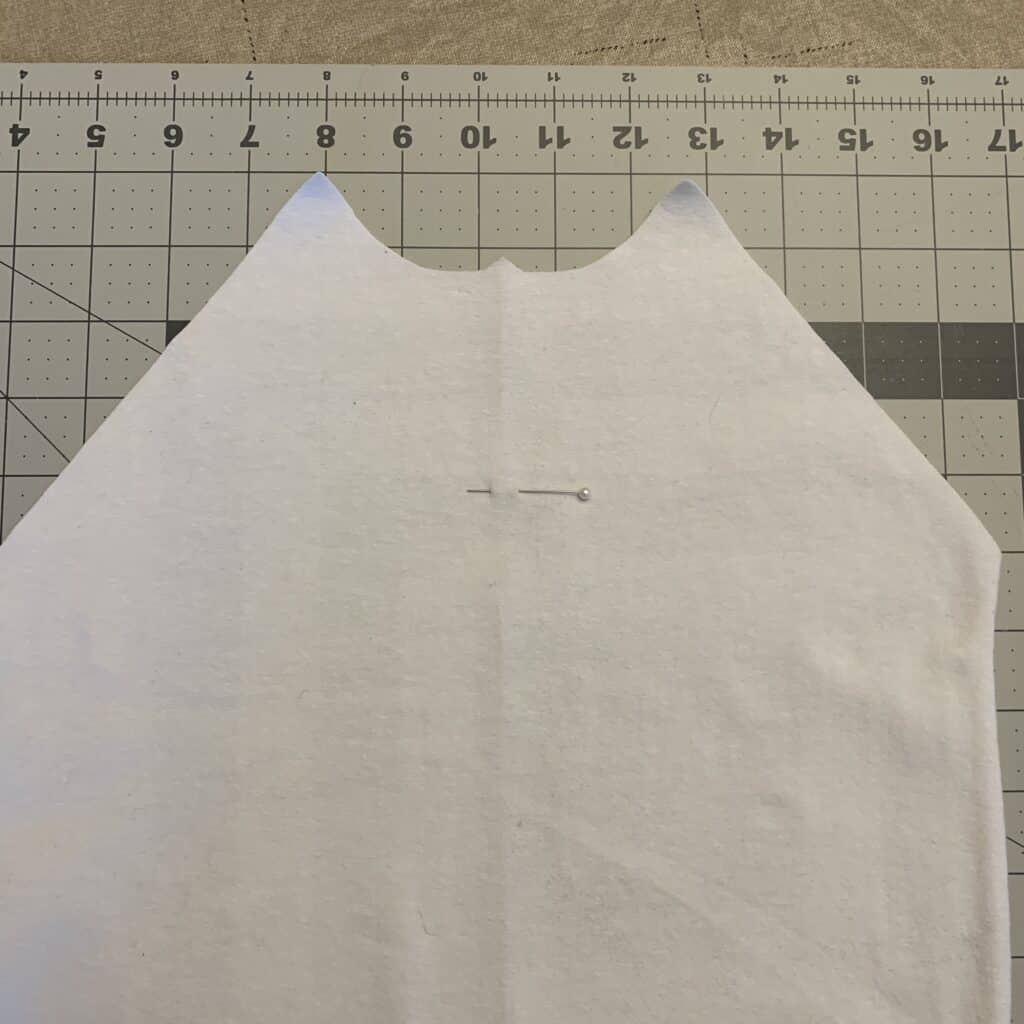
Step 2: Decide where and how large the design should be on your shirt. I recommend placing the top of your design 3-4 finger widths below the neckline, but your design may need to be higher or lower depending on what it is.
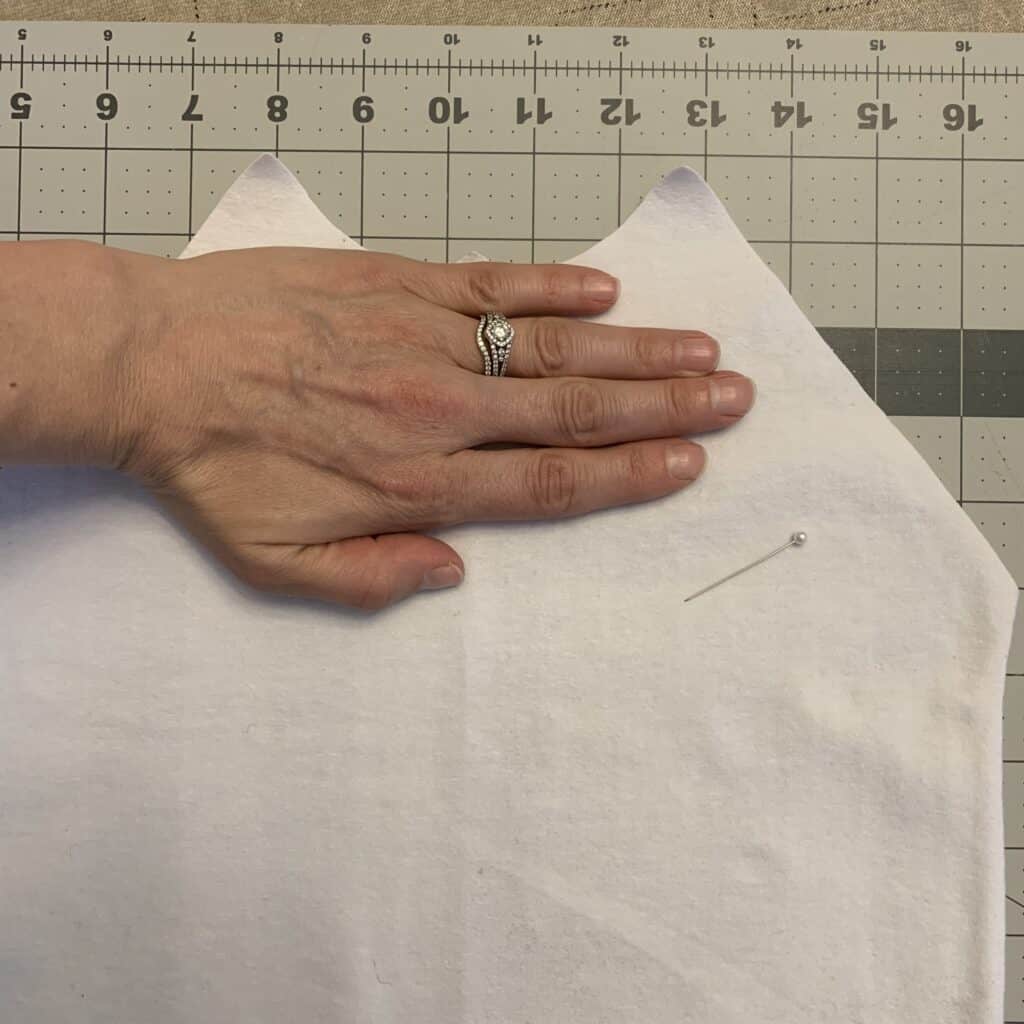
I mark my top placement with a pin so I don’t forget where it’s at.
Step 3: Create or import your design into your vinyl cutting machine’s program. I use the Cricut Design Space, a web-based program created specifically for the Cricut line of cutting machines.
Based on the size of my shirt and the design itself, I chose to keep my design constrained to 9″ x 9″ (which leaves plenty of room for the, sleeves, side seams, and neckline).
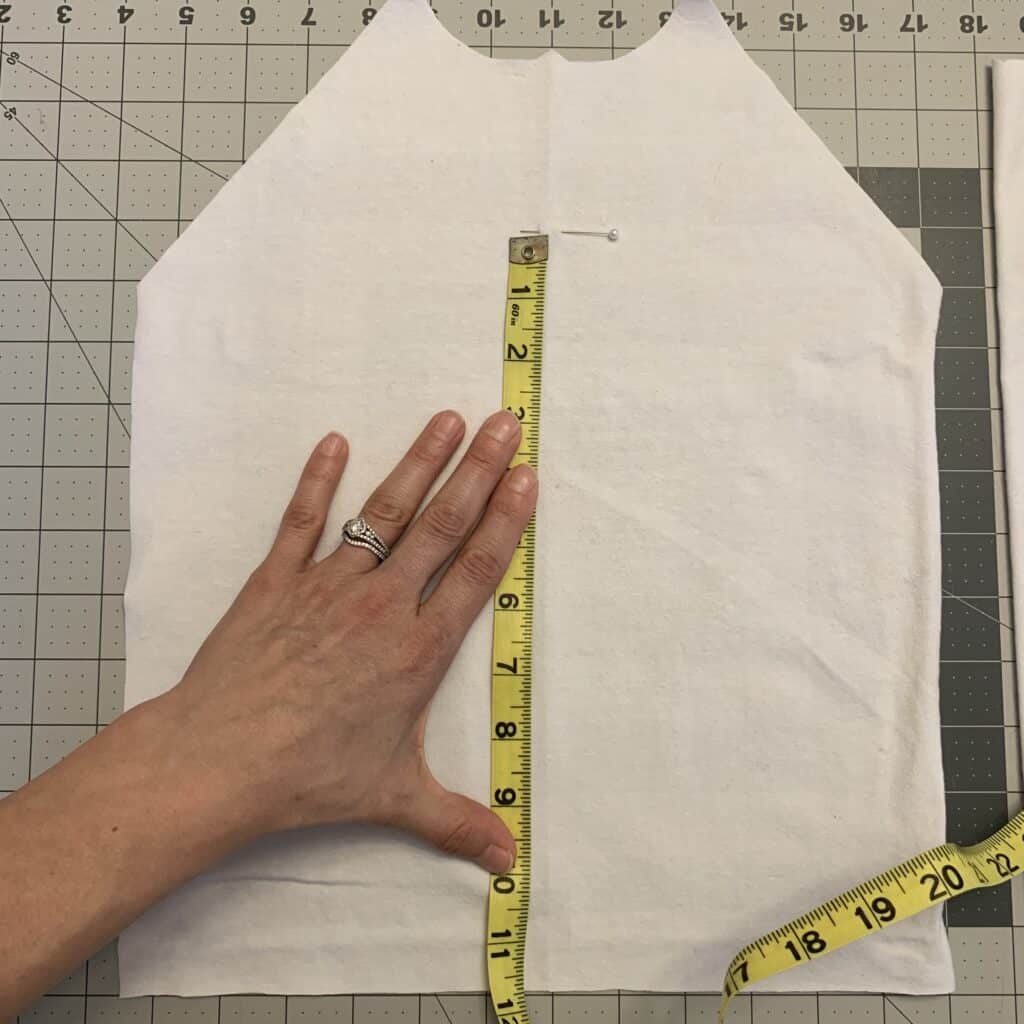
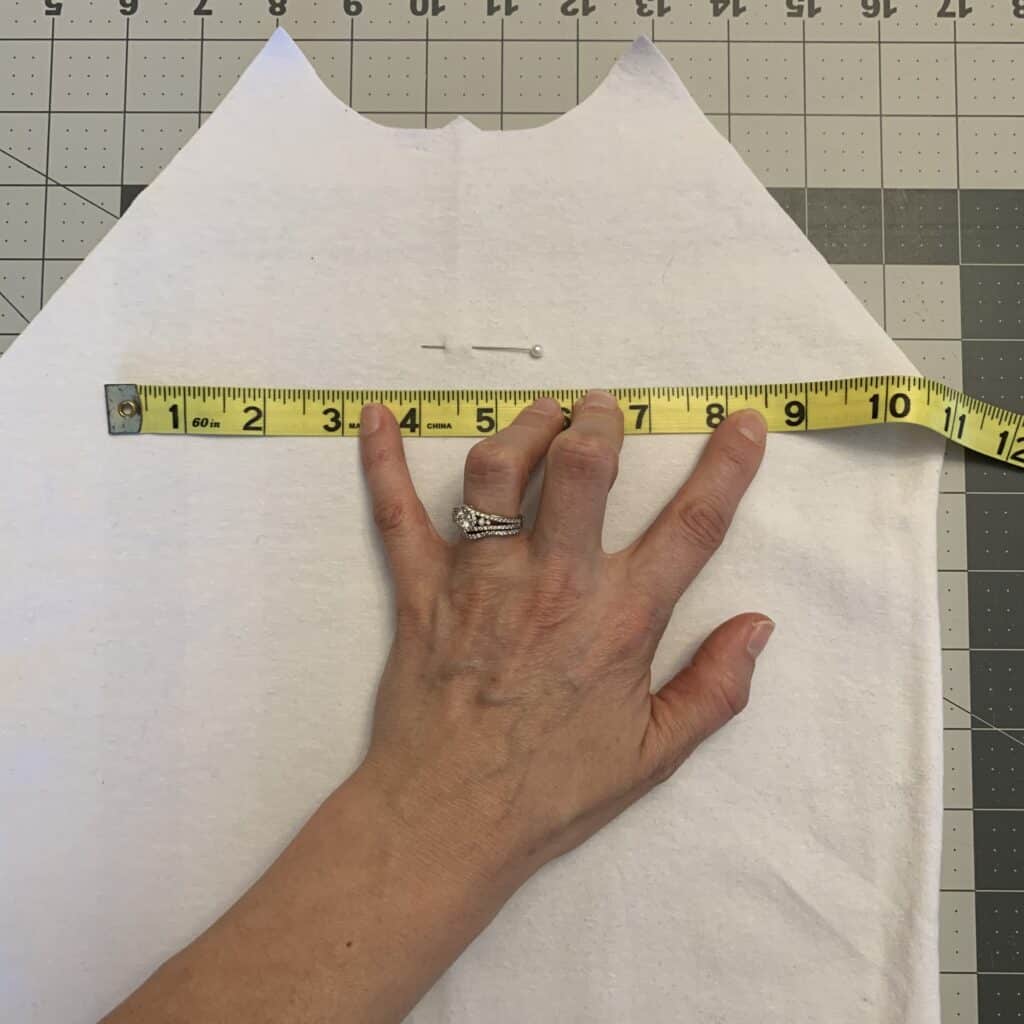
Going back at the design I just imported into Design Space, I see that I’ll have to play around with the size by dragging the corners since it is smaller than what I need. That will most likely always be the case anytime a design is imported.
Once I’ve adjusted my design in Design Space to a size I’m happy with, it’s time to cut!
Part 2 | Get out your machine, HTV, and mat(s), and get ready to cut
Step 4: Always make sure you turn on Mirroring for each color when preparing to cut HTV. If not, your design will be backwards… another great way to make a lounging on the couch shirt!
Also… always remember… when placing your HTV on the sticky mat to cut, it must be shiny side DOWN.
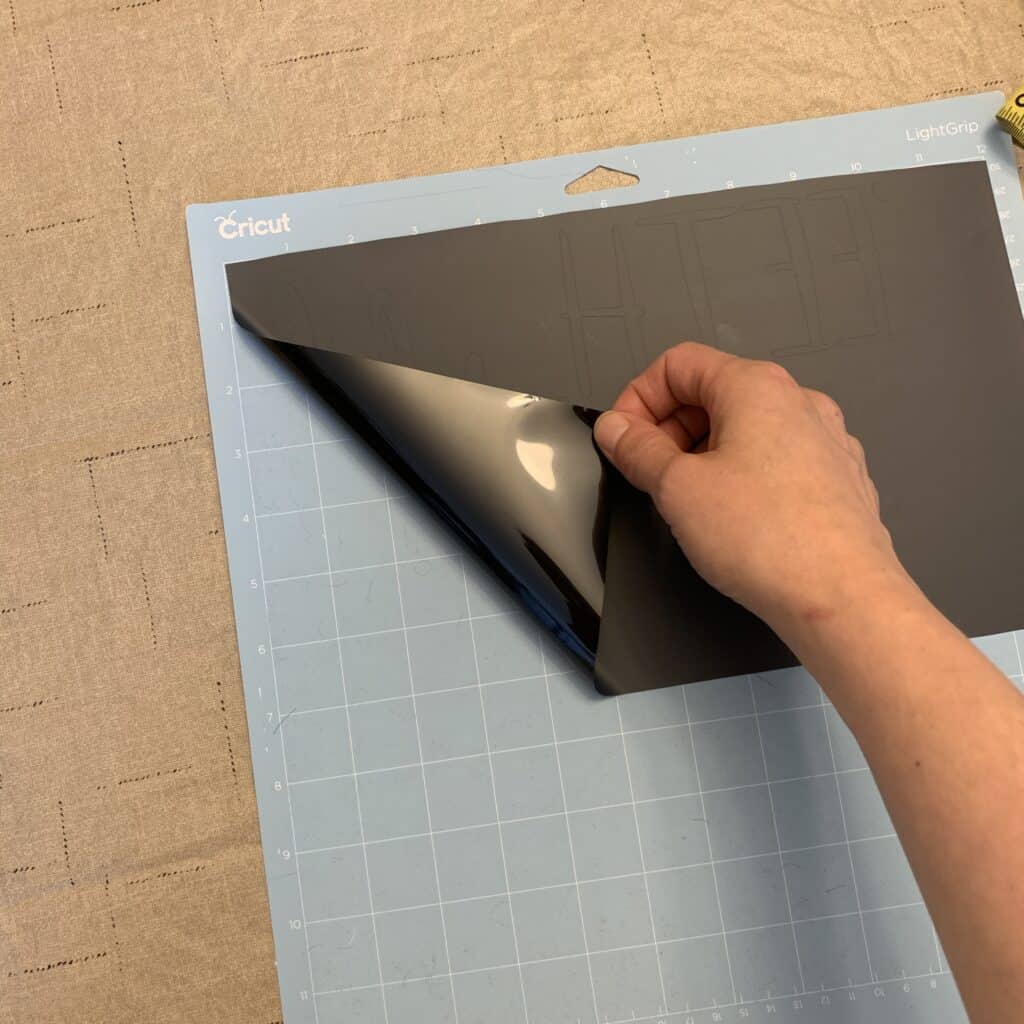
Your design program should remind you before you cut, but double check to ensure you have the proper cutting option selected. Too deep and it could damage your mat, too light and it won’t cute properly.
Step 5: For HTV, my machine needs to be set to Iron-on, not Vinyl (which is the option you’d use for use for vinyl used on cups, tumblers, etc.).
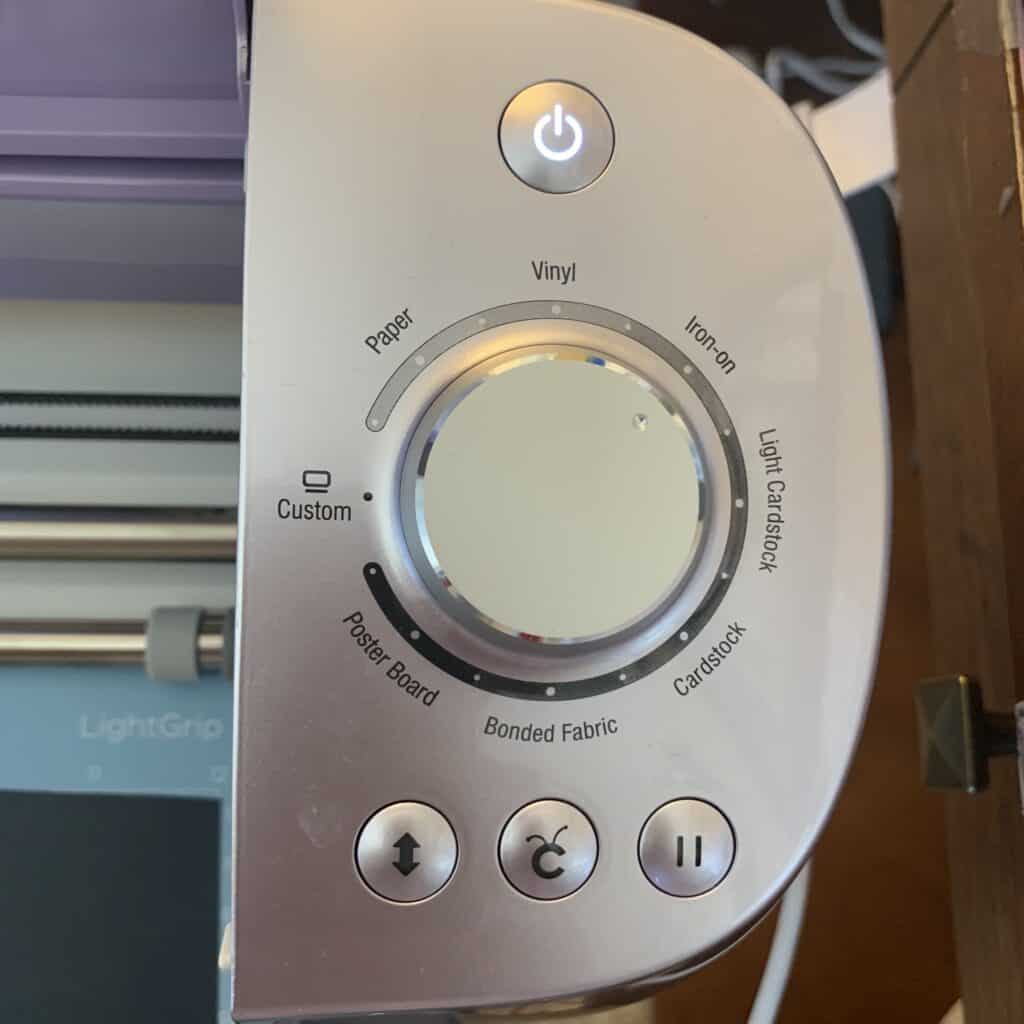 Hit the start button on your machine and watch it do it’s magic. When the first color (in my case the black) is done, remove it from the sticky mat then place the next color (green) on down in it’s place. Press start again to cut, and remove it from the mat once its finished.
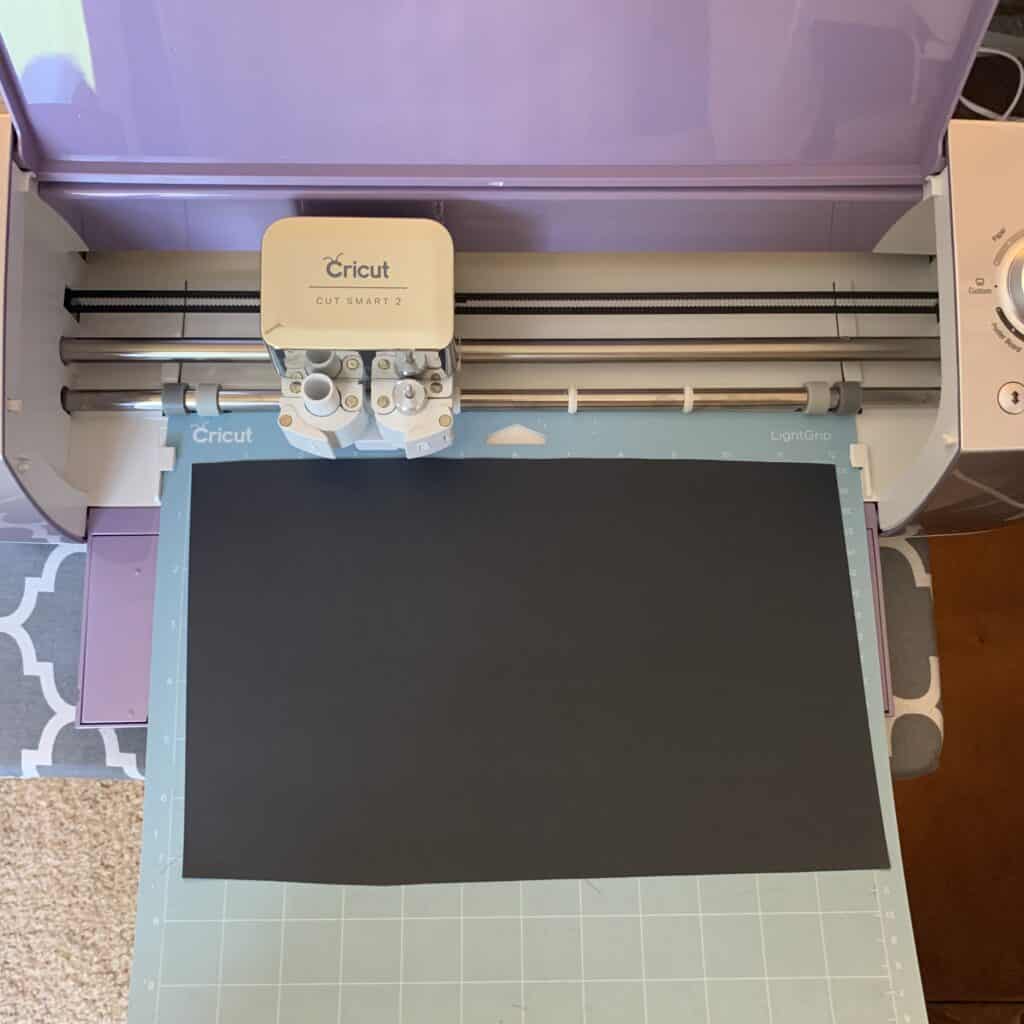
If you want to make it easy on yourself, buy a couple extra mats aside from the one that (hopefully!) came with your machine. That way once one color has printed, you can quickly change it out with the second, then third, and so on without manually sticking and unsticking between colors. I just have the one mat, and it’s been working fine for me so far.
Now that you’re done with your machine… Hide it from your toddlers
(or is that just me?!)
Part 3 | Weed out the HTV design from the Vinyl
Step 6: Before I start weeding my projects, I trim the excess HTV down to just the design so I can use the uncut portions another time. Who knows when you’ll need just an inch or so of a certain color… Save what you can when you can!
In the image below, the black piece on the top has the design on it – it’s not easy to make out in the image, but trust me, its there. The bottom piece is what I cut off to save for later.
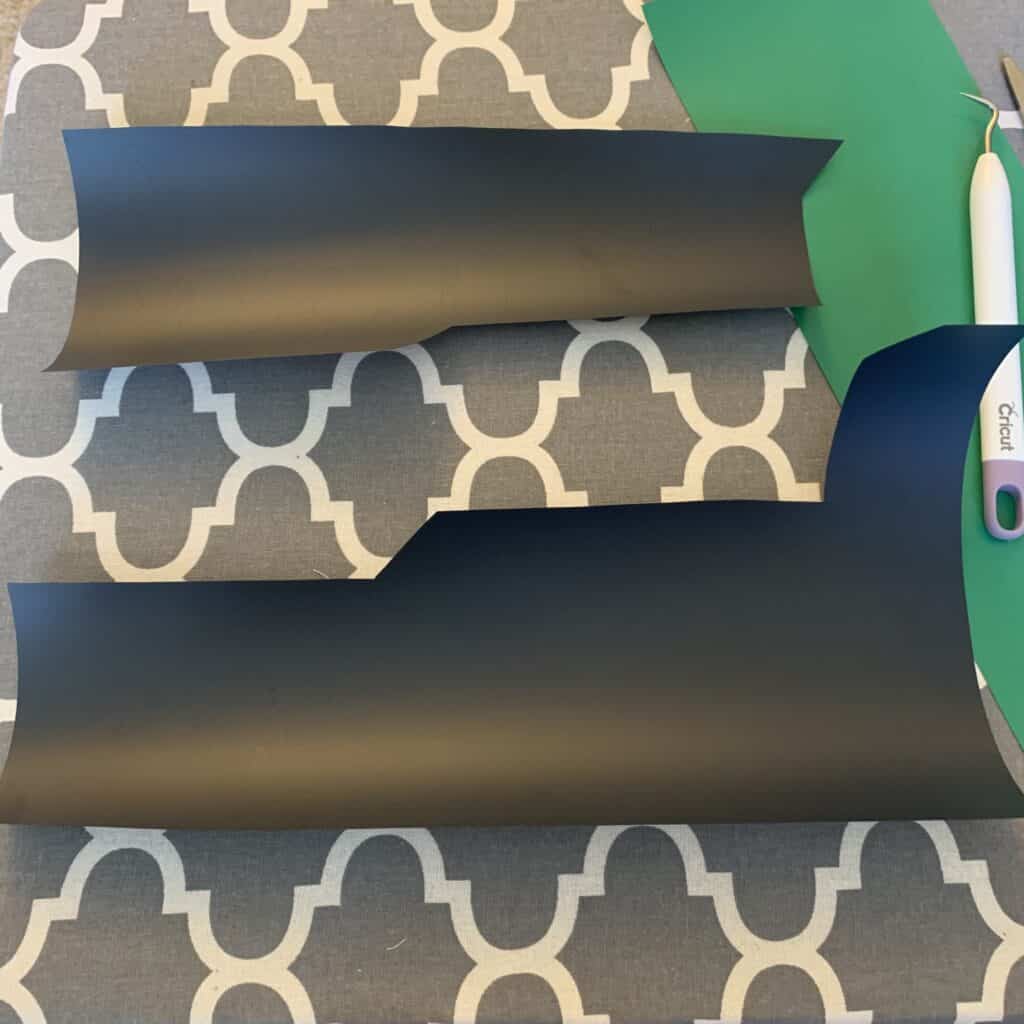
Peel up the unused HTV from around the design…
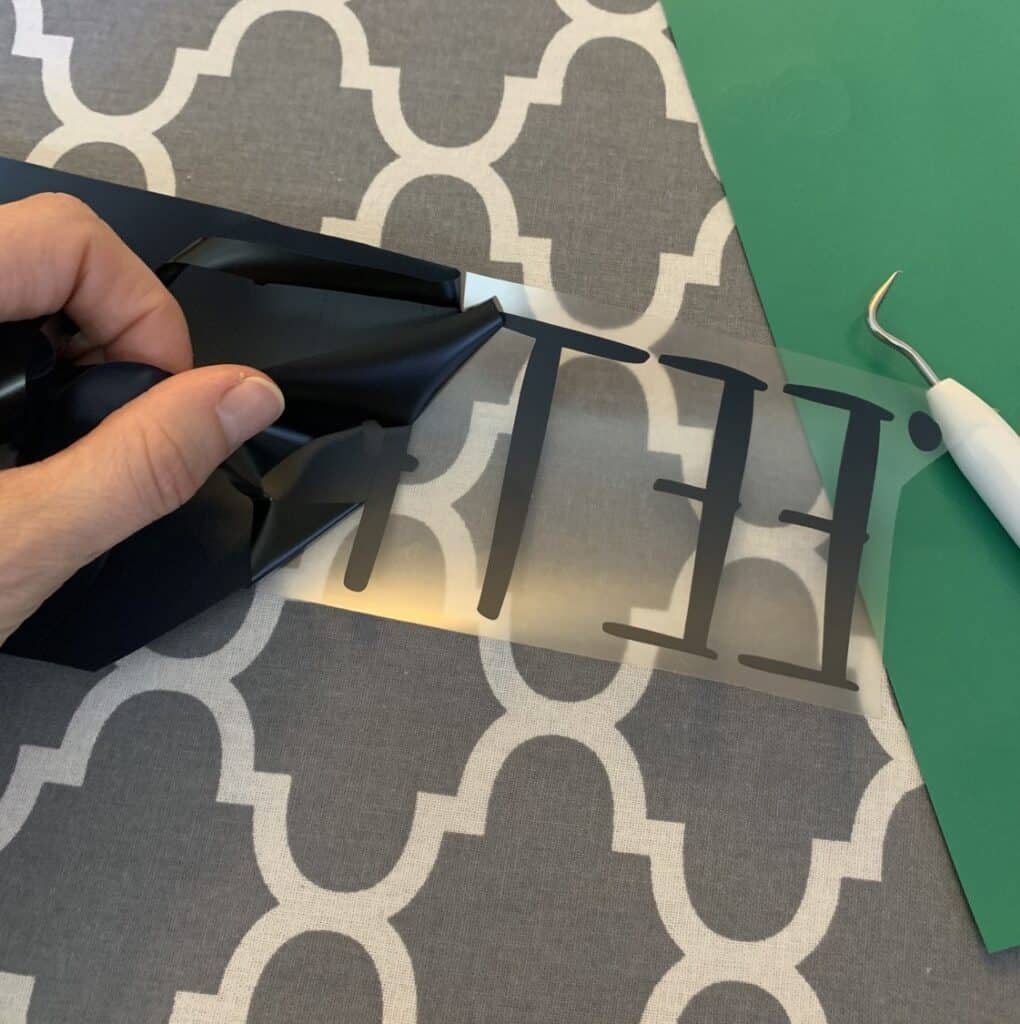
… then, using your chosen tool, weed out the rest of the small pieces.
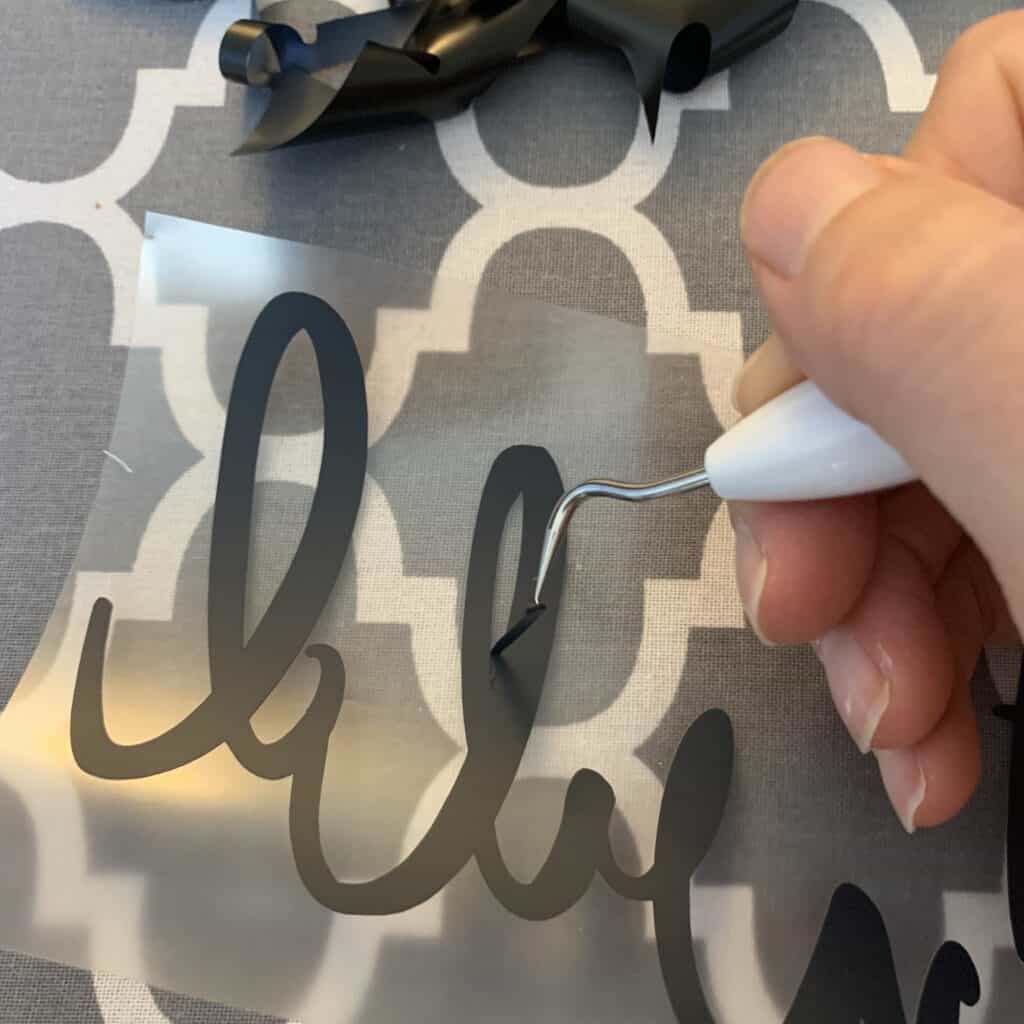
All done! You’re almost there. 🙂
Part 4 | Prepare your shirt (this time for the HTV)
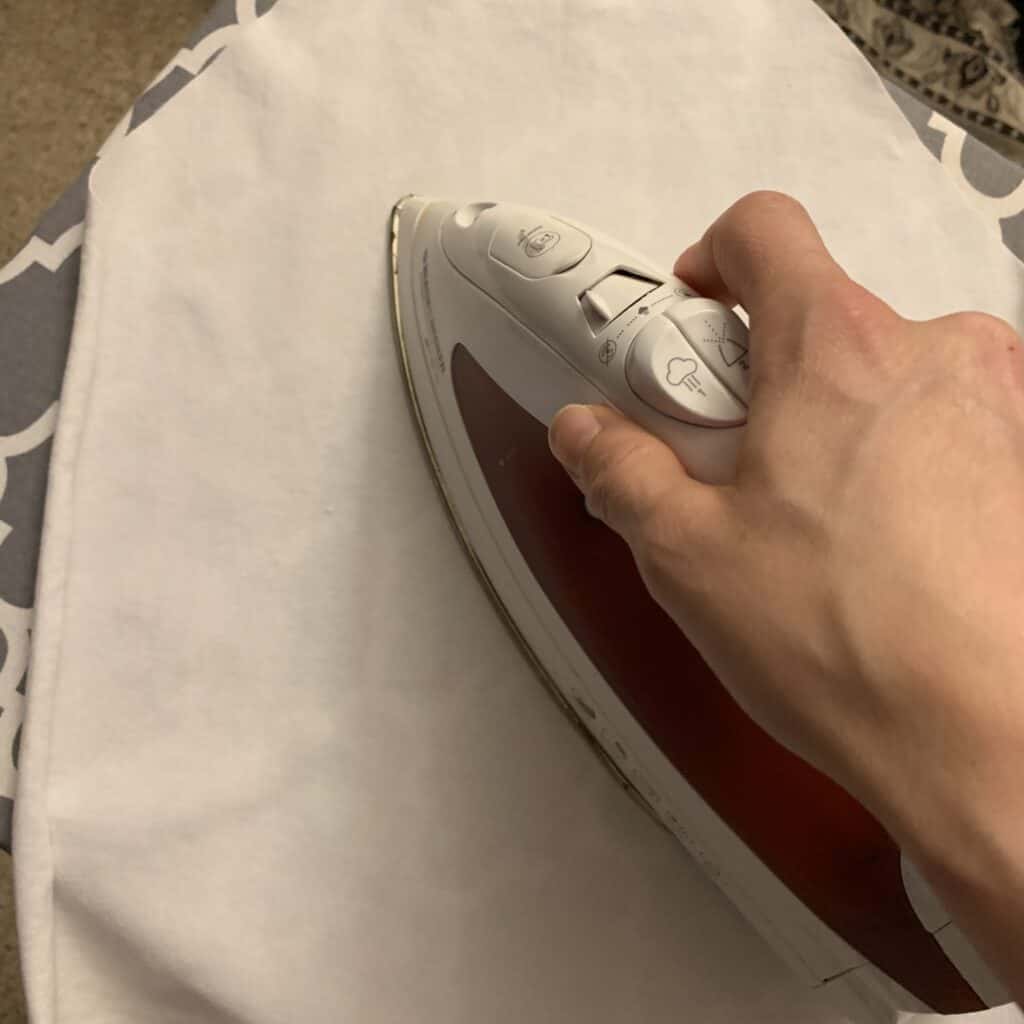
Heat Transfer Vinyl Step 7: The best way I’ve found to ensure the graphic is centered is to iron the shirt in half to press a crease. You can always iron the crease out once you’ve finished, but you can’t re-position the graphic once you’ve ironed it down. Better to be safe than sorry!
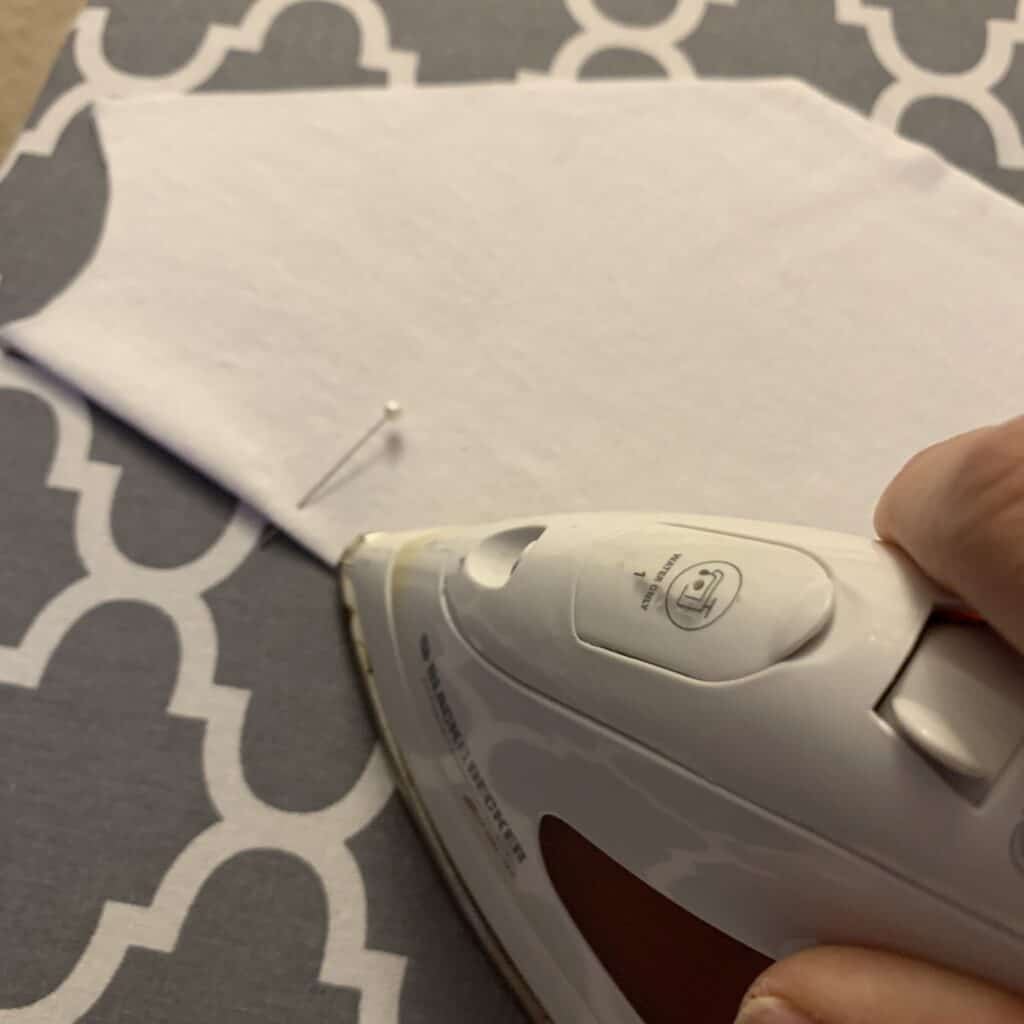
While you’re at it, make sure the rest of your shirt is wrinkle-free.
Step 8: I also fold my HTV design in half – sticky sides together – finger creasing the carrier sheet along the center line. This will make my life much easier when trying to place it center on my shirt. I can line it up with the crease I just ironed.
Don’t worry… the two sides of the carrier sheet will not stick together and the HTV/your design will not get ruined by folding it in half and pinching a crease.
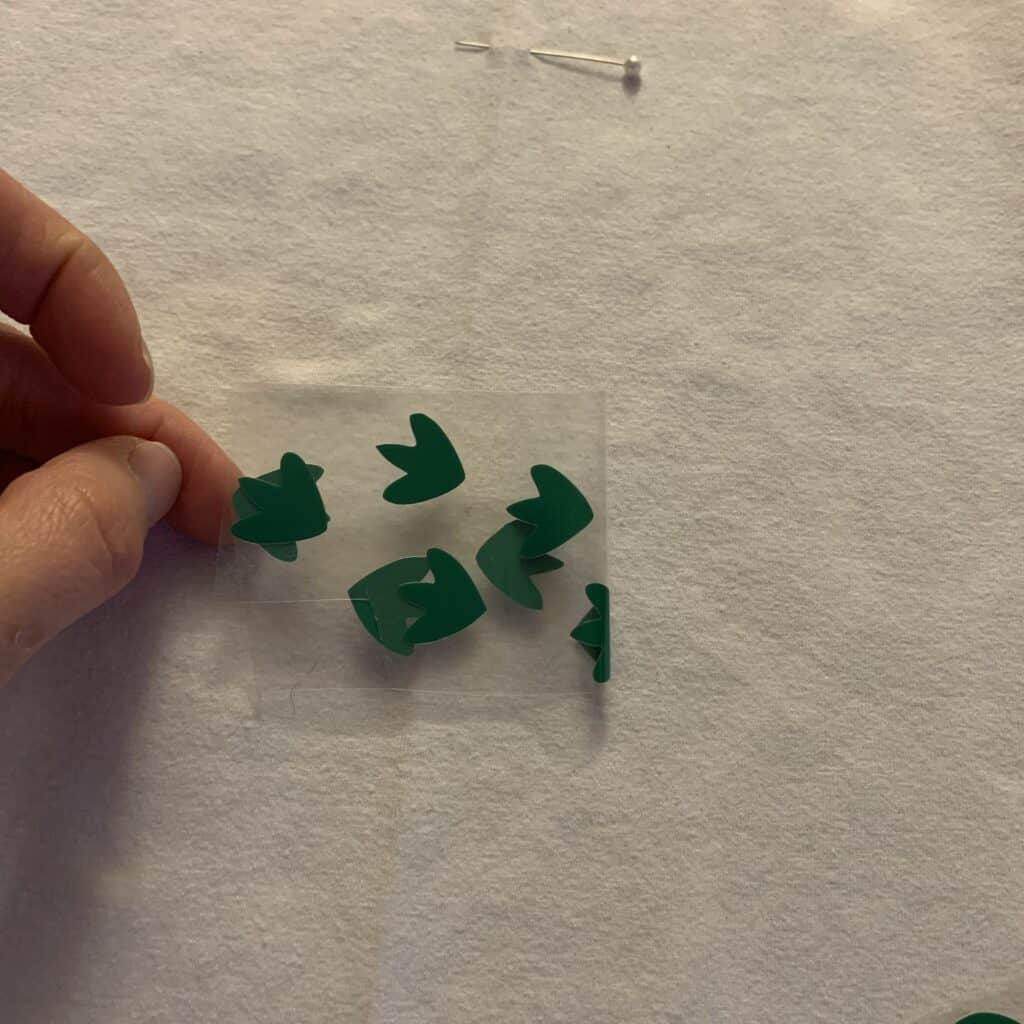
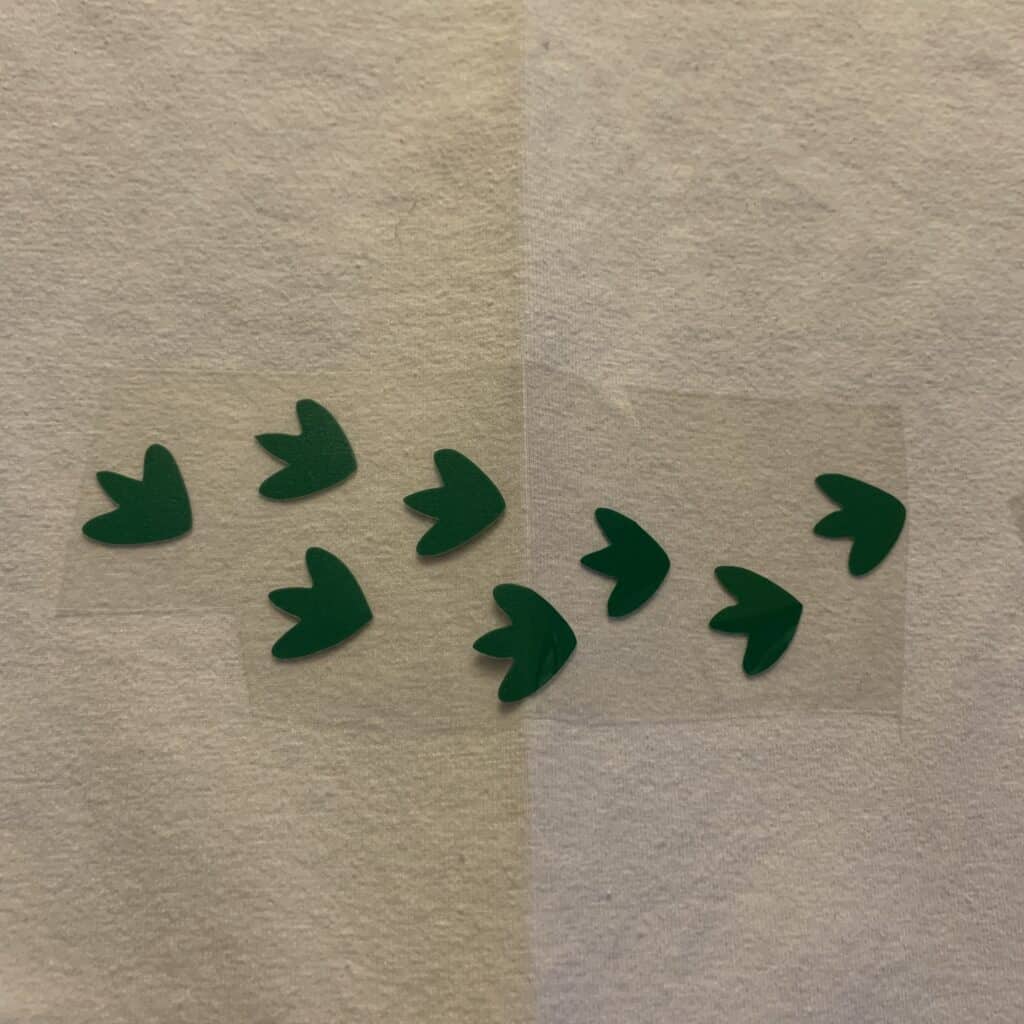 Step 9: One of the awesome things about HTV is that once weeded, the carrier sheet is sticky when you place it down, so it doesn’t slip or move around very easily. This helps keep your design in place as you refine its position on the shirt.
Position the design where you want it to be, and then you’re ready!

Note: If you forgot to turn on ‘Mirroring’ as I mentioned above, this is when you know you’re going to have to re-cut everything. If you place the sticky side down on your shirt and its not facing the right way… sorry my friend, but you just wasted all that time and HTV. Time to re-cut.
Part 5 | Iron Your Vinyl Design in Place
Step 10: Make sure there is no water in your iron, turn off the steam option, and turn it to the ‘cotton’ setting.
Place your towel, cloth, or transfer paper over your design and press down hard with your iron for 12-15 seconds.
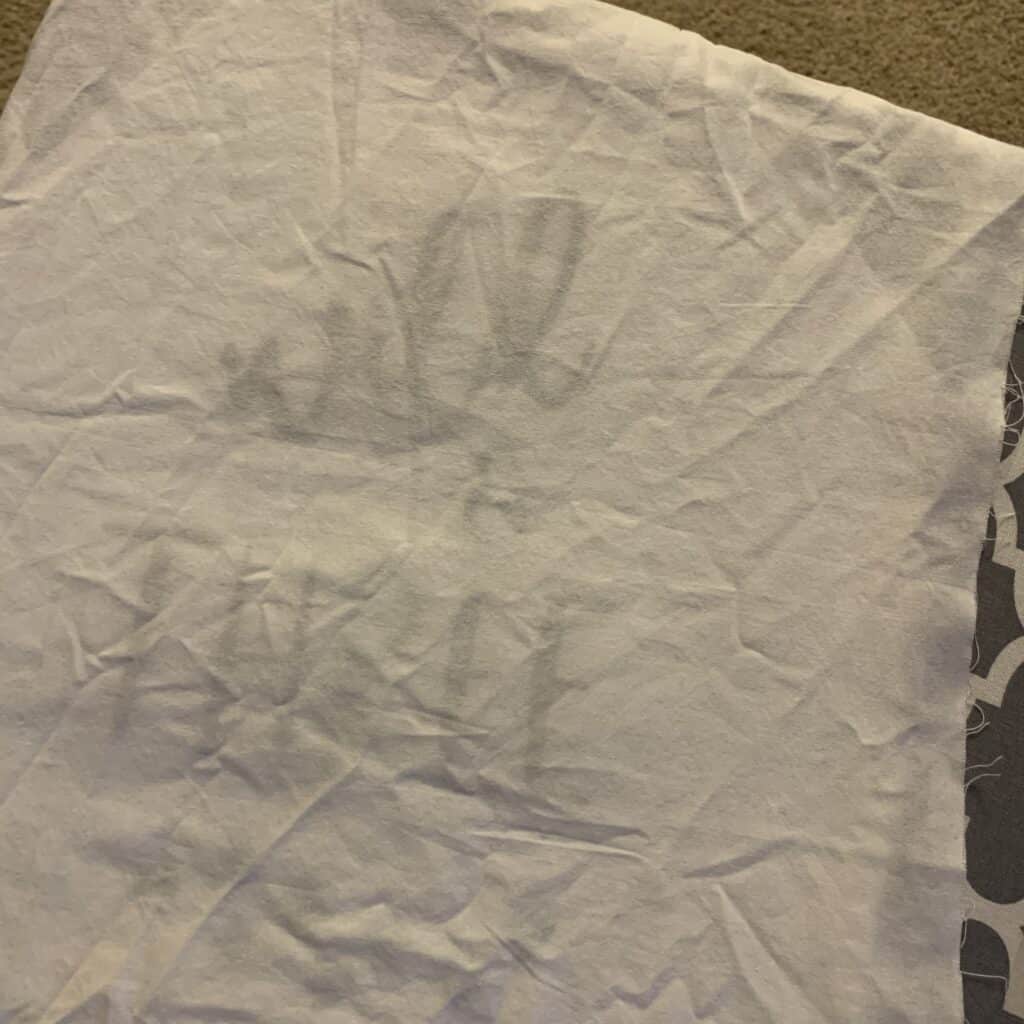
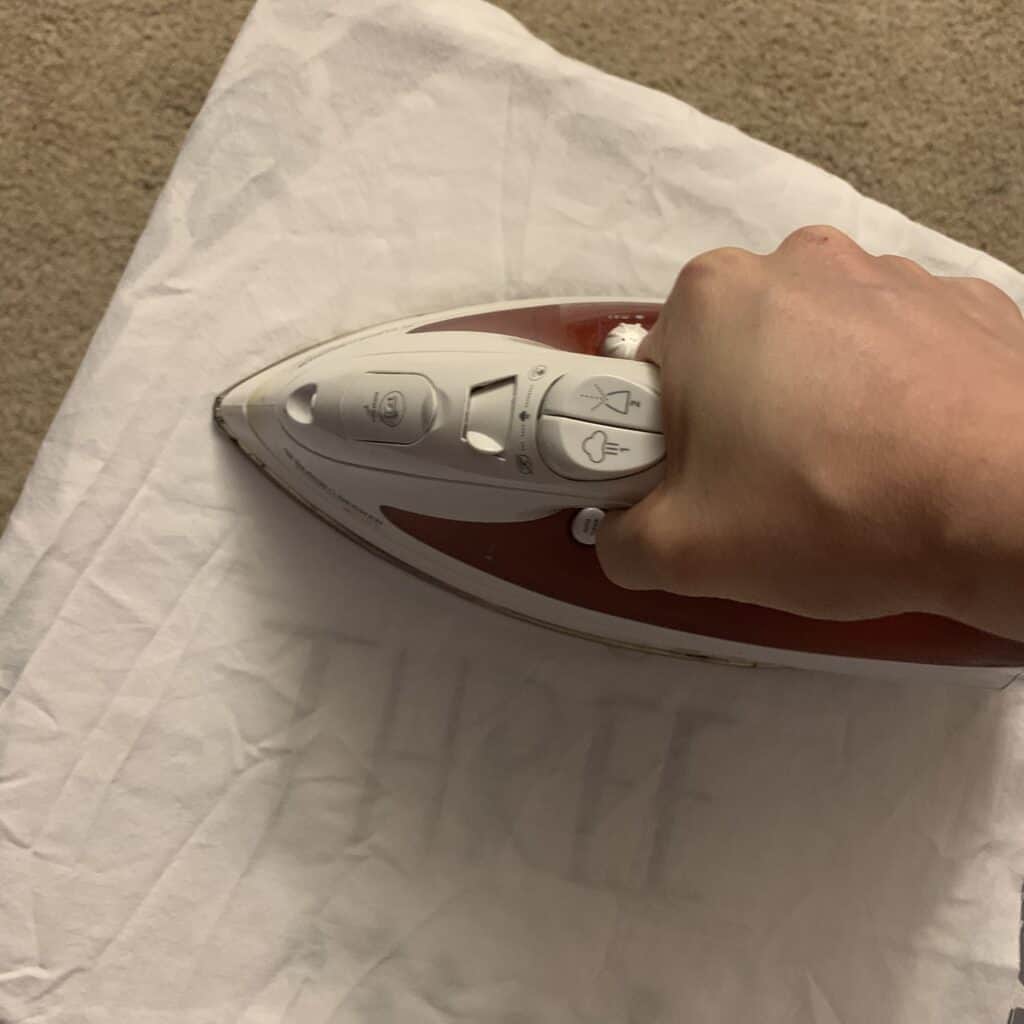 Some people recommend holding your iron in one place, however I scorched a shirt that way one time, so I move my iron slowly back and forth in the same spot, making sure to press down as hard as I can.
Step 11: Make sure you press over your entire design. I go over the HTV both horizontally and vertically just to make sure it has the chance to heat up and apply correctly.
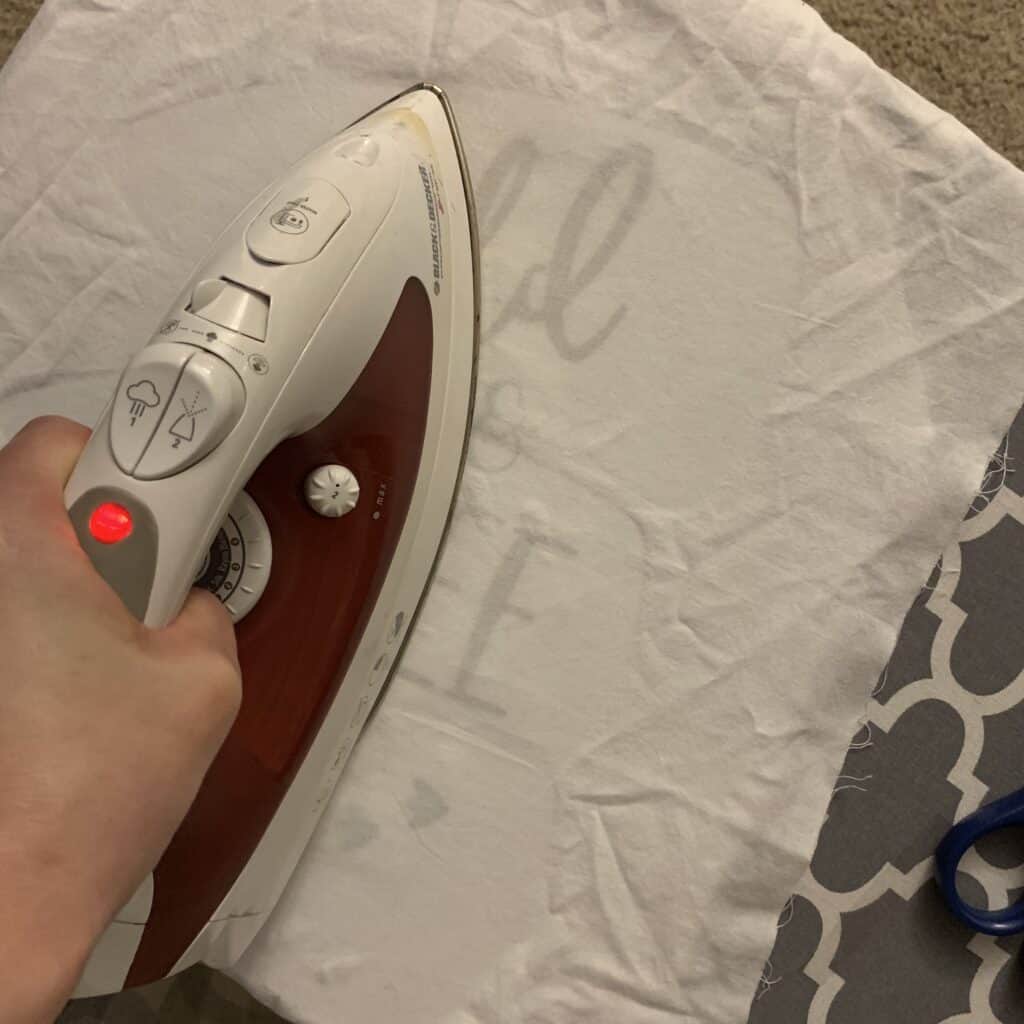
Step 12: Check your specific HTV brand to see if you can remove it hot or if it needs to be cooled down before remove the carrier sheet.
The type of HTV that I use (Siser Easyweed) recommends peeling while still warm, but I’ve found that letting it cool for about a minute not only saves my fingers, but allows the HTV to set on the fabric.
Carefully *and slowly* peel one corner of the carrier sheet (the clear plastic sheet) away from the shirt, watching very carefully to see if the HTV stays on the shirt (what we want) or peels away from the fabric (not what we want).
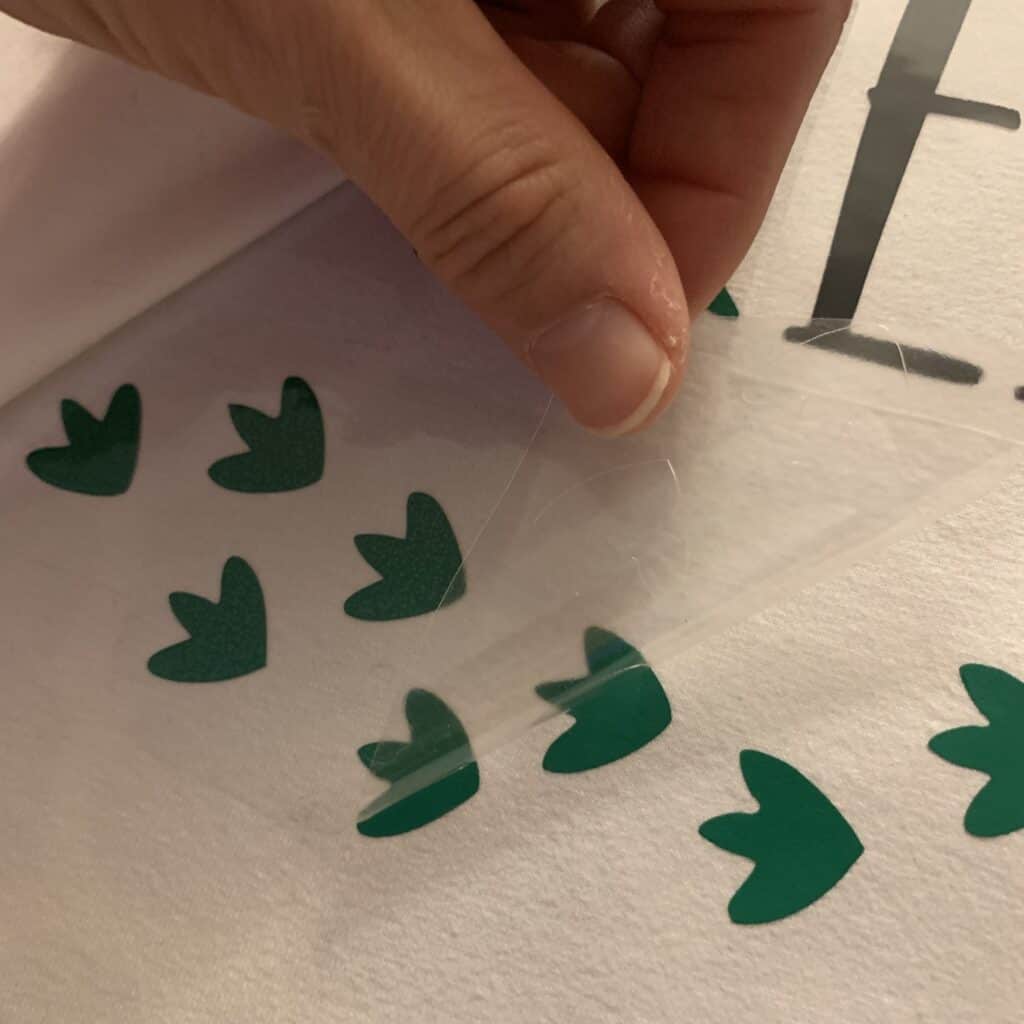
Step 13: If the HTV has not been transferred to the fabric, lay the carrier sheet back down, cover it with your cloth or transfer paper, and repress for another 10-15 seconds. That should do it! If not, try try again.
Strangely, the smaller or more intricate the piece is, the harder it is to get to stick in place sometimes.
Once all the HTV is applied to your shirt, I recommend turning it upside down (or flipping it over in my case) and quickly pressing the back as though you were ironing wrinkles out – no need to press and hold. This helps secure the HTV in place even more.
And that’s that – now you know how to apply heat transfer vinyl!

Finish your T-shirt if you’re sewing it from a pattern, then stand back and admire your work. 🙂

We’d sure like to thank Stephanie for coming and teaching us how to apply heat transfer vinyl. This can really add something fun to a sewing project. Before you leave, make sure to join our Facebook Group sign-up for our Newsletter below. Happy Sewing!


