DIY Valentine Garland | How to Make a Heart Garland
Hi, it's Nienke again, with a holiday tutorial on how to make a DIY Valentine Garland! As I explained in one of my previous posts, I love to make a seasonal tutorial. It gives me the incentive to create some fun holiday crafts, which otherwise would end up at the bottom of my list, even though I really enjoy making them. To enable you to make it as well, this is a really fast project that requires very little material.
Just some scraps, some filling and a nice ribbon! You can make the garland as long as you like and though the post is titled "Vertical Heart Garland", you could easily make it horizontal as well of course. Whichever way suits your home best!
DIY Valentine Garland | Step-by-Step Tutorial
Garland Supplies:
- Scraps of woven fabric;
- Ribbon, the desired length of the garland;
- Some filling, wool or other fiber;
- Coordinating thread;
- Pinking shears;
- The usuals sewing notions, such as pins.
Valentine Garland Instructions
Step 1: Cut out heart shapes from your fabric. If you're at a loss for dimensions, you can download my template here. I made a six heart garland, so I had to cut twelve hearts. Place the ribbon on top of the wrong side of one of the hearts, neatly aligned in the centre and at your desired distance from the top of the garland.
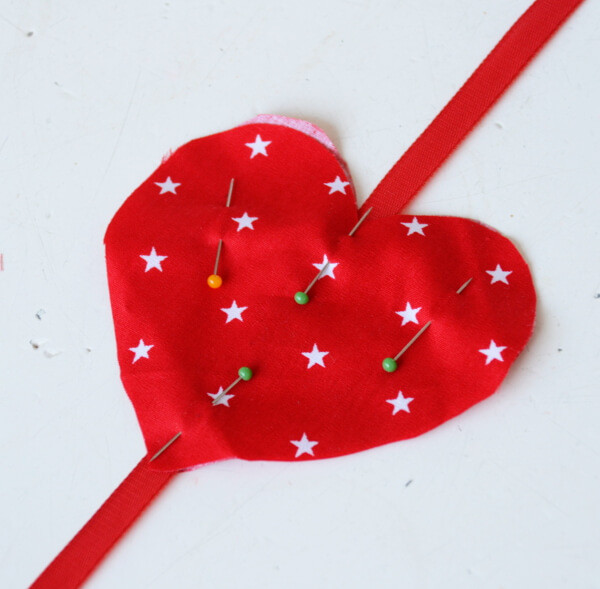
Step 2: Place a second heart on top of the first one and the ribbon. Now the ribbon is sandwiched between two hearts, which are wrong sides together.
Step 3: Pin into place. Make sure the ribbon remains in the centre!
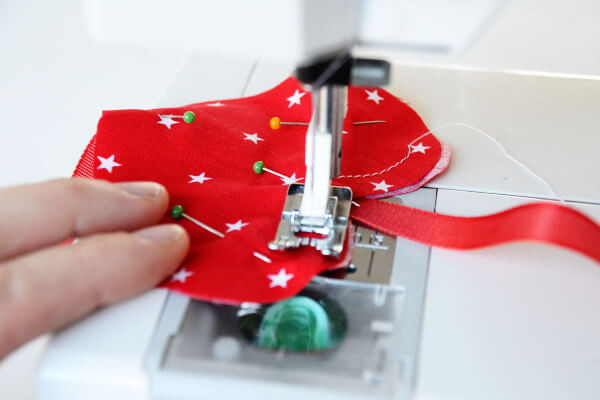
Step 4: Sew along the edge of the hearts, at foot width, with a straight stitch. Leave an opening to fill the heart.
Step 5: Your heart should look like the picture above now, sewn together on the ribbon, with an opening to fill.
Step 6: Fill the heart with a little bit of filling. If you like a little extra, you could add some essential oil or lavender to the filling.
Valentine Garland Step 7: Sew the last bit of the heart, just like you sewed the rest of the heart shape.
Valentine Garland Step 8: Trim the edges of the heart with pinking shears. Be careful not to cut your ribbon! Of course, you could cut the shapes out with pinking shears to start with, however, I like the neat look of matching edges.
Valentine Garland Step 9: Continue with the other hearts, exactly the same way. Make sure you place them at similar distances on the ribbon!
Valentine Garland Step 10: The last heart, at the bottom of the garland, doesn't have ribbon coming from the bottom, since it's the end of the chain. However, if you forget to place the heart properly, with ribbon only at the top, you can just cut it off at the bottom of course.

Valentine Garland Step 11: If desired, you can make a small loop at the top of the ribbon, to hang your garland. To do so, fold the top of the ribbon over for 1/4" and then another 1/2". Topstitch into place. Since my garland will be pinned to the top of the door, as pictured below, I didn't need a loop, hook or anything else.
Happy Valentine! Thank for joining us for the DIY Heart Garland. Come visit us in the Peek-a-Boo Pattern Shop Facebook Group and check out some of these other articles:
